Home Artists Posts Import Register

Downloads

Content

Hi! As mentioned before, I'm posting this to all levels for now, but will limit visibility just to tutorial folks later.

It's an easy-to-follow, but very detailed walkthrough for creating an authentic-looking film leader countdown from scratch, complete with an adjustable damaged film look without using any plugins or stock images/footage. A nice, vintage element, useful in many situations.

If it sounds too simple, don't worry. I manage to make it complicated! Along the way I cover various AE tips & tricks helpful for animation & motion graphics in general.

Hope you enjoy it!

(An AE project file of the finished product is also attached. Feel free to use it!)

Now back to work on the ~big video~ 😓

Files

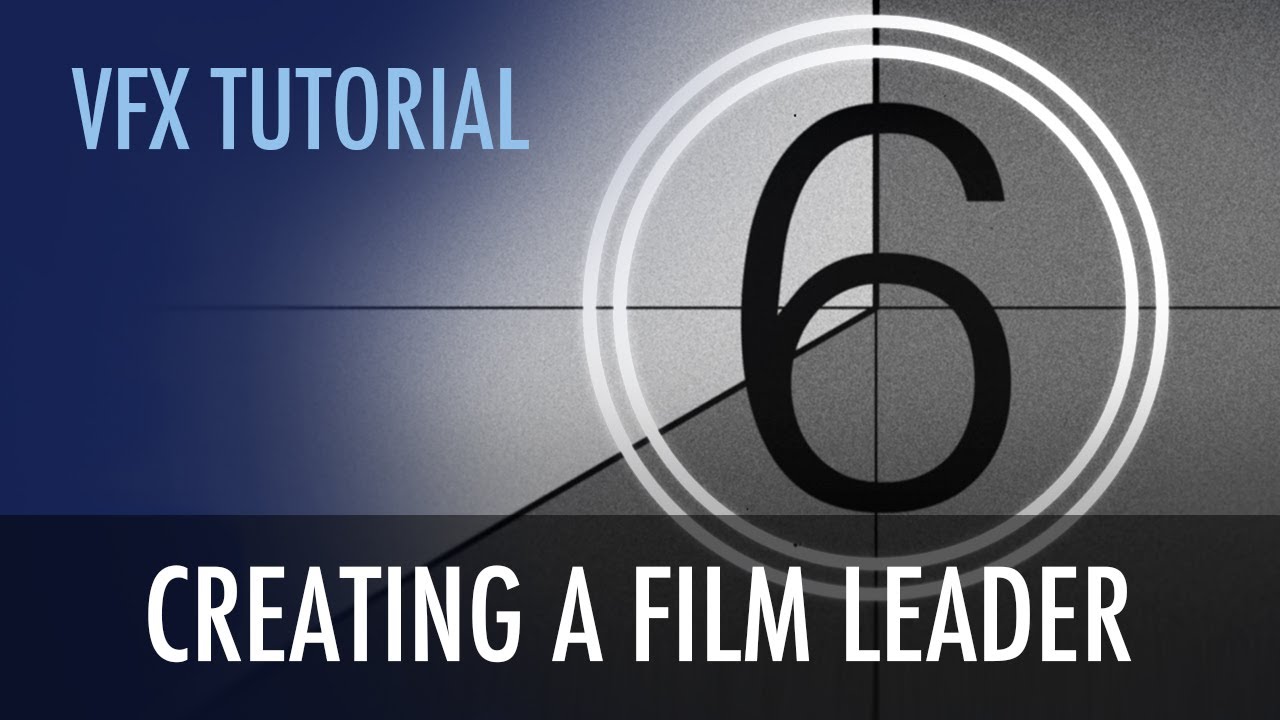
TUTORIAL - Creating a Film Leader in After Effects

Film leaders used to be everywhere. Now they're just a campy motion graphic element in YouTube videos. So here's how to make one!

Comments

Anonymous

Just when I needed this effect, you make a tutorial. Must be fate

Anonymous

Are you willing to join the corridor digital crew for a breakdown/reaction video?

Jon Biavati

You're an A.E. savant. Just watching this is fascinating.

Anonymous

Great tutorial! At 31:00 you mention mathematically combining two wiggles in an expression. You can do this by adding them together and then subtracting the base position, because each wiggle expression evaluates to the base position plus the randomized component: wiggle(30,10) + wiggle(1,500) - value For just vertical movement you could do something like this: wiggle(30,10) + [0, wiggle(1,500)[1] - value[1]]

Rob Schultz

If you want to use a shape tool to draw a layer mask on a shape layer, there's a switch for that in the toolbar. When the star icon is lit up, you're drawing shapes, and when the icon that resembles the quick mask selection is lit up, you're drawing a mask. As seen here: https://www.dropbox.com/s/h5vpm1s002s9asd/AE%20shape%20mask%20switch.png?dl=0

Anonymous

How would you ‘frame rate future proof’ the two-pop frame? For a higher frame rates it will display intermediate values of grey between the white and black keyframe. A hold keyframe would result in multiple frames of white which is also not correct. Also a quick tip, you can use the JavaScript method ‘floor’ and ‘ceiling’ to round down or up to the nearest integer.

CaptainDisillusion

I used hold frames so it wouldn't interpolate. True, the pop would last more than one frame, but it would still show up on the correct frame. Still serves the purpose and looks/feels the same aesthetically, imo. Thanks for the floor/ceiling tip, someone above mentioned it too. Will keep that in mind for future!

Gabe

I don't know anything about after effects, but it looks like the coding parts are python or JS. In that case, the stuff you are doing @33:00 with the square brackets is not multiplication but element indexing. So y=wiggle() is probably creating a two element list: y[0] is the first element which is applied to x translation and y[1] is the second applied to y. And I guess "value" is the translation value applied so far in the pipe-line? So returning value[0],y[1] is saying "don't change the default in x, but wiggle in y".