Home
Home

 Artists
 Search
 Recent
 Random
 Posts
Posts
 DMs
DMs
 Tags
Tags
 Random
 Importer
 Import
 FAQ
FAQ
 Account
 Register
 Favorites
 Login
Login

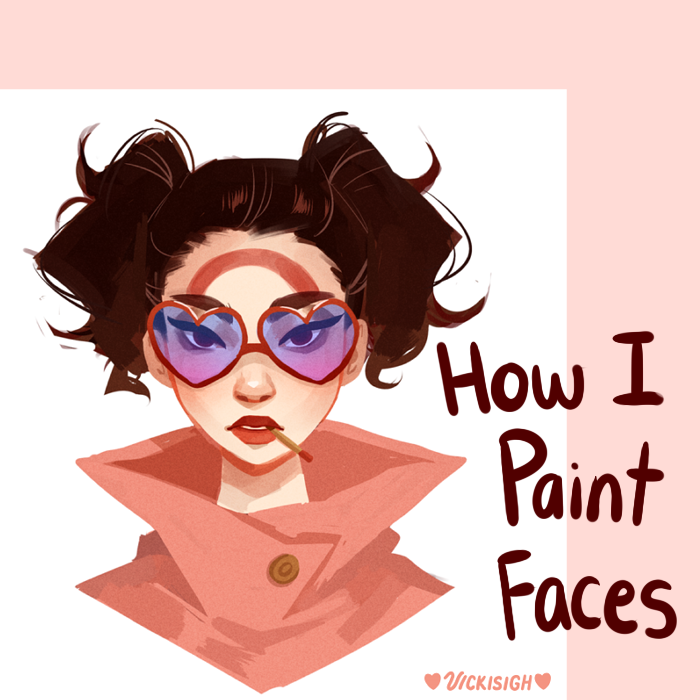
Digital painting tutorial: How do I paint faces???! (Patreon)
Content
Happy Friday! :D I've got a timely tutorial to share with you today~ In celebration of the new Gorillaz album Humanz, which was released today, Noodle will be the subject of this tutorial! Quick tangent, that album is so good if you're on the hunt for new music I highly recommend giving it a listen. It is /fire emoji/ beyond belief. Some quick facts before we proceed:
Program: Paint Tool SAI
Tablet: Wacom Intuous Medium
Time: ~30 minutes
Alright now that that's outta the way, let's get right on into the tutorial!
Step 1: Gesture sketch

No secrets here ladies n gents, just some quick lines to give myself a general idea of how I want the sketch to look. It's a good idea to incorporate this step into your process before you begin sketching since it provides a basic guideline for the rest of your drawing. Foundations are important in buildings , education, and even drawing! A strong foundation will always provide a strong support for the final product. ;)
Step 2: Sketch

I set the gesture sketch to a lower opacity (usually around 15-19%, specifics aren't important) and start sketching over it on a new layer. When it comes to digital painting, I don't spend much time on the sketch since I'm going to paint over it anyway in later stages. A solid sketch is all I need to give me enough information and detail to proceed. This sketch isn't perfect or particularly clean, but it doesn't need to be. Where we're going, we don't need clean lineart. (See what I did there? ;D)
Step 3: Flats

pI make a new layer underneath the sketch layer and flat in my colors. I flat with midtones since it makes the most sense to my brain. I've tried flatting with shadows before and then lightening it with midtones and highlights and my brain was NOT having it, so I stick with midtones haha. At this stage I also lock the transparency on the sketch layer and draw over areas that I know I want a certain color. This is just an extra step I like to do with parts of the face (nose, lips, and eyes) to save myself time when it comes to blending. It's easier to blend a lighter color than it is a darker color!
Step 4: Painting


At this point I merge my sketch and flats layers and start painting. I add in most of my shadows using layers set to multiply. I typically like shading with warmer colors, so I tend to use a lot of grey browns/reds when using multiply layers. Not much else to say here other than take your time painting and rendering shapes. I like to focus on the face and eyes and conveying the majority of the character through expression. I spend most of my time painting eyes because I like how much character you can convey through different gazes, stares, etc. I went with a pretty intense stare with this piece haha, but I think it suits her.
Step 5: Shadows

I add dimension to her form by painting in shadows on the face and hair. They're subtle details, but they really help bring out the form of the character. I also take this time to clean up the edges of the portrait (I don't like messy edges!) and define the overall outline/shape.
Step 6: Details

I like focusing on details at the very end rather than at the beginning. I find that when I give my attention to details at the start I lose sight of what I'm trying to draw and it makes everything look too stiff. I add in details like highlights and shadows here in there to tie everything together. I usually add a final overlay layer in medium brown to adjust colors, but I like how the colors turned out on their own for this piece so I didn't include that step.
And that's it, from start to finish! :D Let me know if this was useful and go listen to the new Gorillaz album! Thank you all so much for your support as always, I'm so excited to make more tutorials and art to share with you all. Have a great weekend everyone, we'll chat soon~
Love,
Vicki
Files