Home
Home

 Artists
 Search
 Recent
 Random
 Posts
Posts
 DMs
DMs
 Tags
Tags
 Random
 Importer
 Import
 FAQ
FAQ
 Account
 Register
 Favorites
 Login
Login

Taking a drawing from sketch to full render! (Patreon)
Content
Welcome back and hope your Friday/weekend is going swimmingly so far! It has heated up furiously in Santa Barbara and summer is here full swing. Now I'm back to drawing in my non AC'd apartment as I sweat nonstop. I love summer, but the continuous sweating I could do without. Quick reminder that the milestone giveaway ends on Sunday so if you want to participate and win cool prizes cast your name in the raffle!
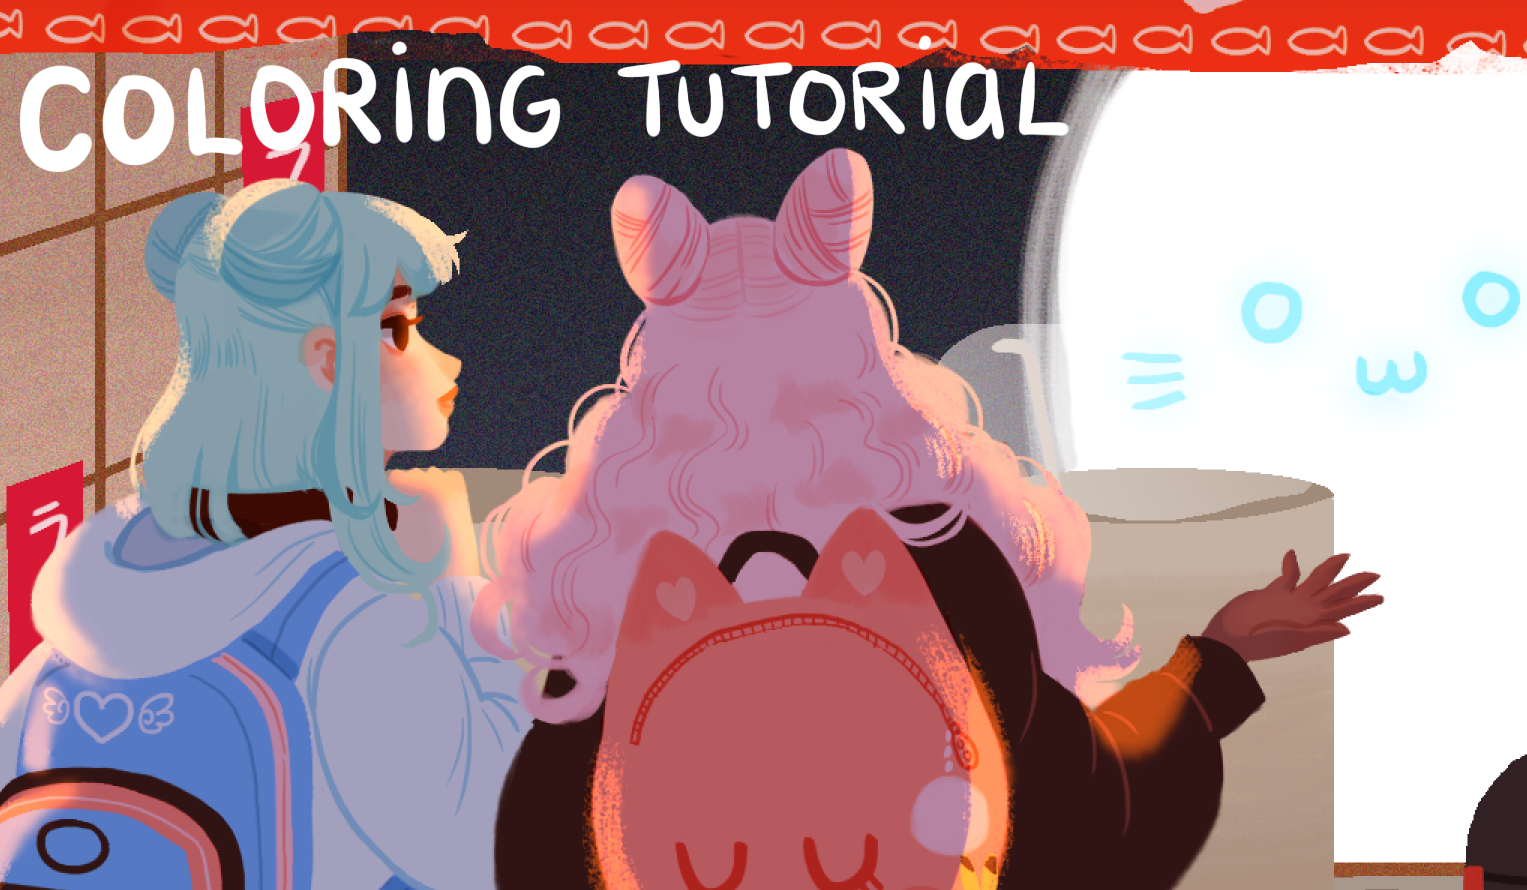
Anyways! Today I want to share a coloring tutorial with you all! I recently posted this ramen stand piece and tried out several new techniques in it and wanted to spread the knowledge and things I learned along the way. So without further ado, let's jump right into it! :D
Step 1) Loose sketch

I start every. single. thing. I draw with a loose sketch. Nothing fancy here, just getting a feel of the piece and laying out the characters and objects in a way that I like. I take advantage of this stage to change and experiment with where I'd like things placed and tinker with it until I'm satisfied.
Step 2) Lineart

When I'm digital painting, I rarely do ACTUAL lineart. Since I prefer to paint in a lineless style, the lines don't need to be perfect. Instead I focus on what details I'd like to see fleshed out. I draw rough sketches of the girls and add simple shapes to the various objects I've drawn. To use a literary metaphor, lineart in this style is more of a guideline rather than a direct prompt.
Step 3) Flats

Ah, here's where I really start flexing my muscles. I like to focus on colors more than lines and this is the part where I choose what colors I'd like to use. I also use this stage to my advantage and try out various color combinations to see which one fits best. Even though the time of day is night (there's an oxymoron for you), I stuck with lots of red and orange to keep the overall feeling warm and inviting.
Step 4) Preparing for shading

This is an extra step, but I like to erase most of my lineart at this point to make the coloring process easier. The less lineart I have to coverup, the better. So I go about quite liberally erasing most of the lines except for a few details I'll need to help guide my coloring. Otherwise, it's out of here and I'm ready to start working on...
Step 5) Shading


I regularly use multiply layers to add shadows to my work. I could manually add in shadows based on colors of my own choosing, but I prefer to use multiply layers because I like how it looks more cohesive if you use the same color to shade. I really like to take my time with shading. I feel like I'm working on a marble statue and carving out the figure bit by bit as I add in more details.
TIP: If you want to add more dimension to your drawing, try using gradient layers set to multiply. It gives a beautiful transition between shade and light and helps an object look more realistic. It's especially useful in situations where you want to make something look dramatically and softly lit. Try it out! :D
Step 6) Detailing/Object rendering

 Another one of my favorite art things to do: rendering objects. Not the flashiest sounding task that's for sure, but gosh it's so satisfying. This is the stage where I transform all those color blobs into actual items like bowls, lanterns, and signs!
Here's the typical process I follow when rendering objects: shape blob with flat colors >>> add lines/details with multiply layers >>> add shadows with multiply layers. Three straightforward steps for a clean lineless look! ^^
Step 7) Lighting + Background


Ah, the most challenging parts of any piece for me, backgrounds and lighting. To add an instant nighttime look, I slapped a grey/blue multiply layer on top of the foreground image (everything between the ghost cat and the viewer). To keep it from looking flat, I erased parts of the multiply layer (around the girls' hair, edge of lanterns) using a soft brush.
I want to keep the focus on the foreground, so added in some rectangle shapes in the background as random signage and put a gaussian blur filter on them to make them recede. I also added a noise filter on the background to give it some texture and further separate it from the main action.
Step 8) Finishing touches

This part I like a lot. I make new soft glow and luminosity layers and paint in ambient lighting with a big soft brush. I like to add some glow around the outer edges of objects and light sources to give it that extra warm and cozy feeling. Also added some random dots in the background to a bit of visual interest and tie the piece together.
Whew, you made it! I know there's quite a few steps, but hopefully it was easy to follow! I still have a lot to learn when it comes to drawing backgrounds and formulating interesting compositions and environments, but that's what art is all about! Thinking about the destination is nice, but the journey is where all the action truly happens. If this tutorial was helpful in any way do let me know. :D
Thank you all so much for your support, I've got a bunch of new art to share with you so do look forward to that! Otherwise, have a great day and we'll chat soon. <3
Love,
Vicki
Files