Home
Home

 Artists
 Search
 Recent
 Random
 Posts
Posts
 DMs
DMs
 Tags
Tags
 Random
 Importer
 Import
 FAQ
FAQ
 Account
 Register
 Favorites
 Login
Login

Atigar - body back (Patreon)
Content
Hello,
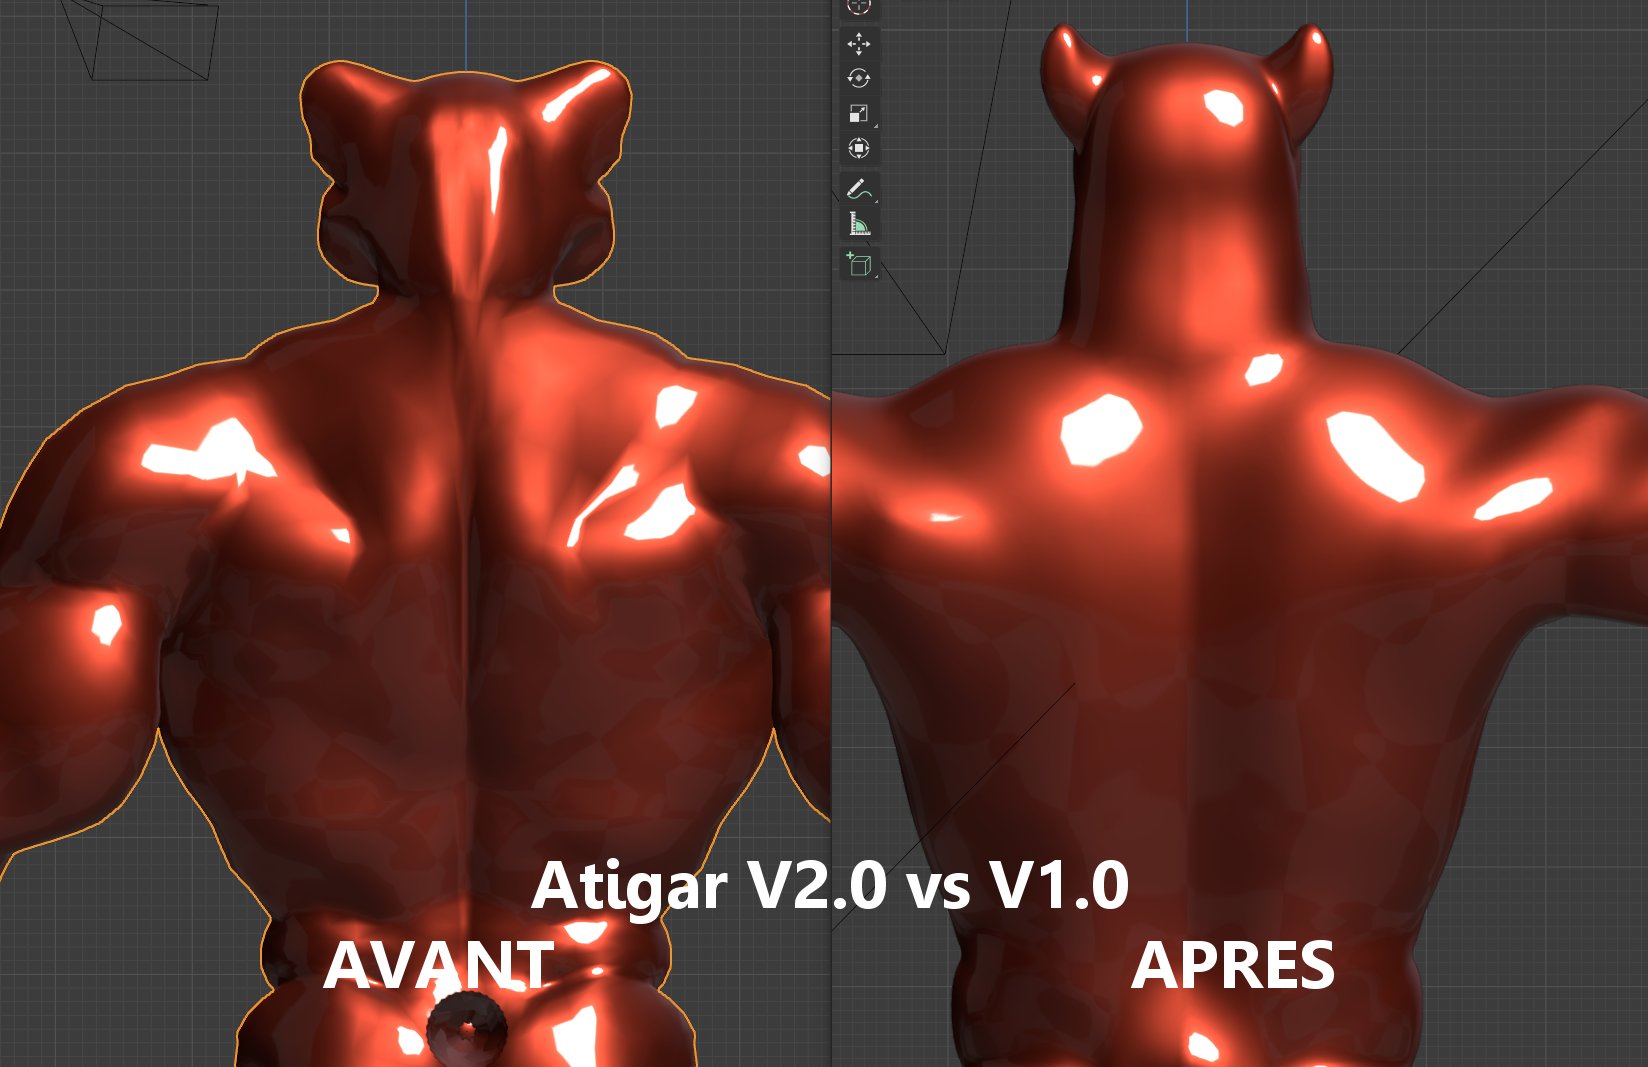
As promised, here is the back before after. Same principle as for the front face body. Drastic reduction of over-musculation. This gives a more normal body while remaining harmonious and pleasing to the eye. We don't see him well here, but he has still kept a little muscle (which is better seen from the side).
You will also notice that the upper part of the body is proportionally a little higher.
Exit also the strange angles at the back of the shot. We now have a nice round head with a very massive blow.
For my avatar V1.0 I started with werewolf models that I had adapted. In general, at least on the models that I used as a reference, they are quite stocky, a little curved, quite massive. For V2.0, I started from Human models.
Side tip: the entire relief was made on the basis of a mesh (quadra) classic and via the "sculpting" tab. A little "smoosh" on the vertex afterwards to blow up the angles that are too pronounced.
I also advise you to start with a default position of the T model and not an inverted V (at the level of the arms). This was also an error in V1.0. The problem with the inverted V position is evident when modeling the hand part. Blender (and other tools in general) has a shortcut for viewing from above (7). In T-modeling, it is easy to work on the hands afterwards. It is much more problematic in inverted V.
Cordially,
Anthrius
--------
Bonjour,
Comme promis, voici le dos avant après. Même principe que pour le corps face avant. Réduction drastique de l'over-musculation. Cela donne un corps plus normal tout en restant harmonieux et agréable à regarder. On ne le voit pas bien ici, mais il a quand même garder un peu de musculature (qui se voit mieux de coté).
Vous remarquerez également que la partie haute du corps est proportionnellement un peu plus haute.
Exit également les angles étranges au niveau arrière du coup. On a maintenant une belle tête ronde avec un coup bien massif.
Pour mon avatar V1.0 j'étais parti sur des modèles de loup-garou que j'avais adapté. De manière générale, du moins sur les modèles qui m'ont servi de référence, ils sont assez trapu, un peu recourbé, assez massif. Pour la V2.0, je suis parti de modèles Humains.
Coté astuce : la totalité du relief a été fait sur la base d'un maillage (quadra) classique et via l'onglet "sculpting". Un peu de "smoosh" sur le vertex par la suite pour faire sauter les angles trop prononcés.
Je vous conseille également de partir sur une position par défaut du modèle en T et non pas en V inversé (au niveau des bras). La aussi ce fut une erreur dans la V1.0. Le problème avec la position en V inversé se manifestement lorsqu'on modélise la partie des mains. Blender (et de manière générale les autres outils) a un raccourci permettant d'avoir une vision par le haut (7). En modélisation en T, il est facile de travailler par la suite sur les mains. C'est bien plus problématique en V inversé.
Cordialement,
Anthrius
Files