Home Artists Posts Import Register

Content

Hi all!

The upcoming release of FurryVNE introduces three new systems for blending meshes with eachother. You can use these systems individually or stack them all together to create a unique effect. Experiment to see what works best for you and your character projects!

Pixel Offset

This is the most basic type of mesh blending. It works by exploiting the depth buffer by offsetting pixels in a dithered pattern. As an object affected by this tech approaches another, pixels from the other object will start to be sprinkled inside and will appear to blend with it. By jittering the dithered pattern each frame, we can exploit temporal anti aliasing to blend the result further, and end up with a very cheap mesh fading tech.
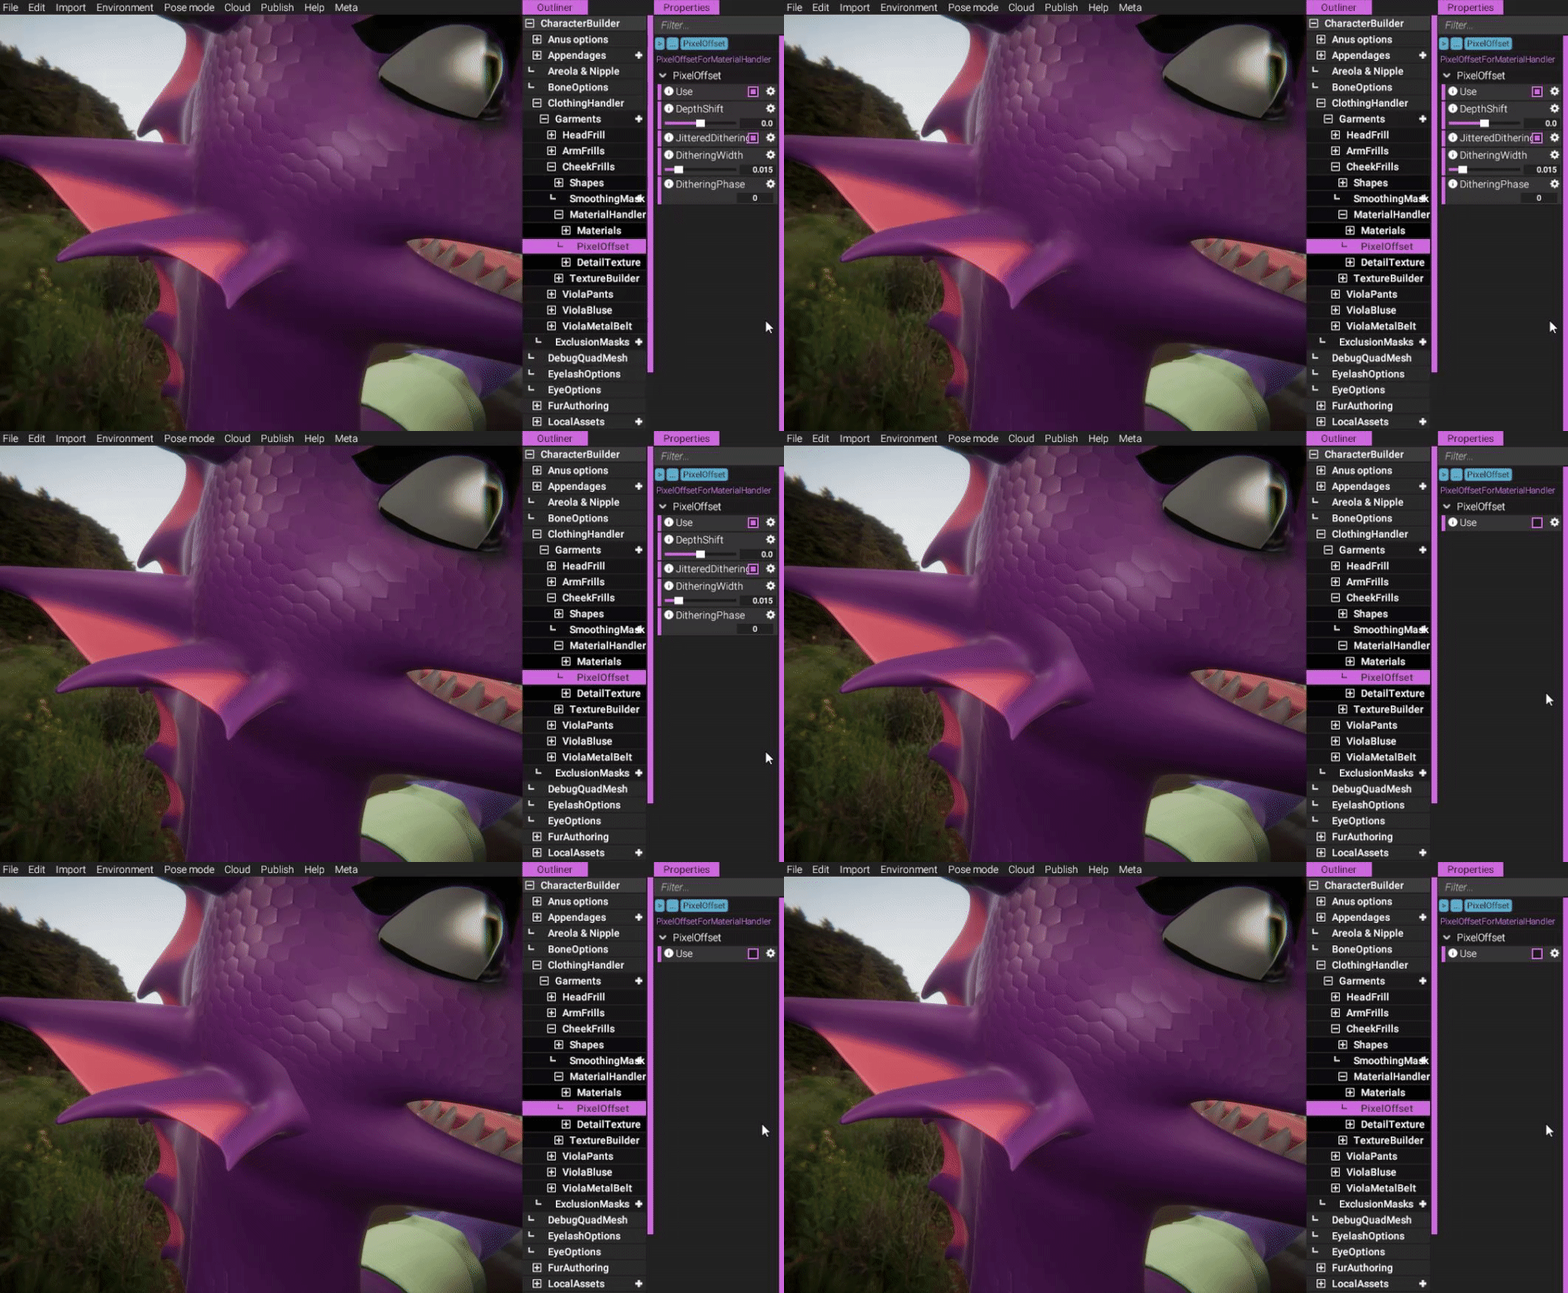
Higher quality still images to see the difference:

https://gyazo.com/28f39ef960e194d4931b71bdf137e4e9

https://gyazo.com/f1172e36ba36a1fff688932a82c284c8

You may recognize this fading, as it is already used by fluff groups. But now it is available as an option for model groups, parts and garments as well! (With an object and accompanying properties to tweak it in all, including fluff groups.)
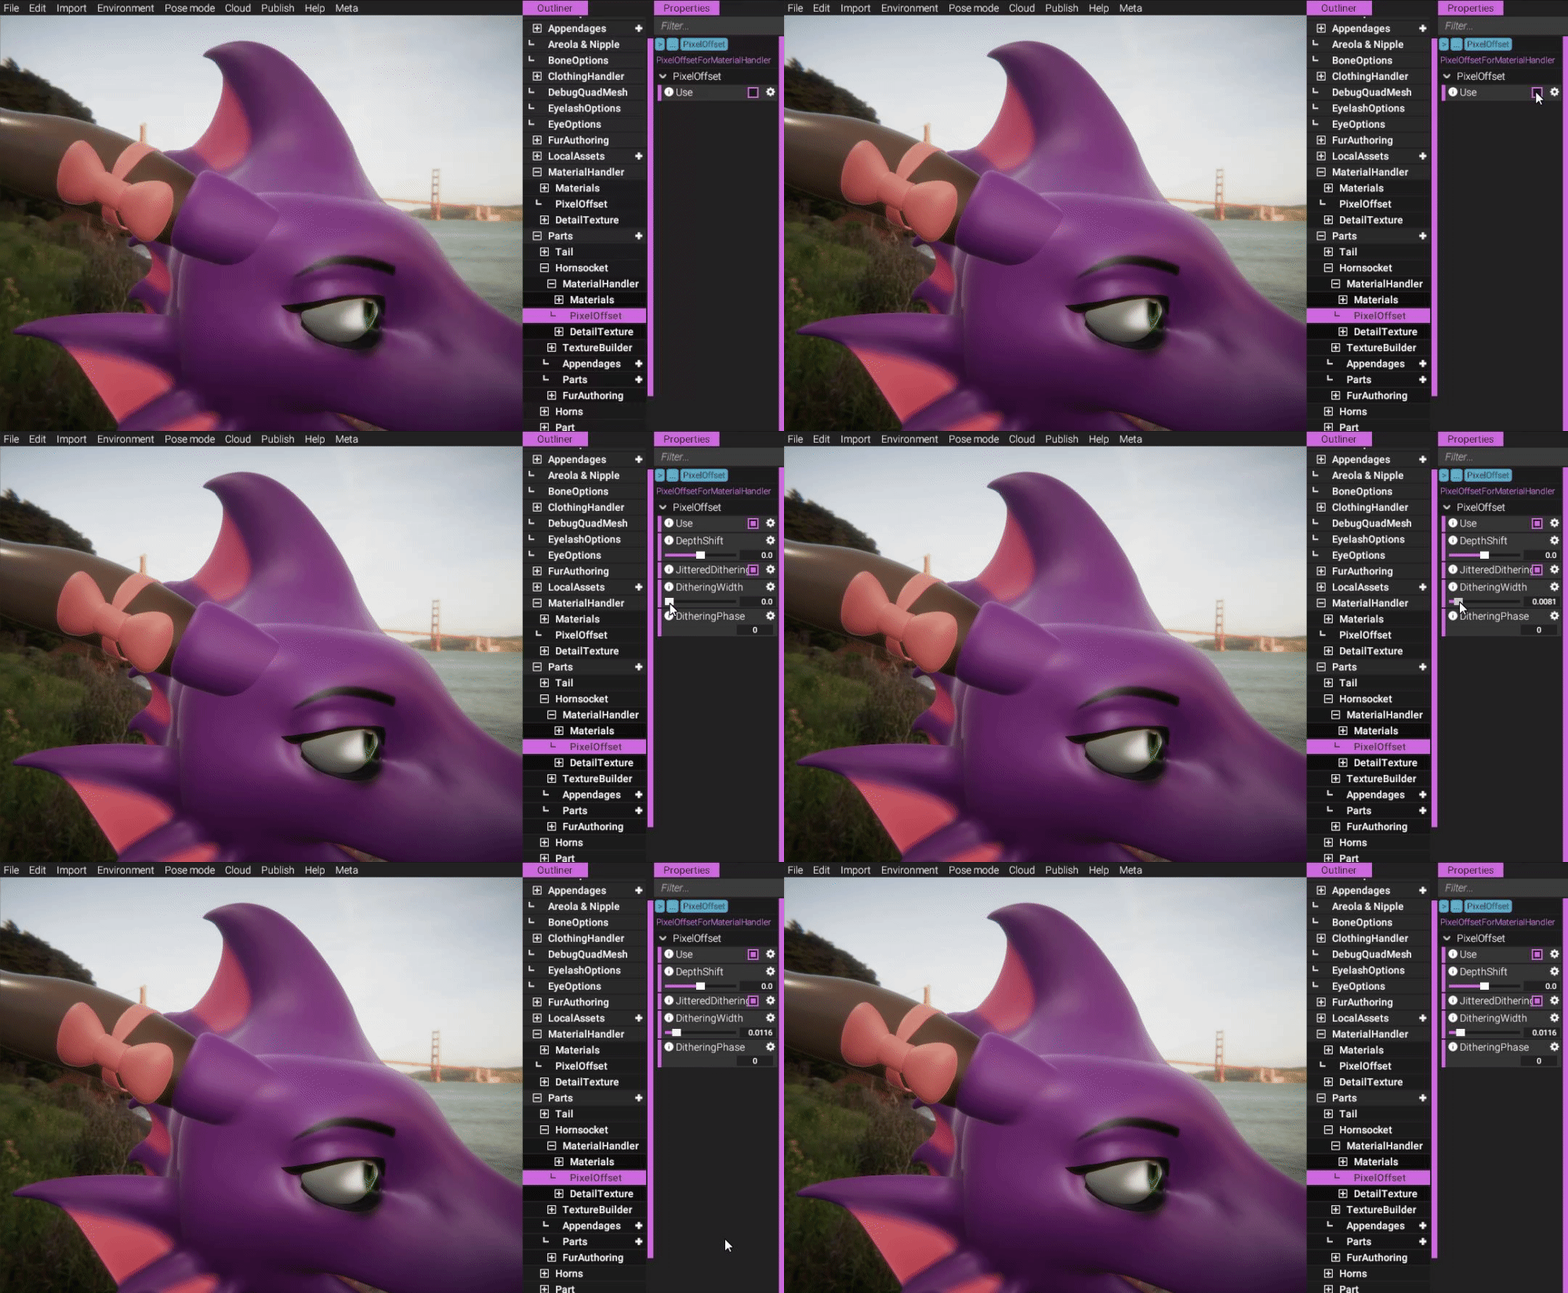
(In parts and garments, PixelOffset is available as an object in the MaterialHandler.)

(In appendages, PixelOffset is available directly in the appendage group, since appendage groups don't have a MaterialHandler.)

Normal blending

For garments, we will offer a new blending technique - normal blending. This tech works by stepping through all vertices in the affected model, and fetching the closest surface point to the model you're blending the mesh with. Once the closest point to each vertex has been established, we transfer the interpolated normal (for the surface point) to our mesh. The closer the point is, the more strongly the normal will be applied.

If the object is single colored, this tech is essentially enough to completely blend an object with another without noticeable seams:
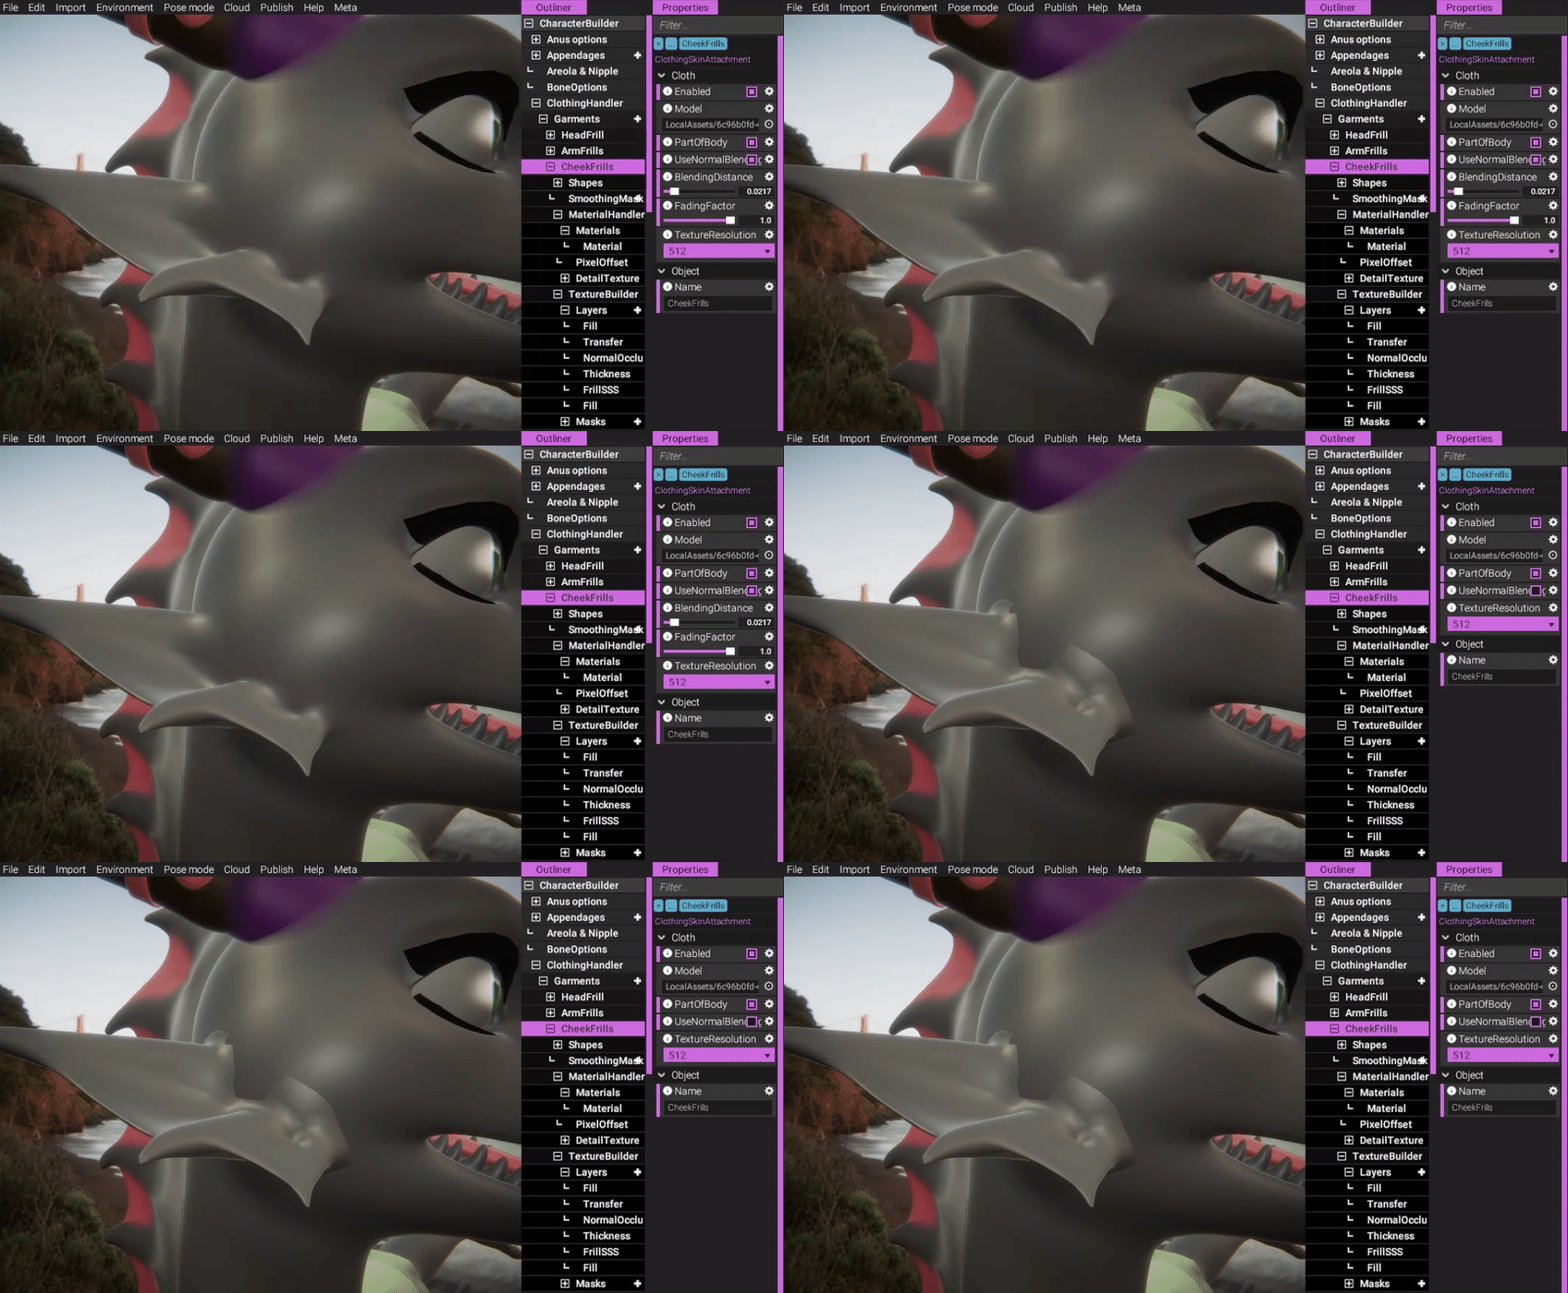
(Normal blending with a clean mesh, i.e. no AO or normals, just mesh data.)

Layer Transfer

A new layer has been implemented - Layer Transfer. It can be added to any sub-object of body or part.

Layer Transfer works similarly to normal blending, but instead of transferring normals and operating on vertices, it transfers color information and works on texels (texture pixels).

The first time a Layer Transfer is added to a new model, it will take some time to compute, but once that computation is done, it will work lightning fast, and any changes made to the source textures will immediately transfer over to the part/garment which has this layer added.
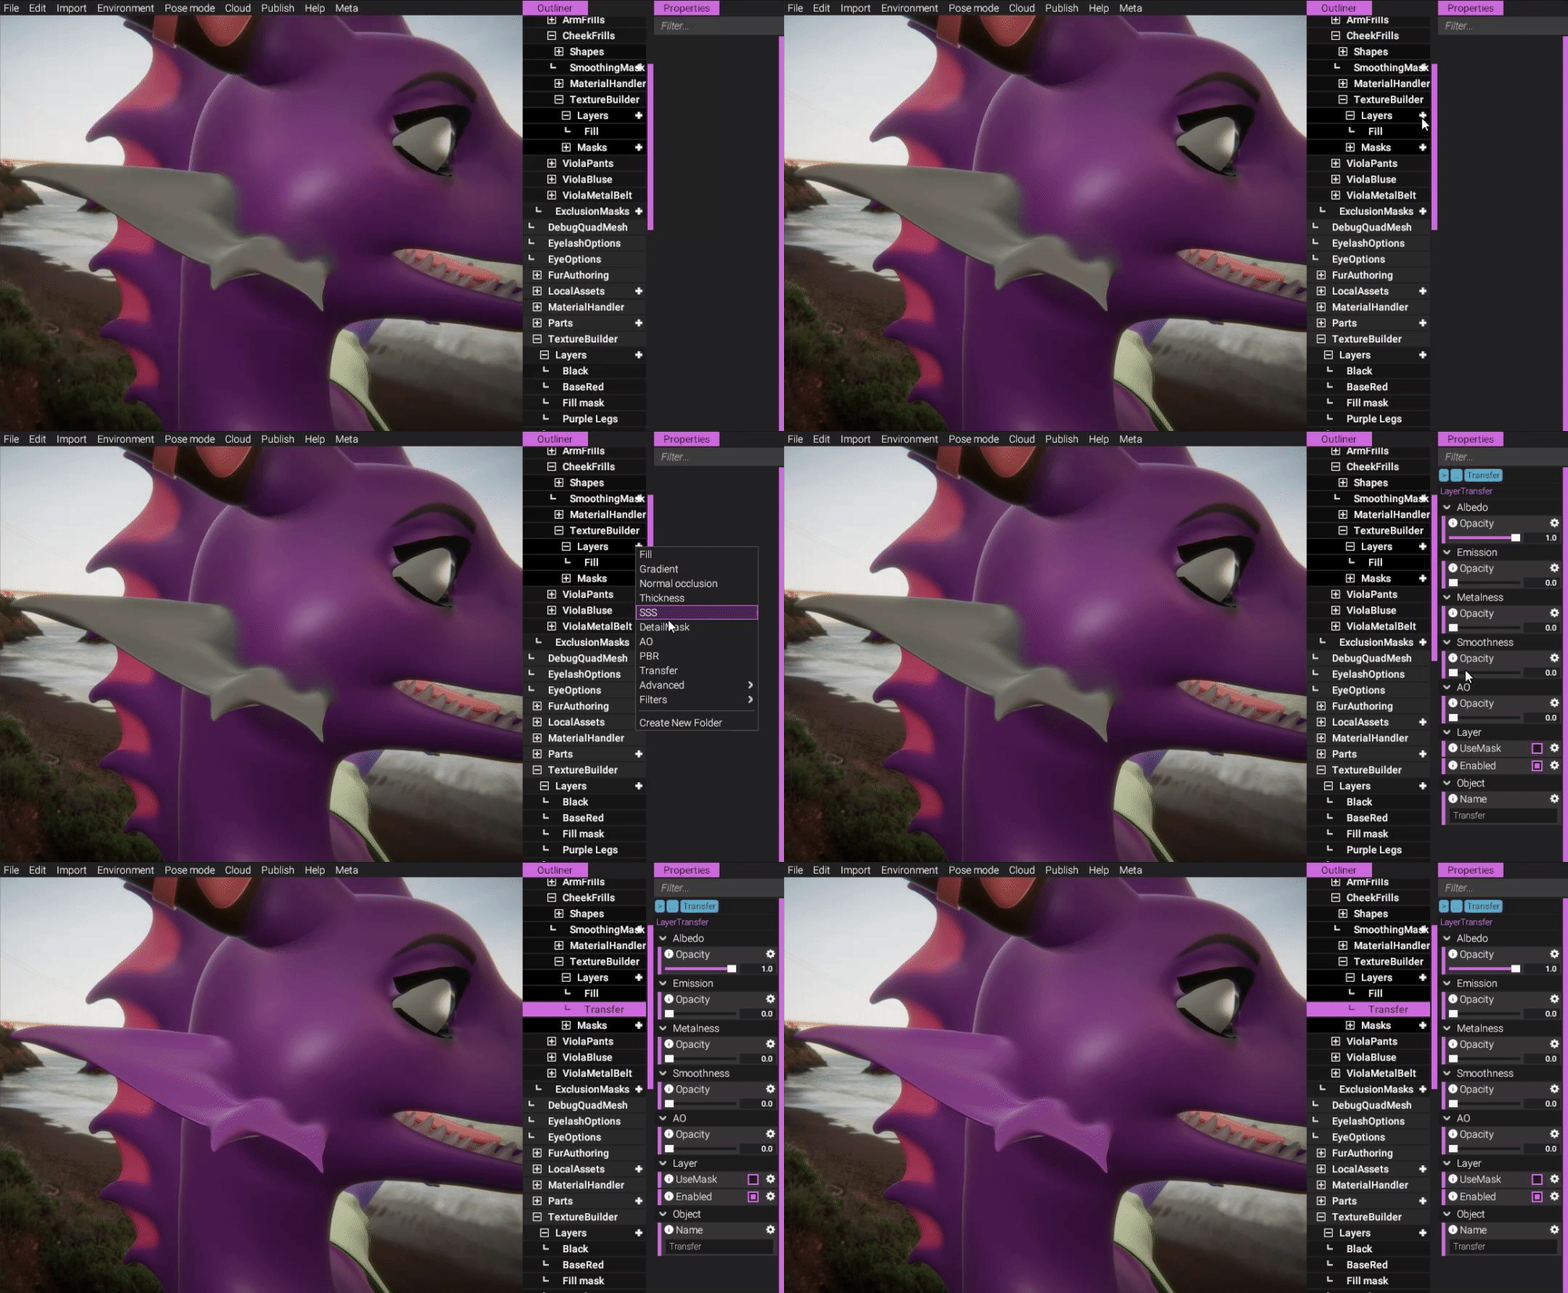
(Transfer body color to cheek frill.)
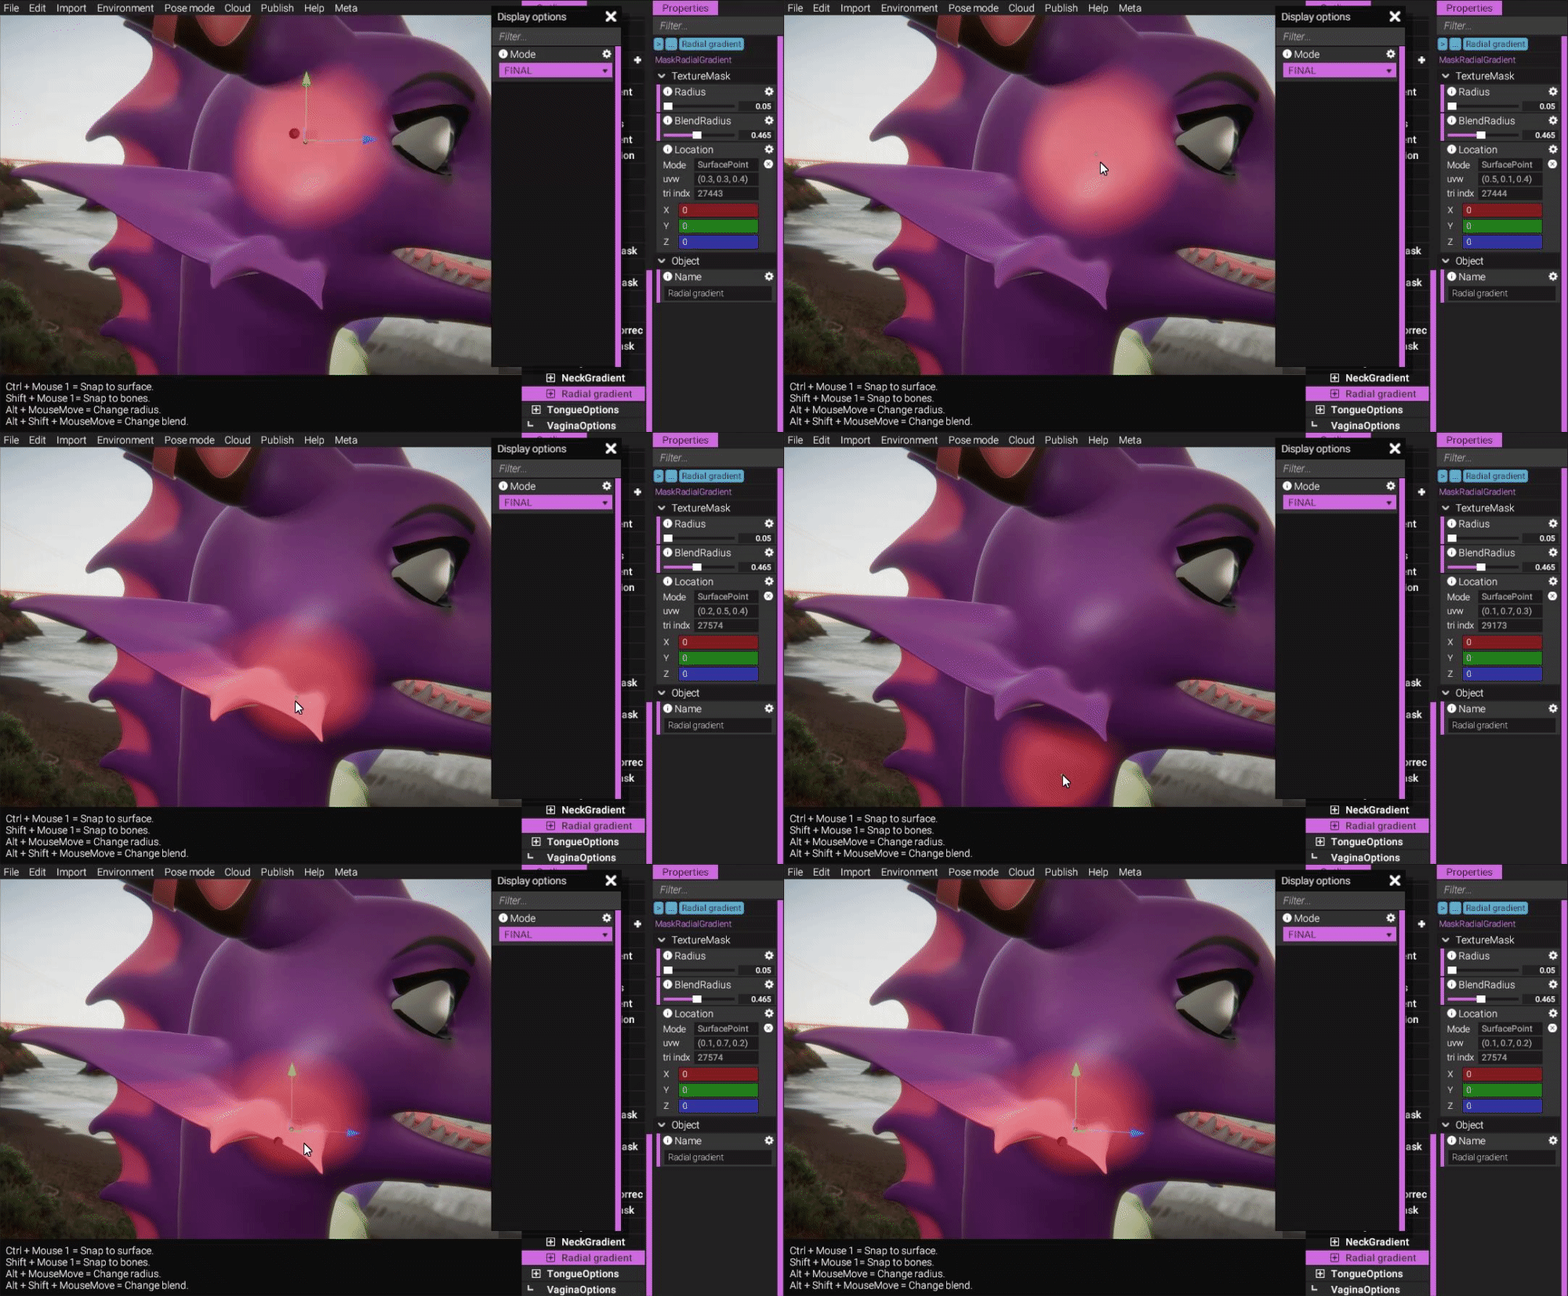
(Any changes to body color is immediately visible in cheek frill due to layer transfer.)

(NOTE! We're affecting body layer!)

Putting it all together

All effects added together, plus some additional coloring touches:
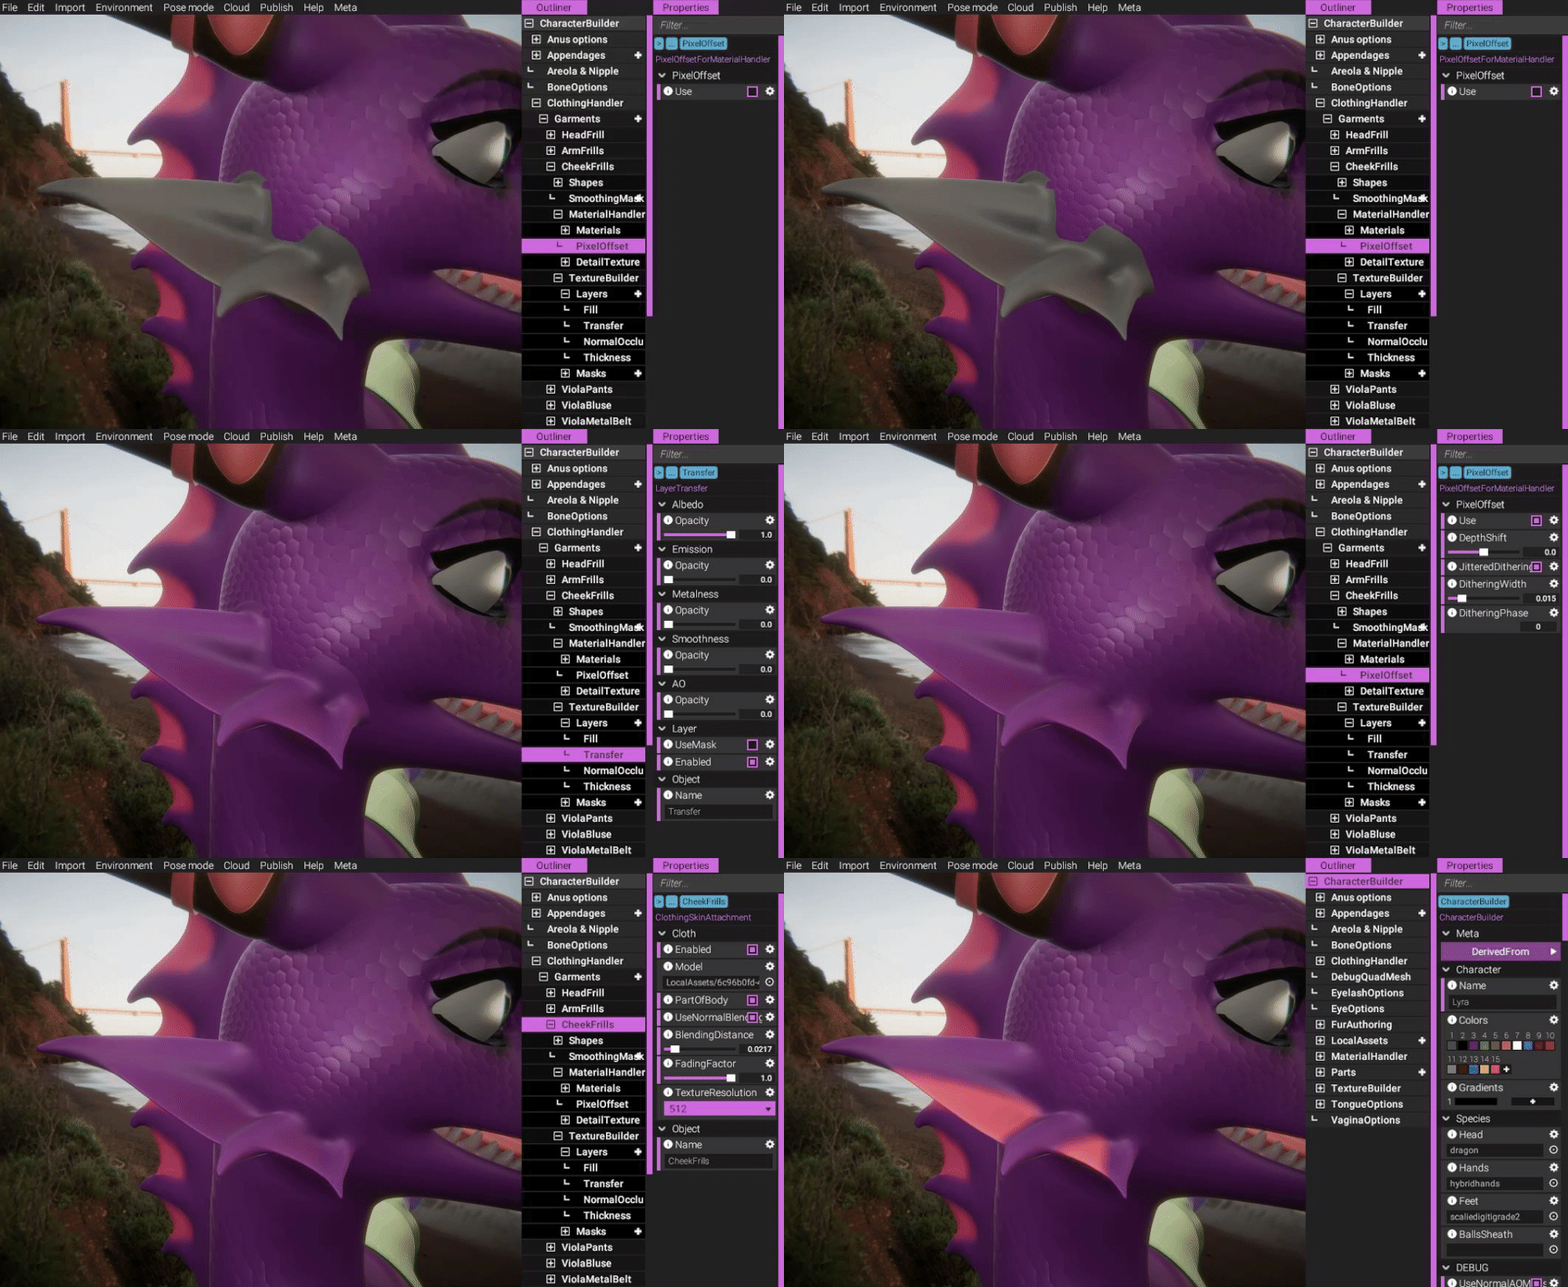
-----------------

We hope you will enjoy these new features being added and that they will aid you in your character creation process.

More information about upcoming new features, content and video tutorials coming soon.

Enjoy your weekend!

All the best.

- odes

Files

Comments

ProntonSoup

Any ideas of when a new release will be on its way? (No promises required or expected, just hoping for a vague ballpark of days, weeks, or months)

Anonymous

Hell yeah, this is so good!

Mircea Kitsune

This isn't just good news for the project, but also something useful to learn about as a 3D artist / game developer! Seams are always unavoidable when you have two meshes intersecting... always knew this but oddly enough I never thought of a solution until now, other than simply making everything one mesh with connected faces. Which looks like something you could do based on those examples, but obviously that would result in numerous duplicate versions of the entire head / body mesh just to add small variations, which means storing more data and is also harder to maintain. Good job on those solutions you found, great skills and great work!

Anonymous

will there ever be a better way of making/generating spot patterns for animals like servals/cheetahs/leopards etc?

Andrey_4k

Will there be new characters in the new update? Well, for example, cats or deer, or whoever else?

yiffalicious

One new named character (the one you see in pictures above) and several new templates - lion male and female, tiger male and female, leopard male and female and probably a female cobra too.

Anonymous

I cant get decal groups to work peoperly. For some reason theres the spots in the middle then the outside edge of the group covers everything making it useless

Craket

Oh right! Big Cat head models are coming! I have a Tiger character, I suppouse the head will have to be remade for her when I have my hands on them

yiffalicious

I recorded this short tutorial. I hope it helps. https://www.dropbox.com/s/b97zpyvdu0738nq/Decal%20tutorial.mp4?dl=0

Nutty Mr Gecky

That's is really impressive not gonna lie.

Candyscream

I wasn't even aware something like this was possible. To be honest I'm really happy to see this post, and it made me decide to actually follow you. I have a little game project myself and wondered how to tackle something exactly like this. Will the code for this be available somewhere? Or would you maybe license it in any way?

yiffalicious

Hey there Candyscream! Happy to see you take interest in our work! While I can't share our code directly, I can give you some pointers. Blender actually has exactly this normal transfer feature. It's called data transfer. You can check out their source code at: https://github.com/martijnberger/blender/blob/master/source/blender/blenkernel/intern/data_transfer.c Pixel offset is tricky to get working in built-in since it isn't officiall supported. I cannot recommend trying to achieve it because there's a ton of pitfalls all over the place. I do know that HDRP allows you to specify depth offset though, so that might be something worth checking into: https://gyazo.com/eea2e979caf0b0be00298216da7aeaef I even think they have dither nodes by default in shader graph nowadays. The only reason we achieved ours in built-in is because we're too invested into this pipeline to switch at this point. Color transfer is a completely custom implementation, but the algorithm is fairly straight forward. Here's some pseudo code: https://i.gyazo.com/d669987fcd58de86b17776f90db4fa2f.png I hope this is of any help. All the best. - odes