Home
Home

 Artists
 Search
 Recent
 Random
 Posts
Posts
 DMs
DMs
 Tags
Tags
 Random
 Importer
 Import
 FAQ
FAQ
 Account
 Register
 Favorites
 Login
Login

SuperBatober 28 - SPARKLE (with process!) (Patreon)
Content
Afraid I might've gone too far here. Did I finally jump the shark with this one? Or maybe that was yesterday. Haha.
Anyhoo, MAGICAL PROCESS TIME!

We're at the tail end of these now so felt it was about time I went over my tools and process for painting these pieces. Even found time to snap a few pics of everything this morning. :)
I've done posts about this same stuff before, and not much has changed, but there's always a cycle of new folks coming in and out of here so it might still be helpful and/or interesting for a few.
To start, here's a look at pretty much everything I've been using to ink and paint these:

That's it! Not a whole lot of stuff. For the past four years, I've been inking or painting all of these SuperBatobers on 6x8 sheets of Strathmore Mixed Media paper. It's very sturdy, smooth and holds color well. I suppose my only complaint is watercolors tend to dry pretty quickly on it, which can be either good or bad depending on what part of the image I'm painting. For the most part I'm really happy with it though.
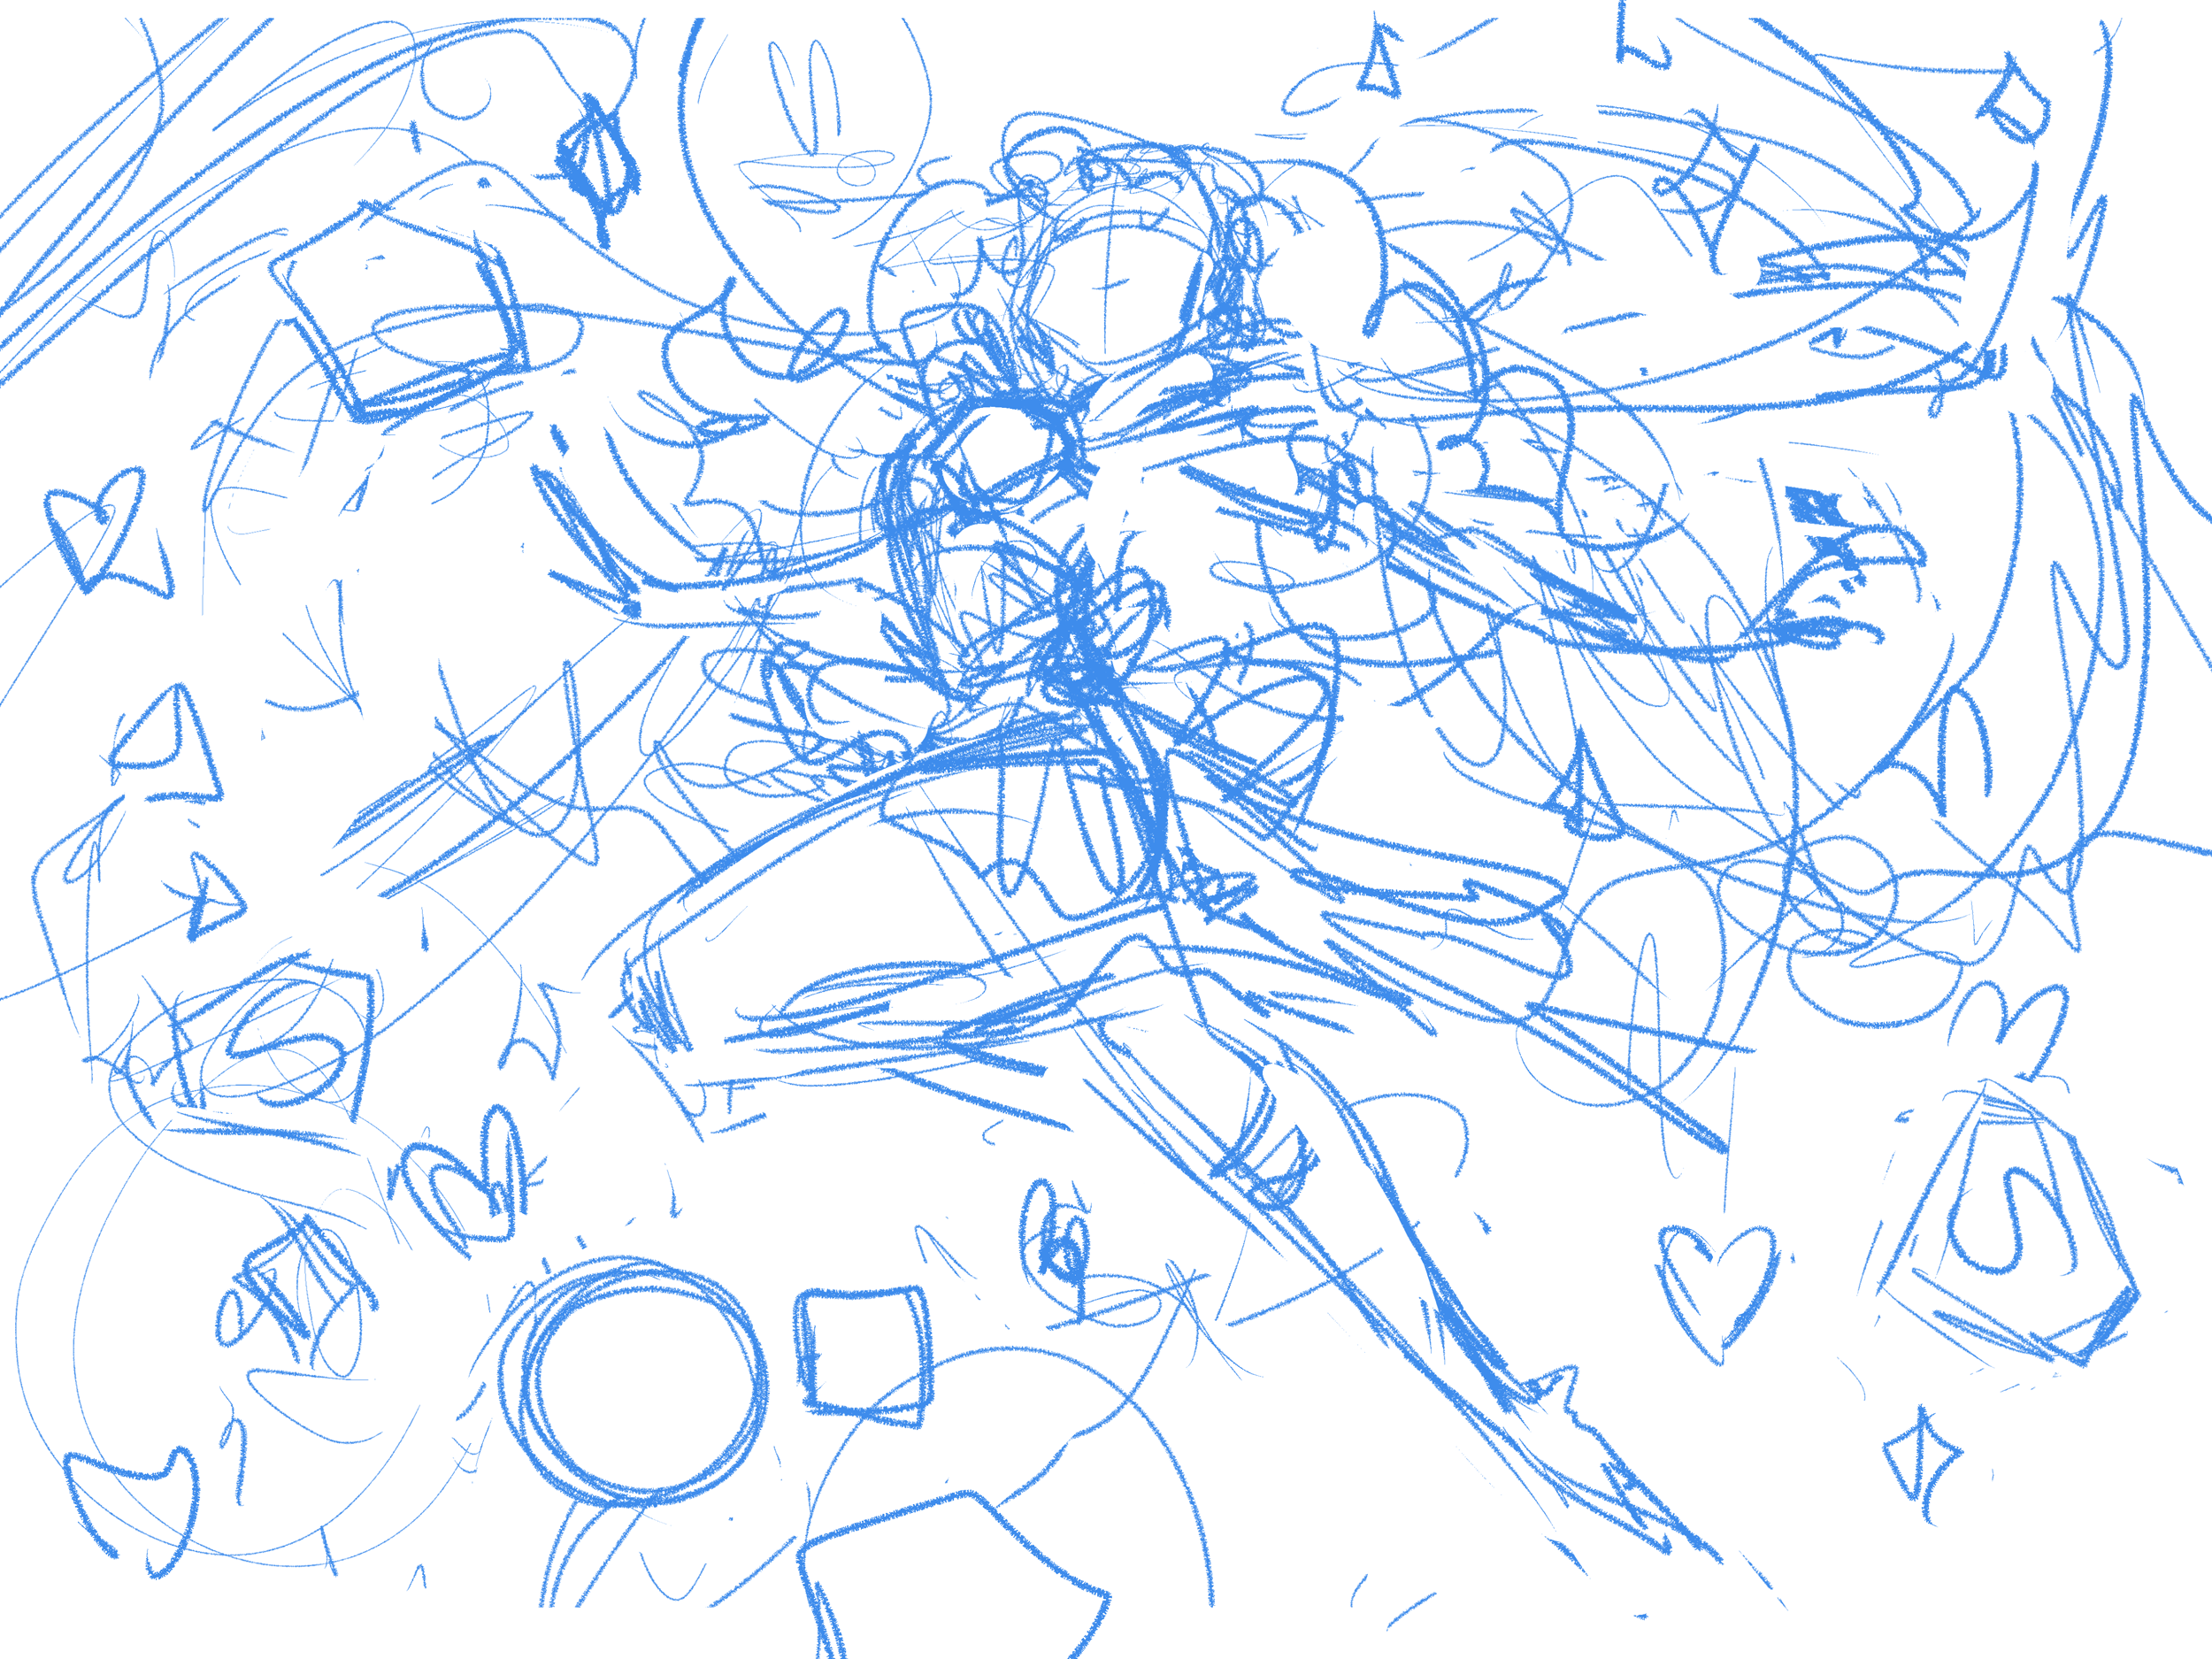
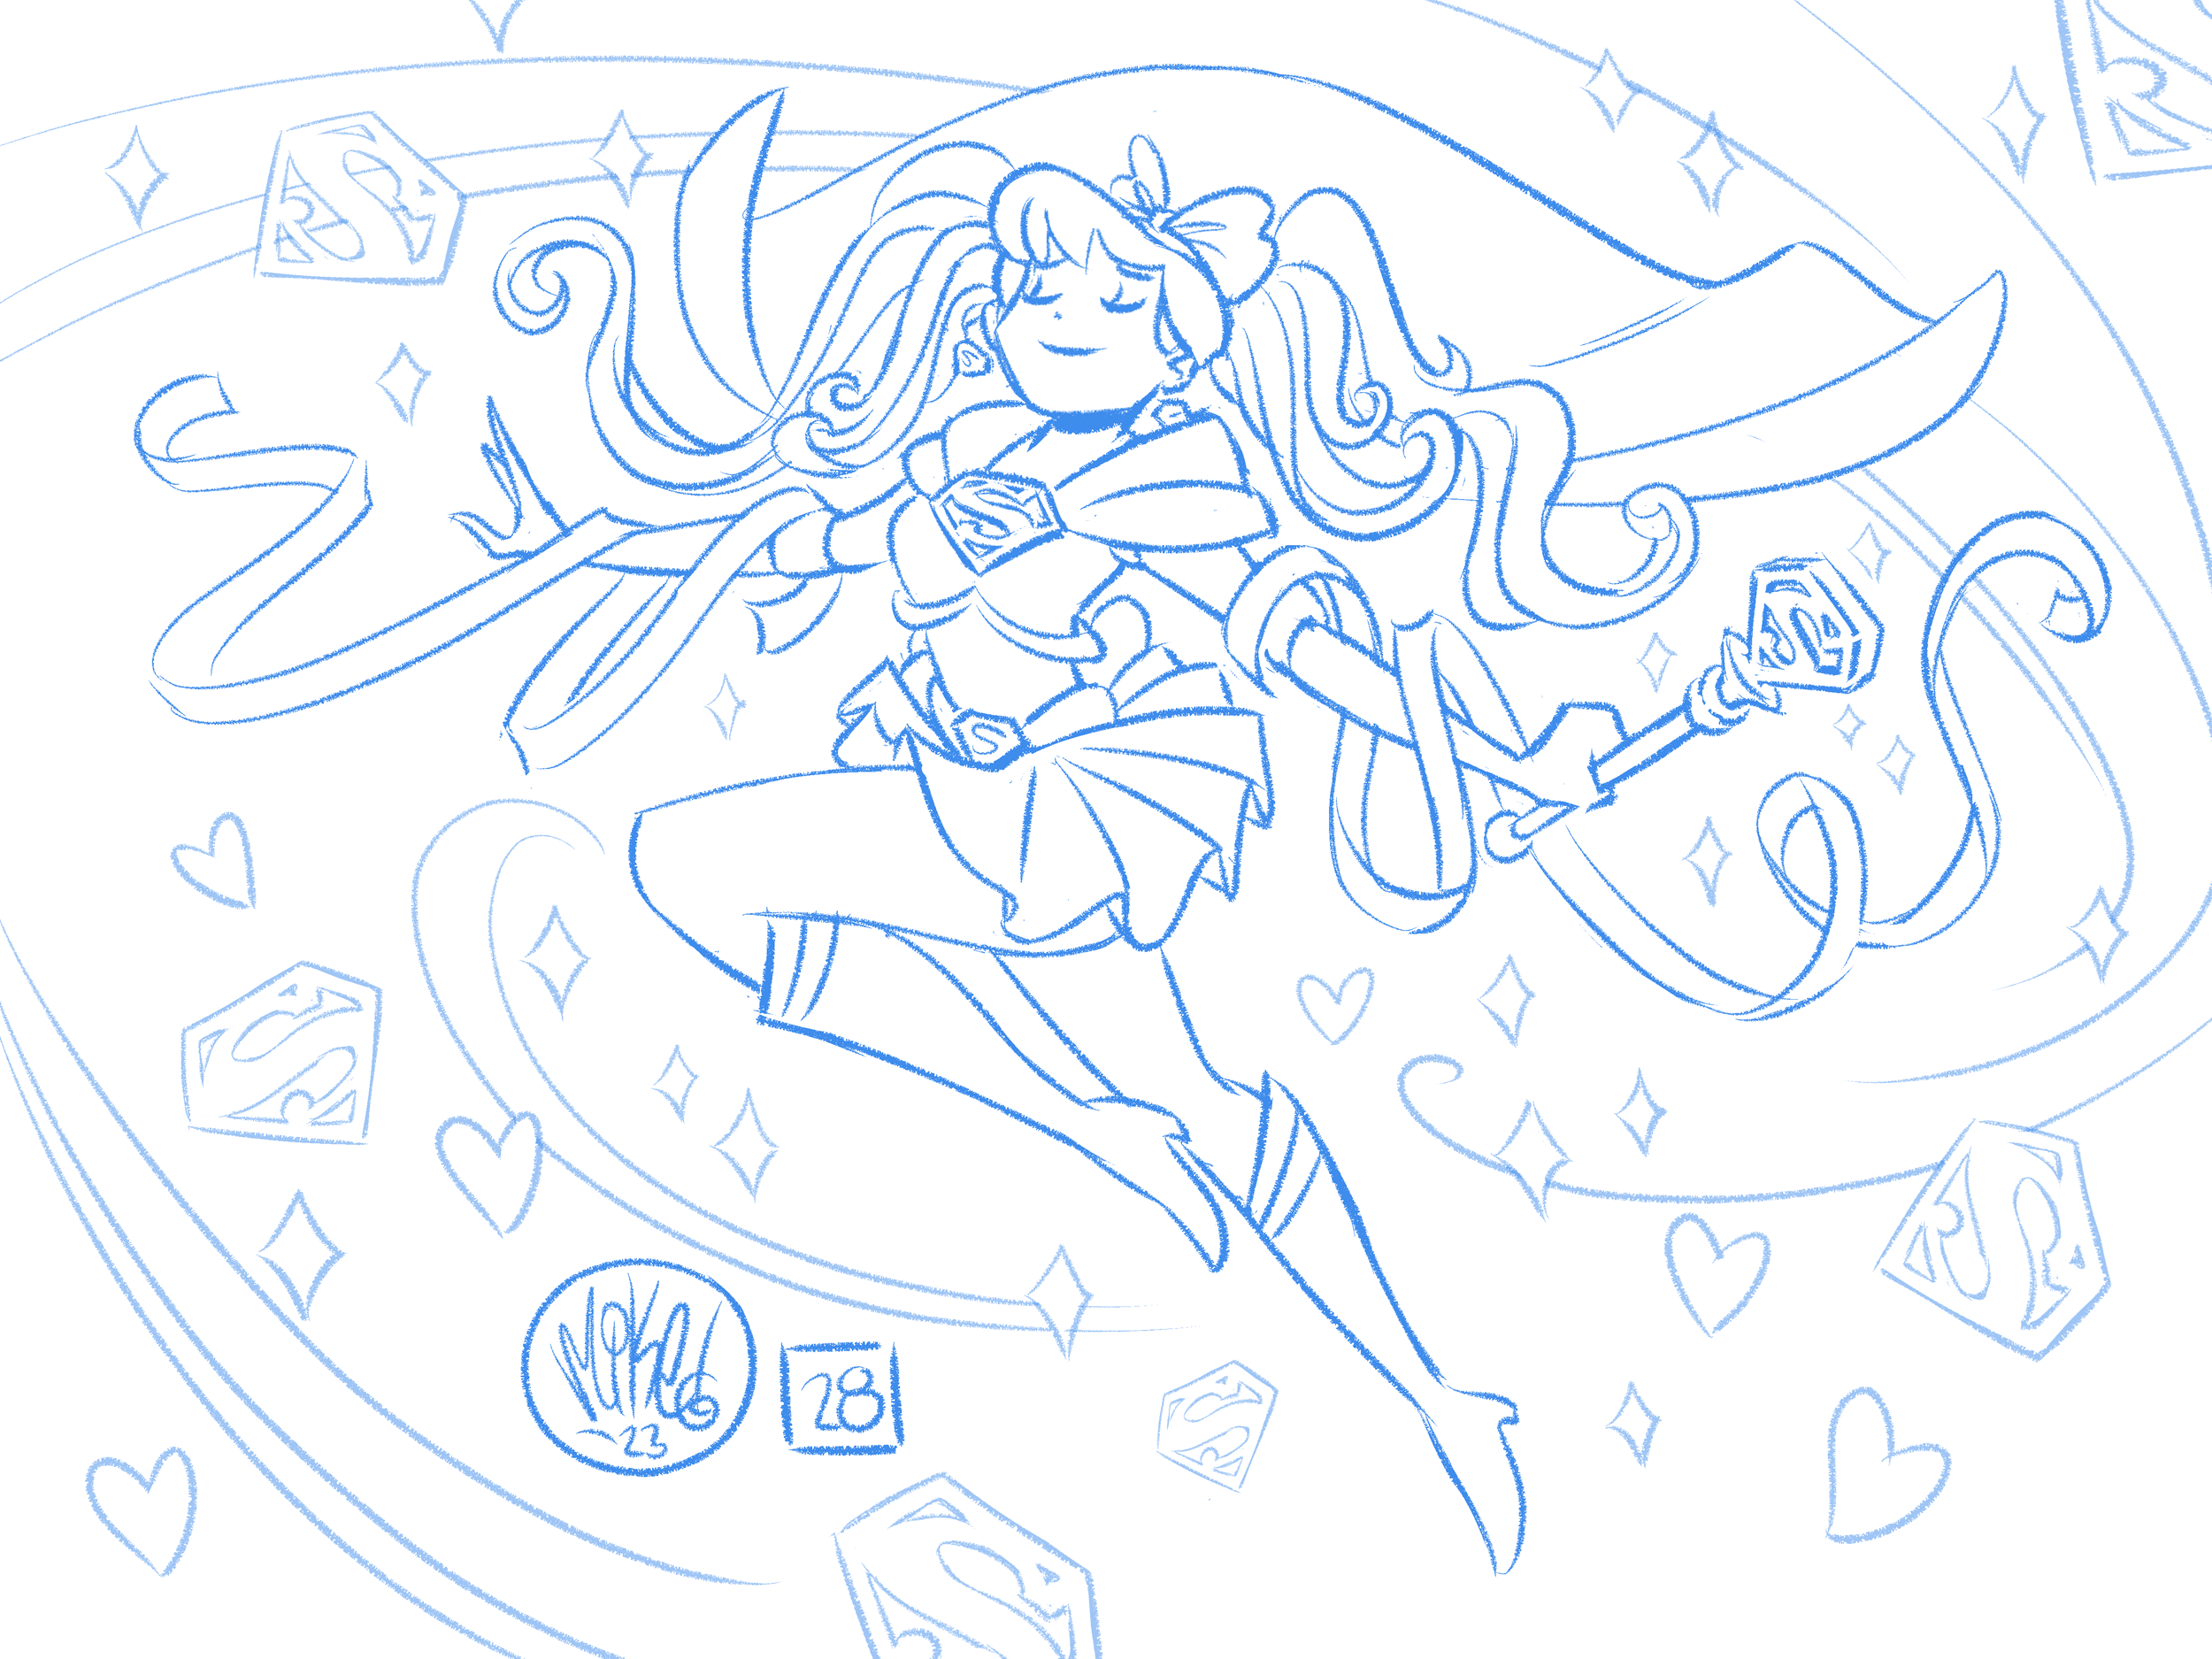
STEP 1: SKETCHING AND PENCILING
The media paper also feeds into my printer nicely, which is good since for the past three years I've been doing my penciling digitally (in Clip Studio Paint for those curious). Why do I do this? Because my initial sketches are suuuuper sketchy!

Having all that drawn in either graphite or blue lead just makes a dirty, scratchy mess when it comes to adding watercolor. The recessed linework creates tiny reservoirs where I don't want my water to go and the graphite muddles up my color. Printing my pencils out digitally also allows me to hammer out a shape/idea/pose without any traditional erasing, which chews up the paper I'm using for my watercolors even more. In short, by working with a cleaner drawing I can create a cleaner and more colorful final piece.

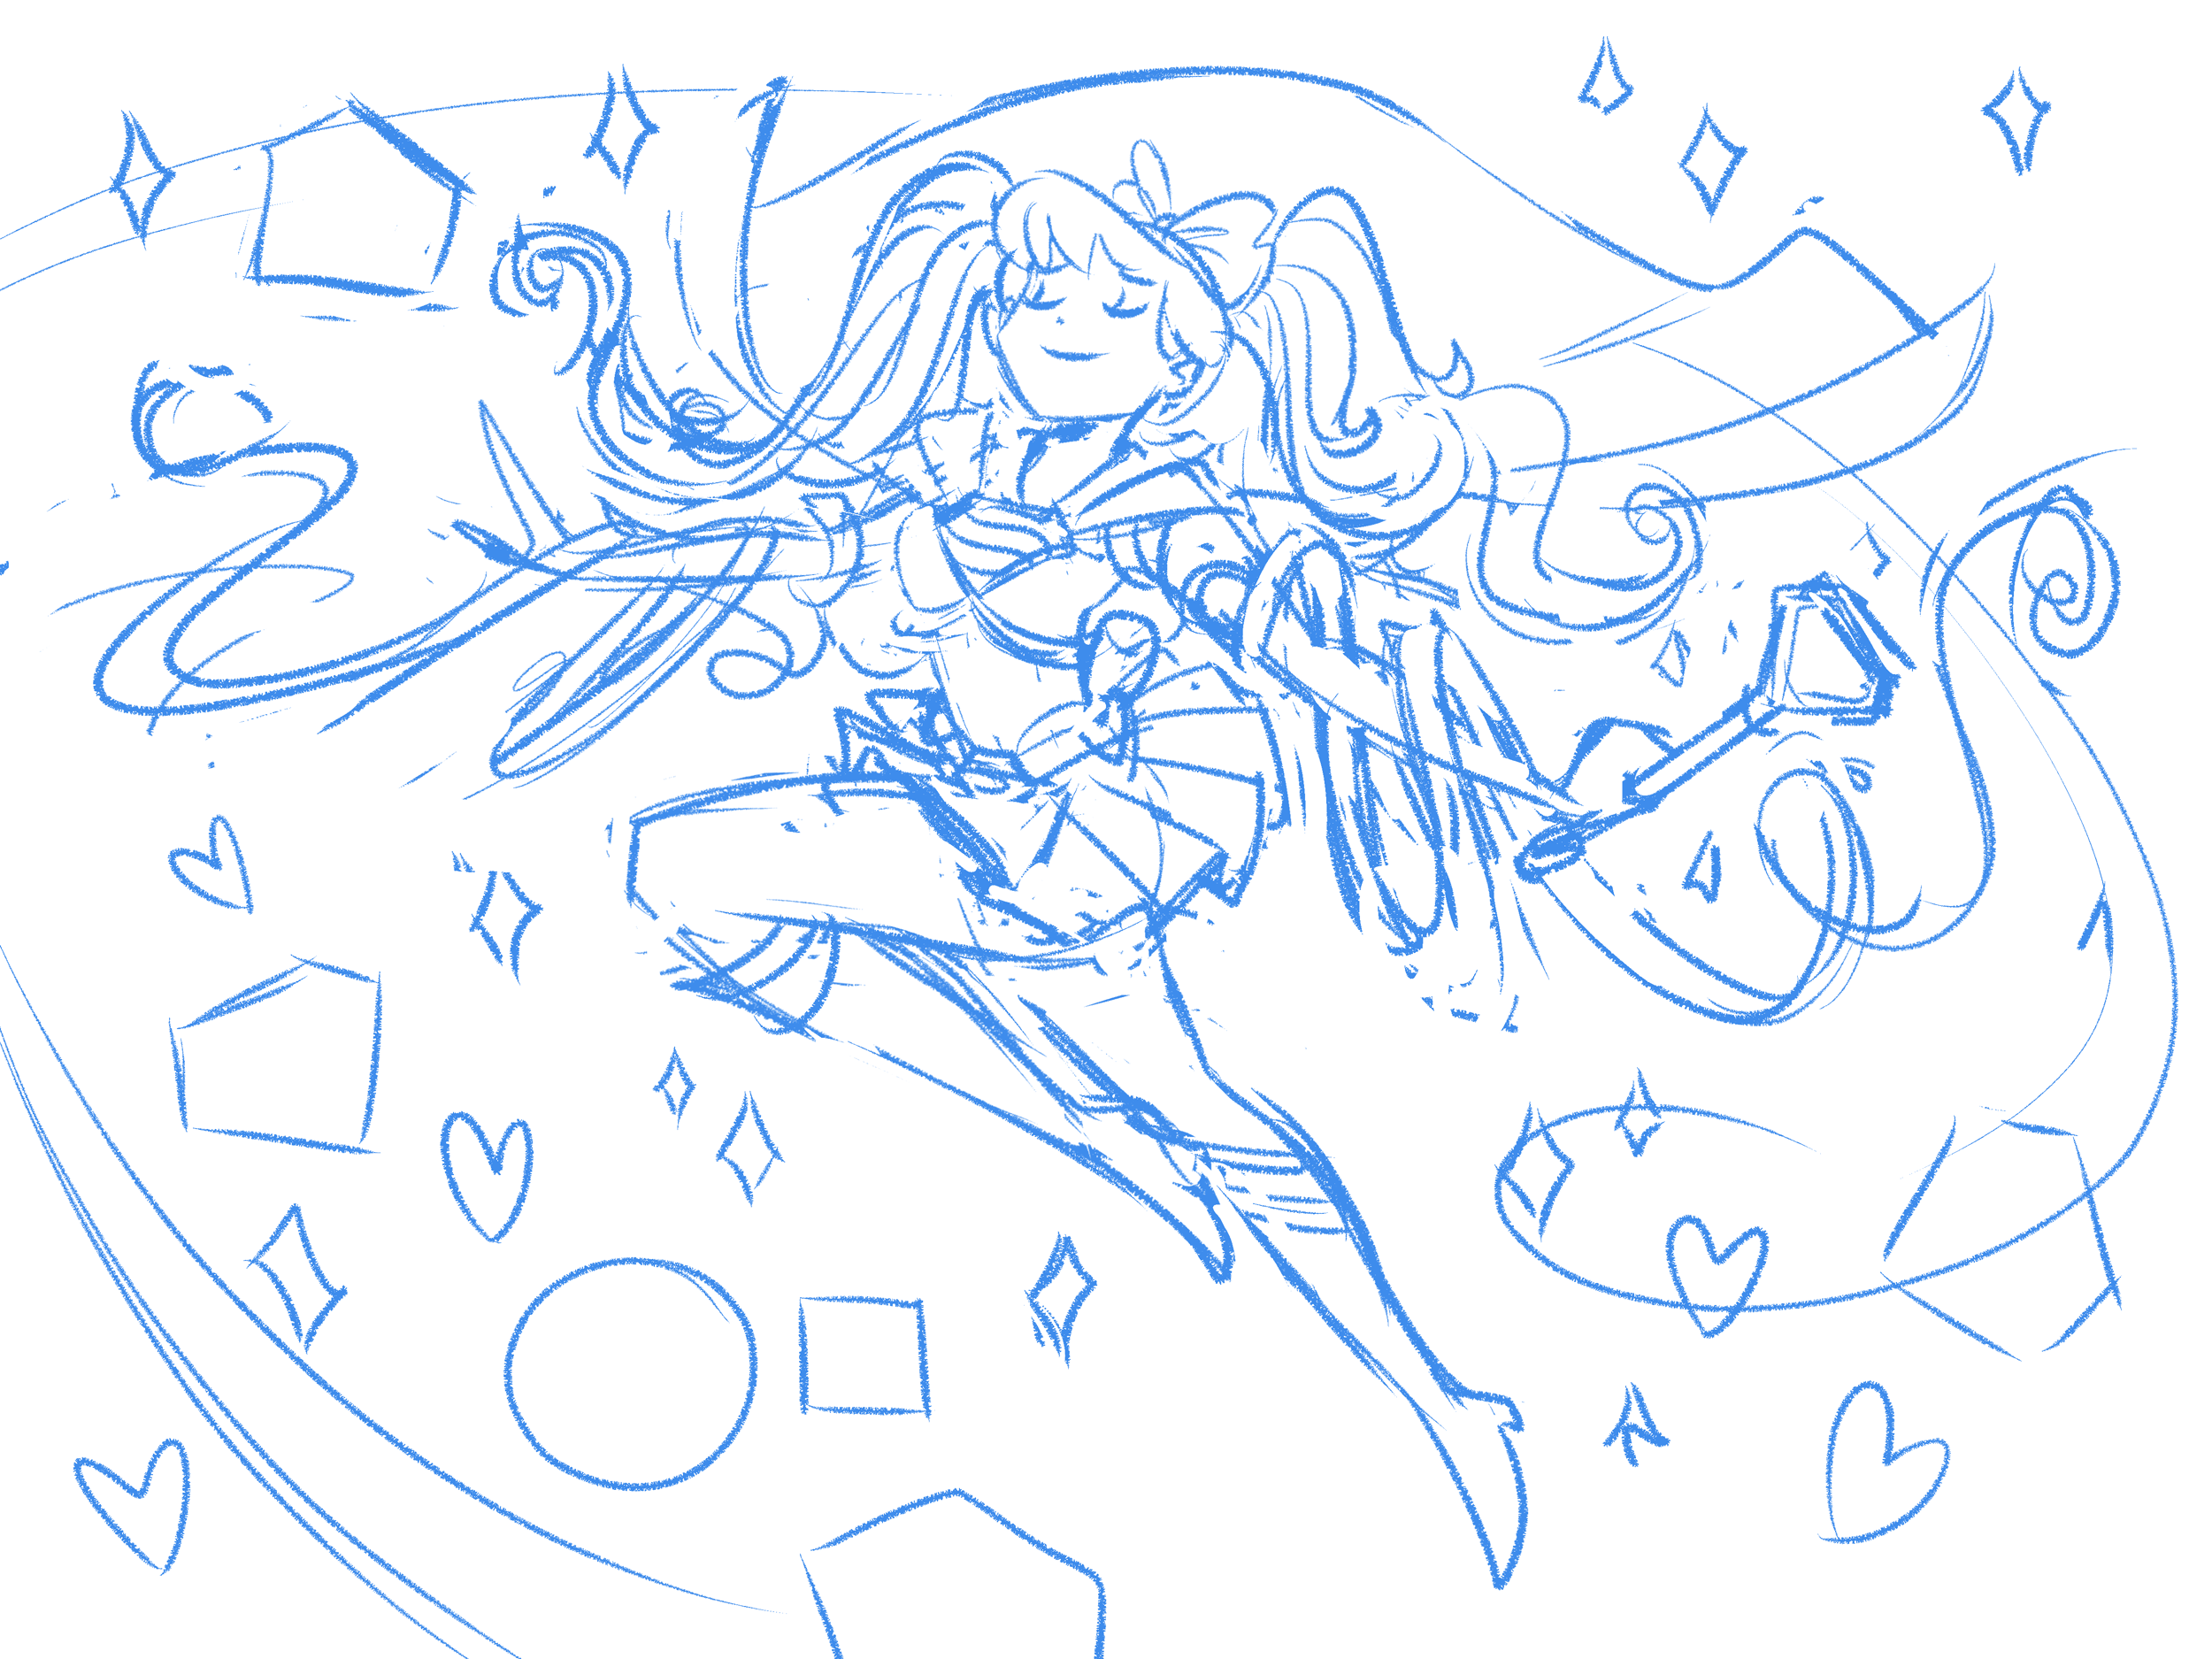
Normally I do just one rough to pencil pass on these, especially since the pencils don't need to be absolutely perfect since I still gotta ink over them anyhow. For SPARKLE here though, I knew I'd mess up with a lot of the overlapping elements (ribbons, hair, etc..) so I've got a middle sketch above.

...and then all cleaned up here and ready to print out. I'll lower the opacity before hand so it's more invisible under my ink or, in the case of all the sparkles and hearts around Kara, painted over by watercolors.
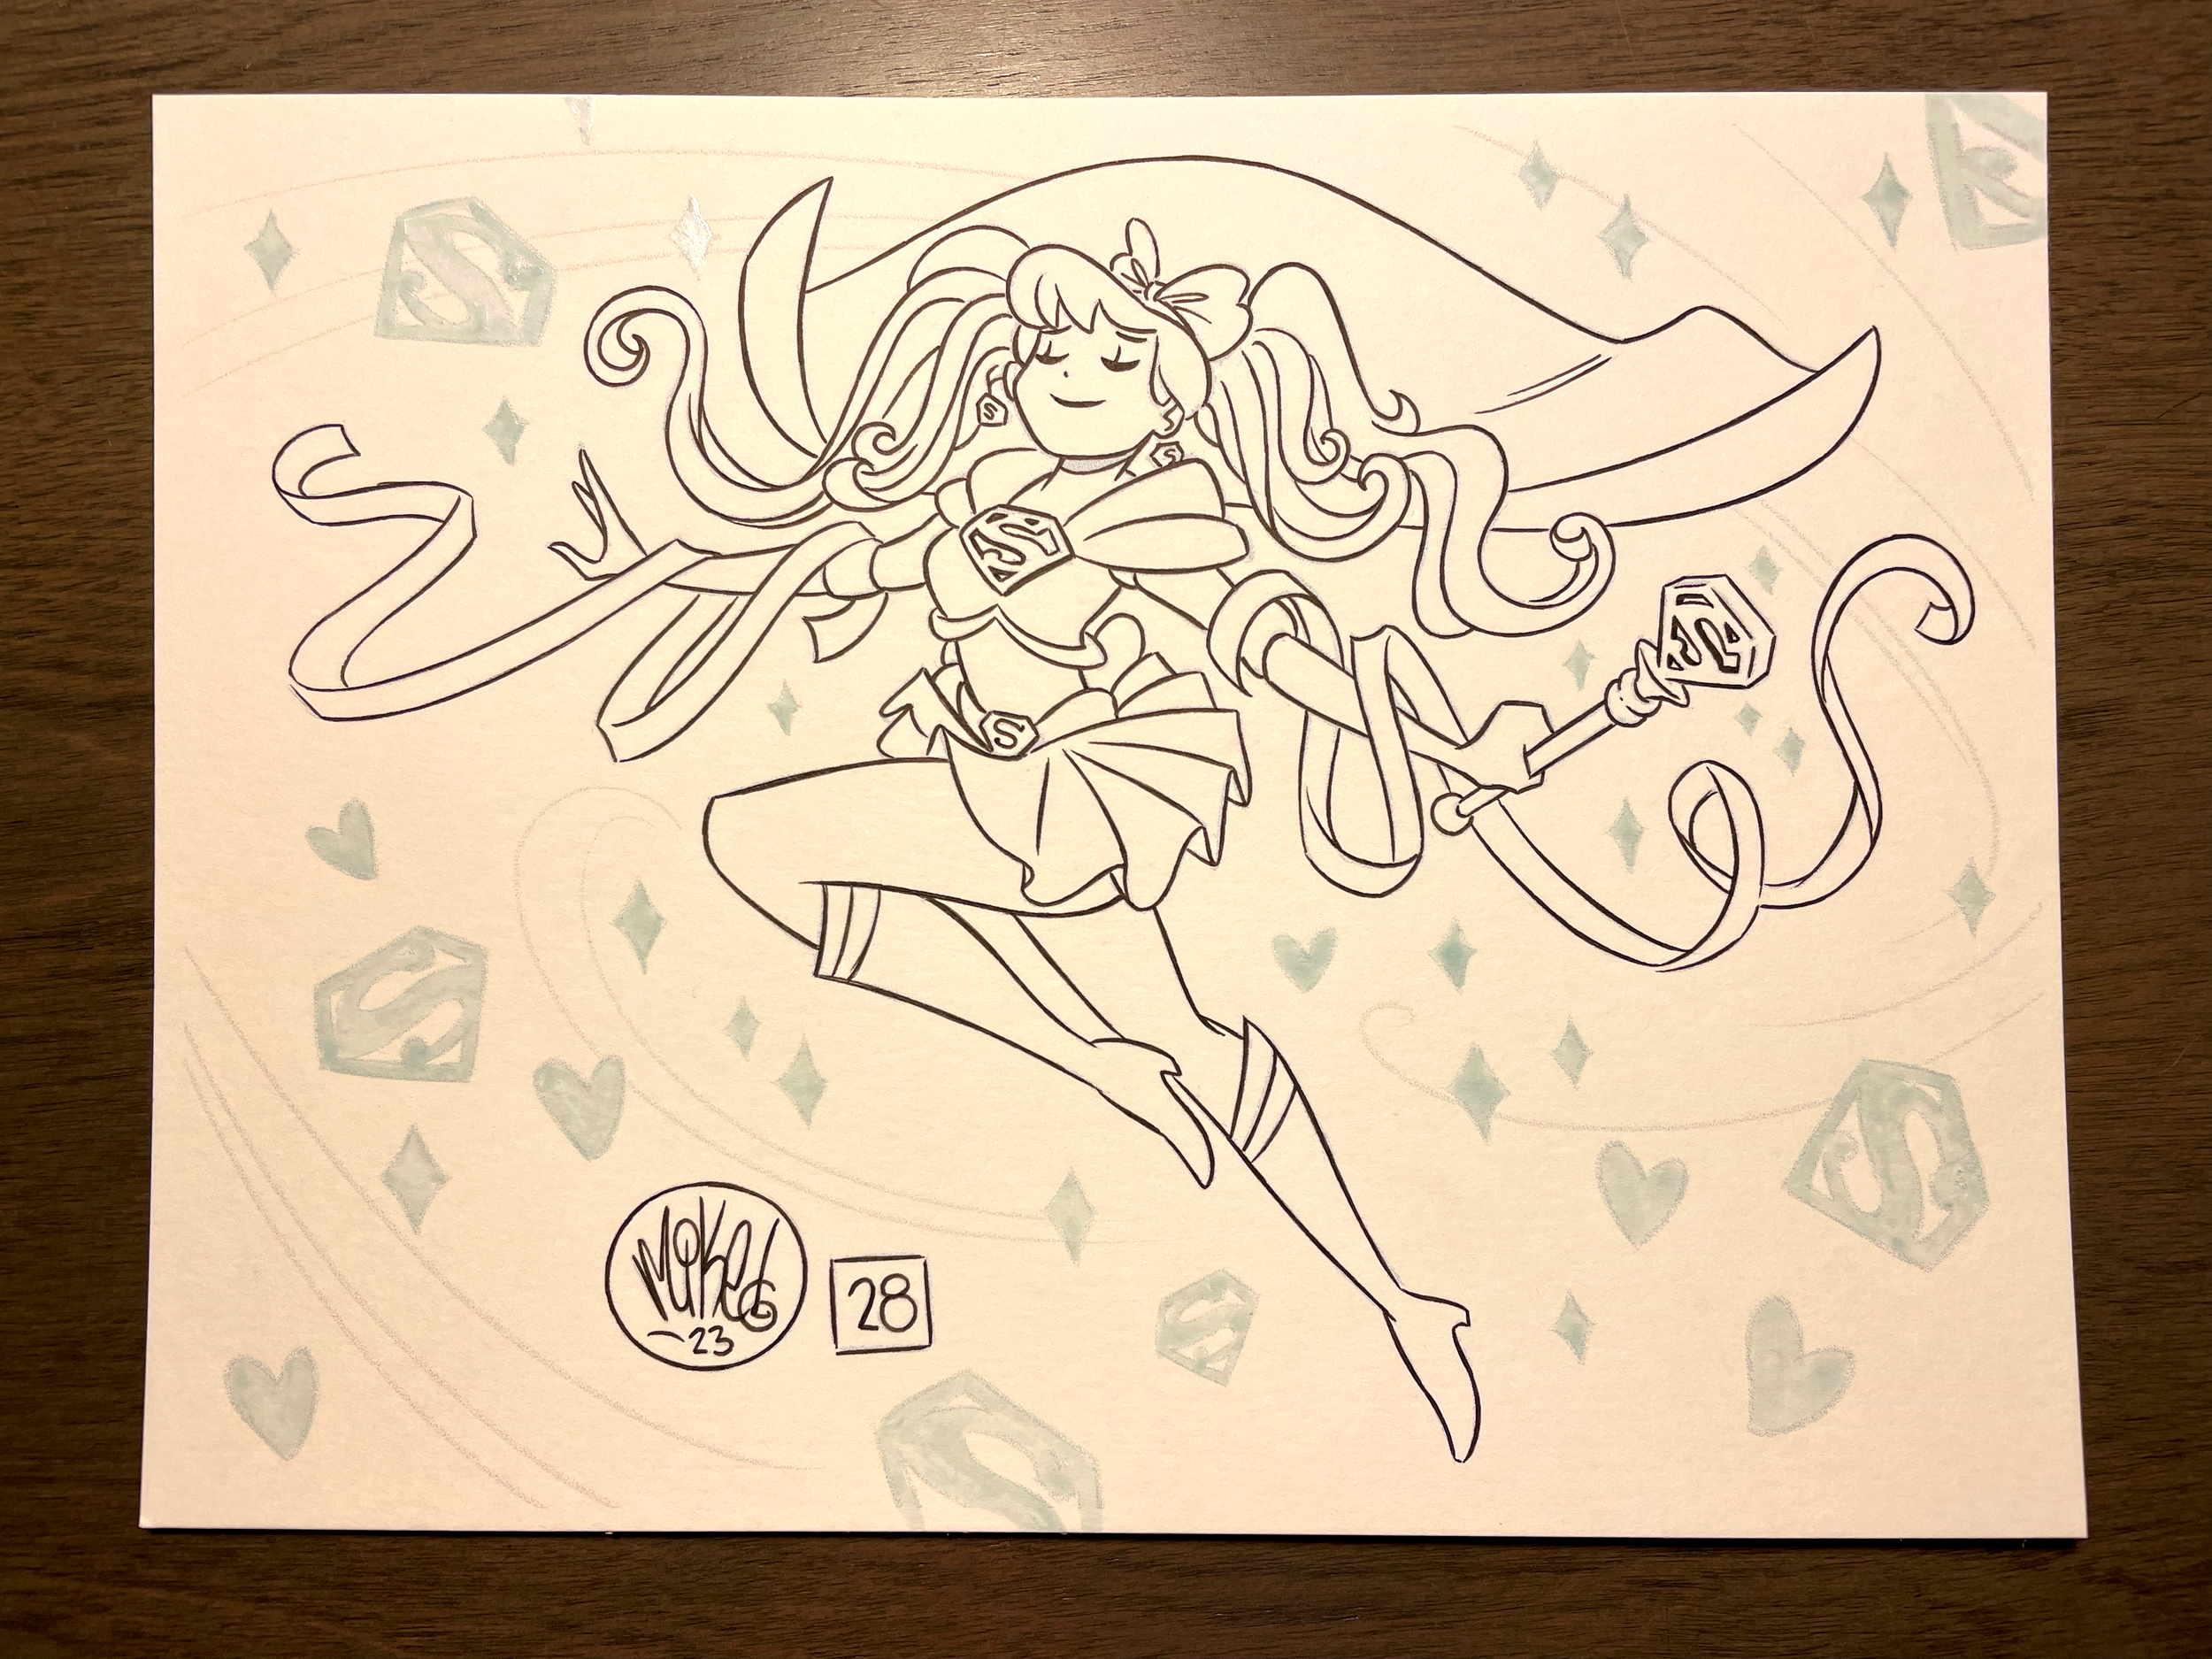
STEP 2: INKING AND MASKING

I only ink these days with a Sakura Micron 02 and a Graphic 1 pen. The Graphic 1 pen is used for shading in large areas, which I wait to do after coloring since it's not as waterproof as the Micron is.
You can also see the only three brushes I've been using for these, of which no one will fully appreciate the time I spent making sure their labels remained facing up for this photo.
The eraser is sitting there for the masking liquid, which I'll get to later.

And here Kara is all inked. You can see the area on her neck that I'll go back over later with the Graphic pen. There wasn't a whole lot of large areas to fill on this piece which was nice (y'all might recall me lamenting over the white speedlines in ANGEL).
Like I mentioned before, I don't like using any white paint on these so I ended up using the masking liquid again (used in MAP and CELESTIAL) for all those magical elements around her. Here's the pic of it as a reminder.

What's neat is this stuff has a sheen to it so in the right lighting it actually looks like sparkles!

Pretty. Too bad I'm going to have to erase it off.
OK, this is proving forever to write so quickly moving on to...
STEP 3: PAINTING

I am not one to go out and buy expensive art materials. I tend to just make whatever I can find work for me.
All of my watercolors are painted with these PRANG watercolor sets. The same brand I used in elementary school. Are there better watercolors out there? Sure. Probably. But I know how these ones work, they're very bright for my purposes, come with a convenient snap on tray, easy to travel with and SUPER CHEAP so I'm not afraid to be all messy and wasteful with them. THEY ARE THE BEST.
For over a year now, I've primarily been using that first size 6 brown brush up there for all of my watercoloring. It couldn't have been more than a $5 brush I found at Hobby Lobby or something. In truth, its bristles are started to get a little worn so I really should go out and get a replacement but I've just been too busy to do so. But it works JUST FINE, and a little soft soap and water between paints goes a long way in keeping its shape in tip top condition.
The red brush there is something I just found. It's old and frayed--but soft! Because of that, it holds water really well. So I started using it for large messy background areas or laying down a very light block of color. I wouldn't use it for any fine sort of detail though.
Lastly, the blue brush is the free one that comes with every set of PRANG watercolors. I only just discovered with this very piece that it works great with that drawing gum! So that's what I'll use it for from now. Especially since I ruined my last brush using that gum.

I use old printouts of pieces I have laying around (hi, Padme!) to test colors on sometimes. Mostly skin tones since those can be the toughest to get right. Microns can sometimes get a little excess ink on their tips so I use these to clean those up too. They also make pretty decent hand guards during every traditional step of this process.

Finally I'm painting! Wish I remembered to snap a pic before I gently erased all the drawing gum off, but alas, here is how things looked after I did so. That's what that little plastic eraser from earlier is used for. The drawing gum comes off soooooo easy. It really is like magic. Just gotta make sure your paints are dry so you don't accidentally rip up your painting. And again, be gentle.
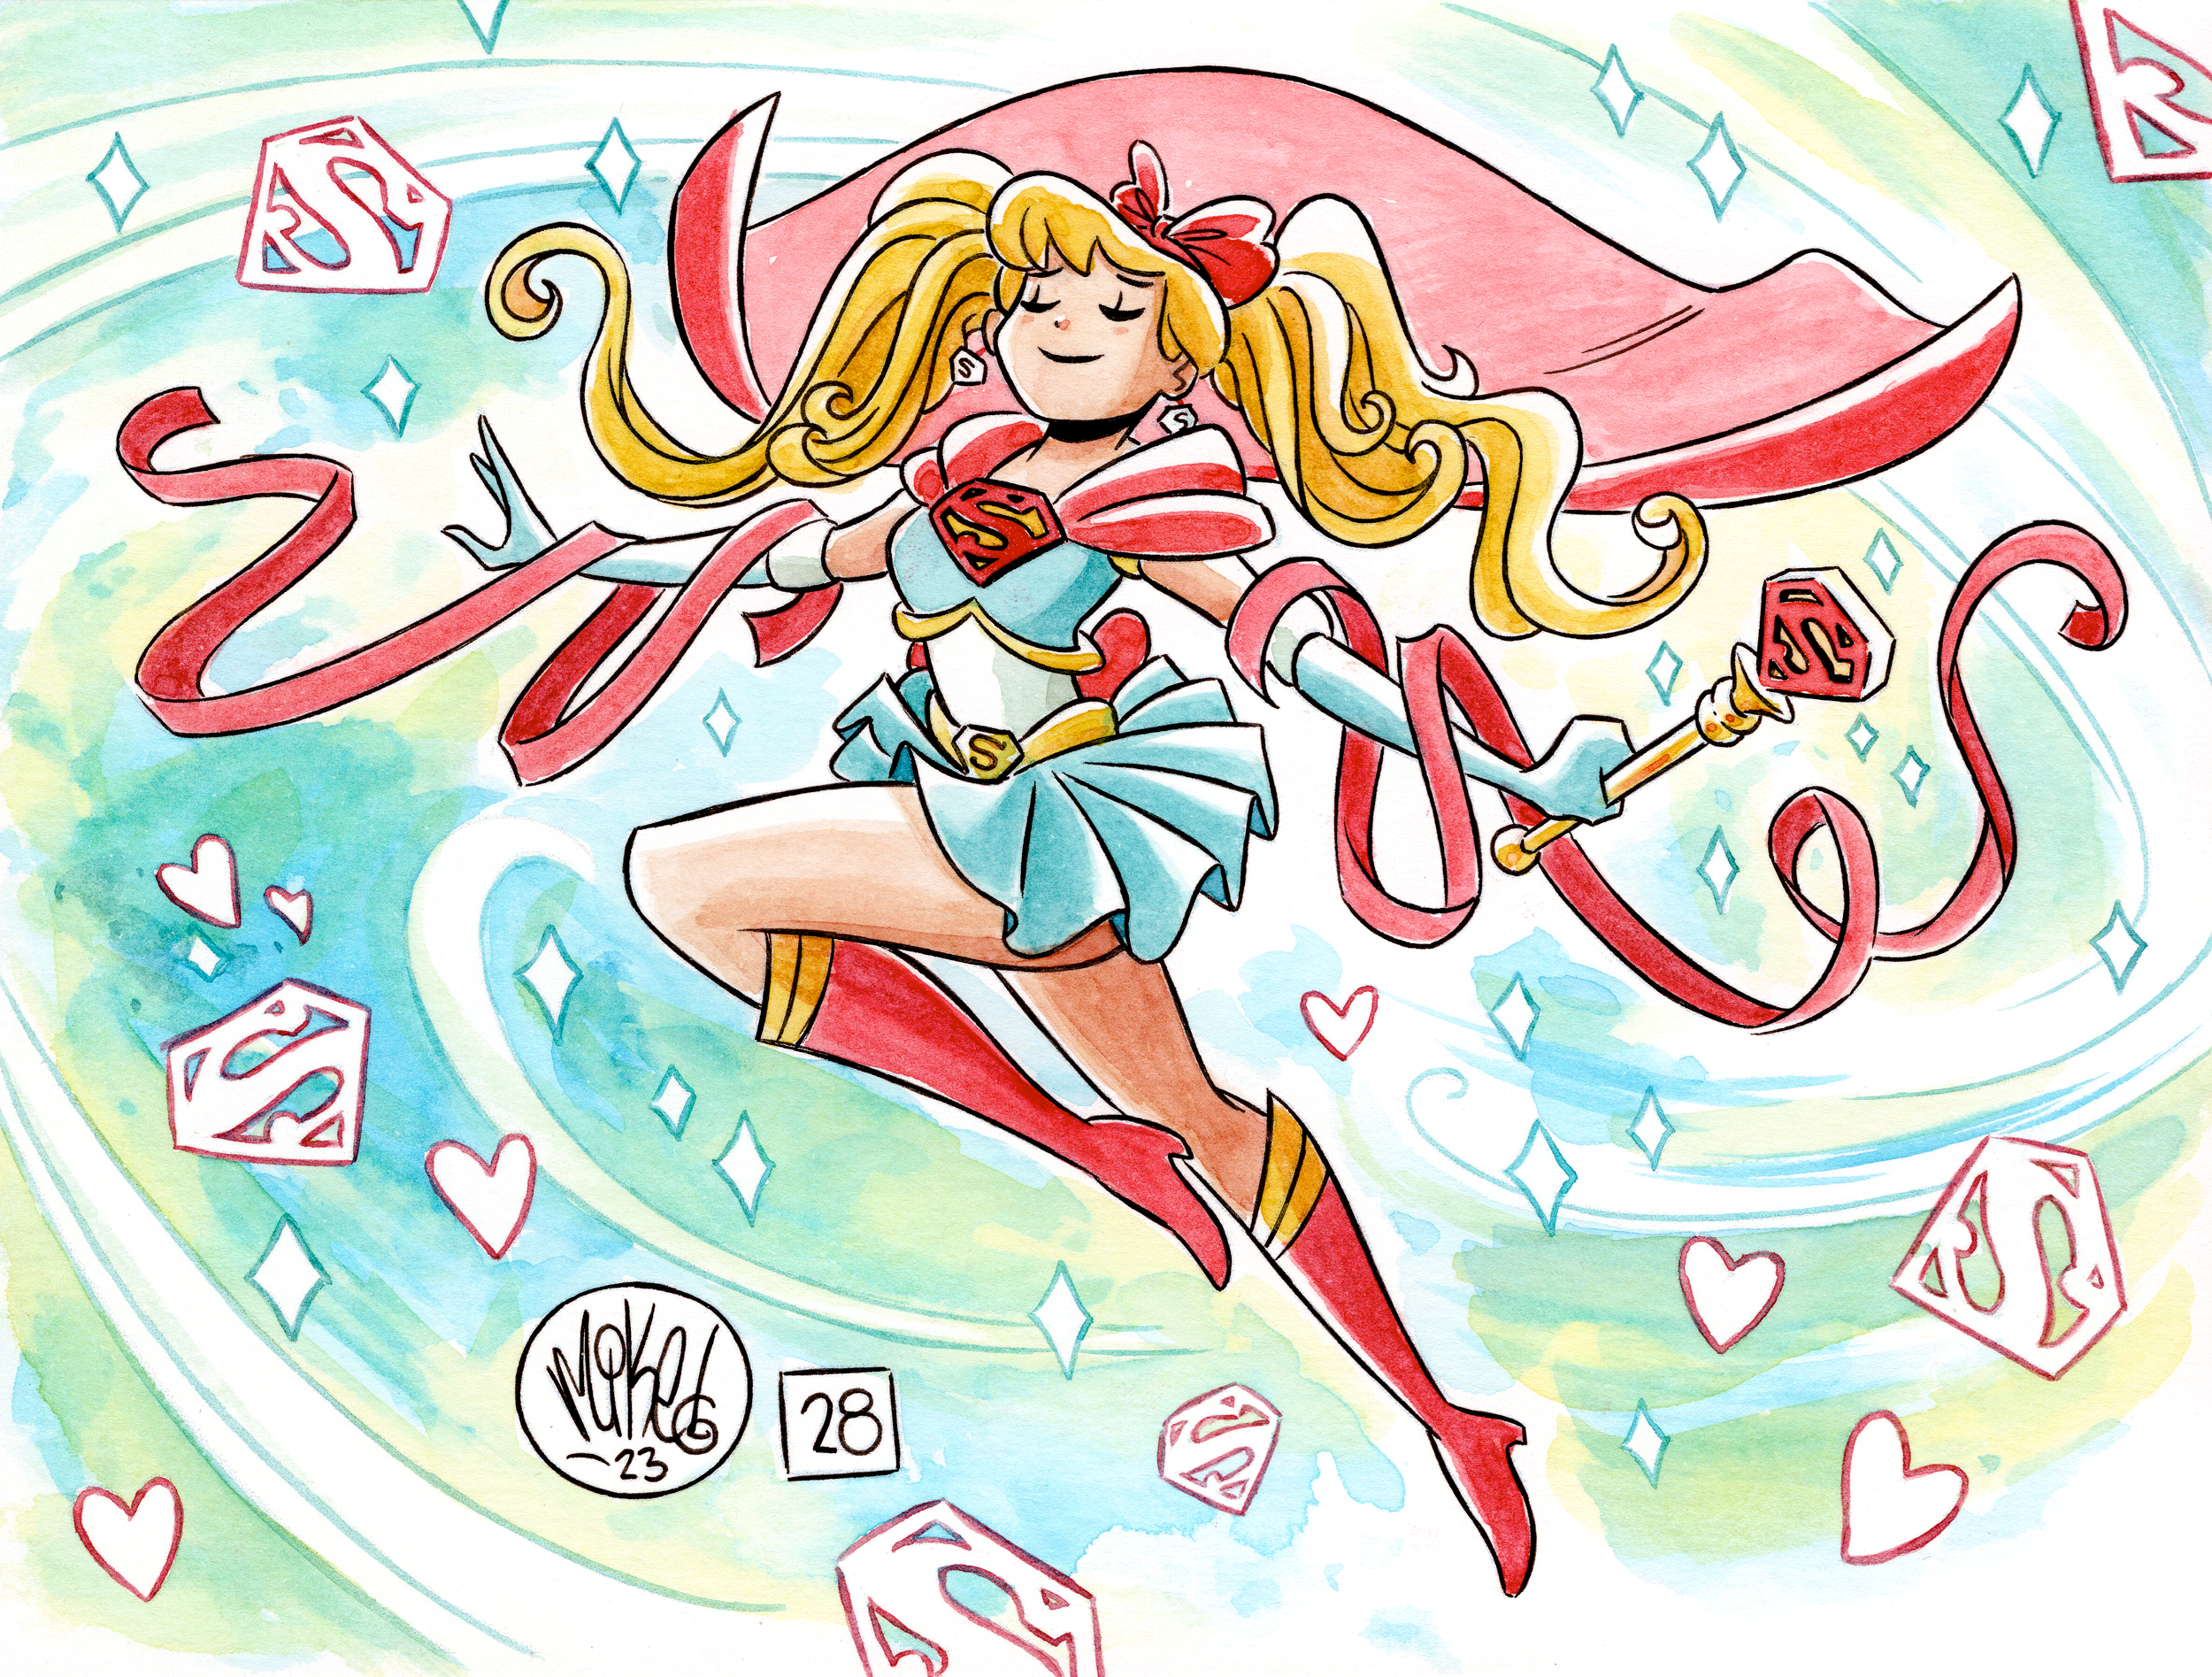
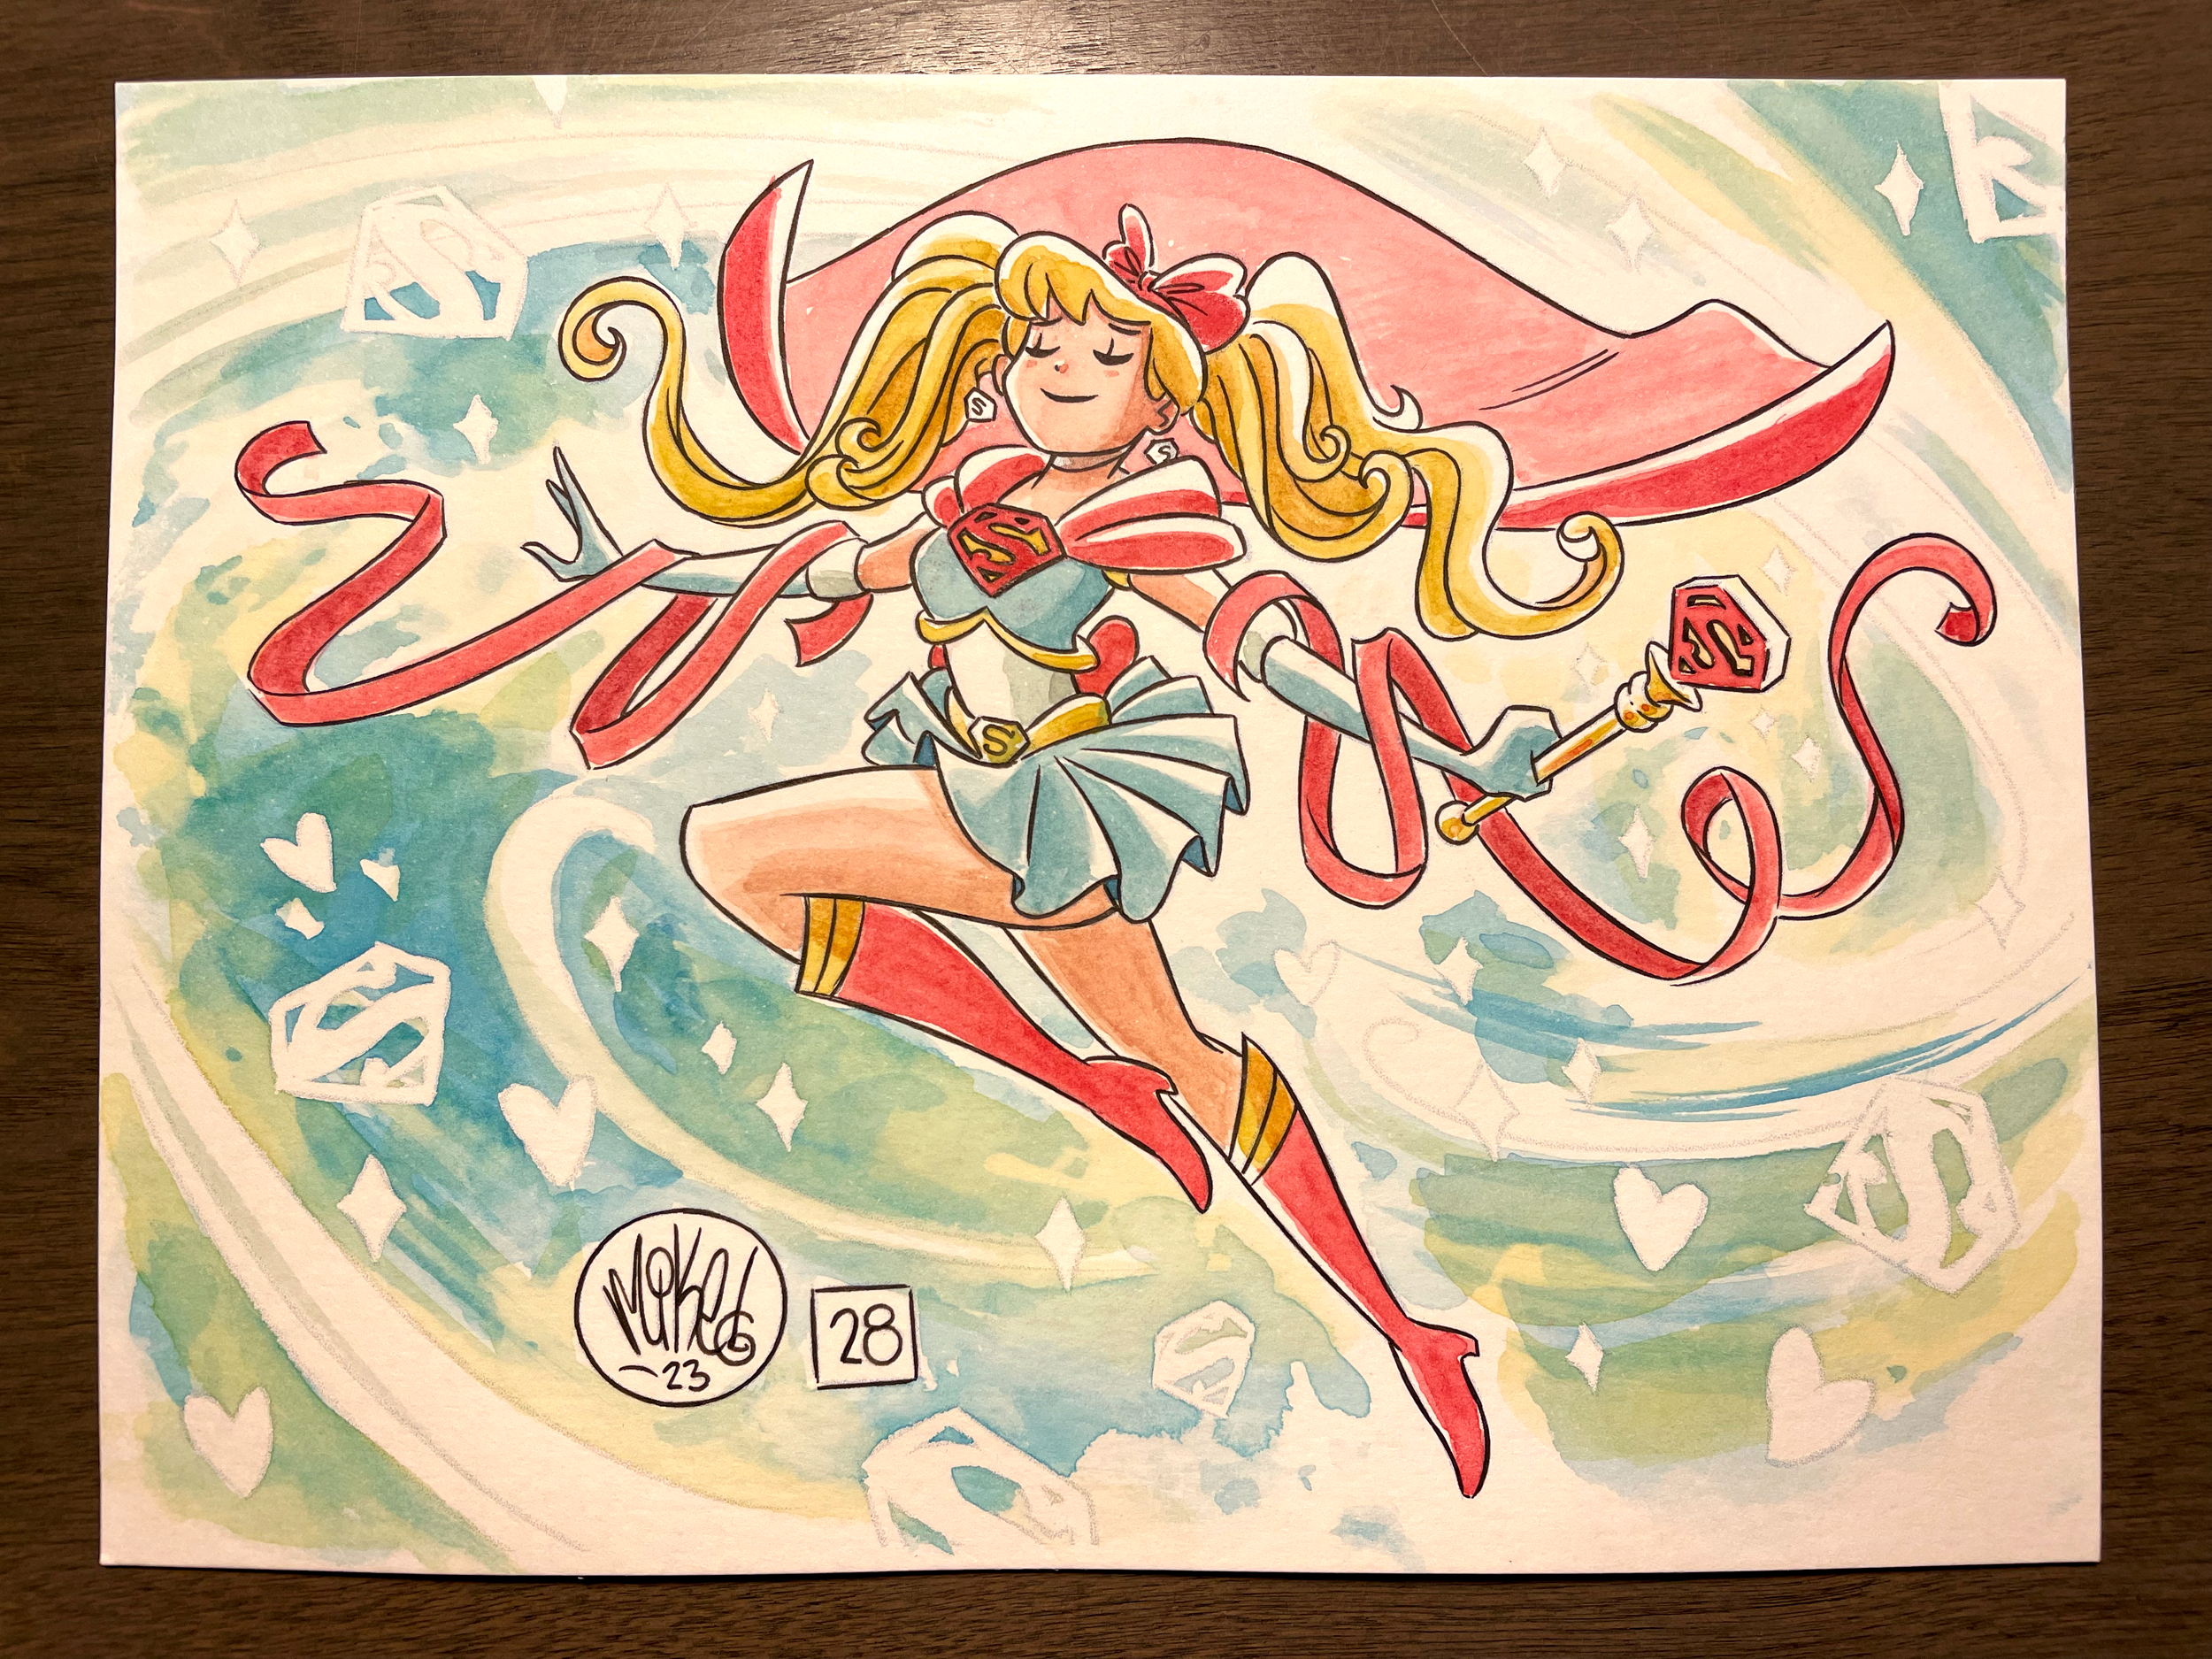
A few touch-ups and another 30-40 later and TA-DA! Finished SuperBatober:

I originally was going to paint all those hearts and super symbols pink and red, but I really liked how they looked stark white after removing the drawing gum so I just outlined them in red instead (they feel more sparkly this way too--at least to me). Any colored line you see in these pieces is the same watercolor I'm using for the rest of it. Even with a size 6 brush, as long as the tip stays nicely tapered, I can watercolor a narrow enough line with it.
All in all, I think this one actually took me about six hours (although I could be way off). A large chunk of that is just figuring out what to draw, or getting a pose or face the way I want it. Some of these take less time, some of them more. But six hours each is probably a good average. There's really no rhyme or reason as to why.
And that's that! Hope all that was helpful or at least interesting. Since I've been getting asked about this stuff a lot this past month, I might open this post up to the public. LMK if anyone has issues with that. Getting a look into my process is one of your Patreon perks after all.
Besides that, have a magical weekend! 💖
Files