Home
Home

 Artists
 Search
 Recent
 Random
 Posts
Posts
 DMs
DMs
 Tags
Tags
 Random
 Importer
 Import
 FAQ
FAQ
 Account
 Register
 Favorites
 Login
Login

Tighnari Wig and Ears (Patreon)
Content
In honor of some new in-game sneak peaks of THE BOY, let's break down how I made his wig and ears!
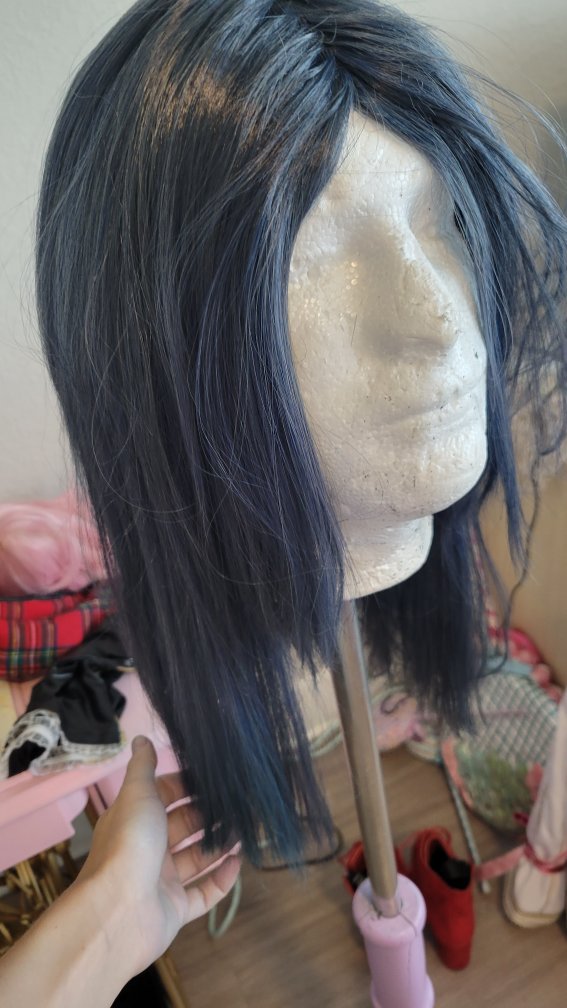
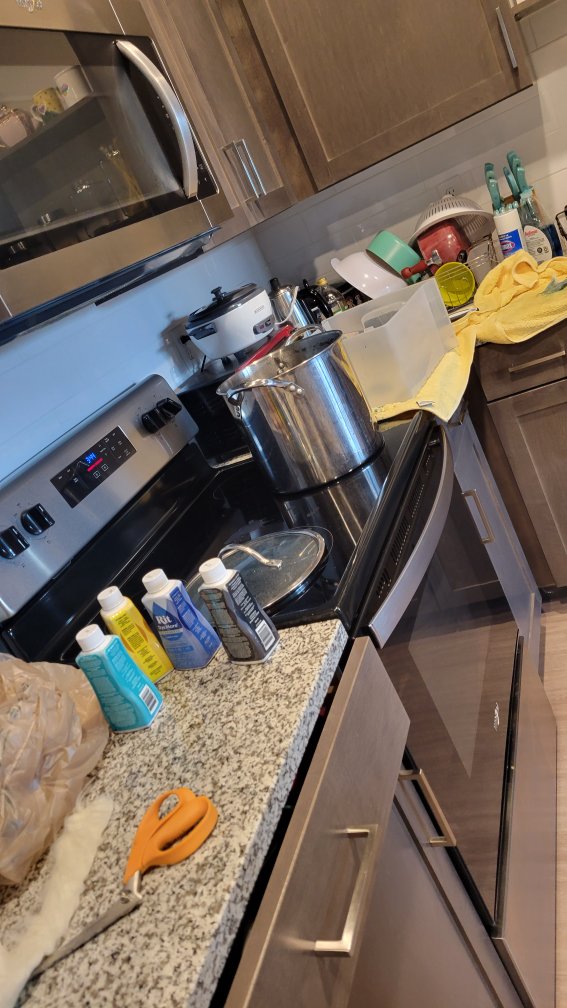
I started by upcycling a wig from 12 years ago. I cut the wig roughly a little shorter than Tighnari's hair. To begin the dying process. I boiled a large pot of water in a stainless steal pan, fulled a tub of cool water, and laid stained old towels around to catch any drips. I added a pinch of salt to the boiling water then began to add my dye in small amounts. I took some of the excess hair I cut off of the wig and used it as tester pieces. Once I got a color i was happy with, I dunked the wig in the cool water until it was fully soaked, then carefully lowered it into the dye, constantly swirling it around for 5 minutes and making sure every strand was thoroughly dyed. After about 5 minutes, I carefully pulled the wig out of the pot with tongs, let the excess dye water drip back into the pot, and carefully dunked it into the cool water. From there, I transfered rhe wig out of the cool water and into a stainless steal sink where I rinsed it for a few minutes until the water ran completely clear.
It wasn't until after I dyed the wig that I realized Tighnari actually has a gradient in his hair. I may make him a new wig when I get his cosplay. We'll seeeee.
After dying the main wig, I tossed some white wefted into lime dye for his accents. To make the little bang piece in the front, I gathered a clump of hair, cut the top of the chunk into a point, and coated the whole top with tacky clue. After the tacky glue dried, I coated the top back in hot glue
After the hot glue dried, I carefully hot glued the hair chunk to the center of the bangs and used a Razor Comb to thin and style it into shape.
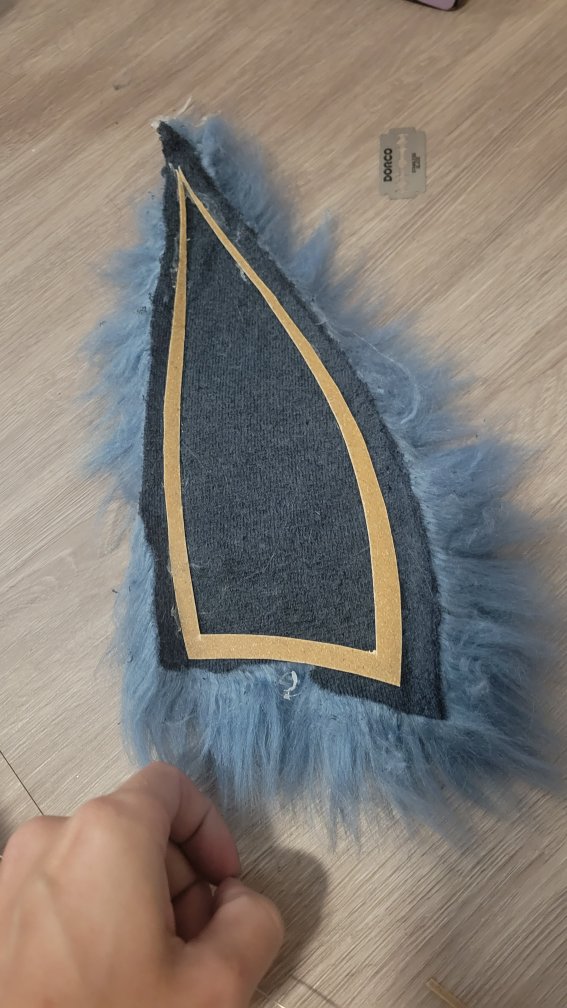
The ears…. were a process of trial and error. At first, I wanted to make them floppy. My first failure was attempting to dye a cream color fur nearly black. The darkest I could get it was a steel blue. Then 8 tried to make a thin warbla frame which also failed. In the end, I used my regular process if covering worbla.
I started with a rough sketch of what I thought the ears should look like. Then I cut out the pattern and started to hold it against my head in the mirror, refining the shape. When I found something I liked, I traced it onto worbla and cut out a single ear. From there, I used a heat gun to shape the worbla and continue to trim it into an accurate shape. When I had the final shape, I traced it onto paper and cut out the second ear.
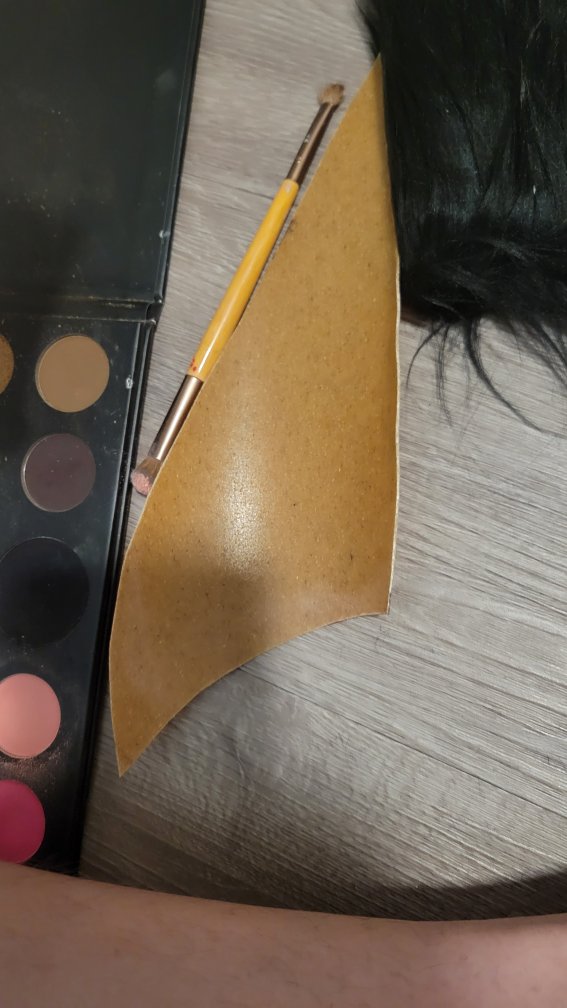
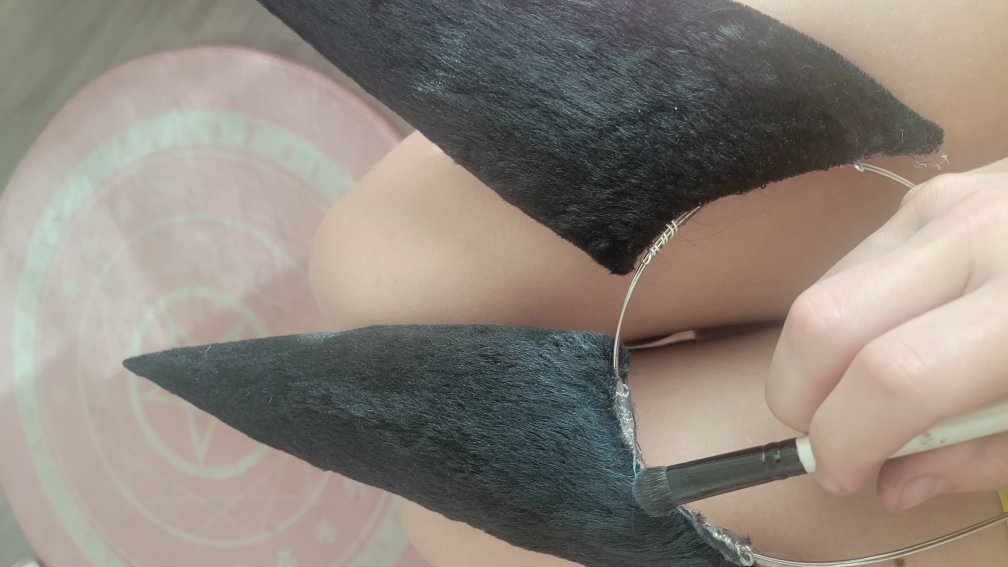
For the fur, i trimmed both the black and white fur down first. I glued the white fur to the inside then used blush from a makeup pallet to color it pink, using got 2 be Hairspray to seal it. After the inside was hot glued in, leaving the bottom open for wire, I hot glued the black outside fur on. To clean up the edges, I used a black Copic marker.
Once the ears were finished, I bent 20 guage wire into a u shape and glued it into the ears, leaving about an inch and a half of wire sticking out the bottom to wrap around the headband.
I need to come up with a better way to secure the ears so they don't flop around. As soon as I figure that out, I'll make a new post for yall!
I have the pattern for the ears ready to be scanned, but right now I don't have my computer set up so I can't vector it just yet but that's also coming
If yall have any questions or feedback, lemme know in the comments!
Files