Home
Home

 Artists
 Search
 Recent
 Random
 Posts
Posts
 DMs
DMs
 Tags
Tags
 Random
 Importer
 Import
 FAQ
FAQ
 Account
 Register
 Favorites
 Login
Login

Aster: Part 1 (Patreon)
Content
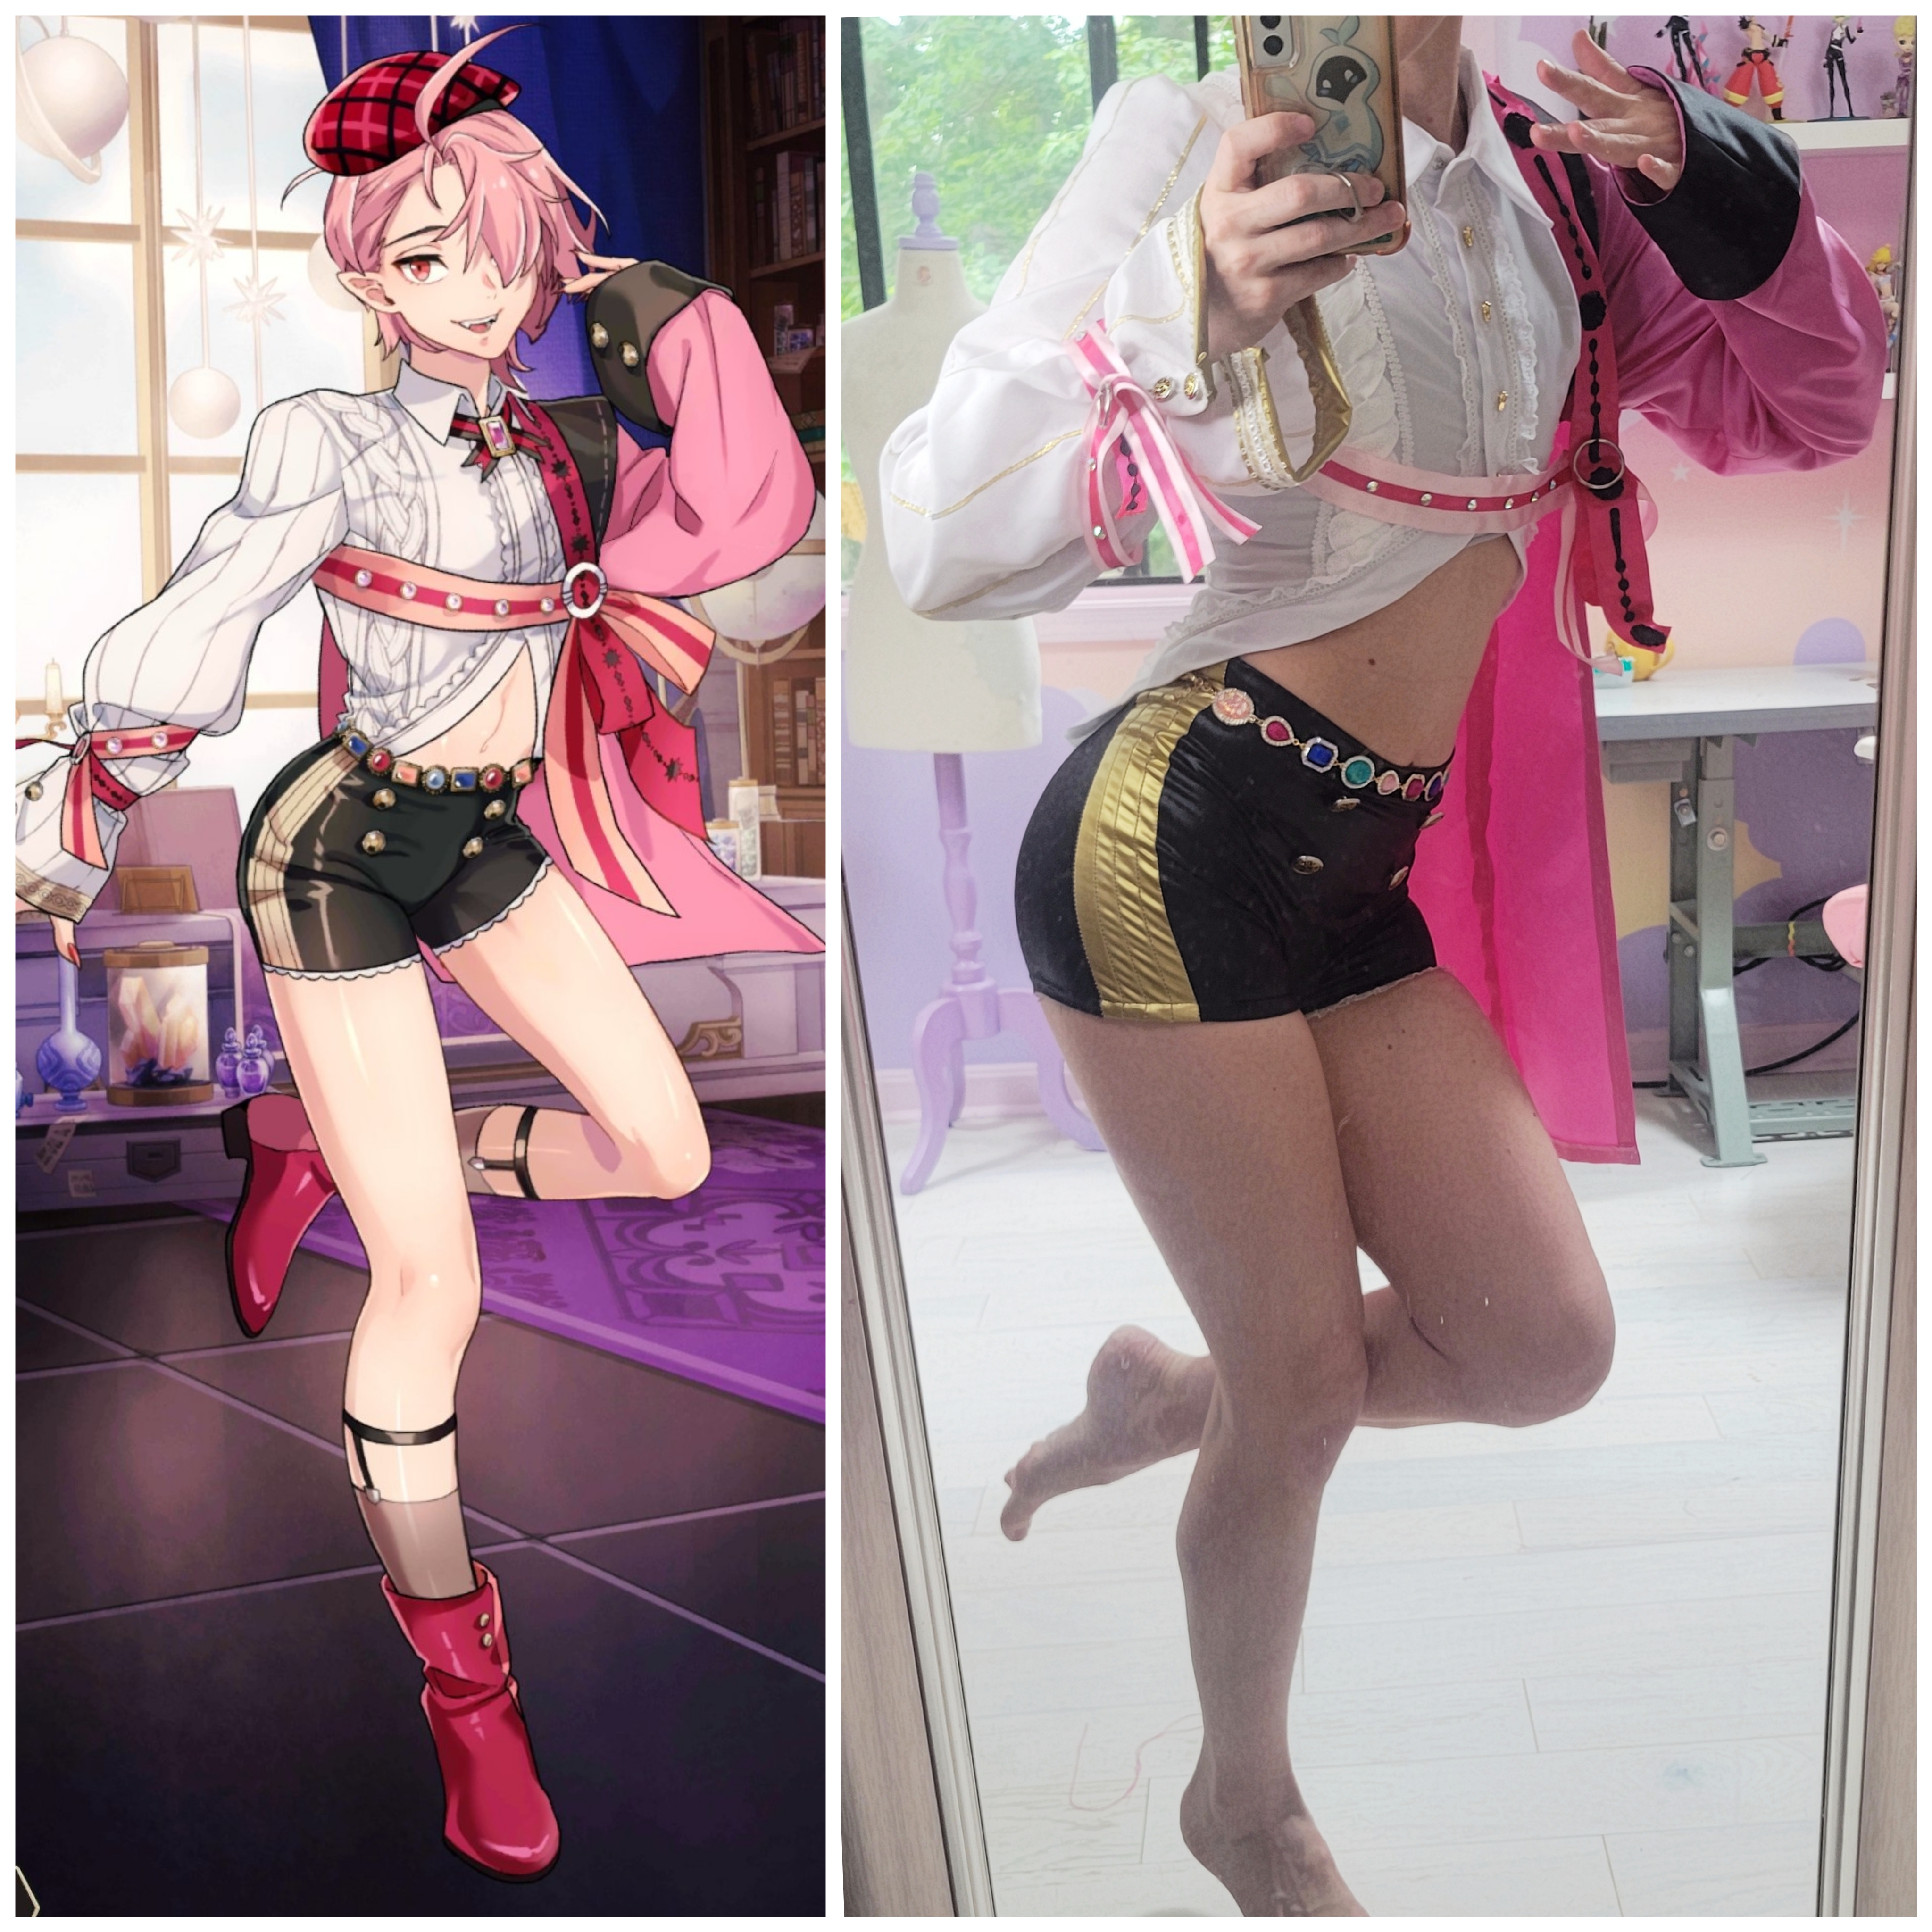
I am OFFICIALLY MOVED IN TO MY NEW APARTMENT IN ORLANDO!?!? Thank you guys SO MUCH for your patience and support durring this crazy transitionary period of my life. Durring the hecticness of packing and planning, I threw together this Aster cosplay from Nu Carnival to escape the stress of reality which some of you may have partially seen on instagram. Here's the nitty gritty of it all!
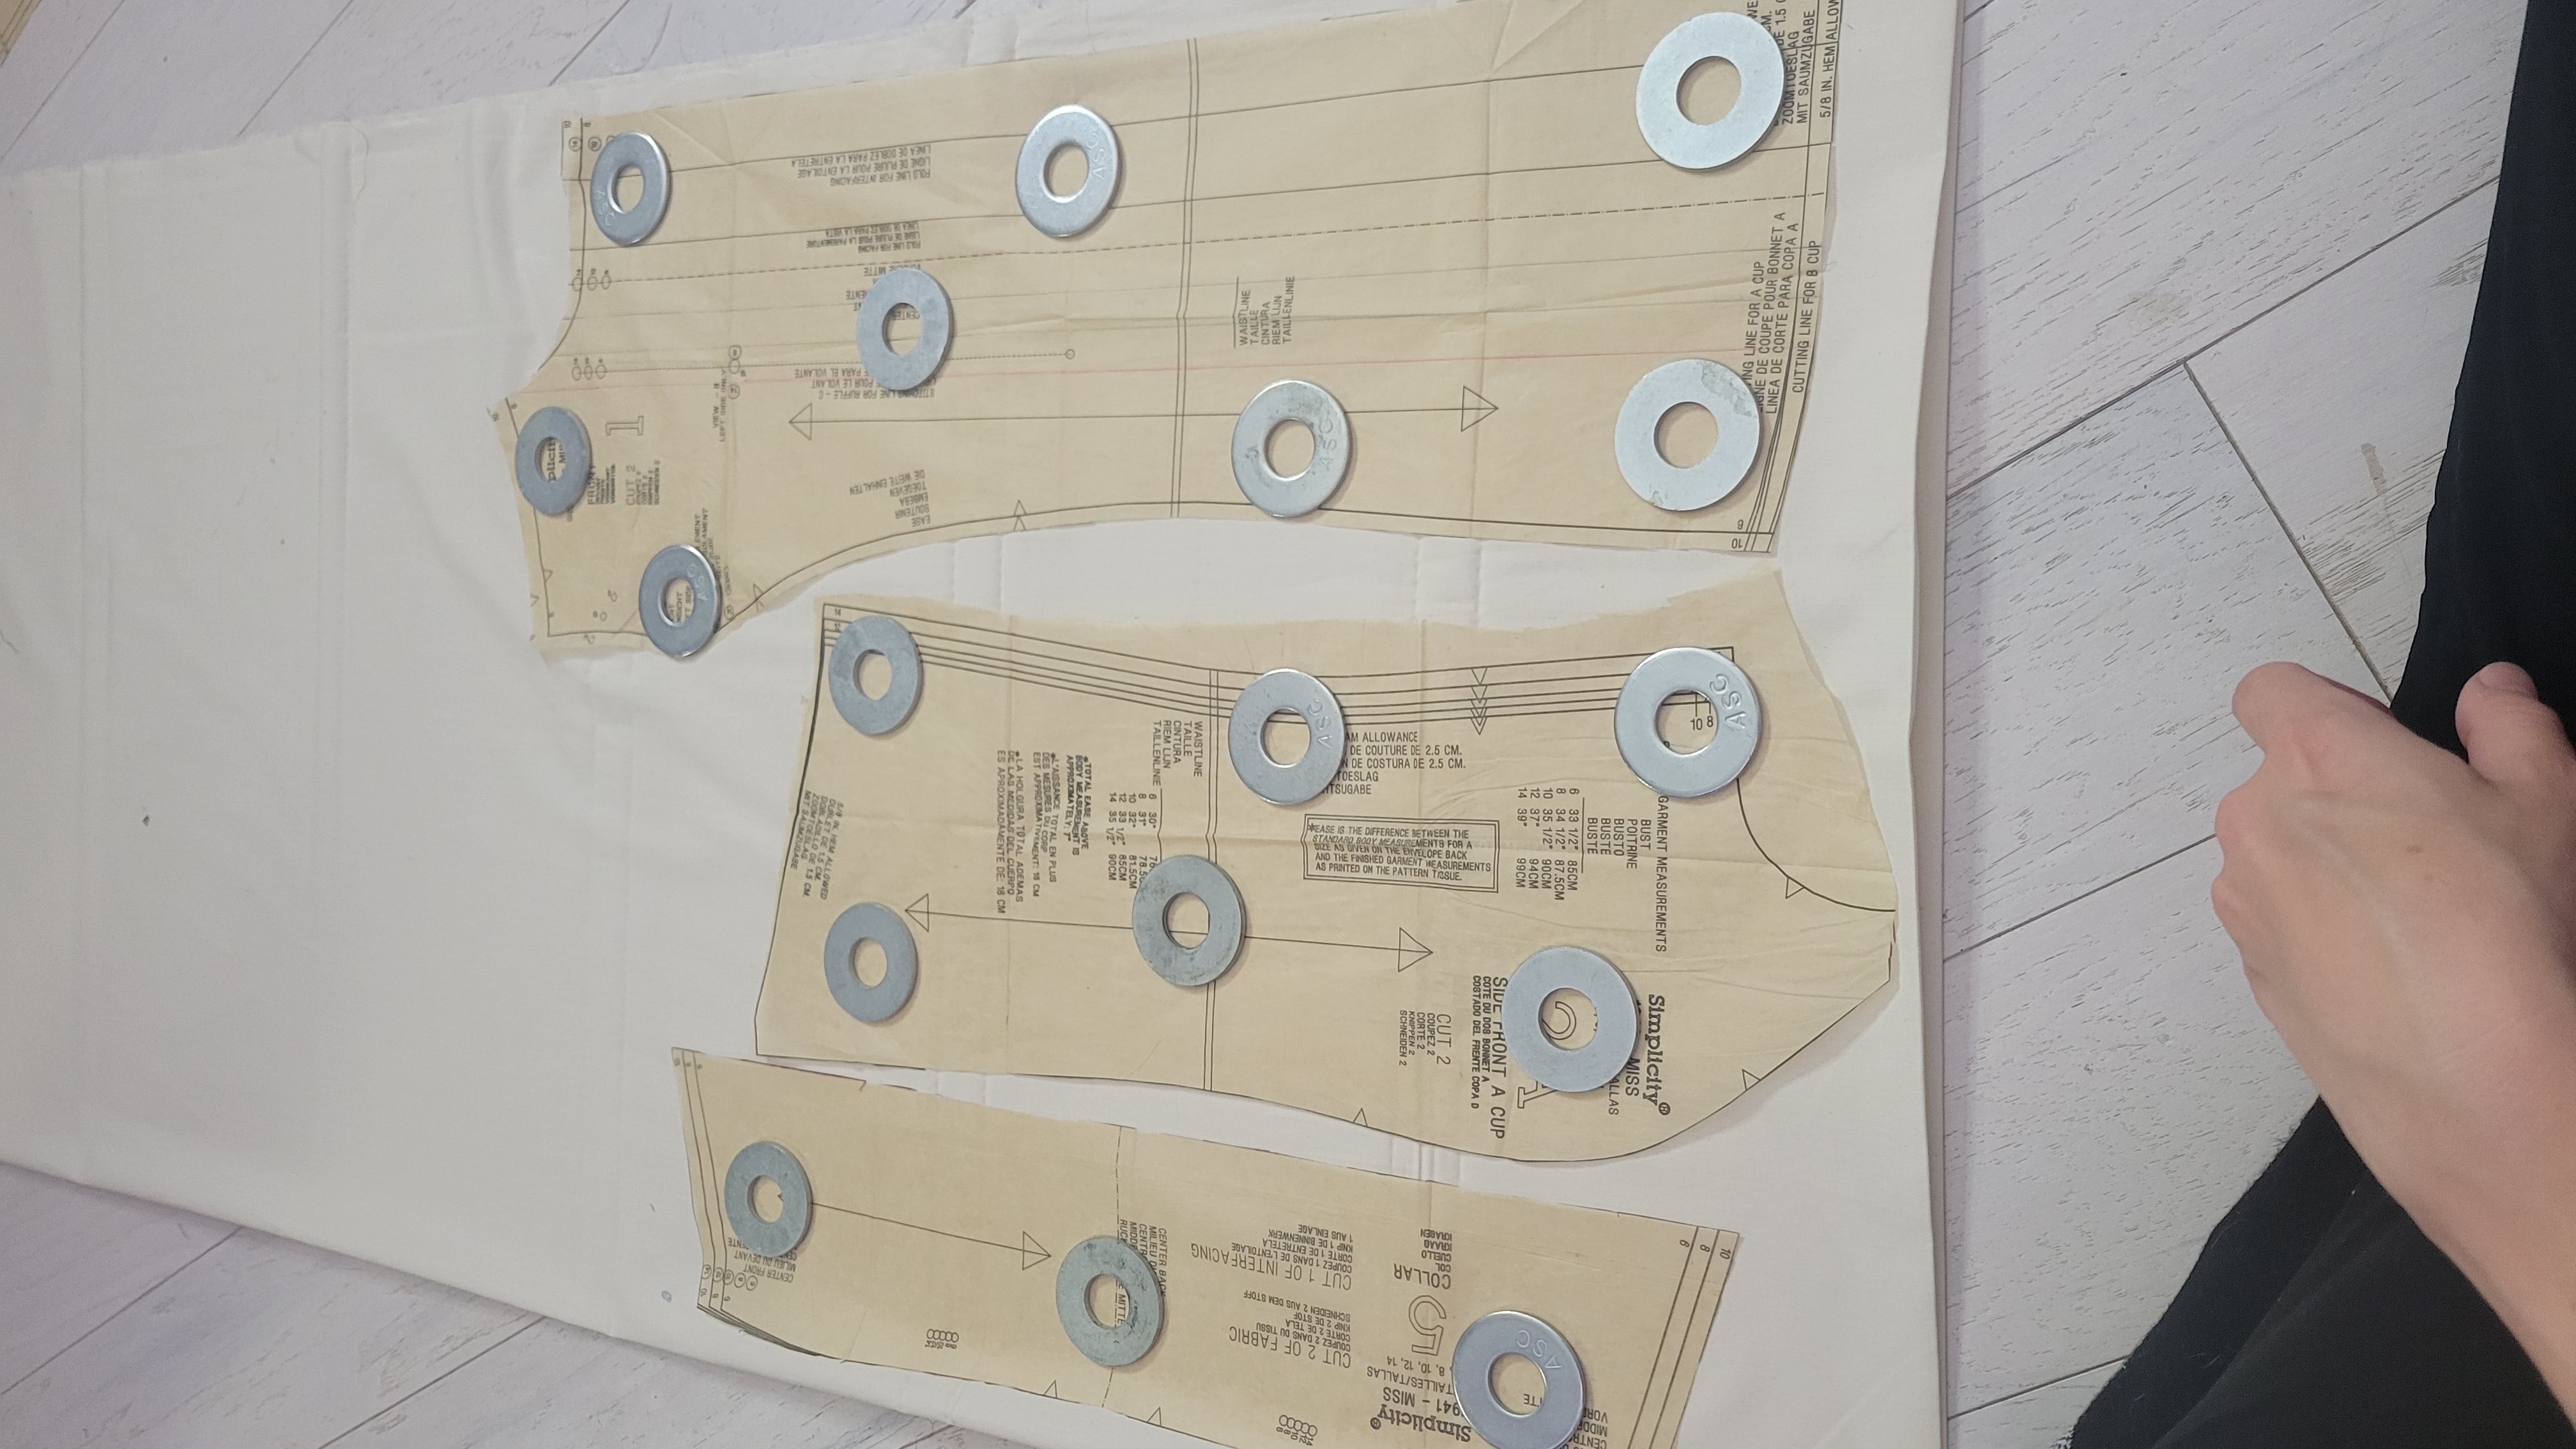
To start, I used 3 paterns for Aster's blouse. For the bodice and right sleeve, i used Simplicity pattern 1941 as a base. I took in the back and side seams to fit my torso snugly and extended the sleeve. His right sleeve doesn't really have a cuff, but has a slit with buttons and a binding along the edge. I used this youtube video (https://youtu.be/7LWs5EzIcIc) to guide me in sewing the slit. I then sewed a bit of elastic about 4 and a halfinches from the bottom of the sleeve to evenly gather the bottom if the sleeve. This would later be covered by a ribbon. It looks as though aster's sleeve is gathered by a ribbon tied around it but I didn't think that would translate too well in real life and definitely would not gather evenly.
The collar came from Mcall's pattern M6044. I chose this pattern because I wanted a two part collar instead of a one part collar that folds over. Because the collar from this pattern didn't fit the neckline of the blouse, I had to do MATHS and lengthen both parts of the collar to fit the neck hole. For help with properly sewing the collar together, I watched this youtube video (https://youtu.be/dO1x76OceMo)
Aster's blouse looks to be half way buttoned and then tucked into his shorts. This DEFINITELY did not look good in real life, so I cropped his blouse instead and continued the button placket along the bottom edge.
Once I had a mock up that looked exactly like I wanted, I needed to remake the entire thing out of the final fabric. I used a white peachskin polyester that draped exactly how i wanted, but frayed like a NIGHTMARE. Instead of being a smart boy and serging the pattern pieces together before sewing, I went straight into sewing and later had to melt the raw edges with a lighter.
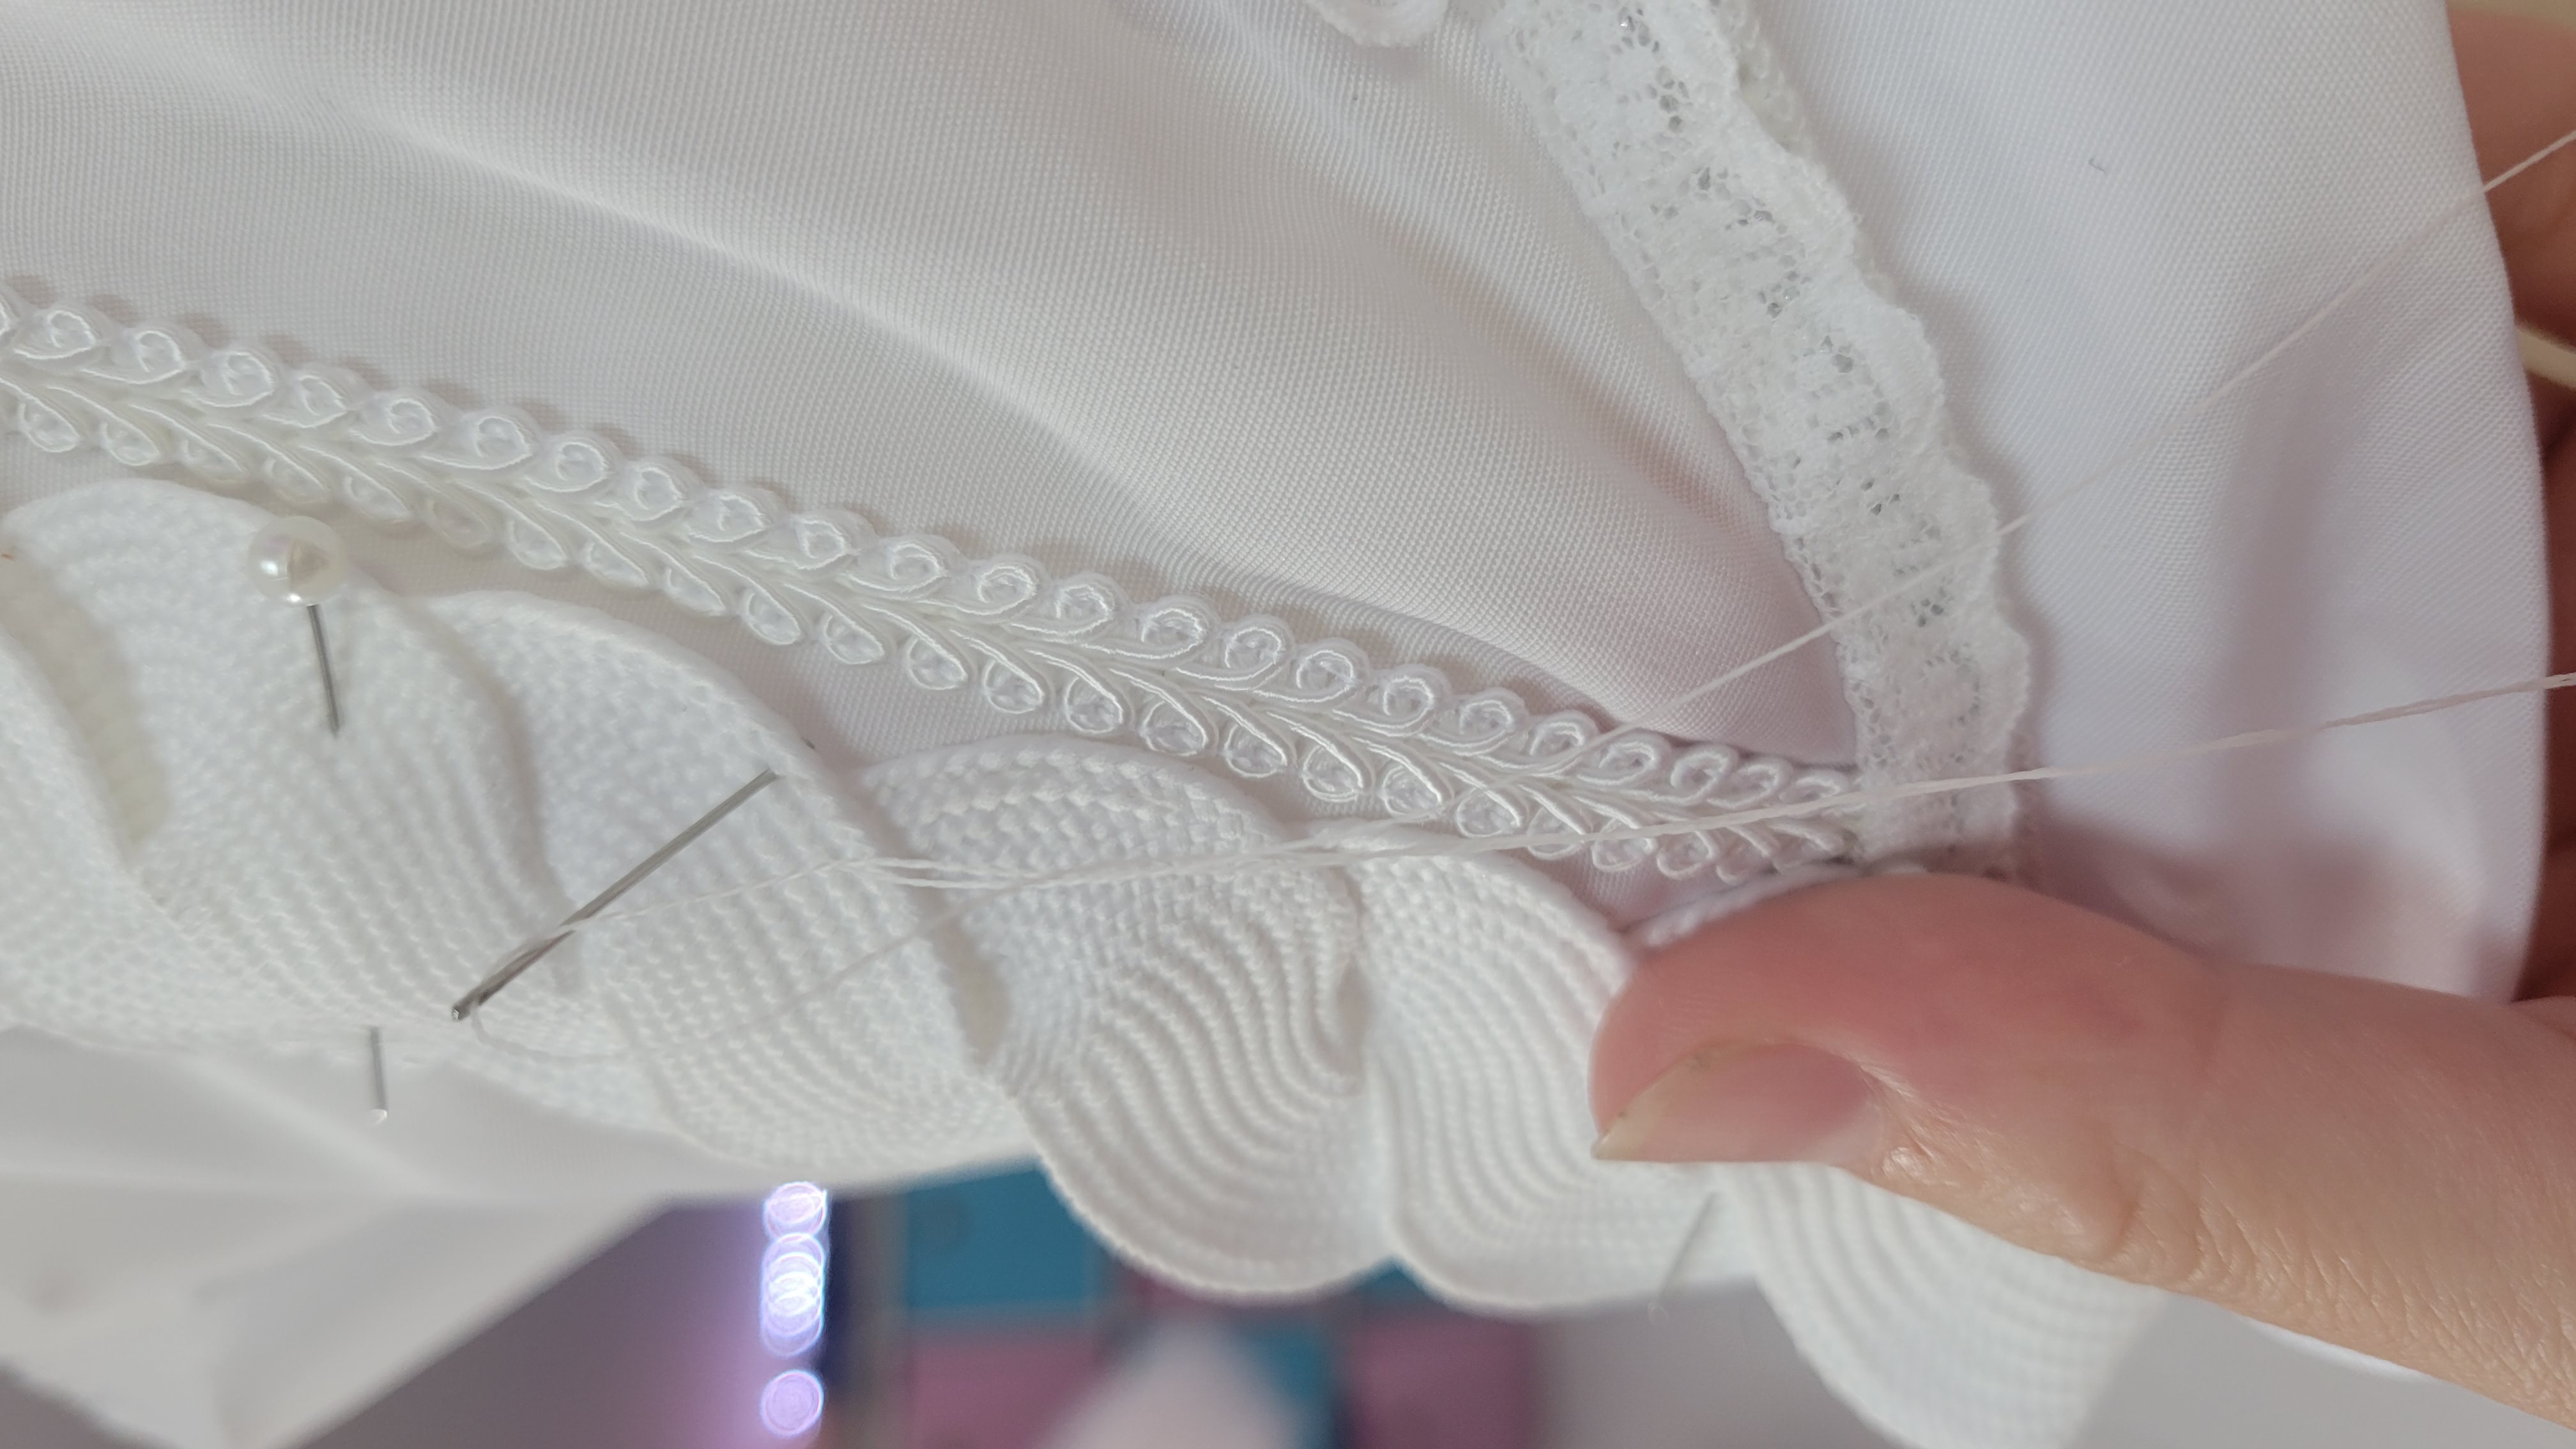
To recreate the bizarre braid on the right side of Aster's blouse, I used two thick pieces of white rickrack trim twisted together. It isn't quite a braid, but it was the best solution I could come up with that looked aesthetically pleasing and at least resembled a braid. I sewed trims along the edge of the button placket and hand sewed down the rickrack and the trim bordering it then used the button hole attachment on my Singer 201 to sew button holes. Aster doesn't have any visible buttons, but I found a set of extremely precious gold and white heart shaped buttons I thought would match the outfit will. Because his shirt is so tight, I sewed hooks and eyes to the top and bottom of the button placket to reinforce the hold and ensure there wouldn't be any gapping at the top and bottom.
Aster has lines down his right sleeve. I could not tell if that were intended to be printed on pin stripes or seams so.... I did neither and used skinny ( 1/8th inch) gold Offeray galena ribbon. First, I attempted to sew it down. This failed miserably. No matter what I did, the stitch would gather a tiny bit. I don't know why. Possibly because I was pulling the ribbon a tiny bit as I sewed? But it happened even when i did mu best to hardly touch the ribbon at all as I sewed. After many hours of frustration I ended up just using fabric tack to glue down the ribbon.
Files