Home
Home

 Artists
 Search
 Recent
 Random
 Posts
Posts
 DMs
DMs
 Tags
Tags
 Random
 Importer
 Import
 FAQ
FAQ
 Account
 Register
 Favorites
 Login
Login

Green Climbing Gear Shirt (Patreon)
Content
Making this shirt was quite a bit more of a process than it needed to be, I'm not gonna lie.
First of all, I started with the wrong fabric. I'm still not THE MOST familiar with what fabric to use when and how to know exactly how a fabric is going to drape when it is on the bolt in the store. I bought a dark green fabric because it was really the only fabric even close to the right color I could find at Jo Ann's. When I got home and started trying to pattern the shirt, I realized it was WAY too thick. I was able to find a very light weight cotton that draped perfectly, but I needed to dye it in order to make it work.
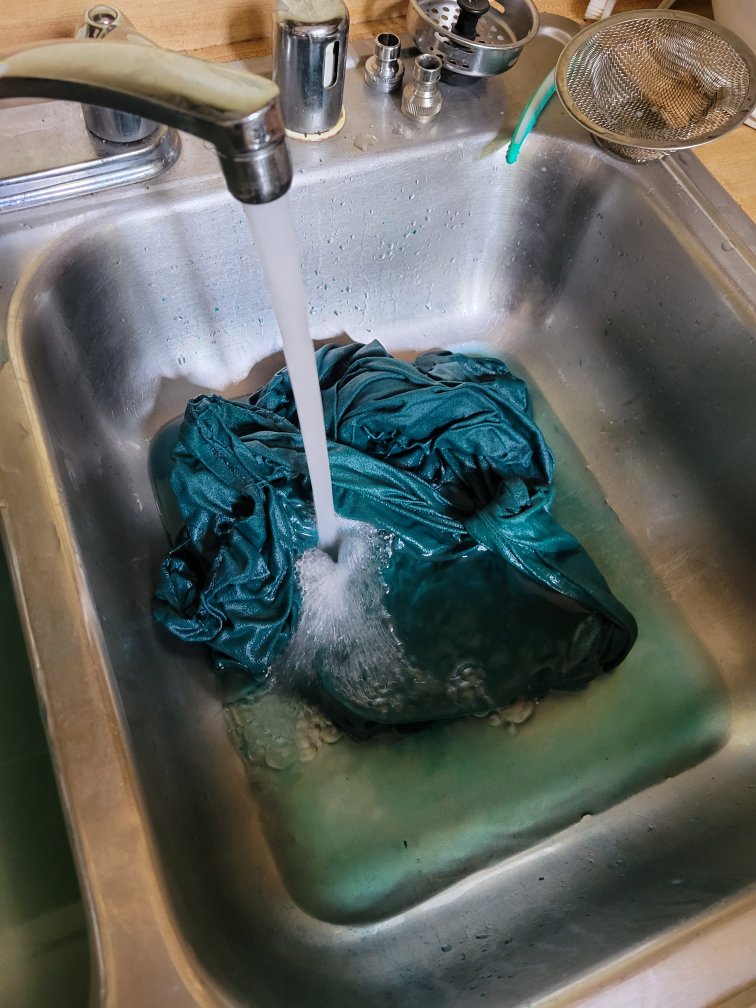
I've never dyed natural fibers. Most of my dying experience has been with wigs which are entirely different from dying fabric. Luckily for me, my housemate Jared does aging and dying for movies for a living, so I had his wisdom to guide me. I started with a large stainless steel pot of water I filled high enough to fully fit my cut of fabric. I added a teaspoon of dish soap and a good solid shake of kosher salt which helps you get a more even dye. Once the water was almost boiling, I added my dye and tested a few same straps of my fabric.
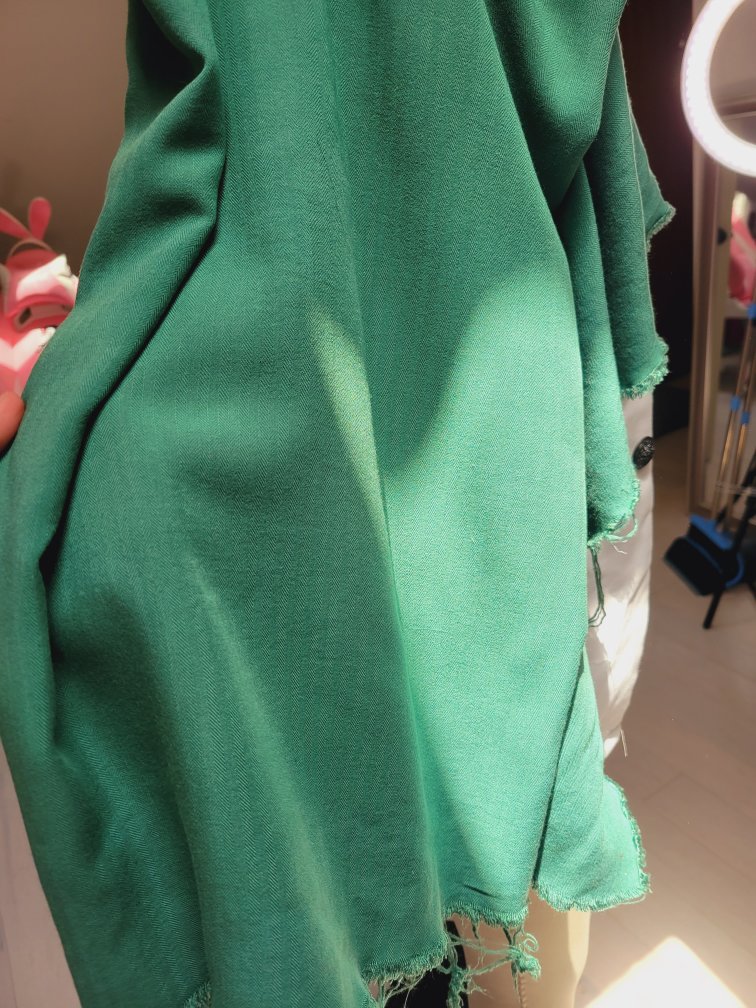
My first dying attempt didn't go very great. My fabric came out splotchy and the green looked too blue. After rinsing the fabric until the water ran clear and drying it, I decided to dye it again with lime green to tint the fabric more towards a Forest green. I repeated the same process as last time, but this time I used tongs and a rubber globe to fully pull the fabric around and untangle it as I mixed it for the entire 45 minutes it was in the dye. The dye job evened out significantly and was no longer splotchy. The color is now a perfect faded Forest green.
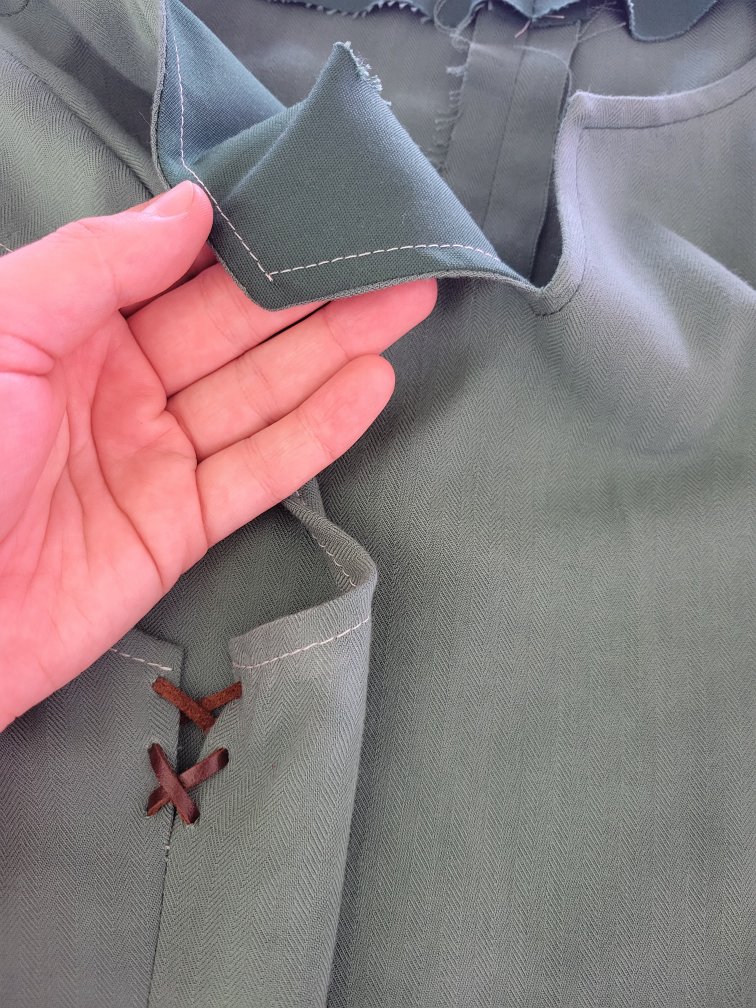
Once the fabric was rinsed and dried, I cut out the pattern and started sewing it together. I used the fabric I originally bought that was too thick to make a facing for the collar and a thing strip of brown leather to make the little laces up he's got in his arm holes.
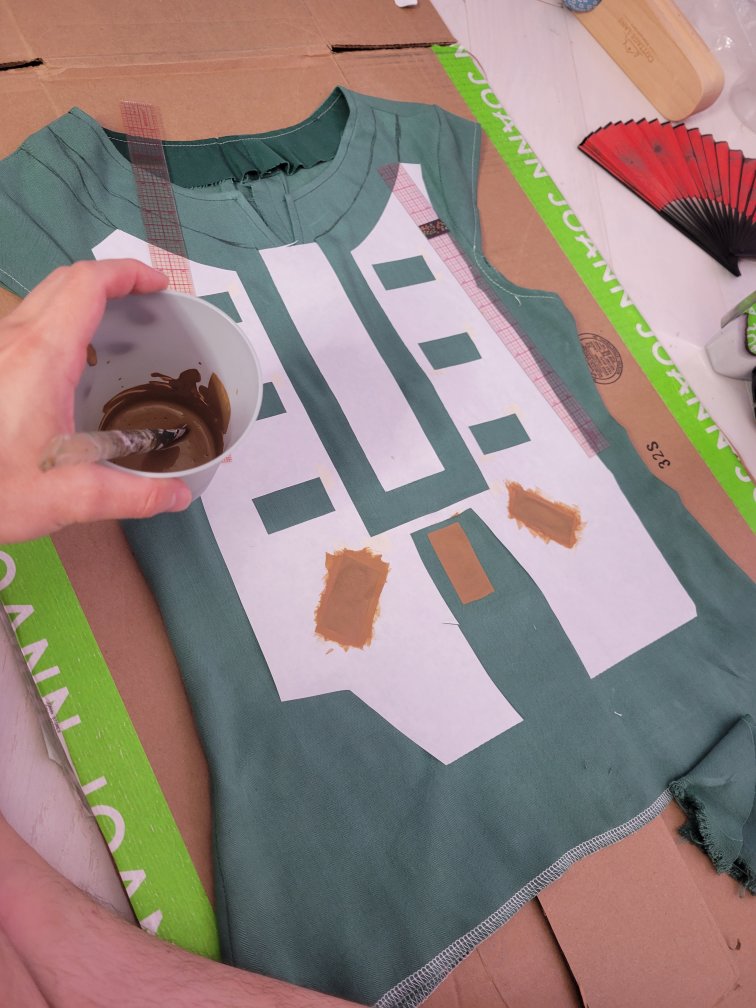
For the design on his shirt, I decided to use paint. I don't know what I was thinking. It was such a bad idea. I didn't think reverse applique would look right and I thought iron on vinyl would look too modern. The pains ended up looking vinyl-y anyway but like way more messy and kinda warped. It is what it is.
I traced my design onto Freezer paper, cut it to be a stencil, and ironed it wax side down onto my shirt. This should have been done before I sewed the shirt together but my brain just wasn't on for the entire process of this cosplay thus far I guess. I mixed brown acrylic paint with a textile medium and started painting it onto the shirt over the Freezer paper stencil. This is a great technique I've used many times before, but this really wasn't the right time for me to use it. I didn't test it on a fabric scrap first. The paint caused the cotton to warp a bit, it took a million layers, and it turned out Shiney and plastic looking like vinyl probably would have except vinyl would have taken 1 hour instead of 2 days.
All in all, the shirt looks decent for a quick cosplay I just want to wear for a photoshoot, but there's definitely many things I wish I had done differently.
Files