Home
Home

 Artists
 Search
 Recent
 Random
 Posts
Posts
 DMs
DMs
 Tags
Tags
 Random
 Importer
 Import
 FAQ
FAQ
 Account
 Register
 Favorites
 Login
Login

More cheeps & dry mud (Patreon)
Content
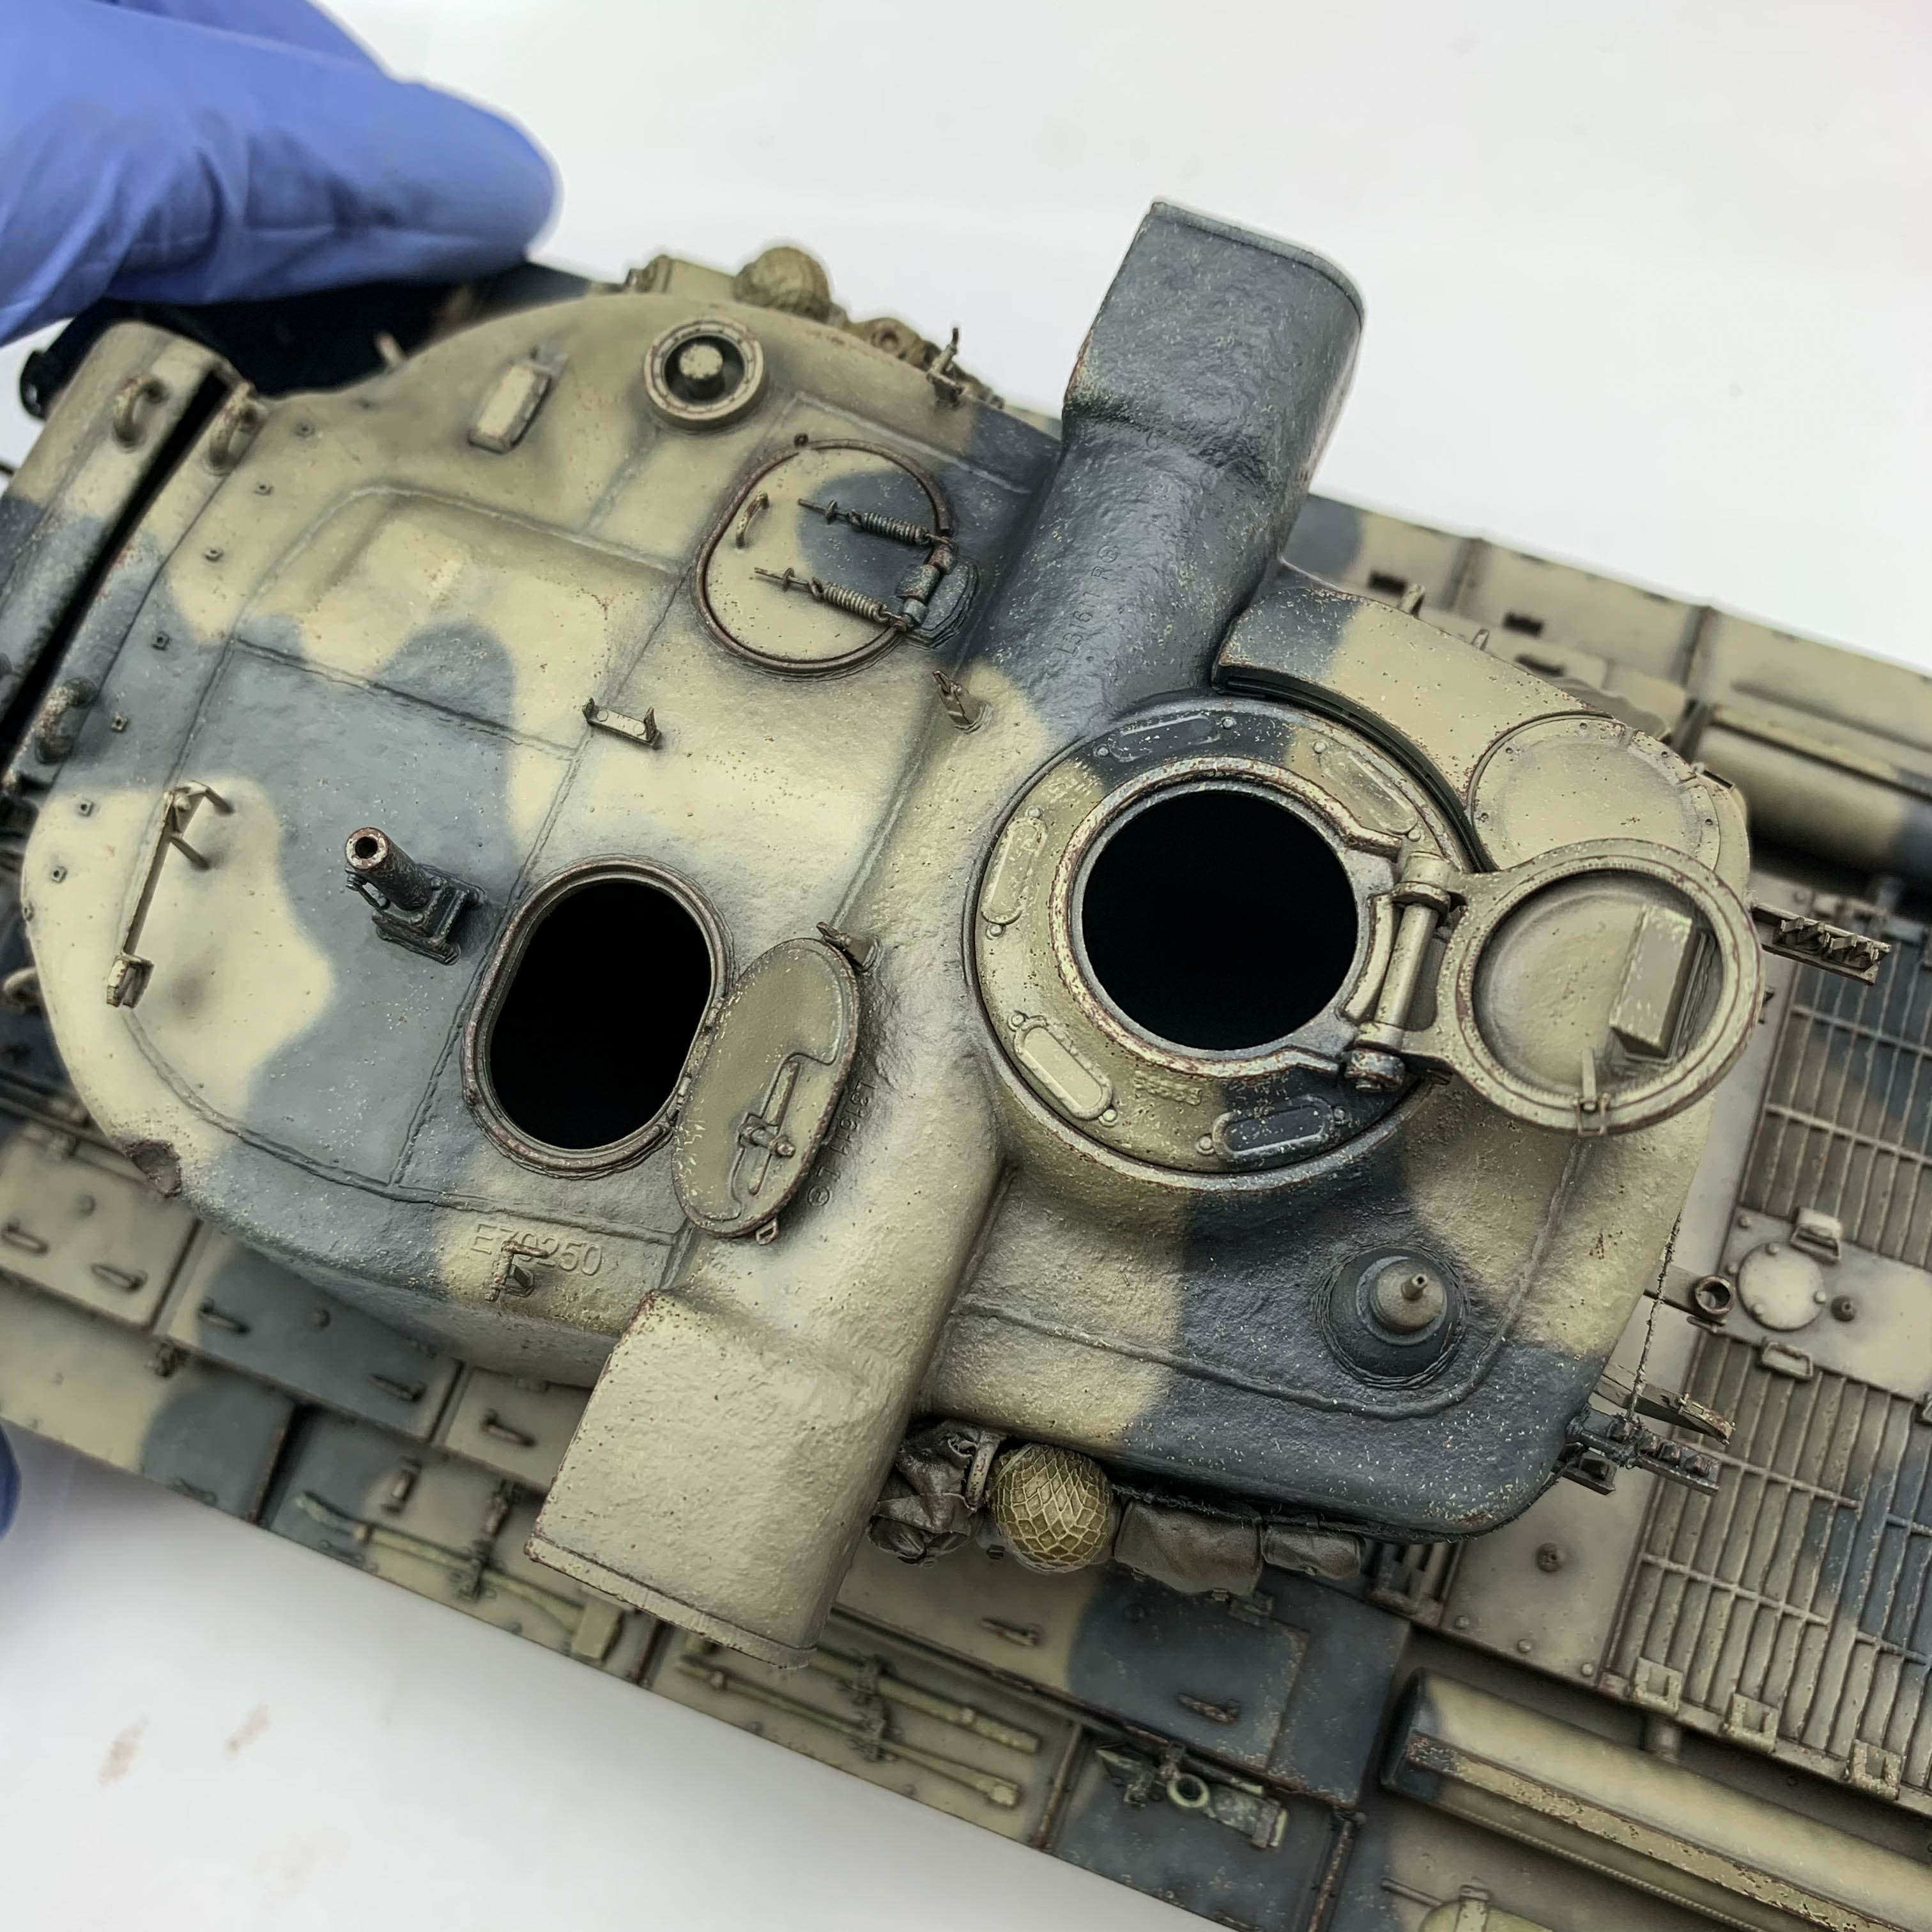
My friends, I got the chipping done (for the most part of course). At least as far as the numerous tiny sheeps go 😁The unpainted steel surfaces, chipped welds, rust washes and other tasty things will come later. The turret was more difficult because it has no straight edges except the box-shaped rangefinders. Oh and I also added some distressing on the markings! That was done with a sponge and the Tamiya OD mixtures which I saved for later use (they sure came in handy lol).
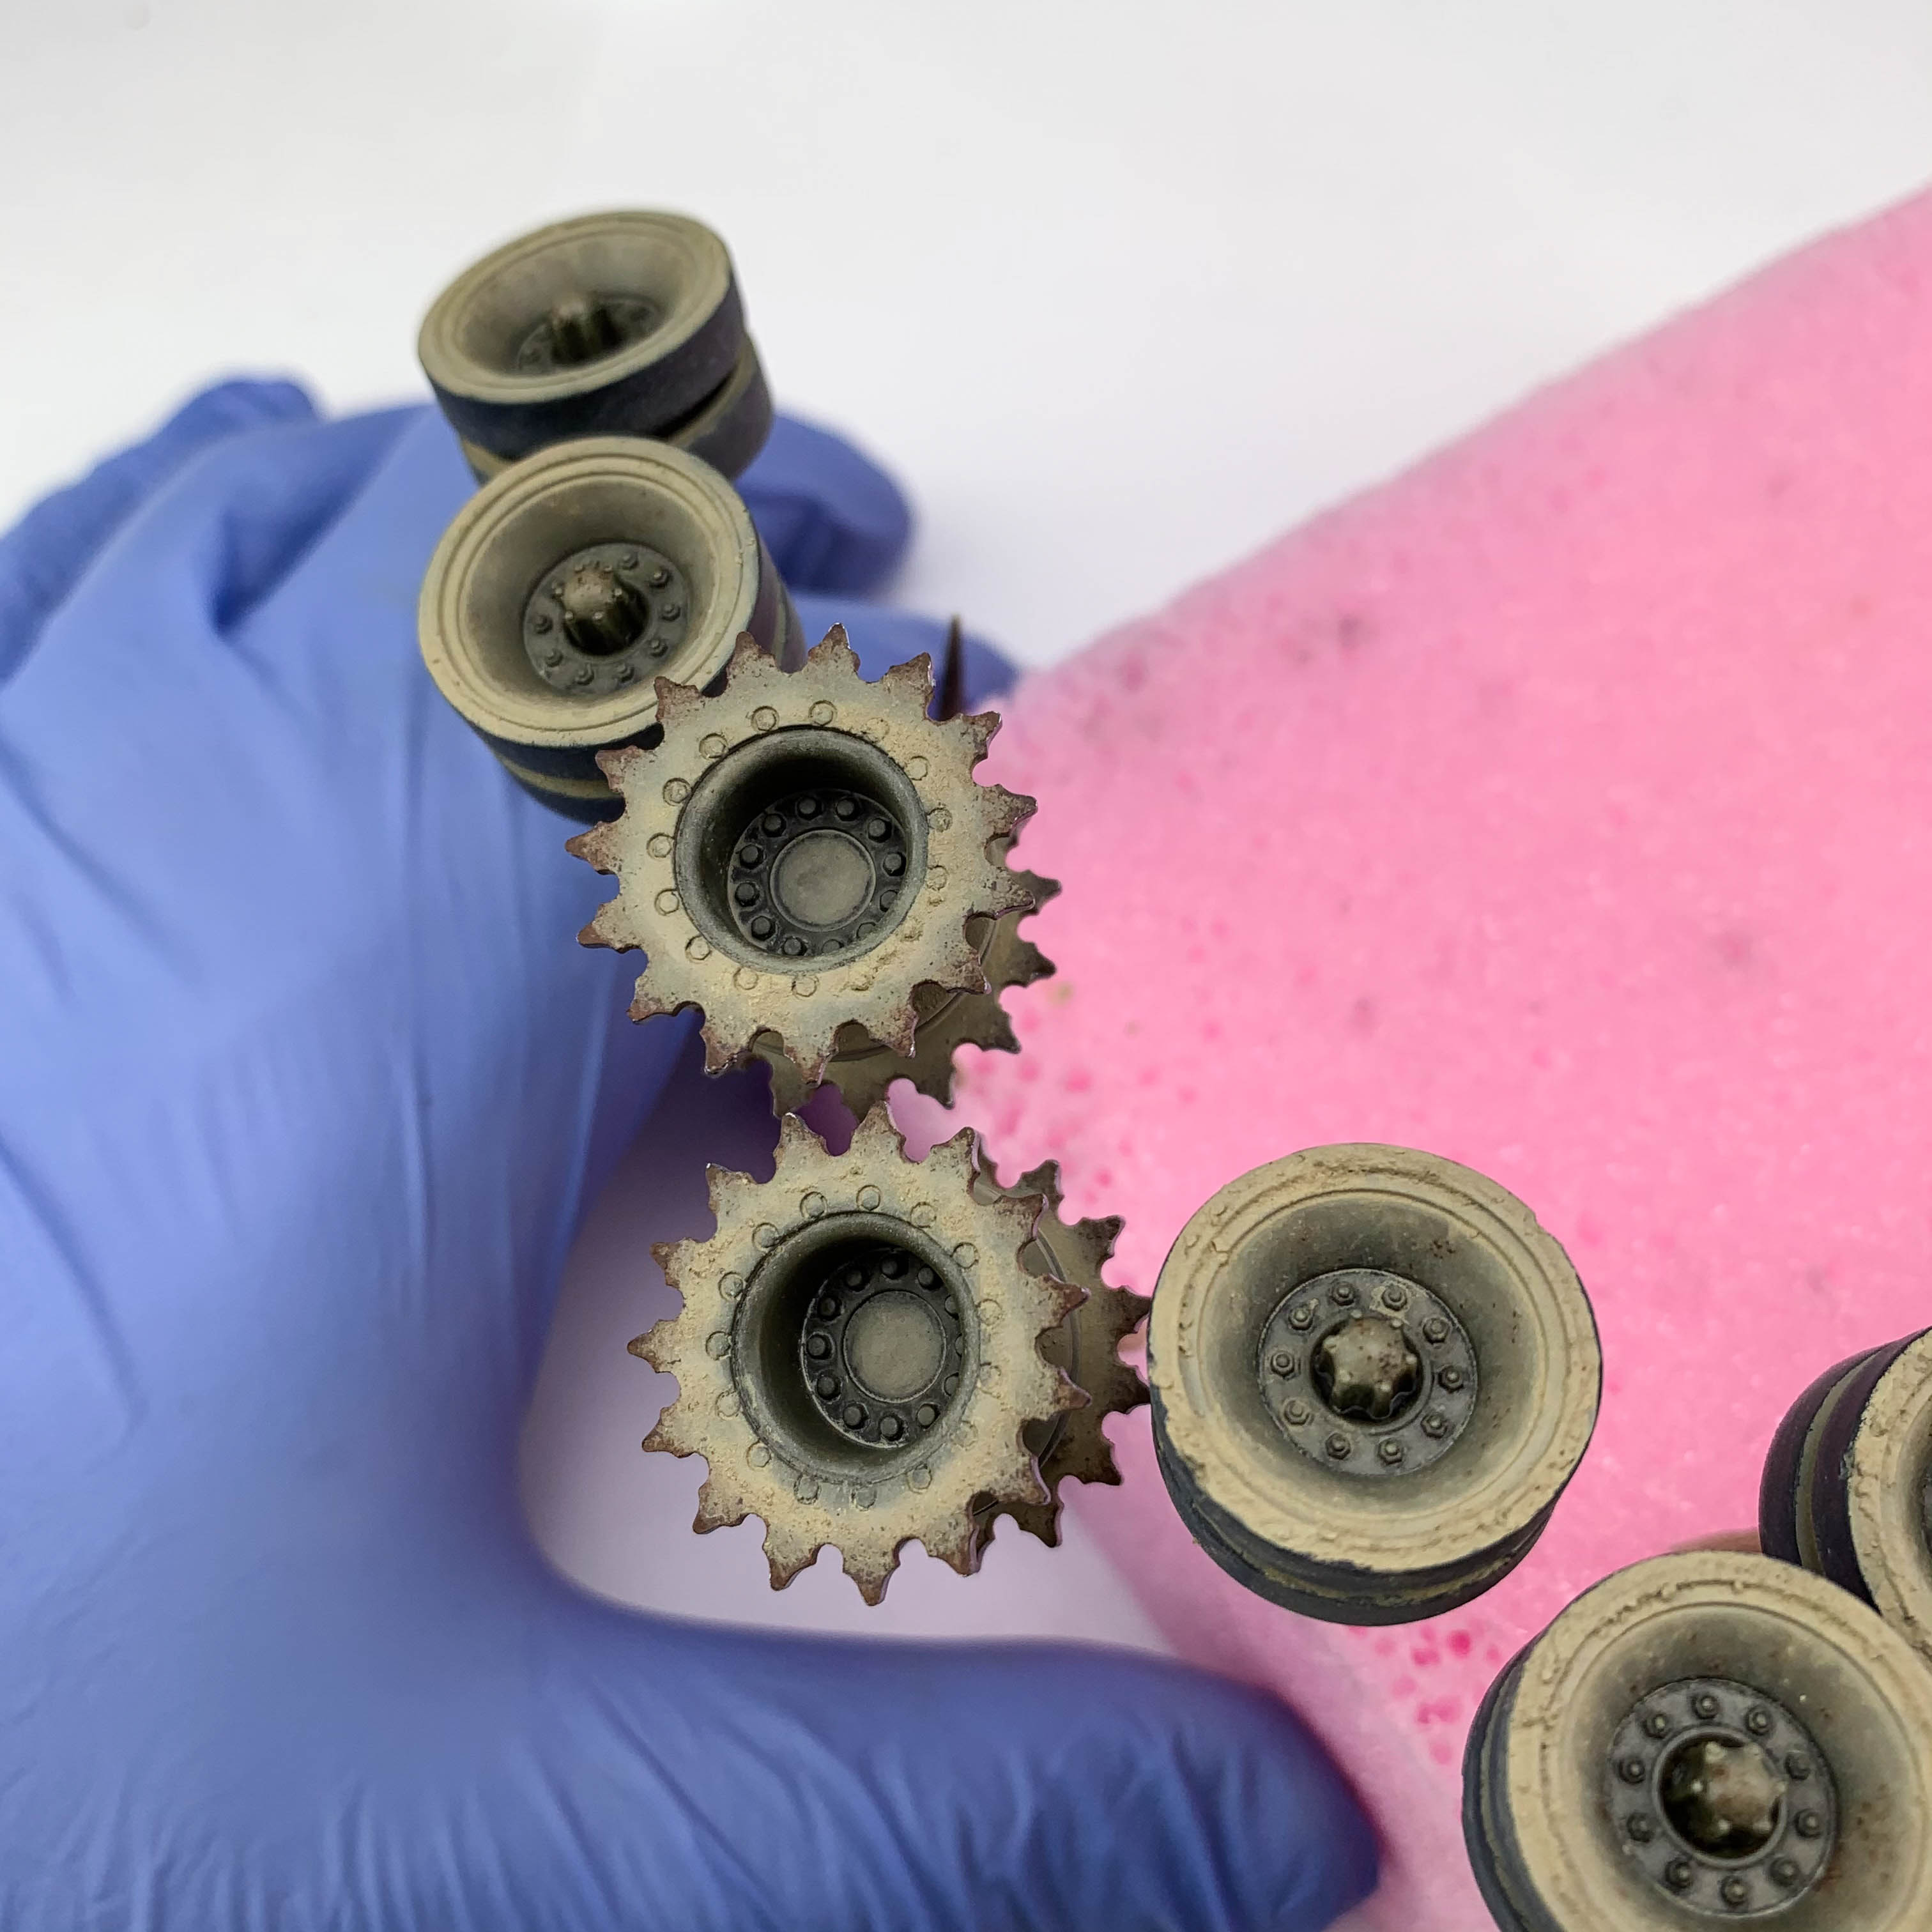
I also added the dry mud tones on the lower hull and running gear. My plan for this segment is to get the entire running gear done and out of the way as the very first thing. Why? I saw it in a magazine once and I thought it might be worth a try 😊 But having the lower hull done always gives us a better idea about the weathering on the upper hull - that's why I often go back and do a few adjustments after the running gear is finished and assembled, so if everything goes as planned, that won't be necessary.
So for now I'm leaving the dried mud and dust tones dry for a while (Ammo Dry Steppe + Rainmarks effects) before I start adding darker damp mud tones on top of them!
Files