 Home
Home

 Artists
 Search
 Recent
 Random
 Posts
Posts
 DMs
DMs
 Tags
Tags
 Random
 Importer
 Import
 FAQ
FAQ
 Account
 Register
 Favorites
 Login
Login

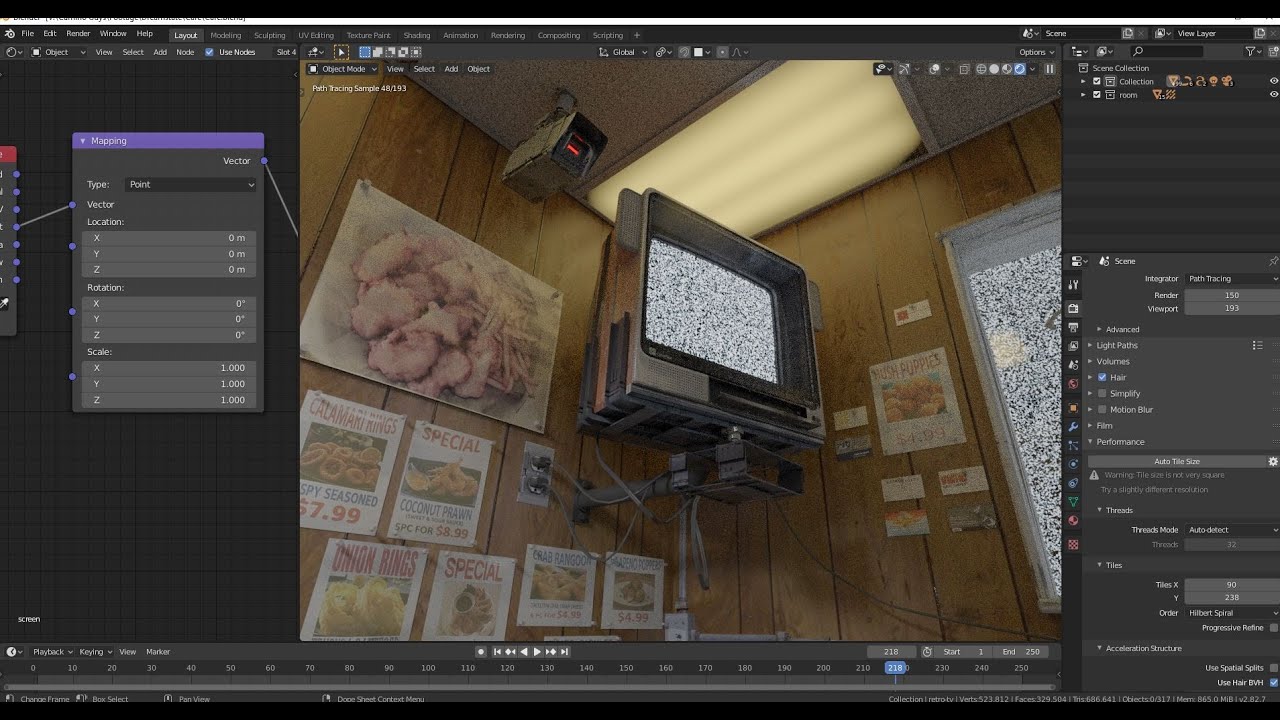
Modeling an ol' CRT Television (Patreon)
Published:
2020-05-02 03:27:15
Imported:
2021-03
Content
You guys!! Thank you all so much for your kind words yesterday! They meant a lot. :D
So this is a random asset I've wanted to have more than once, so I finally just made one! I once again apologize that I seem to never be able to remember to turn on keycasting.
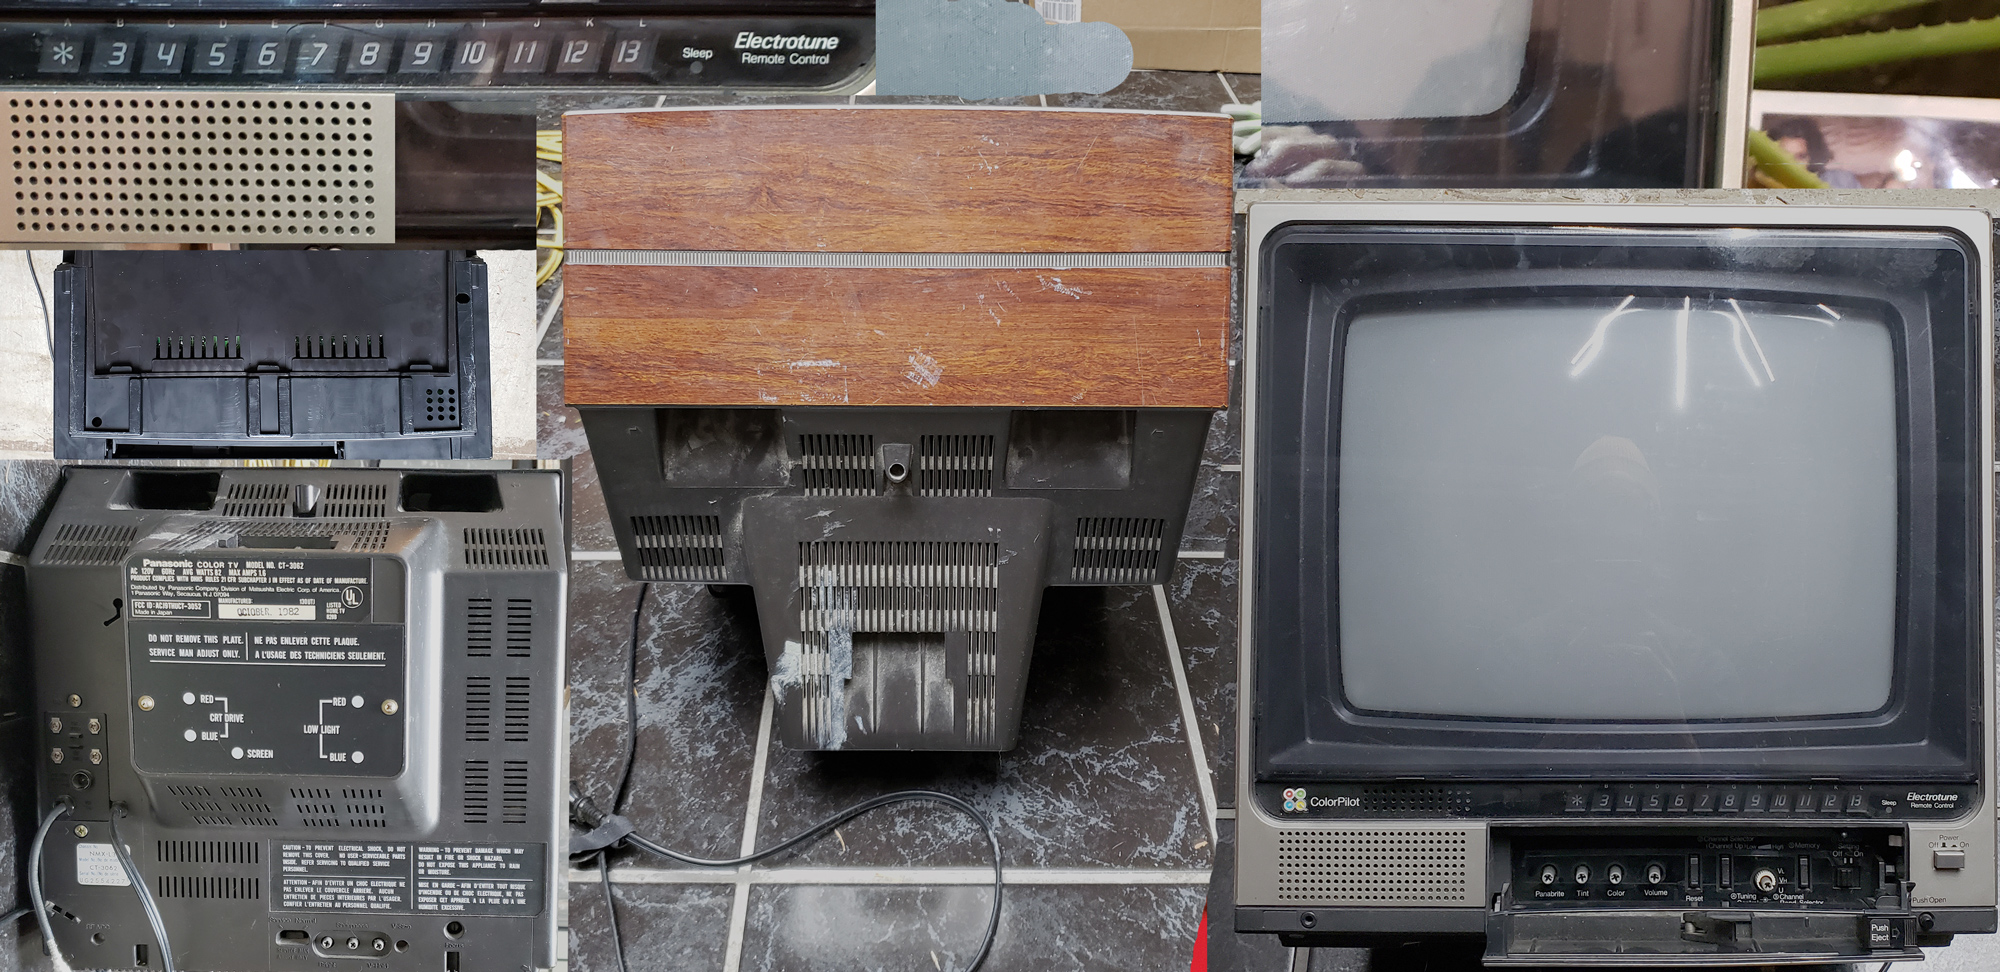
Here's the TV texture, if anyone feels like trying it out for themselves. Honestly some of that random plastic vent stuff could be really useful for mocking up random stuff.
And this is the scene I ended up making last night. It wasn't really supposed to be this (I was just trying to model a quick interior, the view from which was the scene I posted yesterday), but I really liked the idea of the static outside the window, so I ran with it.
