Home
Home

 Artists
 Search
 Recent
 Random
 Posts
Posts
 DMs
DMs
 Tags
Tags
 Random
 Importer
 Import
 FAQ
FAQ
 Account
 Register
 Favorites
 Login
Login

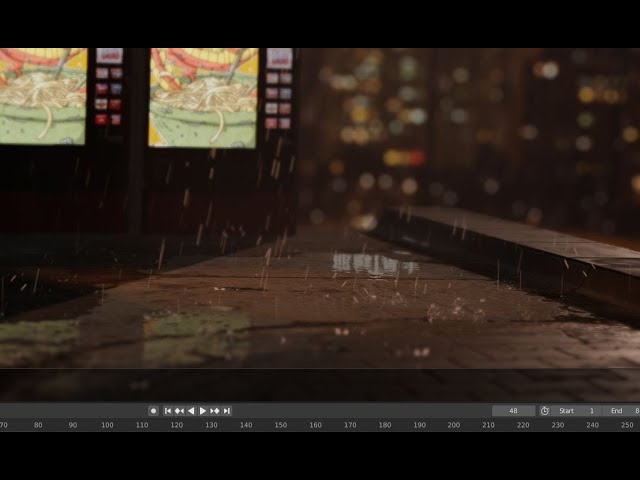
Asset: Rain Textures (for real this time) (Patreon)
Published:
2020-04-12 07:52:17
Edited:
2020-04-12 22:03:47
Imported:
2021-03
Content
Whew! 13th time's the charm! Finally got this recorded, haha
So huge thanks to Cassie Jones for showing me that you can independently offset the timing of video textures- I have a new optimized blend file ready for download, and a new little explanatory video.
Blender doesn't let you pack video files (which I just found out), and I wasn't able to get relative paths to work- but it's super easy to link them up. Just go File, External Data, Find Missing Files, and navigate to the folder with the textures. BAM! Fixed! Way easier than linking them all back up by hand.
You can download the video textures on their own, or a project file with everything in it
Right here.