Home
Home

 Artists
 Search
 Recent
 Random
 Posts
Posts
 DMs
DMs
 Tags
Tags
 Random
 Importer
 Import
 FAQ
FAQ
 Account
 Register
 Favorites
 Login
Login

Electric Hearts and Substructure Canisters (for EL wire!) (Patreon)
Content
Hey there, electroluminescent friends!
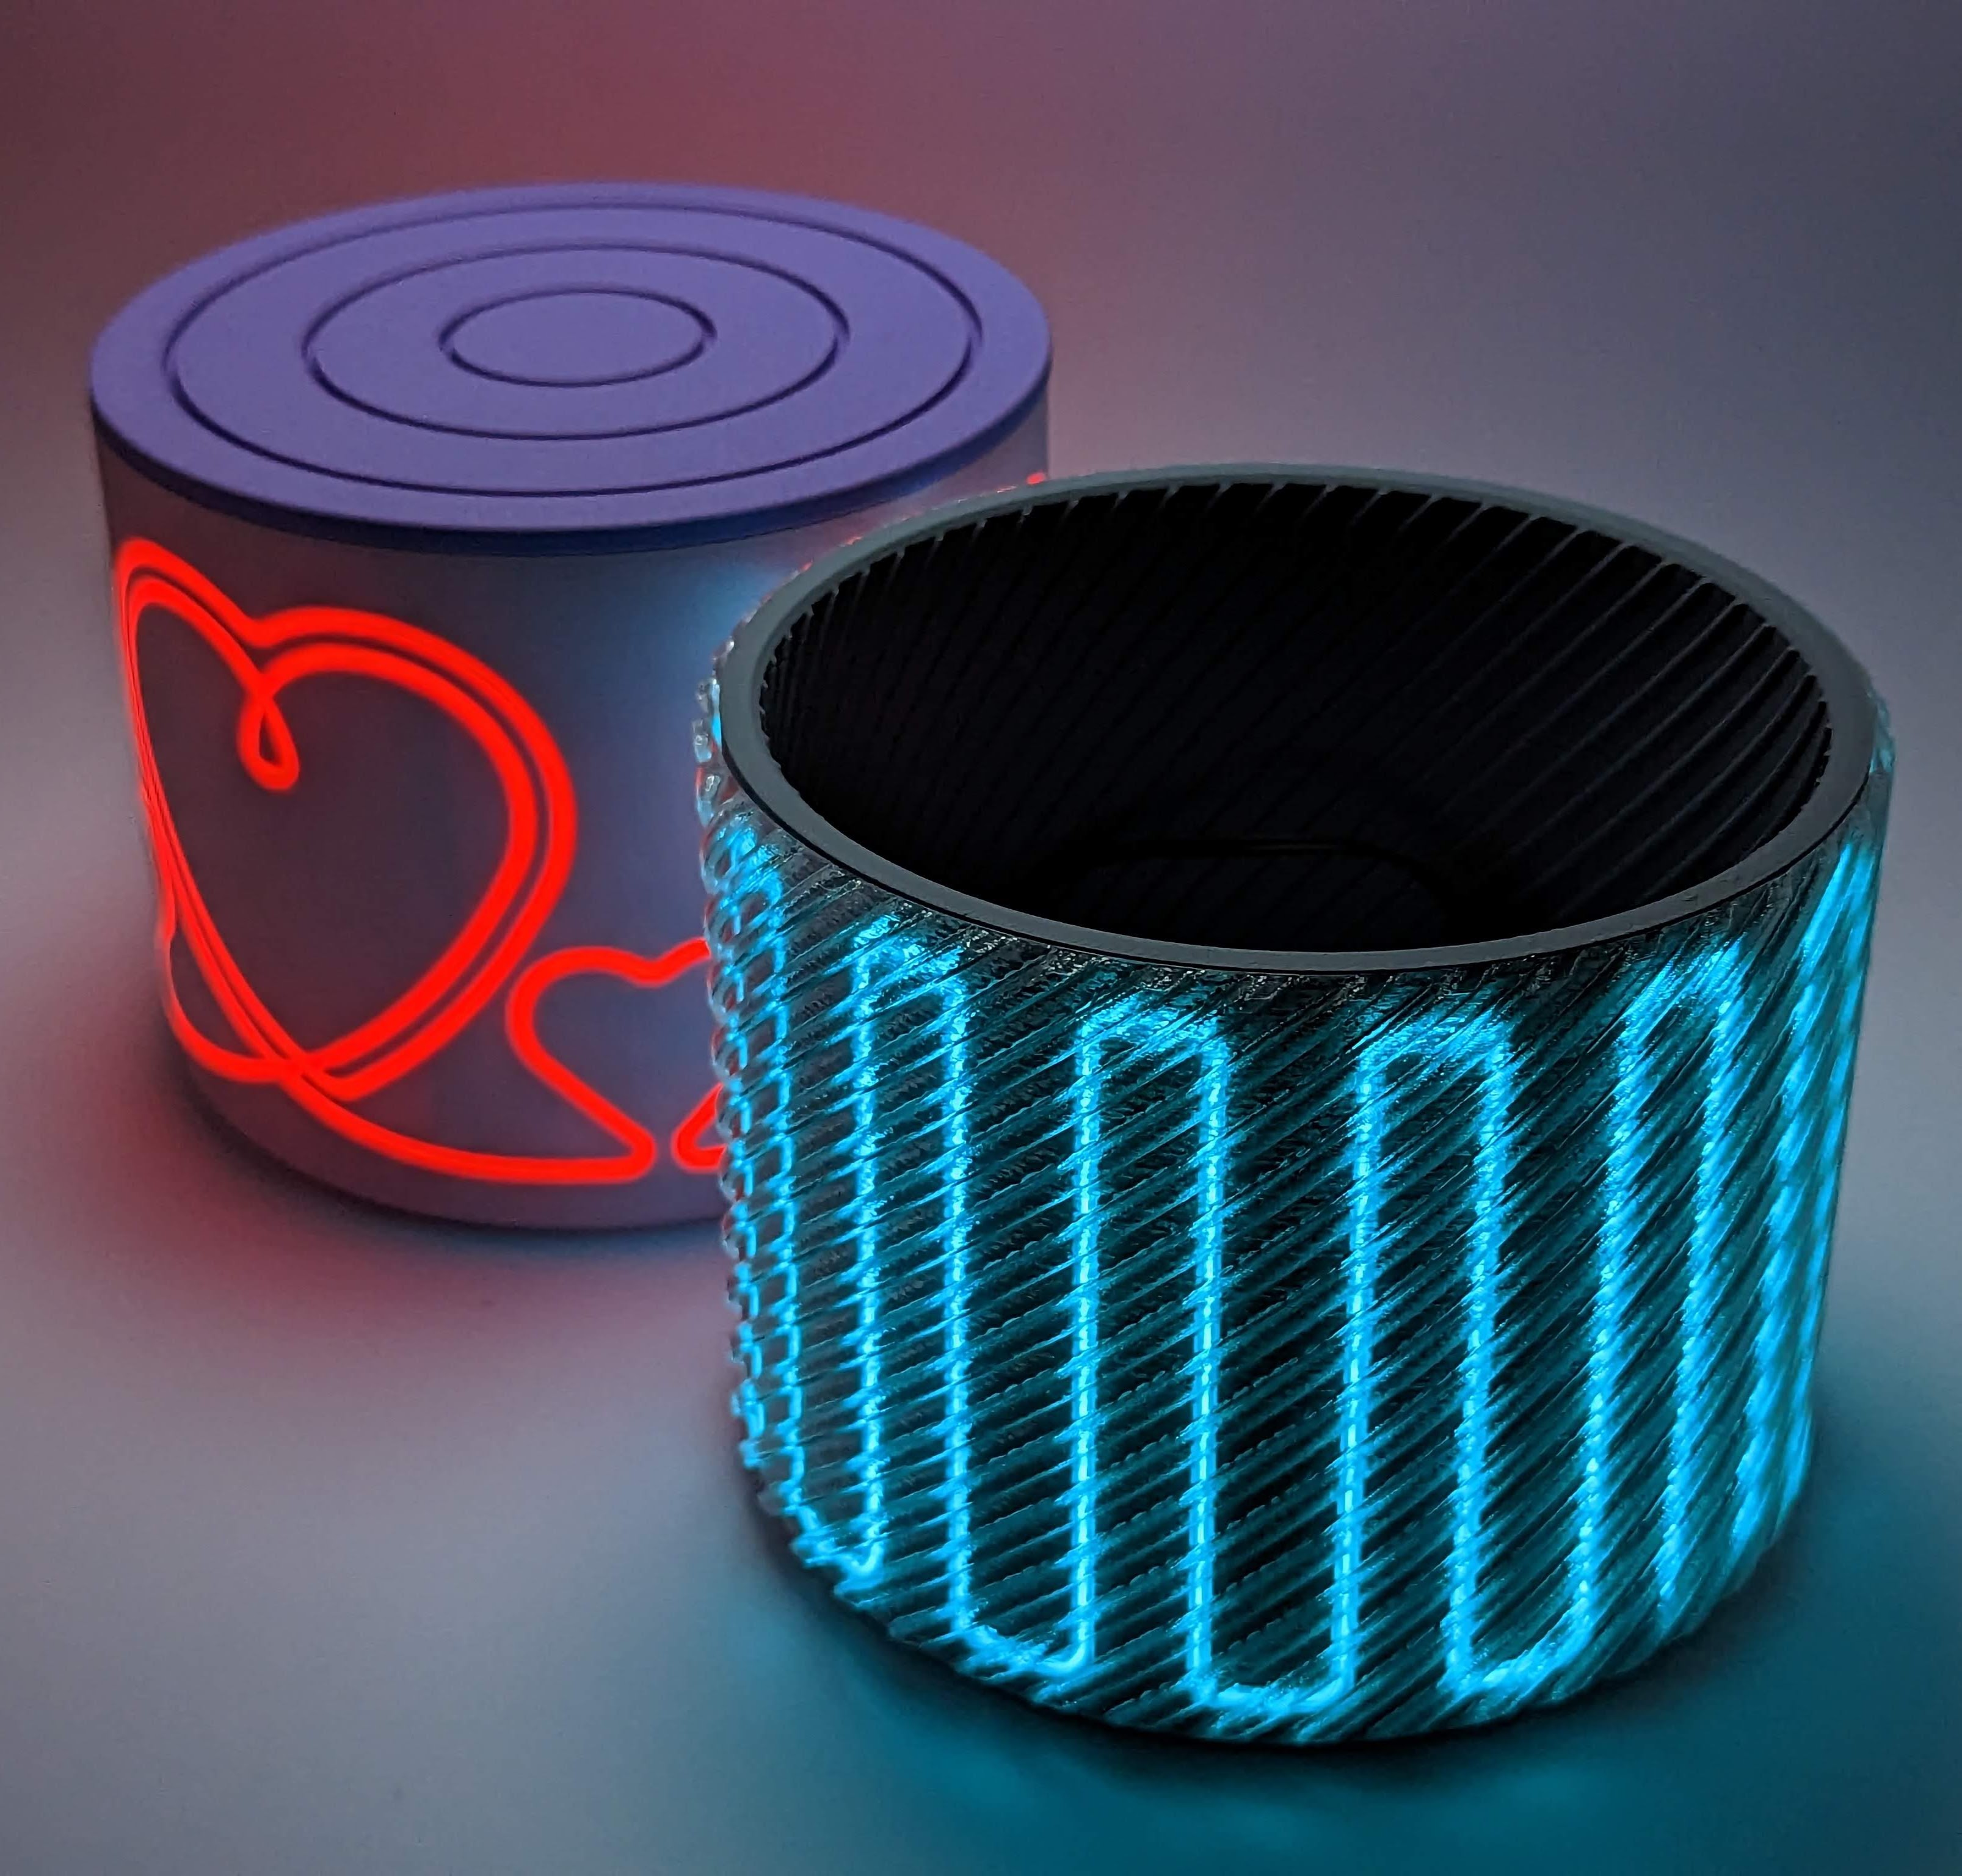
Yes, it's more fun with EL wire! There are two cylindrical models here, along with modifiers to slide over the outside and mix things up. Actually, that's how this model started - wondering if it would be interesting to run parallel lines of EL wire and then place translucent lines at different angles over the top to distort things.
The two models are the Electric Hearts Canister and the Electric Substructure Canister. As with the Neon Skullbox both are designed around a three-metre length of 2.3mm electroluminescent wire, and are sized to contain a battery pack inside.
There's also a bracket that can slide in to hold a generic battery pack vertically, should that be more appealing than just lying the thing in the bottom of the vessel:

Inserting the EL wire
As before, the wire is threaded from the inside through holes near the base.
The Electric Substructure Canister can be threaded in either direction and is symmetrical. There are two holes, circled in the image below.
The Electric Hearts Canister has three holes - one pair and one single. Thread outwards from the outer of the pair of holes and work your way around the model. When I did this, I had precisely the right amount of wire, and was able to just tuck it into the hole adjacent to the starting point. Since it was such a marginal thing, and there may well be variability in production, I put a hole at the start of that last little heart, so that there's an alternative if the wire doesn't quite reach (or you could just leave it as half a heart!)

In terms of getting the wire into the channels, it should be a reasonably tight fit. However, the upper parts of horizontal (and near-horizontal on the hearts) lines have bevels to keep printing nice and neat, but that means that those parts won't grip quite as nicely. So, you might need to make sure you're holding the wire in place with your fingers on those bits until you get the next tight section done.
An important note on the heart wire crossings!
The heart shapes have a couple of points where the wire crosses itself, and it's important to make sure the wire is properly inserted when the lower line goes in. Each of those crossings has a dip in the channel, and the wire needs to be pushed down into that dip.
EL wire is not elastic, so if it hasn't been pushed down into the dip, the bit that crosses over the top will stick out instead of staying flush with the outside. This will mean it's less securely attached, and modifiers won't fit over the top!
Modifiers! Aka: The Outside Bit
Modifiers! These are vase mode prints that the main structure is pushed into, and they're a tight fit! There are three versions - one that's just smooth, and two with line patterns. As you would expect, the patterned ones are easier to get on and off since the patterns give them some springiness.
I decided to try printing the smooth modifier in grey, to hide the wire. It worked well! Turning on the EL wire suddenly made the pattern glow through, though with far less brightness than usual, as you'd expect. Still, it was fun :)
The lower two modifiers here are printed in clear filaments. I did some yellow versions when prototyping, and that turned the blue light green. Translucent gradient filaments might be fun here!

And likewise, here's the heart version with the modifiers:

Print Description (and note on scaling for modifiers)
The main body is a regular mode print, nothing tricky.
There are some overhangs in the wire channel, though the outer edge is beveled to keep the visible things neat. The overhang is kept in place on the inner part of the channel, though, as it's important for retaining the wire.
The modifiers are vase mode prints, and here you might have to consider your print settings.
You see, vase mode usually maintains the outer dimensions, regardless of your specific print settings. This matters here, because it's the inner dimensions that determine whether the modifiers fit over the main body and wire neatly rather than being too tight or too loose. The modifiers are sized for 0.4mm line widths, so if you're using a different line width you might well need to adjust things very slightly to suit what you're doing!
Print Dimensions
The main body of the canisters occupies 142mm x 142mm on the print bed and is 112mm tall.
Supports Needed?
Not at all! Designed for straightforward printing!
Scalability
This one isn't easily scalable, because the wire channel is designed to suit 2.3mm electroluminescent wire, and any scaling will change the fit.
Print Orientation
The main body, modifiers and battery pack bracket all print right-way-up, while the lid (oh yeah, I forgot to mention, there's a lid! You probably saw it up in the earlier photos, though) prints upside-down.

File Location
You'll find this one at at 584 Electric Hearts and Substructure Canisters
Link to dropbox post: https://www.patreon.com/posts/31697592
Further Thoughts
This wire stuff is just so much fun!
It would be even better to have it incorporated into an articulated model of some kind, perhaps a mechanical box? There'd need to be some consideration around not stressing the wire too much with movement, of course, but I'm sure such things could be factored in...
Happy electroluminescing!
xoxo
Sven.
Files