Home
Home

 Artists
 Search
 Recent
 Random
 Posts
Posts
 DMs
DMs
 Tags
Tags
 Random
 Importer
 Import
 FAQ
FAQ
 Account
 Register
 Favorites
 Login
Login

Sector Drawers (Patreon)
Content
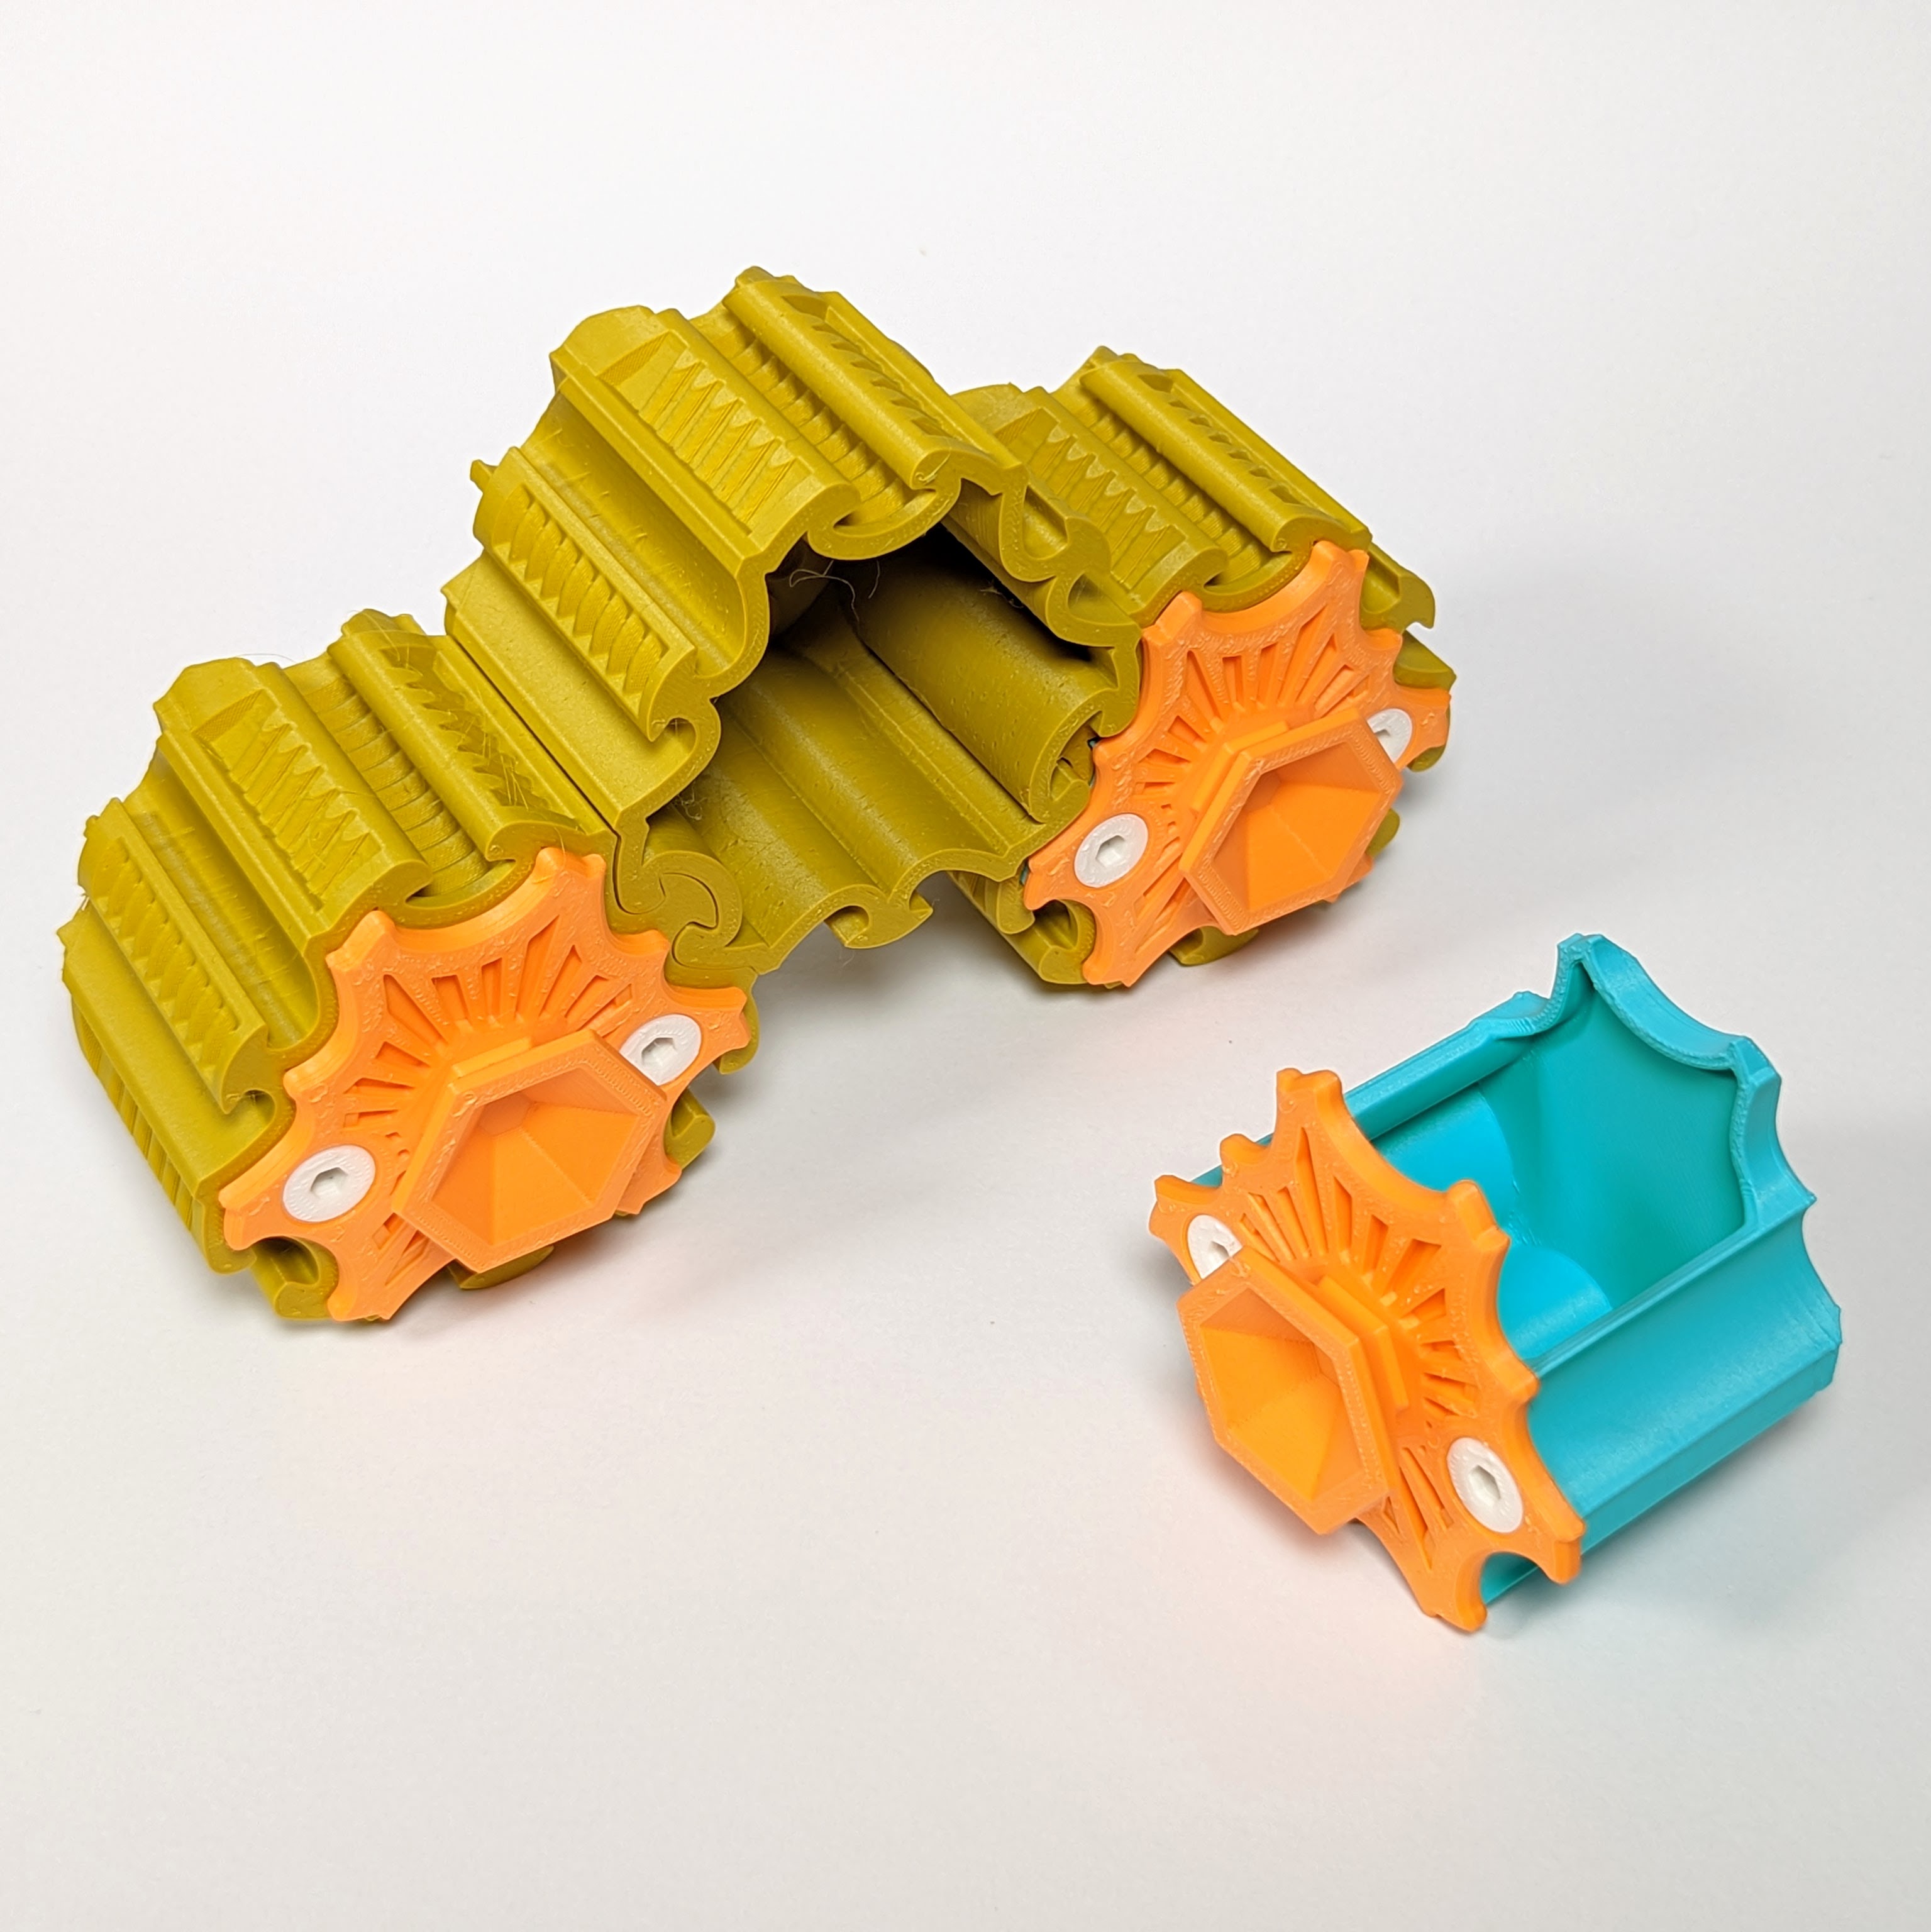
You might remember the Sector Caddy in the very recent past - well it's back, in drawer form! That's right, all your irregular, non-rectangular tiny drawer storage needs have come true!
The outer part has the same profile as the original Sector Caddy, but the inner ridge that held the lid in place is omitted and the back (that was previously the base) now has countersunk holes and keyholes for screws, and allowance for up to six cylindrical magnets.
The drawer itself is an assembly, with a front panel that bolts onto the main drawer body using three countersunk, printed bolts. The whole assembled drawer inserts until the front contacts the outer part, and leaves a small gap between the back of the drawer and the back of the outer so that there's some allowance for protruding mounting screws.

Print Description
Each of these pieces is a regular mode print, no supports required.
Print Dimensions
The drawer outer occupies 68mm x 69mm on the print bed and is 50mm tall.
Supports Needed?
Not at all! Designed for straightforward printing!
Scalability
This one will scale to some degree, but the fit between the pieces will be affected, including the fit between the tessellating outer parts. If you're using magnets then bear in mind the magnet holes at the rear will scale, too!
Optional Magnets
There is room for up to six 6x3mm cylindrical magnets on the rear of the outer part to facilitate magnetically attaching the drawers to something.
Print Orientation
All the parts print back-down (actually, the bolts could print either way):

File Location
You'll find this one at at 642 Sector Drawers
Link to dropbox post: https://www.patreon.com/posts/31697592
Further Thoughts
Oh yeah, there's also a driver tool! The small bend is to allow the tool to fit under the handle for that middle bolt :)
Happy printing!
xoxo
Sven.
Files