Home
Home

 Artists
 Search
 Recent
 Random
 Posts
Posts
 DMs
DMs
 Tags
Tags
 Random
 Importer
 Import
 FAQ
FAQ
 Account
 Register
 Favorites
 Login
Login

鈴仙(PSD and Process) (Pixiv Fanbox)
Videos
-
reisen.mp4
Downloads
Content
描写:ClipStudioPaint
加工:photoshop
タイムラプス↓
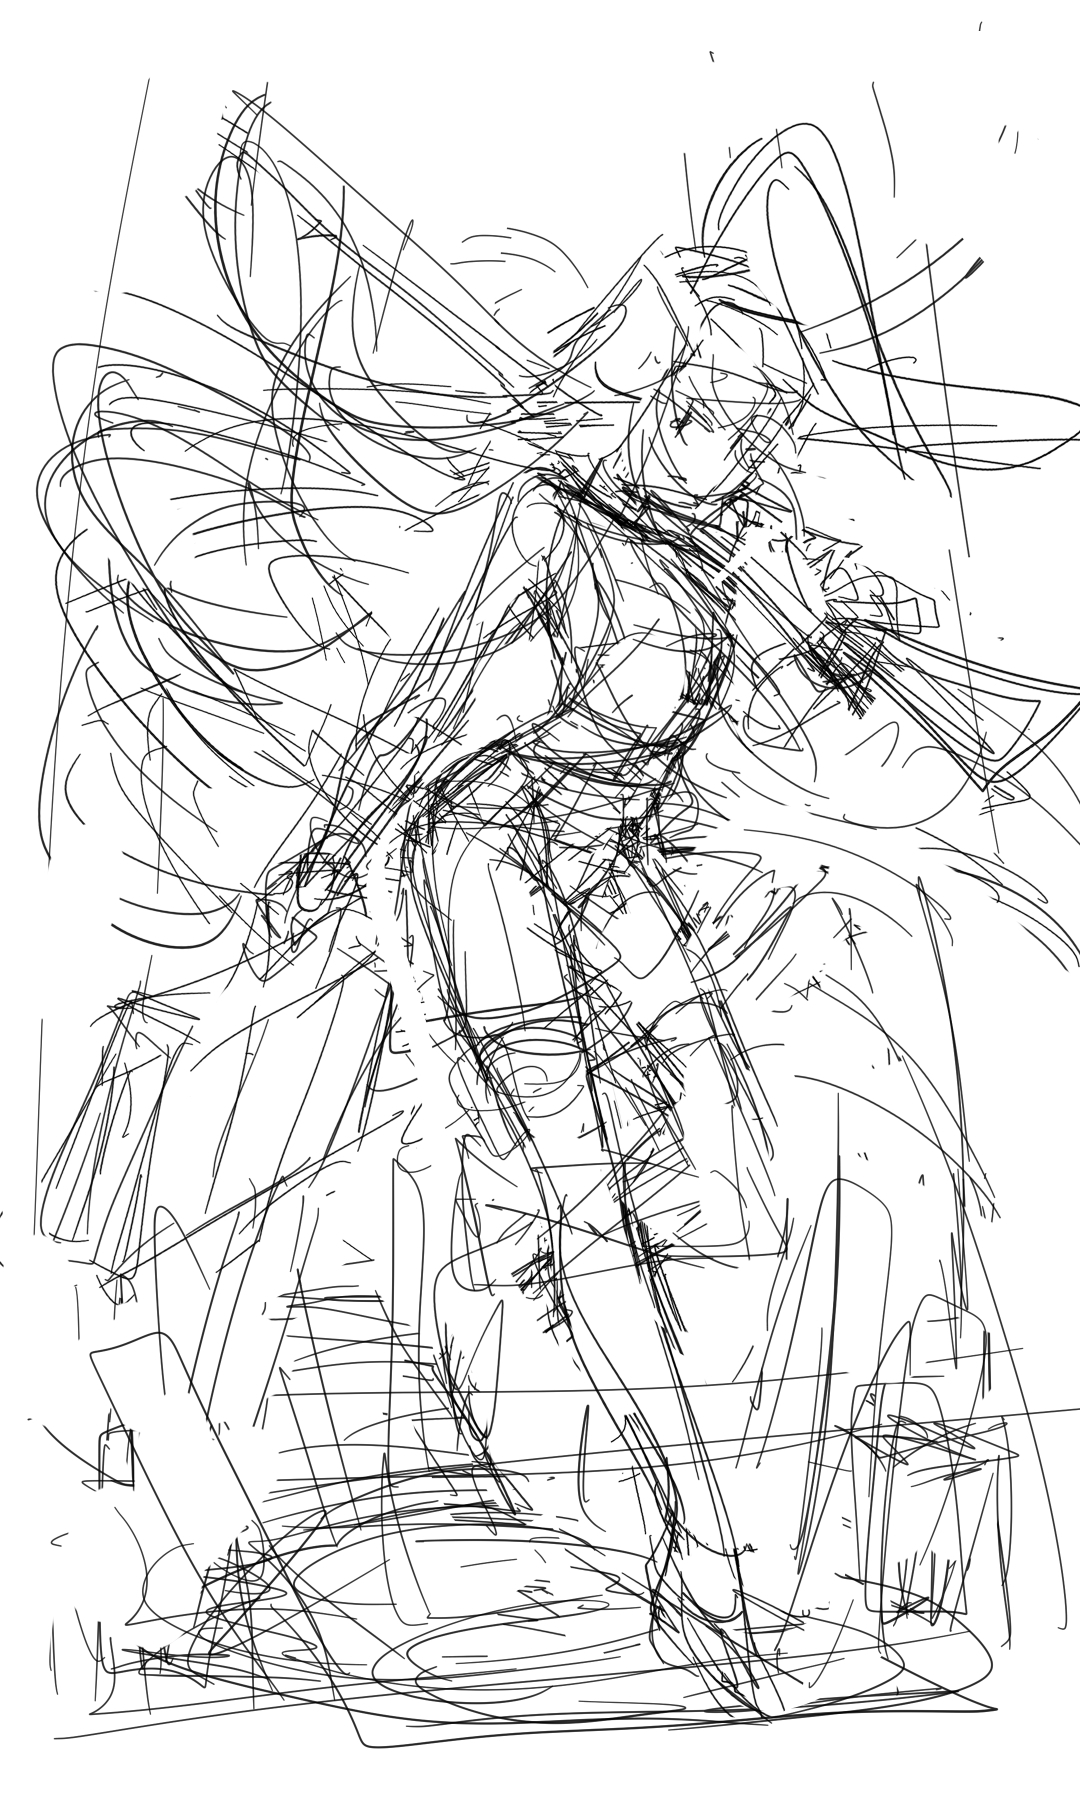
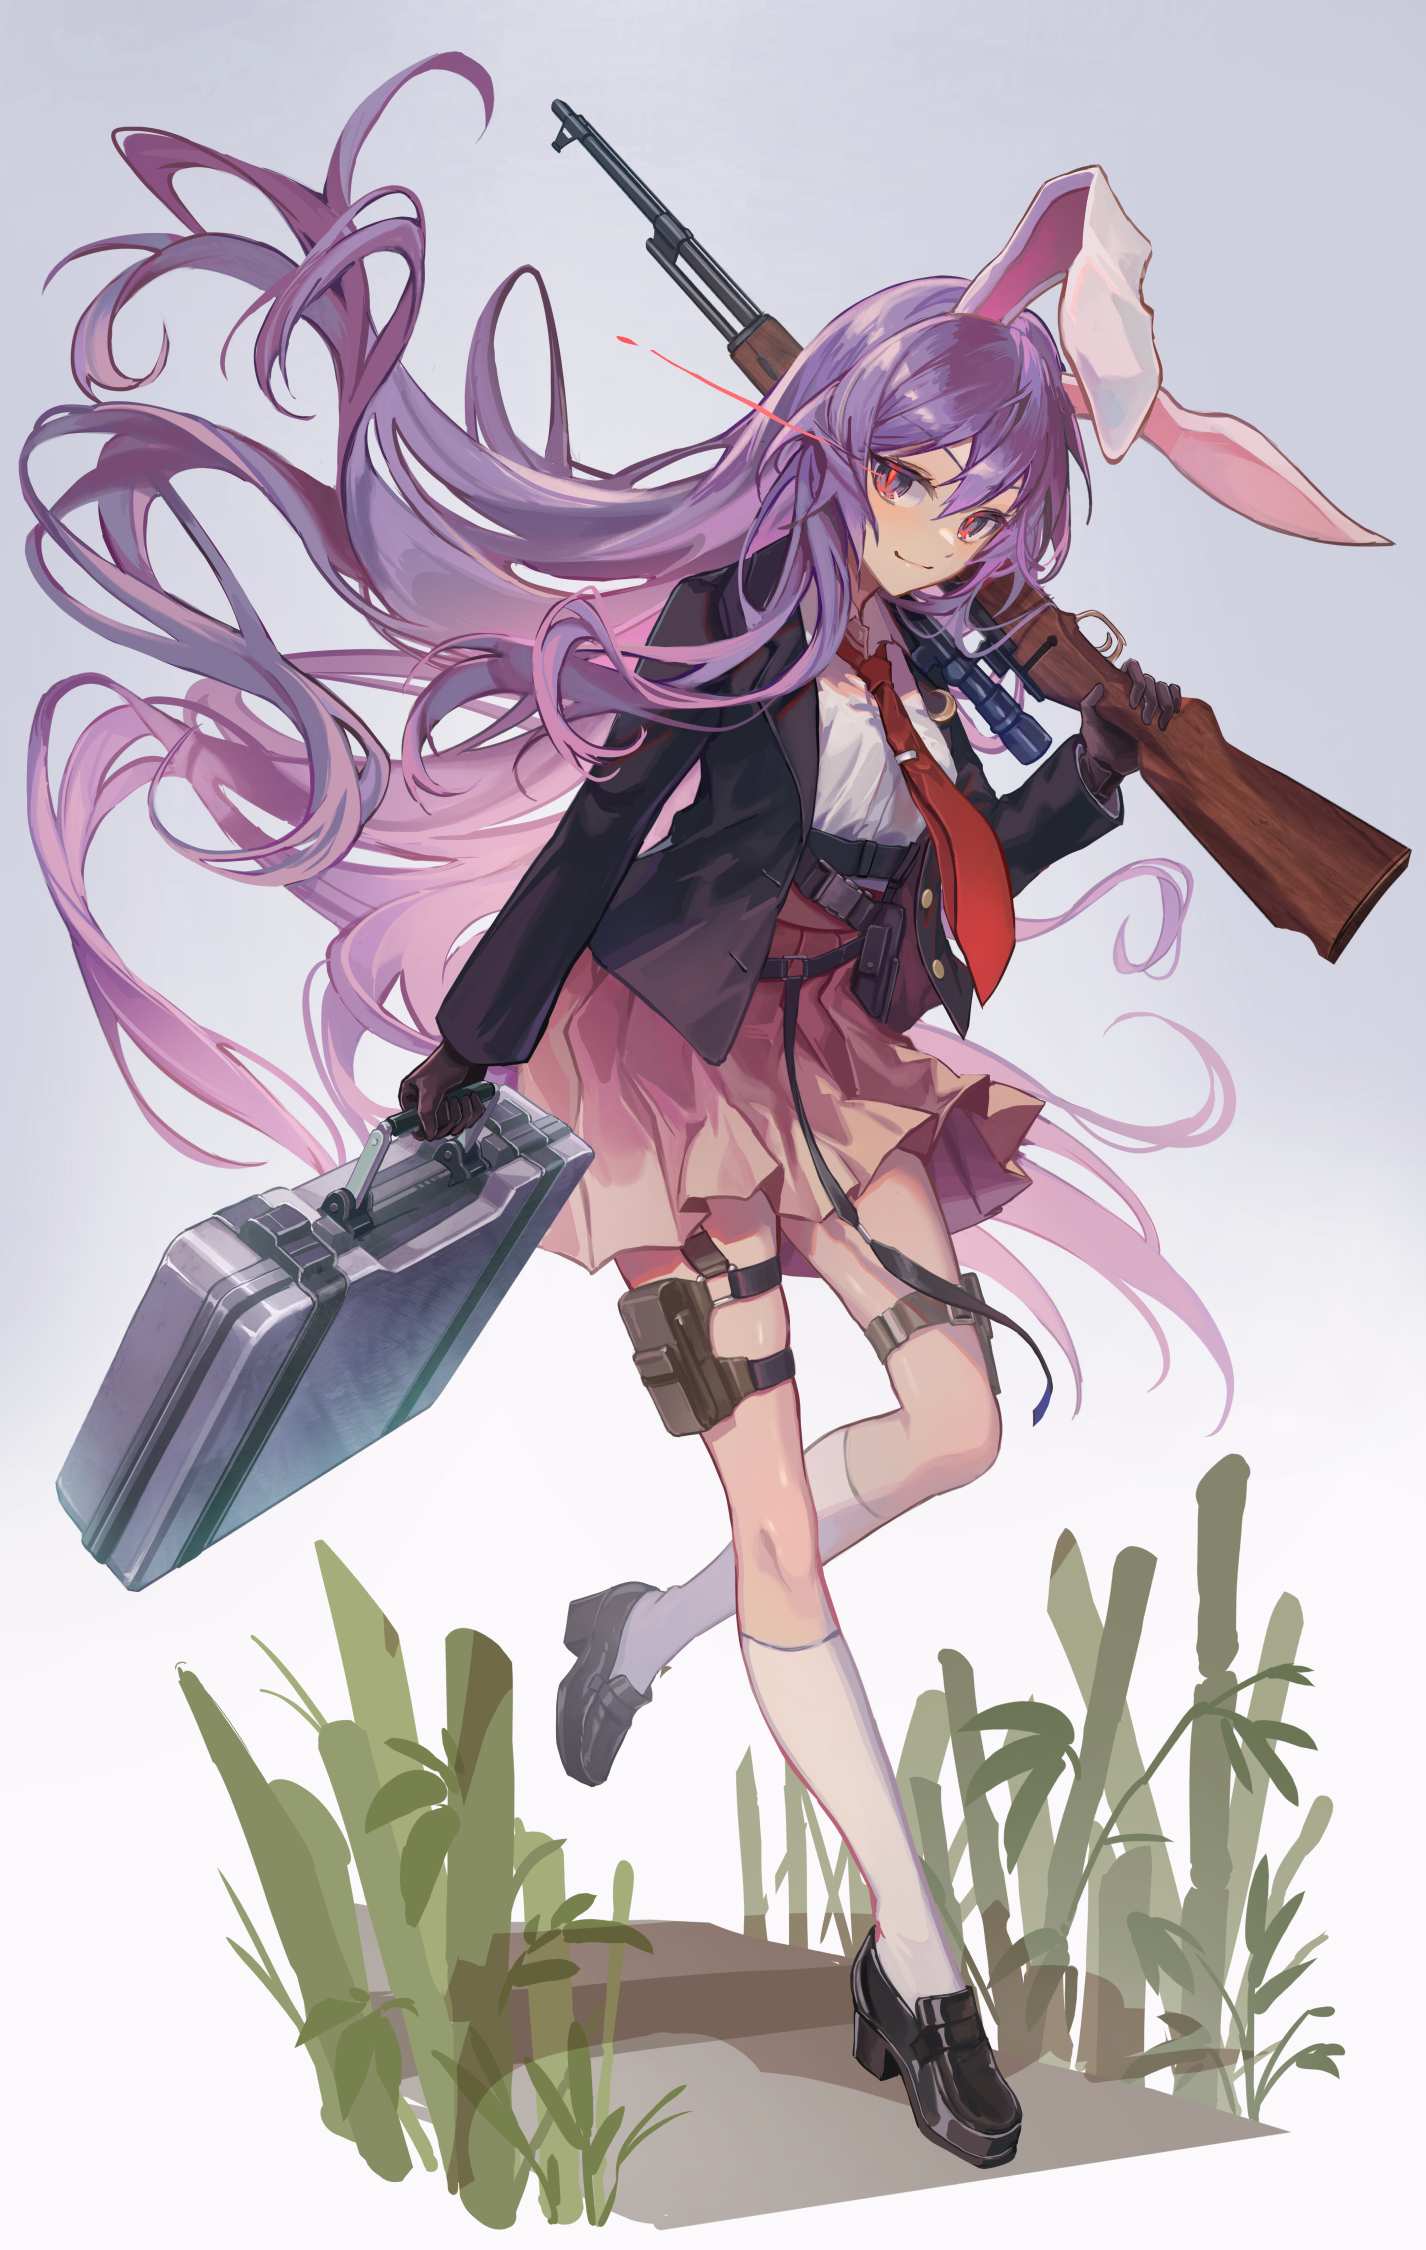
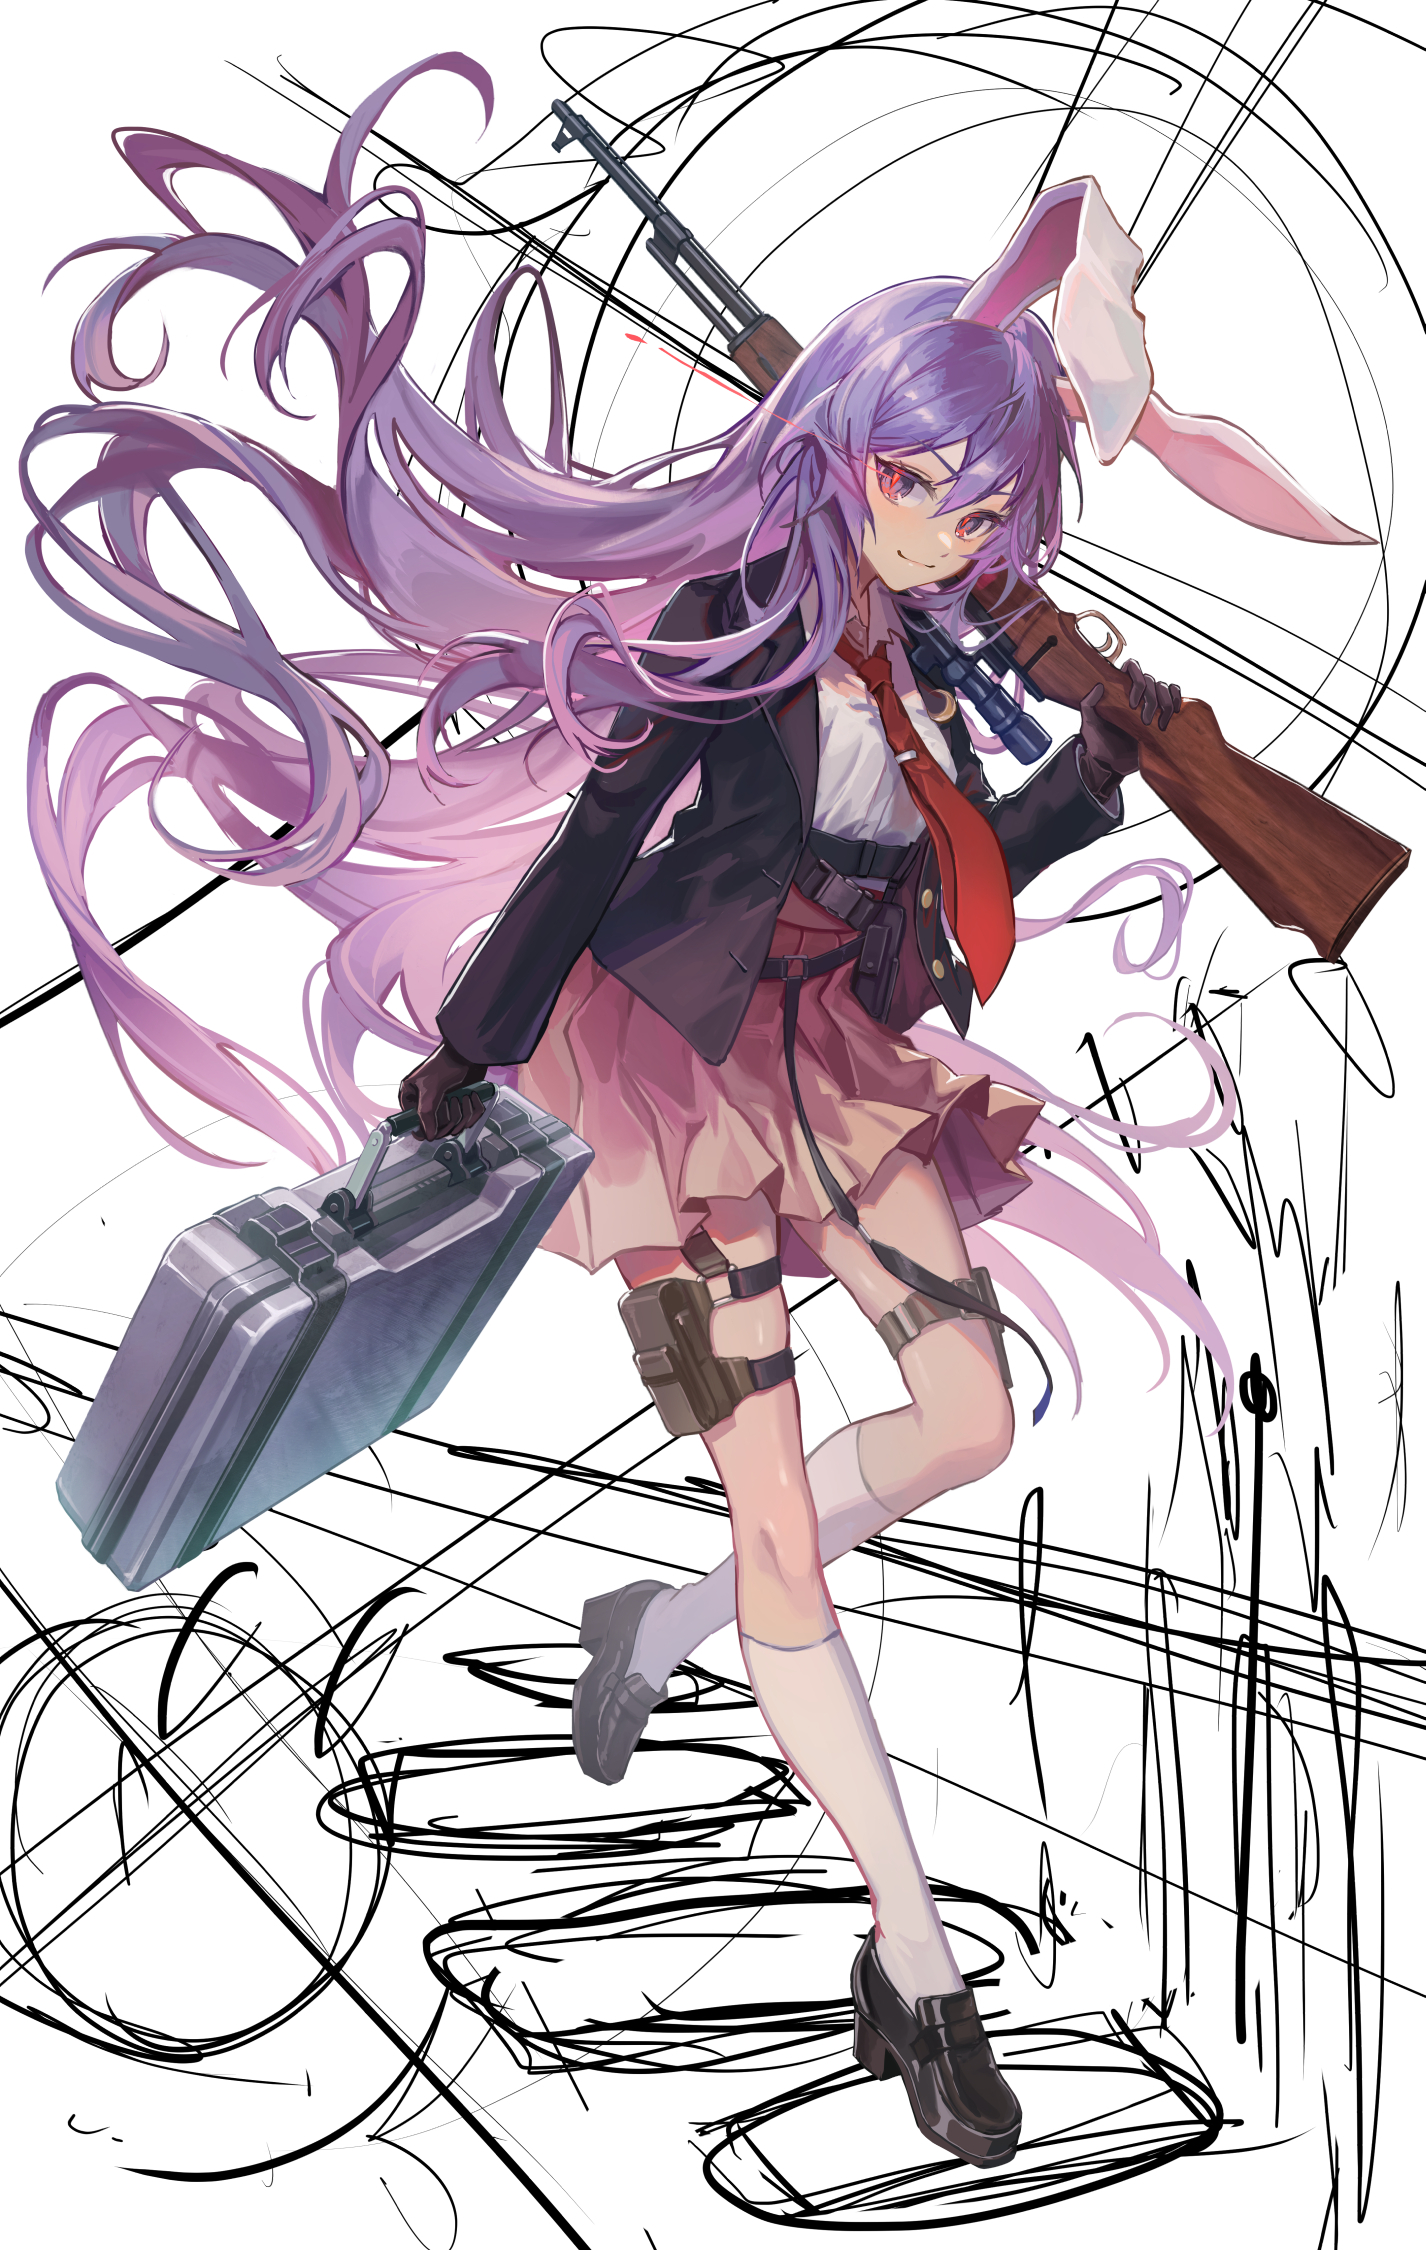
・修正の重要性について
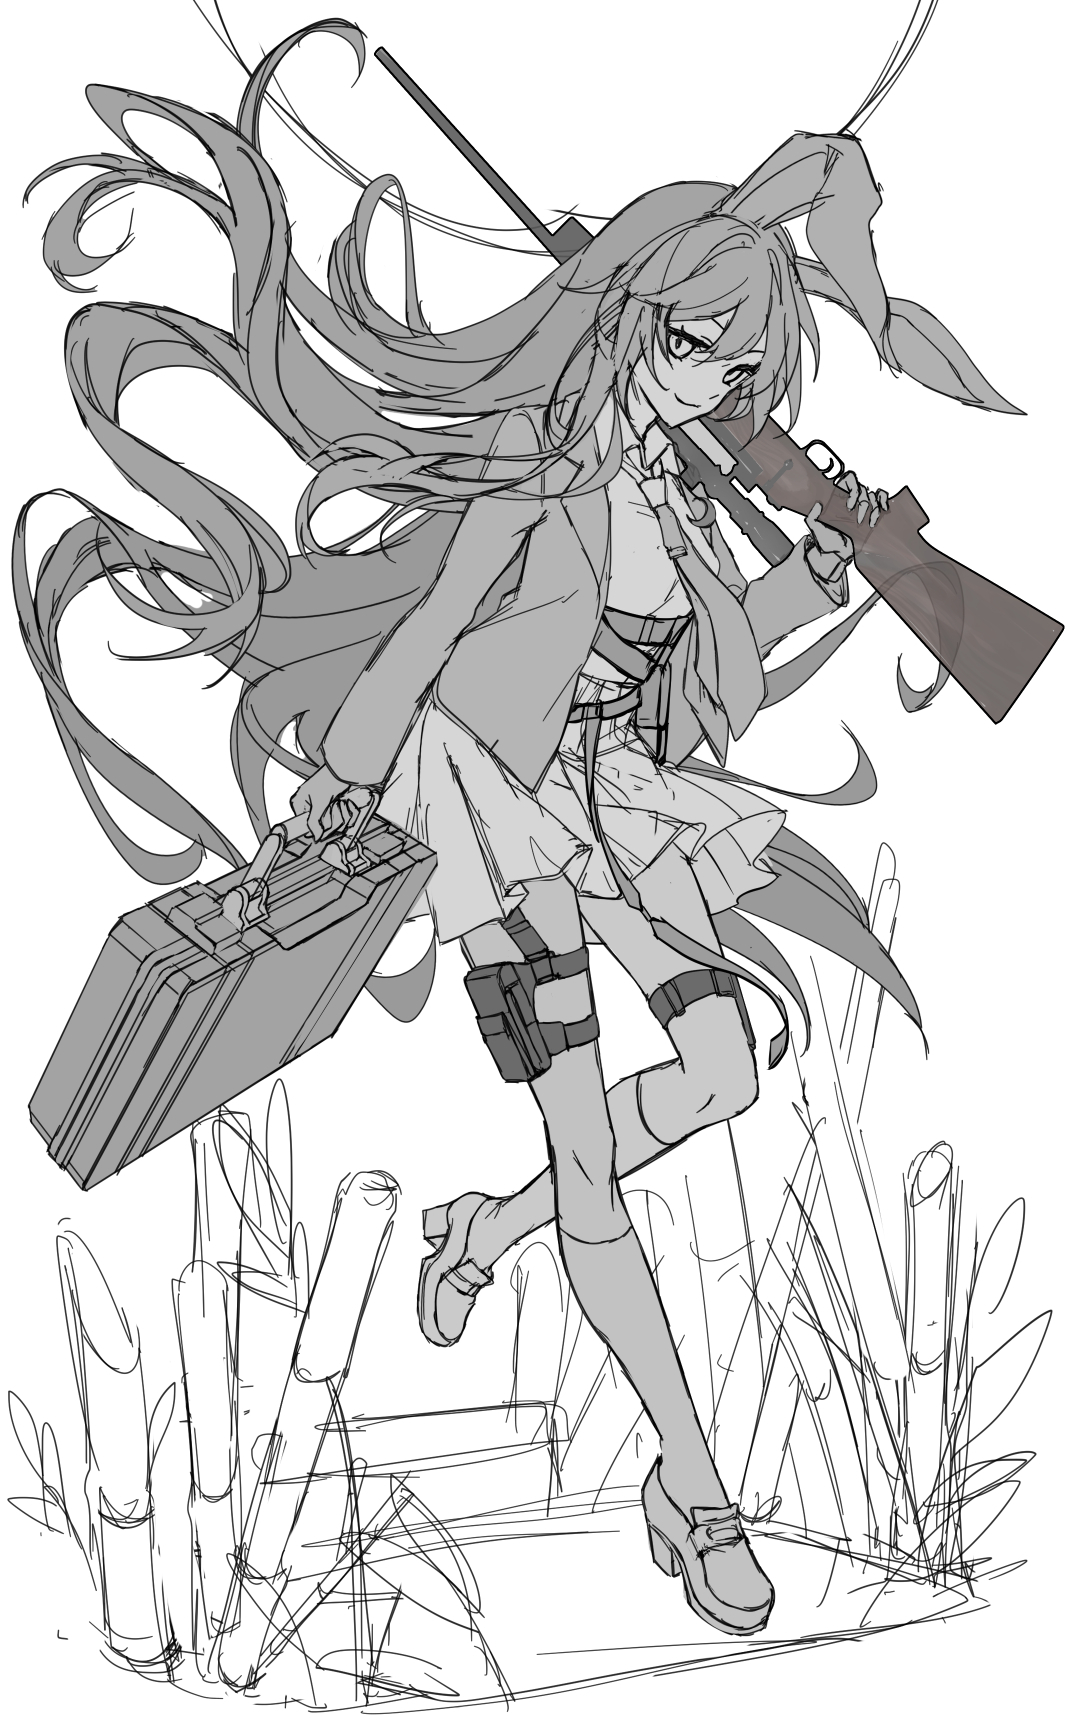
タイムラプスを見ると分かると思うのですが、今回はかなり描き直しが多いです。
ある程度描いた後に修正するのはかなり面倒なのですが、経験上これをするのとしないのとでは最終クオリティに雲泥の差があります。
「ここまで描き進めたのだから描き直したくない」「最後までしっかり描けば良くなる」と横着しがちですが、大体上手くいきません。
一見遠回りに見えますが、何か微妙だと思ったら思い切って描き直すのが近道です。
何か変だけど直し方がよく分からないという場合も試行錯誤しまくっているとその内解決することが多いです。その時に原因も判明します。
ラフの時点で変だと感じている場合も無理に進めると大抵ろくな結果になりません。傷口が浅い内に早めに修正した方が吉ということを学びました。
また自分の場合、ちょっとした修正も積極的に行っていた時期はそうでなかった時期に比べて上達しやすかったです。
絵のクオリティアップには変な部分を見つけられる能力とその修正から逃げない忍耐力が大切なのでしょう。
-The Importance of Revisions
As you can see from the time lapse, there is quite a lot of redrawing in this work.
Although it is quite tedious to make corrections after a certain amount of work has been done, experience has shown that there is a huge difference in final quality between doing so and not doing so.
It is easy to think, "I don't want to redo the drawing since I have already done this much," or "It will be better if I draw it all the way through," but it usually doesn't work out.
It may seem like a roundabout way, but if you find something subtle, the shortcut is to boldly redraw it.
Even if something is wrong but you don't know how to fix it, you can often solve the problem by trial and error. The cause of the problem will also be identified at that time.
Even if you feel something is wrong at the draft stage, forcing the work will usually result in a bad outcome. I have learned that it is better to make corrections as soon as possible while the wound is still fresh.
In my case, it was also easier to improve when I was actively making small corrections than when I was not.
To improve the quality of illustration, it is important to have the ability to find the odd part and the patience not to run away from the correction.
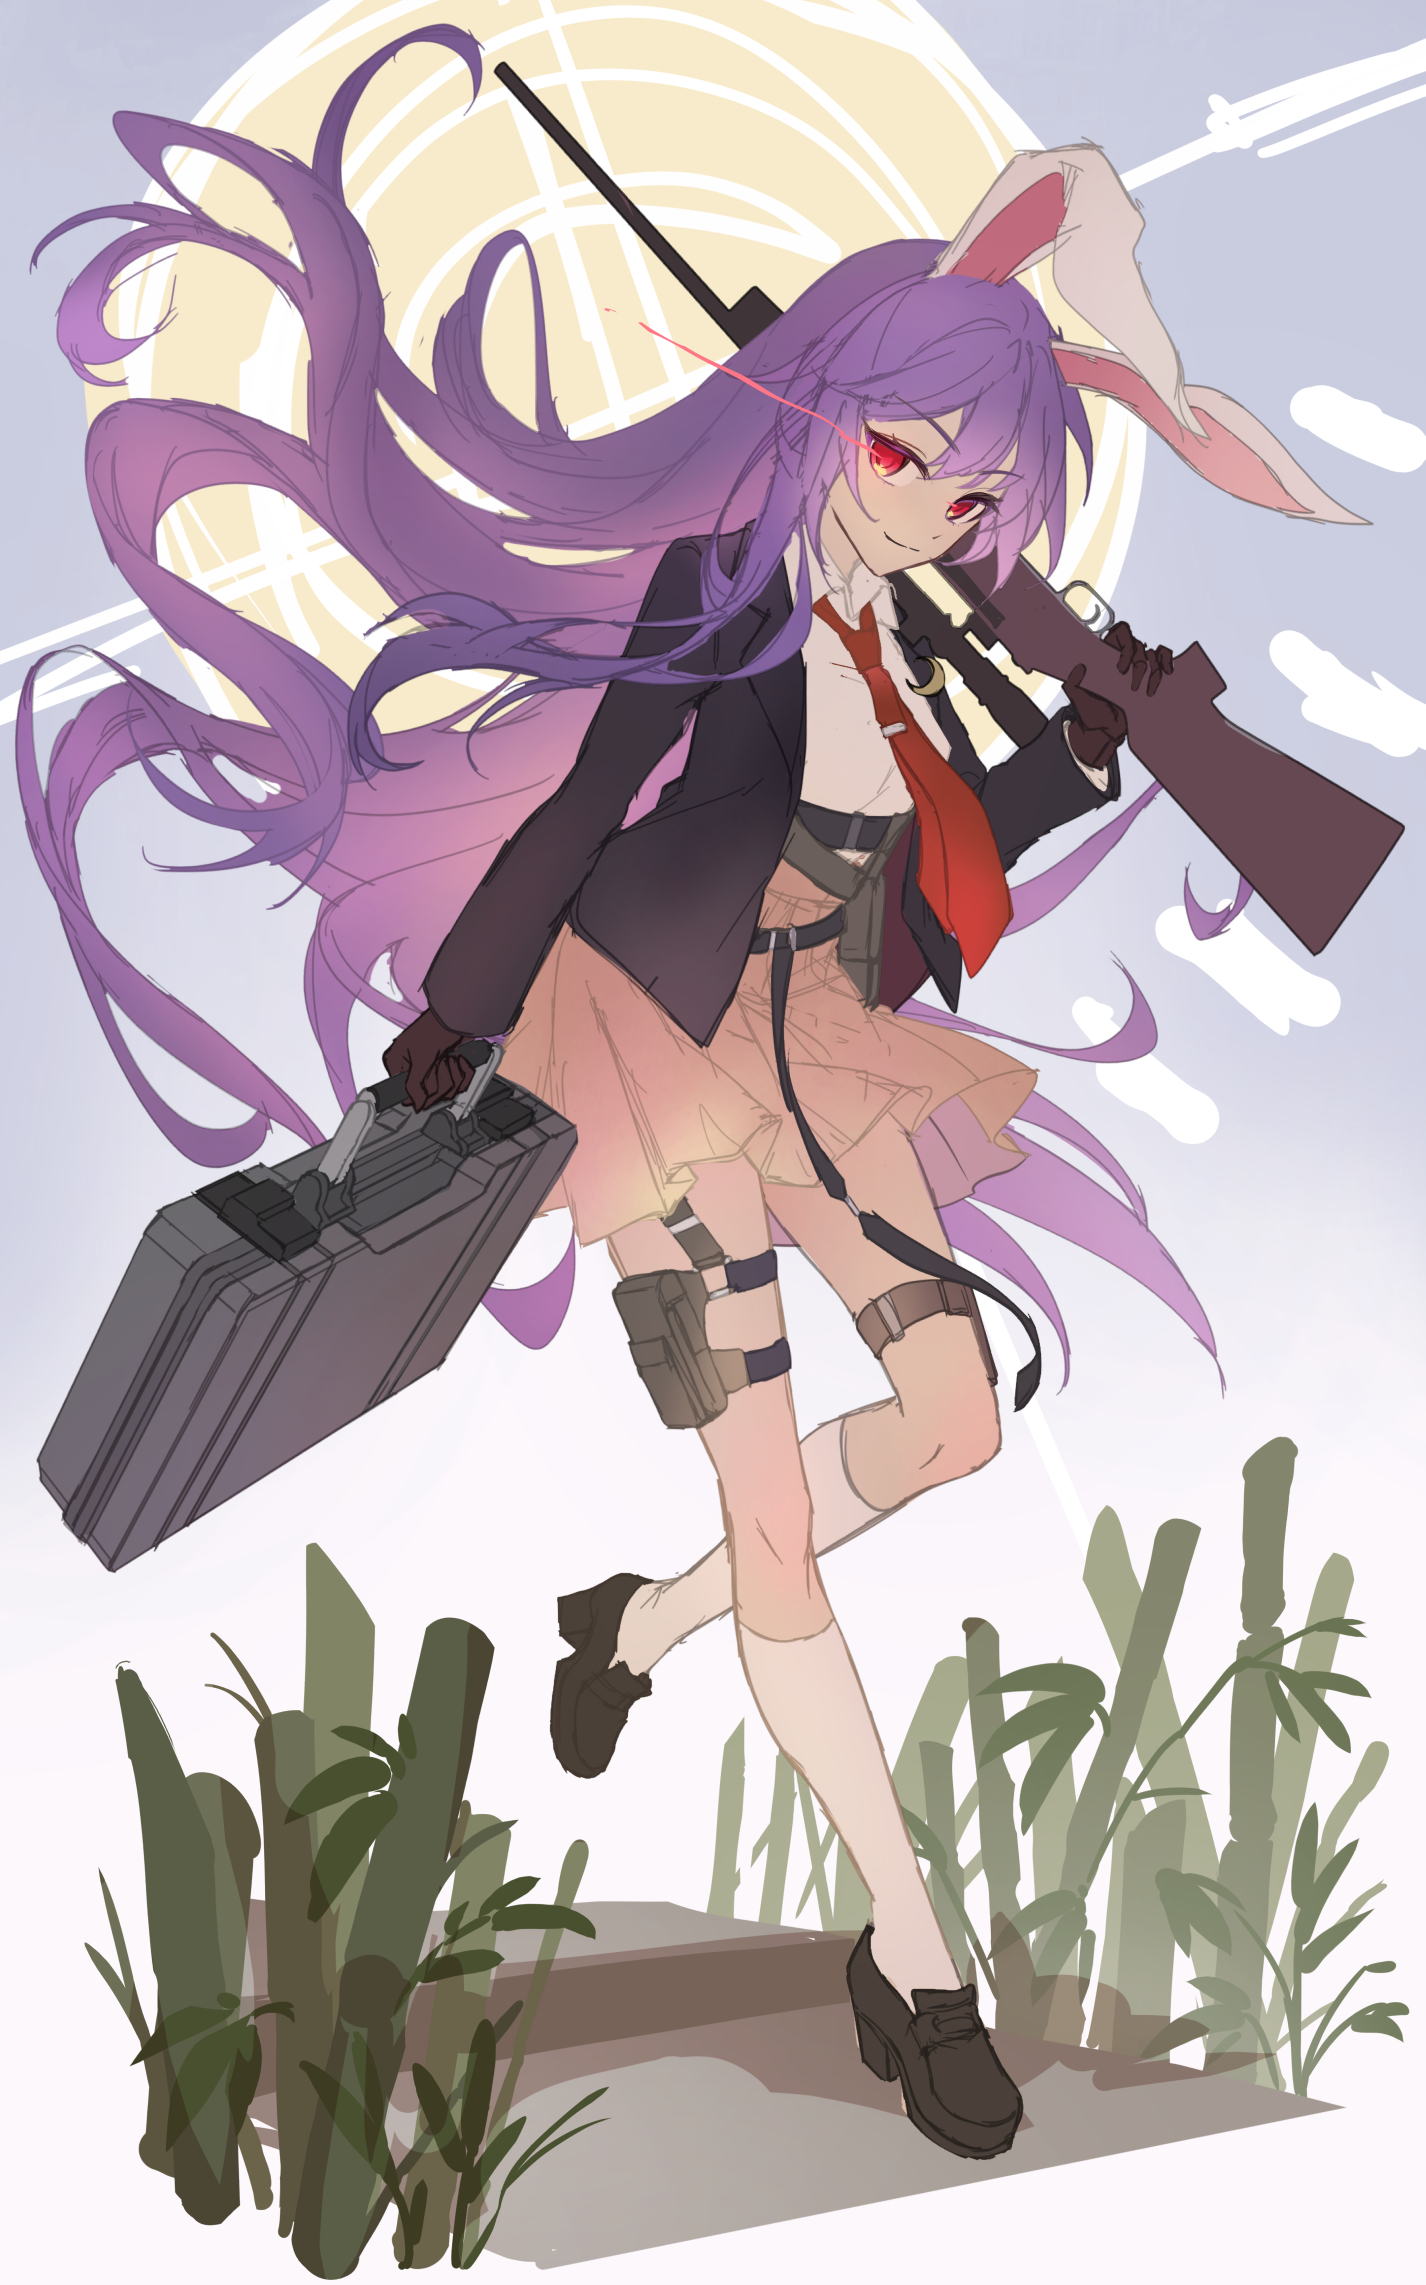
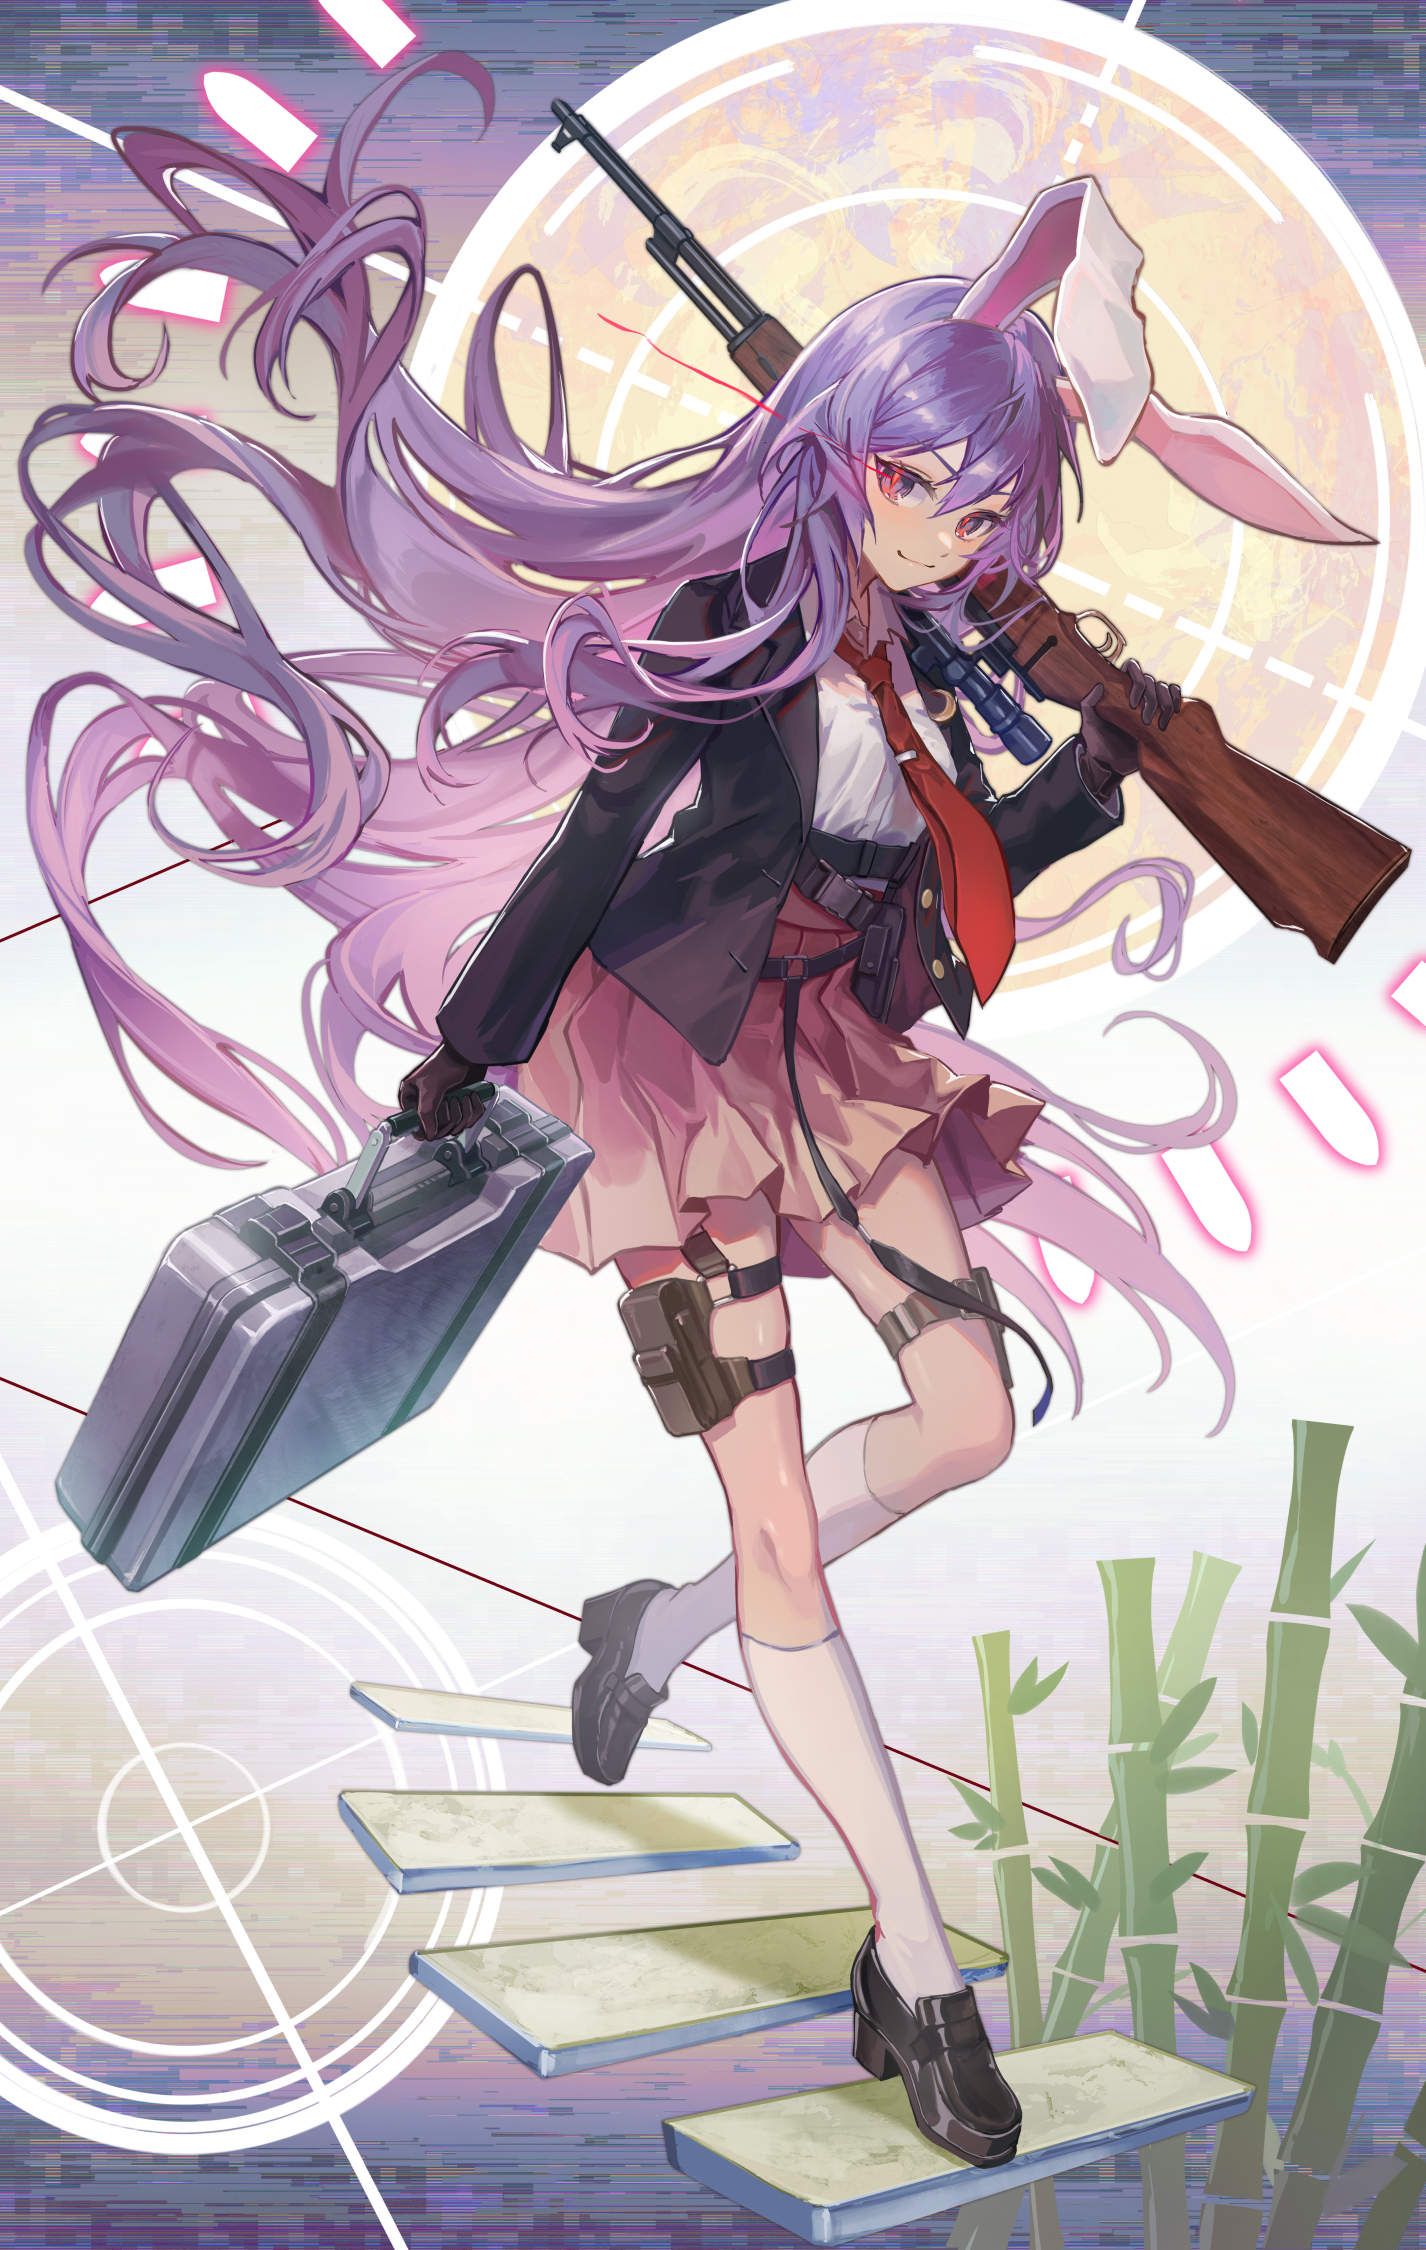
・着彩時のレイヤー構成について
質問が多かったので軽く解説します。
-About the layer composition when coloring
There were many questions, so I will give a brief explanation.
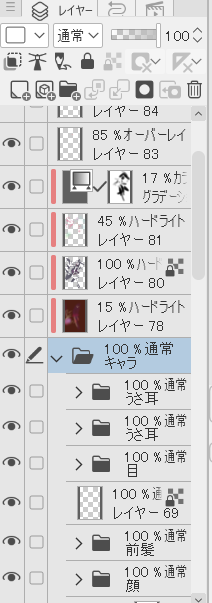
1、キャラ用、背景用などモチーフごとにフォルダを分ける。
2、ラフの時点で簡単にパーツ分けをして更にフォルダを作っておきます。
(そうした方が後々修正しやすくなるので)
3、各パーツごとに下塗りをします。
4、キャラフォルダの上から影用レイヤーを追加し大まかに影を塗ります。
5、状況に応じて、オーバーレイやグラデーションマップも追加
1, Separate folders by motif, such as for characters, backgrounds, etc.
2, At the time of drafting, easily divide the work into parts and create additional folders for parts.
(This will make it easier to revise later.)
3, Apply base color to each part.
4, Add a shadow layer on top of the character folder and roughly paint the shadow.
5, Add overlays and gradient maps as needed.
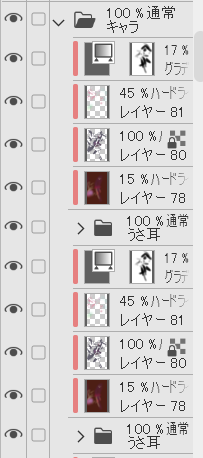
6、大体塗り終えたらそのレイヤーを各パーツフォルダごとにクリッピングしていく
6, When you have roughly finished painting, clipping the layer to each parts folder.
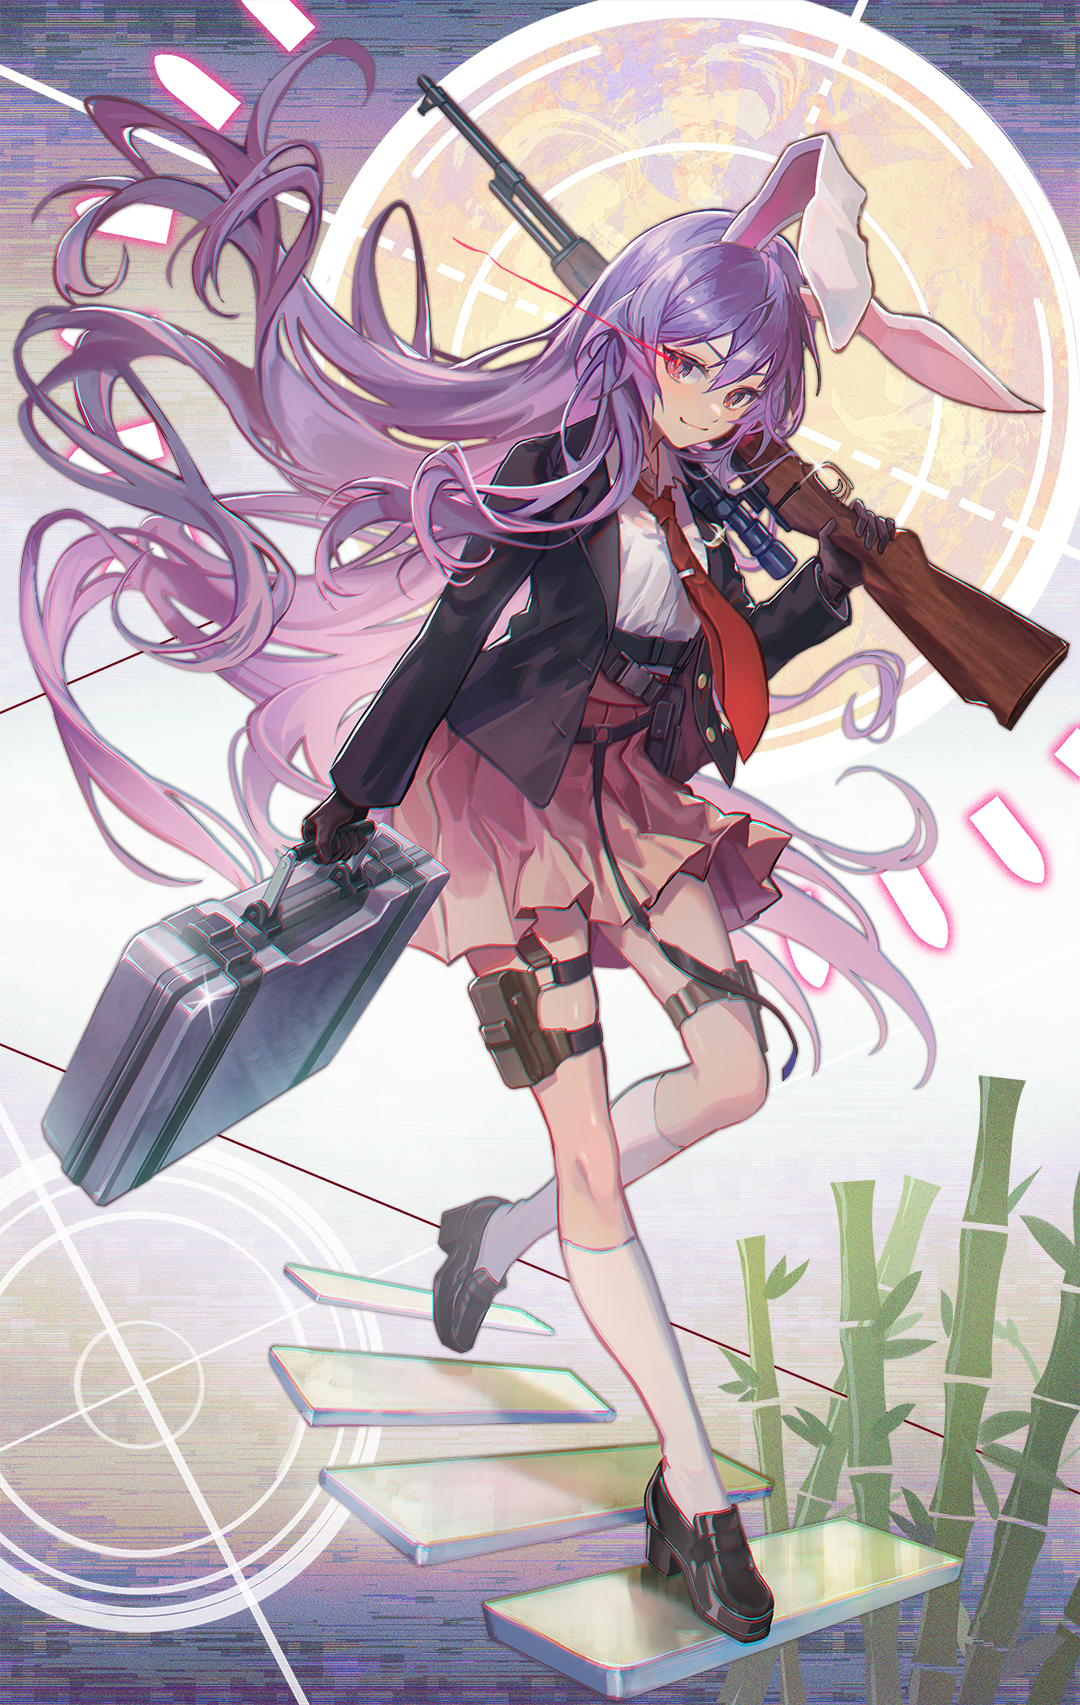
7、各パーツごとにレイヤー統合し、加筆や調整をする
7, Integrate layers for each part, and further paint and adjust.
何か至らない点があればコメントにてお伝えください。
その他要望や感想、質問等もお気軽にコメントへどうぞ!
If you have any requests, impressions, or questions, please feel free to comment!
Files