Home
Home

 Artists
 Search
 Recent
 Random
 Posts
Posts
 DMs
DMs
 Tags
Tags
 Random
 Importer
 Import
 FAQ
FAQ
 Account
 Register
 Favorites
 Login
Login

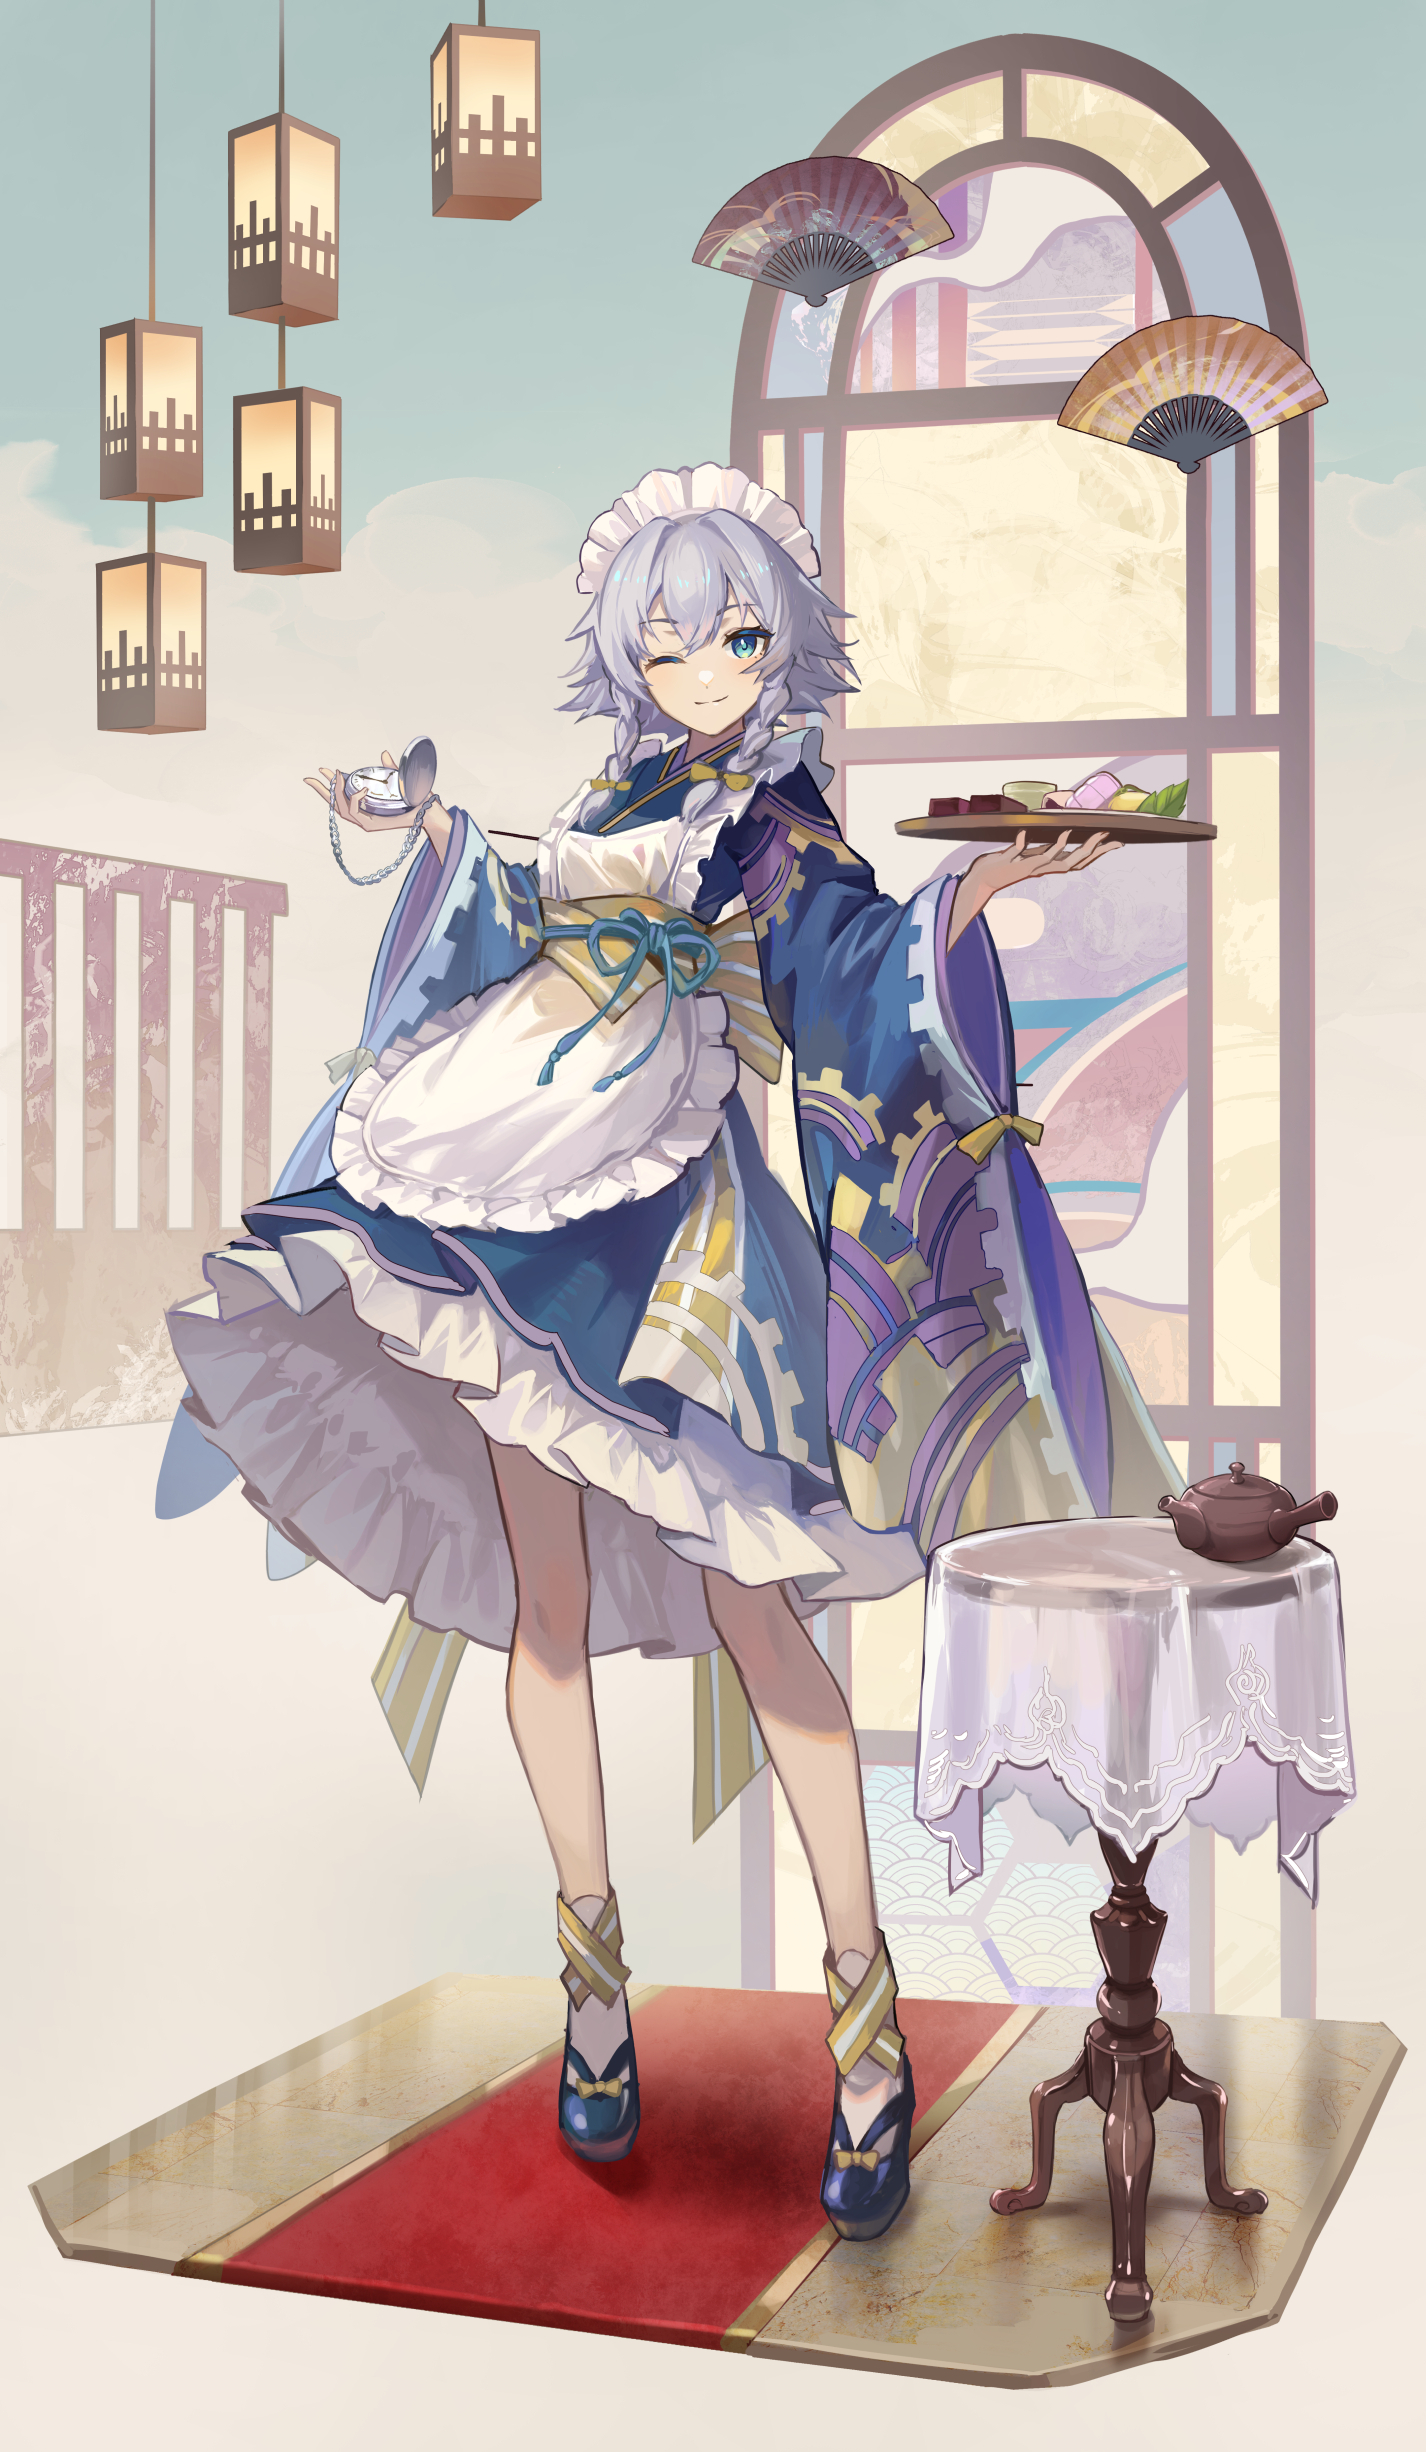
十六夜咲夜(PSD and Process) (Pixiv Fanbox)
Videos
-
sakuya.mp4
Downloads
Content
描写:ClipStudioPaint
加工:photoshop
着彩段階からの途中録画となりますが、今回はタイムラプスを記録してみました。
次回はラフ段階から記録しておきます。
それはそうと、タイムラプス機能をオンにすると結構重くなりますね。
This time I recorded a time lapse, although it will be recorded during the coloring stage.
Next time I will record from the rough stage.
By the way, when I turn on the time-lapse function, the operation is not so smooth.
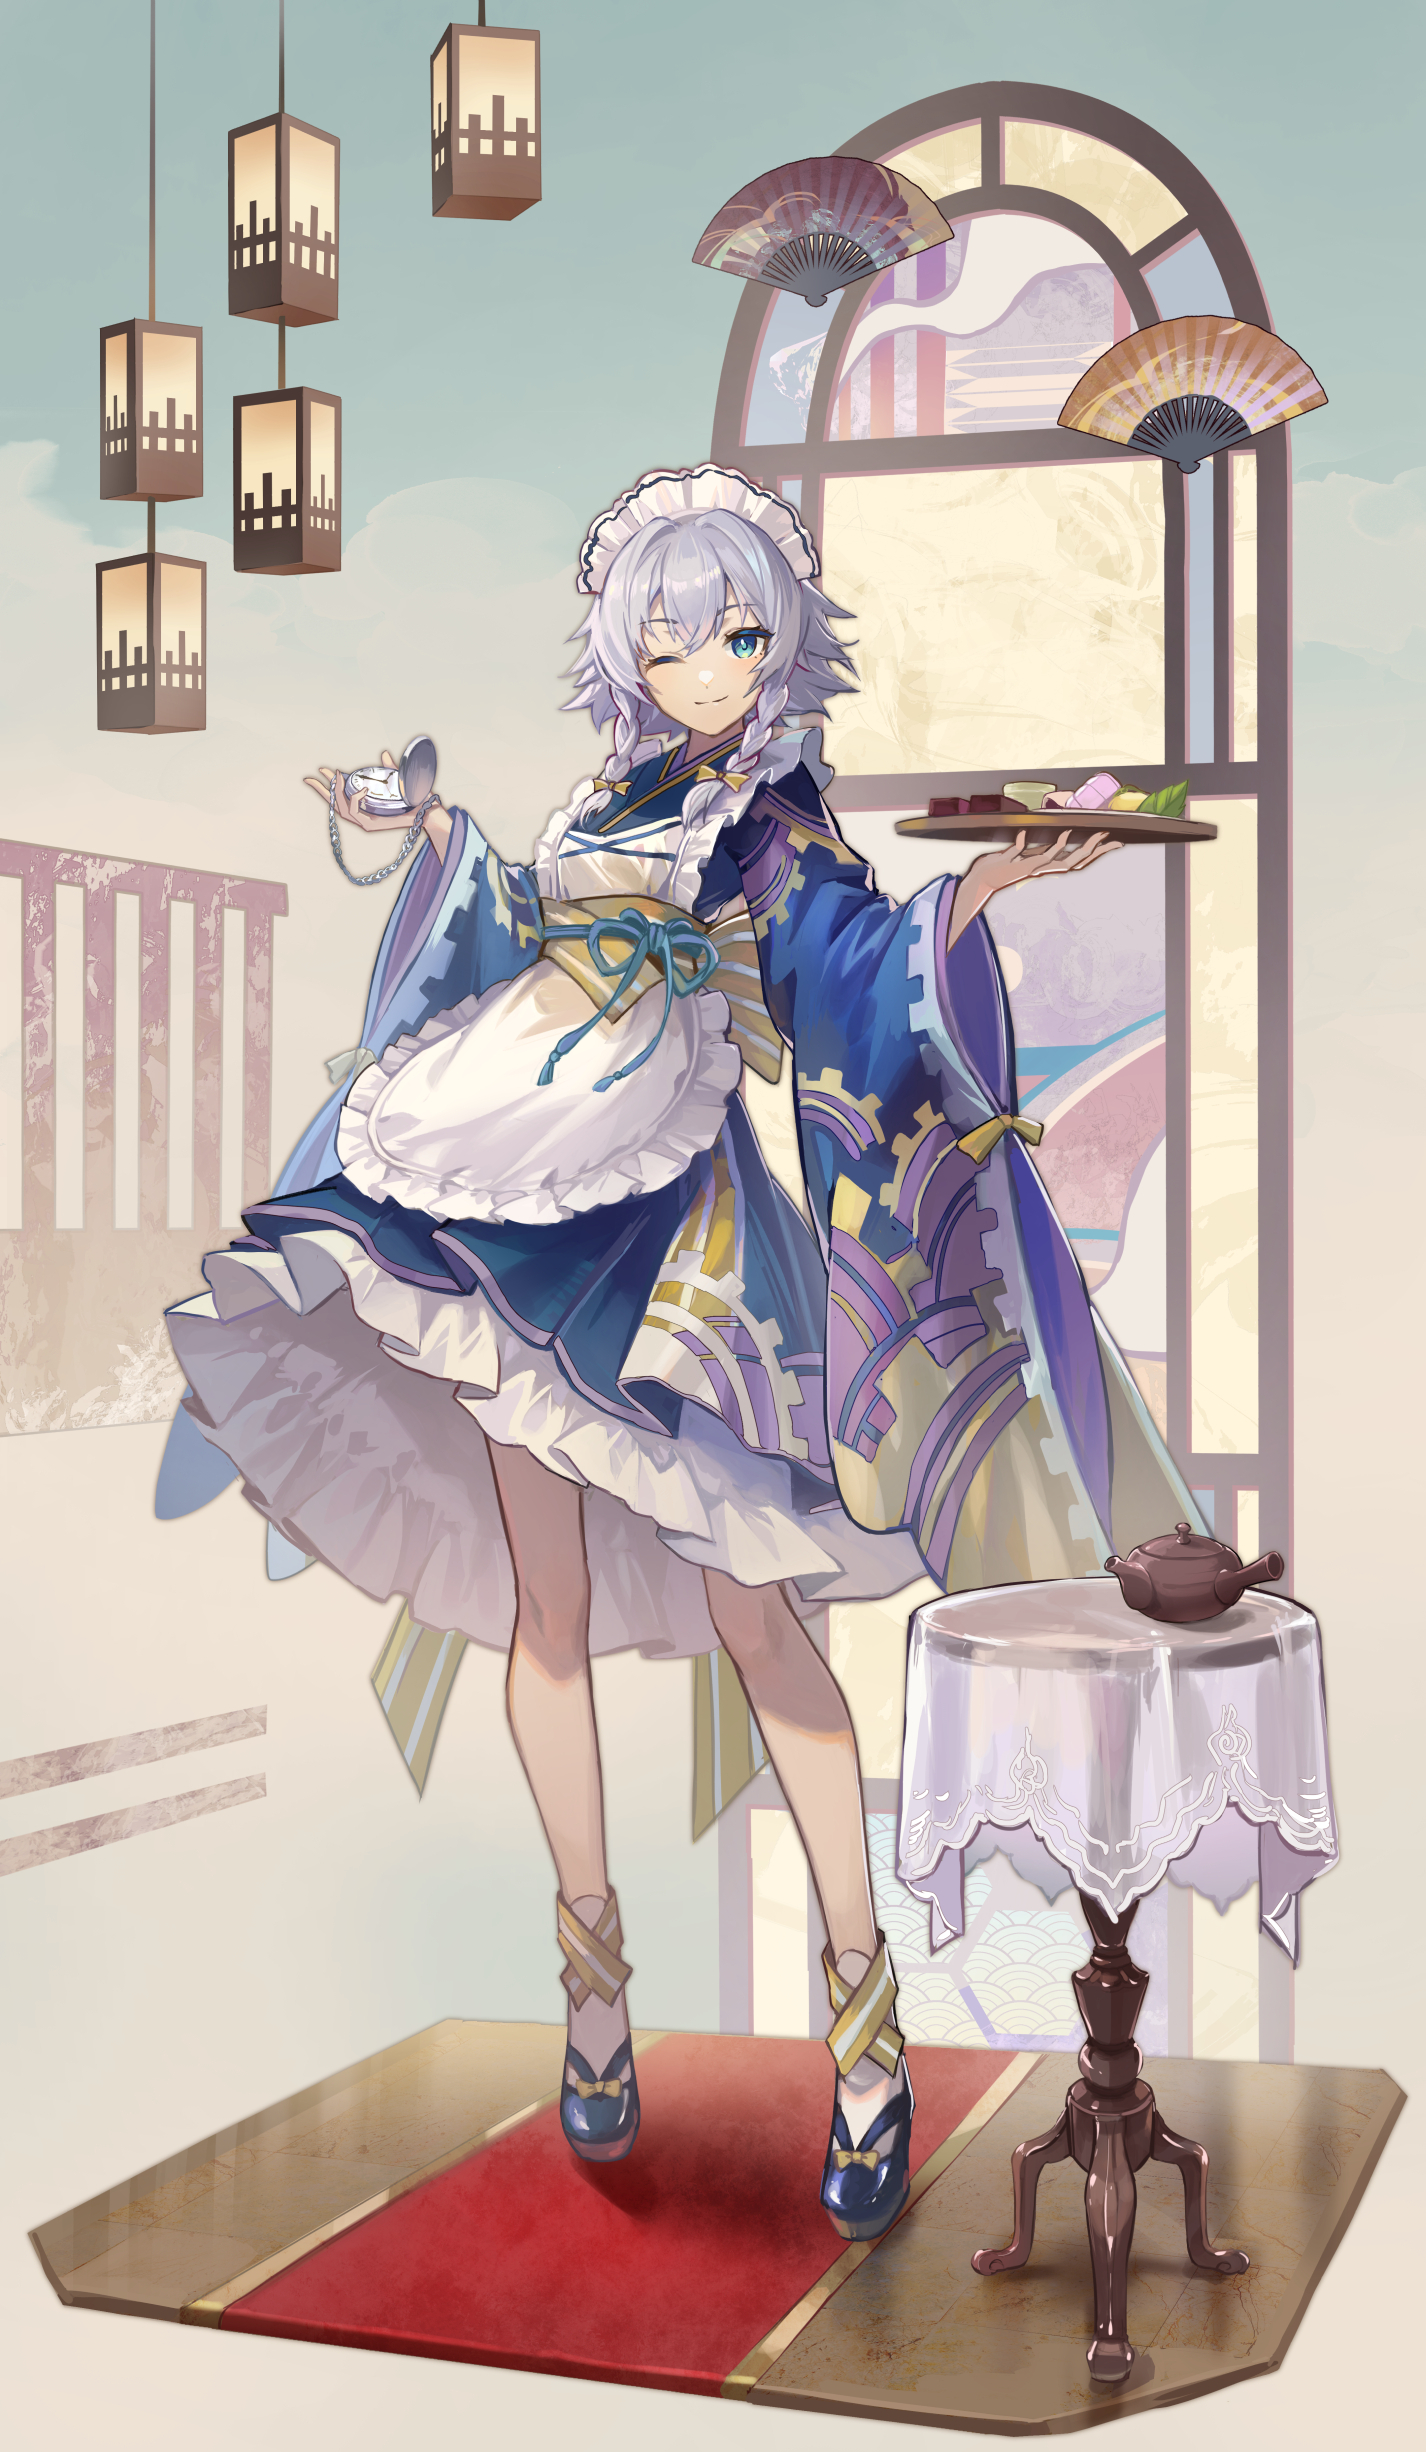
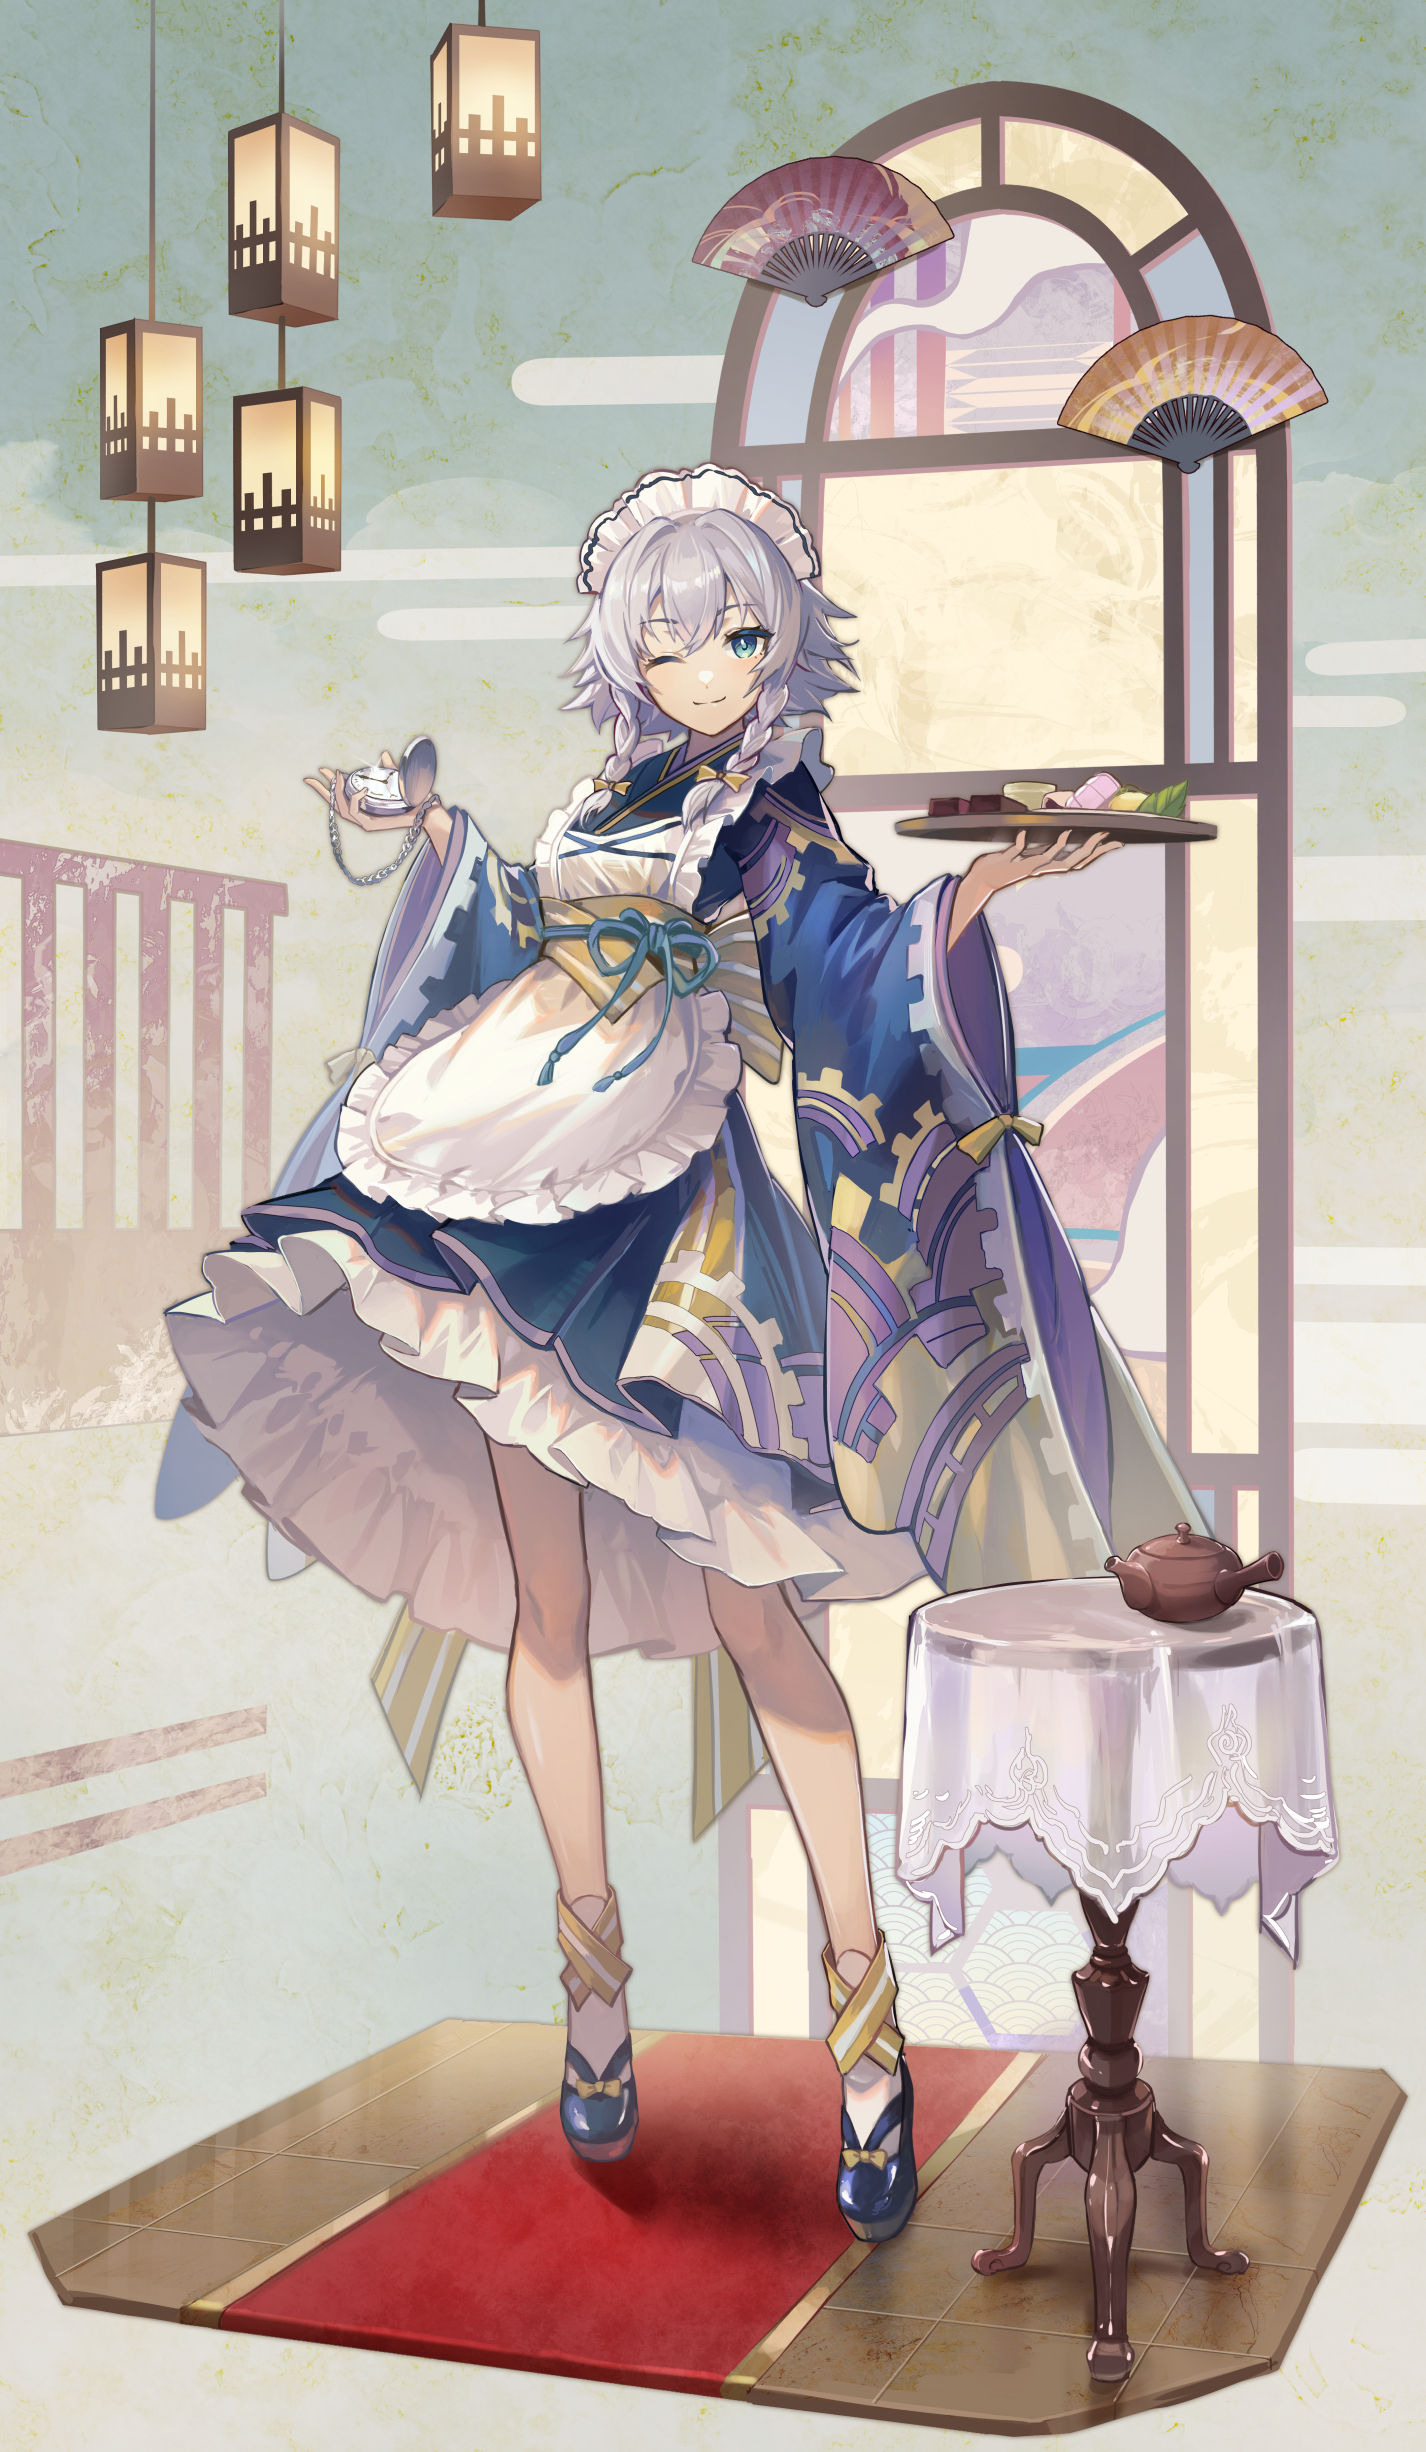
画像での過程↓
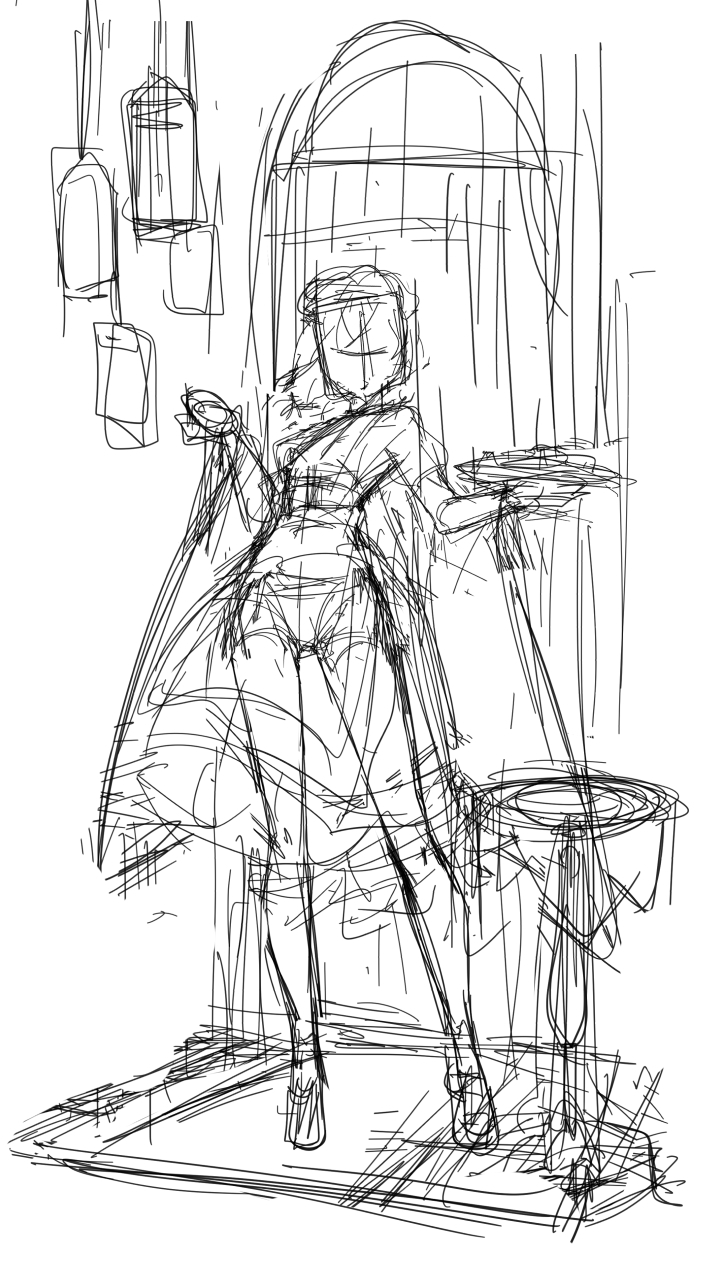
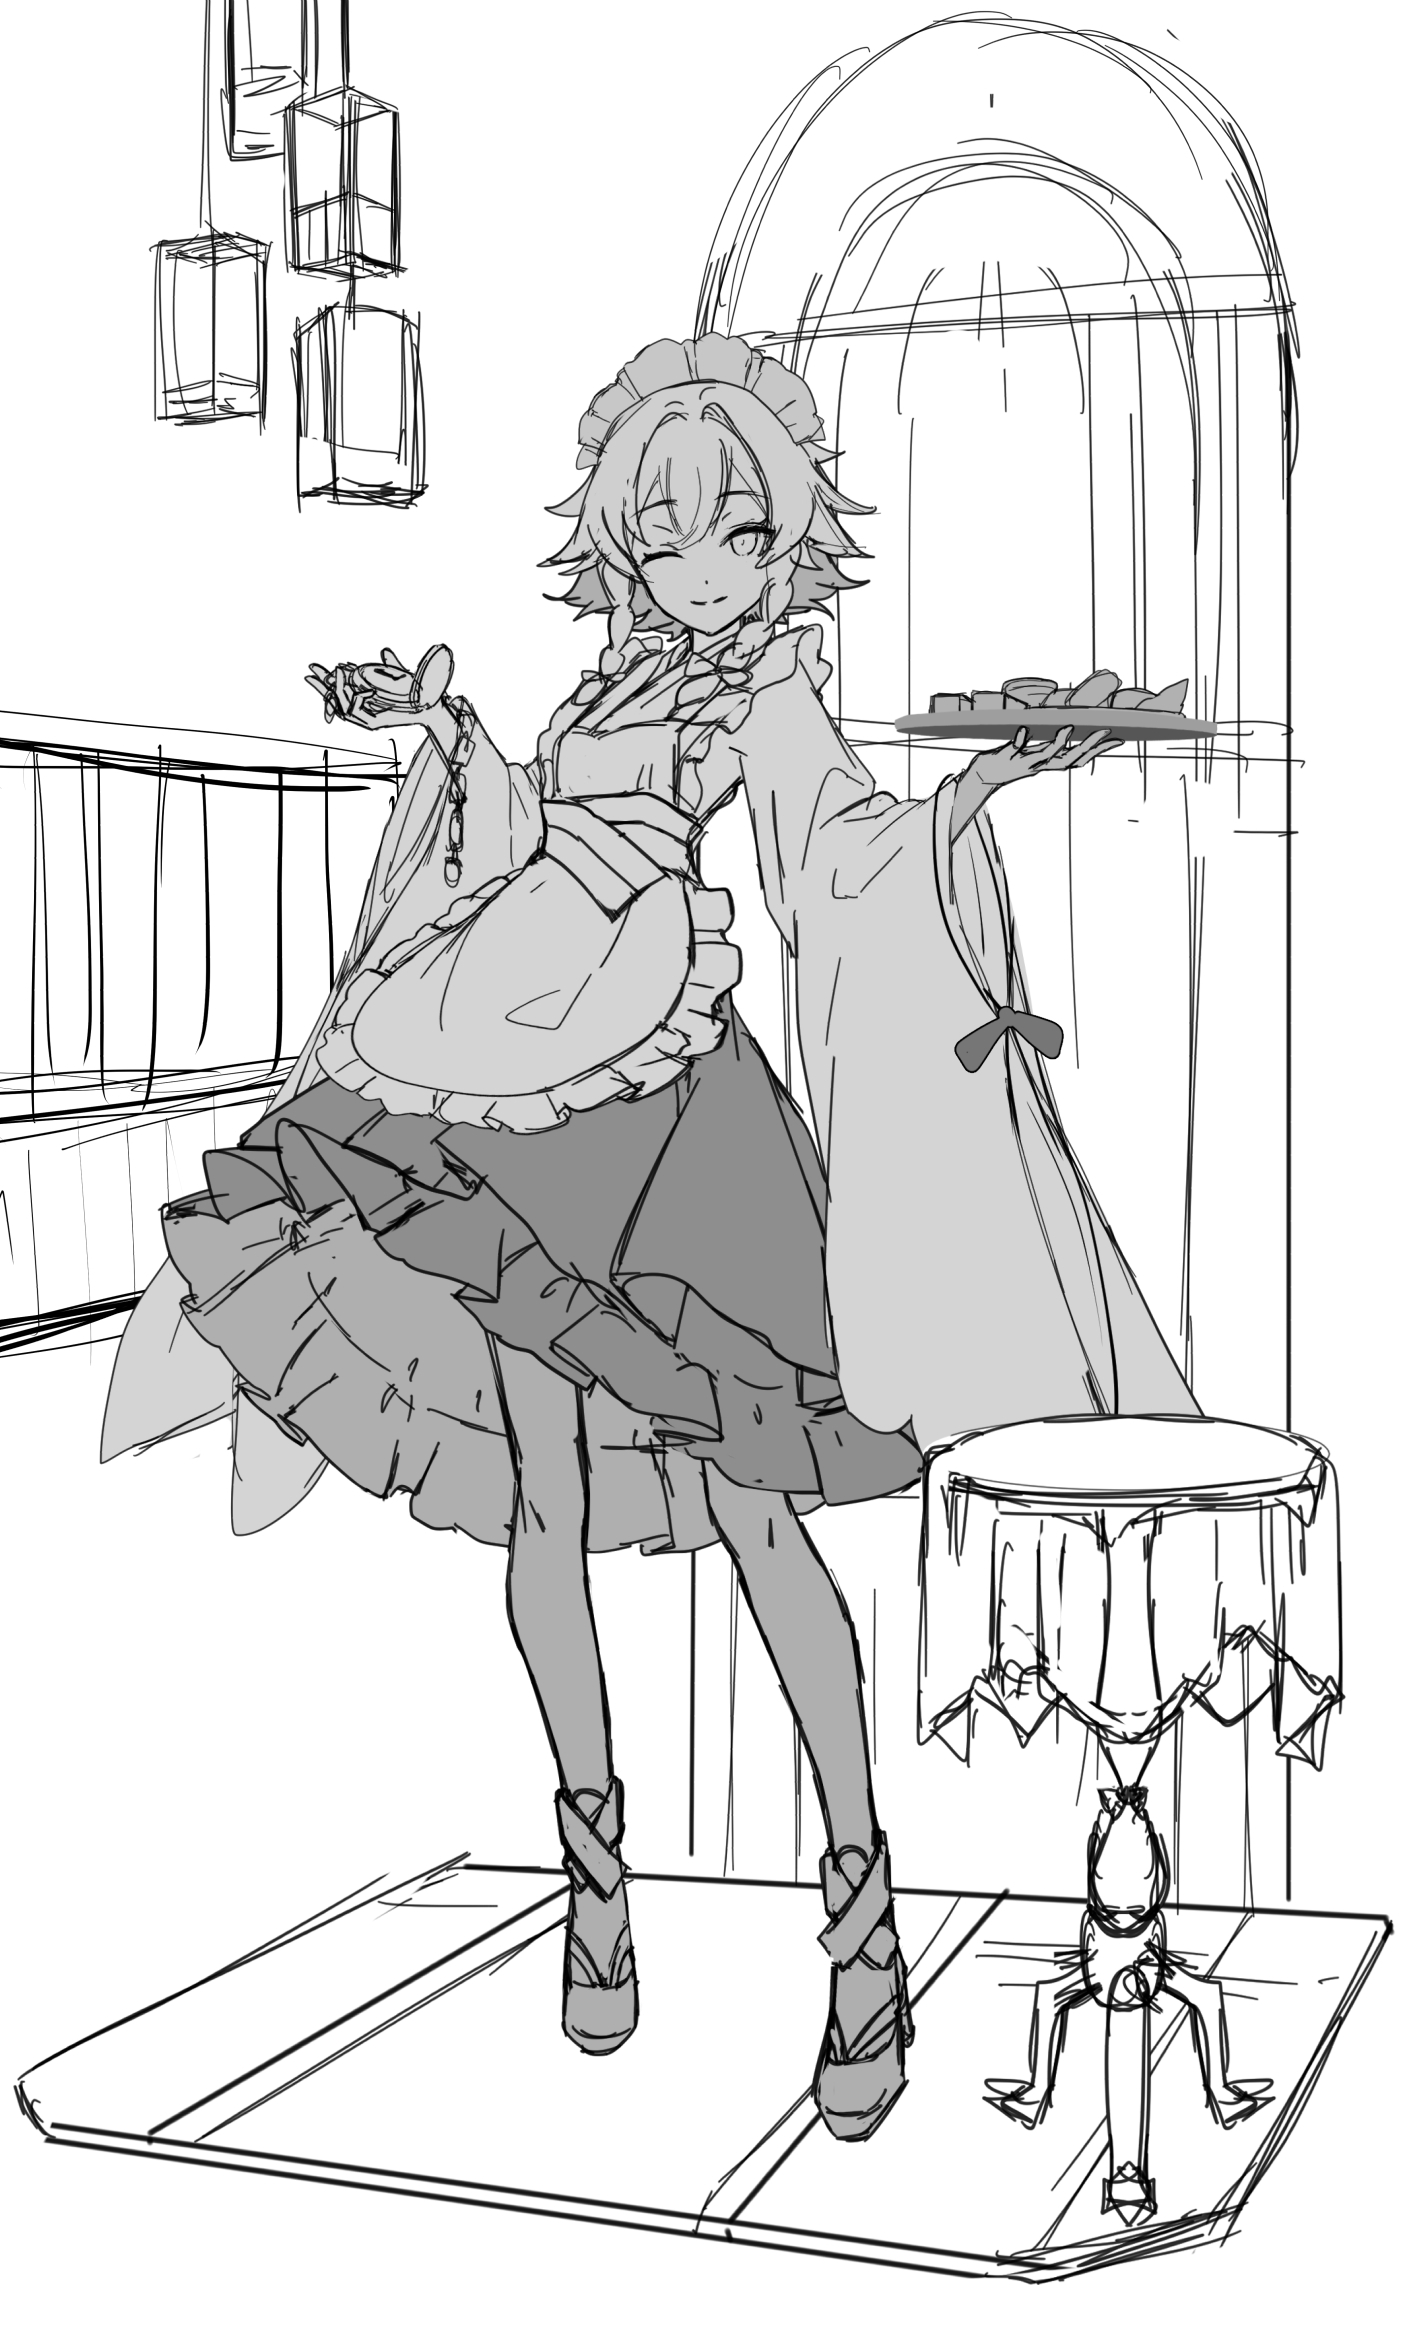
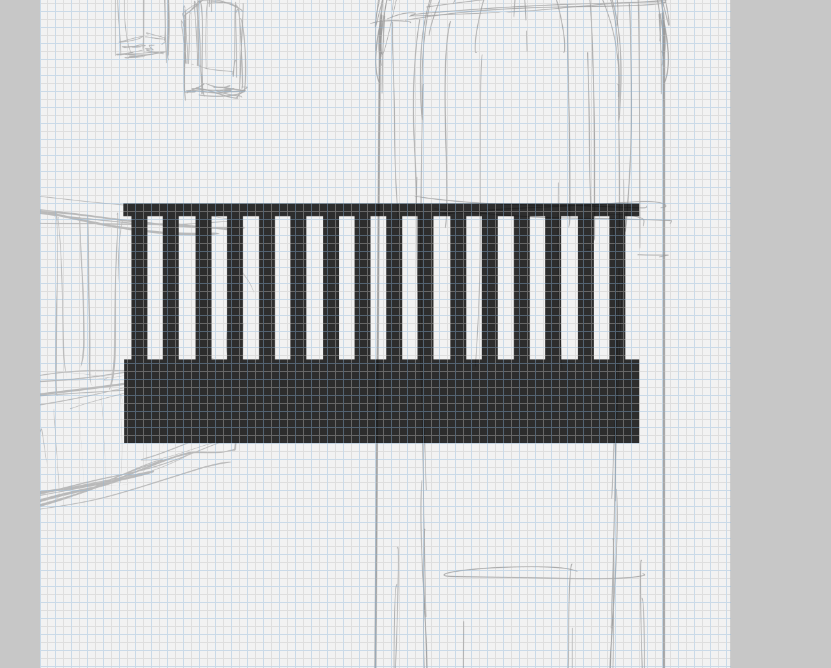
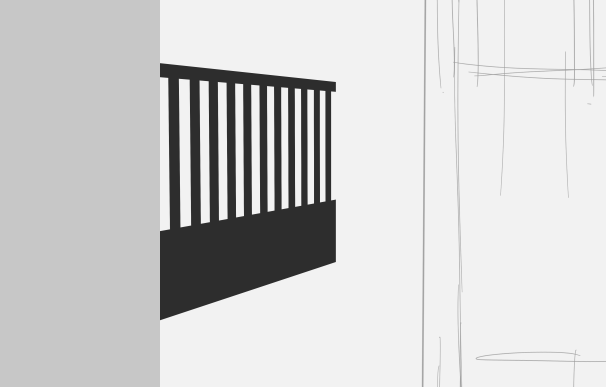
・パースがかったオブジェクト
左側の柵のようなパースがかったものは一旦正面状態で描いてから自由変形でパースをかけるとやりやすいです。
It is easier to draw a perspective-oriented object such as the fence on the left side by drawing it in the frontal state and then applying perspective using free deformation.
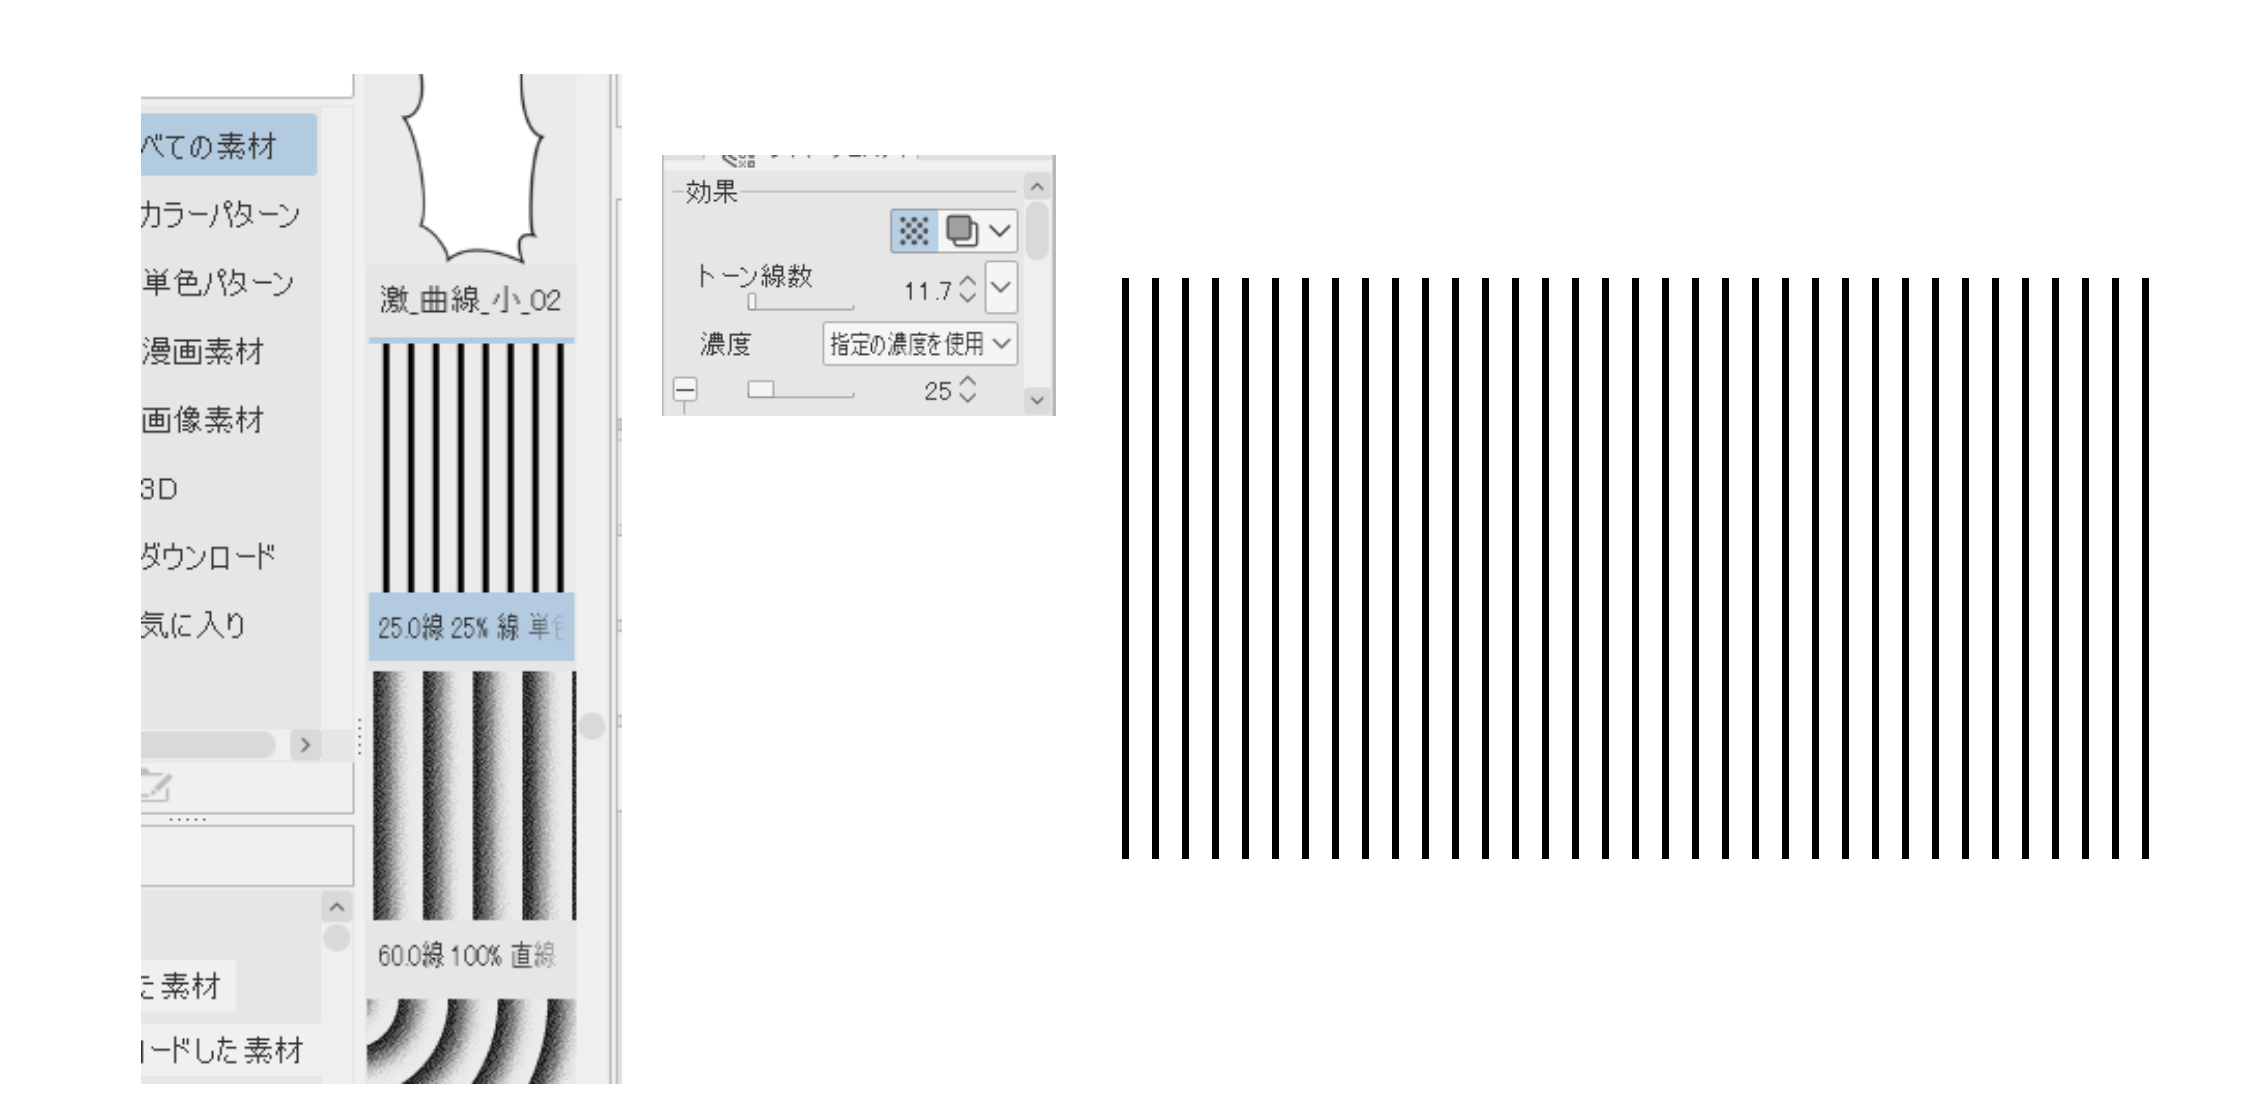
クリスタにはまだ整列機能がなく、等間隔でオブジェクトを配置することが一発ではできません。(来年あたりに出るバージョン2.0で追加されるようですが。)
なので現時点では、上にある画像のようにグリッドを表示して目視で並べるか、下の画像のようにトーン素材を応用するのが良いかと思います。
CSP does not yet have an alignment function, and placing objects with equal spacing is not possible in one shot. (This function will be added in version 2.0, which will be released in the next year or so.)
So at this time, I think it is better to display a grid as in the image above and visually align the objects, or apply a tone material as in the image below.
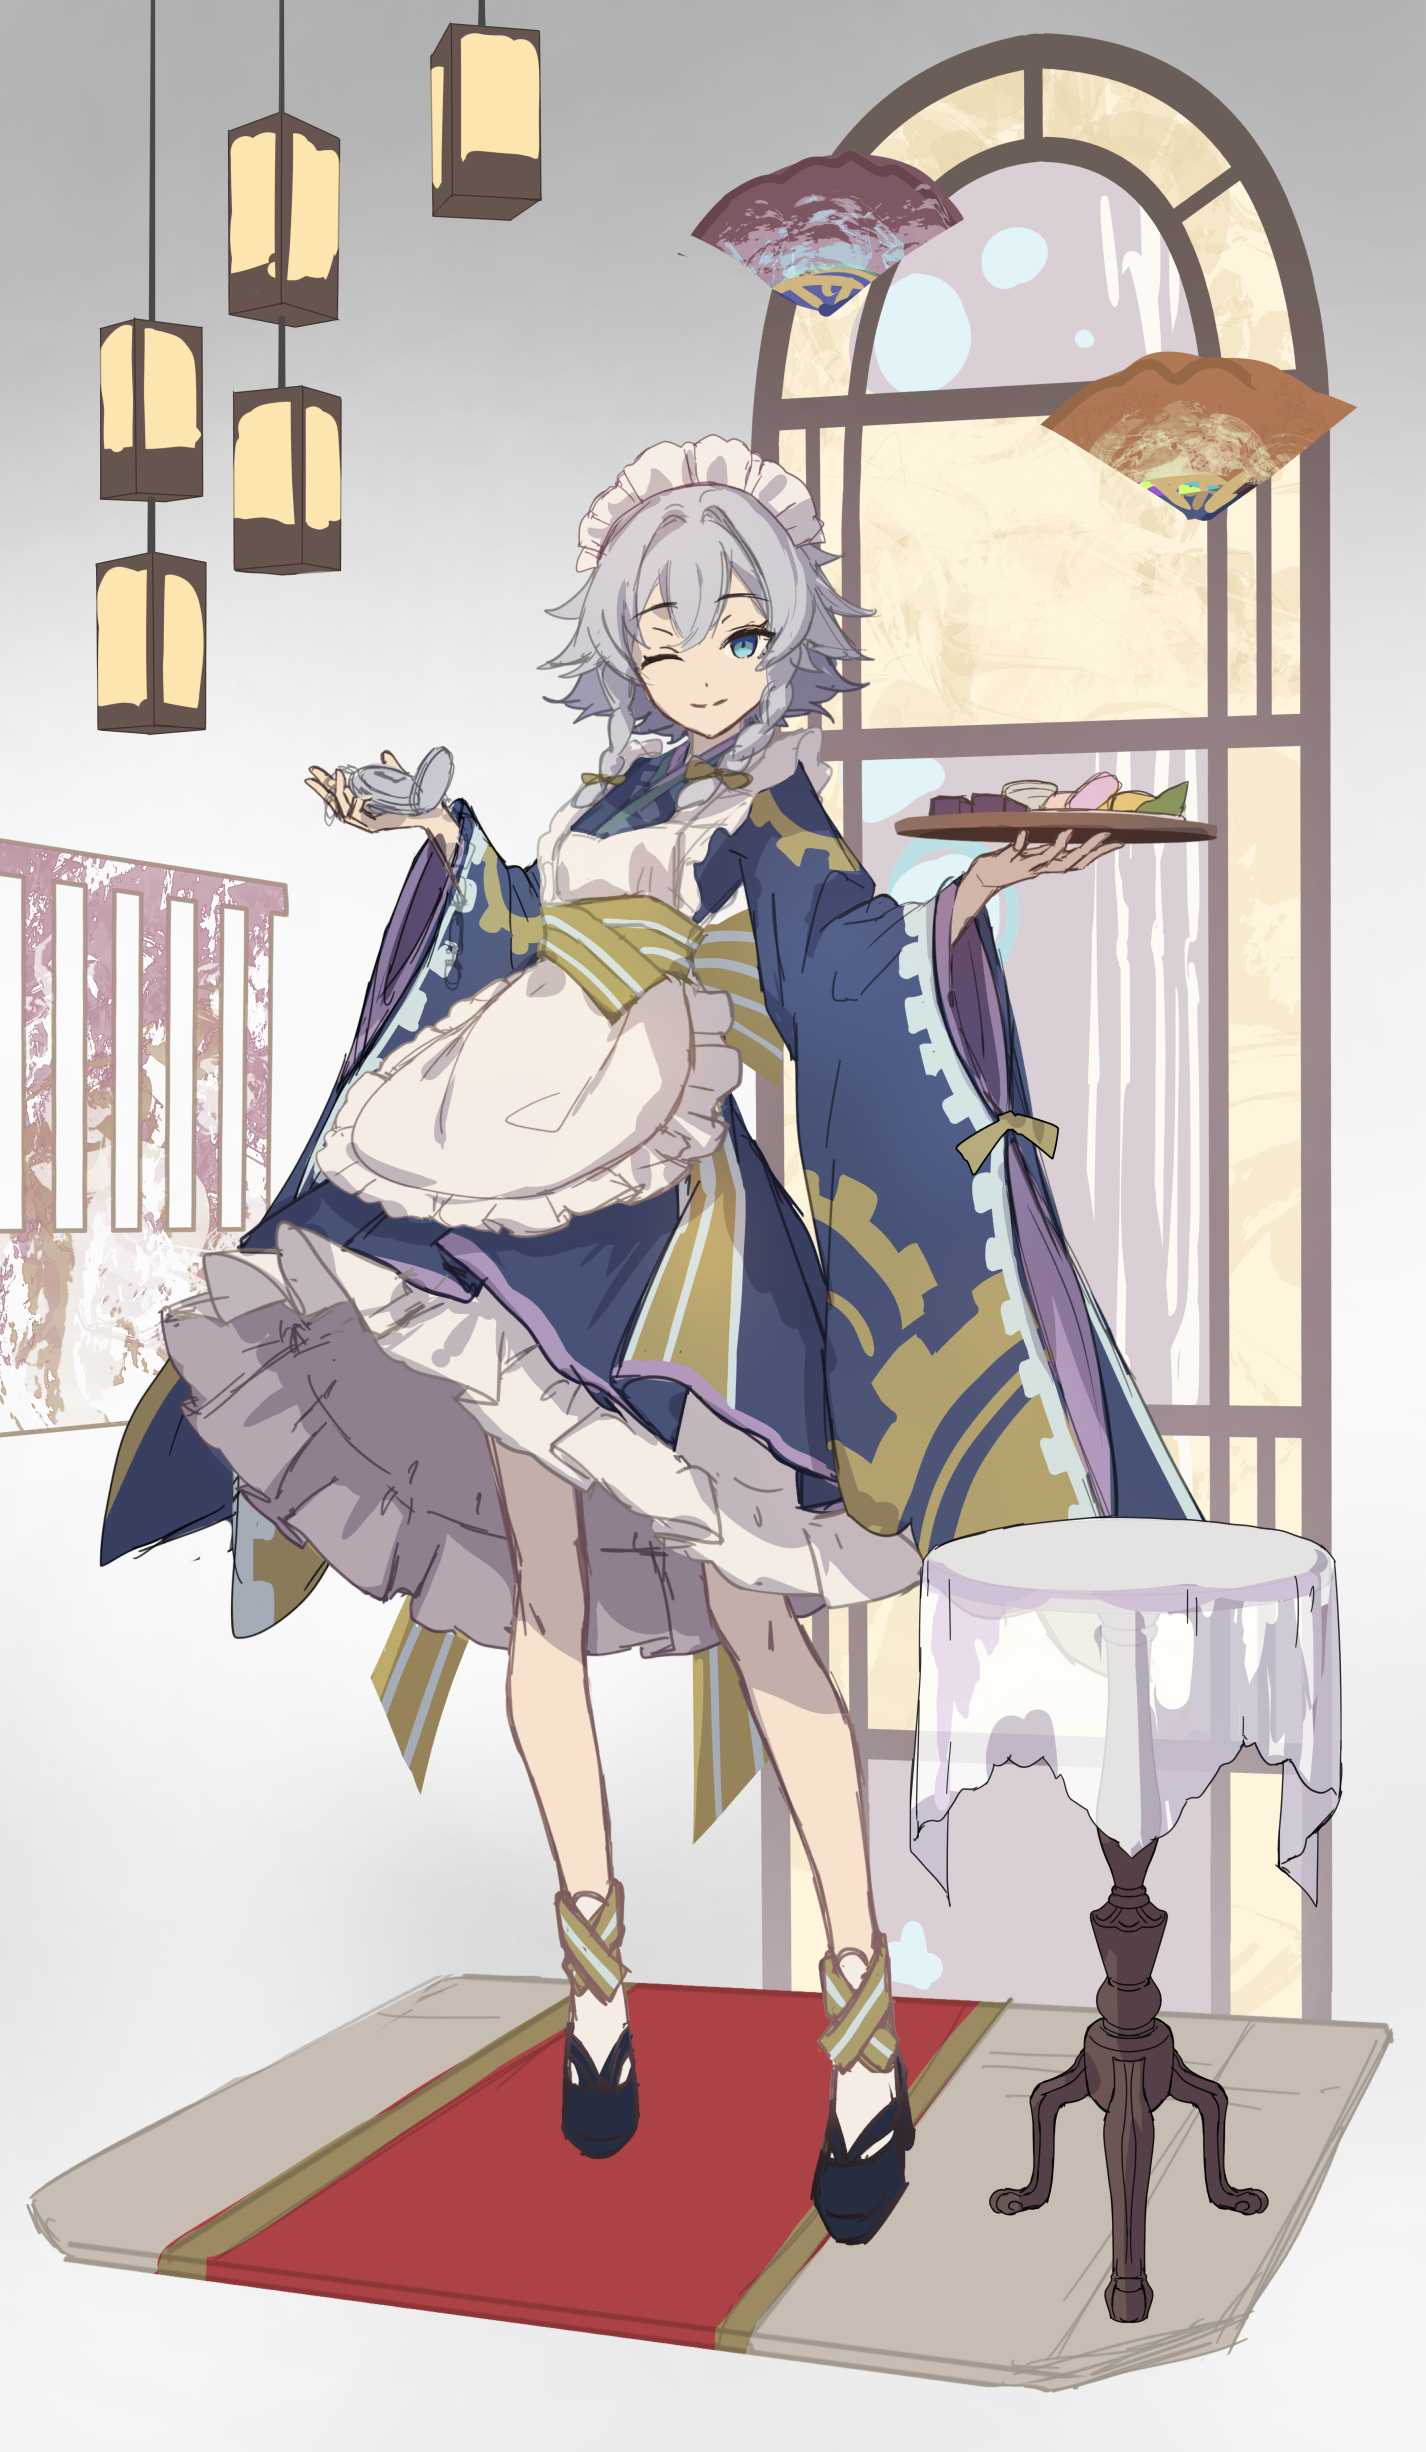
・画像の書き出しについて
Photoshopとクリスタでは若干出力結果に違いが出ているようです。
(自分は毎回Photoshopでの書き出しです)
Photoshop:シャープエフェクトがかかるのか、エッジが際立つ
クリスタ:Photoshopよりはエッジがぼやけている
クリスタでPhotoshopのような出力結果にしたい場合は以下の手順で似たような感じにはなると思います。
1、普通に画像出力する
2、出力後の画像を編集、レイヤーを複製してシャープ(強)エフェクトをかける
3、シャープエフェクトをかけたレイヤーの不透明度を少し下げる
There seems to be a slight difference in the output result of image export between Photoshop and CSP.
(I always export in Photoshop)
Photoshop: The edges stand out, as if a sharpening effect is applied.
CSP: Edges are blurred more than Photoshop.
If you want to get a Photoshop-like output result with CSP, I think the following procedure will give you a similar feeling.
1. Output the image normally.
2. Edit the output image, duplicate the layer, and apply the Sharpen (strong) effect.
3, Reduce the opacity of the layer with the Sharpen effect a little.
次回は色に関しての記事を投稿する予定です。
完成までしばしお待ちください。
The next article will be about colors.
Please wait for its completion.
何か至らない点があればコメントにてお伝えください。
その他要望や感想、質問等もお気軽にコメントへどうぞ!
If you have any requests, impressions, or questions, please feel free to comment!
Files