Home
Home

 Artists
 Search
 Recent
 Random
 Posts
Posts
 DMs
DMs
 Tags
Tags
 Random
 Importer
 Import
 FAQ
FAQ
 Account
 Register
 Favorites
 Login
Login

Strawberry raised bed build (Patreon)
Content
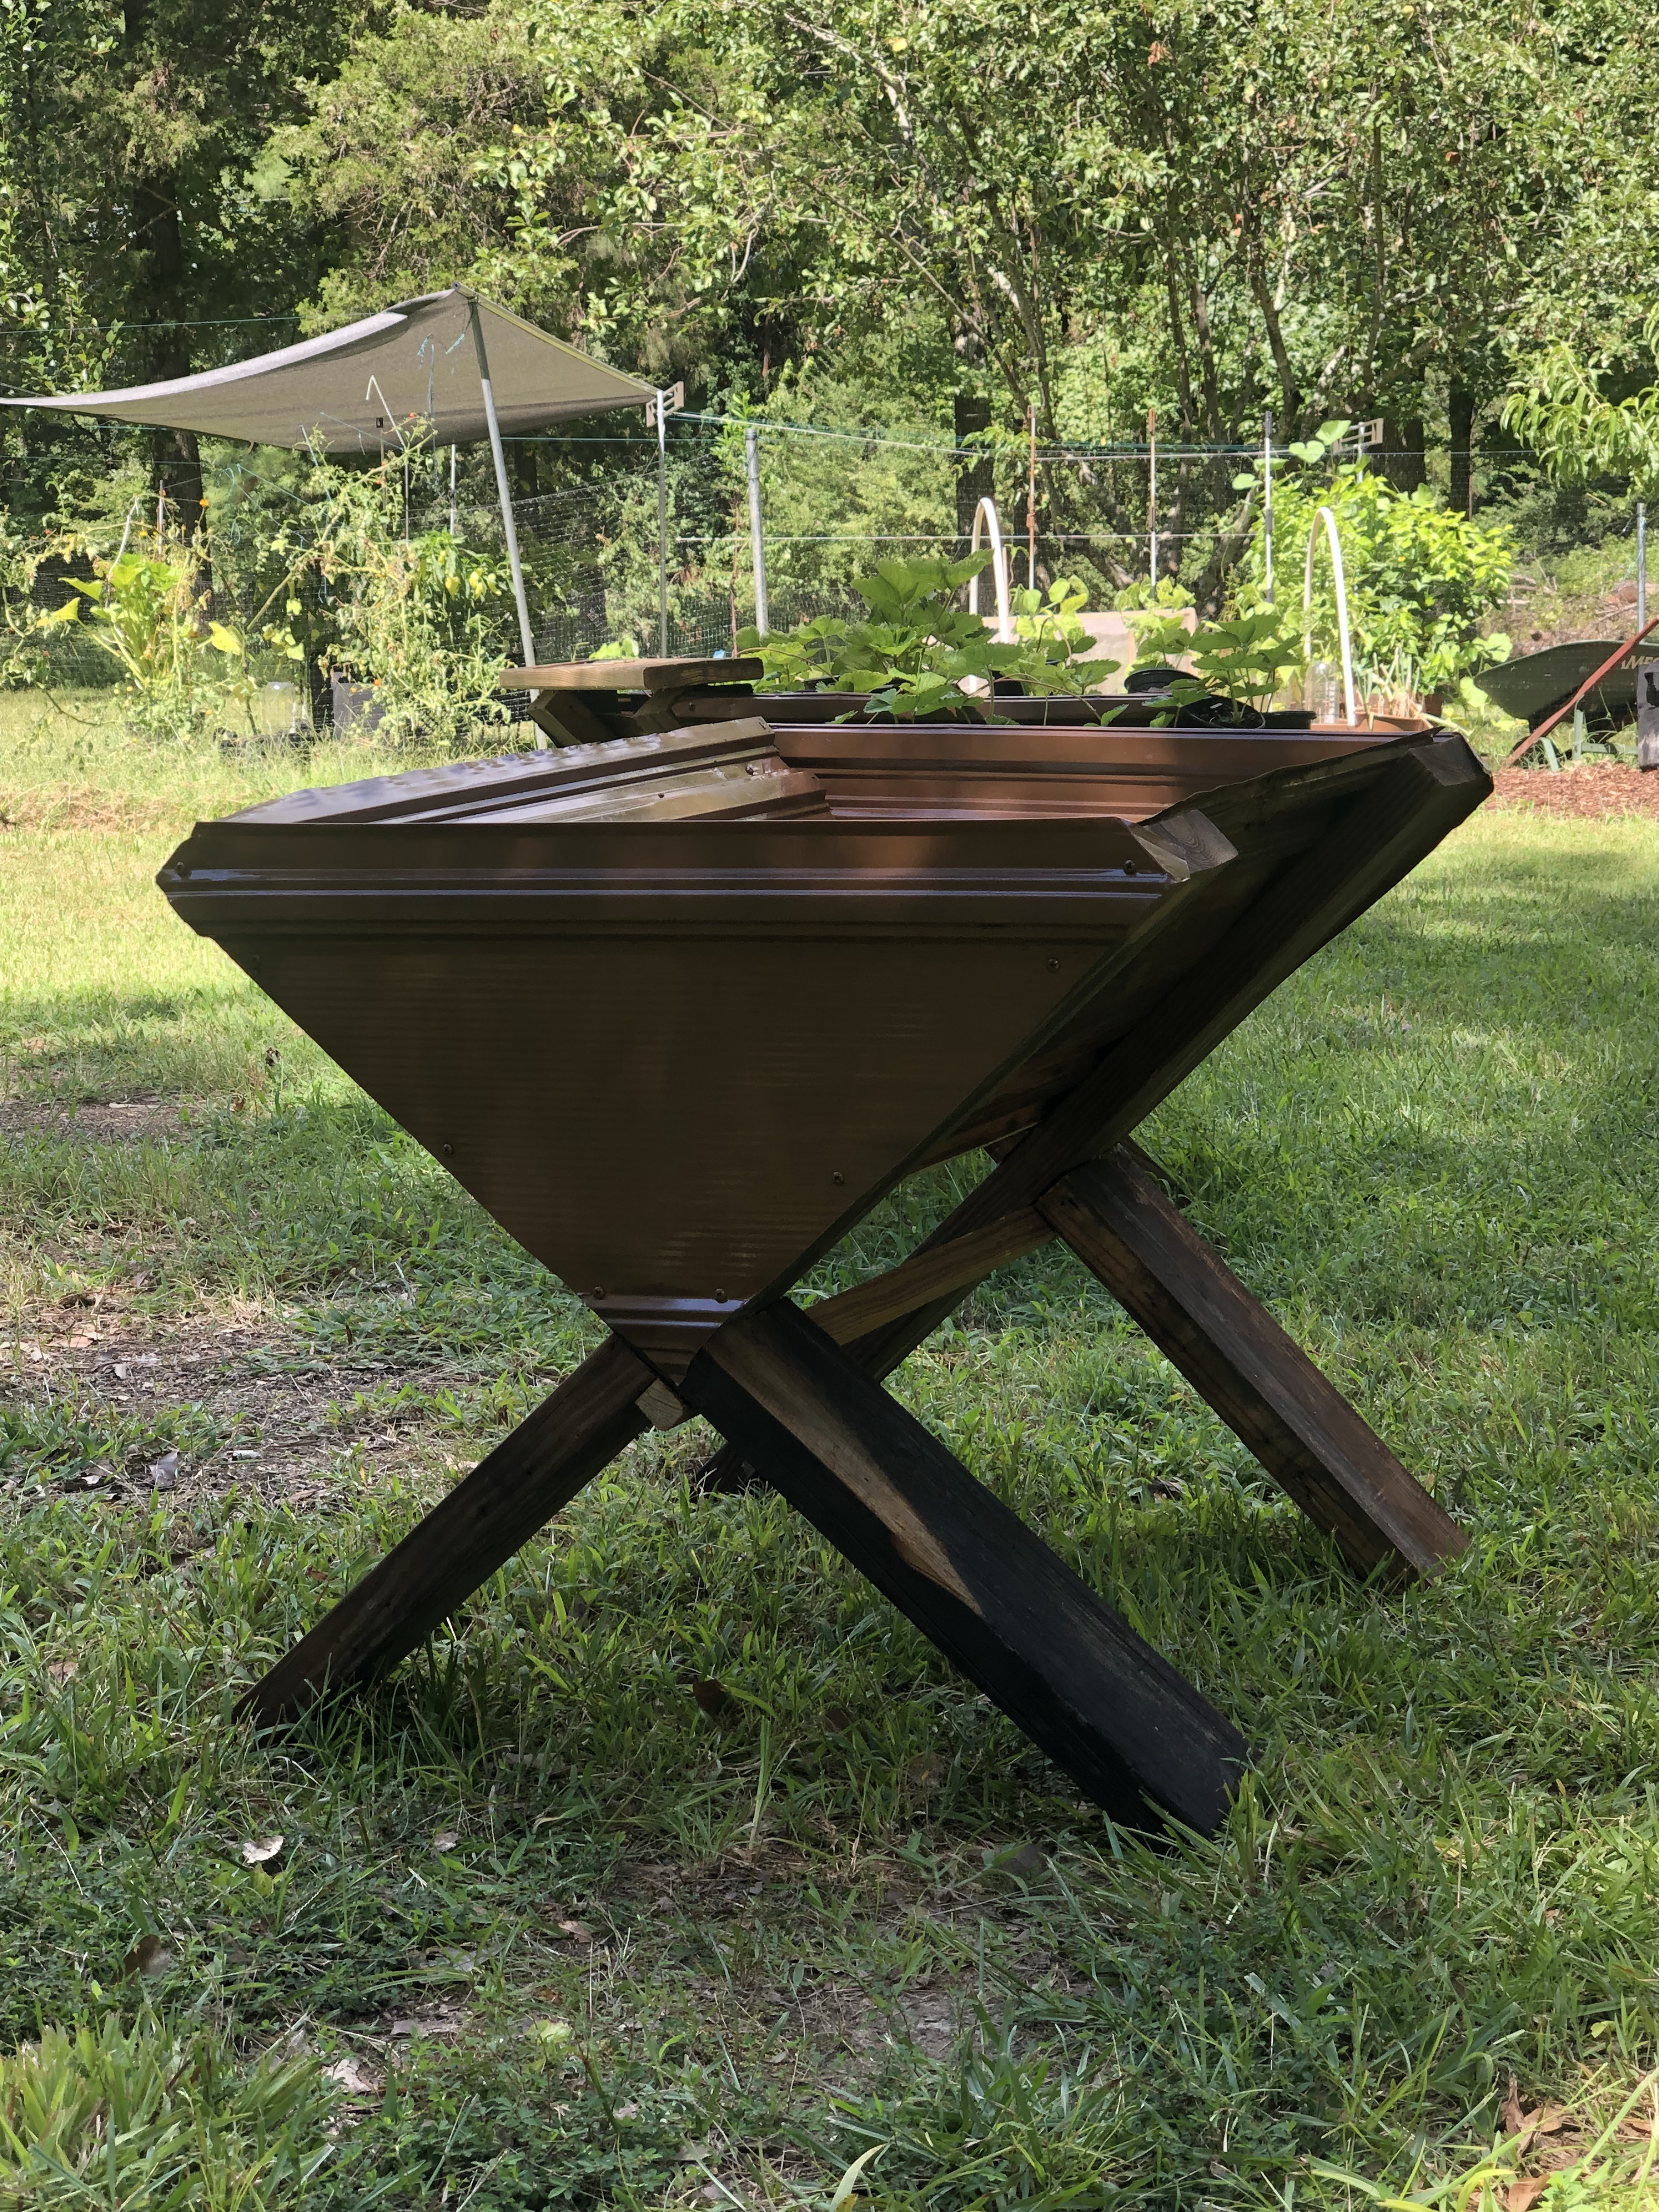
June 4th 2023 I created a raised bed for my strawberries. I started off with 3 strawberry plants. Now I have 25. From those 3 plants. In my zone 7b strawberries begin to create runners. These runners (also called stolens) are stems that grow around the ground to create daughter plants. I wasn't quite aware of this when I started. I knew I could propagate them but I didn't know it would almost 10x. That being said I made another strawberry raised "bed" and made it like the original but with one change.

This is the raised bed I made today.
Before I begin to list the items I used, I must note that all these items were up cycled. Meaning they were junk I picked up. A person had an old HomeDepot metal shed in their backyard, it had severe wind damage and was falling apart. I told them I could tear it down and remove it for them for no charge. They were happy to do this. For the wood one of my moms neighbors house got struck by lighting and caught fire. When the people where removing the roof frame I asked if I could get some of the scraps. They were ok with me doing this. So I got some beautiful (burnt) 2x6s.
You can substitute multiple items here. If I had the choice or money I would have made the entire thing out of wood, but I work with what I have. You could substitute the 2x6s with 2x4s the weight here is nothing a 2x4 can't handle. The metal panel can be replaced with wood (not plywood as this is outside) or maybe plastic panels.
Items Needed
(4) 3ft 2x6 or 2x4
(2) 28x62 panels
(1) 32in 2x2 (optional)
(24) screws
(1) spray paint

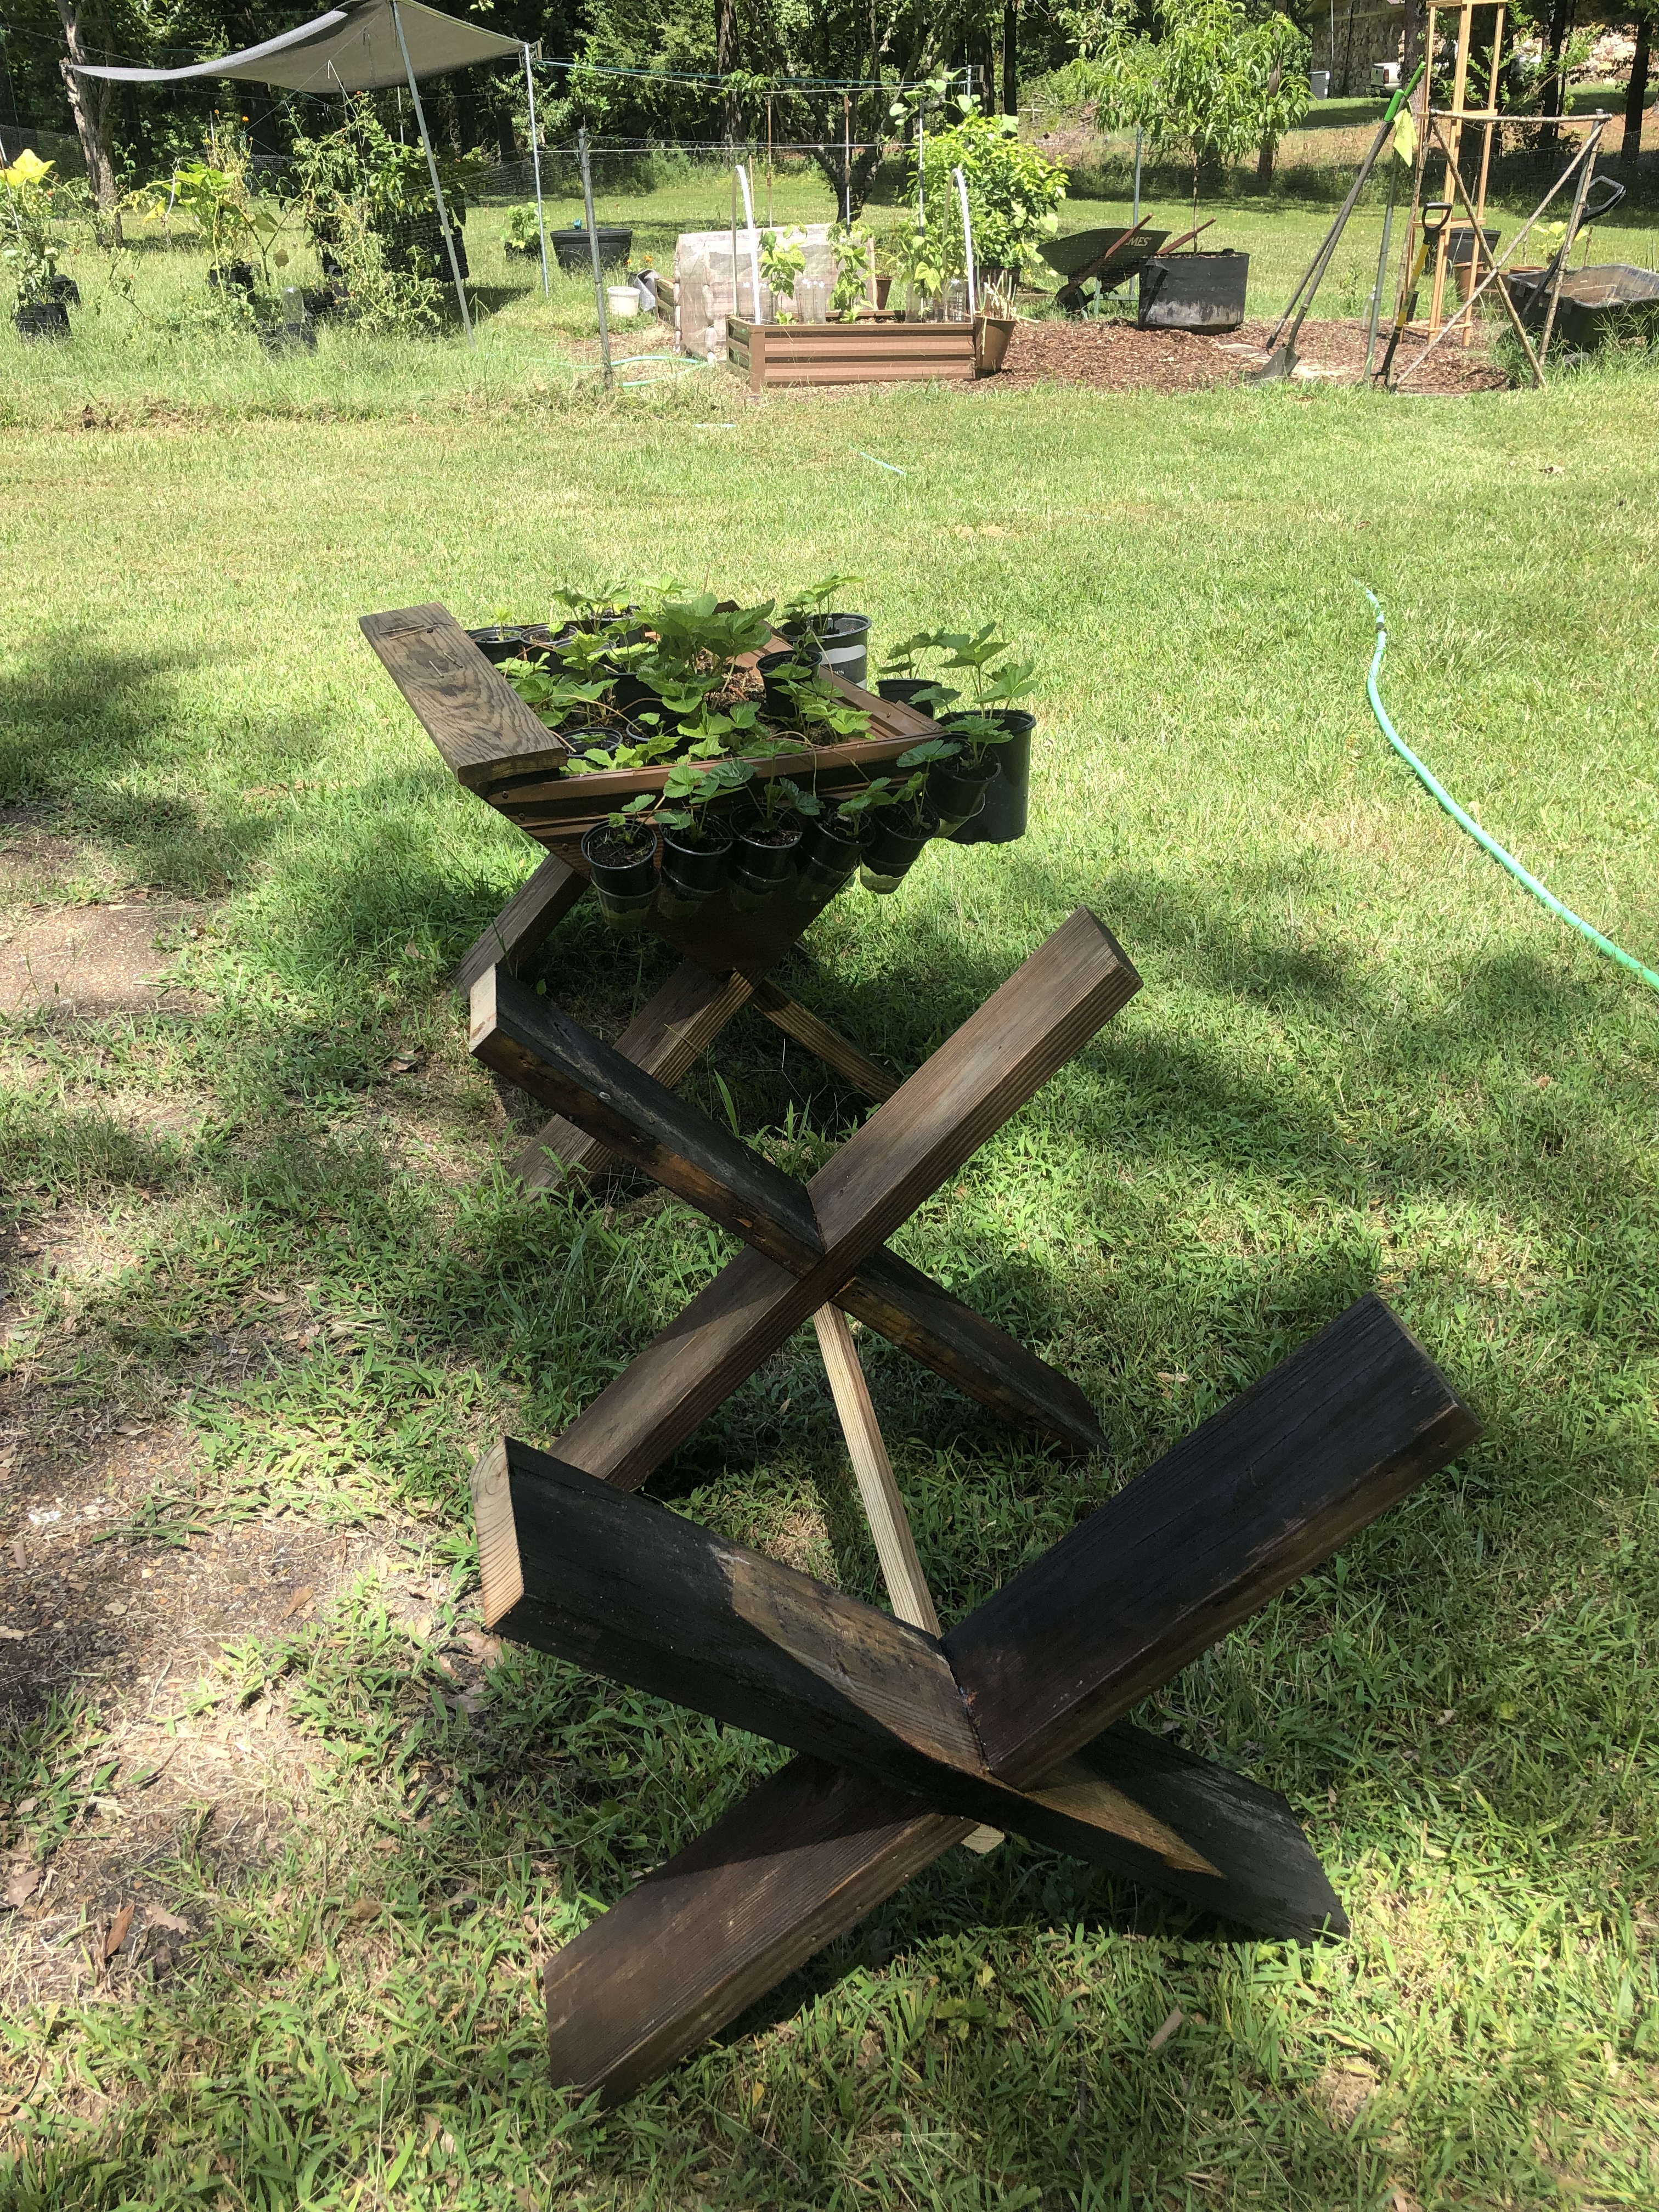
The idea for the legs is to make a cut in the center of each board. The depth is defined by the width of the wood divided by 2. That way we can make this same cut on two boards then put them together to form an X.

This gives us a sturdy surface and a V to attach panels. One thing I changed in this build is how the 2 legs where connected. This one I used a 2x2 at 36inches to attach the two legs. The original only used the panels to connect them. This was only done as it makes it easier to move as the panels are flexible.

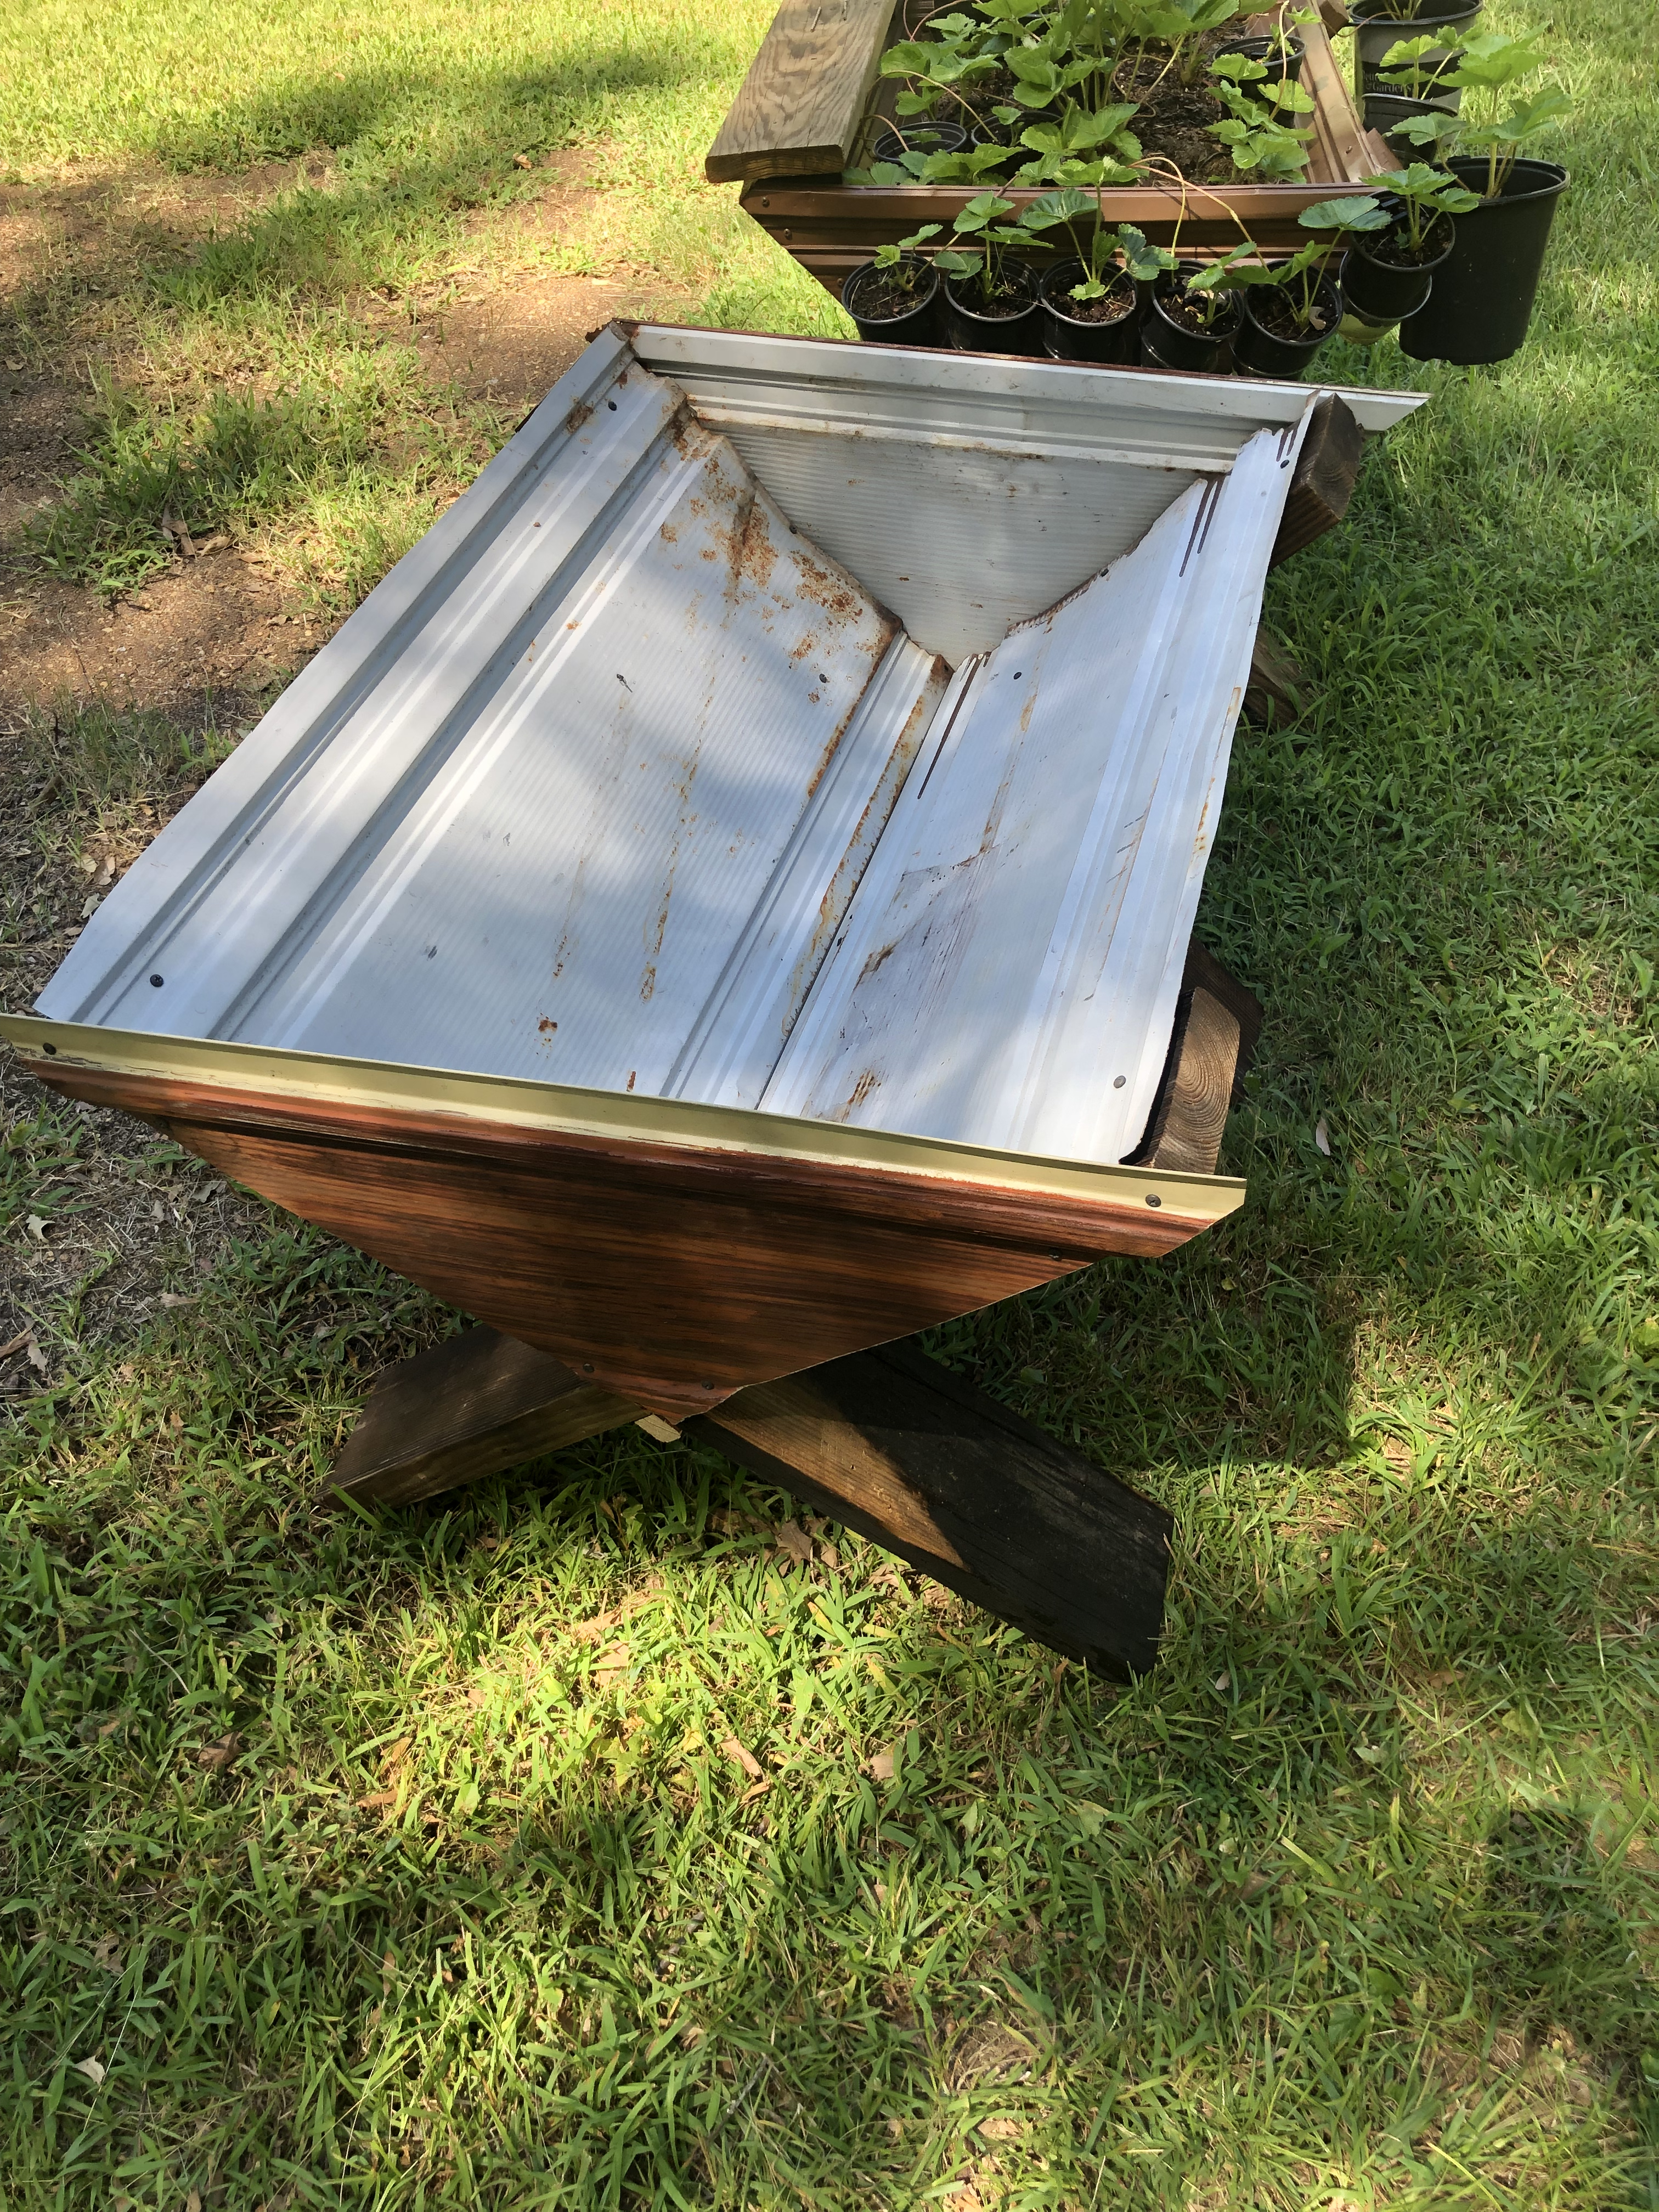
For the panels I simply laid them inside the V and drew a line to know where to cut.

I repeated this on the other side of course. The scrap on each panel will be used to close off the V. Basically the same process, hold the panel on the V and draw the edges.

Put screws where you think they should be. I use 6 on each inside panel and 6 on each end. I then used a hammer to bend over the sharp corners on the end pieces. Then painted it.
Here is the original container a few weeks ago.

I love how this container did this year, probably because i'm proud of how the strawberries did. This may not have anything to do with the container, but it worked and it was free. If I had to buy materials I would probably do the same thing as this can be done fairly cheaply and adding things to it was pretty simple. Like the shelf on the back or the hanging containers I used to propagate the strawberries. I look forward to next years harvest.
Files