Home
Home

 Artists
 Search
 Recent
 Random
 Posts
Posts
 DMs
DMs
 Tags
Tags
 Random
 Importer
 Import
 FAQ
FAQ
 Account
 Register
 Favorites
 Login
Login

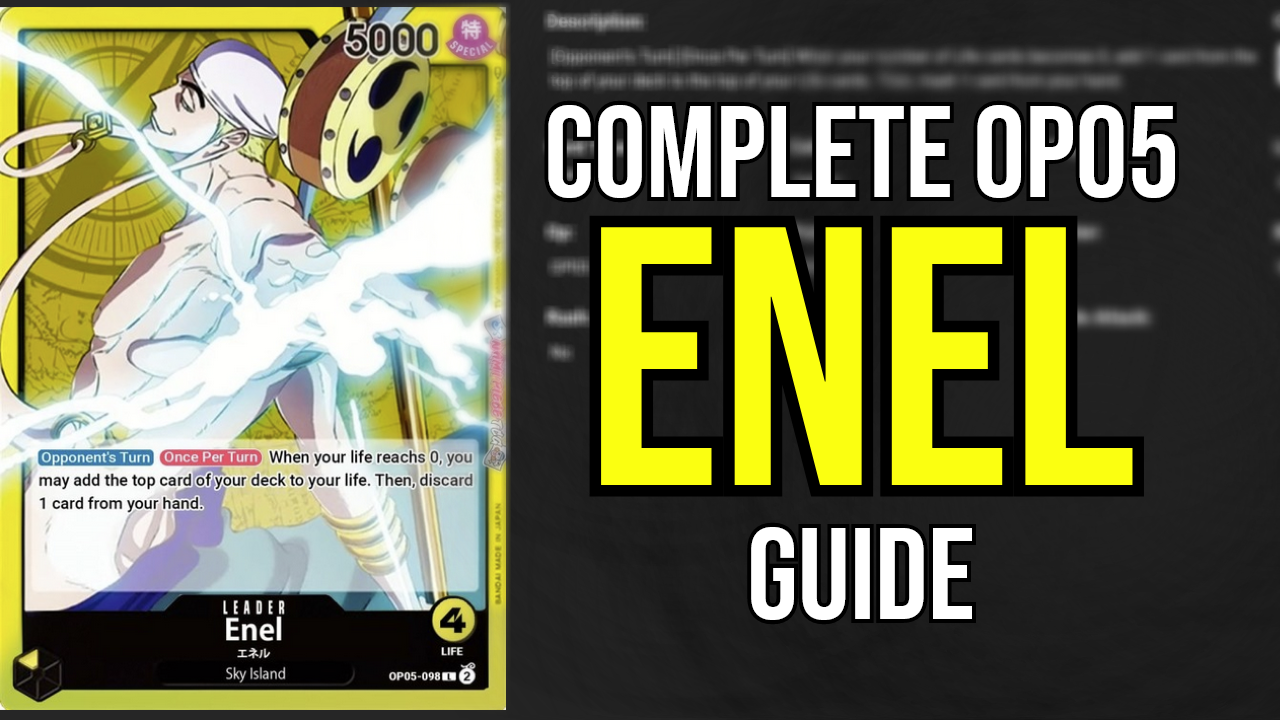
The COMPLETE OP05 Yellow Enel Guide ( + How to beat Enel) (Patreon)
Content
Hi again,
Kai (@ikailakai) here. I was originally going to write something about Sakazuki, but I talked with Cross, and he had it under control, so I thought I would go to a leader that had some eyes on it, especially in the early meta.
Enel won a regional tournament in North America, and has some eyes on it as potentially the premier Yellow deck, and next best deck after Sakazuki, and maybe Luffy.
In my Meta Overview, I discussed my thoughts on Enel, and why I didn’t like it very much. Enel gets countered by good play, but that doesn’t mean that he is entirely bad. It’s been a while since I’ve done a full guide on a leader, and it’s the first I’ll be doing on this platform, so I’ll go through my system as usual.
- Why Enel?
- In this category I’ll be going into some of the theory for Enel, like why he is used, and what sort of lists suit his style of game plan through his unique leader ability.
- Deck List
- I call these template lists, where it is a solid set of 50 that can be moved around for the meta. However, I am quite confident in these 50, and as long as the meta is not drastically different, I think that this list will do well.
- Card by Card Explanation
- This includes the cards I use, why I use the number of the cards I use, some other ways that you could use the cards that you might not have thought of, etc. I also include a few card explanations for cards that I don’t utilize at the end.
- Matchup Explanation
- In Conclusion: How to be a Better Enel
- A summary of the key points when playing Enel as a whole
- How to Beat Enel
- How to generally play against Enel as other decks. Even if you don’t read the whole guide, read this part.
Before we start, I want to just say one thing. I have actually gotten over 10 people in my dms asking and talking about Rebecca in OP05. This is way more than the number of Japanese people in my dms asking about Rebecca, so I’m very happy. However, something that I may have failed to explain in the meta overview, was that Rebecca was very good in the Japanese meta at the end of the format in my opinion, because of the way that Sakazuki was being built. In the beginning of OP05, Rebecca was in a very bad spot as Sakazuki was running many high cost characters similar to how Sakazuki is now in the English meta. Rebecca struggles against decks that play many high cost characters in a row, and can close out the game with them. Katakuri is a weird exception as his high cost characters don’t touch the board, enabling Rebecca to win the matchup. However, as Sakazuki currently in the English meta runs 10 cost Kaido, or 9 cost Mihawk etc, I would not recommend Rebecca. However, if the English Sakazuki lists eventually gravitate towards the Japanese style, where the largest body is 7 cost Borsalino (like Cross’ Sakazuki list), then Rebecca will be in a good spot. So let’s hope for that to happen, as Rebecca is such a fun deck to play (though not to play against.)
Why Enel?
Though I don’t love Enel, and think that in terms of pure power, Katakuri is stronger, Enel has a lot of benefits over Katakuri that are not very immediately apparent. I will go through a few generic Enel questions to begin with because I think it illustrates my points better. I don’t want to immediately lose you with the question of “Why Enel over Katakuri,” so I’ll answer this first.
Why Enel over Katakuri?
1. Enel is favored vs Katakuri
This may or may not be surprising, but Enel has been generally slightly favored vs Katakuri since the beginning of OP05 in Japan, thanks to the difficulty of closing out the game, as well as Enel’s lists gravitating towards using card that can make Katakuri struggle, such as Ohm & Holly.
2. Enel has the factor that he is great versus inexperienced players
This sounds cheap, but it’s a large factor to consider. The honest truth is that the game is very hard, and the vast majority of players are not at a very high level. It took me a long time to break out of the thinking that card games were simple and luck based, but realizing that they are heavily skill based will help you notice the depth and intricacies in the long run. Enel is hard to play against. There are many traps that he sets by nature of his leader ability, that the opponent needs to respond correctly to, or else Enel will win. Even average players will play against Enel incorrectly, resulting in him being high tier in Japan until the very end of OP05.
3. More skill expression especially in the mirror
Enel is more complex than Katakuri. Though Katakuri is in a good spot, I don’t plan on making a Katakuri guide as he is generally straightforward with the way he wants to play. Enel on the other hand, though easier to play as Enel than against Enel, still has many intricacies as his leader ability needs to be played around by both sides to be used to his fullest extent. If Enel’s opponent is good at playing vs Enel, then it is back on Enel to play correctly to not allow for the opponent to take advantage of him. This isn’t to say that Enel is extremely difficult, in fact, he is very beginner friendly, but can have a surprising amount of situations that force you to think that other decks don’t force you to think.
Starve or Aggro Enel?
One of the misconceptions I think people have is that ‘Starve Enel’ and ‘Aggro Enel’ are deck types. Starve or Aggro, are play styles that you adopt based on the matchup you are in. Some matchups you will starve your opponent, and some matchups, you will play aggro. The core to playing aggro come to cards such as 7 cost Linlin, 7 cost Enel, Ohm, Holly etc, and the core to playing starve is in 8 cost Katakuri, and 9 cost Yamato. I think as long as you run these cards as a core, Enel can flip between styles based on matchups, through mulligan, and through gameplay.
Another benefit that Enel has is that for the most part, he takes all of his early life. This lets him have a massive hand, that lets him more consistently play out the style he wants to. Starve and Aggro aren’t styles to build your deck around, though you could lean towards one depending on the popular matchups at the time. Playing purely Starve, or purely Aggro isn’t taking advantage of the flexibility of Enel.
What do I do if I don’t have 8 cost Katakuri?
I should get this out of the way sooner than later, but unfortunately, I think the 8 cost Katakuri is core to Enel. There aren’t many substitutes for the card that wouldn’t hamper Enel’s strength, so if you are serious about playing Enel, it might be worth picking up, and selling later if you move on to something else. I got 0 Alt Arts in my packs in OP03, and got 5 Katakuri back in the day. At the time it was miserable since the card was barely worth 8 dollars (in yen), but now I’m glad to have gotten them. Even though I don’t currently use yellow, it is a card that will eternally be usable, so I’m not selling mine. If you ever think you might play yellow, then it may be worth holding on to. Considering the yellow Ultra Deck, and the new Viola in EB-01, it seems like yellow is going to stick around for a while. It’s a brutally expensive card, and I hate swaying people’s wallets, and those who have messaged me will know I try to find good compromises for expensive cards like Bartolomeo in film Kid, but this card I cannot replace in Enel. Katakuri on the other hand, often uses 0 to 2 of this card, so if you still want to play yellow on a budget, then Katakuri could be a good option!
Why is Enel Hard to Play Against?
Firstly, as is formality, let’s look at Enel’s leader ability.
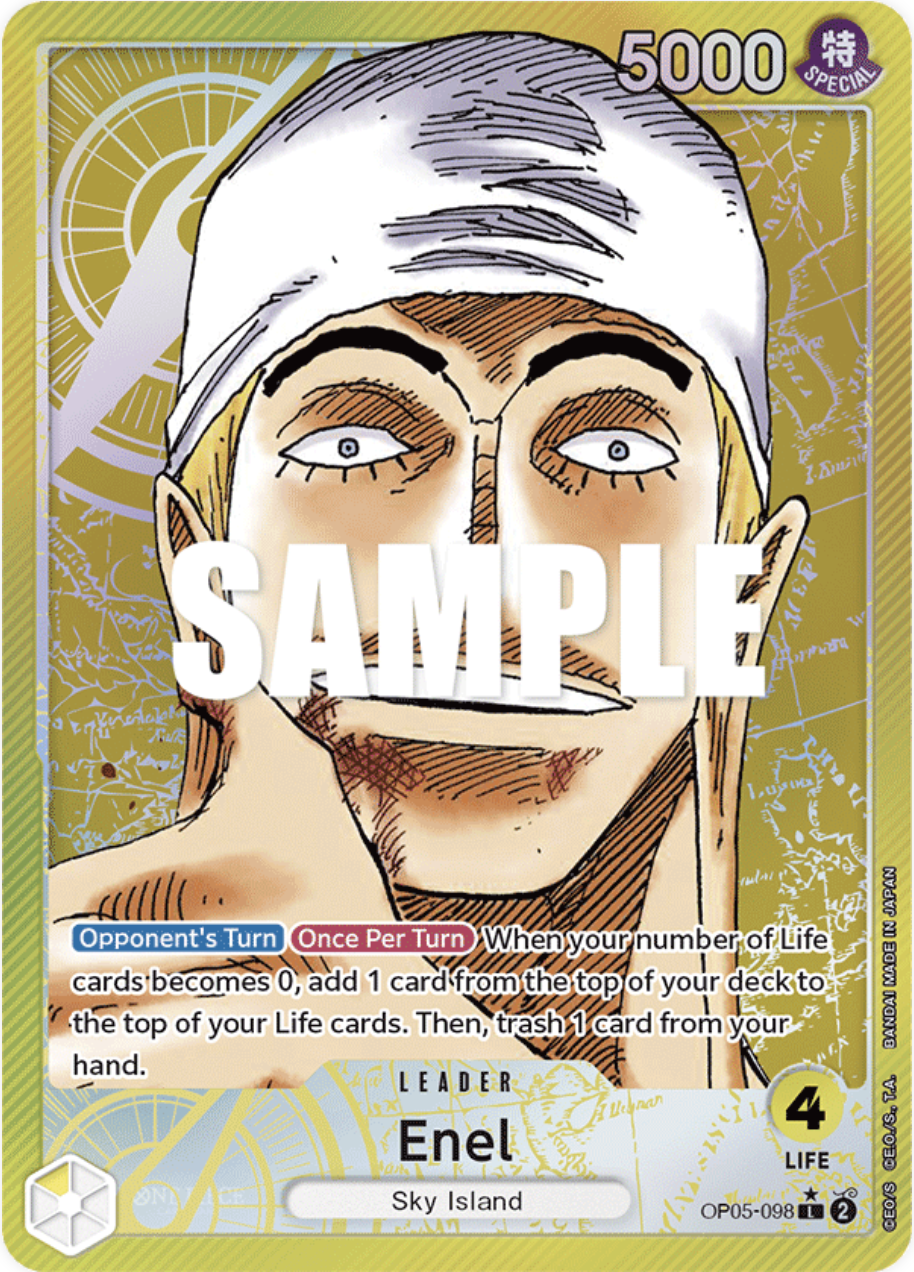
[Opponent's Turn] [Once Per Turn] When your number of Life cards becomes 0, add 1 card from the top of your deck to the top of your Life cards. Then, trash 1 card from your hand.
So essentially what this means, is that if the opponent lets you, you get a free 1 draw 1 trash, with the potential for trigger every turn.
This isn’t reducing their hand or anything, it is just refreshing one card, meaning it is in the opponent’s best interest to not activate your leader ability.
This means, however, that 1 life for Enel is actually 2 life, meaning to die, Enel needs to let 3 attacks through on the same turn, with 2 chances for triggers. You can see why it’s hard to kill Enel. If the opponent doesn’t navigate the matchup well enough, Enel can have 7 up to potentially 10 life in a game, though it largely depends on your opponent’s willingness to let you recover life. Though it sounds like the answer is ‘just don’t attack,’ and to some extent, it is, Enel has 12 characters that are 7+ cost, meaning that in the late game, he will keep playing them and putting on pressure. Playing a super long game vs Enel, you will lose to his late game, and rushing down Enel is impossible thanks to his leader ability. The opponent needs to find the right balance, making it much harder to play against Enel, than for Enel to push his game plan.
In the early meta especially, but not solely, Enel can be extremely powerful as people are not used to the way that he plays. Even when you get used to it, Enel has a lot of consistency that will always keep him somewhat playable in the meta. In OP06, Enel is still in a very good spot thanks to cards such as Reject and Hiyori.
Deck List
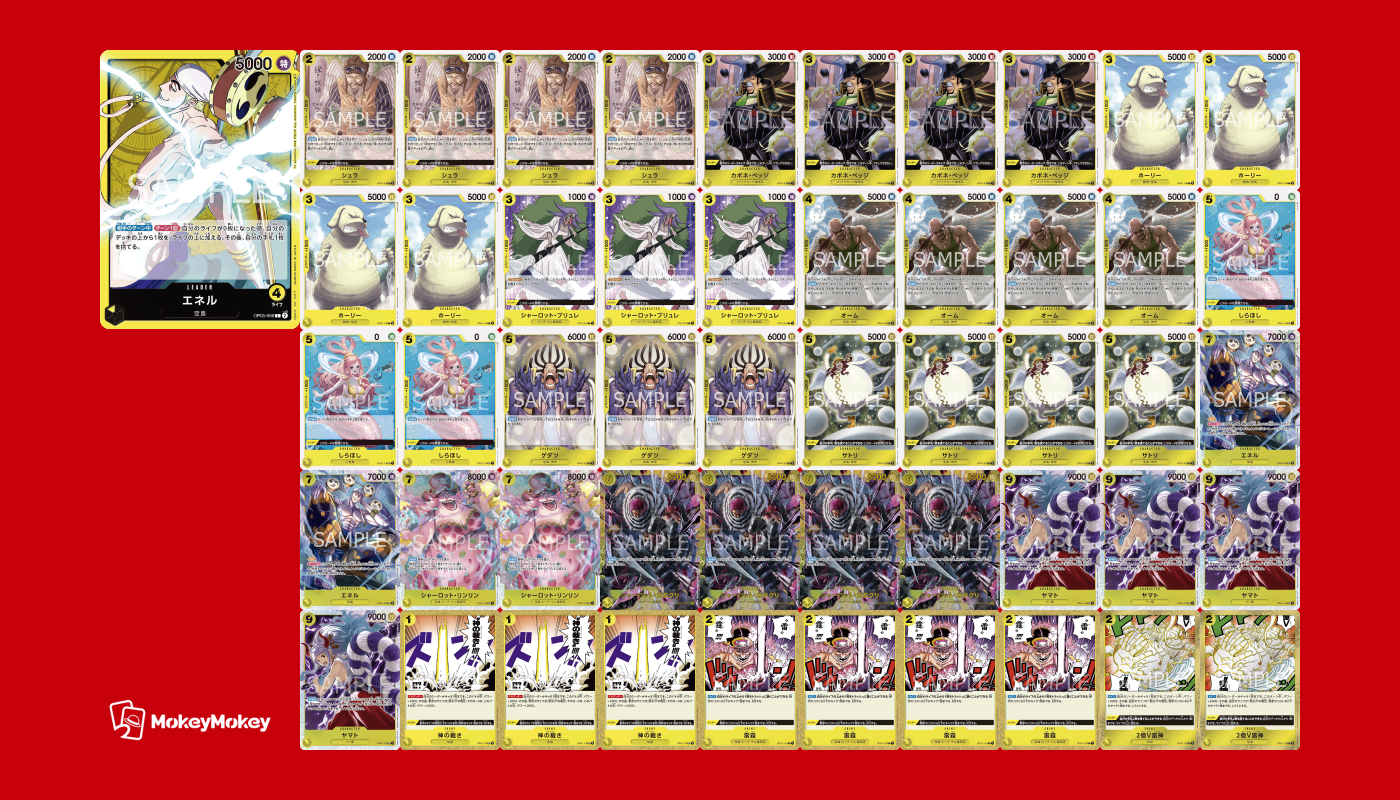
2000 Counters
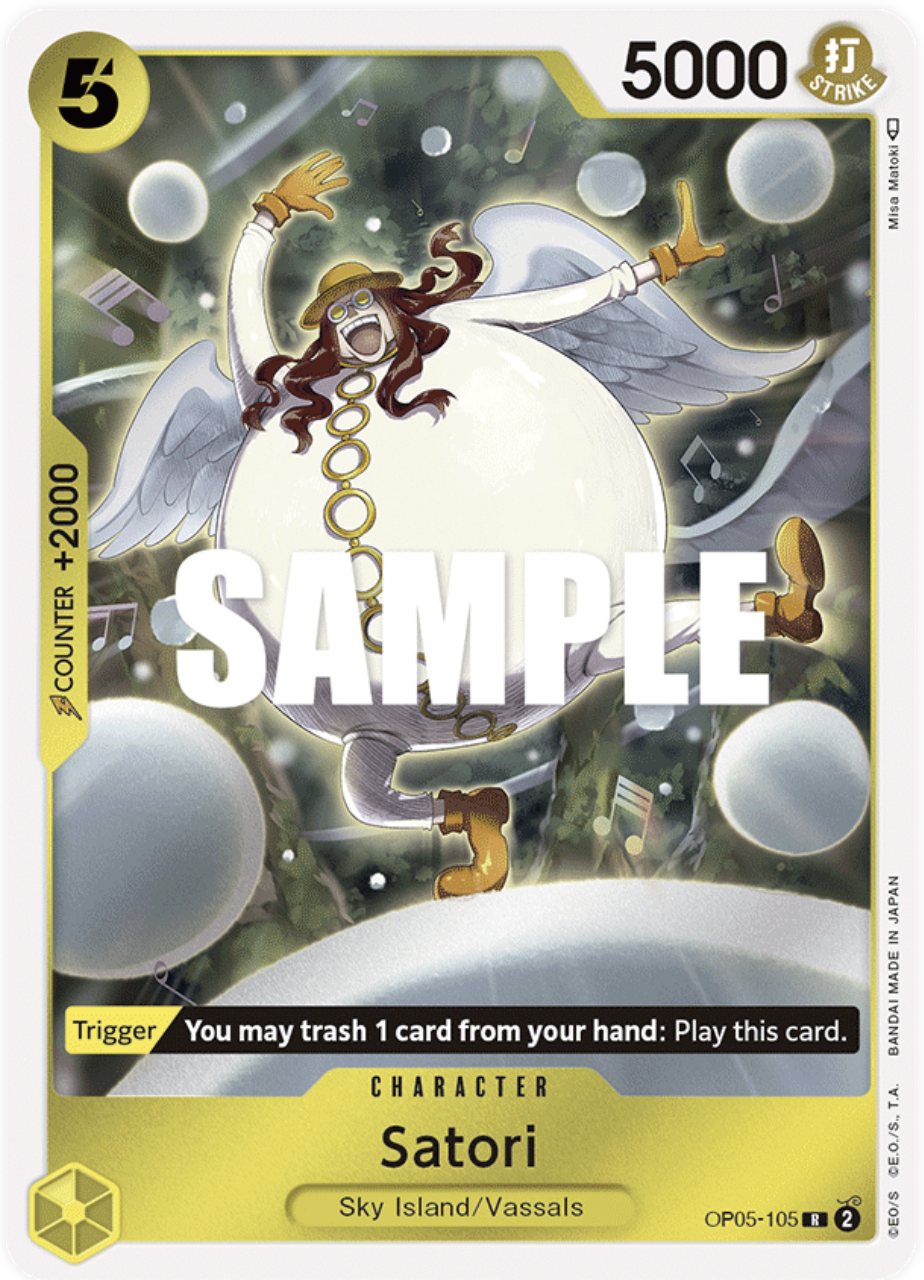
Satori: 4
The Sky Island 2000 counter in the deck. Satori seems like an insane card, as it’s a 2000 counter that can also be played from trigger. However, be careful with this card. Using the trigger can oftentimes be incorrect. As Satori is a 2000 counter, and 1 of only 8 in this deck, playing him out of trigger requires you to get a minimum of 2000 counter out of your opponent in return to get value out of him. Oftentimes in the mid to late game, Enel does not have the freedom to put don on his characters. Meaning that Satori will often hit at 5000. This means that you, assuming that the card that you trashed for his effect had no counter, traded a 2000 counter, for 1000 counter out of your opponent’s hand. If you are taking an aggro plan, this is ok, as you do not care about the amount of counter in your hand for the most part. If you are taking anything other than a full aggro plan, (and just because you’re not playing starve, it doesn’t mean that you’re taking an aggro plan), then you will want to consider how helpful Satori is, before playing him. Oftentimes, playing Satori off of trigger will do you more harm than your opponent. As your opponent doesn’t want to hit your life, due to your leader ability, Satori cutting 2000 counter from your hand, and also becoming a target for attacks, means that he will either die in 1 hit and not get much value, or become a source for more trouble in the late game. However, when you do decide to take an aggro plan, he is very good, on top of being simply searchable 2000 counter with a 5000 power line. Though there are many things to be careful of with Satori, he is still very solid. You will only play Satori out of hand if you have absolutely nothing, and are trying to be aggressive.
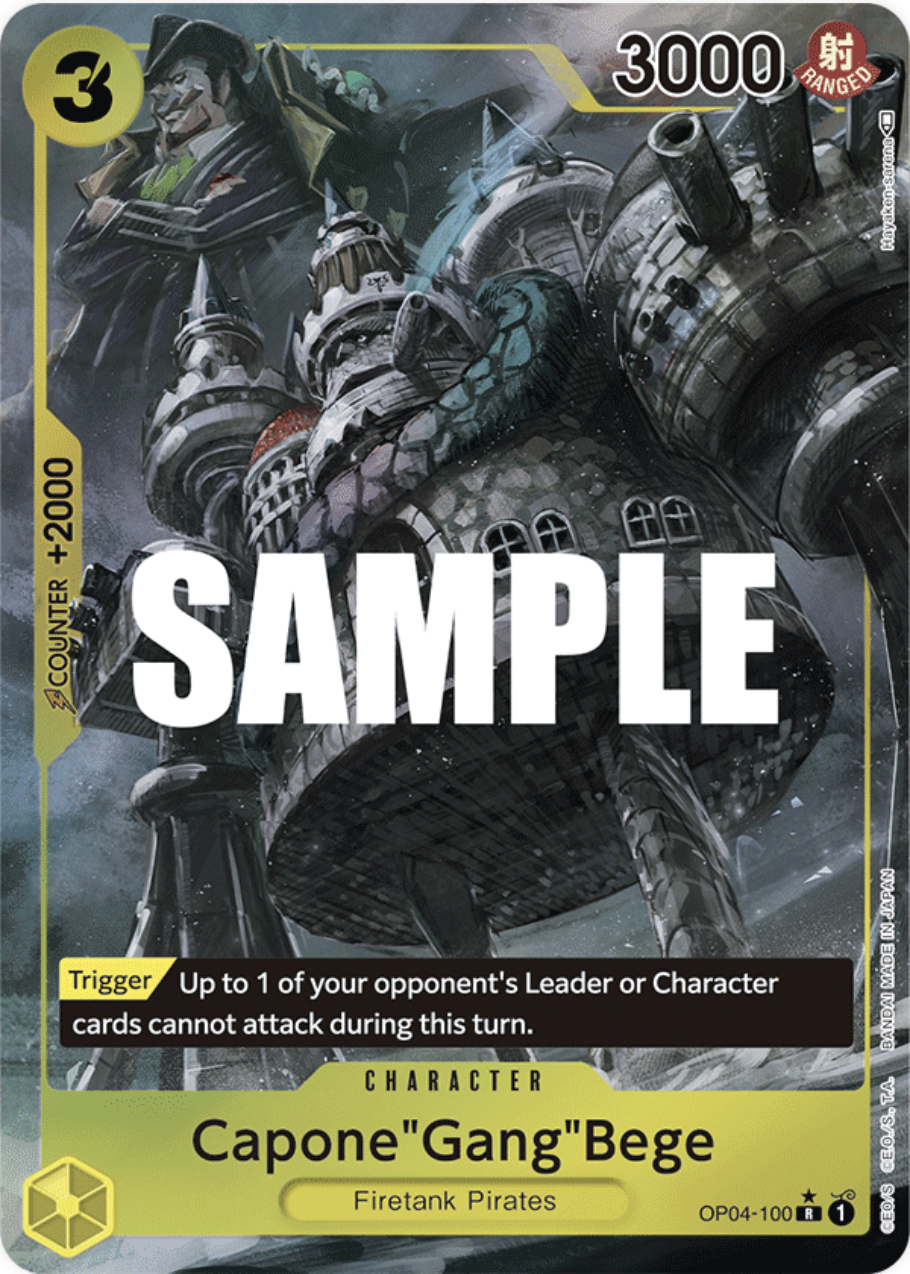
Capone “Gang” Bege: 4
Weirdly, though Bege is the strongest 2000 counter, I have the least to say about him. He isn’t searchable, you won’t play him out of hand, but the trigger is insane. Just remember to use his trigger if you think that the incoming attack is going to hit for 7000 or more. If the final attack is going to hit for 5000, you just used a 2000 counter to defend a 5000 attack. Even if the trigger is insane, he’s still a 2000 counter. Also keep in mind your leader ability, as sometimes they wouldn’t have hit you anyways. Make sure to not mindlessly use Bege every time, but many times, he is a game changer. As he’s not searchable, and is used for his trigger, you will be safe to put in 4.
The deck only runs 8 2000 counters, and this is a uniquely Enel thing that can be done. As Enel doesn’t need to defend his life, the amount of counter required in his hand is lower than with other decks. I prefer 8 2000 counter, but I think anywhere from 8 to 10 is acceptable.

Shura: 4
If you are playing a Sky Island Enel, this card is a no brainer 4 of. It can grab Ohm, Holly, Gedatsu, El Thor, etc, and also can be put back into your life with 8 Katakuri to get more life and another free search. As Shura is 2 cost, you can also do this combo on the same turn. Although you can’t also have El Thor up, getting a free search is very strong. There are many times where Shura will be left on the field from the early game as well, letting you always have a very very good target for Katakuri in the late game.
The amount of times I couldn’t clear this little fucker as Rebecca because he was 2 cost and not 1 cost was painful

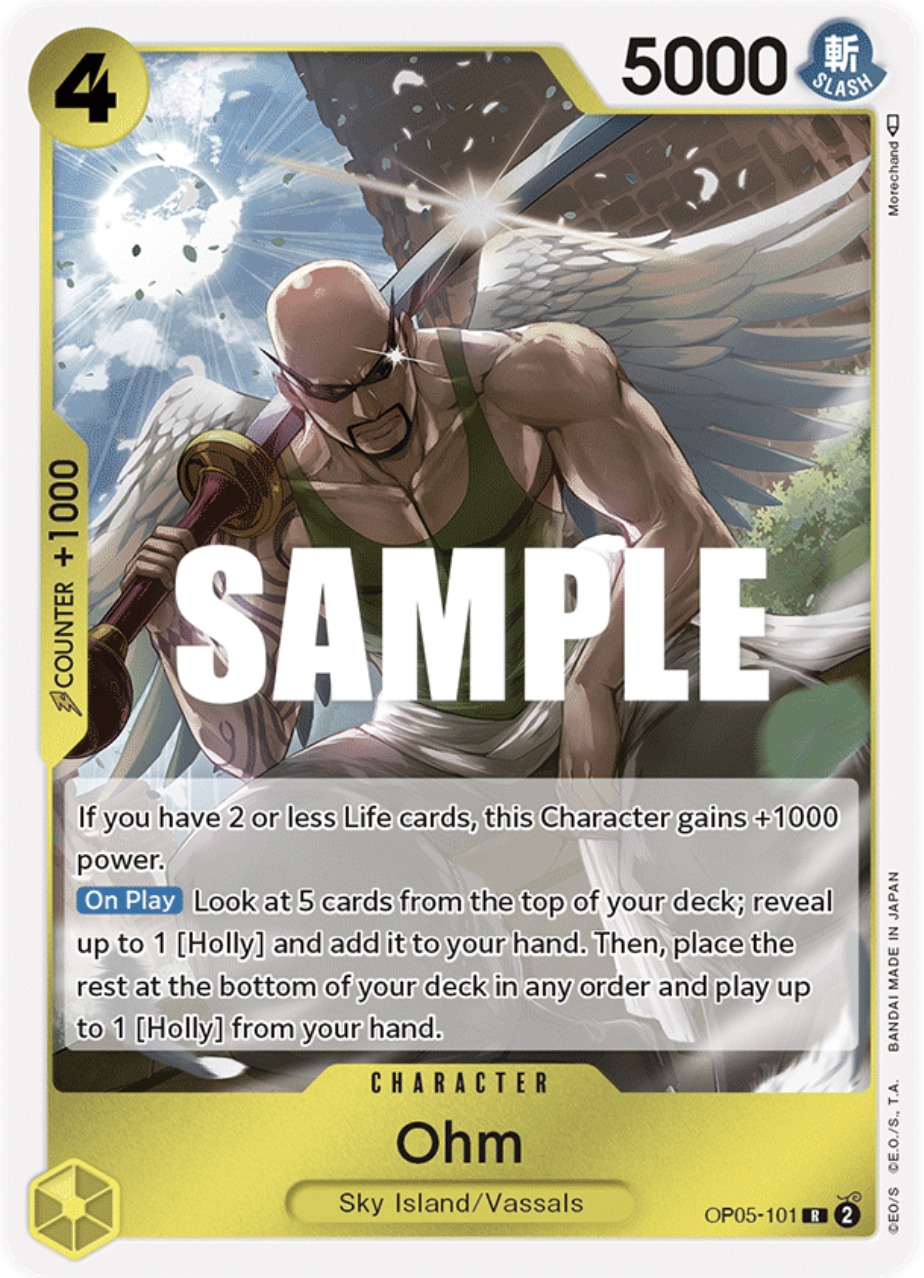
Ohm: 4
Ohm is a key card to spreading out your board. People who play ‘Starve Enel, the deck,’ might not run this and instead prefer the Whole Cake Island package. However, I like this card as it enables you to take an aggro plan. As you will generally be taking all of your life in the early game, Ohm is essentially a 4/6000 with counter with the potential to bring out a 3/5000, potentially for free. As Ohm searches, and can still play Holly from hand, the hit rate is surprisingly high when compared to other cards with a similar gimmick such as Shachi and Penguin, or Sham and Buchi. If you have 2 Ohms, and 1, or at best 2 hit Holly, consider swapping to an aggro plan, even if you weren’t originally going to. This isn’t a requirement, but is certainly a good option at times. Be flexible with your plan mid game depending on the cards that you’re given.
Side note: I did the math and it was like 76%? That you would have Holly, assuming you had Ohm, in your first however many cards (including your hand). I did the math a while ago and couldn’t find where I wrote it down, but the odds were surprisingly good.

Holly: 4
Holly is a 3 cost 5000 that you generally don’t need to play on turn 2, but you want to have with Ohm. Whenever you rest a character, your opponent should, and will change all focus to that character, and not your life. Playing Holly on turn 2, and attacking on turn 3 is bad as they will not hit your life, and also not even get you to two life for Ohm to become a 4/6000. It’s ok to play Holly on turn 2, but I would never rest him on turn 3 in most cases, and would instead wait until I have more things on the board, and in hand to hit with all at once. If you have Ohm in hand, and see Holly in your Shura search, don’t feel bad picking up Holly, as you’re lowering your chances of finding another Holly from Ohm when he’s played as you would send 1 to the bottom. It’s better to consistently play Ohm into Holly, than to play Ohm, and miss Holly because you wanted to pick up a 2000 counter from Shura. Remember to play for consistency.
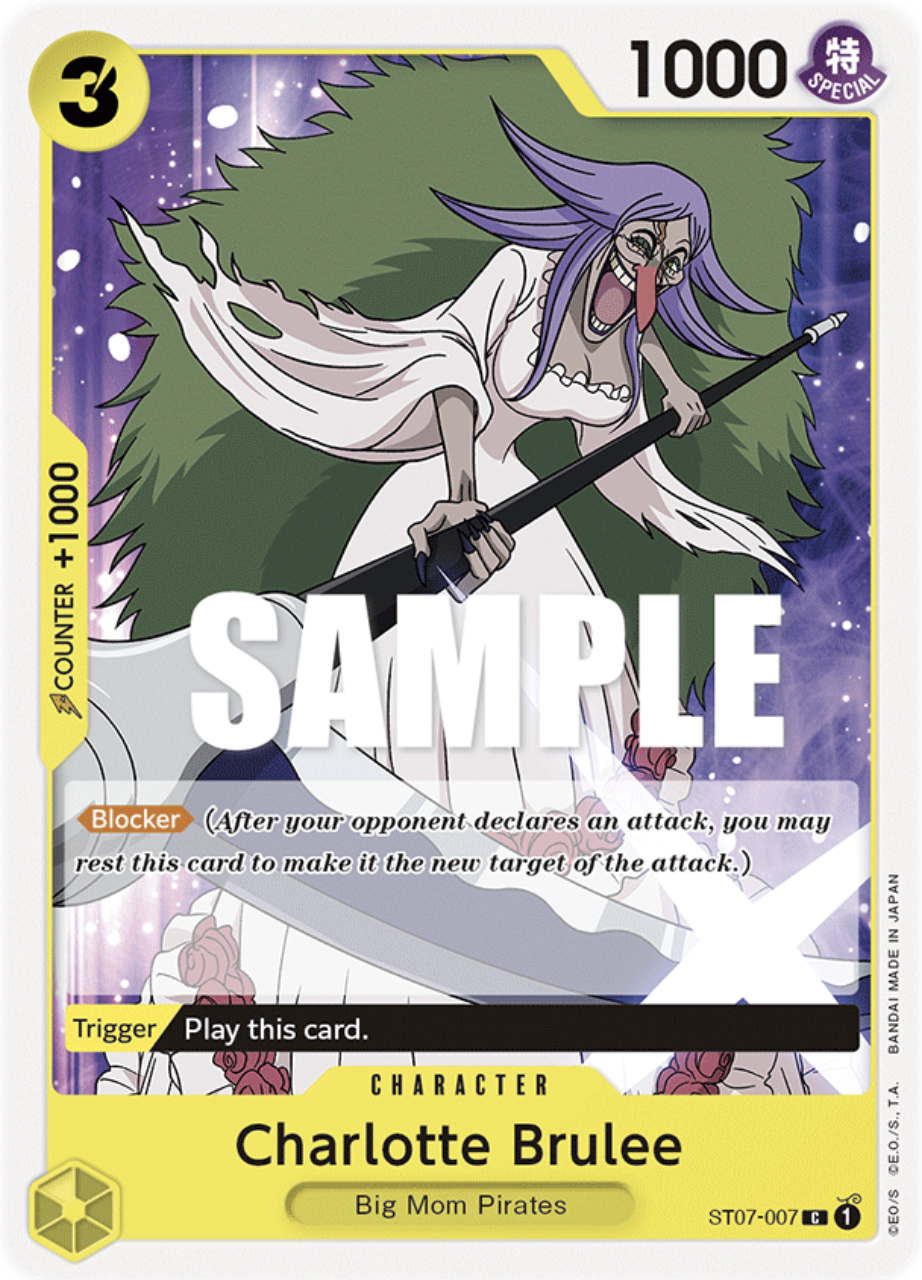
Charlotte Brulee: 3
Brulee is an excellent card, and works very well with Enel’s leader ability similar to Bege, as it’s stronger to come out of your life later than earlier. Brulee in Enel is core as a 3 or 4 of, and is stronger than Sanji in my opinion. Sanji, though he is a 4 cost 5000 with a similar effect and trigger, reduces your hand by one. As mentioned with Holly, you do not want to rest your characters generally in the early game as they become the target for attacks. Similar to this, Sanji does not want to become rested in the early game. If you do not actively use Sanji as an attacker, Brulee is the same but better as the trigger plays her for free. Even if you have dead cards in your hand, you can replace them with your leader ability, and do not need to be in a rush to trash with something like Sanji. If you feel your defense is lacking for some reason I would consider Sanji after I’ve already put in 4 Brulee. As Brulee and Sanji both still die to all of Purple Luffy’s board clear, as both die to Great Eruption + Lucci, or Hound Blaze, the 3 and 4 cost don’t make a massive difference, resulting in a better environment for Brulee, and a staple in Enel.
One thing to note, however, is that Brulee does die to Sakazuki’s leader ability + Hound Blaze, resulting in it being very hard to play Brulee in general vs Sakazuki. Sanji survives a bit better, but in my opinion, not enough to justify him over Brulee. I know Cross has some better thoughts on Sanji though, so I might just be hating.
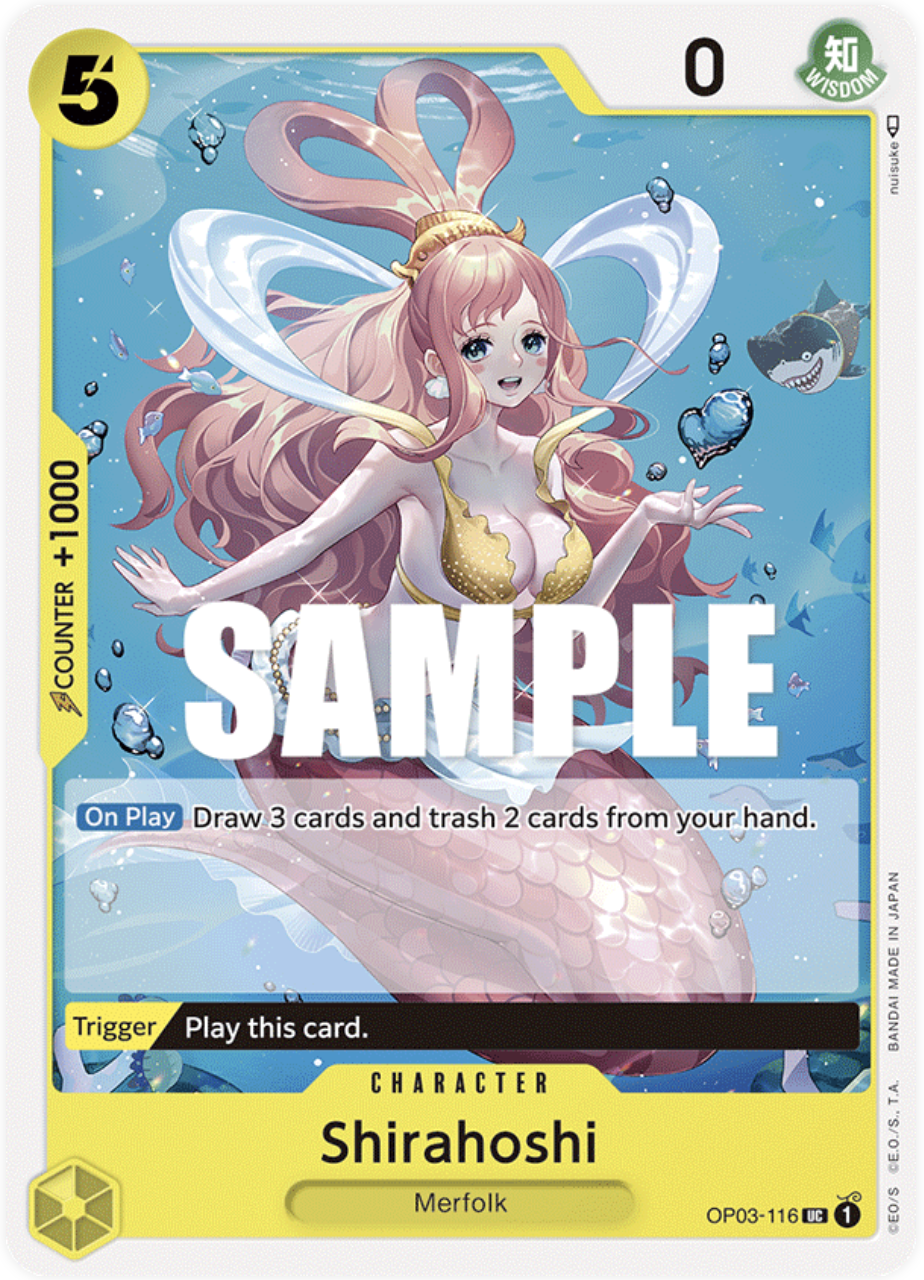
Shirahoshi: 3
In a deck with tons of cards with no counter, you will want 2 to 4 Shirahoshi. In games where you want to starve your opponent, playing Shirahoshi out of hand is fairly common. In many games, you need to draw a ton of high cost characters or else you’ll lose. Shirahoshi out of hand, and especially out of trigger, can be amazing as she is also 5 cost, meaning it’s very hard for Sakazuki to get rid of incidentally with something else using Lucci. As such, Shirahoshi tends to stay on the board for a long time, and is an excellent target for 8 Katakuri to put back into your life. As your opponent generally won’t let you refresh your hand with your leader ability, Shirahoshi will help you.
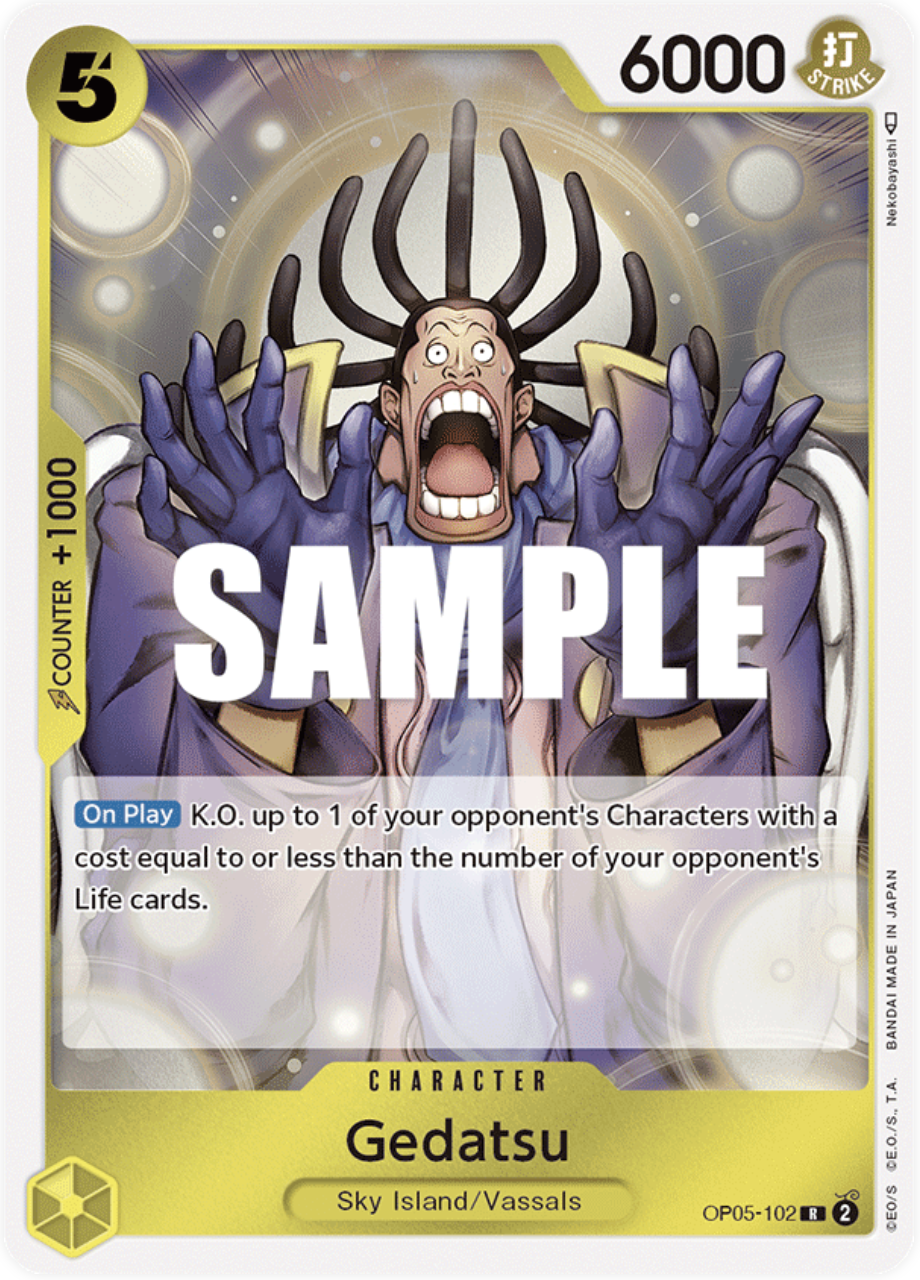
Gedatsu: 3
Asian Protip: Use the normal art over the alt art as this face pisses off the opponent a lot more.
Gedatsu is one of the most insane cards in OP05. If you don’t touch the opponent's life, it is simply a 5/6000 that KOs a 4-5 cost, making it a turbo Marco. Though sometimes the card can feel awkward, as it gets weaker the more you hit the opponent, there are some matchups where this card is required, so I think the minimum is 3 of Gedatsu.
For people fighting Enel, if you sus out that they are playing starve Enel, consider just ignoring Gedatsu with your board clear effects, as there’s a decent chance that he never attacks with Gedatsu.

Enel: 2
I love this card. A 7 cost 7000 with rush that cannot be removed easily is obviously strong. However, the debate comes from if it is better than 7 cost Linlin. When compared to 7 cost Linlin, Enel is unfortunately weaker in most scenarios. Linlin, if you think about it, is in many cases, a 7 cost 8000 that attacks twice as an on play effect. If you choose to trash your life, it is similar to if you were to take 2 5000 hits, as you would take the hit, and then counter the next one. Enel on the other hand, only gets 1 hit. There is more to this comparison than just this, but Linlin is a more aggressive and safer option, as she gets all of her value on play, and stays active, meaning that the opponent can’t hit Enel to abuse your leader ability or force you to trash your own life.
Enel is at 2 as I think he’s important to the Sakazuki matchup, and isn’t bad in general. He is still strong in some scenarios, and is searchable of course.
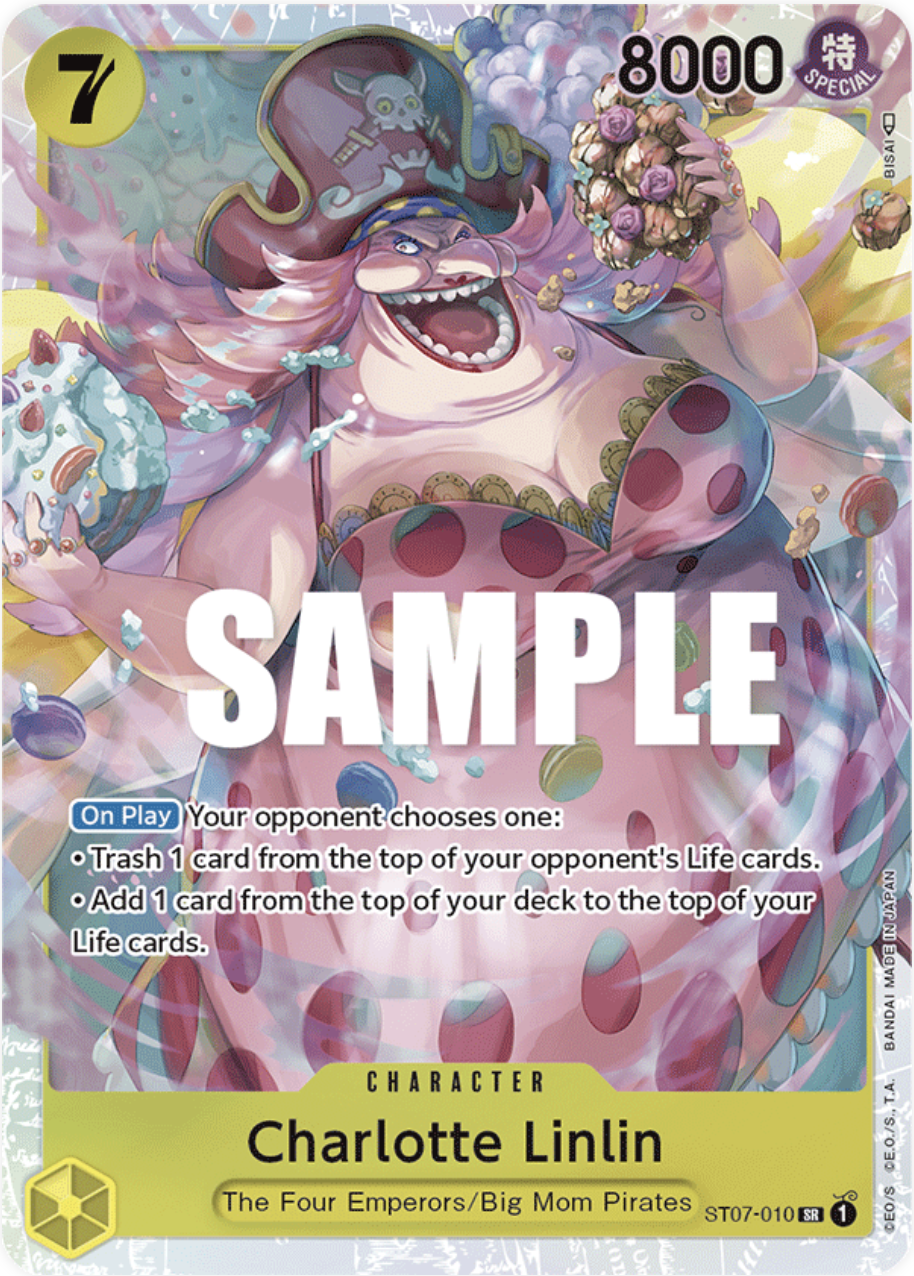
Charlotte Linlin: 2
Most of the time as Enel, the opponent will choose to trash their own life. If they give you life, it helps Enel significantly, as it makes it harder to kill Enel. By trashing your life, you can avoid your lethal being moved, but run the risk of you, yourself getting closer to dying. When fighting Enel, you should trash your life for as long as possible in most cases, as giving Enel more life, resources, and time, makes it harder and harder. Against Katakuri, however, there are more scenarios where you will want to give them life, depending on how aggressive they are.

Charlotte Katakuri: 4
Though I’ve mentioned that you use Katakuri to increase your life and give you time, it is more often that you will put the opponent’s characters into their life. As Enel physically cannot lose without taking 3 hits in one turn, reducing your opponent’s number of attacks will guarantee your safety. There are situations where you don’t love playing 7 cost Linlin, as it will make your Yamato or Gedatsu’s value lower. However, using Katakuri to refuel the opponent’s life lets you go for a long game with Yamato not losing value despite the fact that the opponent banished one of their own lives.
It’s ok to give your opponent life, as as long as they cannot kill you, you have as much time as the judge will give you.
Consider as well, in games that you were planning on going for an aggro plan, to adapt to a control plan in the mid to late game if you think you can shut your opponent out of the game.
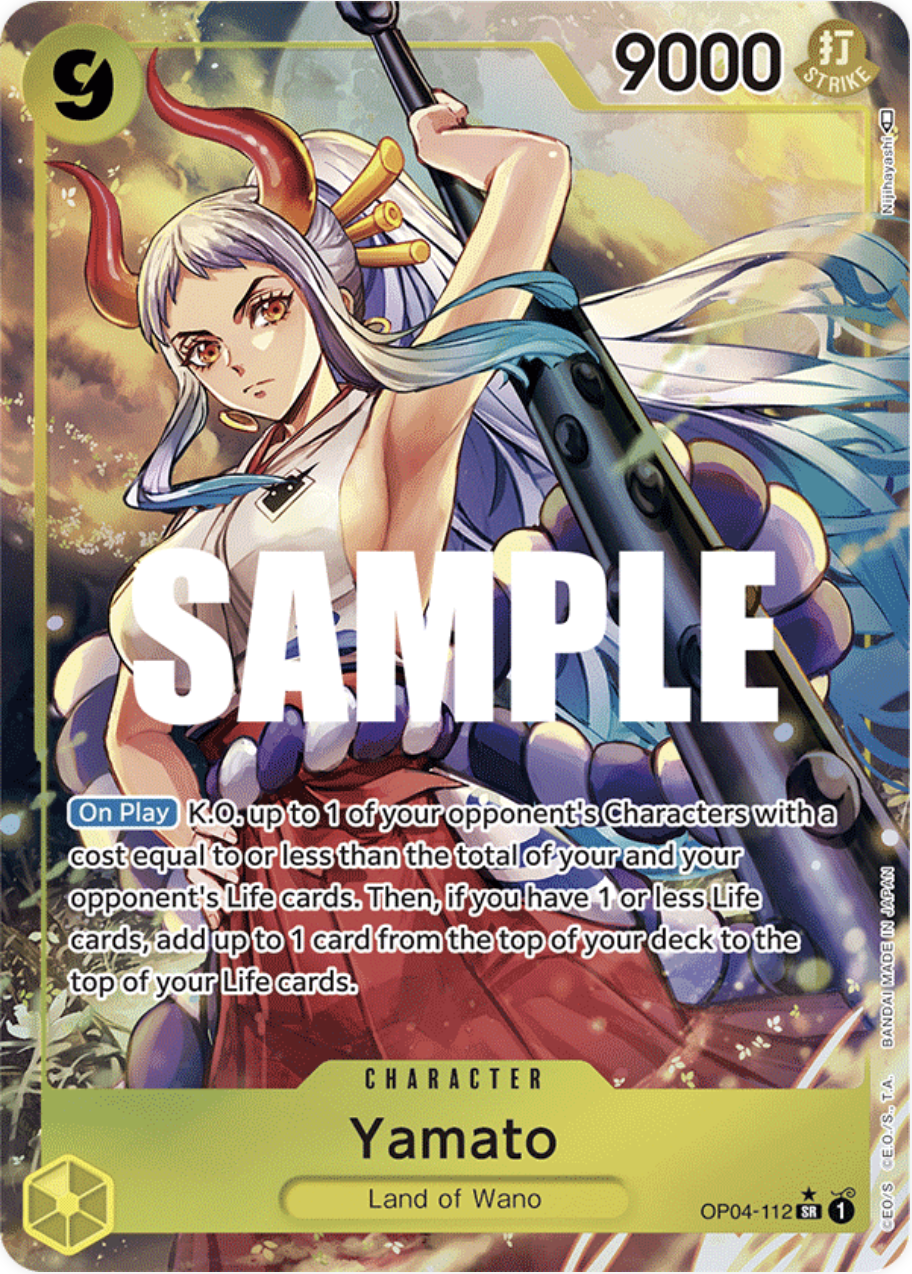
Yamato: 4
There isn’t much to say about Yamato. It’s the most important card to the deck. The KO counts both your life and your opponent’s life, and can also give you life (after the KO, don’t forget), letting you play a more passive style. In many games, Yamato is what you look for in your mulligan, and in some cases can even be played without the KO or life regain, as the 9000 power line is strong.
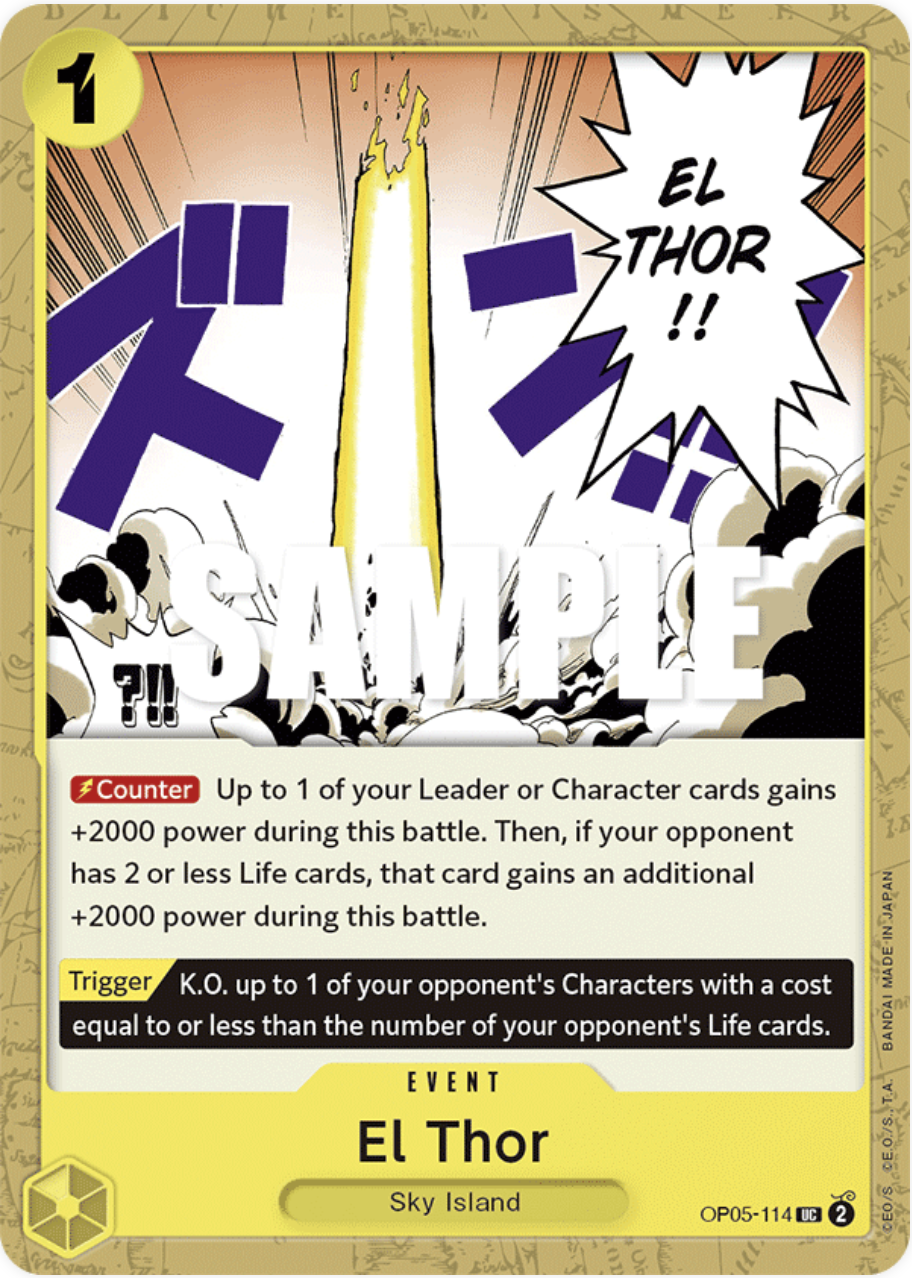
El Thor: 3
Yellow Radical Beam. Be very careful that it is your opponent’s life, and not your own that needs to be at 2 or less. So many times people forget to use it and it only does +2000.
As Enel doesn’t need to attach don to anything for any effects, and all of his cards are 9 cost or less, it’s very easy to leave up Don for El Thor.
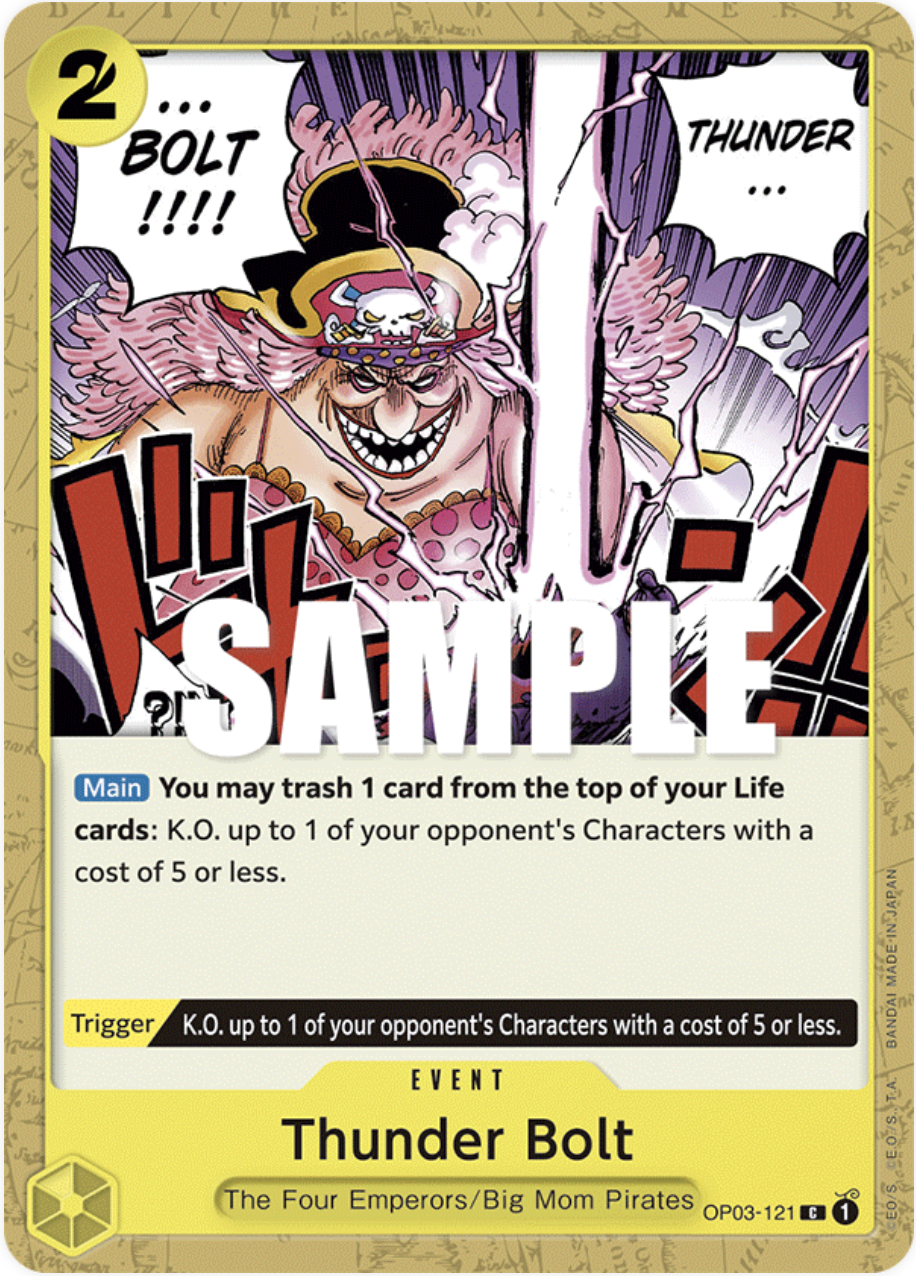
Thunder Bolt: 4
One of the most insane cards in Yellow. If it comes out of your trigger, the effect is free, but the card is strong even out of hand. Thanks to Enel’s leader ability, the value of your life is lighter as Enel, meaning that it doesn’t hurt to trash your own life. In matchups like Purple Luffy, Thunder Bolt is a must.
A good opponent will keep Enel at 2 life to not let him use Yamato or Amaru, but Thunderbolt can help reduce your own life, and more importantly, help go for lethal suddenly. If you are at 2 life, you can use Thunderbolt, get to 1 life, and then use Amaru, to suddenly push aside 2 blockers.
Even if you’re in a situation where you do not need it, you can always trash it with Shirahoshi or Leader Ability, and show your opponent that it’s something they need to worry about from trigger.

200 Million Volts Amaru: 2
It’s generally difficult to use this on the same turns that you play your large characters, as you can’t hold El Thor at the same time. On top of this, Amaru’s job can be done by Thunder Bolt better in various cases. The reason that Amaru is used, however, is for the reason that it helps a lot in the Sakazuki matchup.
The events and character counts are pretty difficult to settle on as Enel doesn’t play like a normal leader, but rather takes all of his life, and gets to choose from all of his options.
Now that we’ve looked at the main deck, let’s look at some spicier cards that I don’t use.
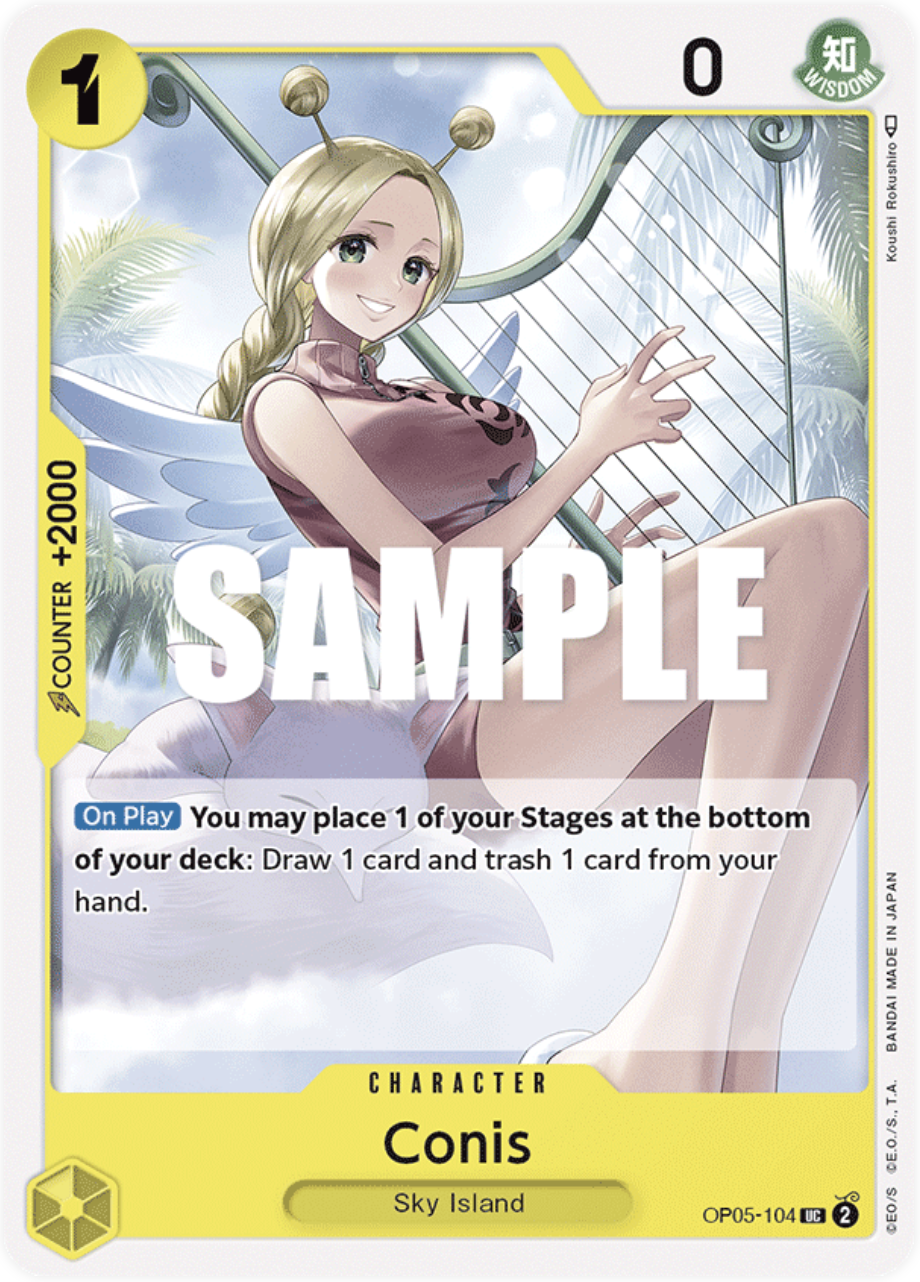
Conis: 0-2
Conis is a 2000 counter that can be retrieved from Shura, the Sky Island searcher, the effect is legitimately useless, and I don’t think that it would be played out of hand for the effect even if you played the stage, as you are sacrificing a 2000 counter. However, there are actually times that you do play Conis. Conis is the only 1 cost card in the deck, meaning that you can play Conis out of hand, put it in your life with 8 Katakuri, and have 1 don active for El Thor.
It is a little rare that you do this, but it is an option to keep in mind, meaning that you actually cut Satori for 2000 counter before Conis, as in most games, you will not play Satori out of hand. As Enel can afford to take all of his early life, Enel doesn’t need to put in the standard 12 2000 counters. The number of 2000 counters, and what they are, are preference, so use this as a tuner for the deck, and find what you are comfortable with.
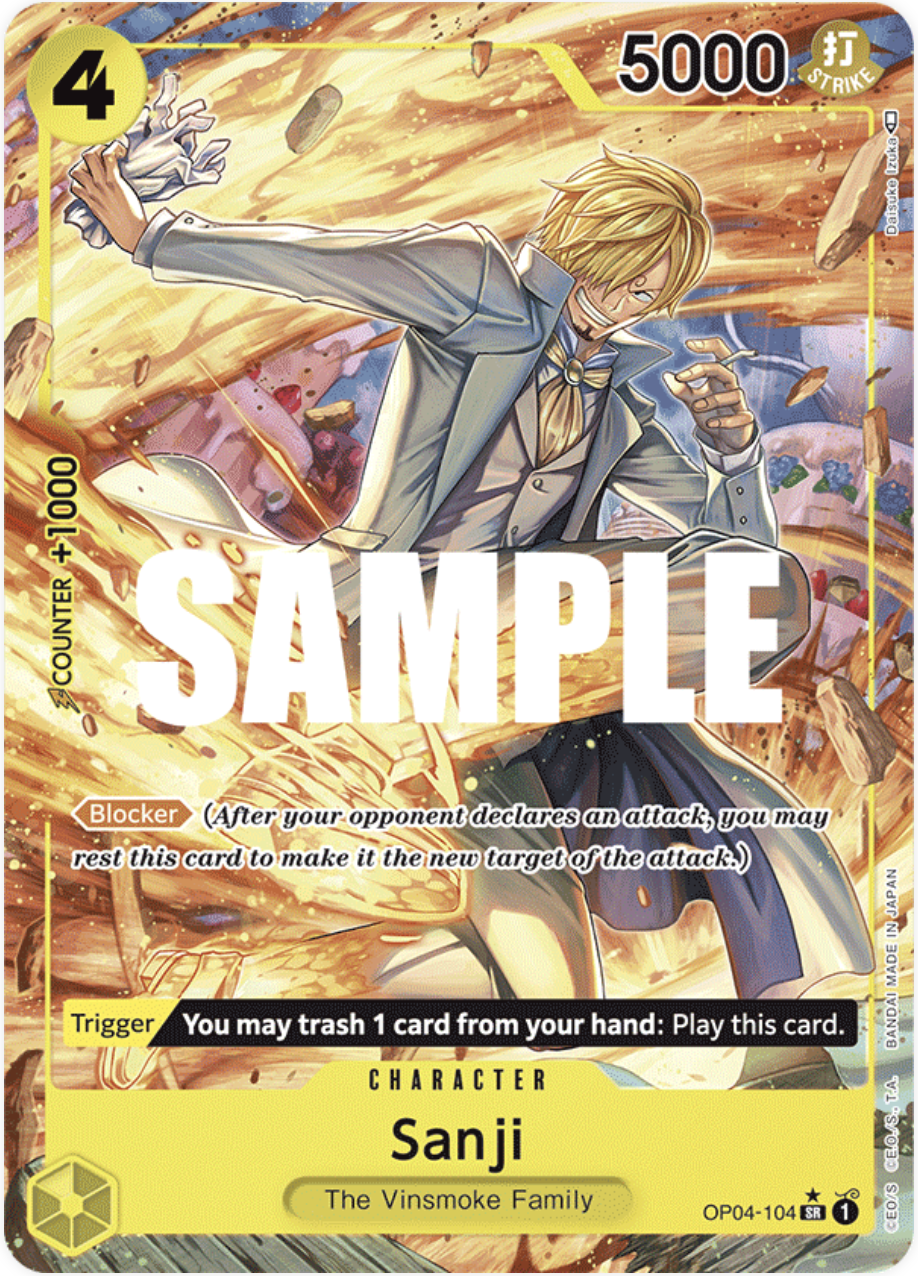
Sanji: 0-3
Read the part on Brulee. I think even if you have the space for Sanji, I’d rather use Cracker personally. However, although they both get burned by a Great Eruption + x, Sanji, being 4 cost, can survive slightly better out of trigger than Brulee can.
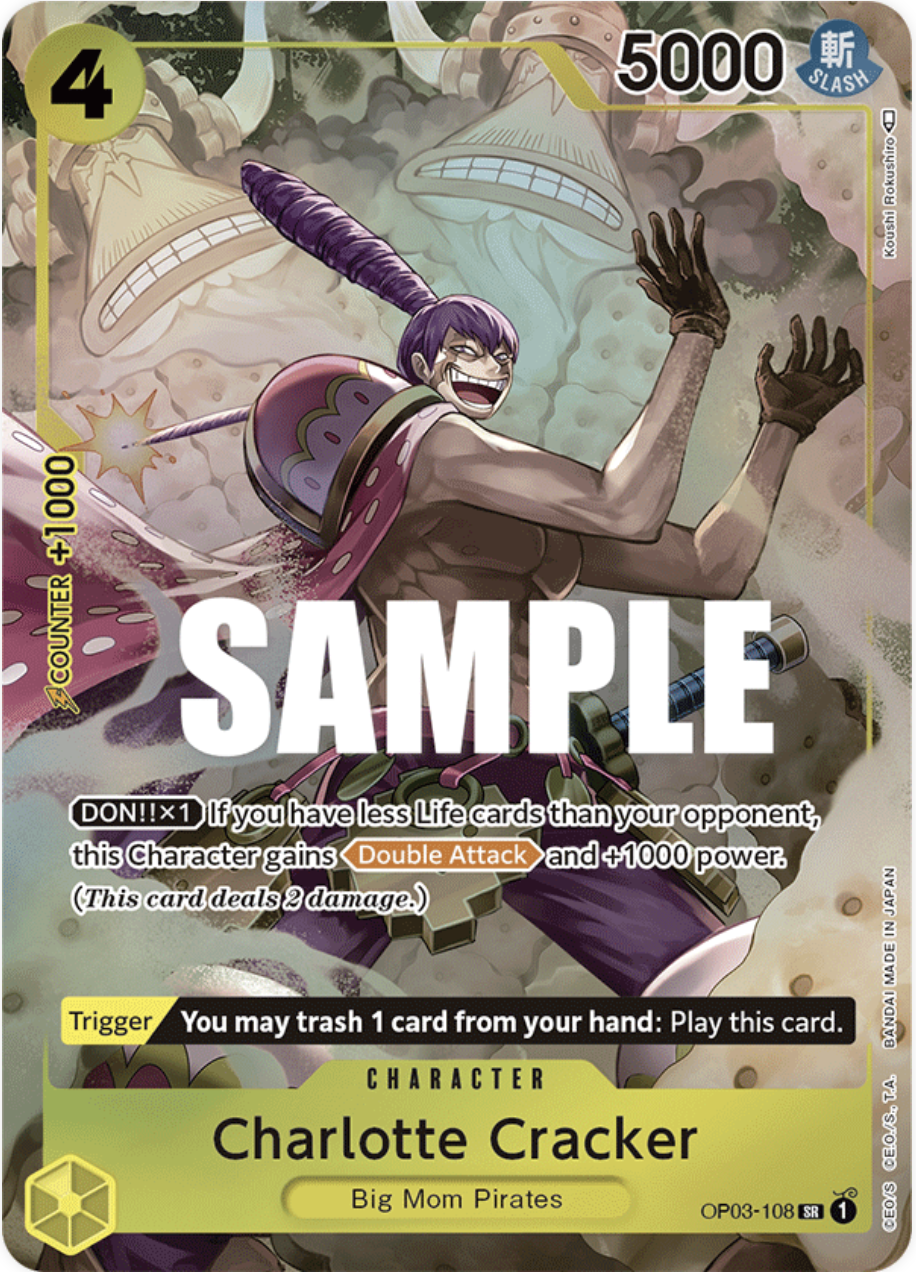
Charlotte Cracker: 0-3
Cracker can be surprisingly helpful for the Luffy matchup if it survives. For many of these matchups, if it survives, it is the strongest card in the deck. The issue is that it doesn’t survive. Having to pay a card to play Cracker out of trigger hurts a bit, but he has a powerful, unignorable effect, and also has counter. In some cases, Cracker can be good, so consider it as a spice card if you have a few open spots.
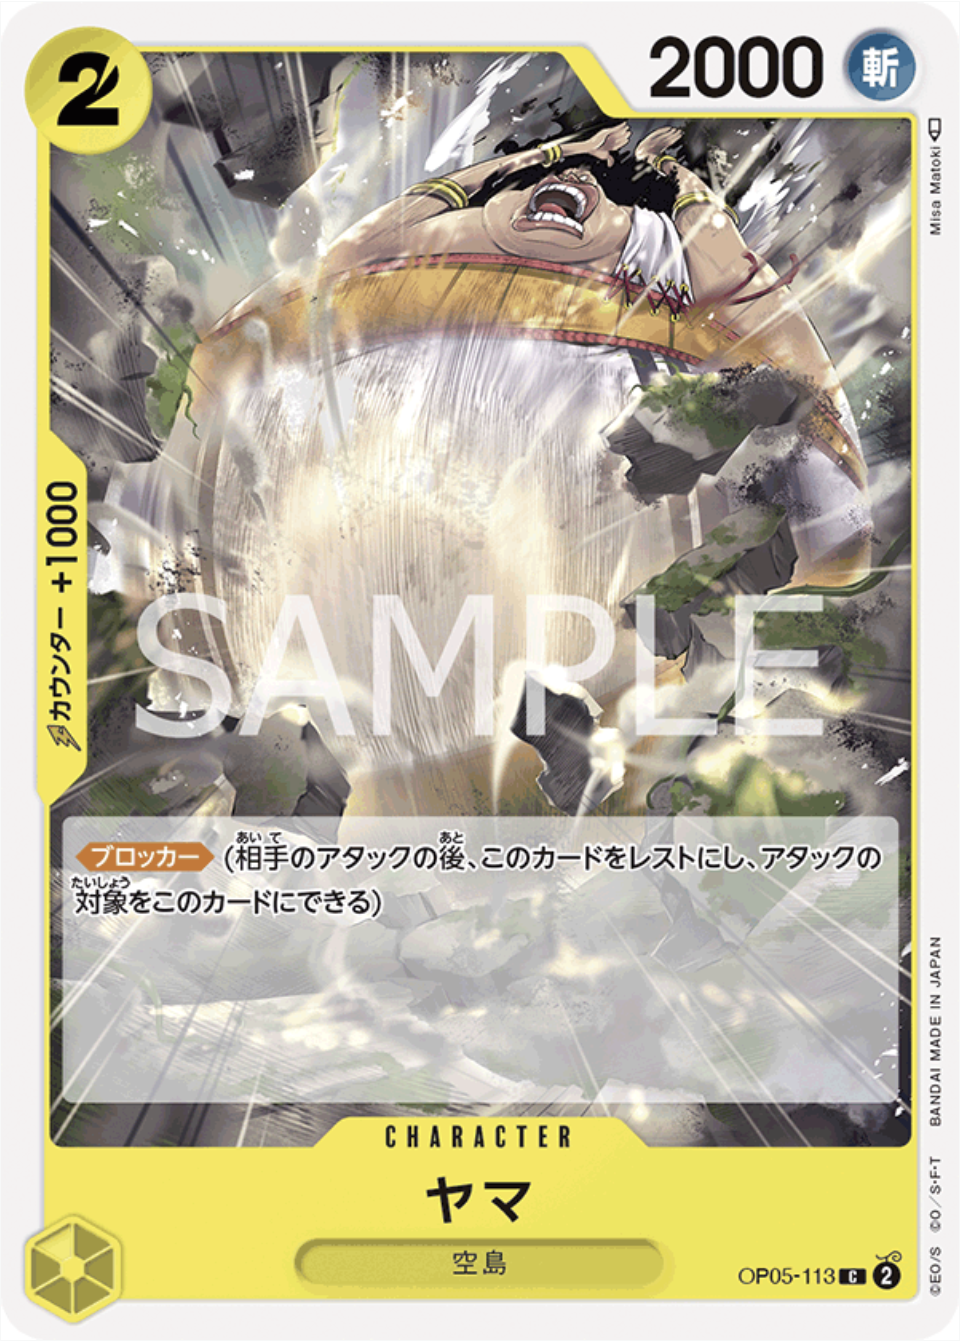
Yama: 0-3
Yama is especially good in the mirror as a well timed Yama can defend an attack from Yamato. This also applies to Purple Luffy, but Yama is unfortunately weak against Sakazuki.
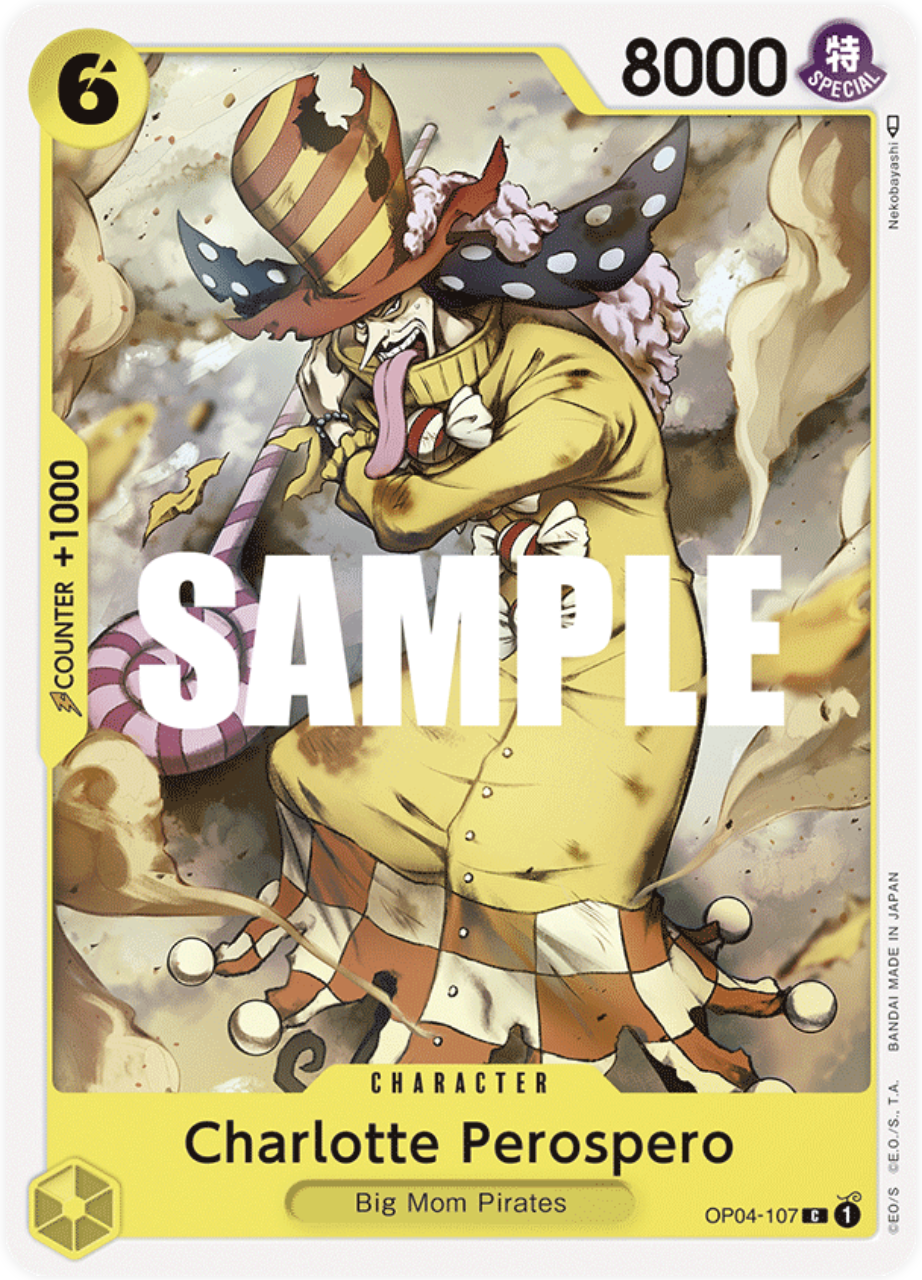
Perospero: 0-4
Perospero is exceptional in the mirror, and is surprisingly useful against Sakazuki in a weird way. When you’re going second against Sakazuki, a 6 cost cannot be reached by 7 Borsalino on 7 Don. Perospero prevents Sakazuki from playing 7 Borsalino and forces them to do something else if they want to get rid of Perospero.
So why not use Perospero? 9 cost Kaido KOs up to a 6 cost. You never want to play Perospero vs Pluffy, and as such, I cannot justify putting Perospero in the deck in the current meta.
Matchup Explanation
In my Rebecca guide, I discussed the board state you try to achieve, but for Enel the movement in the early game is more important to set up for the late game. The ‘ideal board state’ will always be a wall of 8000 and 9000 power characters. Therefore, I’ll be going over each matchup’s goal, and the moves you would aim for.
Sakazuki:
Let’s immediately go over the complicated matchup. There are 2 types of Sakazuki, though the Sakazuki that runs 10 cost Kaido, or 9 cost Mihawk seems to be the common Sakazuki in the western meta, it was not the common Sakazuki in specifically, the Japanese meta. The Japanese meta Sakazuki ran 3 cost Blue Hina, and no high costs aside from 7 Borsalino. This made the deck very technical, but eventually pushed out the Sakazuki that plays large bodies, out of the meta. Playing vs the Sakazuki that runs more large characters, and playing vs the Sakazuki that runs only 7 Borsa, have different playstyles and mulligans.
For the Mulligan you cannot know which Sakazuki you’re against, so you will have to take an educated guess based on the meta. However, you can tell what Sakazuki type you are against within the first few turns to change your playstyle.
Which Sakazuki am I against?
Though you can’t figure out if they run some weirder cards like 9 Mihawk or 10 cost (bounce) Kaido, you can tell if they run the 10 cost (draw) Kaido. As Kaido doesn’t immediately affect the board like the other cards, it requires Sakazuki to play it on 3+ life. From your first hits, if Sakazuki runs 10 Kaido, he will defend them. Sakazuki should not let through easily defendable hits if he runs Kaido, as if Sakazuki is on 2 life or less on 10 Don, it can be very difficult to play Kaido. This way of detecting Kaido works as any deck. However, as Enel doesn’t want to hit vs some types of Sakazuki, it can be hard for Enel to sus out the type of Sakazuki they’re against.
In Japan, the type of Sakazuki not using 10 Kaido was the most popular by far, so it was fine to assume that they didn’t run it, and play a starve playstyle. The Western meta has the opposite thing going on, where the assumption is that Sakazuki runs 10 Kaido. To try to figure out definitely if they do use it, I would hit the leader a few times in the early game. If they take hits down to 2, then you can be fairly confident that they don’t have 10 Kaido, or suck at the game. Either way you win, right. Additionally, if they do take the first few hits down to 2, it could be good to switch to an aggro plan anyways.
It can be hard to figure out what type of Sakazuki they are playing, and if you are wrong, you might just lose, so the best option may be to take an educated guess based on the meta. I never had the issue of needing to try to guess what type of Sakazuki I was against, as generally people run similar decks. If you are in a situation where there are varying Sakazukis, just know that there are ways to try to figure out what you’re against.
Let’s go through how to play vs both types of Sakazuki though, as Japan went through the same cycle where at some point both styles were used.
Vs. ‘Big Stuff’ Sakazuki
Mulligan:
First: Enel > Ohm > Shura
Second: Ohm >>> Enel > Shura
These Mulligan things can be a bit hard to understand, but generally how I feel about it, is that if you get only one of the cards of high priority, like Ohm or Enel, you can consider keeping your hand. If you get Enel when going first, I would keep unless the rest of your hand is horrible, for example. Otherwise you’d generally want 2 of the lower priority cards + some counter to keep. As the deck only runs 2 Enel, mulliganing to find Enel is inconsistent. If you get it, great, if you don’t, work with what you have.
If the opponent runs big things, you cannot contest the late game by starving, so you will want to hit the leader as usual
Side Selection: First
Moves going First:
The numbers below refer to the amount of max Don on that turn.
1. Pass
3. Holly or Shura
Consider if you don’t want your Holly to be taken by Lucci, that you can avoid hitting on just this turn, so that they will only have 2 cards in trash for Lucci. I don’t like doing this, as the opponent can just play 4 Borsa and avoid getting KO’d by Gedatsu, but my friend prefers to not hit on this turn. I just thought I might leave some other perspectives here while we’re at it.
For Shura’s search the priority is Enel > Ohm if you don’t have it yet > Holly if you have Ohm but not Holly > El Thor > Gedatsu. The goal is to overwhelm the opponent to the point that they cannot clear everything.
5. Ohm Holly > Gedatsu
If you only have Ohm, and have a target for Gedatsu, then I’d prioritize Gedatsu. However, if you have a target for Gedatsu that’s not overly problematic, like Hina, but not Kuzan, and also have Ohm and Holly in hand, I would prioritize Ohm Holly. Most of the time I prefer Ohm Holly to apply pressure. Especially if they waste Lucci in bad ways, it’s easier for Ohm Holly to stay on the board. As Kuzan is the most annoying card to fight against as Enel, you will want to be prepared for if/when they play it, with Gedatsu, or Thunder Bolt in hand. This matchup can largely come down to how you deal with Kuzan, and is a lot easier to push your gameplan if they simply do not play Kuzan.
7. Enel > Linlin or Ohm Holly
If either part of your Ohm Holly combo survive, and you play Enel, you are in a good spot to keep applying pressure. If you get in this situation, make sure to defend your characters with counter out of hand, to force them to need to use events etc to clear them. (Be careful with over protecting Ohm, or especially Holly, as you want to defend 7 Enel if you can). If they fail to clear it, they will fall behind and lose, as Sakazuki needs to keep the board empty to not have his weakness as a 4 life leader exploited.
9. Enel or Yamato or Katakuri
If you have an Enel on the board still, then playing another Enel can seal the game, if you have it. Otherwise, Yamato and Katakuri come down to the targets.
The objective is to make it so that the opponent can’t clear your entire board, and is permanently 1 character behind. By defending Enel, and playing 1 large body each turn, the opponent can struggle to fully clear the board, and end the game.
Moves going Second:
2. Shura
The search priority is the same as above.
4. Ohm Holly
6. Ohm Holly >>> Gedatsu
When going first, you get to hit first, and play Enel fast, but when going second, you need to rely on characters to pull back the difference in number of hits. As such, you really really want to try to Ohm Holly twice in a row when going second.
8. Enel
Though you can also 8 Katakuri, if you are trying to stay aggressive, then Enel, and holding 1 Don for El Thor is a better choice in my opinion
10 onward. Enel or Yamato or Katakuri
If you can manage to get to this point and create a scenario where something sticks to the board, the plan is the same as when going first. The goal when going first or second is to simply make more bodies on the board that cannot be dealt with.
Vs. Japanese Style Sakazuki
Japanese Style Sakazuki is just the Sakazuki that only uses 7 Borsa as its high cost. This style isn’t popular outside of Japan, but it’s worth knowing how to fight it, as it’s very similar to the list that Cross just did well with in his recent 3v3 and other tournaments. 🎉🎉🎉🎉🎉
Mulligan: Gedatsu / Yamato > 8 Katakuri > Ohm
As against this type of Sakazuki, we will use the starve playstyle, the mulligan is drastically different. As I mentioned, you can’t know what Sakazuki you’re against, so take your best guess based on what is most common in the meta. You will be heavily prioritizing Yamato in your mulligan, as the number of Yamato you draw is the number of extra lives and turns you get.
Either way this will be a short guide on how to play starve.
Firstly, it’s important to know that when playing starve in this matchup, you will not start hitting life until at least 2 high cost characters stick to the board. The worst card in this matchup is 4 Kuzan, so you will want to keep them at 4 life, to clear it with Gedatsu. As people are reducing Kuzan, you could be a bit more lax on this, but if they play Kuzan at the right time, and you can’t deal with it well, you can just straight up lose.
Side Selection: First
Moves going First:
1. Pass
3. Shura and no hit, (as this deters the opponent from playing Kuzan)
You don’t want to play Holly on this turn, as you won’t hit with him for a very very long time.
Search Priority: Gedatsu > El Thor > 2000 counter
5. Gedatsu > Ohm Holly
If the opponent plays Kuzan, you will immediately slam your low rarity Gedatsu and tell him you’re the better player. If they play Borsa, you will play Ohm Holly, and start to consider an aggro plan. You don’t need to go for an aggro plan, as the opponent will probably spend resources to clear your board. If they think you’re going to starve, and let Ohm Holly live, calling your bluff, then take an aggro plan. If they clear Ohm Holly, you’ve burned some of their resources, which will eventually get you closer to lethal. You may even consider playing Shirahoshi out of hand on this turn to find more 8-9 costs.
7. Linlin or Gedatsu > Ohm Holly
Depending on what they play, you could prioritize Gedatsu over Linlin, but you do not want to play 7 Enel in this matchup when starving, as you do not want to rest your characters until the late game. This means that Enel is just a 7/7000. Linlin can use her effect, and stay active, so there is a heavy priority on Linlin when starving. This is part of why I go 2:2 on Enel and Linlin. If you can manage to play 2 Ohm Holly in a row or Enel, after some of your characters survived from the earlier turns, then it’s the green light to switch to the aggro plan. Please negotiate with your hand and board before deciding which plan to take.
9. Yamato > Katakuri
Generally you’ll want to KO attackers such as Lucci, or Kuzan, and if they don’t have a valid target, then use Katakuri and put away targets such as 4Borsa, or 7Borsa. You will want to continuously put out Yamato or Katakuri to clear their board, and once 2 of Yamato, Katakuri, or Linlin (or Enel) survive on the board, it’s time to start pushing back.
As Sakazuki vs starve Enel, you will want to clear the Ohm in Ohm Holly, but can ignore Gedatsu for the most part, as Enel will not want to hit generally until he gets his big boys set up.
Moves going Second:
2. Shura
Search is the same as going first
4. Ohm Holly
Enel generally doesn’t have much else to do on 4 Don, so this will be a recurring pattern. You can still go for Ohm Holly when going for starve, as it forces the opponent to use their resources to clear it. If they don’t clear it, then that’s wonderful and you can start going aggro. You are forcing the opponent to do something about Ohm Holy, even if you don’t plan on using the Ohm Holly
6. Gedatsu
8. Gedatsu or 7 Linlin
As the number of Katakuri or Yamato are important, you want to avoid playing them on this turn, and prioritize the smaller characters. If you don’t play them now, you will have a hard time finding a time to play them later when you want to be spamming Katakuri and Yamato. As such, on this turn, you want to play powerful characters that aren’t Katakuri or Yamato
10. Spam big boys
Purple Luffy:
This is Enel’s hardest matchup, but as Enel has the X factor of being awkward to play against, this matchup isn’t impossible. A good Purple Luffy that knows the matchup won’t let Enel win, but a mediocre Purple Luffy will make mistakes and openings for Enel. As Sakazuki is popular, I imagine Luffy’s presence should decrease with time.
Mulligan:
First: Thunder Bolt > 7 Linlin > 8 Katakuri
Second: Ohm Holly > 7 Linlin > 8 Katakuri
Never try to starve Luffy, it doesn’t even work in theory.
Side Selection: First
Moves going First:
1. Pass
3. Holly or Shura or 8000 Leader
You will be going aggressive, and Luffy relies on his life for fuel, so 8000 attacks can hurt more vs Luffy than vs other matchups.
As you want to increase the chances of getting Thunder Bolt from life, you will defend the first 5000 hit from the opponent.
5. Thunder Bolt + 8000 (or 6000, 7000 if you have Holly) or Ohm Holly
If the opponent plays Magellan here, it gets very difficult, but if they play 5 Kid, you have a chance to win by Thunder Bolting it. Unfortunately there isn’t much to do about Magellan, and if they play 7 Kid on the following turn, there isn’t much you can do in general if they play correctly. However, this is just the nature of the matchup, and both sides have a chance to play and draw poorly.
7. 7 Linlin
As Luffy can play 9 Kaido and hit Enel from above, it’s ill advised to play Enel in this matchup. Even if you have it, it will hurt you more if the opponent plays 9 Kaido. As such, you will want to 7 Linlin, and if not, spread your don and break through the opponent’s defense.
If the opponent played Magellan, you only have 6 Don. The choices then are to either Ohm Holly and keep hitting, or spread your Don on your current characters and hit hard.
After this point, you will just need to play a standard game of negotiating with your hand to calculate how long you can survive, and therefore, what hits to take, and defend. At some point, you will need to go for lethal, but be careful with when you rest your characters. If you rest them one at a time, 9 Kaido will continuously take them out by just hitting. You will want to rest 2 things at once so that 1 sticks, if possible.
Moves going Second:
2. Shura
Search Priority: Ohm > Holly > El Thor
(Defend the first 5000 attack)
4. Ohm Holly
6. Ohm Holly
On this turn if they play 7 Kid, then you will focus your hits on the 4/6000 they played on turn 2. Your goal isn’t to try to kill it, meaning you don’t hit it with 8000, but rather, hit it with a value low enough to make Luffy want to counter it, and then play more bodies to continue applying pressure. You don’t need to take out the 4/6000, as the goal is to reduce their counter to a point that you can just kill the opponent. If they let the 4/6000 die to a 6000 attack, then that’s good for you.
8. Katakuri
You will need to stop the aggression they’re putting on you, so putting away their 7 Kid is the best option. If they have Magellan out and you only have 7 Don, then you will want to 7Mom. To put out Magellan, they would have needed to forsake playing 7 Kid, so the situation may not be as dire.
Against Luffy there are a ton of ‘what-ifs’ that manipulate your, and their don. Keep the game plan in mind, and hold on for as long as possible to squeeze out wins.
Katakuri
In this matchup, you are put on a timer. If Katakuri can survive until he starts playing 10c Moms, then it’s over. There are some technical things like leaving your characters active and fighting for the board slowly, but this heavily relies on the opponent’s ability to draw 10c Mom over and over skillfully.
Mulligan:
First: Ohm > Shura> Enel/Mom > Yamato/Katakuri
Second: Ohm > Shura> Mom > Yamato/Katakuri
(More priority on Shura when second, but still not more important that Ohm)
Though you can, and probably should consider having high cost characters, namely Yamato, in your starting hand, the priority lies very heavily on you powering through the early game. Against yellow decks in general, you don’t need to hit too high, as there is always the threat of triggers.
Side Selection: Second
Moves going First:
1. Pass
3. Holly or Shura
Shura’s search priority is similar to the Mulligan priority, picking up pieces you don’t have yet. El Thor is good to have as well to defend your board easier.
5. Ohm Holly
Gedatsu is fine depending on the situation, and neither are probably going to get taken on the next turn, but as such, the extra hits and spread from Ohm Holly are optimal.
7. Enel/Mom
There are 2 ways that the opponent can answer whatever they play on this turn, optimally. 8 Katakuri, or a 7 Mom of their own. As people tend to not put in 4 8 Katakuri, and utilize 7 Mom more, the latter pattern is going to occur more often. As such, there’s a decent chance that 7Mom stays on the board, putting Enel’s deathless ability to waste. As such, I prefer 7 Mom, as her effect is immediate, and an 8000 power line will stick to the board better.
9. Yamato/ other big characters
Yamato is an aggressive option as she is 9 cost, 9000 power. The power line is what we need to put pressure and make the opponent struggle with playing 10 mom the next coming turn. You can choose to play another 7Mom, or 8 Katakuri and spread the extra don on your board. However, I don’t like playing Enel here, as the opponent usually has an 8000 power line on the board now, meaning that Enel will become a fairly easy target. You have an 8000 power line in Linlin (ideally), but it will always be ignored as there’s a better “not leader” target to hit. I think if there’s no other options, Enel is still fine of course, but I wouldn’t play it with priority.
Moves going Second:
2. Shura
4. Ohm Holly
6. Ohm Holly > Gedatsu / Holly
Optimally you will want Ohm Holly of course, but if you don’t have it, there are other options. As we’re trying to rush the opponent down, you will want to use turns with downtime like this, where you couldn’t optimally move, to spread your don to characters such as Shura to increase your number of hits to the leader. Against Katakuri, the number of hits is more important than the power of the hit, so try your best to spread wide, and hit a lot.
8. 7Mom/Katakuri
Similar to my logic on 9Don going first, I don’t like playing Enel into a board that has higher power than him. If the opponent fails to play 7Mom on 7Don, then Enel is fine to play, but it is never something that you should actively aim for in my opinion. With Katakuri, you generally want to put away their 7Mom. This will of course push away your lethal, but let’s you hold your board better. Both of these can be countered with an 8 Katakuri of their own, so the early game is quite important going second, as you can see.
10. Yamato / other big characters
The idea is the same, as many other matchups. Play big things to never let off the pressure, and keep pushing life.
It’s generally ok to ignore most characters in this matchup, as you want to use Gedatsu or Yamato to efficiently clear them without them absorbing an attack. As we’re on a timer, we want every hit to count. We don’t have time to waste waiting on triggers, but Katakuri, and yellow in general, is lower on triggers than it was in set 3.
Triggers to worry about, and how to play around them.

Bege:
Hitting low when you don’t need to go for lethal helps against potential Bege, as you are constantly offering the questions to your opponent, “Do you want to counter with 1000? Or test your luck?” When you need to go for lethal, there isn’t much you can do about Bege, except have an alternative plan, such as putting Don on Shura or something as a last resort. The way to play around Bege, is to try to not put yourself in a situation where you need to go for lethal, or else you’ll lose. This means caring for your life, and occasionally using Katakuri to recover life by returning Shura for example. This will come with practice and sense.
Thunder Bolt:
Thunder Bolt can actually be played around when going for lethal. As Thunder Bolt only hits 5 cost or less, of course you just need to hit with your characters that are 5 cost or less first. This is obvious and doesn’t need saying. However, if you’re in a situation where you need to spread your don high, what do you do?
In this example we only have our leader, Ohm and Holly, that you plan to spread don between to go for lethal, but are afraid of trigger Thunder Bolt. What do you do? If the opponent is at 1 life, it’s generally fundamentally better to start with a larger hit (the amount changes with the situation), so that even if there’s a trigger Bege or Thunder Bolt, you can finish it with one more hit, rather than intending from the start to spread the Don between all 3. However, if you’re in a situation where you need to spread the don between all of your characters and hope they all go through, like if the opponent was at 2 life in this scenario, then it’s better to hit in a staircase, accounting for the potential counter that they may get. Again, however, the best way to play around it is to not put yourself in a situation that you need to go for lethal, and instead use the 5 cost or less characters to bully counter out of their hand.
Shirahoshi:
There isn’t much to worry about about this card, but I want to mention something that you can do to some people to know how their hand has changed. Some people fidget with their hand a lot and continuously shuffle their hand. However, if you’re against a player who doesn’t do this, when they add the 3 cards from Shirahoshi to their hand, you can track those 3 cards. If they trash the cards they drew, then their counter situation has not gotten better. If they don’t trash the cards that they drew, then the odds are that their counter, or at least, hand situation, has gotten better. For the former option, if you are going aggressive, you can play as usual. However, for the latter option, you will need to take a partial reset on your read on the opponent’s hand. Just be careful, and use the cards trashed by Shirahoshi as indicators for how good their hand is. If you’re pressuring them, and they trash cards with counter, that’s a good indicator that they have a whole lot more.
Perospero/ Other Trigger Characters
In the early game, you want to avoid these characters as much as possible, but there isn’t much you can do as Enel as he is trying to push hard for lethal constantly. If these characters come out, it’s ok to ignore them for the most part, as Yamato will clear them in the late game. However, please clear a first life Cracker. The double attack isn’t scary, but putting 1 Don and becoming 7000, effectively letting the opponent have 2 leader abilities, is a bit scary, and makes it very hard to defend things such as Ohm Holly, or even Enel. Anything past the first life is ok to ignore for the most part as the opponent will not have much extra Don to put on their characters. Consult with your hand, the board state, your life, their life, and the amount of Don the opponent has next turn to make the right call on what to hit.
Generally Katakuri will put scary triggers at the bottom of their life, and leave everything else at the top. Though some Katakuris put everything that’s not trigger to the bottom to increase the chance of triggers, this is not the common way of playing Katakuri, as Katakuri does not have enough triggers in its current version to make it a game plan. As such, if the opponent leaves a card on top, this could just be a 7 Mom that they want to draw, and is not necessarily a trigger. If the opponent places a card at the bottom, however, it is something to remember for sure, and be safe of and consider when going for lethal.
When fighting Enel, generally the triggers are the same, but Enel has less trigger characters. I will go over how to fight the mirror in a bit, but because we’re talking about triggers, here’s a few more that are more common in Enel.
El Thor:
El Thor’s trigger is scary if they are playing starve, but is quite useless if they aren’t. In the late game, El Thor’s trigger is extremely useless, so it’s nothing to worry about.
200 Million Volts Amaru:
The same trigger as Ikoku Sovereignty or Narikabura Arrow. The trigger is hard to use in Katakuri as the hand size is difficult to manage, but is easier to use as Enel. There isn’t much that can be done about it, but it is another trigger that Katakuris prioritize placing at the bottom of their life, assuming they have/ want to use the trigger. Enel can’t move where his triggers are, so if he gets Amaru out of his last life, unlucky. It’s similar to Bege.
Belo Betty:
Belo Betty is one of Enel’s easiest matchups, but can be lost if played incorrectly. You will want to avoid hitting their life at all costs, and permanently clear the board until they are out of the game.
Mulligan: Gedatsu > Yamato
Side Selection: I choose Second, but my friend prefers First. Either way, it’s still winning.
There isn't an optimal set of moves against Belo Betty, but rather, optimal responses. You will not want to hit their life, as keeping them at 4 avoids triggers, as well as keeps all of their characters in range of Gedatsu and Yamato permanently. You will not hit their life even if you have an extra attack, and wait for the opponent to attack first, or KO with Gedatsu. A common optimal move that the opponent will go for is to Ivankov into Karasu. If you’re provided with the decision between killing Karasu, or Ivankov, Karasu is the better target, as Ivankov burns their hand unbelievably fast, and can really only be used twice maximum before their hand is permanently 0-1.
You will not need to hit their life, so be careful and remember that El Thor is only +2000 until the opponent is at 2 life. Although you can hit their life to 2 after you reach 10 Don to hold El Thor and play Yamato, I don’t like this because you are giving them 2 chances at a trigger that can swing things unfavorably.
I would rather hit once per turn after the opponent is in a horrible spot, or when the opponent has 0 hand, as they won’t be able to play trigger characters.
Enel
Mulligan:
First: Katakuri > Yamato / 7 Mom > Gedatsu > Ohm
Second: Katakuri > Yamato / Ohm > Gedatsu
In this matchup, though it’s generally correct to assume that you don’t want to hit the leader, this is only possible when going first. If both players refuse to hit each other, then the player who is first will always be ahead slightly. In the end, it comes down to the number of big characters you have in hand, but you don’t want it to come down to a gamble for the most part. As such, the player going second will want to take a more aggressive approach to flip the advantage of going first. The player going first can wait until the opponent attacks to start attacking. Another merit to not hitting on turn 2 is that you can play Gedatsu and KO their Ohm that they play on 4.
Side Selection: First
Of course, you will want to select first, but if you run the 6 cost Perospero, then 2nd is advantageous.
Moves going first:
1. Pass
3. Shura / Holly
You will want to pick up Gedatsu from your search if you don’t already have it, and otherwise, you will just want to use it for counter, and to set up a good target for 8 Katakuri. Holly is a fine option, as long as you do not rest it before the opponent’s characters, as it will become the target of fire first. Setting up a 5000 power line and playing a stand-off against the opponent is favorable for the player going first, so if the player going second opts into it, take the long route. If the opponent plays aggressively, you will still want to attack their hand more than you attack their life, meaning you will want to fight on the board a lot, meaning that you won’t want to rest an early Holly even if played.
5. Gedatsu > Ohm
If the opponent fails to play Ohm Holly, and only plays something like Holly, then Ohm is the better play. Regardless of this, we don’t need to hit until the opponent hits, as it only gives us more advantage when going first. It’s ok to hit with the leader however, as if they fail to play Ohm Holly, we’re already in an advantageous position.
7. 7 Mom > 7 Enel
Enel isn’t the worst, but not the strongest option in the mirror, as it is very easy to abuse in the late game to force the opponent to trash their life. The difference between 7000 and 8000 is large in the mirror, as neither side has a lot of 2000 counters in their deck presumably. Meaning that an 8000 attack to a 7000 character hurts a lot more, especially considering the moves that you can do going second, written below. 7000 can also be hit by 9Yamato very easily to either die, or bully cards out of your hand. If you need to play Enel, don’t feel forced to use the effect.
9. 8 Katakuri > Yamato
If you are both at 4 life somehow, then Yamato is of course better. However, in most other cases, the goal is to reduce the number of attackers the opponent has, while increasing your own. This is the reason why you will mulligan hard for more Katakuri and other big boys in your starting hand.
The plan stays the same. Once you recognize your advantage on the board, you may hit the leader, if the opponent is trying to starve you, but in most cases I imagine the opponent will hit as normal. Just know that when going first, you don’t want to be the one to hit first, as it will create targets to hit for an opponent that’s trying to starve you, and you will put the opponent’s early aggression out of Gedatsu range.
Moves going Second:
2. Shura
When going second, you will want to be more aggressive with Ohm Holly, so look for the missing pieces of this combo with priority.
4. Ohm Holly and hit leader. We’re here for a good time, not a long time.
6. Ohm Holly/ Some body on the board.
In most other matchups, you don’t absolutely need to play something on the board as long as you have Shura, as you can go aggressive and recover the lost turn with Yamato and Katakuri later etc. However, if you fail to play a character on this turn in the mirror, you don’t have the option to spread your Don out and go aggressive, by nature of being against Enel. Enel stops aggression very easily, and if you split your Don between 3 characters, when the opponent is probably at 3 life, 1 of the attacks is pointless. If you have absolutely nothing to play, but have 2 Katakuris in hand already, for example, then not all is lost.
8. Katakuri > 7 costs
Same philosophy as when going first. You want to reduce the number of attacks on the opponent's board. When going second especially, Mulligan aggressive to get a good hand, to try and to have more Katakuris than the opponent. This is called 必勝法
10. Katakuri > Yamato
Same as going first.
In Conclusion: How to be a Better Enel
If you’ve read through everything above, there is nothing new here. However, I spread out my thoughts, and the tips for playing Enel broadly where they applied to each matchup, so this section is the wrap-up and what to remember. If you were to only remember what is below here, you will still have a deeper understanding of the deck I believe.
Reduce the opponent’s character count by as much as possible.
If the opponent only has 1 or 2 attackers, and you have 1 life. It does not matter if they have Byrnndi World and hit you for 800,000. You cannot die with just the characters on the board. Against decks with Rush characters, all you have to do is account for the rush characters and have enough counter if they go for lethal, and you physically cannot lose. As Enel can flat out ignore 1 attack when the opponent is going for lethal, it matters less about how much damage they have, and more about how many times they can hit.
Enel can struggle when the opponent refuses to hit or activate the leader ability until the last turn and keep building a board. As such, you will want to have this goal of reducing their character count as much as possible in mind throughout the game. This means that you can shoot Thunder Bolt from hand to reduce the opponent’s board size, as in the long run, the board size is all that matters.
In the late game, Enel wants to stick to a more traditional Yellow plan, and play high cost characters over and over to push the advantage and keep up pressure. But in the early game (7 Don and prior) You will occasionally have to weigh the benefits between something like 7Mom vs 3 don on leader, 8000 to a character + Ohm Holly. If you are in a matchup that is pressuring you, prioritize taking the board at all costs. If Enel can reach 8-9 Don with a ton of stability, then Enel is comfortable.
Although the Sky Island package of cards seems weaker than Whole Cake Island in general, cards like Ohm Holly, or Gedatsu, create more situations and paths that can be taken to differ your gameplan and push leads in subtle ways.
In matchups such as the mirror, where you both line up large characters, you will want to be careful with resting your characters, as for example, you’d feel bad if you had to deal with a 13000 attack to your Yamato from another Yamato. It only costs the opponent 4 Don, and costs you a 9000 power line. Just because you don’t expect the opponent to do something like this, doesn’t mean they won’t and just because the opponent can play another large body, it doesn’t always mean they should, as fighting as Enel, and against Enel is constantly a game of power lines, and character counts. Likewise, if the opponent rests their large characters: 8 Katakuri, 7 Borsa, 9 Yamato, 9 Whitebeard, etc, hitting them instead of the leader to simply ensure that the opponent does not have lethal, can be stronger in the long run, as you are also not force to play ‘another’ high cost character and run out quicker.
How to Beat Enel
Raise your hand if you read the first few paragraphs, scrolled through some of it, went ‘Holy shit that’s too long,’ and skipped down to the part where I write how to beat Enel.
Sorry about the length, I get carried away, and try to write in a way that you can understand even if you started playing the game during this set. I do recommend reading the section just above though, as knowing Enel’s game plan will help you with preventing it.
There are a few key ways that alone do translate to a higher win-rate slightly, but together will make Enel significantly easier. You may intentionally or accidentally be doing some of these things, and they won’t be the most groundbreaking revelations, but to those who are struggling against Enel, this should hopefully be quite helpful, even to just hear ‘the obvious’ written down.
When Enel is at 1 life, he is actually at 2
When you take your life, your hand size is increased by 1. Enel’s leader ability requires you to trash a card to activate it, meaning that your hand size is increased by +/- 0 when you lose your final life. On top of not losing any life, or any hand when using his leader ability, he gets to refresh a card in his hand, and have a chance for trigger. As there is no benefit to hitting Enel down to 0, you will want to avoid hitting him down to 0 until turns where you can hit him more after his leader ability. Only then, can you reduce their hand.
As Enel’s last 1 life recurs itself, he is actually at 2. There is very little benefit to hitting Enel unless you can hit him more after, so keep this in mind. Additionally, if Enel is at 1 life, he can use Yamato and 200 Million Volts Amaru effectively. As such, if you have no intension of killing Enel in a very imminent turn, it is best to keep Enel at 2 life. This way, Yamato and Amaru have significantly less value. If you play against Enel perfectly, he will be a 5 life vanilla leader for the most part. There are ways that Enel can make this difficult for you, but this is the end goal.
Reduce the opponent’s character count by as much as possible.
Yes, when you fight Enel, you have to play his game, not your game. If you are a midrange aggro deck, you are now a midrange control deck. You will have to shift your playstyle to create an advantage on the board first and foremost. People panic because Enel’s late game is powerful, but it’s powerful in the same way that Katakuri’s late game is powerful. One absurd character per turn.
As when Enel is at 1 life, it is essentially the same as if a normal leader was at 2 life, it visually tricks players into thinking they are closer to lethal. I would not try to aggro Enel down unless you recognize that you can do so before their life recovering cards can be played (Katakuri & Yamato). In 90+% of cases, you are going to want to fight for the board, dealing with the characters like Ohm Holly, or Gedatsu as soon as they are rested.
Hit at the same power line as your target.
Let’s say the opponent has Holly rested. If you hit it with 7000 immediately. 99.99% of the time, it will die. Then, you have no choice but to either not hit with the rest of your characters, or to hit their leader, which is what they want. Regardless of if you are hitting leader, or a smaller character, you will want to hit at an equal power line. 5000 vs 5000, 6000 vs 6000, etc. If the opponent in the above example has Ohm rested instead, I would still only hit at 6000, as the goal is not to reduce their aggression, but their hand size. This eventually makes it harder for them to survive attacks to their leader, or high cost characters in the late game. Hitting at the same line will tempt your opponent to want to defend it more, which gets you closer to eventually winning. If you absolutely need to clear something, then of course you will increase your power line. This is anything from 7000 vs 5000(Holly), all the way to 11000+ vs 9000(Yamato).
Be careful with what high cost characters you rest.
First, let’s go through a problem.
Let’s say we are playing Luffy vs Enel, and this is the board:
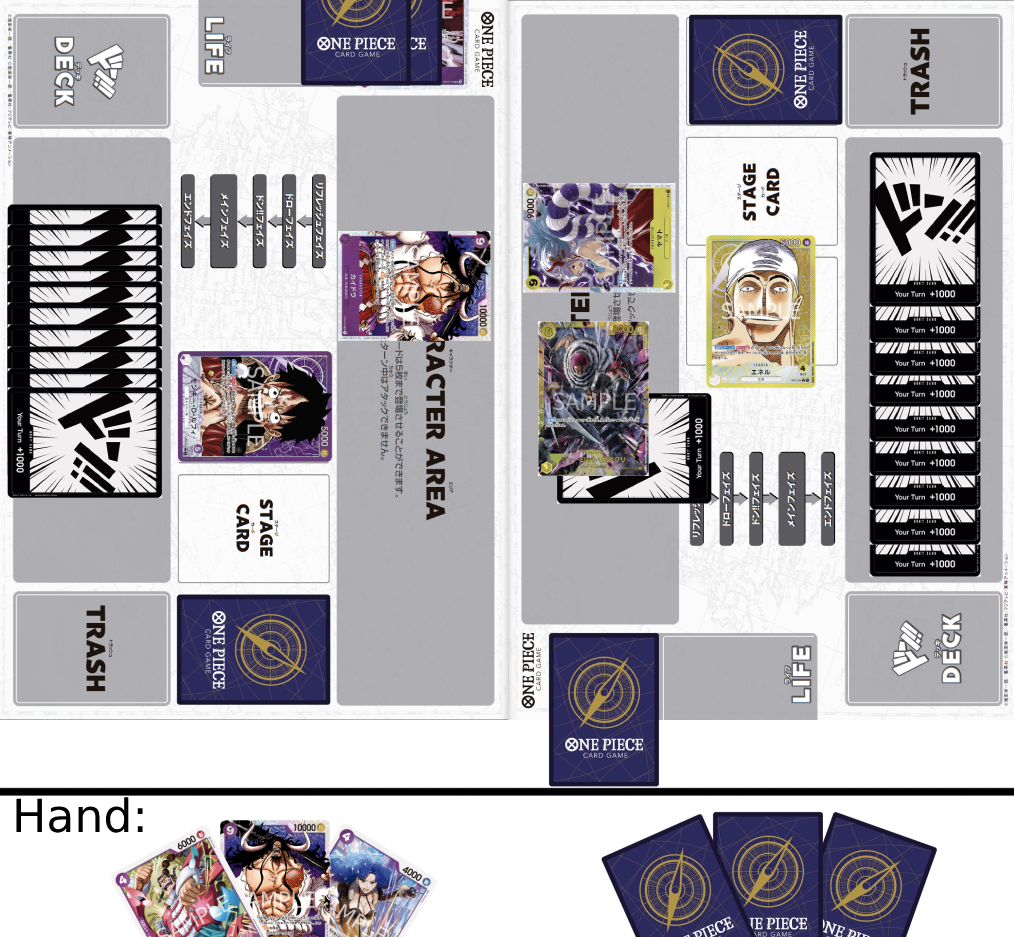
It’s the hyper late game.
We have only 9 Kaido on the board, and the opponent has 9 Yamato and 8 Katakuri on the board, with Katakuri rested. The opponent has 1 Life, and you have 3. However, both players only have 3 cards left in their hand.
As our hand is a 4/6000, 2000 counter, and 9 Kaido, our options are limited.
No matter what, we will be playing Kaido on this turn, what we do with it, or before/after is the point of debate.
Do you:
- Hit with 5000 to leader, 11000 to Katakuri, and play Kaido active
- Hit with 5000 to leader, 10000 to Katakuri, then play Kaido and use the effect and hit Katakuri again if it survives
- Don’t hit leader at all, and hit 10000 to Katakuri, then play Kaido and use the effect and hit Katakuri again if it survives
- Hit with 5000 to leader, then play Kaido and leave both active.
As I mentioned in the section above, and in the paragraph above, it is not uncommon to slap a ton of Don on a character to take out the opponent’s high cost characters. As Enel generally only plays 1 character per turn in the late game, reducing their board size puts them back much more than some other decks when doing the same. However, as both decks are trying to fight for the board, you want to be careful with what attacks you expose yourself to.
Answer Spoiler:
In this scenario, the correct answer is D. Hit with 5000 to leader, then play Kaido and leave both active. As we are playing “Enel’s game,” we need to keep track of how much time we have before we die, and be at least one turn ahead.
First, the 5000 hit. While “don’t hit Enel when he’s at 1 life” is true, we are in a scenario where we can threaten to play another Kaido, and go for lethal, should the opponent take the first 5000. If the opponent takes the 5000 hit, there’s a very high chance that Enel dies this turn to 10000, 11000 to leader. The only thing that prevents it is Bege on the first life. Otherwise, we can go for lethal. If the opponent is has enough counter to survive a 10000 attack, they will take the 5000, and beckon it, but if they cannot survive a 10000, 11000, they will counter it with +1000. There is a high chance that the opponent will counter it, so we will threaten lethal to chip away at their hand safely. Either way, we are not aiming to finish the game on this turn because of the following point.
In every other option in the question above, we are trying to kill Katakuri, by resting our Kaido. Reducing the opponent’s number of attacks is solid, but there are 2 crucial reasons why we don’t want to here
- We have 3 life. We do not need to urgently clear the board.
The opponent can only reasonably kill us with 7 Enel, and hitting for 7000, 8000, 8000, 9000. The second that we defend one of these attacks, it’s impossible to win on this turn. Although 4 cost Katakuri exists, it’s very rare for the opponent to run it, and shouldn’t be something that’s factored immensely. We will survive the next turn regardless of how they try to kill us, meaning we have more time to set up for lethal.
- Kaido will Die.
If the opponent is in this scenario, their win is inevitable in the next 2-3 turns. As such, they just need to survive. They will defend the attack to Katakuri at all costs, and then what’s next? What will you do if the opponent slams 10 Don on their Leader and hits Kaido for 15000? This is overkill of course, but seriously. Luffy only has 2 characters on the board permanently, and if 1 is simply hit to be taken out, Luffy has no chance of winning aside from top deck Kaido, and being in a worse situation than the turn before.
As such, for Luffy to win, we needs to leave both Kaidos active.
Let’s say that the opponent plays another Yamato to prolong the game longer.
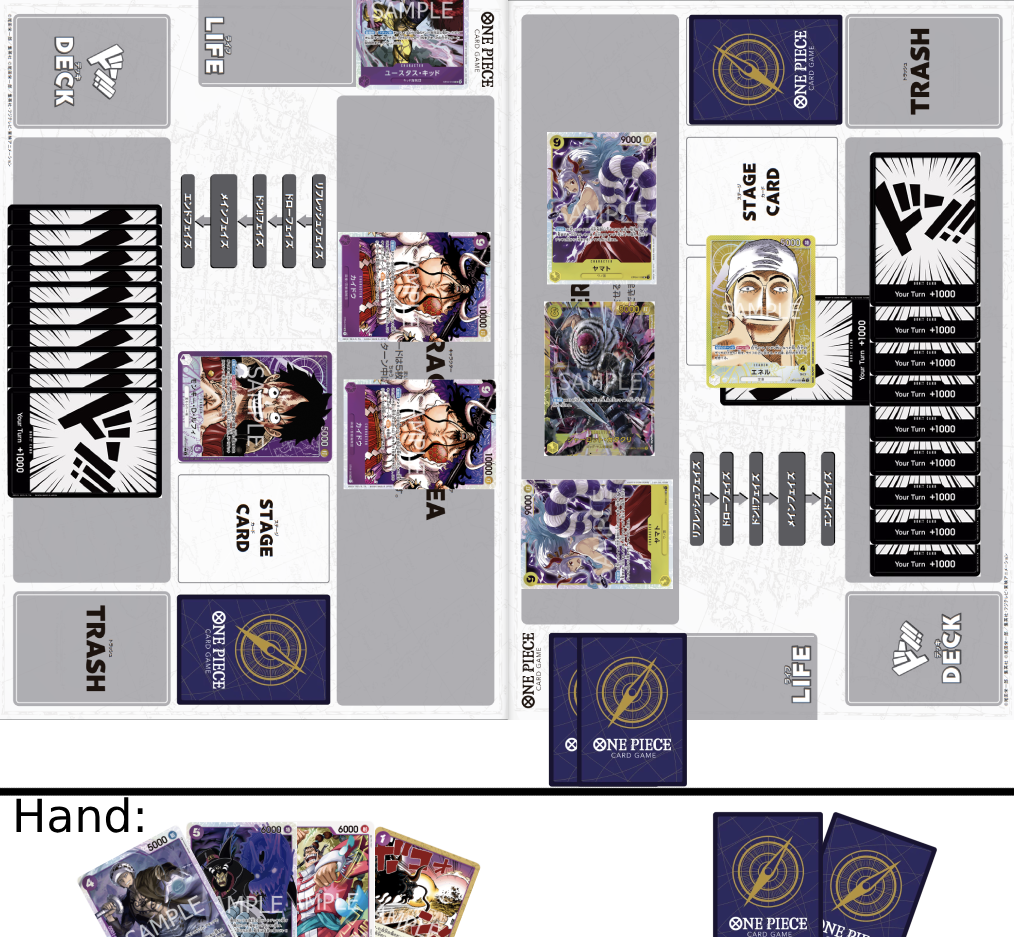
The game has progressed 1 turn.
Enel rested his 2 characters, foolishly, which now, gives us an opportunity to not go for lethal, but rather, take his board, then we choose whether or not to hit leader based on our read of Amaru or another Yamato.
The reason we go for the board now, and not the turn before, is because even if we manage to kill Katakuri the turn before, (which there is no guarantee) the ratio of high cost characters will still be 1:1, or 1:2 after Yamato is played. By waiting a turn, now we can make the ratio 2:1 after Yamato is played. We can stay ahead in the board now
This shows the scenario obviously won’t happen often, but it is to illustrate how leaving things active can benefit you, and how resting things can hurt you.
Play to your best out, and look for an edge on every turn, as, and against Enel.
Doing this on earlier turns with smaller characters such as Ohm, can translate to bigger leads in the later game. Know that these edges exist in every matchup, but it’s especially important in the Enel matchup.
Files