 Home
Home

 Artists
 Search
 Recent
 Random
 Posts
Posts
 DMs
DMs
 Tags
Tags
 Random
 Importer
 Import
 FAQ
FAQ
 Account
 Register
 Favorites
 Login
Login

The EXPERT OP05 SAKALUCCI Guide (Patreon)
Content
Long time, no see. Cross (@Cross_Aii) is here, and I am back and ready to get into some real meta talk. The 1-month banlist is finally over, and it is about that time of the year to look towards OP05, and prepare for nationals meta.
Bandai will probably nerf this deck within a week before nationals (my money is on the night before nationals). But, until this deck actually gets nerfed(Disclaimer: there does not seem to be any real indications that it will be get nerfed yet), we will be discussing it as a very important deck on this Patreon.
Brief History of SakaLucci's Impact on the Japan Meta

| Example of the Old Sakazuki List: https://x.com/Rampen_hituji/status/1695755406122025082?s=20
Sakazuki always existed in Japan, but Sakalucci did not always exist. Prior to the creation of Sakalucci, the meta was arguably rock, paper, scissors. If you played Purple Luffy you risked losing to aggro decks (Zoro/Law), if you played Enel you risked losing to Purple Luffy, if you played Sakazuki you risked losing to Magellan(s) from Purple Luffy or a 7 Cost Enel you could not answer, and if you played aggro decks you would lose to Enel.
In theory, Red/Green Law could actually most of these decks mentioned, but unlike in previous sets, it requires Law to "draw good enough and then more." In previous sets, you could draw lackluster and still squeak out wins against positive or 50/50 matchups, but is seems much harder to get away with that, due to the increased deck power in OP05.
This had been the meta for OP05 for a while. And Sakazuki's place in it, was a deck that beat Purple Luffy (unless they drew the right amount of Magellans), and a deck that could inconsistently beat Yellow. I had even heard of Red/Green Law players consistently beating Sakazuki, if Sakazuki could not draw enough Lucci's.
And then, Sakalucci was born...

| Japan's Last Sakalucci Winner, before OP06 Started: https://x.com/ONEPIECE_tcg/status/1727623938686292035?s=20
This deck looks very different from the Old Sakazuki list I posted above, but it completely revolutionized the Sakazuki deck. The inclusion of Brannew and 4 Cost Rebecca, created a system where Lucci became pseudo-searchable. You can check top 3 with Brannew, trash Lucci, and then bring it back later with 4 Cost Rebecca!
The introduction of Hound Blaze created a way to handle the opponent's board early (and handle indestructible units or pesky units like Magellan), while applying a lot of pressure to the opponent.
Rebecca & Mansherry have allowed it to conveniently use tech cards like Sabo! (Imagine being at 10 don, and you have a Mansherry on your board. You can activate Mansherry's ability to add Rebecca to hand, you can then play Rebecca and add Sabo, and then you can play Sabo and protect your entire board. It's an unbelievably powerful loop!)
Most importantly the Rebecca + Hina + Lucci combo is the craziest I have ever seen in the game. Being able to develop 2 bodies and a blocker, while destroying 2 units on the opponent's board, is seriously too strong.
Due to all these new strengths, Sakazuki began to dominate Purple Luffy, regardless of them seeing Magellan. It became possible to handle 7 Cost Enel through combos like (Ice Age/Hina + Lucci + Hound Blaze). And the new flexibility of the deck, has made it possible to adopt a plan for pretty much any match-up. As long as you have the plan, you can potentially beat any deck!
The meta had become completely warped around Sakazuki, and decks that had fallen off became reintroduced. Enel had stopped winning a lot of the tournaments allowing aggro decks like Zoro, and Belo Betty to become playable again. And Purple Luffy being weak against Sakazuki, has also made aggro Whitebeard a stronger choice.
Sakalucci has become king of the meta, and people's deck choices will revolve about being able to be at least 50/50 against Sakazuki, while being able to handle most of the other popular decks.
I do want to note that Sakalucci came around only at the end of Japan's meta, so it's very possible decks that have potential to be strong into Sakazuki, such as Whitebeard, may be a lot more relevant in our meta, and cause another minor shift. Personally I think regardless of what happens with our meta, Sakazuki will likely be king. Sakazuki has the inherent flexibility to tech for whatever new threats may come about...
Current Sakalucci Decklists
My "Standard" Sakazuki List

This is the main Sakazuki list, I have currently been testing. Any future card choices I make will deviate from this list. The card choice is fairly standard, but there are some ratios and key cards I certainly need to talk about:
- 3 Cost Hina - I believe seeing a "draw" card on turn 2 is too essential to attempting to win the mirror match when going first. Blue Cost Hina is like "3 extra copies" of Brannew, and I believe it's stronger than Pilaf because it can be combo'd with hound blaze (more on Pilaf later). If you play Pilaf or swing 8K at the opponent, you make Borsalino on turn 2 of going second much stronger, because they will need hound blaze to out Borsalino (and you have no unit on your board to pump with hound blaze). It seems like Blue Hina cycling a card would not be impactful, but it's strong for the same reason you would always play Brannew when going first. Establishing board while drawing cards helps make up for the downside of going first.
- 4 Cost Kuzan - I have honestly found myself using 4 Cost Kuzan less & less. The card has not been essential to me beating any non-Yellow decks. In most non-Yellow matchups, the deck already runs enough sauce to conveniently respond to the opponent's board without Kuzan. But due to it being strong against Yellow, and seemingly strong against rogue decks like Red-Purple Luffy & Whitebeard, it seems like a good idea to use AT LEAST 3. I would keep in mind that Ice Age is a huge part of the reason, that we can get away with 3 copies of Kuzan, so keep that in mind.
- 4 Cost Borsalino - This has been my favorite card recently. It feels like a stronger going-2nd play than Kuzan most of the time. This is due to Borsalino's ability to avoid Paulie from PLuffy and Gedatsu from Yellow. As our meta shapes up more & more, the amount of Borsalino will be re-evaluated, but if you have not tried playing Borsalino on turn 2 instead of Kuzan, I would highly suggest to try it out. Even in the mirror match, the opponent's only way to answer Borsalino is turn-2 hound blaze. As mentioned in the previous article from Kai, Borsalino allows us to avoid great eruption + Lucci. I would just try it out and see, at first I was confused why Borsalino was a 4-of, but I swear it's an amazing turn-2 play. If the meta ever switches to people reducing Gedatsu and/or Paulie to take advantage of Borsalino being popular, then I would consider going back to playing 4 Kuzans. Edit: I ended up switching Borsalino to 3 copies, because I highly value 4Kuzan & Sabo against Yellow Katakuri, I personally would do no less than 3.
- 2 Sabo - This card is too essential for being able to beat Yellow Katakuri. It has become common for Yellow Katakuri to run 4 Thunder Bolt and 4 Volts, so Sabo being out of Volt range, while preventing the other blockers from getting popped is very important. The combo I mentioned earlier is specifically common against Katakuri, Mansherry + 4 Cost Rebecca + Sabo (Mansherry returns Rebecca and Rebecca returns Sabo). This creates a loop that makes it easy to extend the game against Katakuri, once we have reached 0 life.
- 7 Cost Borsalino - It's common for me to hear about people not wanting to run 7 Cost Borsalino, but I believe this card is essential to the mirror match when going first, goated against PLuffy, and strong against Enel. Being able to botdeck Lucci's in the mirror match, demands the opponent to draw into more Lucci's which is huge. You also don't want to run out of Rebecca + HinaLucci combos before the opponent in the mirror, so having 7C Borsalino as a form of removal that demands your opponent to HinaLucci first or great eruption + Borsalino is very important. Aside from this, 7 Cost Borsalino is one of the reasons Purple Luffy is so free, once the 8K body is established it gets infinite value against that deck for the rest of the game. Lastly 7C Borsalino is very strong against Enel decks with Yamato and Katakuri. It's common for me to save up Hina + 7C Borsalino, to respond to Enel's board, while going wide.
- Ice Age - This card is too insane. It's an extender that allows us to get significantly ahead when combined with Lucci and Hina. I personally think this card makes beating PLuffy and Yellow more reliable. It's extra insurance for always being able to respond to the opponent's board. Even against Ohm + Holy from Aggro Enel, if we go first, and they highroll into Ohm + Holy on curve, but highroll into Ice Age + Lucci on Turn 3 (5 don), we can cause a major diff on the spot. I also think it's pretty easy to beat bad Saka players with 7C Rush Enel, so if that card remains popular by Nats time, ice age demolishes that card. Without this card, it wouldn't be possible to take 4Kuzan to 3copies, and it would be much harder to not be reliant on using Kuzan.
The rest of the deck's card choice & ratios is standard to any other Sakazuki list. The biggest thing I would pay attention to, while testing this list, is my choice of using 4 copies of 4Borsalino. This card has been too strong for me in testing so far.
As Kai mentioned in the previous article when deck-building Sakazuki, I would keep this in mind:
"4 copies: You want and will play every single copy of the card that you get, or you need the card in your early game
3 copies: You want 1 per game for sure, but you’re not picky on when you get it.
2 copies: You would be happy to get 1, but you can survive without it
1 copy: You don’t need the card to win, and absolutely don’t ever want more than 1, but if you do draw it, you will use it.
However, with Sakazuki, as he can comfortably go through half of his deck, it looks more like this:
4 copies: You want at least 2 of this card in your hand / trash
3 copies: You want a copy by turn 4
2 copies: You want 1 per game for sure, but you’re not picky on when you get it.
1 copies: You would be happy to get 1, but you can survive without it
—By Kai's logic at least."
Cards that weren't Adopted
9 Cost Mihawk
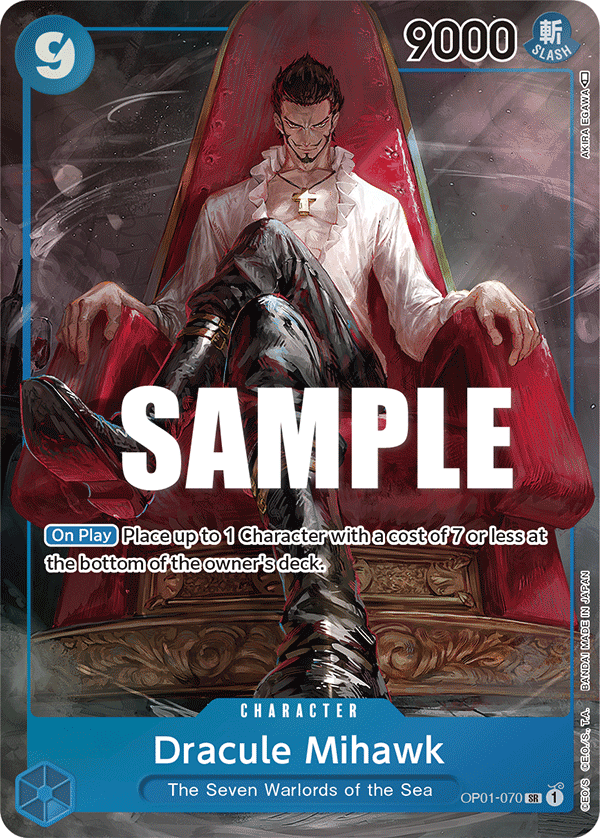
This is one of the top-end cards I am most interesting in adopting. This will make more sense when I describe the Sakazuki mirror match, but this card can force the opponent to Rebecca + HinaLucci before us when going first (in the mirror match being ablet to Rebecca + HinaLucci more than the opponent is one of the most common ways to win). This is the whole reason 7 Cost Borsalino is crazy in the mirror, it's a one card out to the opponent's 6-don turn play (typically Kuzan or Borso), then the opponent is at 8 don and ideally wants to use Great Eruption + 7Borsa to get rid of our 7Borsa, and then we can use Mihawk to force them to use Rebecca + HinaLucci the following turn! It may be hard to understand until you understand the mirror match more, but this card is really impressive when going first. This card is also strong against Enel's starve strategy, as they fully can't interact with this body, and this card clears Katakuri's and Yamato's for free. This card is also impressive against Whitebeard.
10 Cost Kaido
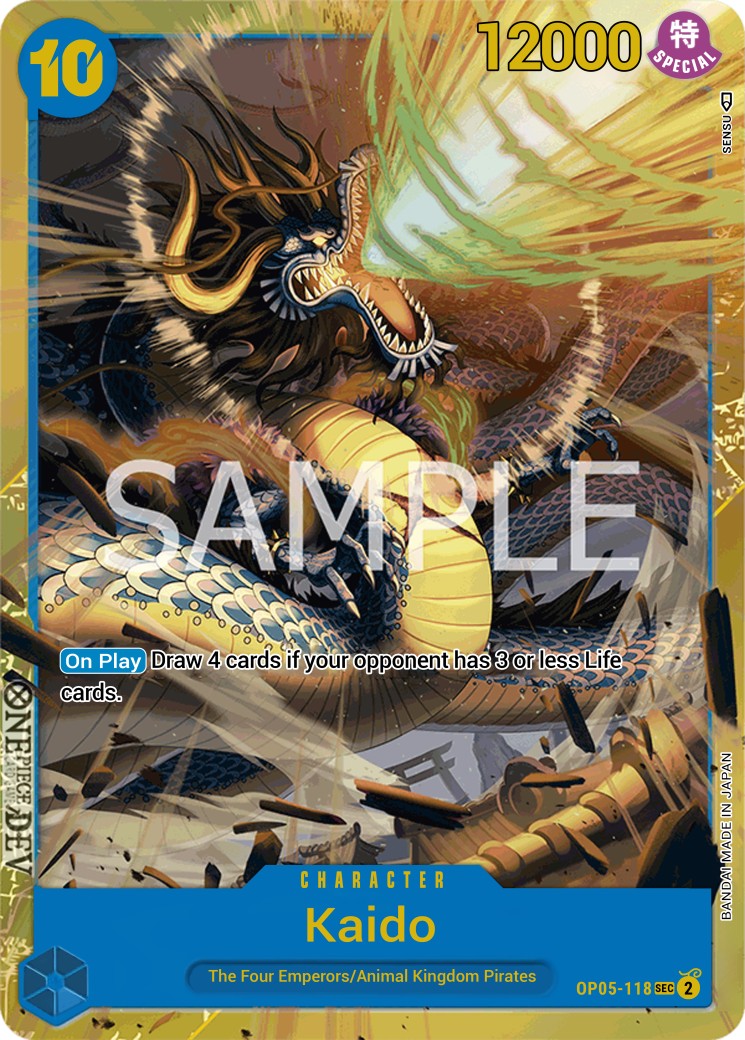
This is another card that has real potential to be added in the deck. It is admittedly mediocre in most match-ups, but it makes it damn near impossible, to lose the mirror when going second. Being able to draw 4 cards causes a huge resource difference in the mirror match, and due to drawing 4 cards you can be safe at 3-4 life. Starve Enel is probably the best way to CONSISTENTLY beat good Saka players, and this card invalidates their starving strategy as well.
10 Cost Kuzan
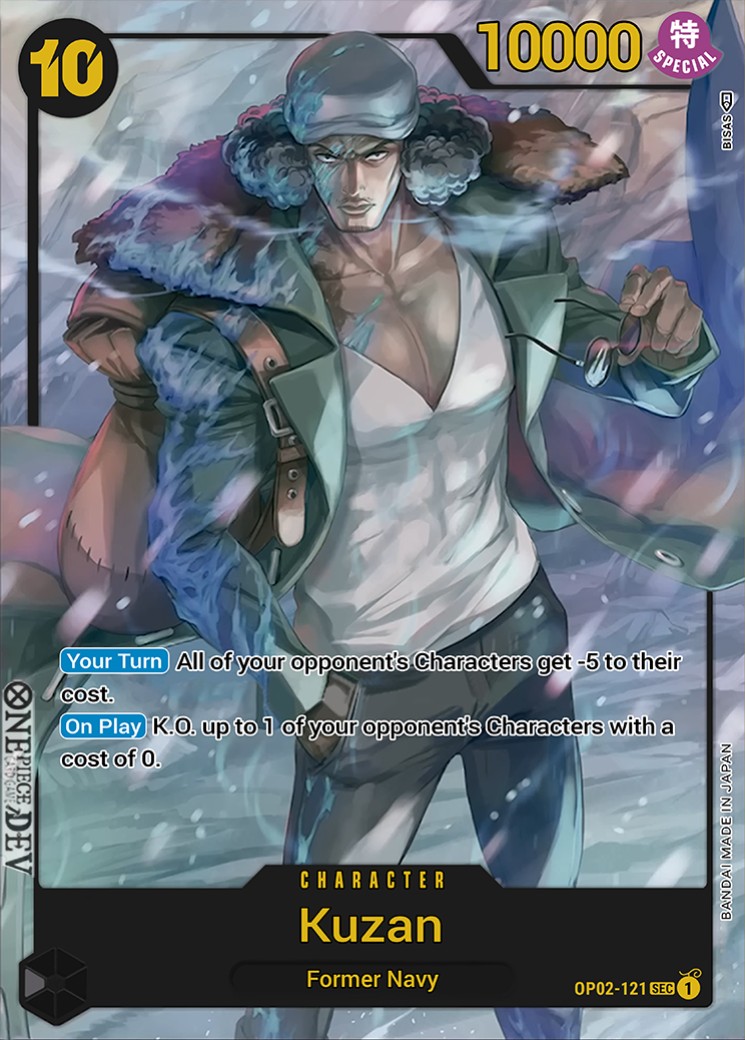
Weak in the mirror, weak against aggro Enel (also weak against Aggro and PLuffy, but so is 10Kaido and 9Hawk lol). I don't think this card is particularly impressive, it allegedly beats Katakuri, but it requires real prep (such as a 4Kuzan sticking), and I have the impression that you can consistently beat Katakuri by playing well and utilizing Sabos properly. I would rather use 9Hawk or 10Kaido that's strong in the mirror. If the Katakuri matchup really is too inconsistent, then I would consider this card at 1 copy.
2K Counters

Running more 2K counters is strong against Whitebeard and R/P Luffy, but you'll noticed that decks that tend to run more 2K counters are unable to fit in Blue Hina. Since I believe Blue Hina is too essential for winning when going first, these cards are not used.
Ulti, Pilaf

Ulti - This card is busted against aggro decks, and typically stronger than Blue Hina into most matchups. I actually originally ran Ulti in the list on twitter where I went 4-1 at locals, but I went first in the mirror 4 times total in that weekend, and I went 1-3 against the mirror... That taught how weak Ulti is in the mirror. Since Ulti is not necessary in the matchups that it is strong in, I prioritize Blue Hina, which is better in the mirror match. If someone could find space it may be possible to do like 2 Blue Hina 2-3 Ulti.
Pilaf - "Trigger Activate this cards Main Efect" The main effect is draw 2 cards?!?!?! This is probably the biggest upside to playing Sanji's Pilaf. And I agree, if you hit Sanji's Pilaf out of life in the mirror, you might just win on the spot. And it's main effect is better than swinging 8K when going first in the mirror match. So why do I not use this card? I don't like that Sanji's Pilaf doesn't have counter, I don't like that it can basically only be strongly used on Turn 2 of going first. I also think Blue Hina producing a body is better than Sanji's Pilaf. Pilaf's only upside is if you sack it out of life, and it's not even used at 4 copies. So I would rather have a more consistent plan at defeating the mirror match.
One more note on Blue Hina. Dexter Reilly on Twitter argued that part of the reason Blue Hina is bad is because they can just Lucci it next turn. But I think doing Lucci on a 3-Drop is less than ideal because it puts Lucci at risk of being botdecked, which means they have to draw a second copy of Lucci on time. It also allows us to do Great Eruption + Lucci, which is like the best Turn 3 play when going first (this gets rid of BOTH Brannew and Lucci). I think there's valid arguments for Pilaf over Blue Hina, but turn 2 Lucci is not one of them.
Sanzen Worlds
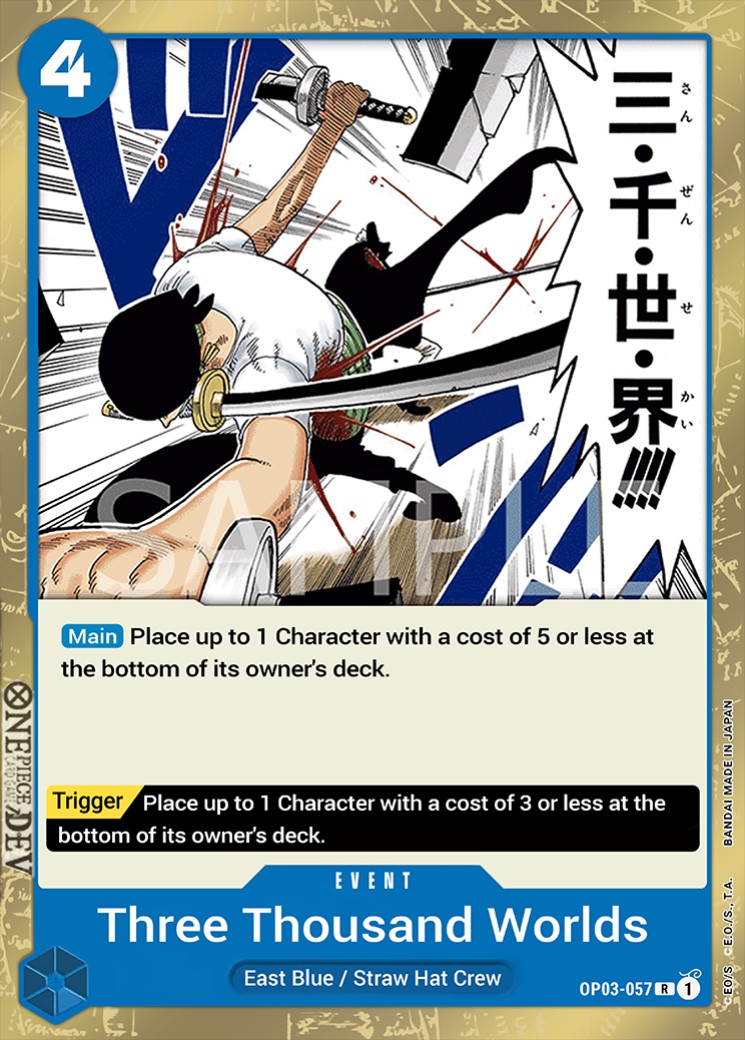
I think this card is really strong in the mirror and against Purple Luffy. I don't think it's as impactful in the mirror as cards like 9Mihawk or Blue Hina, but it can help as an additional Hound Blaze, when bottom decking blockers, and jamming don into the mirror. It's strong against Purple Luffy as extra assurance that we can clear Turn 2 Magellan, when they go first.
Rush Usopp
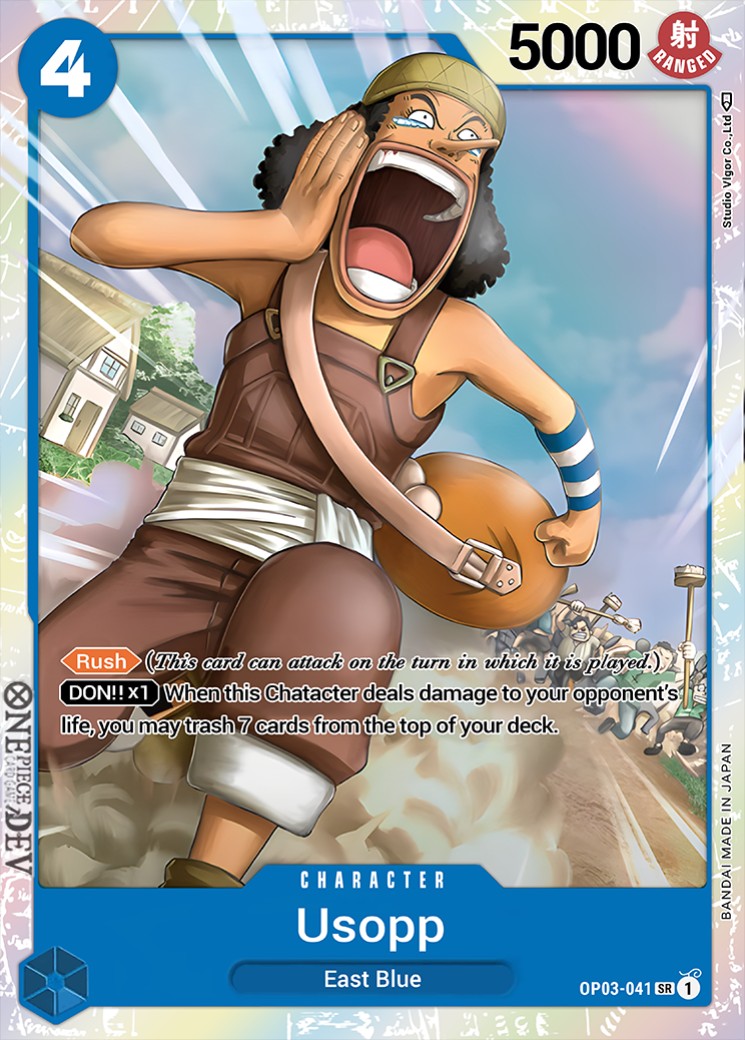
This card can steal games in the mirror at the end of the game, but I get the impression that I would discard it if it was drawn early, and space is so tight that I don't think I would ever include it. If I did include it, I would reduce a copy of Ice age or MAYBE Blue Hina, but I'd probably add in a different tech card such as 10Kaido, 9Hawk, before I added in Usopp.
General Guidelines for Playing Sakazuki
Sakazuki is similar to Whitebeard, in that there are a wide variety of common plays that always occur. This basically means that going into each matchup you should KNOW what your ideal plays are, and what your suboptimal plays are, that way you can adapt to any situation. This will change depending on what deck you are playing against, but I will give you a general idea of what your curve should look like, so you can make better discarding decisions.
[Advance: Going FIrst]
- T1 (1 Don): Pass
- T2 (3 Don): Brannew or Blue Hina
- T3(5 Don): Great Eruption + Lucci or Eruption/Hina/Tashigi/Tsuru + Hound Blaze (Priority is generally given to eruption or Hina)
- T4(7 Don): 7 Borsalino or Hina + Lucci (X + Lucci is better against Yellow Katakuri and Aggro, while 7Borsalino tends to be stronger against other decks)
- T5(9 Don): Hina + Lucci + Brannew or Ice Age + Lucci + 4-Drop or Some deviation that responds to opponent's board while fighting strongly
- T6(10 Don): The world is your oyster
When going first, I would be especially cautious about discarding Black Hina. As you can see it can lead to a lot of plays.
[Back: Going Second]
- T1(2 Don): Brannew or BUst
- T2(4 Don) - Lucci (If playing against an aggro deck) or Borsalino (If playing against a deck with a lot of early high power swings or the aggro player has not played into Lucci) or Kuzan (If you are playing against a deck that can't easily KO it, or you want to gamble)
- T3 (6 Don) - Great Eruption + Great Eruption/Tsuru + Lucci (Common against aggro decks) or Great Eruption + Any Cost Minus, or Kuzan + Brannew (For tempo)
- T4 (8 Don) - Great Eruption + Borsalino or HinaLucci + Great eruption or Rebecca + HinaLucci. If Kuzan on is on the baord, there's plentyu of more variations.
- T5(10 Don) - The world's your oyster. Plays like Hina + 7Borsa to clear 9Drops becomes possible.
To be honest, going second has way too many possibilities, so just adjust according to the matchup...
Of course this is just a sample of what going first or second looks like, you'll just notice that there's a lot of different variations that include in the same cards.
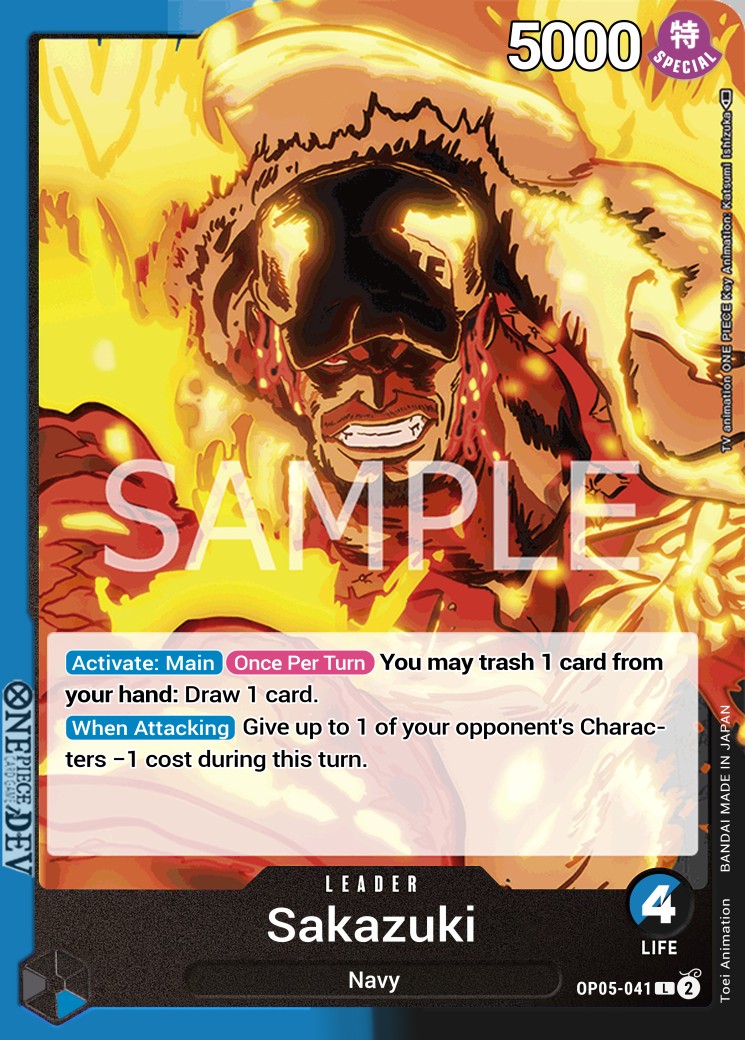
A Note about Sakazuki's Leader Effect
A common error I see when playing Sakazuki is people discarding Black Hina/Lucci, because it can easily be retrieved from Rebecca. Depending on the matchup, be cautious of how fast you discard these. Generally, once you start seeing 2+ copies or too many Rebeccas, then I would begin to consider discarding these cards.
Matchups
Sakazuki MIrror Match
First attack: Disadvantageous | Second Attack: Advantageous
Mulligan:
- Going First - Brandnew or Hina + Hound Blaze (Even if you don't immediately see hound blaze, I would keep Brannew or Hina, the downside of missing these is rough)
- Going Second - Brannew (It's important to play Brannew on the first turn, the opponent will swing into it at some point, giving us a free block, and it searches for Borsalino, Great Eruption, etc.)
Attack Selection: Choose to Go Second
General Guidelines:
- You generally don't want to use the Rebecca HinaLucci combo before your opponent. Make moves that forces your opponent to do Rebecca HinaLucci first
- Big removal cards like Borsalino on turn 4 of going first, or great eruption + Borsalino on turn 2 of going second are strong for forcing your opponent to Rebecca HinaLucci first
- Botdecking Lucci(or Hina) when going first requires your opponent to see a second copy of them, and may help overturn the disadvantage of going first. Goodplayers typically won't play their Lucci's early though...
- When you go first you basically try to aggro the opponent, while limiting their options by making skillful moves (such as botdecking Lucci's), while the player going second aims for a resource difference and counters whatever the player going first does.
Before, I talk about the going first and going second curve, I would like to specify that there are three key ways in which the mirror match is won.
1: Ultimately Have more Rebecca Hinalucci than your opponent
- If you enter Rebecca + HinaLucci wars in the mirror match, all the opponents attackers will be cleared every turn, and whoever has more will ultimately win. This is why you want to generalyl force your opponent to do Rebecca + HinaLucci first, so you can raise the chances of you doing the combo more times than them. The last person to successfully do the Rebecca Hinalucci combo wins.
2: Introducing Characters that can't be KO'd at clever times and/or having units stick to the board because you botdecked Lucci/Hina
- This strategy includes things like playing Borsa on turn 2 or doing combos like Ice Age + Lucci + 4Borsalino at 9 Don. You should also establish units every turn, because if you make smart moves like botdecking Lucci/Hina at key times, the opponent might not draw the pieces to remove everything on your board.
3: Hound Blaze Trolling
- This is a situation that seems to mostly occur when going first, but it can also occur when going second if the player going first takes life. Basically you aim to have back-to-back turns where you do great eruption + hound blaze, in order to pressure your opponent out of the game!
Going First Curve
F1: Pass
F2: Blue Hina or Brannew (Blue Hina priority)
F3: There are a few patterns here:
1: If Blue Hina/Brannew is taken with Lucci, then Great Eruption + 4Lucci is a very powerful play.
2: If Hina/Brannew is not taken and Borsalino is played, then Great Eruption + Hound Blaze will excel here.
3: If the opponent defended the first hit from our second turn, and they didn't play Borsalino, we can aim for either Great Eruption + Lucci or Great Eruption + Hound Blaze + Brannew. Once the opponent has chosen to defend their first life, I believe there's no need to force them down to 2 life.
F4: Generally 7Borsalino. There is also a special play here where you can do Hina + Lucci, and then if your opponent responds with Hina + Lucci the following turn, we can do 7Borsalino + Hound Blaze to bottom deck two cards on our 9 don turn!
F5: Your opponent has likely responded to 7Borsalino with 7Borsalino Great Eruption. The answer to this is either HinaLucci + Brannew/7K leader swing (prioritize Brannew if Rebecca is present on your opponent's board, as there's no swing to swing 7K). Alternatively, if you have another Borsalino, I think it would be strongest to do great eruption + Borso in response to great Eruption + Borso, because it stops us from using HinaLucci first. If you did the Hina + Lucci play on F4, then you can aim for 7Borsa + Hound Blaze, because they would have had to HinaLucci to clear the whole board.
F6: A lot of options here. If Brannew is on the board, we can go 5K with Brannew, 5K with leader, and use Rebecca + HinaLucci. Blue Hina + HinaLucci is also a possibility. Lastly if you still have 7Borsa + Hound Blaze, you can aim for 7Borsa + Great Eruption + Hound Blaze. This last combo will always be good if the opponent has no Hina or Lucci in trash. If they do have Hina or Lucci in trash, I would avoid this combo, as they can return it with RebeccaHina + Hound Blaze + Borsalino (Borsalino will put them ahead, because it is a card that can't be KO'd from HinaLucci!)
Going Second Curve
- S1: Brannew
- S2: 4Borsa or 4Kuzan (4Borsa priority as it demands hound blaze, and prevents them from doing Great Eruption + Lucci) I would personally never play Lucci here unless its my only option, as I think it's simply a waste)
- S3: If the opponent did the hound blaze shenanigans, then attack into Blue Hina for 5K, and line up Kuzan and Brannew (It's arguably better to lineup Kuzan than Borsa because the opponent's following turn is normally 7Borsa, so might as well draw. But at the same time if you do Borsalino you prevent them from doing the HinaLucci combo on F3 mentioned above)
- S4: Great Eruption + Borsalino, if they Borsalino'd. Rebecca + HinaLucci, if they HinaLucci'd.
- S5: Various options such as Borsalino + Eruption + Hound blaze to bottomdeck HinaLucci if they have none in trash, 5K Leader, 5K Brannew + Rebecca HinaLucci, etc. It's basically the same options as F6, except we get more opportunities to use Brannew when going second, so there's a chance that we can have a super effective mansherry + HinaLucci!
The player going second has it so easy lmao. But I think it's possible to overturn the disadvantage of going first through strong playing, and cards like Blue Hina that keep our resources high!
Yellow Enel
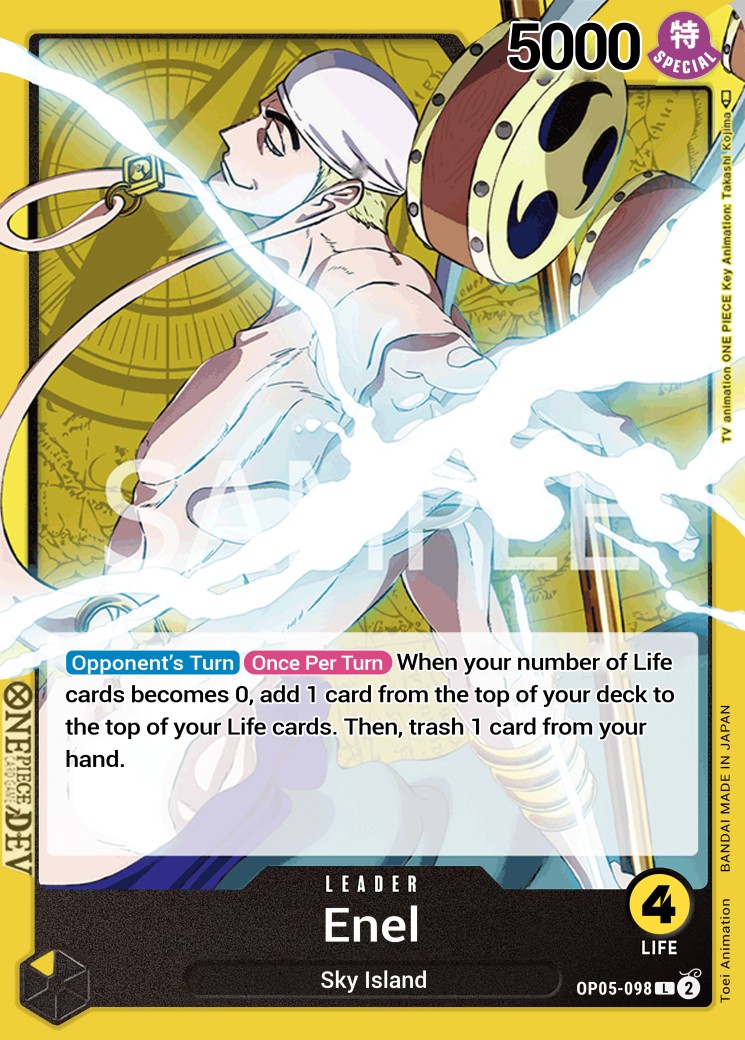
First Attack: Advantageous | Second Attack: Advantageous
Attack Selection: Second
Mulligan:
- First - Blue Hina / Brannew + 4 Cost Borsalino / Kuzan, Lucci + Ice Age (to take care of Ohm + Holy)
- Second - Borsalino, Kuzan (priority to Borsalino to watch for Gedatsu)
I personally think Saka beats Enel, unless they omega-sack you, or you draw poorly. At this point, I only think that a well-timed 7Enel, after carefully choosing how to attack the opponent will be the type of Enel I'm potentially worried about in the future. This matchup has different ways to be played depending on if it's an attacking Enel or starve Enel, so I will describe both. Note: Starve means they don't attack life, until they have established a certain board state
General Guidelines (Attacking Enel)
- I like to receive up to 2 life from Enel that attacks. It's nice to receive 2 life, because Yamato's will be unable to knockout Kuzan in the late-game. Successfully establishing Kuzan against attacking Enel destroys their deck.
- Leave characters vertical, until you have reached 2 life and intend to defend your life for the rest of the game.
- Attack leader every turn to get them to 1 card (if you see Ohm + Holy progressing, it may be fine to not attack them for a turn to prevent triggers, or give them less defense to protect OhmHoly)
- Be cautious of going to 1 life, and cautious of Amaru + Rush Enel ending the game
Going FIrst Curve
F1: Pass
F2: Blue Hina or Brannew (It may be better to not attack here, and wait to see if Ohm Holy comes)
F3: Kuzan (assuming they attacked us already) otherwise play Borsalino
F4: 7 Borsalino or HinaLucci or Hound Blaze + Lucci
F5: At this point you aim to just remove whatever's on your opponents board. Make smart attacks to get the Enel to gradually discard cards (like swingng 5K at face and them being forced to guard, so they dont get cooked by a different card swinging), etc. Also make sure to play Rebecca at key moments where you can get convenient defensive value.
Going Second Curve
S1: Brannew
S2: Kuzan (if they didn't hit us yet then Borso)
S3: Great Eruption + Great Eruption/Tsuru + Lucci to clear OhmHoly, or 4Kuzan(if they finally hit us) to make it easier to deal with the potential 7 Cost Enel coming next turn.
S4: Ice Age + Lucci + Hound Blaze can deal with 7Enel, or you can casually deal with 7 Cost Mom by using Great Eruption + Borsa or HinaLucci
S5: Once again you just attack your opponent cleverly, while removing their baord for the rest of the game.
General Guidelines (Starve Enel)
- This version is arguably harder to deal with because we can easily run out of resources, and it's very hard to establish Kuzan. We can only remove our opponents units for so long...
- Against this version I am to save Hina + 7Borsalino to conveniently remove 9Yamatos (or 8Katakuri), and I like to play two Kuzans at once on my 8 or 9 don turn
- Sabo can be used strongly in key situations to reduce the value of Yamato (EX: If Enel goes to 0 life expecting to Yamato, but now their Yamato can't pop anything)
Going First Curve
- F1: Pass
- F2: Brannew/Blue Hina
- F3: Borsalino
- F4: HinaLucci (7Borsa should be saved for Hina + 7Borsa at 10 Don...)
- F5: Double 4 Drop Kuzan (Kuzan + 5Sabo is also permissible)
- F6: This is the turn you can consider attacking with characters, because they should be at 1 life, and we should be able to start removing the opponent's characters every turn.
Going Second Curve
- F1: Brannew
- F2: 4 Cost Borsalino
- F3: Great Eruption + Great Eruption/Tsuru + Luci to clear Ohm Holy, Hina + Hound Blaze, 4 Cost Borsalino
- F4: Double 4 Cost Kuzan
- F5: This is the turn you can consider attacking with characters, because they should be at 1 life, and we should be able to start removing the opponent's characters every turn. A common play here may be Hina + 7Borsalino, if double 4 cost Kuzan was unsuccessful
The key to beat Enel is basically to use Kuzan, Ice Age, and 7 Borsalino strongly. 4Borsalino played in the early stages also greatly helps with survivability.
Yellow Katakuri
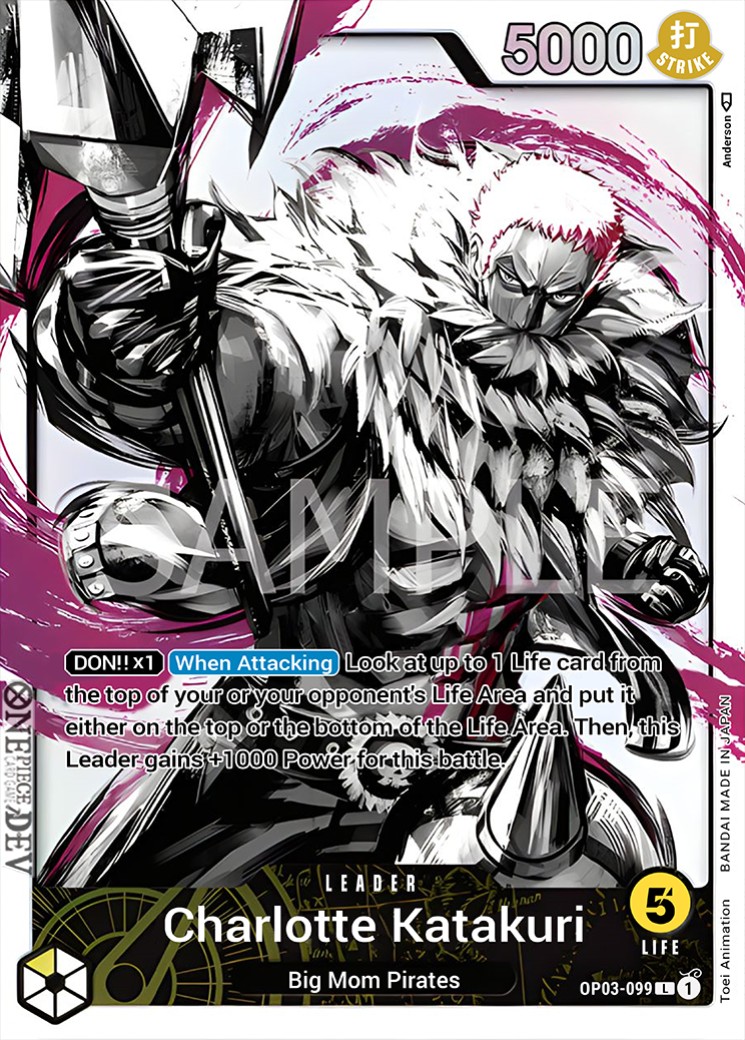
First Attack: 50/50 | Second Attack: Slightly Advantageous
Attack Selection: Second
Mulligan:
- First - Brannew/Blue Hina, 4 Cost Borsalino, 4Kuzan
- Second - Brannew, 4 cost Borsalino, Brannew, 4Kuzan
This is one of Sakazuki's most difficult matchups, but by using Sabo strongly at the end of the game, the matchup becomes very doable.
General Guidelines:
- Establish units every turn, so you can contiously beatdown the opponent every turn.
- Save Sabo to use strongly at the end of the game
- Protect attacks with one card (once our life has been reduced to 3)
- Have at least 1 life before the opponents 10Mom turn, if we carelessly let our life drop to 0, then the game might be sped up by 200 Million Volts
- If our board is progressing strongly, I think it's fine to give the opponent life with 7Mom
Going FIrst Curve
- F1: Pass
- F2: 6K leader + Brannew or Blue Hina
- F3: There's a few options here. If the opponent took the first 6K swing and played Perospero, then we can pressure them significantly by attacking them for 7K, and then using Hound Blaze and attacking with Brannew for 7K. It's also permissible to take it slower and do Hina + Hound Blaze. Alternatively, 4Kuzan can be played if our life is at 3
- F4: 7Borsalino (This card is crazy if we had an aggressive beginning, 8Katakuri will be their only answer, and this will slow down the game), Alternatively Hina + Lucci is very strong as well
- F5: Hina + Hound Blaze + 4Kuzan will lcear 7Mom while establishing a Kuzan. If 8Kata has been played then Hina + Eruption + Lucci/Hound Blaze will defeat that as well.
- F6: Once our life gets too low, it's time to start utilizing Sabo so we can't be defeated.
Going Second Curve
- F1: Brannew
- F2: 4Kuzan, 4Borsa
- F3: Rebecca + Hina + Hound Blaze or Kuzan/Great Eruption + Lucci
- F4: Rebecca + HinaLucci, Kuzan + Lucci + Borsalino, or Rebecca HinaLucci to deal with a trigger unit coming out
- F5: Once again clear whatever big body comes out, while clearing the opponent's board. 10Mom might come out, so we should make sure we have at least 1 life remaining.
Purple Luffy
First Attack: Advantageous | Second Attack: Advantageous
Attack Selection: Second (Currently considering the possibility of choosing first to be better)
Mulligan:
- First - Brannew + Hound Blaze
- Second - 4Borsalino (Brannew may also be fine to keep)
Purple Luffy feels like such a free matchup. If Kuzan sticks you instantly win the matchup, but what's even crazier is that 4Borsalino has also felt like an auto win against Purple Luffy!
General Guidelines:
- Prepare for the opponent's Magellan when going first by preparing hound blaze.
- Borsalino should be prioritized when going second, in order to stop PLuffy from getting value from Paulie
- Once 7Borsalino is successfully established the game is pretty much over
- Save Ice Age to strongly deal with 9Kaido, unless you have already found another out
- I tend to keep my life at 3 for most of the game, but it is fine to go down to two
(Going FIrst Curve)
F1: Pass
F2: 6K + brannew
F3 (4 Don due to Magellan) - Great Eruption + Hound Blaze to deal with Magellan
F4(6 Don): If the opponent plays 7Kid, we need Hina + Hound Blaze, or Ice Age + Lucci. If they play Paulie then great eruption + Lucci clears. If there are no answers yet, then I would prioritize playing 4Borsalino (4Kuzan will be taken by 9Kaido)
F5(8 Don): 7Borsalino time!
F6: Just play out the rest of the game
(Going Second Curve)
S1: Brannew
S2: Borsalino (Prioritize this over Kuzan, if you only have Kuzan slam it down, and pray they don't have Paulie). If you are forced to play Kuzan(cuz no Borsalino), I would still play it, and if the opponent misses Paulie, it's actually ggs.
S3: The opponent would have played a 6K on their second turn and attacked with it, so a common play here is to swing 6K at the rested unit and use leader effect on Paulie. And then we use great eruption + hound blaze to (attempt to) clear Paulie and swing 8K at the 4 cost unit! This wipes their board or removes a lot of cards from there hand, and this puts us significantly ahead.
S4: PLuffy will normally go 5 drop, 5 drop here, so ignoring one of them and playing 7Borsalino is very strong. If the opponent plays 9Kaido then clear it with Ice Age + 7Borsalino, or Great Eruption + Hina(or RebeccaHina) + Hound Blaze
S5: Play out the rest of the game
General Advice against Aggro Decks
- You generally want to go second and mulligan for Lucci.
- I have heard(and partially tested) that against Belo Betty it is strong to starve, until you're board is more powerful than them (or you need to use leader effect).
- Against Zoro there is basically no point in starving, and you just want to attack face while using Lucci's effect.
- Red/Purple Law is still being studied, but it plausible to starve. I also get the impression that it is harder to utilize Lucci properly against this deck when going second, as destroying only one 3 cost, just to have our Lucci bottom-decked seems like a downside. It could potentially be better to go first and aim for Hina + Hound Blaze(don't hit the opponent though), and then great eruption + great eruption/tsuru + Lucci.
-------------------------------------------------------------------------
This is it for the article for now, it's been a minute, but I hope this is very helpful to my fellow Sakalucci enthusiasts. I have described the most popular matchups, but if there is a matchup you want me to research, let me know, and I will add it once I have solved it.
If you liked this article and/or it was helpful please like it, I've been no-lifeing Sakazuki testing to try to get the most accurate opinions as possible for y'all 😢.
With that being said, I will catch y'all in the next one, peace.
Files
