 Home
Home

 Artists
 Search
 Recent
 Random
 Posts
Posts
 DMs
DMs
 Tags
Tags
 Random
 Importer
 Import
 FAQ
FAQ
 Account
 Register
 Favorites
 Login
Login

WINNER'S Guide to OP03 WB Zoro (Patreon)
Content
Zoro is undoubtedly one of the strongest decks of OP03, but many people do not know how to build it, how to play against certain matchups like Whitebeard or Doflamingo, and they make unoptimal microdecisions. So today we will be discussing all of those, so you can cook with Zoro whenever you choose to.
(Make sure to click "Deck Guide" on tags to easily access this deck guide and any others!)

| My Winner Photo by OrangeSamuraiD (https://twitter.com/Cross_Aii/status/1690515763122380800?s=20)
Zoro's Position In the Meta

This is my current position on the meta, Whitebeard is easily one of the top 3 decks, but I believe both Zoro and Law have much more potential for victory.
As you can see I believe Zoro is overall the strongest deck in the game. It can beat everything in the same way Law can, but it is more consistent than Law with the tradeoff of it being more difficult to win the matchups it can beat. Depending on deck construction I think Zoro can either beat any deck, or it can be extremely strong against certain decks it can already beat, while making it harder to win against other decks it could beat.
| All Cards that allow Zoro to adapt to the meta
Zoro Construction

These 46 cards are almost fixed:
- 6 Instant Debuffs - Gordon and Otama can go up and down depending on the other
- 2 Rush Units - 1 Zoro can be replaced for Luffy
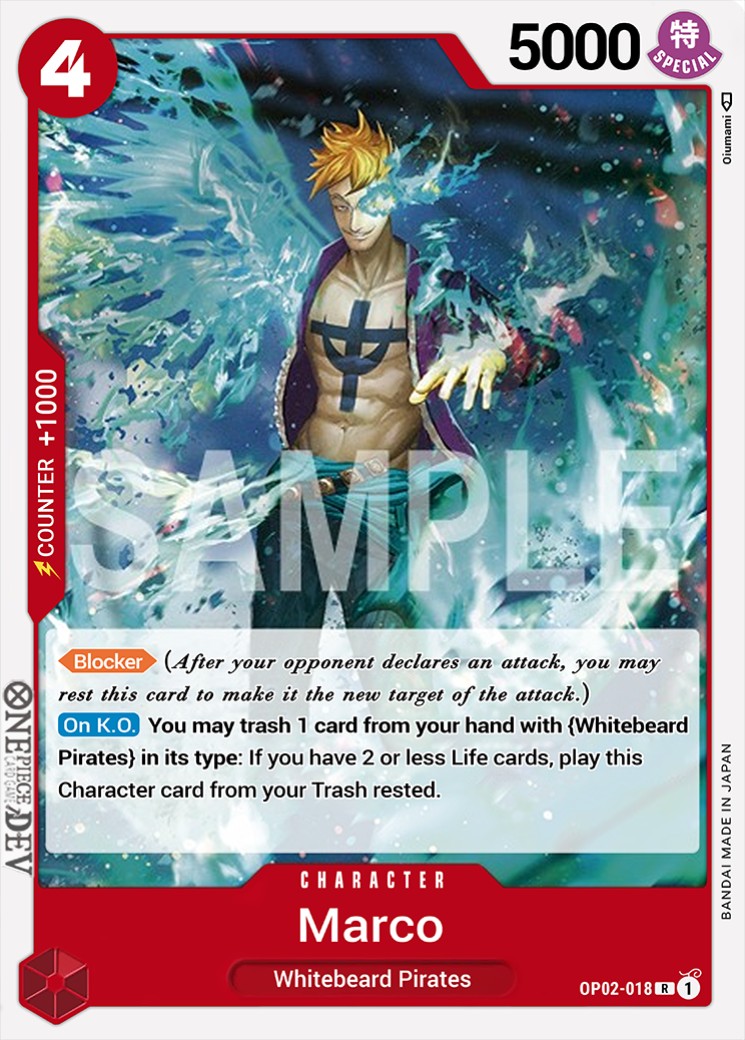
- 1 Fossa - It's very covnenient to have AT LEAST ONE other blocker than Marco, for additional defense against Yellow, Kid, and other decks
- Defensive Events - There's only 11 in the base, because there's various options I'll discuss, but there should be at least 12 events
- 9 2Ks - I currently like 9 2ks(because I want 4 Gordon), I think it's important to have 3 Jozu because it is searchable from Izou and Whitebeard Pirates, but 2 is sufficient
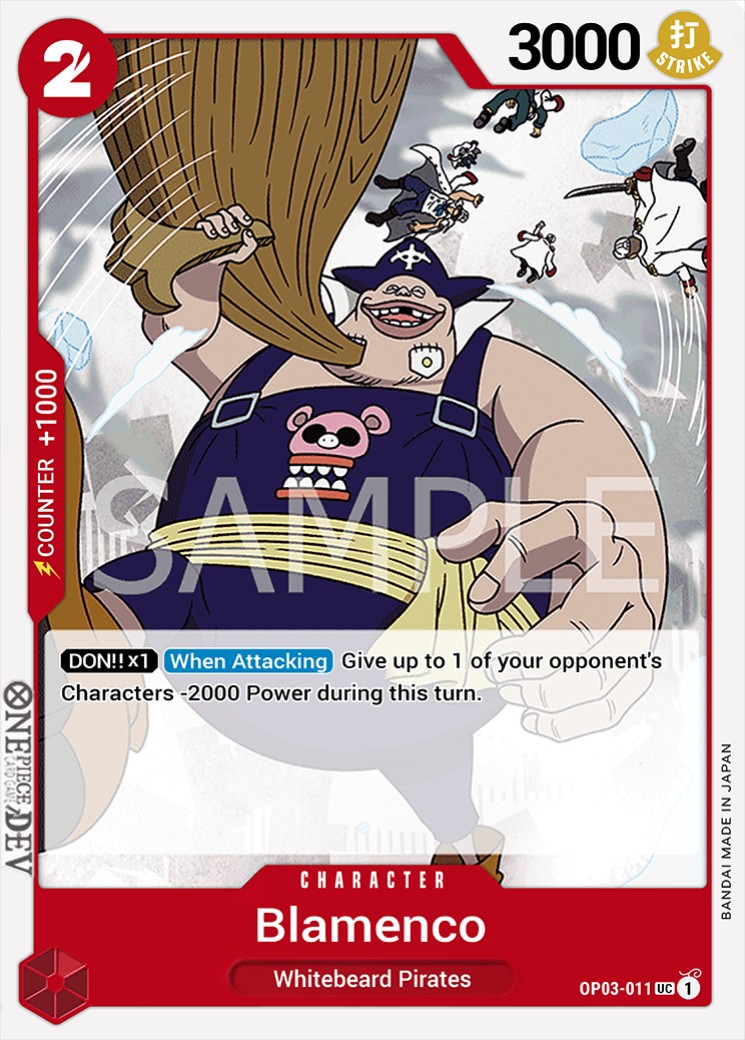
- Blamenco - I'm a huge believer of Blamenco against Yellow and Doflamingo, so I feel 2 is necessary, but it is possible to have 1 or less(as long as you still have 15+ Whitebeard Pirates search)
- Whitebeard Pirates - This cards becoming less popular, but it is extremely strong in the mirror(Helps search for the first or second 5 Cost Marco), and can allow Buggy to search for units!
We'll briefly discuss the core cards in this base list, and then discuss additional cards that may enter the list.
Gordon
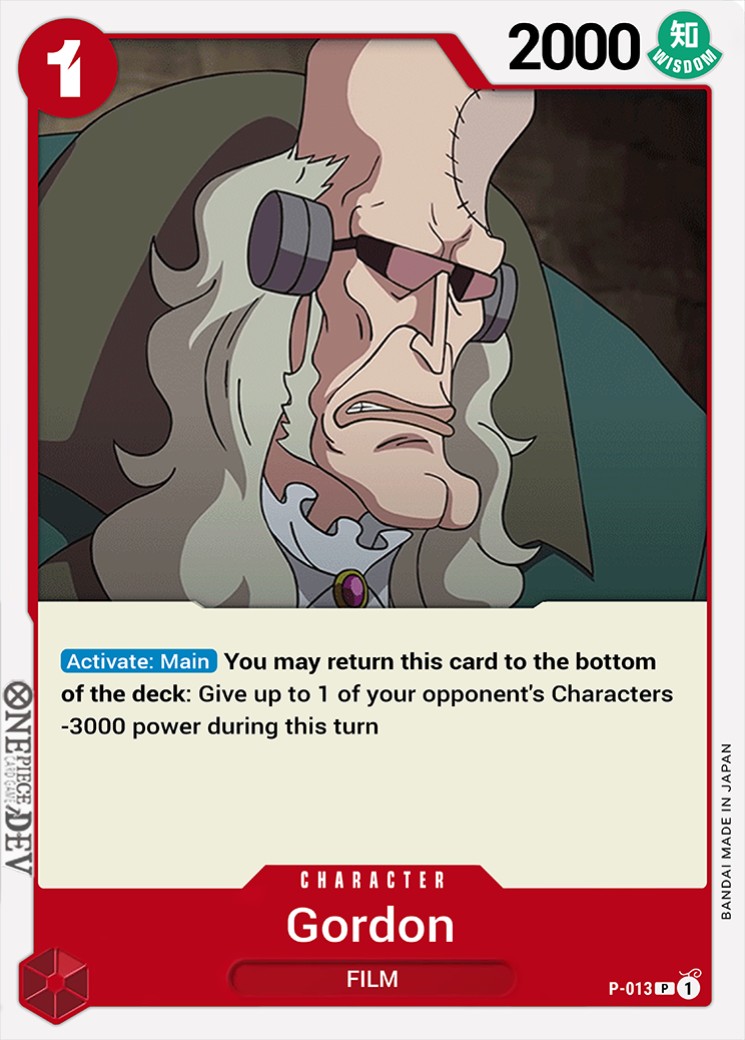
If there's any card I must talk about first, it has to be Gordon! This cards worth is severely underrated. I'mma list all it's benefits, then you can decide if it's cap or not:
- Can be played Turn 2 going first to allow 5 cost Marco to pop a 6K unit on curve
- Can debuff big units against Whitebeard(Ace, Luffy, Etc.)
- Saving Grace against 8 Cost Kid and Film Kid
- Combos with Fire Fist
- Can clear big units against Yellow(especially the new 5 Cost 7000 Unit!! Changing 8K units to 5K is also kinda crazy)
- Is a 2K counter unlike Otama
- -3K is a lot greater than -2K in the grand scheme of things
- Punishes rested Laws/Borsalinos conveniently
2k Counters
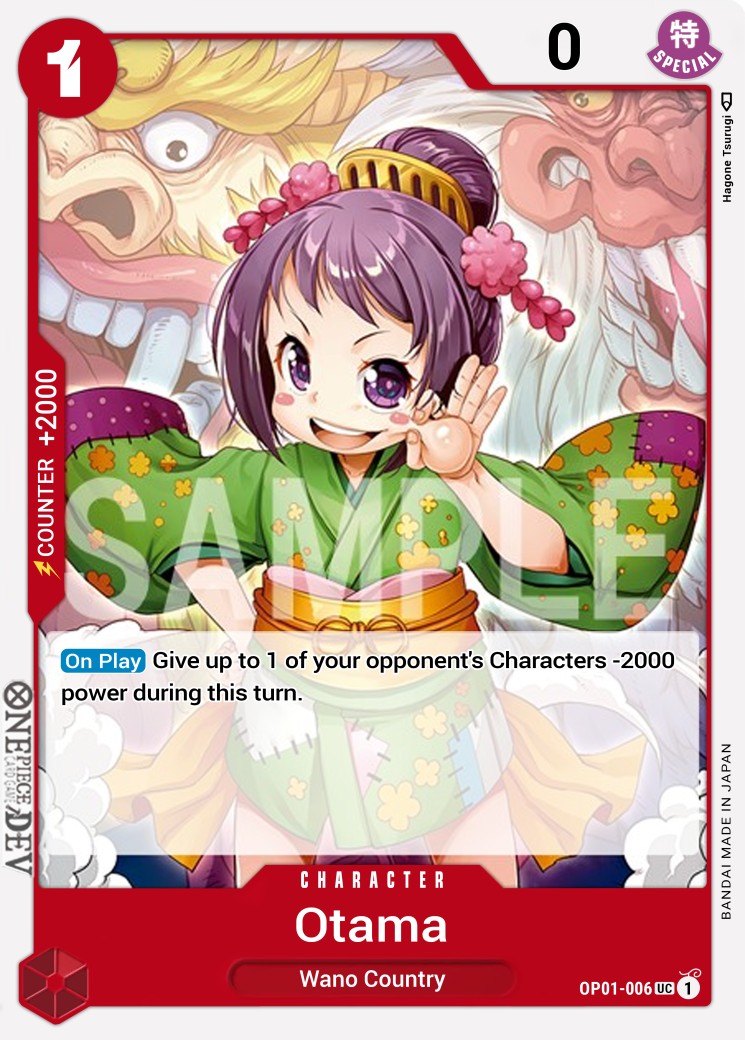
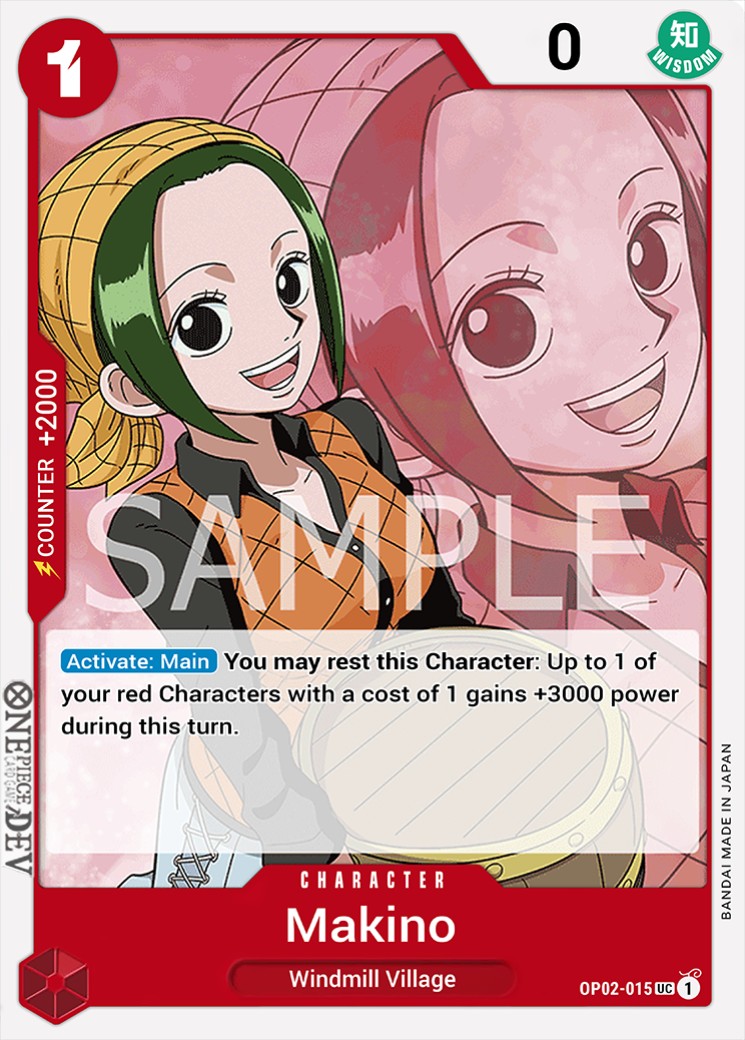
Otama and Makino are the strongest utility counters in Red! Otama is normally a 4 of, but due to including 4 Gordon, it is fine to have 2 Otama(it is 6 instant debuff cards in total). Makino is extremely strong for helping lethal with 1 cost units, and can act as a pseudo-blocker in the mid-game(the opponent is forced to clear it).
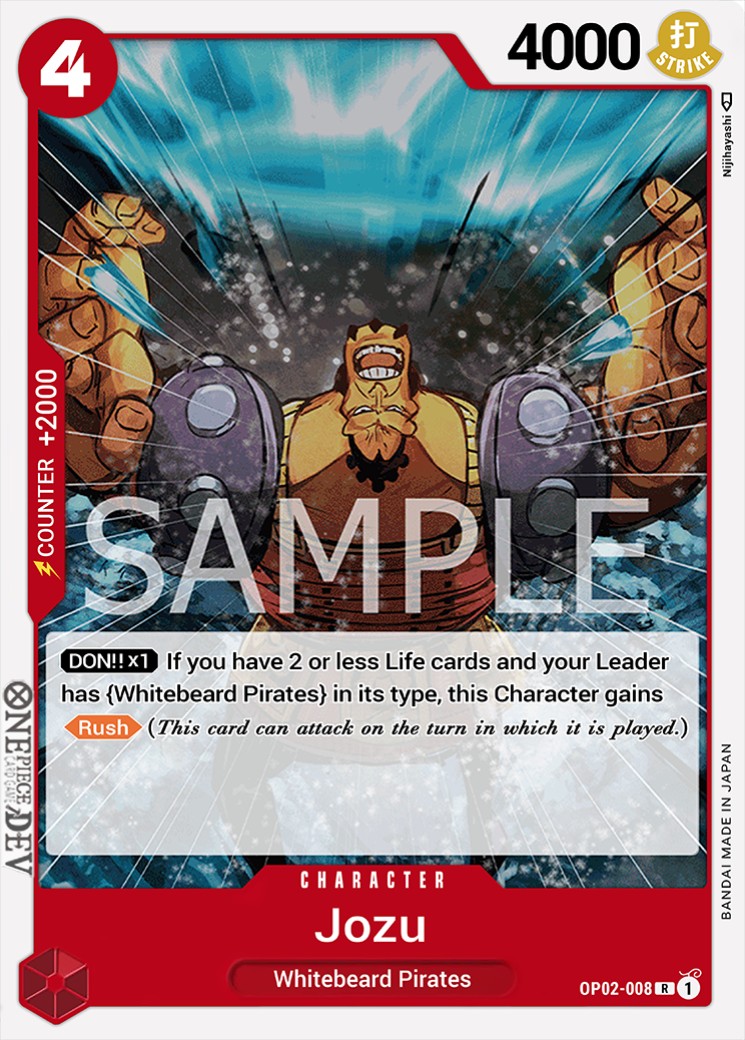
Jozu is the weakest, strongest 2K in Zoro. People are generally confused why people run Jozu in the first place, but this card is very important for two reasons.
- 1.) Increasing Whitebeard Pirate Targets
- 2.) Being a double-searchable 2K
Honestly being a double-searchable 2K is enough for me to include 3 copies, but 2 is enough. But I would not go down to 1 copy.
Whitebeard Pirates
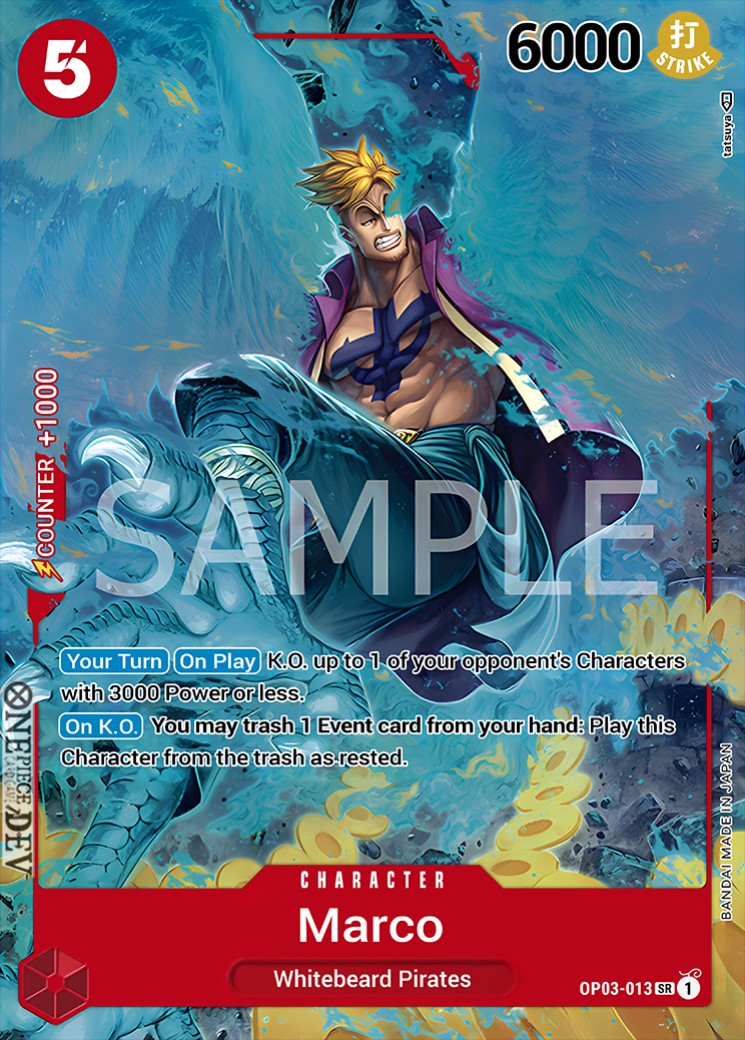
This card is the strongest. This card is the whole reason I use the Whitebeard Pirates engine, and not Nami. This card is gross in the mirror, is an INVINCIBLE 7K attacker, and can pop 6Ks with Gordon.
This card was restricted to 1 and is an invincible blocker...
Blamenco is one of the strongest post-restriction additions to the deck! This card is extremely strong against Blue Doflamingo and Yellow Katakuri, which are some of the sketchiest matchups for Zoro. It's also a 3K attacker, when going second against Whitebeard!
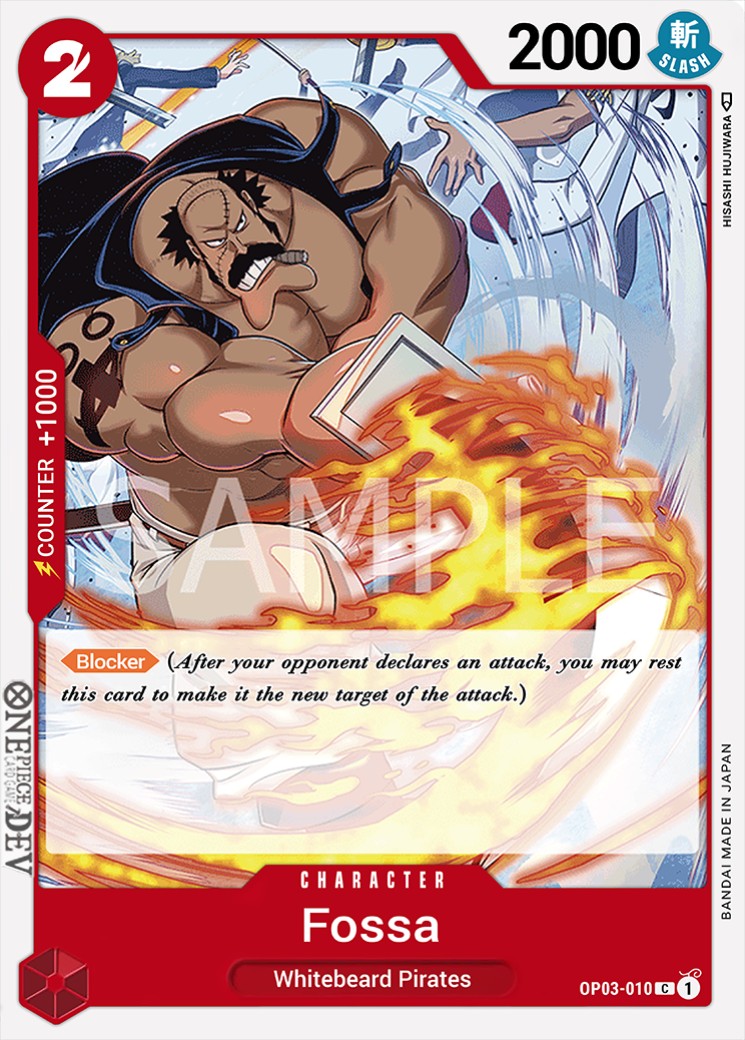
Marco being restricted to 1 is a bigger hit than I could have ever imagined. I suddently found it a lot less likely to live against double 12K swings from Kid, Yellow Katakuri's 10 Mom, etc. That's when I found Fossa!! Unfortunately we can't wall up with 4 Marcos like in the past, but Fossa being a 2nd blocker does increase our chances of being able to play at least 1 blocker for the sake of additional defense!
Rush Units
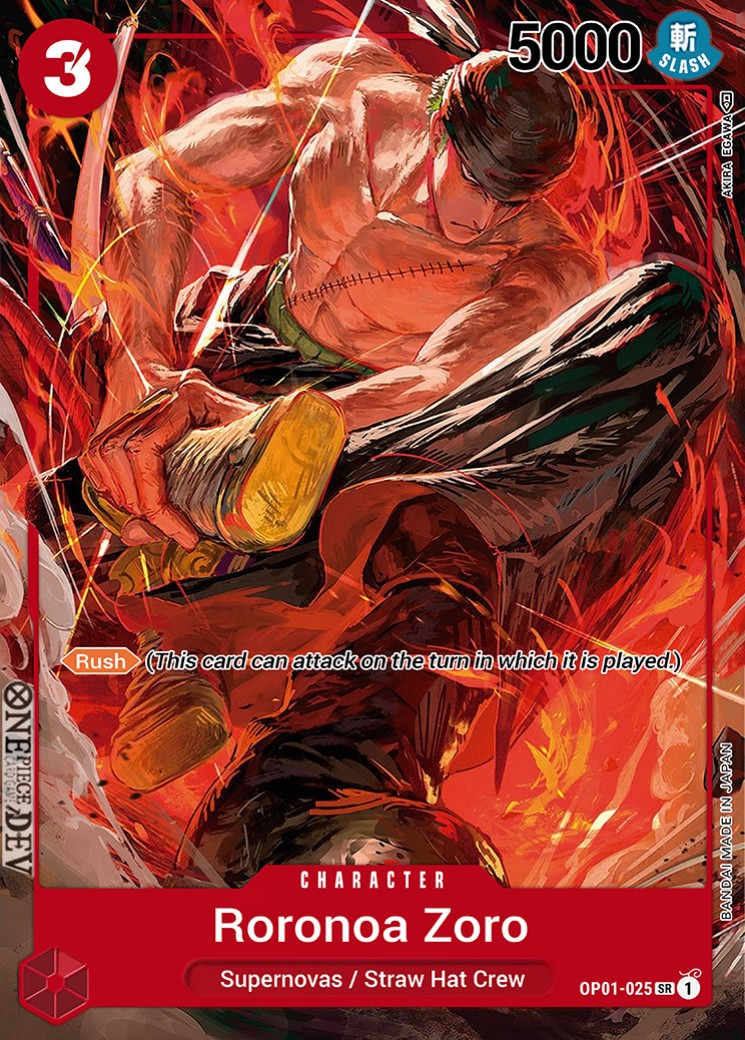

Unlike OG Aggro Zoro we don't spam rush units every turn, but these cards are still essential for pressuring in the late-game. This card allows for clutch lethals against any color(especially black and yellow) and for random mid-game pressure against decks like Blue! This card is also an extremely strong Turn 2 Going second play against Zoro and Whitebeard! We don't need to see these cards in the early game, and they're only sometimes clutch in the late-game, so 2 copies is sufficient. 3 copies is fine, but I think 4 is too much.
Events
Defense
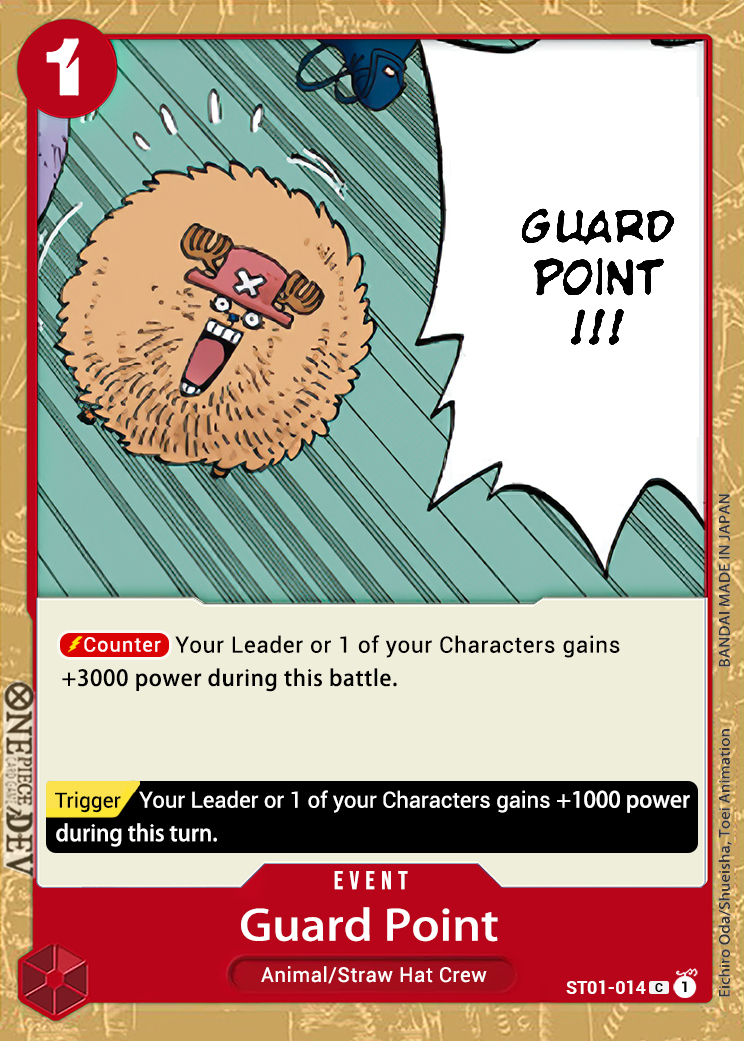
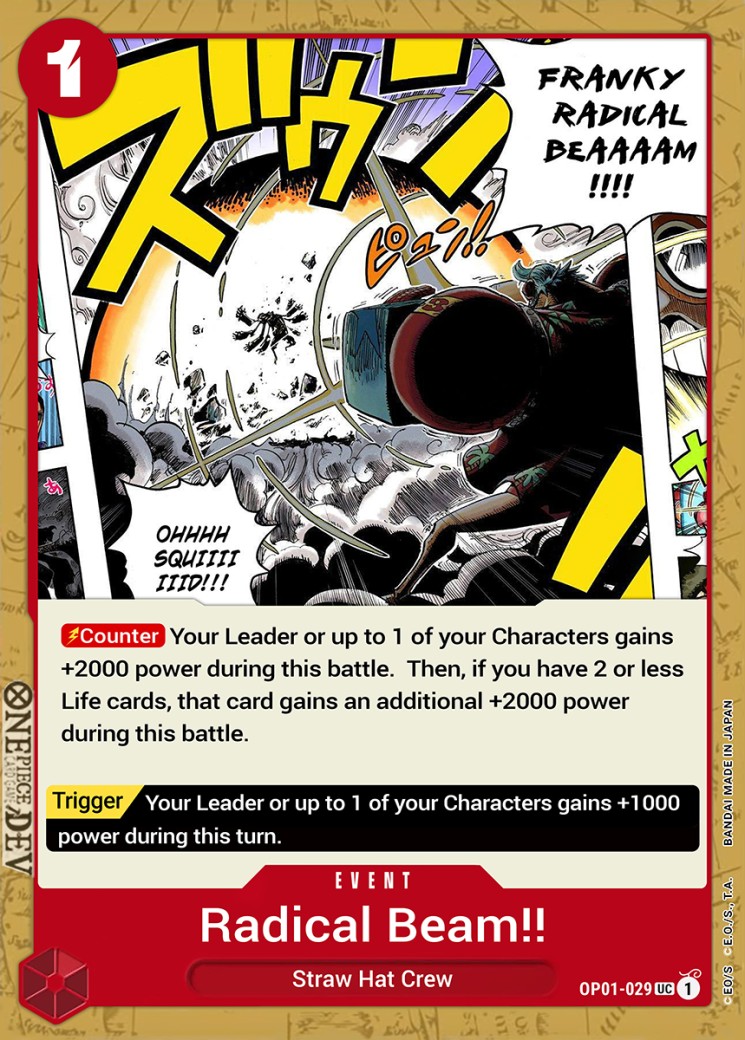
Five 1 Cost Defensive Events. 1 Cost is significantly less expensive than 2 which is why I don't currently adopt Red Hawk. I think 4 Guard Point and 1 Rad Beam should be the standard for 5 events, and Red Hawk is an afterthought. Imagine you need additional defense, you Buggy Search, and you're defense is thrown off because you grabbed a counter event that is worth 2 instead of 1(stops you from having enough don to use another defensive event or to trigger an extra Whitebeard Pirates in hand,etc.).
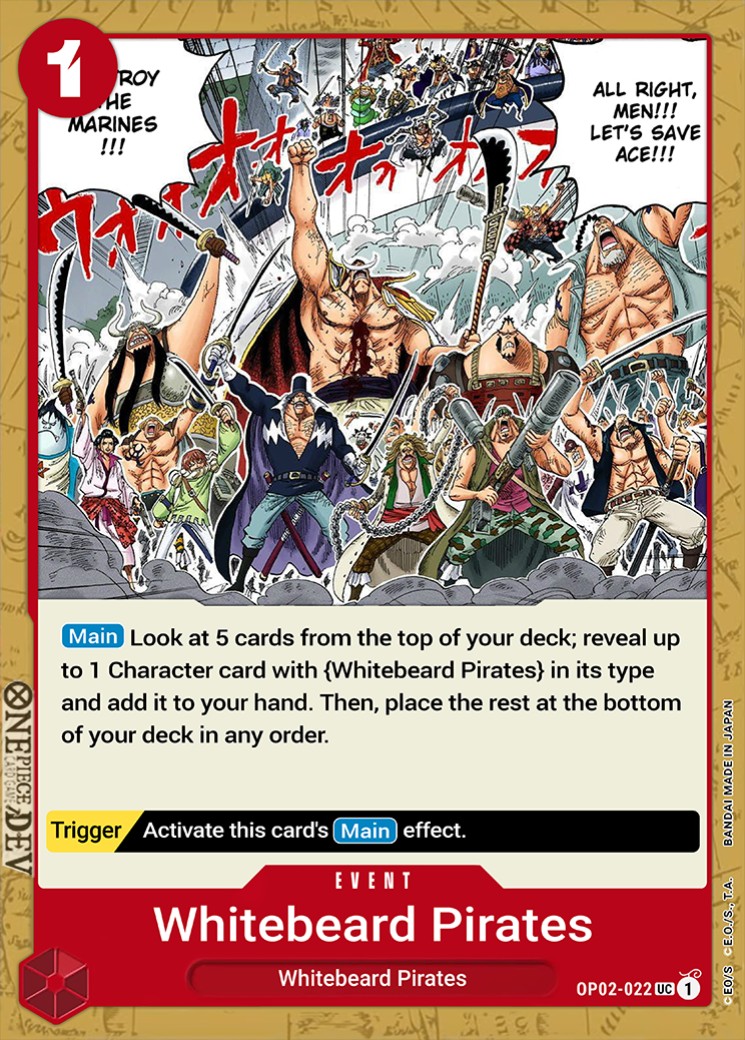
Severely underrated card, The consistency and stability this card provides isn't appreciated enough. Makes it consistent to see multiple Marcos(or even the first 5 Cost Marco) in the mirror match, and makes it possible for Buggy to search for characters!
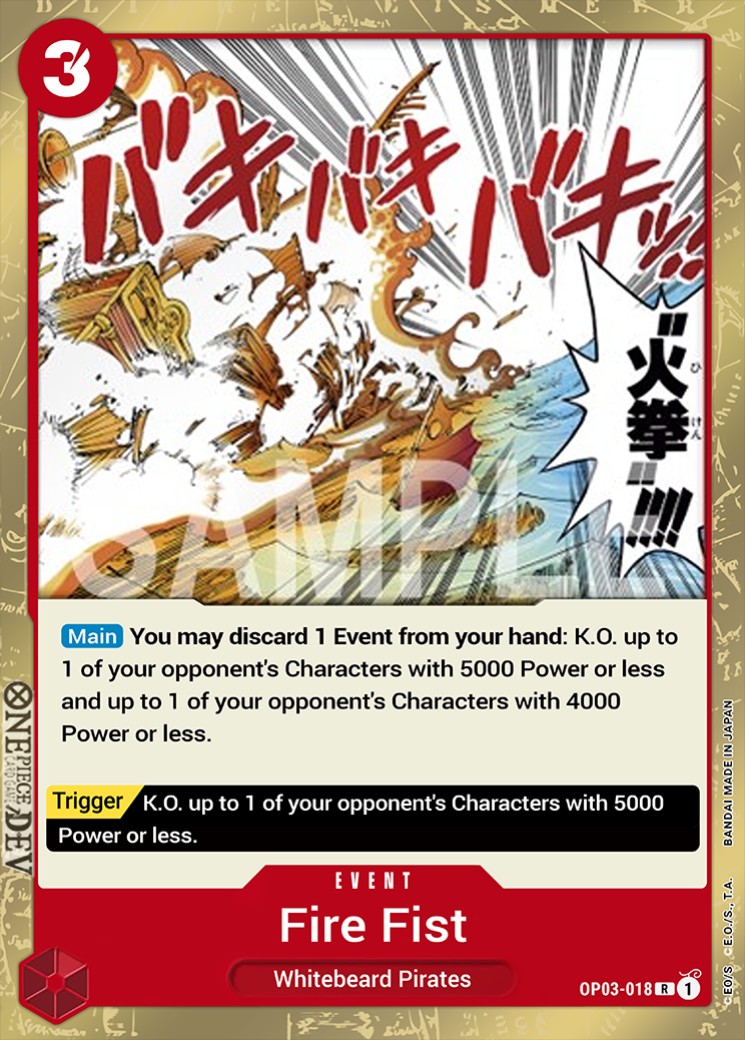
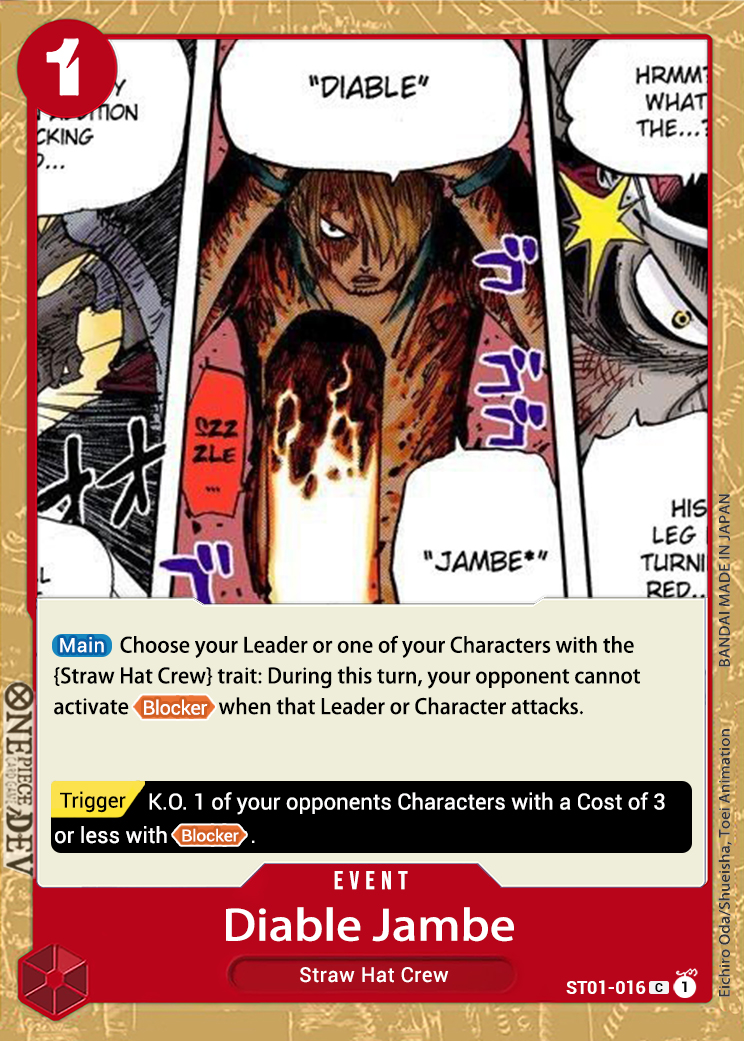
This card is the strongest against Green, Law and low cost blockers. I think at least 3-of Fire-Fist is mandatory for having a solid matchup against Green and Law. Since their is no Jambe, Fire Fist is also very strong against decks with blocker, and is very convenient for abusing 4 Cost Marco.
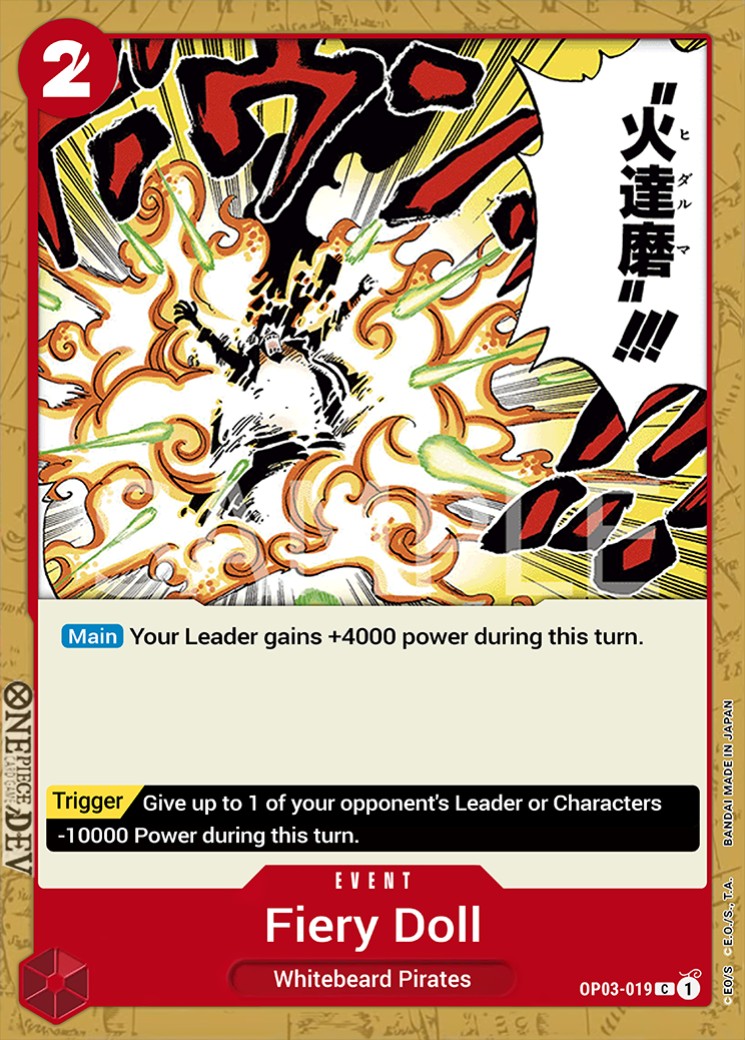
The strongest card against Whitebeard! +4k for 2 Don is seriously too strong. This card also allows for random and/or safer lethal attempts against various decks.
Now let's talk about other cards that may be adopted.
Cards that May be Adopted(But Not Included in the Base)
Jet Pistol
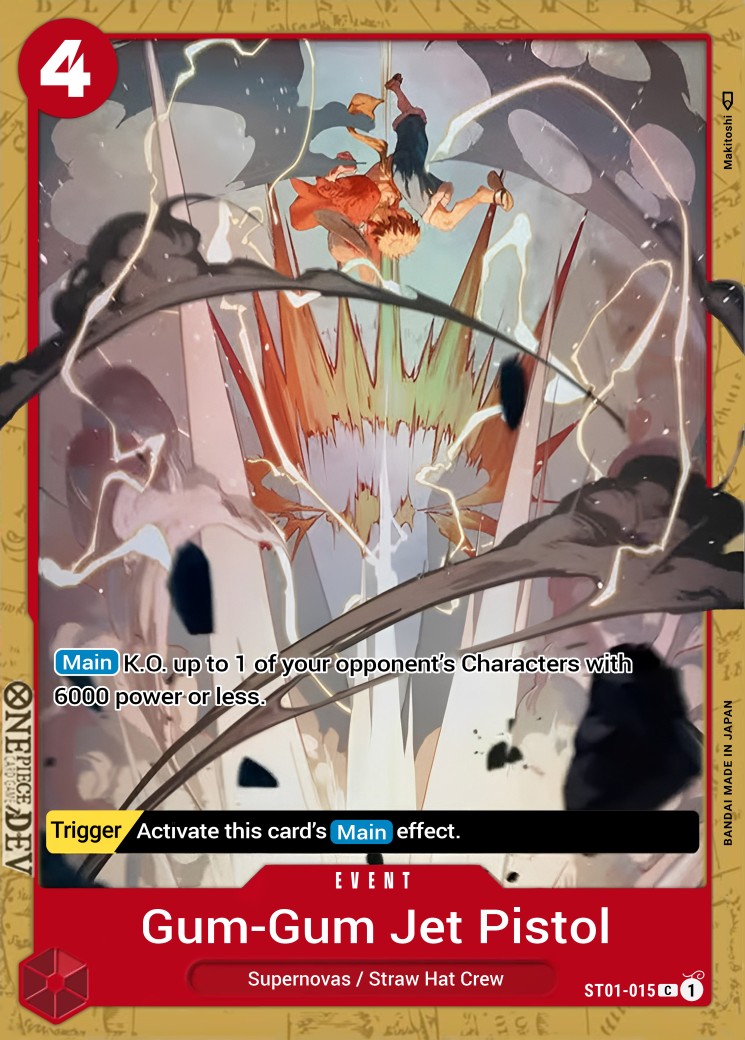
This card's still one of the strongest triggers in the game! This card being triggered out of life can be the difference between winning or losing. Outside of sacking here's a list of benefits:
- Can pop 6K attackers like Blocker Law and Hawkins without needing to combo with a Debuff card
- Can combo with Otama to pop a 8K
- Can combo with Gordon to pop Mihawk
- Blamenco + Otama + Pistol KOs 9Beard
I think this card is a very strong removal spell, but I honestly think it is unncessary. I would use 0-1 copies personally, but I can see the incentive for 2 if you are craving the removal.
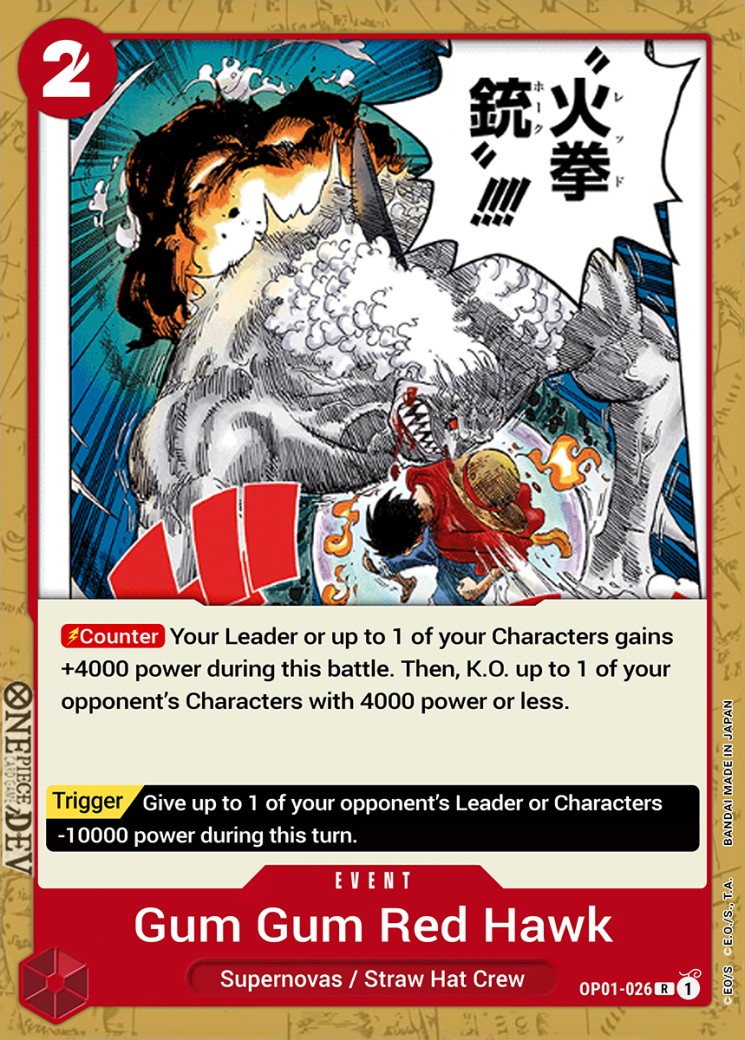
Pistol is one of the strongest triggers in the game, but Red Hawks trigger is THE strongest trigger in the game. Red Hawks ability is also extremely convenient for popping stray blockers or low cost units. I removed red hawk from my deck because 2 cost is way more expensive than 1, so I decided to prioritize maxing out on 4 1 cost events. If i were to run a 6th+ defensive event it would defintely be red hawk.
This card is one of the strongest against both Yellow and Whitebeard. Yellow puts Zoro on a clock, so producing a 2K body while allowing a 1 cost to push for 7K is too important against Yellow. People misuse this card in the mid-game against Whitebeard, but it's real strength is for allowing 1 cost units to attack a Whitebeard that is already at 0 life! If you won't run this card, I suggest running at least 2 fiery doll, if you do include it, 1 fiery doll is fine.
Cards that I No Longer Want to Adopt
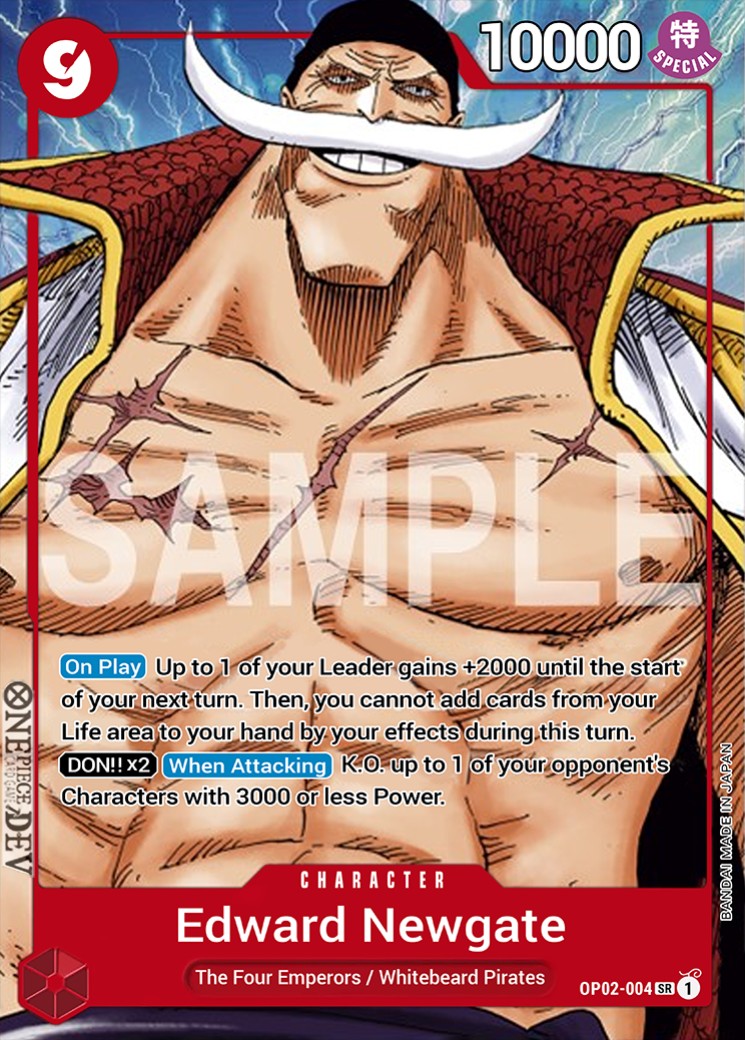
This is a card I was preaching to NOT run prior to the nerfs, but I was tempted by it again post-nerf. This card serves as a nail-in-the-coffin against the Doflamingo and Green matchup, but space is tight, and this card is unncessary to win those matchups. This card also feels like a severe loss of tempo against the mirror match, Law, and Yellow. I actually almost lost one of the games in the regional I won, because I decided to Newgate.
This card feels extremely winmore every single time I have it in the deck. Whenever I would be able to use it to win the game, I have already won the game. This card may be stronger when there's more decks with 20 blockers in the format, such as Rebecca in OP04. But for the time being it feels quite unnecessary, I'd rather play 1 Rush Luffy and 1 Zoro.
This card is unsearchable. Being 4 Cost is also hectic if you don't see it on curve. I believe this card has a lot more potential in Luffy decks.
Match Ups
Matchups are where most Zoro players mess up. Zoro is able to beat the vast majority of decks, but not if you don't know how to play against them.
General Tips
- Always play 5Marco on curve even if there's nothing to pop
- Generally wait until after Turn 3(or until you are at 3 life) to swing with units(unless you are against a deck like Whitebeard, or you can swing earlier and fire-fist so they can't keep up with board)
- Don'y always activate Whitebeard Pirates out of life, sometimes it's better to save it to either a.) Protect Marco or b.) Discard off Fire Fist
Whitebeard

First: 50/50 ~ Slightly Advantageous(Turn 1/2 Gordon into Turn 3 5Marco is the Saving Grace)
Second - Advantageous
Mulligan:
- (If First): Gordon, 5Marco, Buggy, Izou
(If Second): 3K Attacker(Buggy, Dadan Blamenco), Zoro, 5Marco, Izou
General Gameplan:
- Swing 6K at Whitebeard at least once every turn(unless you need to tap out for 5Marco or 5Marco + Gordon/Otama) - Every 6K swing is 1 less card Whitebeard has in hand!
- Guard 6K Swings(if you need cards in hand or you're bricked up it is fine to take, but don't go to 3 life too easily)(I generally guard from 4 life, but if you have everything you can technically guard from 5)
- Save Fire Fist to bully 4Marco or pop low cost blockers at the end of the game
- Remember 6K takes 1 card, 8K takes 2 cards max, or 1 card minimum, 10K takes 2 cards minimum, 3 Cards(with 2Ks involved), etc.
Going First (50/50 ~ Slightly Advantageous)
When going first the game is slightly harder, but Gordon can help salvage the game state! The winning play going first is:
- Turn 1 Buggy/Gordon/Izou (Izou takes priority to search for 5Marco if you have Gordon)
- Turn 2 6K Leader + Gordon + 1 Drop
- Turn 3 Use Gordon effect on Whitebeard 4 drop and play 5 Marco(if they choose not to play a 4 drop, we still hard drop Marco and we have an extra Gordon on board lol)
Alternatively, if the best play is not available:
- Turn 1 Buggy/Izou (Buggy takes priority)
- Turn 2 Swing 6K with leader, Swing 6K with Buggy
- Turn 3 Swing 6K with leader, Swing with Buggy if it lived/Swing Rush Zoro from hand/Hard drop 5 Marco
And then on average:
- Turn 1 Izou
- Turn 2 Play 1-2 Drops, and attack at least 6K with the remaining don
- Turn 3 5Marco
Aside from this it's just smart swings from the rest of the game, it's always better to go wide than tall until they get to 0 life, taking cards out of their hand takes precedence over forcing them to take all their life! Gordon/Otama is also broken for efficiently clearing 6K attackers like Luffy, 7K attackers like Ace, etc.
Going Second (Advantageous)
Going second is way more advantageous than first because the game-plan is so much more consistent! We have 10 3K attackers to play on turn 1, Zoro to play on Turn 2, and we can swing 6 while playing Marco on turn 3!
"Ideal" Going Second Curve
- Turn 1 Izou/Blamenco/Dadan/Izou
- Turn 2 6K leader, 6K with Rush Zoro
- T3 6K leader, Leave Zoro Standing, Hard play 5 Marco
Almost-Ideal Going Second Curve:
- Turn 1 Izou/Blamenco/Dadan(Izou is also acceptable if no 5Marco, but is not preffered, Buggy + izou is the best play)
- Turn 2 6K with leader, 6K with 3K Attacker, play another 1 drop
- Turn 3 6K with Leader, Hard play 5Marco
This curve is ridiculously consistent going second. It feels almost impossible to miss this curve, which is why I prefer going second to going first.
Aside from this the rest of the game is just smart swings! Remember to go wide rather than tall until they reach 0 life, and use Gordon/Otama to clear board.
Things to Remember Against Whitebeard
- The reason we play so many 1 drops/2 drops against Whitebeard is too have a good amount of attackers to abuse our Otama/Gordon with!
- When the opponent is at 1 Life, it's common to swing 8K with Marco to leader to see how they respond, if they defend, then you can start attacking board(unless they have a Marco and you don't want to risk them discarding crossfcire/wb pirates) and then play another unit, or if they take it, you can jam face with the rest of the don to leader rather than playing another unit
- If the opponent goes down to 0, and has no blocker, just jam most of your don(leaving up maybe 1 for an event) and attack face! It's generally always more advantageous to attack Whitebeard with a bunch of don while they're at 0 life rather than establish another big unit
Red Zoro
| Everyone's favorite Mirror Match
Going First: Advantageous
Going Second: Disadvatangeous
People normally set me second, and after extensively playing the mirror for the past week to two, I can say with confidence that this is incorrect. The ability to play 5 Cost Marco first is simply too strong.
Mulligan:
[Going First]: Izou, 5Marco, Whitebeard Pirates, Buggy(Izou and Whitebeard Pirates take Priority)
[Going Second]: Izou, Dadan, Buggy, Whitebeard Pirates, 5Marco, 3Zoro(saving grace)
Other Strong Cards: Magra for pressure, 4Marco is game-changing for defense
General Gameplan:
Regardless if you are going first or second, 5 Cost Marco is broken in the mirror. Getting 2+ 5 Cost Marcos while going first is basically GGs for the opponent. Alternatively, if the opponent does not have 2 5 Cost Marcos going first, it's possible to clap back with a turn 2 Zoro, Turn 3 5 Cost Marco, and turn 4 board swarm while going seoncd! Let's go ahead and get into specifics.
Going First
- We are spending the first turns only looking for 5 Cost Marco, the goal the first 2 turns is to play Izou/Whitebeard Pirates to dig for Marcos. It is also acceptable to play Buggy to find 5 Cost Marco.
- One important thing to note that people don't understand is that, if you have already seen two five cost Marcos, it's better to swing with the units on board on turn 2 rather than play a Dadan or Buggy! The problem people have going first is that they play too many units early on and then get outresourced by Fire FIst and 5Marco from a going second player, but if you only play the searchers you need, and flood the board with those weenies later you are golden!
- Tl;DR don't play more units than necessary the first turns, or they will get cleared by the opposing 5Marcos and Fire Fist for literally 0 reason, you don't even attack with them until the end of the game anyways
- ^^ Take huge note of this please, this will completely change how the mirror is played for you
- Take Zoro's first attack but guard out of the second and subsequent 5K/6K attacks - The losing streak in the mirror is to get put down to 1 life first
- Fiery doll is unironically crazy for lethal turns lmao
Example Curve
- Turn 1 Izou (Find 5 Cost Marco, Let's say I opened 5 Cost Marco, I now have 2 in hand)
- Turn 2 5K Izou and 6K Leader at opponent, OR if we have Gordon, play Gordon to counter a turn 2 Zoro from the opposing Zoro player going second.
- Turn 3 5K Marco
- Turn 4, 7K Marco, 7K with leader(unless your life is at 3, and you need to leave a don up for an event then 6K, this is very important so leave the don up if necessary), play another 5 Drop Marco
- Turn 5, 7K Marco, 7K Marco, 7K Leader, Flood the board with the units we didn't play yet
From here we kinda just win the game, just make proper microdecisions, while leaving up enoguh defense for events.
Going Second
Going second is a LOT more rough than going first. Compared to going first, only one 5 Drop Marco is necessary, and 3 Drop Zoro becomes 10x stronger. According to the curve above, 3 Cost Zoro isn't even close to being necessary going first, but it can help with the resource difference when going second! The reason for this is that the ideal turn 3 play going first is 5 Cost Marco, so Zoro is almost guaranteed to live. If they choose to clear Zoro, then we get to play 5Marco before our opponent and we are now ahead!! If they don't choose to clear Zoro, we leave it standing, and play our 5Marco the following turn, and now we have an extra beater to make up for going second.
Example Curve
- Turn 1 1 Drop + 1 Drop or dadan (Or Pass if 5Marco is already seen, so the opponent doesn't get a pop with their 5Marco)
- Turn 2 6K Lead, Zoro 6K
- Turn 3 5 Cost Marco, Swing 5K Lead(probably need to leave a don up for an event at this point in the game)
Turn 4, 7K Marco, 7K Zoro, 7K Leader, flood the board with 1/2 drops we didn't play earlier
Alternatively, if you have double Gordon going second you can go for a resource play where you do this.
- Turn 2 5K Leader(Zoro player going first should normally counter out) Double Gordon + whatever else
- Turn 3 Use Gordon, play 5Marco to pop their 5Marco(1 card out of their hand), and then swing 6K leader into their 5Marco
This play slows down the game, and restricts them from attacking with their 5Marco or being forced to give it up.
From here we play out the game, and hope the player going first didn't see 20 5Marcos. If the opponent also isn't a god at the mirror, there's a very good chance you can capitalize on mistakes such as them targeting 5 Marco instead of face.
Hopefully this helps y'all cook in the mirror, most people don't even understand the mirror to this extent, let alone know where the advantage lies. Always make sure to abuse 7K swings, they're way too strong in the mirror, especially now that 4Marco is at 1. And if you're opponent lets you go first, take a deep sigh of relief, and take that free round win!
Yellow Katakuri
| The bane of Zoro's existence?
First: 50/50 ~ Slightly Advantageous
Second: Slightly Advantageous ~ Advantageous
Mulligan:
(Going First): 5Marco, Gordon, 1 Drops, Dadan, Blamenco, Fire Fist, Magra, 3 Zoro
(Going Second): Dadan, Buggy, Blamenco, Gordon, Fire Fist, Magra, 3Zoro
Whether it's better to go first or second is currently inconclusive. Based on my testing I have won much more going second, but word on the street is that the the new 5 Cost 7K unit, might make it better to take first (but we run Gordon so I ain't tripping fr).
The main issue in this matchup isn't even 10Mom but is the opponent seeing too many triggers, if you're opponent triggers very little, and you still lose, you are likely playing the matchup incorrectly.
General Gameplan
- 5 Cost Marco seems to be very strong on curve going first(especially when combined with a Gordon that was played T1/T2), but going second, it seems to be a loss of tempo
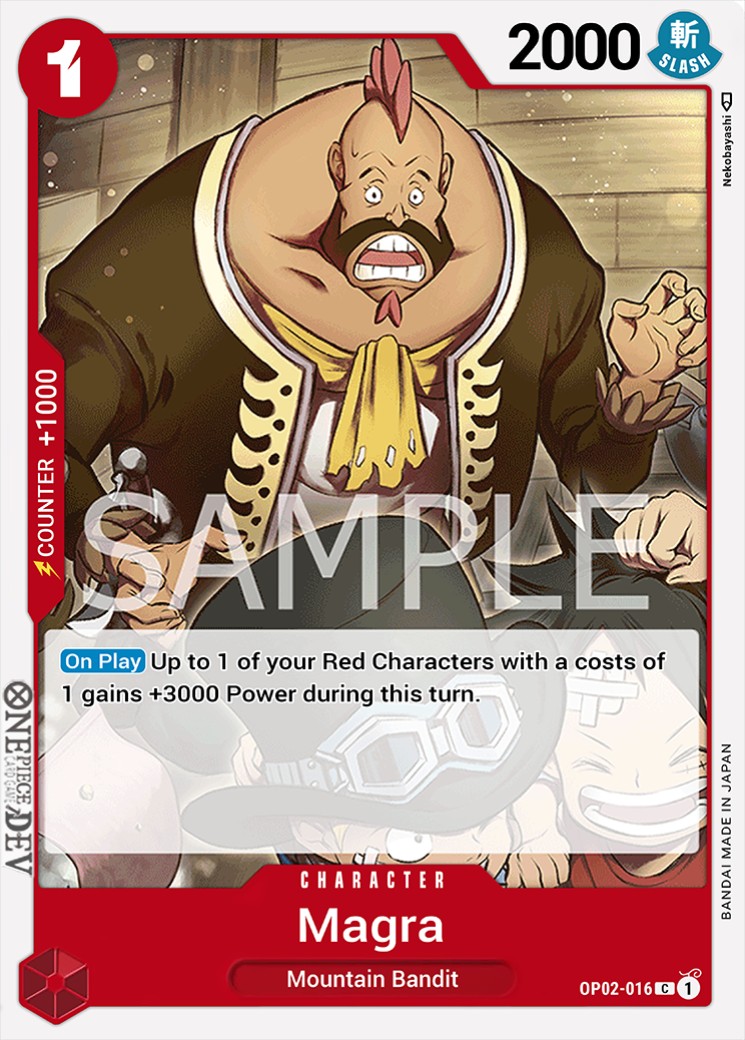
- Magra is significantly more broken than Makino in this matchup, producing a 2K body while letting a 1drop push for 7K is wild, I tend to play this towards the end of the game, rather than the start
- Blamencos crazy, -2K on swing, while being a 3K attacker is too strong, this card can't be ignored by Yellow
- Having 1-2 Fossa in the deck makes us feel more comofrtable with taking certain attacks early on, Fossa generally confirms that their lethal is delayed until after their first 10Mom
- I like to attack into rested trigger units in the early game, so they can't efficiently clear my board later on, I'd rather give them the draw off Pero than lose my board...
- Fire FIst is Goated, especially when combiend with Gordon(Can take the new 7K + a trigger unit)
The going first and going second curves of Zoro against Yellow is pretty different, so let's look at it.
Going First
Turn 1 Buggy/Izou
Turn 2 Swing 5K Lead, 1 Drop(Ideally Gordon) + 2 Drop(Ideally Blamenco)
Turn 3 Swing 5K Lead, if there is a trigger use Gordon and take the trigger, if there is a Pero, use Gordon and take the Pero, if there is nothing to destroy or there's a Sanji or smth, just play Marco
Turn 4 Start aggroing, ideally we swing with Marco, Leader, and 1-2 1 Drop/2 Drops, and either a.) Fire Fist any threats on board or b.) Play Zoro, they will struggle to punish Zoro because their next turn is either 7 Mom/8 Katakuri (Kata is pretty linear)
Turn 5 Push Kata down to lethal range with all your strength! Produce a barrage of 7K+ attacks, and aim to kill the opponent after their 10Mom turn
Going Second
Turn 1 Dadan/Blamenco/1 Drop
Turn 2 1 Drops + 2 Drops
Turn 3 This turn is generally an aggro turn for me, if I can fire-fist the board or attack into a rested trigger unit I will
Turn 4 Swing a bunch of 5s and play a Rush Zoro if possible, the opponents next turn will be 7Mom, so we will be guarding out of 5K Swings! If you run Rush Luffy, it's also rlly strong here, as Kata can't even attack into it(it will be their 7 Don Turn)
Turn 5 Go on the offense again, barrage of 7K attacks! It's better to be aggressive than establish 5Marco, because their next turn will likely be Katakuri, so 5Marco will either a.) Be too slow or b.) Be sent back to be to life
Good luck with the Kata matchup! I think the matchup is improved by simply practicing it, I would highly reccomend adding Magra to the deck to make the matchup 10x easier. Use your Gordons, Fire Fists, Zoros, and Magra/Makinos correctly, and you will cook.
Red/Green Law
First: Adantageous
Second: Advantageous (I prefer to go second)
Mulligan:
(First): Izou, WB Pirates, Gordon, 5Marco, Dadan, Buggy, Fire Fist
(Second): Izou, WB Pirates, Gordon, 5Marco, Dadan, Buggy, Fire Fist, Zoro
Honestly, as long as you have Gordon and Fire Fist, this matchup is more or less in favor of Zoro.
General Gameplan:
- Playing Gordon on curve is generally risky because of Vista, so I tend to hold it, unless I know they aren't on Vista
- It's often strong to Fire Fist on Turn 2, then follow up with a Gordon + 5Marco on turn 3 of going second
- Popping searchers will force Law to either draw more searchers, or hard draw into more searchers(prioritize popping Nami/Dadan, and once it's late-game start prioritizing blockers)
- Start guarding from 3 life, if you go to 2 too early, you will get clapped up by 7K swings
- I prefer to go second because I can Gordon + Marco on the same turn, and I deny Law an extra draw, but going first is still strong for rushing them down, especially if you get double 5Marco!
Black Lucci

First: Slightly Advantageous
Second: Very Advantageous
Many people think this matchup is difficult for Zoro, but if you see your 5Marcos, and make optimal attacks, I think it is fairly easy.
Mulligan:
(First): Izou, WB Pirates, 5 Drop Marco, 2 Drops, 1 Drops
(Second): Izou, WB Pirates, 5 Drop Marco, 2 Drops, 1 Drops
General Gameplan:
- The number 1 Plan against Lucci is to play 5 Drop Marcos consecutively, Marco is an invincible attacker so Black can't get rid of it!
- Make sure to go down to 3 life before you start swinging so black doesn't starve you out of resources
- I typically start attacking on Turn 4, regardless of going first or second
- I often attempt to swing 5K with a 1 drop/2 Drop, and the opponent has to coutner out of hand, because it is typically too early to tap their Borsalino, in the late-game I will do the same thing, because if they do tap Borsalino, I can go 7k+ at face in peace, it's lose-lose for them no matter what part of the game it is, as long as you know to a.) attack into Borsalino if they block a 5K attack at 4 life, B.) Ignore Borsalino if they block a 5K attack at 2-3 life and rush them down to 0-1.
- Gordons goated for abusing Borsalinos, and for helping fire Fist Blueno/Kaku + Kuzan
Blue Doflamingo
First: Advantageous
Second: 50/50
Doflamingo is one of the grossest decks in the game when going first, but once it goes second it's a lot more manageable. This deck is honestly the one that I am most scared of, if I drew too few units too early, or see no debuffs, it feels like.a losing matchuo. It's a good thing I run 2 Blamencos and 4 Gordon though! So I'm fairly confident.
Mulligan:
(First): Izou, Buggy, Dadan, Blamenco, Zoro, Fire Fist, Goedon, 5 Drop Marco(If there's Gordon)
(Second): Izou, Buggy, Dadan, Blamenco, Zoro, Fire Fist, Gordon
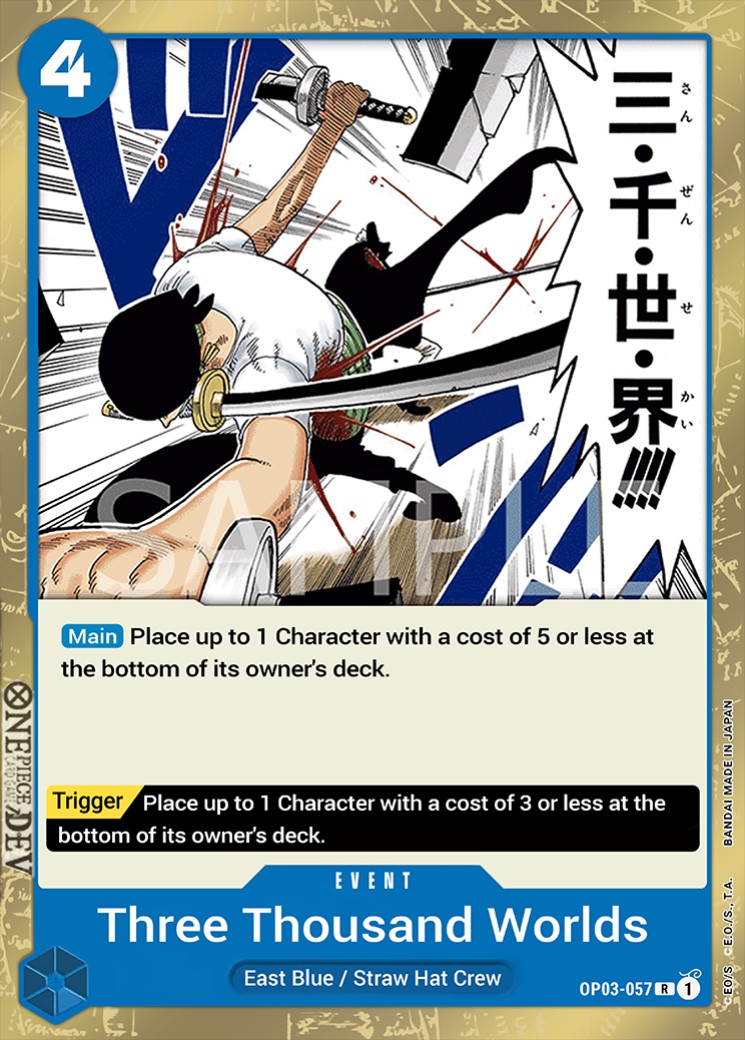
5 Drop Marco is pretty useless in this matchup, if your opponent doesn't have three-thousand worlds it can be fairly strong, but if the opponent does have three thousand worlds you can lose the game on the spot. I would only consider playing Marco when T3 of going first against Doffy, if you combine it with Marco it can be very strong. And the opponent only goes to 6 don the following turn, meaning they have to decide between Three Thousand Worlds and Doflamingo!
General Gameplan:
- It's generally more valuable to swarm the board with low cost units, and attack while popping board with Fire Fist, rather than playing 5 Cost Marcos. The exception to this rule is if you have Marco going first.
- It's better to pressur with 5K/6K swings rather than swinging for 7s, if you swing too many 7s early on, Doflamingo will confidently take their life, have too many resources to defend the units they call off Doflamingo's skill, and they will wall you out with a gazillion blockers
- Take advantage of their Mihawk turn, go crazy the turn before their Mihawk as they can only use don on their Mihawk, don't worry about leader skill or losing life
Going First
It is possible to play 5Marco going first, if you can combine it with Gordon, otherwise I would play 1 drops and 2 drops for the first 3 turns!
Example Curve:
T1 Buggy/Izou
T2 2 Drop + Gordon
T3 Pop a 6K unit with Marco
T4 (Opponent has to decide btwn three thousand world Marco if they have it, or using leader skill, and if they don't have it, we get to keep our Marco!)
T5 Swing low numbers while establishing more units, etc, etc.
This is the example curve for going first, and Gordon + Marco can very much be a winning play! Alternatively, it is strong to establish units up until turn 3, then go for an onslaught while Fire-Fisting the board on turn 4.
Going Second
When going second I would not bother play 5 Cost Marco on curve, it will be a complete loss of tempo if the opponent has three thousand worlds, and they will be able to resolve leader skill as well (They have 7 Don)
Example Curve:
T1 1 Drop + 1 Drop or 2 Drop
T2 Swing 7K at a rested unit, 1 Drop + 1 Drop(or 2 Drop)
T3, Swing 5K 3 Times at rested unit, and then fire fist, or if there's nothing to fire fist establish more units
Etc, Etc
Going second we focus on clearing the opponents board while doing many attacks, that way we have too many cards rested and the opponent has few units to respond to them with!
Supernova Kid
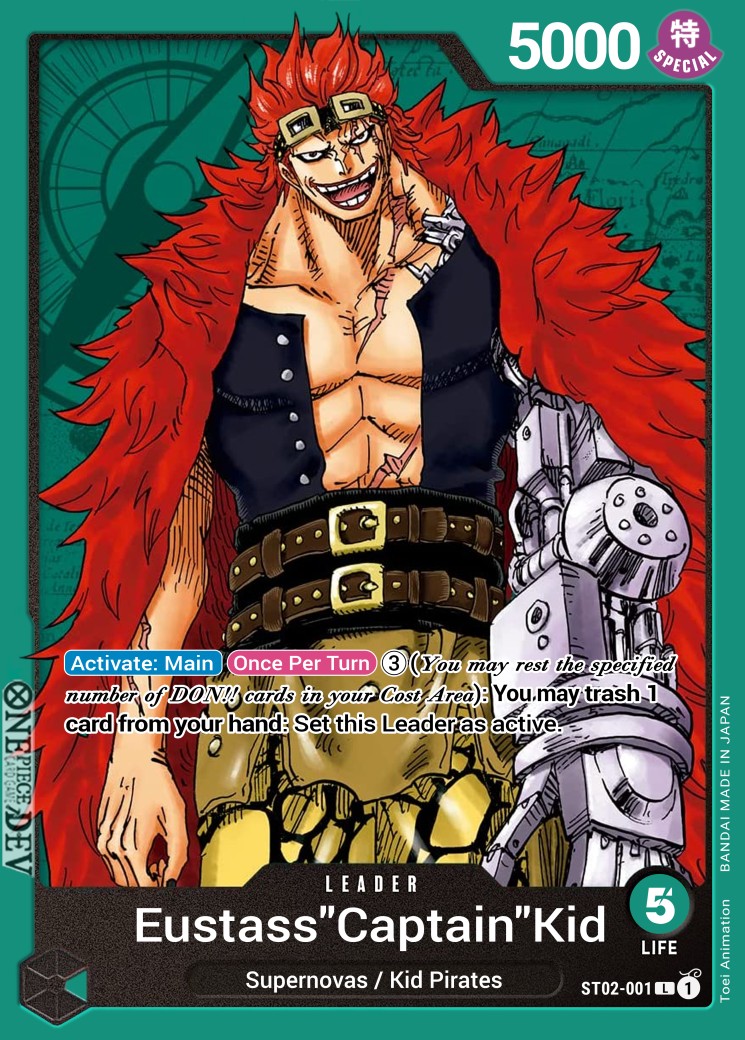
Going First: 50/50 ~ Slightly Advantageous
Going Second: 60/40 ~ Advantageous
This matchup is honestly dependent on how slow Zoro draws(and whether they run debuff units), and how skilled the Kid Player is. If Zoro does not run any Gordon you likely scoop to this matchup, but if you run Gordon you can succeed through proper playing.
Mulligan: 5 Drop Marco, Gordon, 1 Drops, 2 Drops, Fire Fist (Same regardless of first or second)
General Gameplan:
- Supernova Kid players tend to starve life, so I would keep units standing until they either a.) Reduce us to 3 life or less or b.) We have gotten them to 2 life and aim for an OTK
- Save Gordons and Otamas to clear, 8 Cost Kid, but use extra copies to help clear annoying units like Hawkins
- Be careful of how low your life gets, as you could lose to a double 12K swing from Kid at any time
- TL:DR Don't swing with units while they are life-starving you
Film Kid
First: 50/50
Second: 60/40 ~ Slightly Advantageous
Mulligan: 5 Drop Marco, Gordon, 1 Drops, 2 Drops, Fire Fist (Same regardless of first or second)
General Gameplan
- Film Kid will never starve you, so feel free to attack face!
- I generally attack after Turn 3(After my Marco Turn)
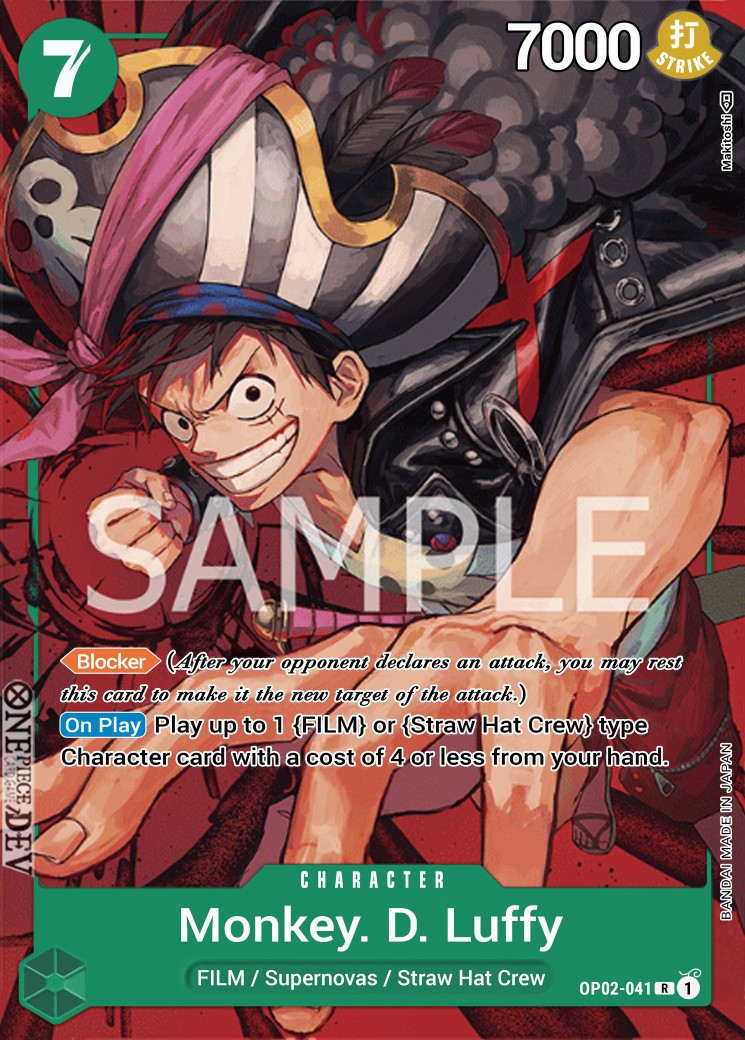
- Save Gordon and Fire Fist to pop 7 Cost Luffy
- Be extremely cautious of your life count(if you go down to 2 or less, you need to win the game ASAP
--------------
That's it for the deck guide for now!! Thanks for reading, this took quite some time to make lol. Let me know if there's any other matchups or any other information y'all would like to know, and I'll update this deck guide. Also make sure to click the "Deck Guide" Tag to refer back to this deck guide, my Law Deck Guide, and future Deck Guides!
As always, if you liked the article, please like it so others know to read it, and with that being said I will catch y'all in the next one, peace.