Home
Home

 Artists
 Search
 Recent
 Random
 Posts
Posts
 DMs
DMs
 Tags
Tags
 Random
 Importer
 Import
 FAQ
FAQ
 Account
 Register
 Favorites
 Login
Login

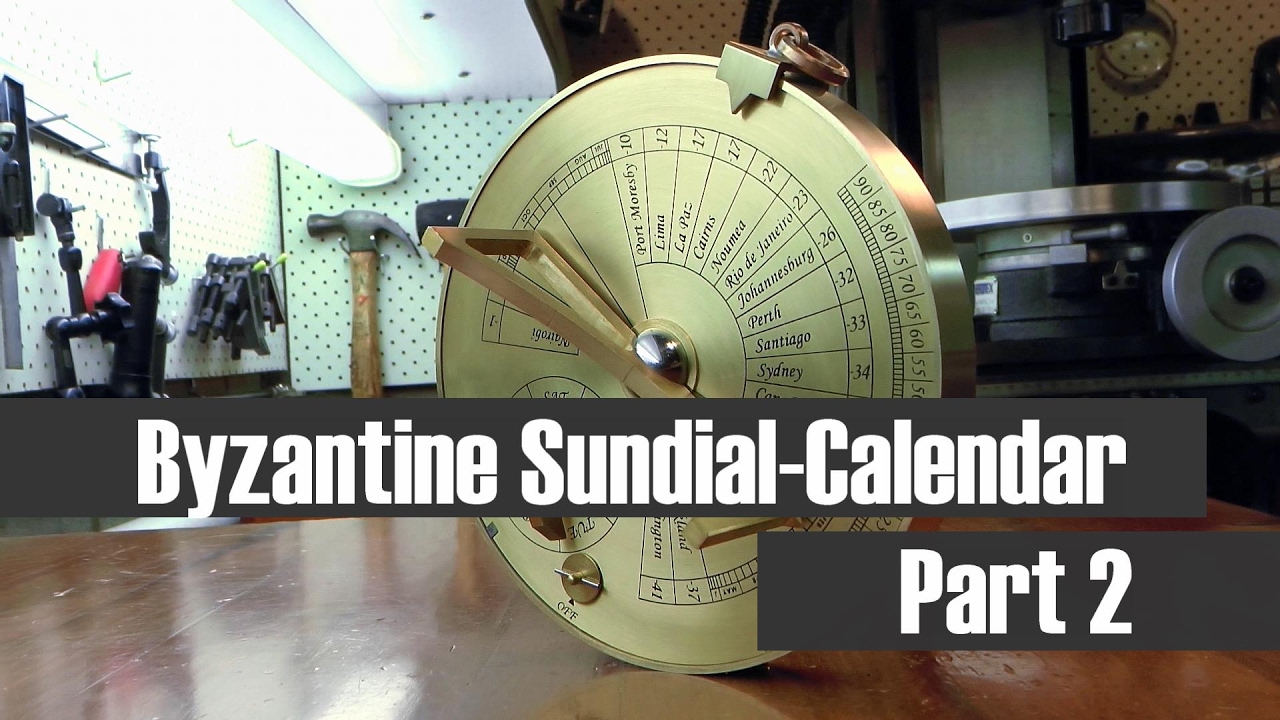
Byzantine Sundial-Calendar - Part 2 (Make Your Own 'Cycloidal' Cutters) (Patreon)
Downloads
Content
By request: "How to make cycloidal gear tooth flycutters for clock and instrument projects."
Perfect for cutting both the wheels and pinions in the BSC project, and also entirely suitable for cutting the wheels (but not pinions) in any clock project you may wish to tackle.
Save some dollars, and enjoy spending the cash on something more worthy!
The excel spreadsheet that I refer to in the video can be downloaded here: https://www.patreon.com/file?h=7965761&i=813598
Cheers,
Chris.
If you'd prefer to buy the commercial cutters for this project, you can now purchase them directly from PP Thornton at their website: http://ppthornton.com/
Required cutters for the BSC build are:
- 1 x 0.85M Wheel Cutter
- 1 x 0.85M 7 Leaf pinion Cutter
- 1 x 0.85M 10 Leaf pinion Cutter
- 1 x 0.85M 12 Leaf pinion Cutter
-------------- Video Notes: ---------------
Amazon Affiliate links:
Cameras used in this video:
Panasonic GH5 - https://amzn.to/2rEzhh2
Panasonic X920 - https://amzn.to/2wzxxdT
Tools & Shop Products:
Solidworks 2013 Bible: http://amzn.to/2FObS1D
"Wheel & Pinion Cutting in Horology": http://amzn.to/2HI6ca9
"Gears and Gear Cutting", Ivan Law: http://amzn.to/2FKmaUI
Norton 1-by-2-by-8-Inch Fine/Coarse India Combination Oilstone, Red: http://amzn.to/2tTEPb0
Saint Gobain (Norton) - 4 Arkansas Stones + case: http://amzn.to/2HCOAMX