Home
Home

 Artists
 Search
 Recent
 Random
 Posts
Posts
 DMs
DMs
 Tags
Tags
 Random
 Importer
 Import
 FAQ
FAQ
 Account
 Register
 Favorites
 Login
Login

WIP The Scottish Corridor 01: Best Laid Plans (Patreon)
Content
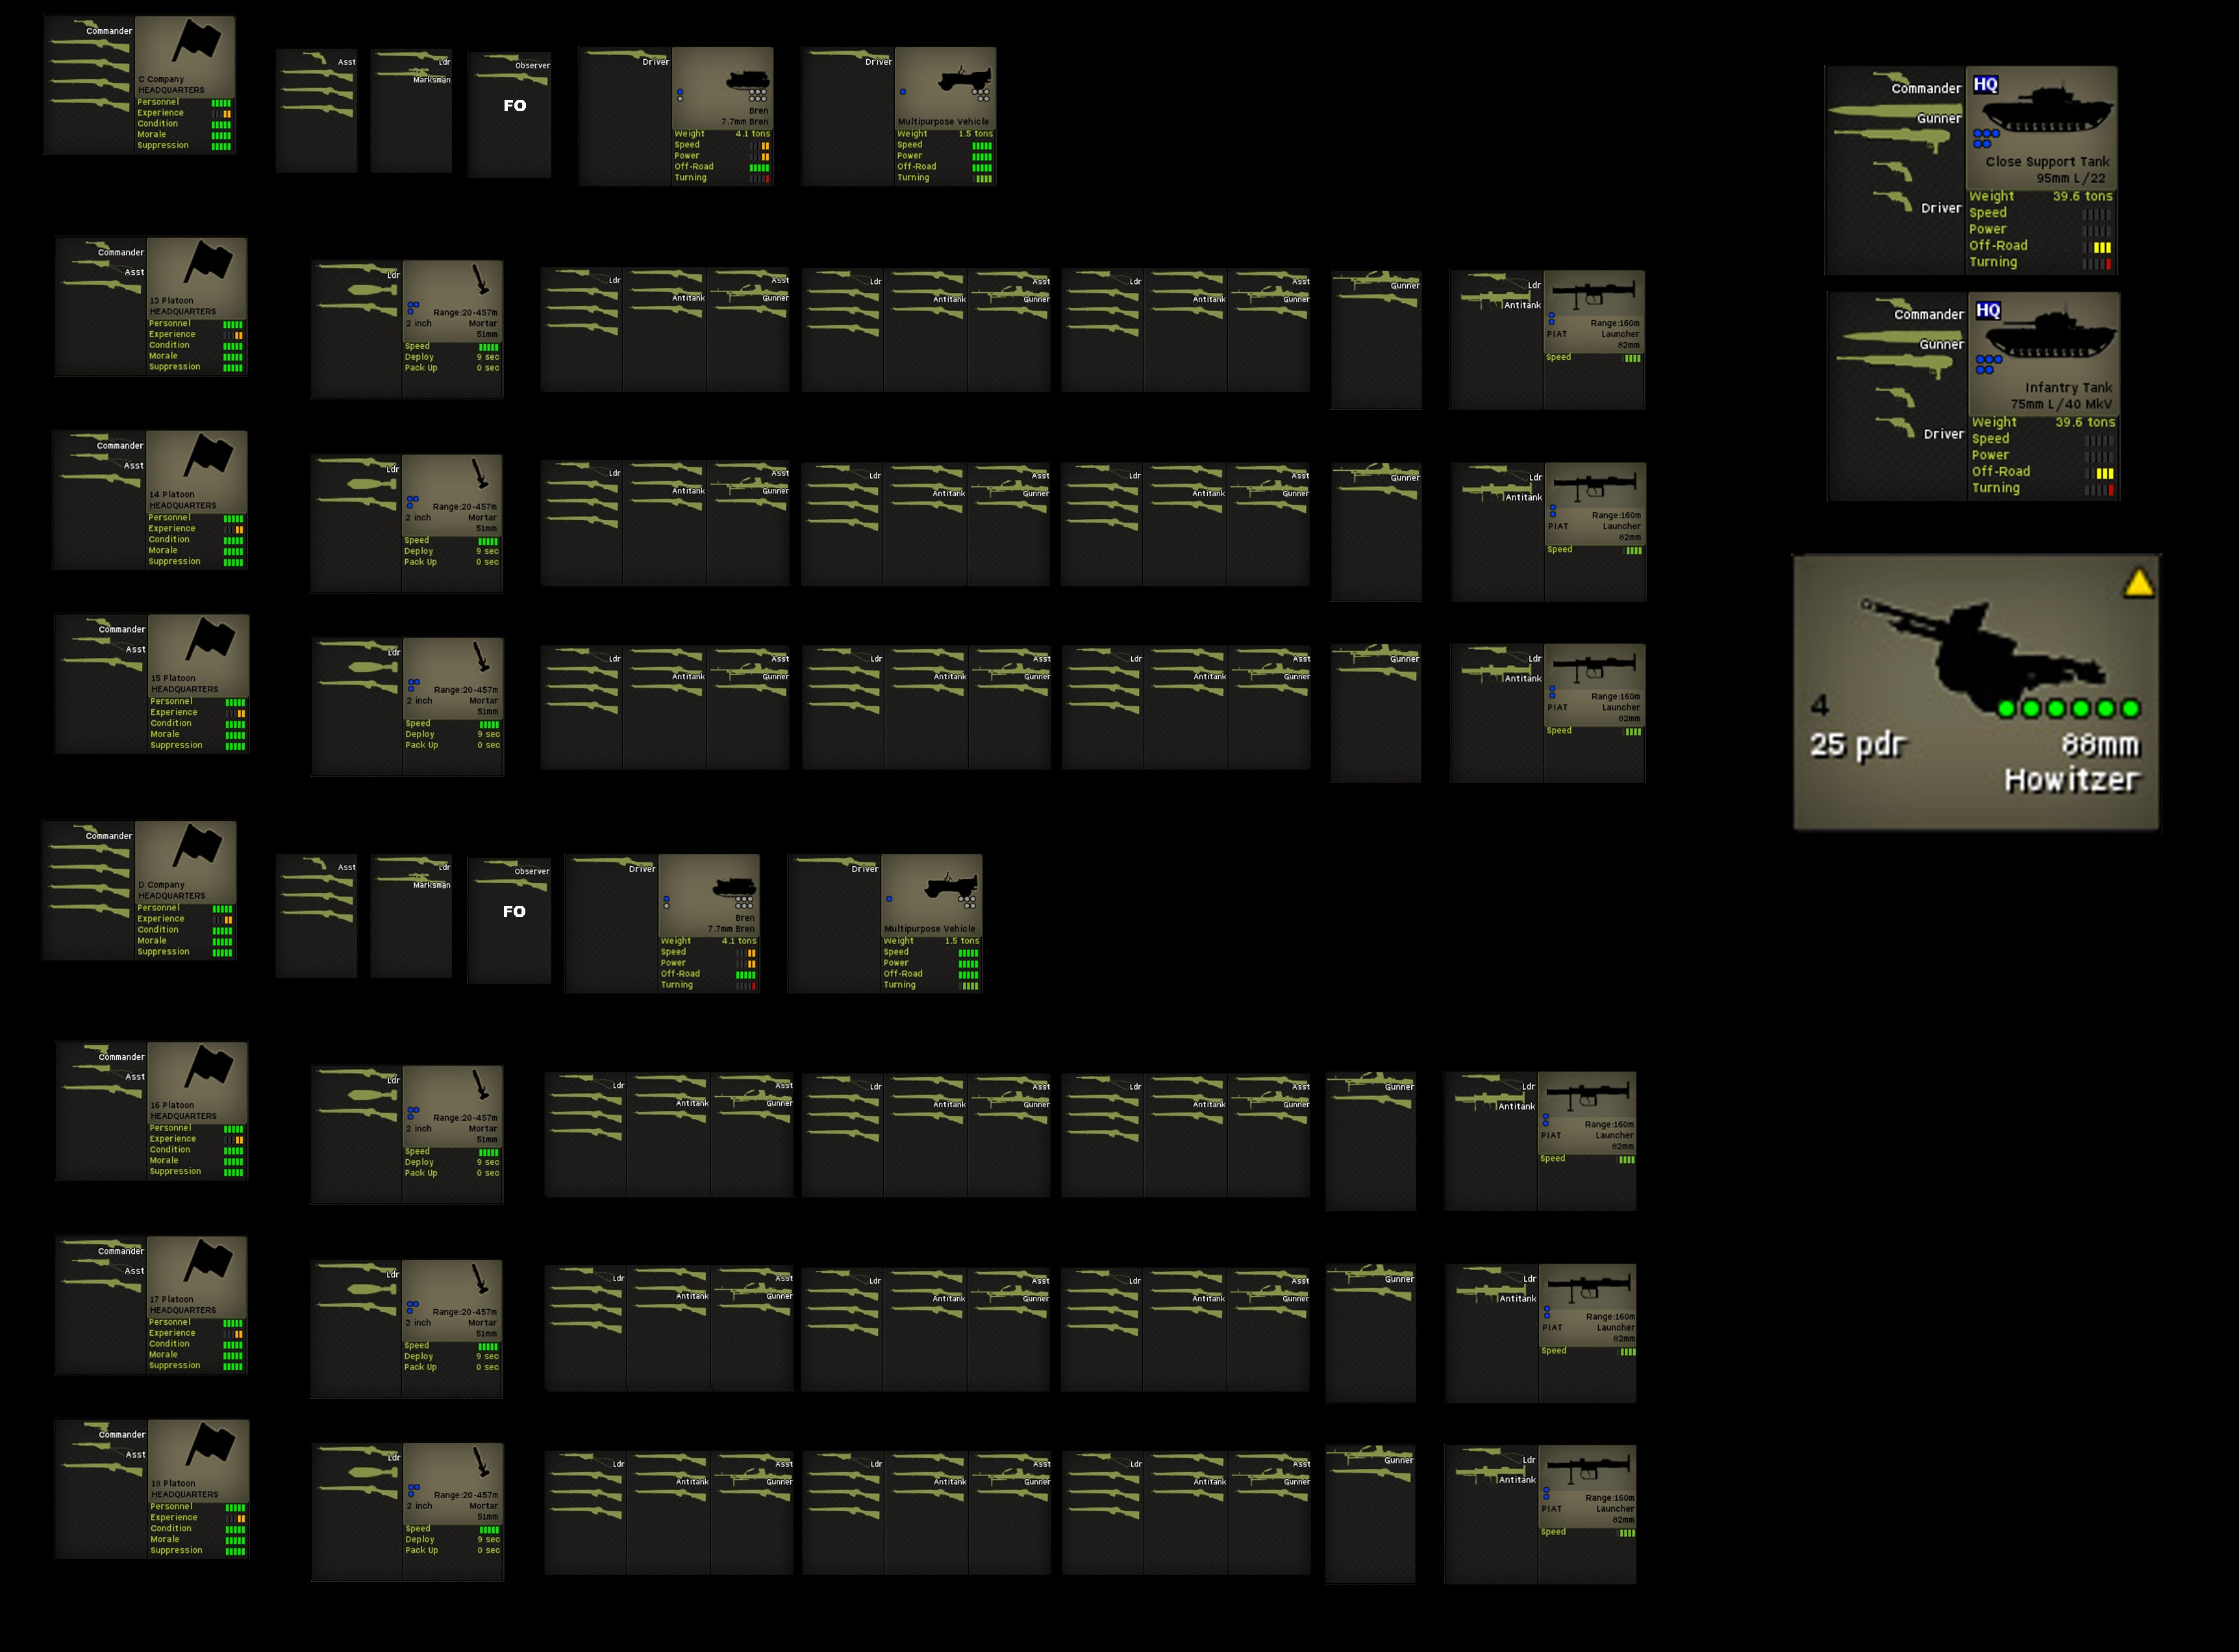
Script, recording, audio editing and most of the intro for the first mission of the Scottish Corridor campaign is about done. Which includes 'fun with maps' and 'fun with force diagrams', which take forever. Seriously, you'd think I'd be able to find a decent map covering Operation Epsom somewhere, but nope I have to make my own.
If I'm lucky I'll be able to grab and integrate most of the footage tomorrow. If not, I should still be able to finish it ahead of next friday and claw some time back for the video after that... it's time for another Unit Guide. Aiming at Cold War BTRs for this one- after the pretty extensive Overlook-War Room combo I could really do with a couple of quicker videos to avoid overloading myself.
If you're missing the modern stuff, Chap and I are having a rematch. We're a couple of turns in, the first clashes are sparking off and I reckon I'm currently on top of the blood board. But it's early days yet and he's got at least one Abrams that survived two TOWs in one turn thanks to APS, so that's on my hit list.
Chap is running it as a During-Action-Report over on his youtube channel if you want to watch: https://www.youtube.com/channel/UCTF3PIPxYCDBDzDDTFRPN4w
Files