Home
Home

 Artists
 Search
 Recent
 Random
 Posts
Posts
 DMs
DMs
 Tags
Tags
 Random
 Importer
 Import
 FAQ
FAQ
 Account
 Register
 Favorites
 Login
Login

Some Lighting Diagrams (Patreon)
Content
I prepared these some time ago, using a package called Set.A.Light 3D. I still have quite an old version of it, courtesy of a friend, so I'm not sure how many new features are in the latest version. It's an ok package, as it can be used to trial lighting set ups prior to a shoot. However, where I find it lacking is you cannot change the size of modifiers, and there is only a limited number to choose from. I'll explain more below.
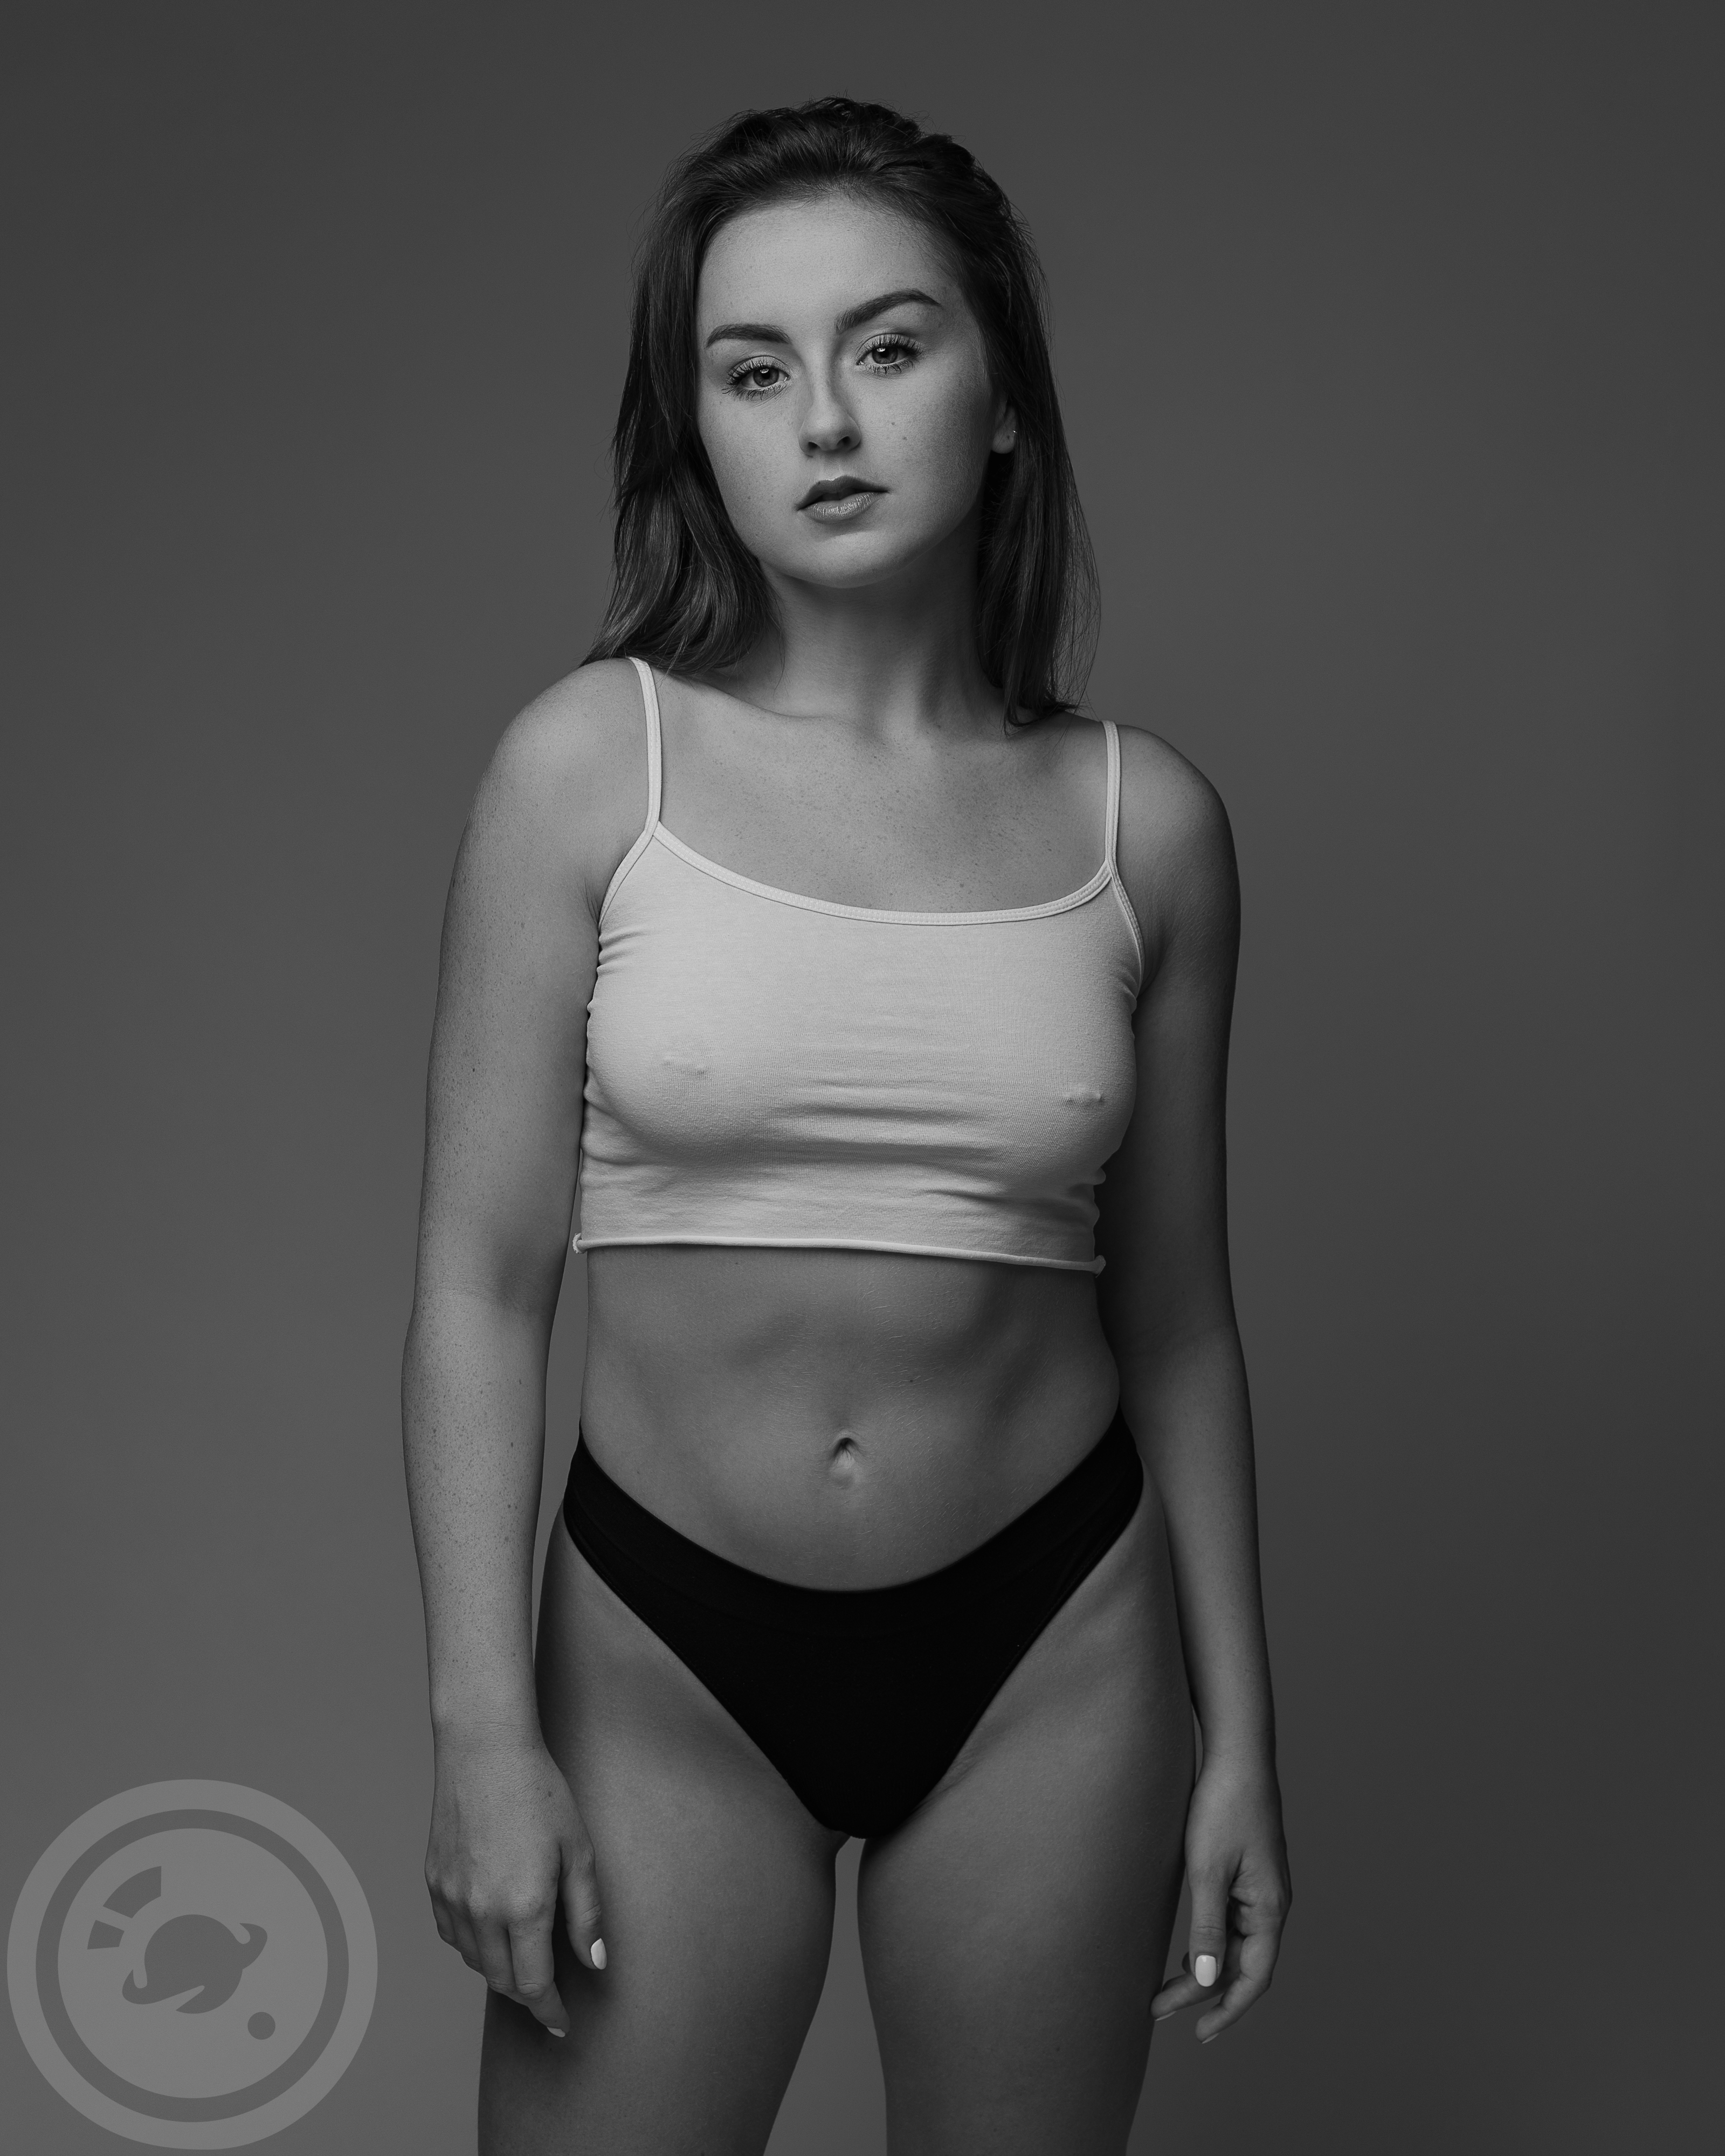
The first image is my standard set up I use for a lot of my studio black and white work. I.e. my Interfit Honey Badger with a 90cm octabox, placed above and in front of the model (and usually very slightly to camera left because of my limited space). I usually then place an angled white or silver pop-up reflector on the floor. This has two uses - it bounces a little light up to fill in some of the shadows slightly, and it also works as a marker for where I want the model to stand (toes to the reflector).
The second set of images shows how I often shoot with my red backdrop. I generally use a 135cm parabolic umbrella with diffusion (nearest option in the software is 150cm without diffusion), and as my light stand is on a wheeled dolly I can easily move it around as I shoot and work the angles. I am quite often standing on a small set of steps to get a higher POV.
The final set of images is from the shoot I did with Tayla a while back. The umbrellas I used were smaller than the 105cm ones available in the software package, but include the software's preview image to show that it did give a fairly accurate representation of how the final lighting set up looked on Tayla.
If I'm perfectly honest, I rarely have the time to play around with this prior to shoots, and some of the fun of a shoot is experimentation. But the package is quite useful for producing these diagrams (and fairly quick to use too). I will try to post more of these in future.
Files