Home
Home

 Artists
 Search
 Recent
 Random
 Posts
Posts
 DMs
DMs
 Tags
Tags
 Random
 Importer
 Import
 FAQ
FAQ
 Account
 Register
 Favorites
 Login
Login

Test render from Force Feeding (Patreon)
Content
Hello!
Here are some behind the scenes test renders from Force Feeding.
When rendering in Iray, which is a form of ray tracing for those that don't know, getting the lighting right from the start is very important. That's why I always do tons of test renders and animations before moving forward.
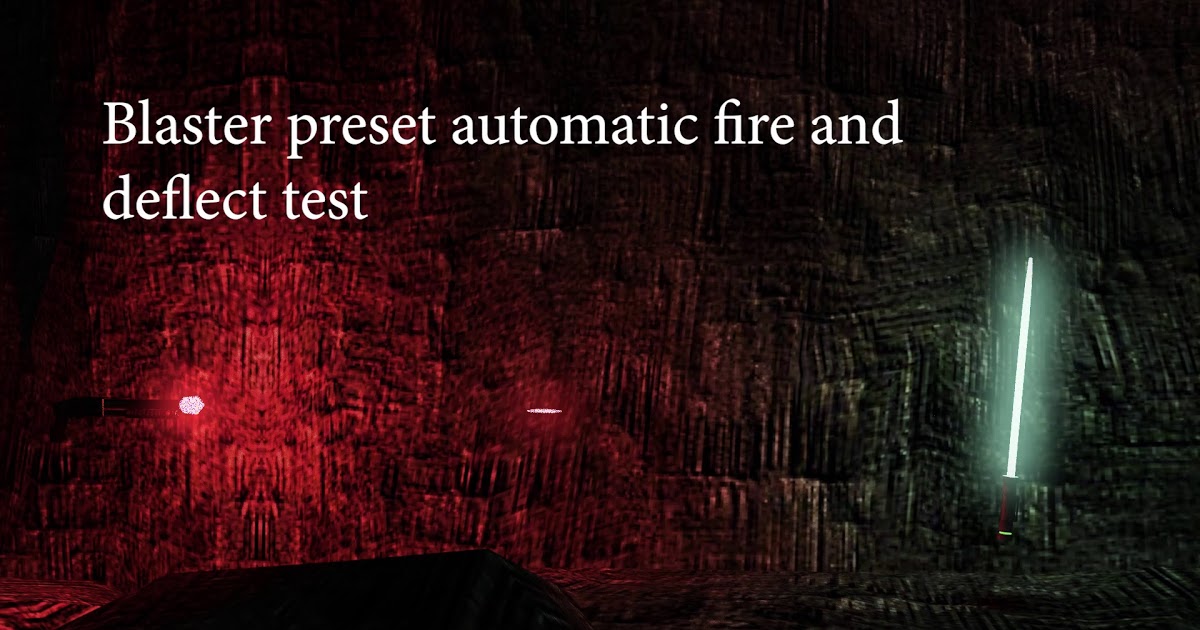
I also like to create as many "start assets" and presets as possible before rendering out the actual animation. That way I never have to do the same thing more times than necessary. Like with the blaster in the test render here, I've set up an asset that I can key to "fire" at any time and it will generate a bolt from the barrel of the blaster, that will travel to a target, automatically. I can then key an "impact" generated by that same bolt at the point of impact. All these assets are baked in, so that I could generate a slur of fire towards a wall and with simple clicks, generated the impact with lights and particles and everything. It would only take me a minute for each blast, which could otherwise have taken me 10-20 minutes. And there will be a lot of blasting in this!
The lightsaber proved harder to set up and render than I thought. I wanted it to "flicker" like it does in the movies. Difference is that in the movies that's all done in post. My saber emits real light in the scene, so that had to be balanced and animated. Getting the right look took some experimenting, and I've now generated an animation set that I can apply to the saber which will make it flicker, without me having to manually keyframe it (saves tons of time).
Just a little behind the scenes report here. Take care guys!