Home
Home

 Artists
 Search
 Recent
 Random
 Posts
Posts
 DMs
DMs
 Tags
Tags
 Random
 Importer
 Import
 FAQ
FAQ
 Account
 Register
 Favorites
 Login
Login

Earth. Air. Fire….. Water…. (Patreon)
Downloads
Content
well well well!!
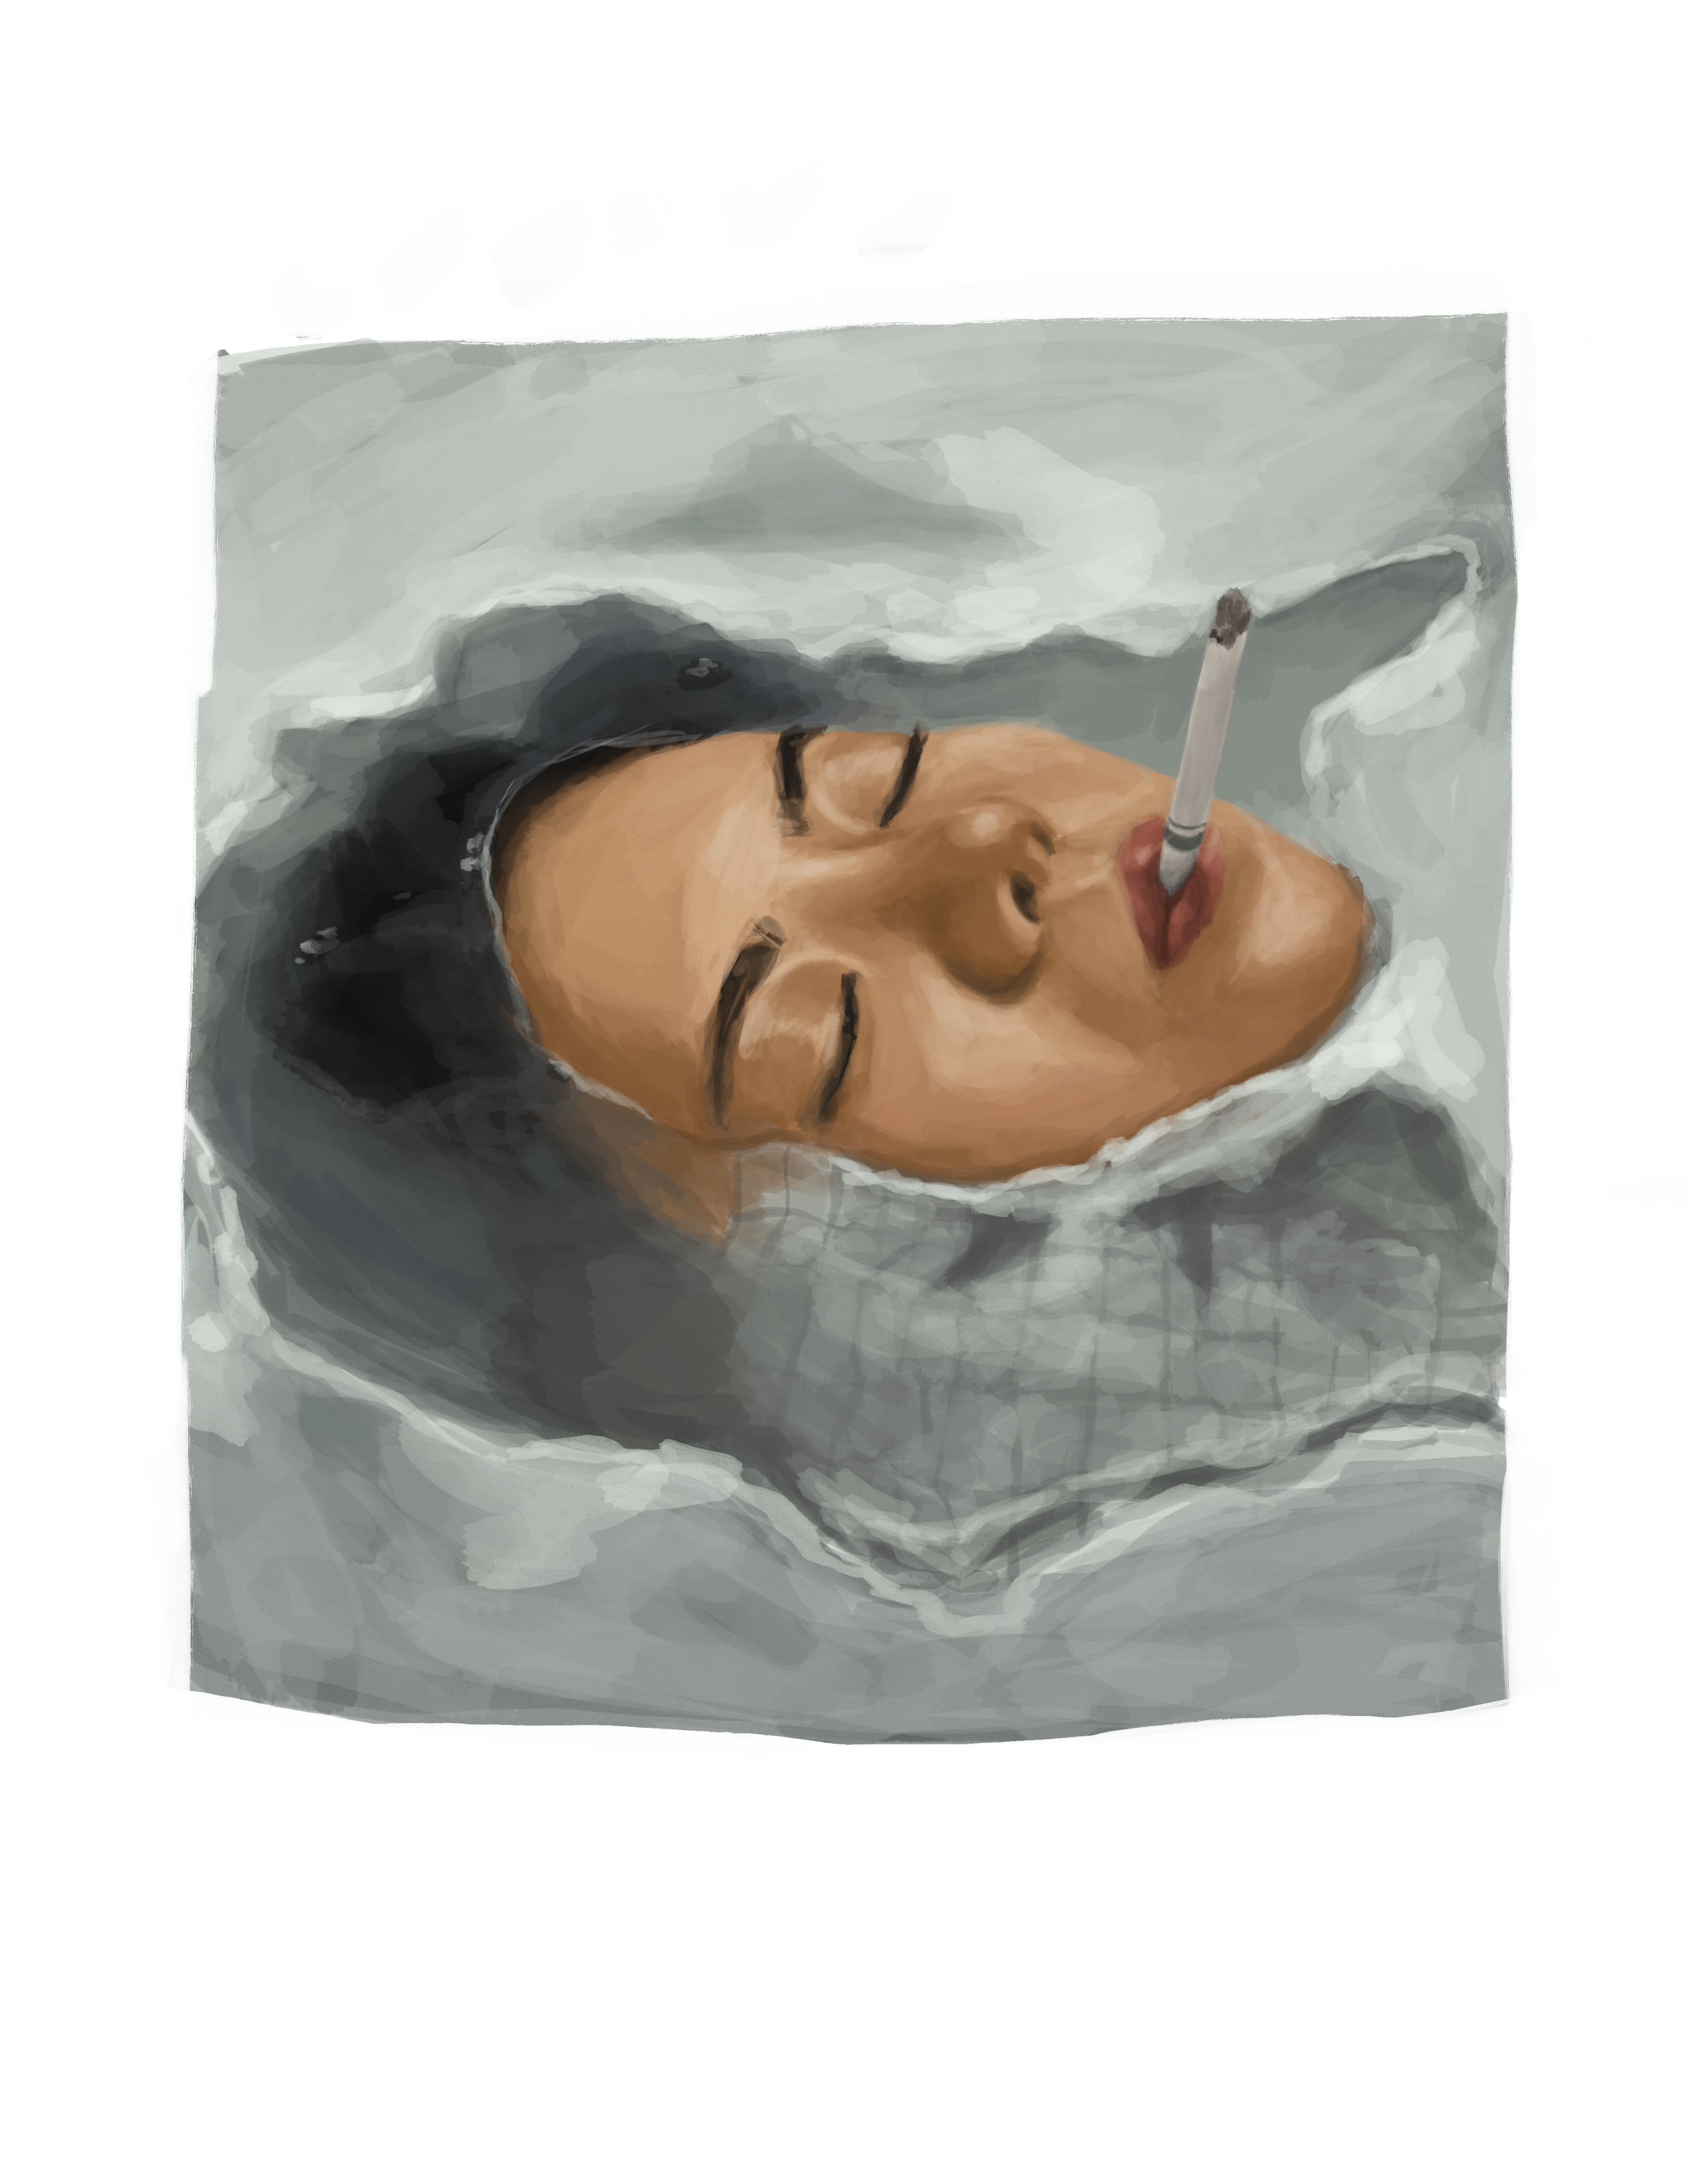
henlo besties!! so a bestie mentioned a water tutorial and i know this isn't entirely a water tutorial but i've had this ref pic for some time now on my Pinterest board and I just know this is the perfect time to unleash it hahaha
Reference Pic:


A lil step by step!
ALSO! The brush I used is the big fave brush, you guys probably already have it but just in case it got lost, I attached the brush below too!
Andddd now the process:
1. First just gotta lay out the initial colors!
Also a little tippy tip, since I'm kinda used to painting faces in like... their normal position, if i get horizontal reference pics like this or maybe just any weird poses, don't forget that you can like.. rotate your pic in whichever way you're comfy! Makes it so much easier!

2. Then now aside from the initial colors, I just plan the layout using simple shapes

3. Then planning the face parts also using simple shapes

4. Now I lay out the parts that will be underwater

5. Focusing on the face parts first, blendy blend time!!

Super simple quicky quick on how to blendy blend!!
This is why big fave brush is super great for blending because it's a very see through brush.
So I basically blend by finding the middle color of color 1 and color 3 by adjusting the SATURATION and BRIGHTNESS section (pic below). Now that you have the middle color (color 2), you paint it in the middle and it will naturally blend if you lower the opacity of the brush!


6. Water is transparent so it really is hard to like.. "show" it in paintings, but hereee, you can do some lil tricks to make it show up. Like adding a light color as the edge of the water on the dark parts (the hair) and a darker color on the lighter parts

7. More blendingggg! You guys know that some stuff becomes flowy underwater like hair and some types of fabric and here, you just have to like.. blend the hair smoothly with the water's color to achieve that flowy effect

8. ok so besties.. sometimes.... when i'm not like... planning on wasting 100 hours on a painting.. like... if i'm not going in for that super duper mega ultra realistic painting.. i'm not gonna paint each bubble one by one.. the trick is you just give it the right texture so it's not a flat painting.. add some shadows.. and the right highlights.. and you're good!!

Like here... no little bubble circles but i still want to show that the water is kinda... murky and its just not like a flat water.. so i blend the water color over the flat bubble white-ish color

like.. you use 30% then paint then turn it up to 80% then back to 30%.. and keep repeating that until you have like these brush strokes that would give your painting more texture vs than just a foken.. flat ass painting

9. Now for the reflection.. the reflection on this ref pic is super easy, no other colors or complicated stuff.. so you first just normally paint the white then do a little grid on top using the water's color

Then you just soften it by using a low opacity brush and the water's color and paint over it and add more shadows to it using a darker water color

10. Then just.. finish blending all the bubbly parts..

11. Andd refine the details, add more pizazzzz!!

And tadaaaaaa!!! You can ofc, work more hours on it, add more details to the bubbly water to give it a more realistic water look!!

I attached the procreate file below besties! With all the step by step layers included, you can edit this, paint over it for practice, do whatever you want to it!! It will be a really cool practice for you guys especially if you don't want to bother painting the face and if it's just for funsies hehe

This is just a quick one, I was super excited to do this ref pic for you guys so I immediately did it last night hehe
But i still have other water ref pics to paint and post here! i have water in a glass andddd maybe an ocean tutorial...
If you guys tried painting this ref pic, upload it on our community section!! Or tag me on instagram so i can share it!!!!!
Files