Home
Home

 Artists
 Search
 Recent
 Random
 Posts
Posts
 DMs
DMs
 Tags
Tags
 Random
 Importer
 Import
 FAQ
FAQ
 Account
 Register
 Favorites
 Login
Login

HAND!!!!! LONG POST WARNING WARNING ATTENTION BESTICLES LONG POST (Patreon)
Content
HI FRENS! Here's the first of idk how many hand posts! Next post will be a video.. no voice over! Just a mini paint with me.. but just a hand..
This is a very long post BUT!!! it's actually just a simple tutorial.. of how i usually paint a hand.... it just looks long because it's all images so pls dont get overwhelmed!!
1. I boil down the image to its simplest shape.

Buttt also want to show you guys that when painting a finger, don’t forget that it has 3 sections separated by joints (where the finger bends!), the top joint, middle and the knuckle. I Also like to make the finger thinner on top and the middle joint makes it a bit wider.

And! Don’t make the fingers super straight! Add curves and edges, all the perfect imperfections (john legend hhaha)

2. This is NOT IMPORTANT, this is just my thing, I like to use different color for individual fingers and parts.. just so I can see them.. separately.... i guess..

3. I do this step when I try to match my reference with my painting, I first choose a base point, then I’ll choose that to determine where to place the next part.
For example:
My first point is the middle finger, then just a little bit lower from that is where I’ll put the index finger. Then just below the index finger’s nail is where the top of the ring finger will be. Etc etc etc etc etc I hope this makes sense!


4. Then I use the negative space/background/space around your subject to determine and estimate the spaces in between the fingers.

So I’ll just do the same shapes with my painting!

5. Start with individual fingers! Base skin color, then the nail!

6. Then I’ll start putting the wrinkles on the joints.
Very cute and effective tip.. instead of painting the wrinkle lines one by one.. just put a darker shade on the joints, then use the base color to paint The skin around the lines.. that way it looks more natural!
Also, on the last finger here below, assuming that the light is coming from the top of the finger, you need to put shadows on the sides of the finger and highlight on the middle. This will give the illusion that the finger is rounded.. or like.. cylindrical.. and not flat!

7. I’ll just do the same thing to all fingers!

8. Put shadows at the bottom of the finger… where it connects with the knuckles/palm.

This part here.. haha.. if you look at your own hands, there’s like a webbing..

After adding that shadow, just blend it using the base color, leaving some darker shadow color on the webbing.

9. Just painting the rest of the hand with the base color.

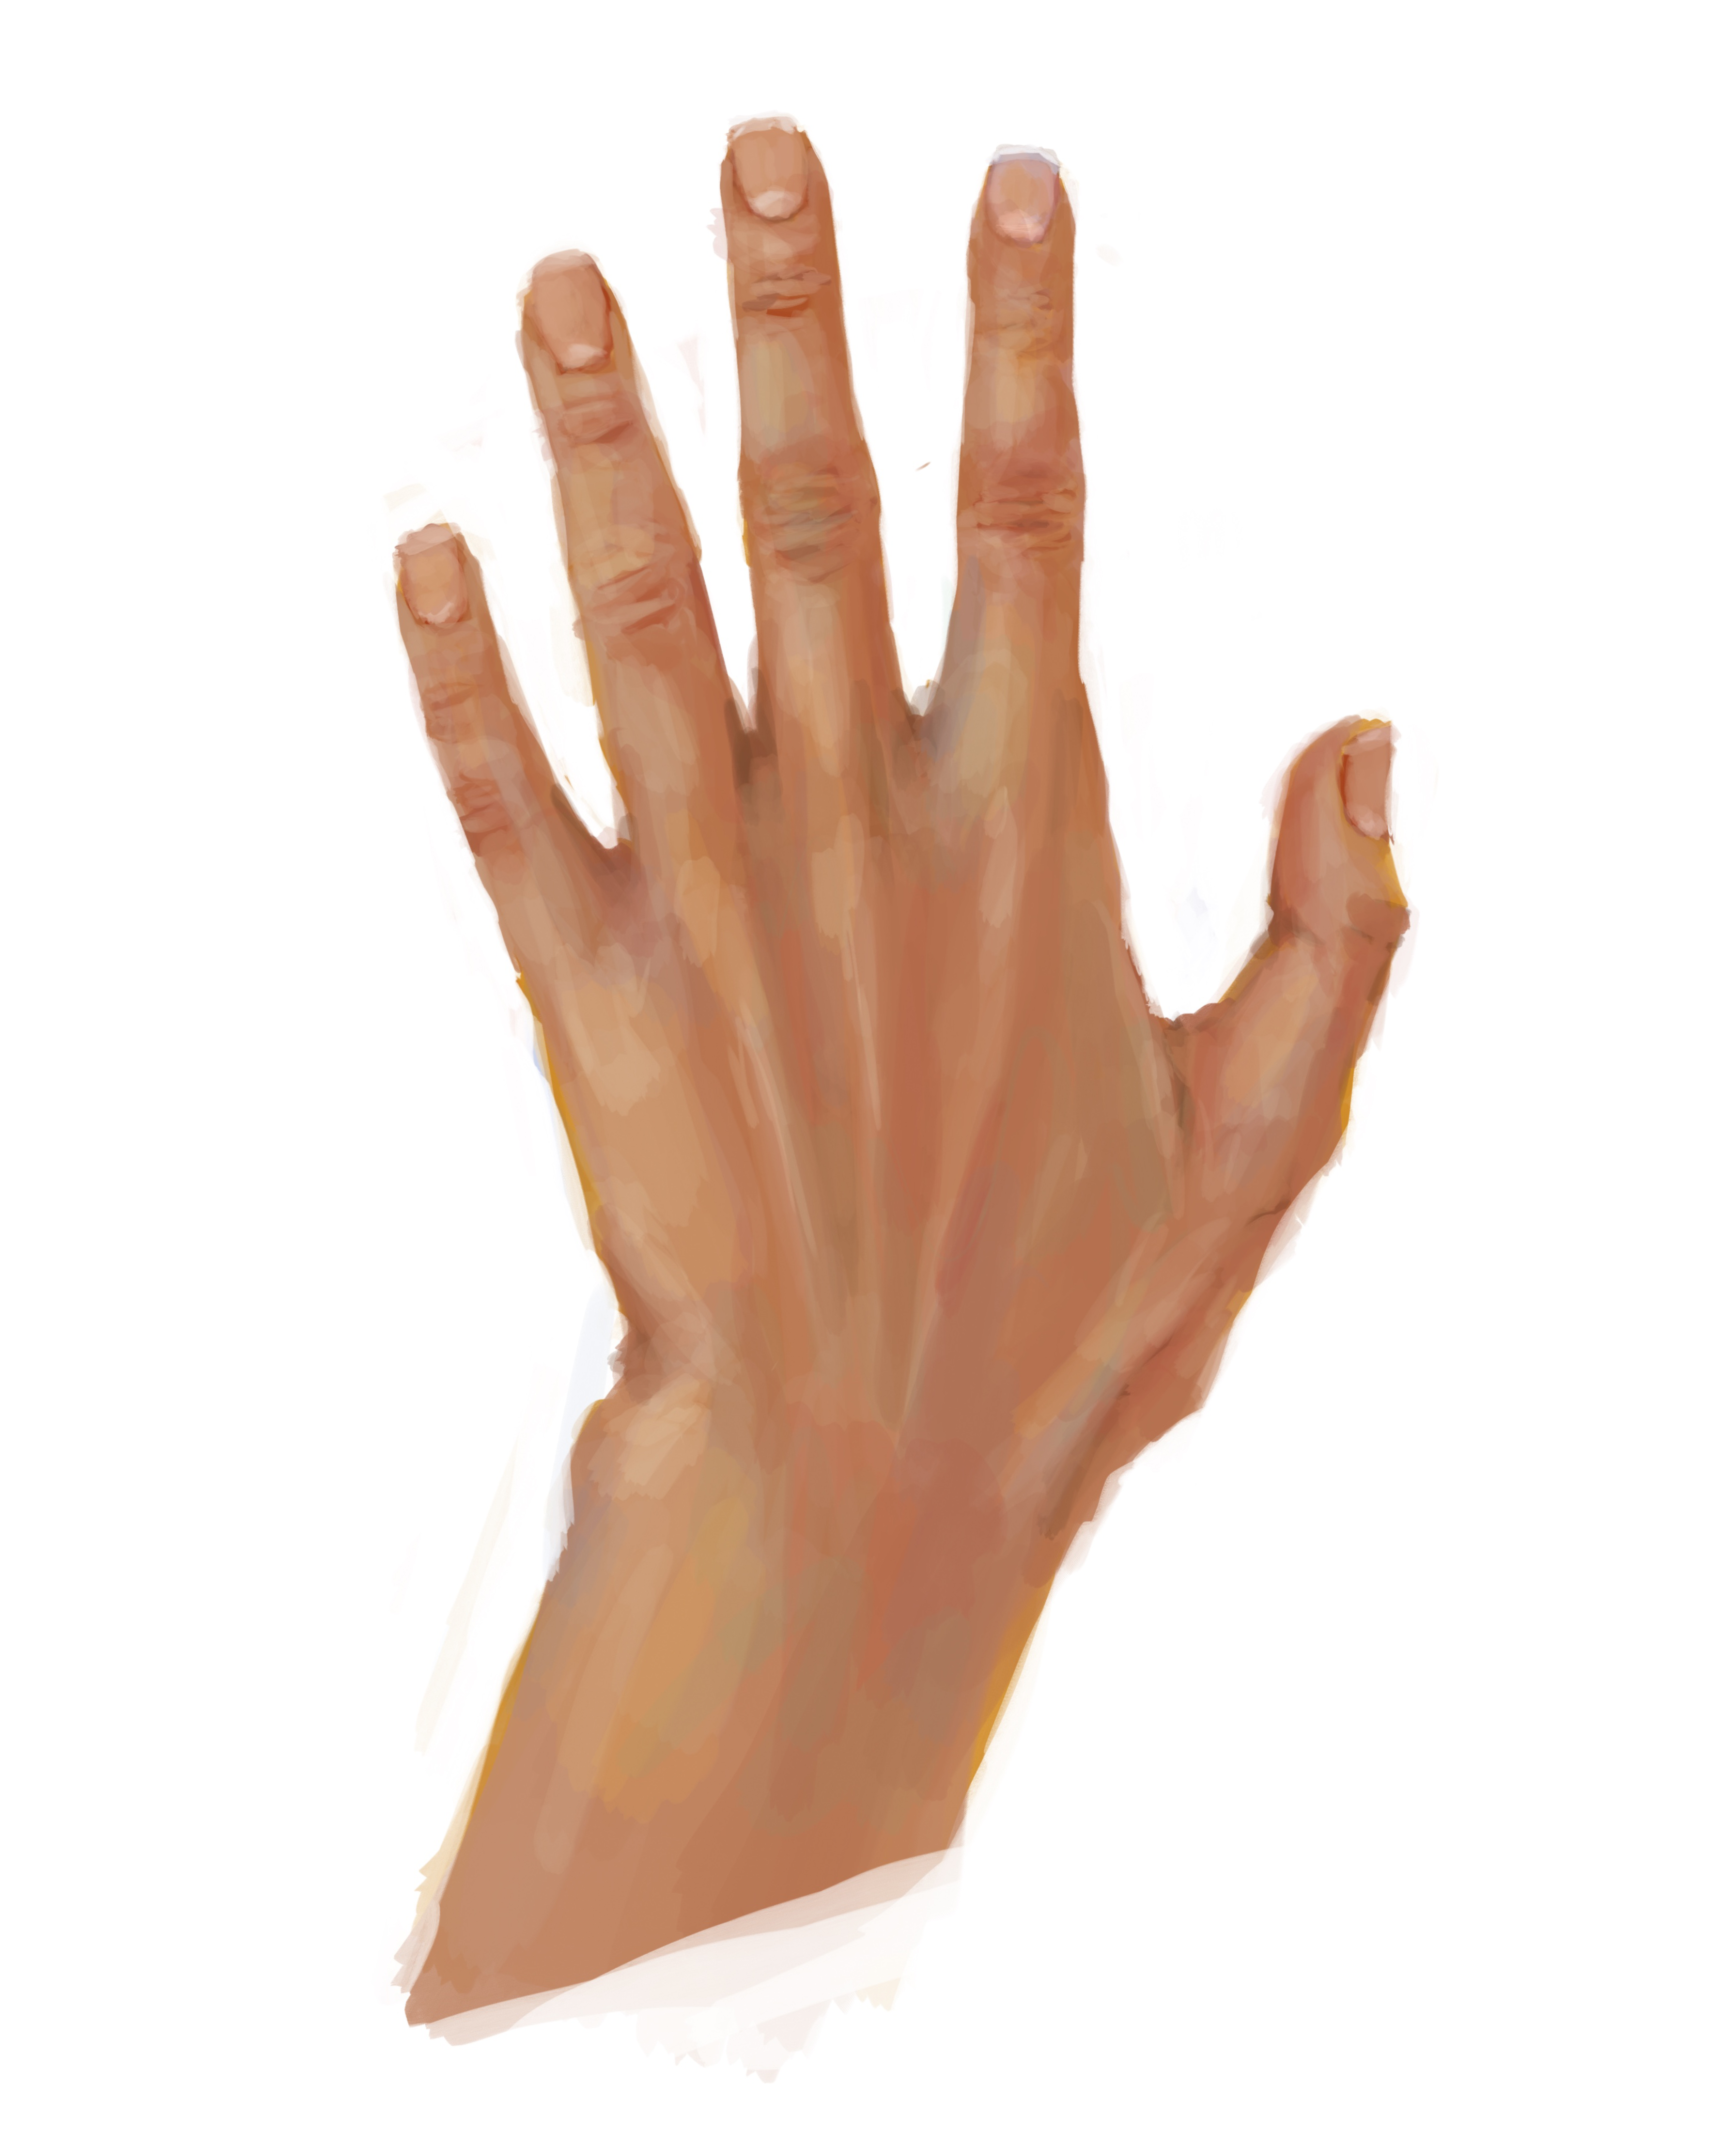
10. Thennn.. the tendons on your hand.. the one that looks like.. cords…. I kinda covered it up here on the picture below but you’ll see it on the next picture lmao… but in between those tendons, there’s like a bit of a hollow space, so you need to put shadows there

11. See the tendons now?! yay! The one that looks like cord. Yes. you can see three on the reference below. And the one that connects to the thumb too.
After I put the shadows..

12. Blend blend blend using a color a little darker than the skin base.

12. Making darker shadows To define the tendons more. Light is coming from the left so the shadows are on the right side of the tendons.

13. Painting the actual tendons a lighter color to make it pop out more!

14. Blend blend blend again with the base color.

15. Add lighter color again, I just do this again and again until I’m satisfied lol

16. Bonus part, not important at all but to make it more realistic, use other colors too! Skin is not just one color, so you can add different tints, blues and greens for the veins, some yellows or pinks! Don’t forget to put highlights to using a light color! These additions make the painting look more alive!!!!

Here’s the whole process:


I’ll make some more hand process tutorials! And will post the video soon!! Hope you got something from this!
Don’t forget, my inbox is alway open for tutorial requests!!!!!! I’ll do it all 4 u besticles
Files