Home
Home

 Artists
 Search
 Recent
 Random
 Posts
Posts
 DMs
DMs
 Tags
Tags
 Random
 Importer
 Import
 FAQ
FAQ
 Account
 Register
 Favorites
 Login
Login

GUIDE: Better screenshots in VAM (Patreon)
Content
INFO
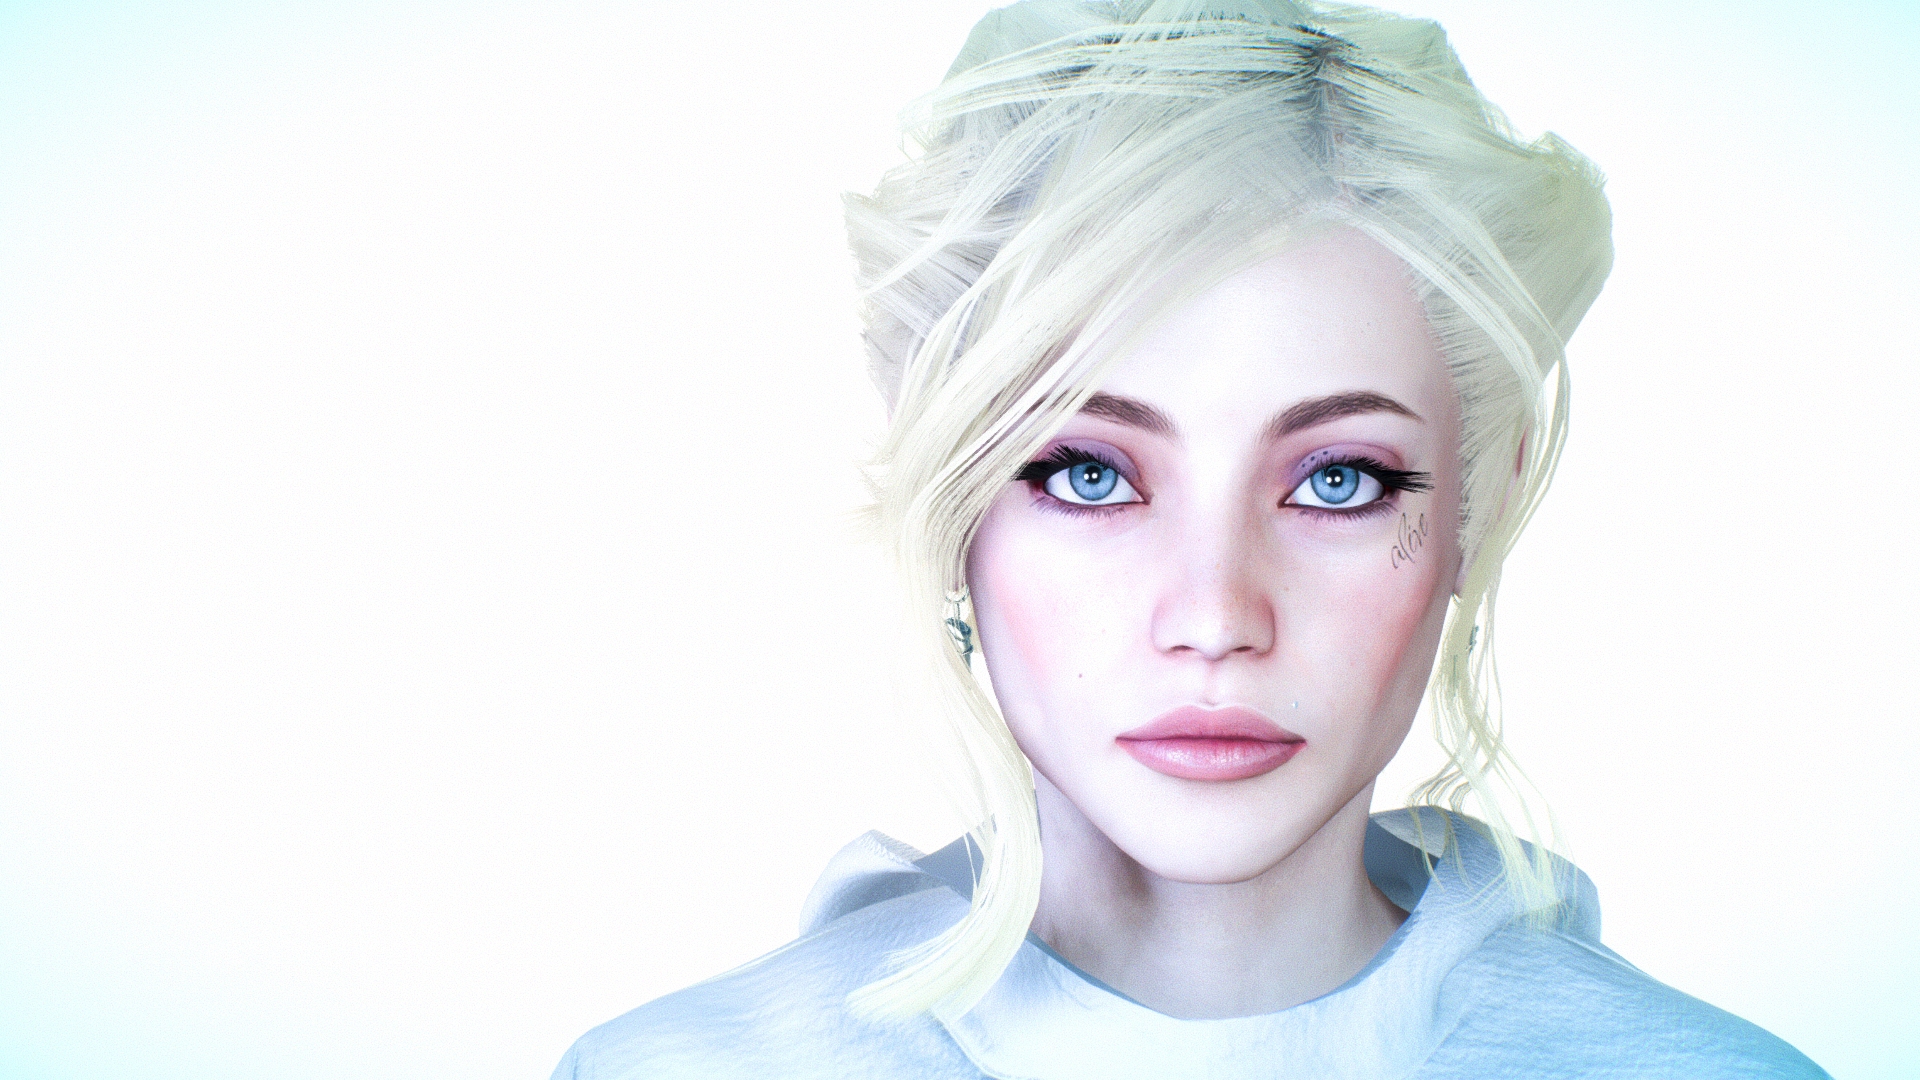
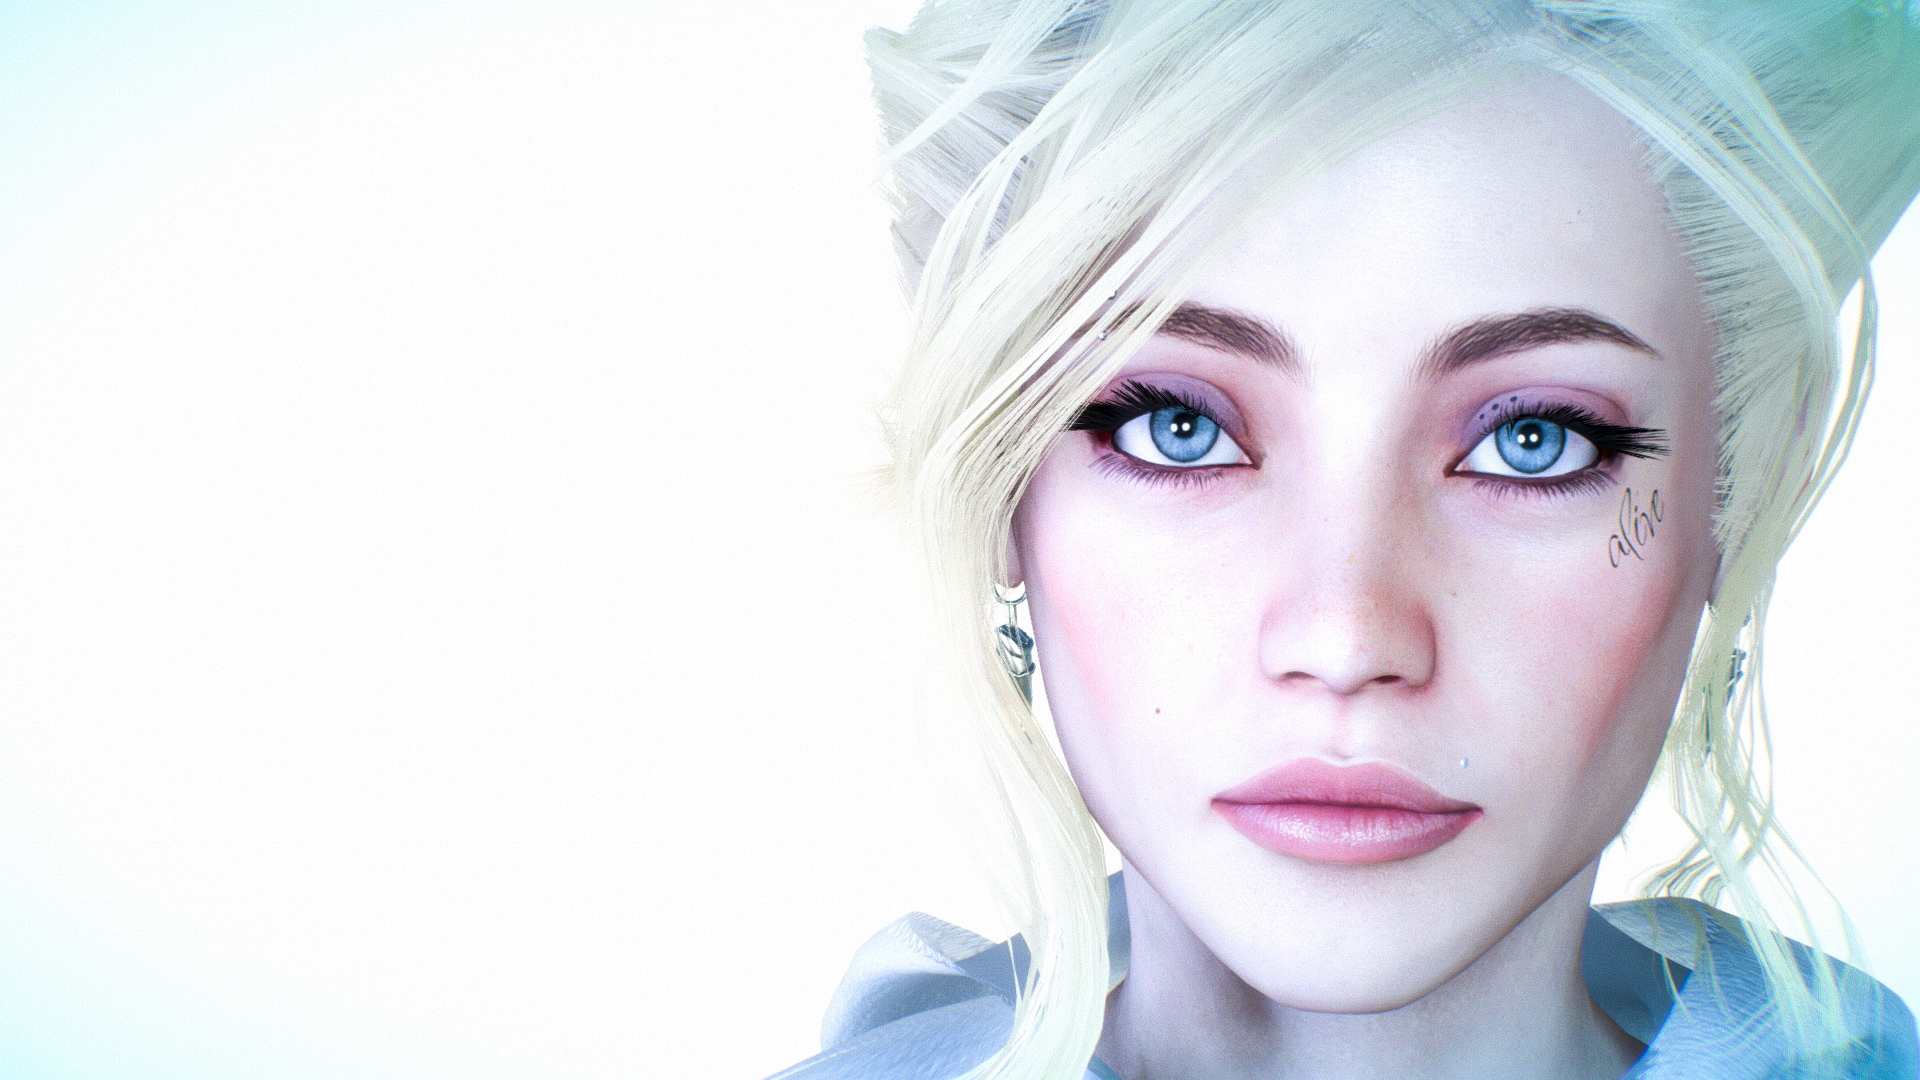
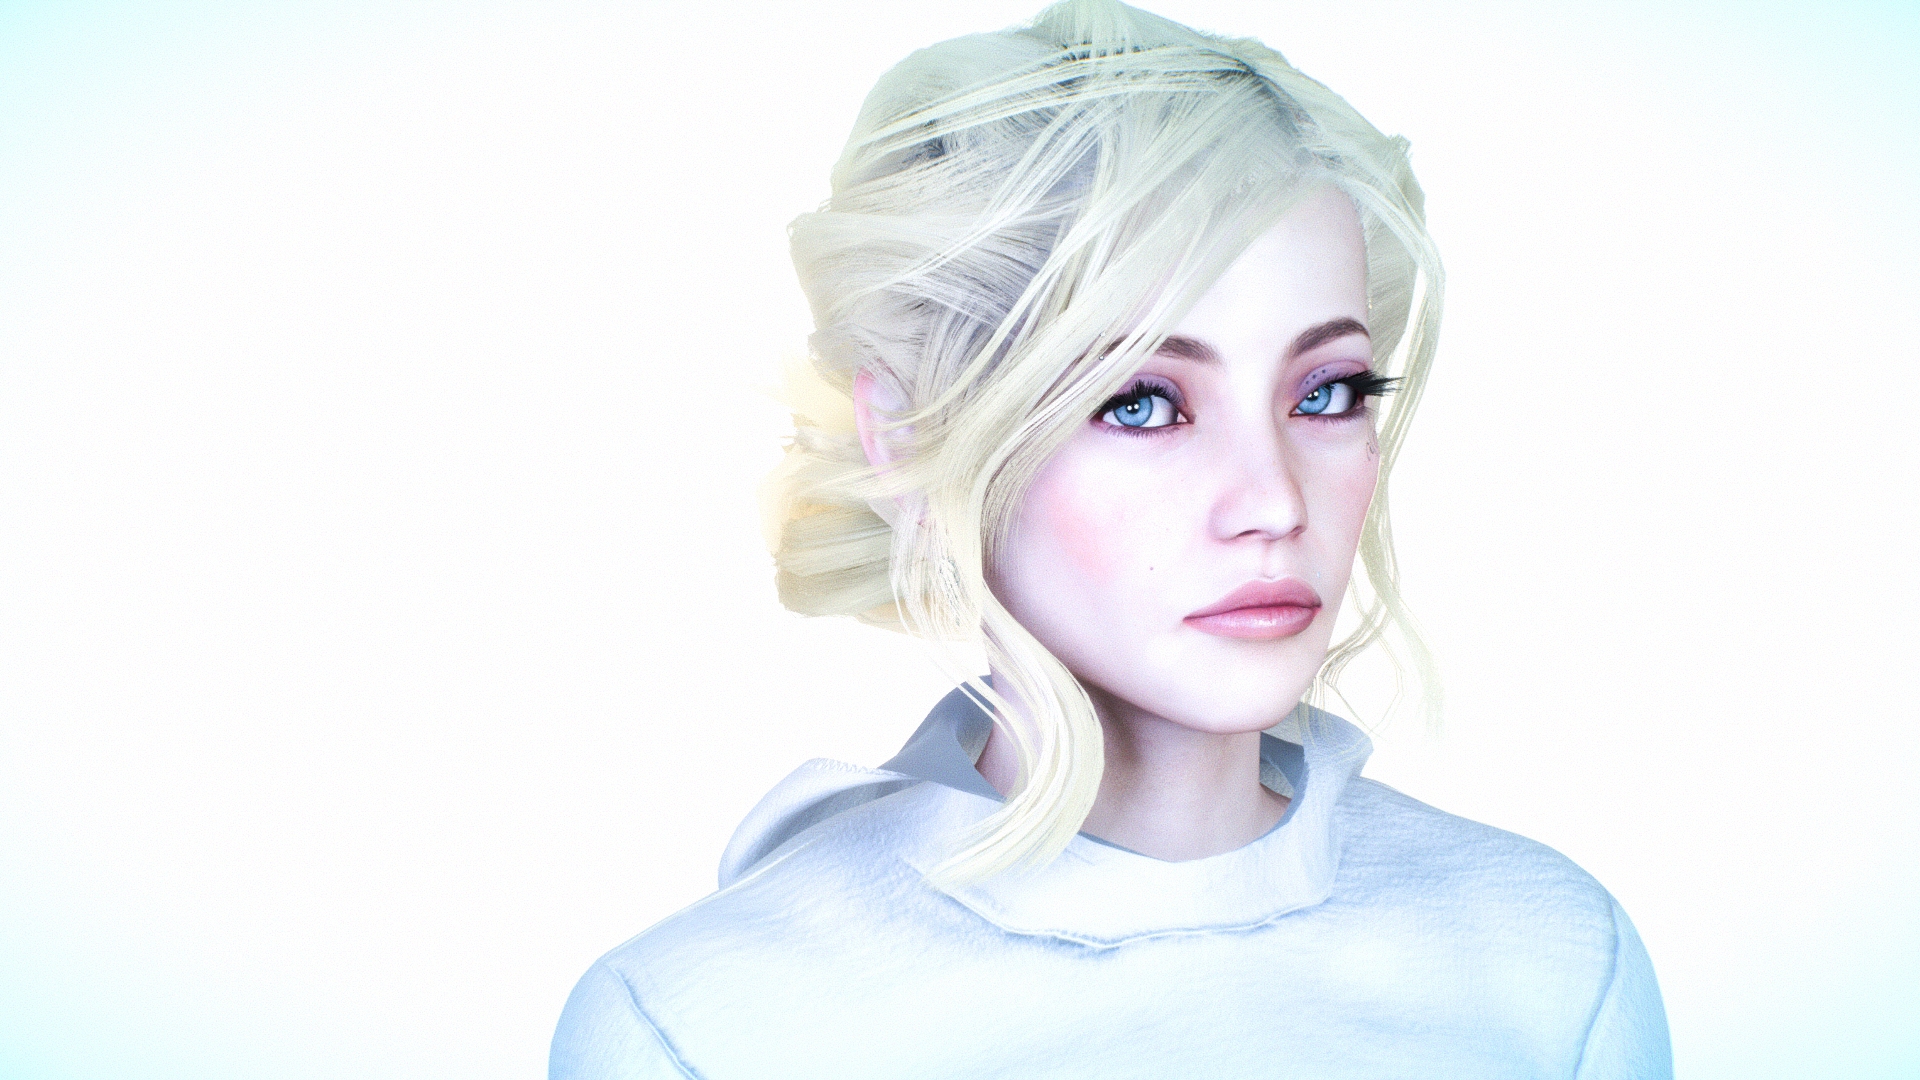
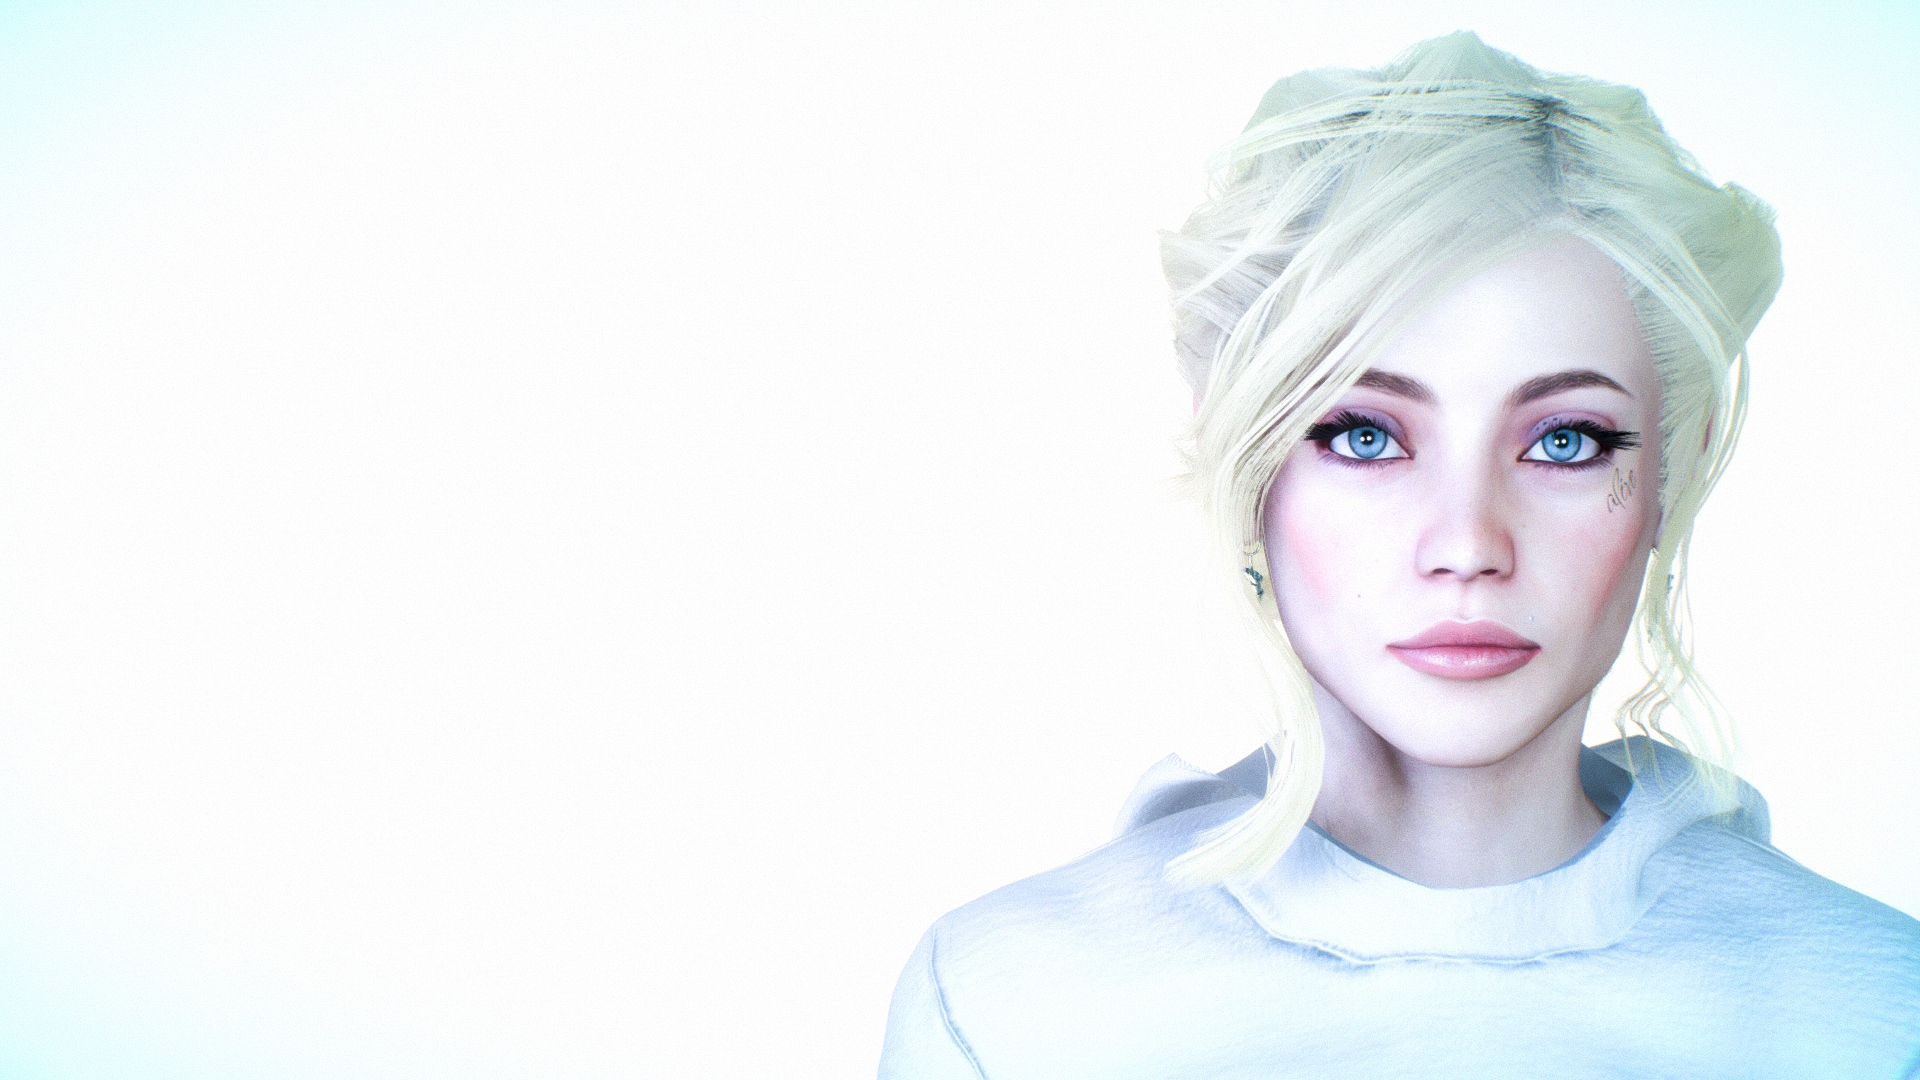
In case it's new info and helpful to anyone, here's a very quick way to get more interesting lightning & colors for your VAM screenshots. The attached images are direct screenshots from VAM with no other post-processing.
DEMO VIDEO
https://vimeo.com/731420072
STEPS
1. Install MacGruber's PostMagic from the hub
2. Install iCannotDie's LUT image pack for PostMagic UserLUT plugin from the hub
3. Load PostMagic as a session plugin
4. Enable UserLUT under PostMagic, hit browse, hit AddonPackages to list all .vars and search for "lut", you should see in the results ICannotDie's LUT package addon, you enter it and you pick a LUT that you like. You can check the Keep Open checkbox so that you can preview quickly how the LUTs look without having to browse again

For the attached screenshots I used the LUT Lifestyle & Commercial 04. There are lots of nice LUTs that come with PostMagic also, the ones you see by default when you browse. iCannotDie's package has many many more and offer more variation
5. Enable Vignette in PostMagic and set it to a lighter color that matches the theme, I used blue for the screenshots. Vignette is like a border that fades with the image, you can see in the screenshots that the corners are slightly blue, that's from the vignette plugin

6. Enable Chromatic Abberations - this adds some color artefacts and makes the image look a bit more realistic. I used defaults for the screenshots
7. Enable Bloom for the light to glow more and make the screenshot look a bit more dreamlike. Here's the settings I had for the screenshots:

8. Enable Grain to add more noise to the images so that they look more realistic. Without it the colors will look more artificial and very clean. Grains are pixels that are modified to be slightly off in the image, giving the image a bit more texture. For the screenshots I had it set to something like this:

9. Optional: Adjust the FOV when taking the screenshots rather than just zooming in and zooming out. I used FOV 10 for the screenshots and usually try to go for low FOVs (10-30) for more realistic portraits and close-ups and larger FOVs (30-60) for distant shots
10. Optional: enable AntiAliasing, depending on your VAM AA settings this might make the screenshots look a little better. I had it on to 8x in the screenshots
11. Optional: enable Depth of Field - this makes stuff in the background more blurry and can make the image look more realistic or just better looking. I didn't use it in the screenshots and don't usually use it because it requires constant configuration, each time you move the camera angle you might need to reconfigure the settings so that the target remains focused and not blurred
Once you play around with all these you can then save it all as a Session plugin preset and create your own effects this way that you can easily reload and reuse later.
Files