Home
Home

 Artists
 Search
 Recent
 Random
 Posts
Posts
 DMs
DMs
 Tags
Tags
 Random
 Importer
 Import
 FAQ
FAQ
 Account
 Register
 Favorites
 Login
Login

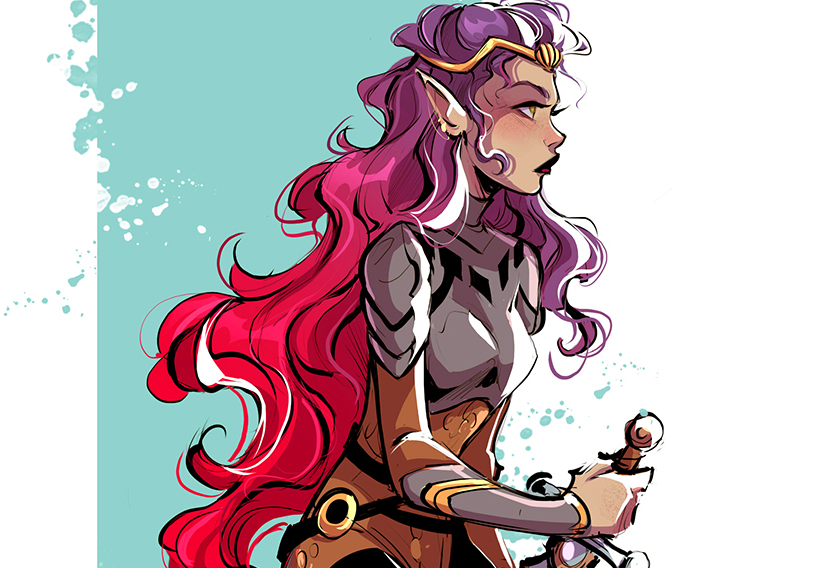
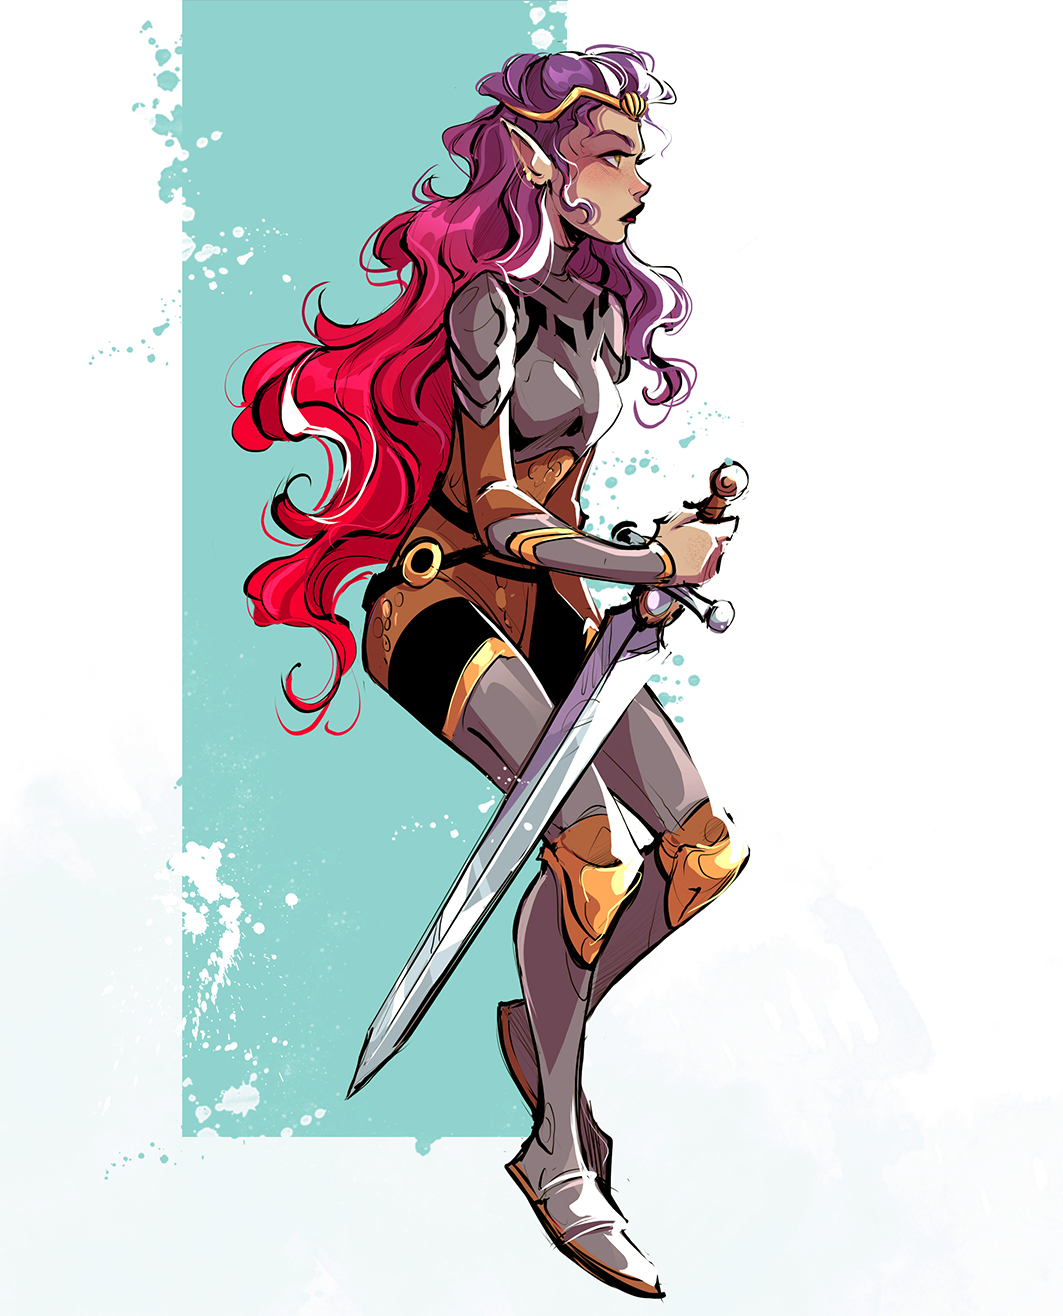
Knight // Step by step + PSD file🗡️✨ (Patreon)
Downloads
Content
Hi patrons!!
Hope you're having a wonderful Friday 🌈
This is a step by step of the illustration I did last week to try out the Wacom Cintiq 22. You'll find the PSD file attached at the bottom, so you can go through the layers and have a better insight of how I use them!
Just two quick things:

First, that little arrow is a clipping mask (you have the same option on Procreate) what that means is just that what you paint there will only affect the layer below. In photoshop just click Ctrl + G and you'll create a clipping mask.

Secondly, once you paint your base colors, you can lock the layer by clicking that little icon I circled. Locking a layer means that you locked the shape of that layer and if you paint something you'll just affect that shape or whatever is inside of that layer. Also, by locking the layer where you did your lineart, you can change the color of your lines without worrying!
Just wanted to clarify what those things do because they're little tricks I use ALL the time no matter if I'm using Photoshop or Procreate, and they may be useful to you.
That's it for today, take care and have a wonderful weekend ahead!
Gret
Files