Home
Home

 Artists
 Search
 Recent
 Random
 Posts
Posts
 DMs
DMs
 Tags
Tags
 Random
 Importer
 Import
 FAQ
FAQ
 Account
 Register
 Favorites
 Login
Login

Obi-Wan’s Third Collapsing Lightsaber (Patreon)
Downloads
Content
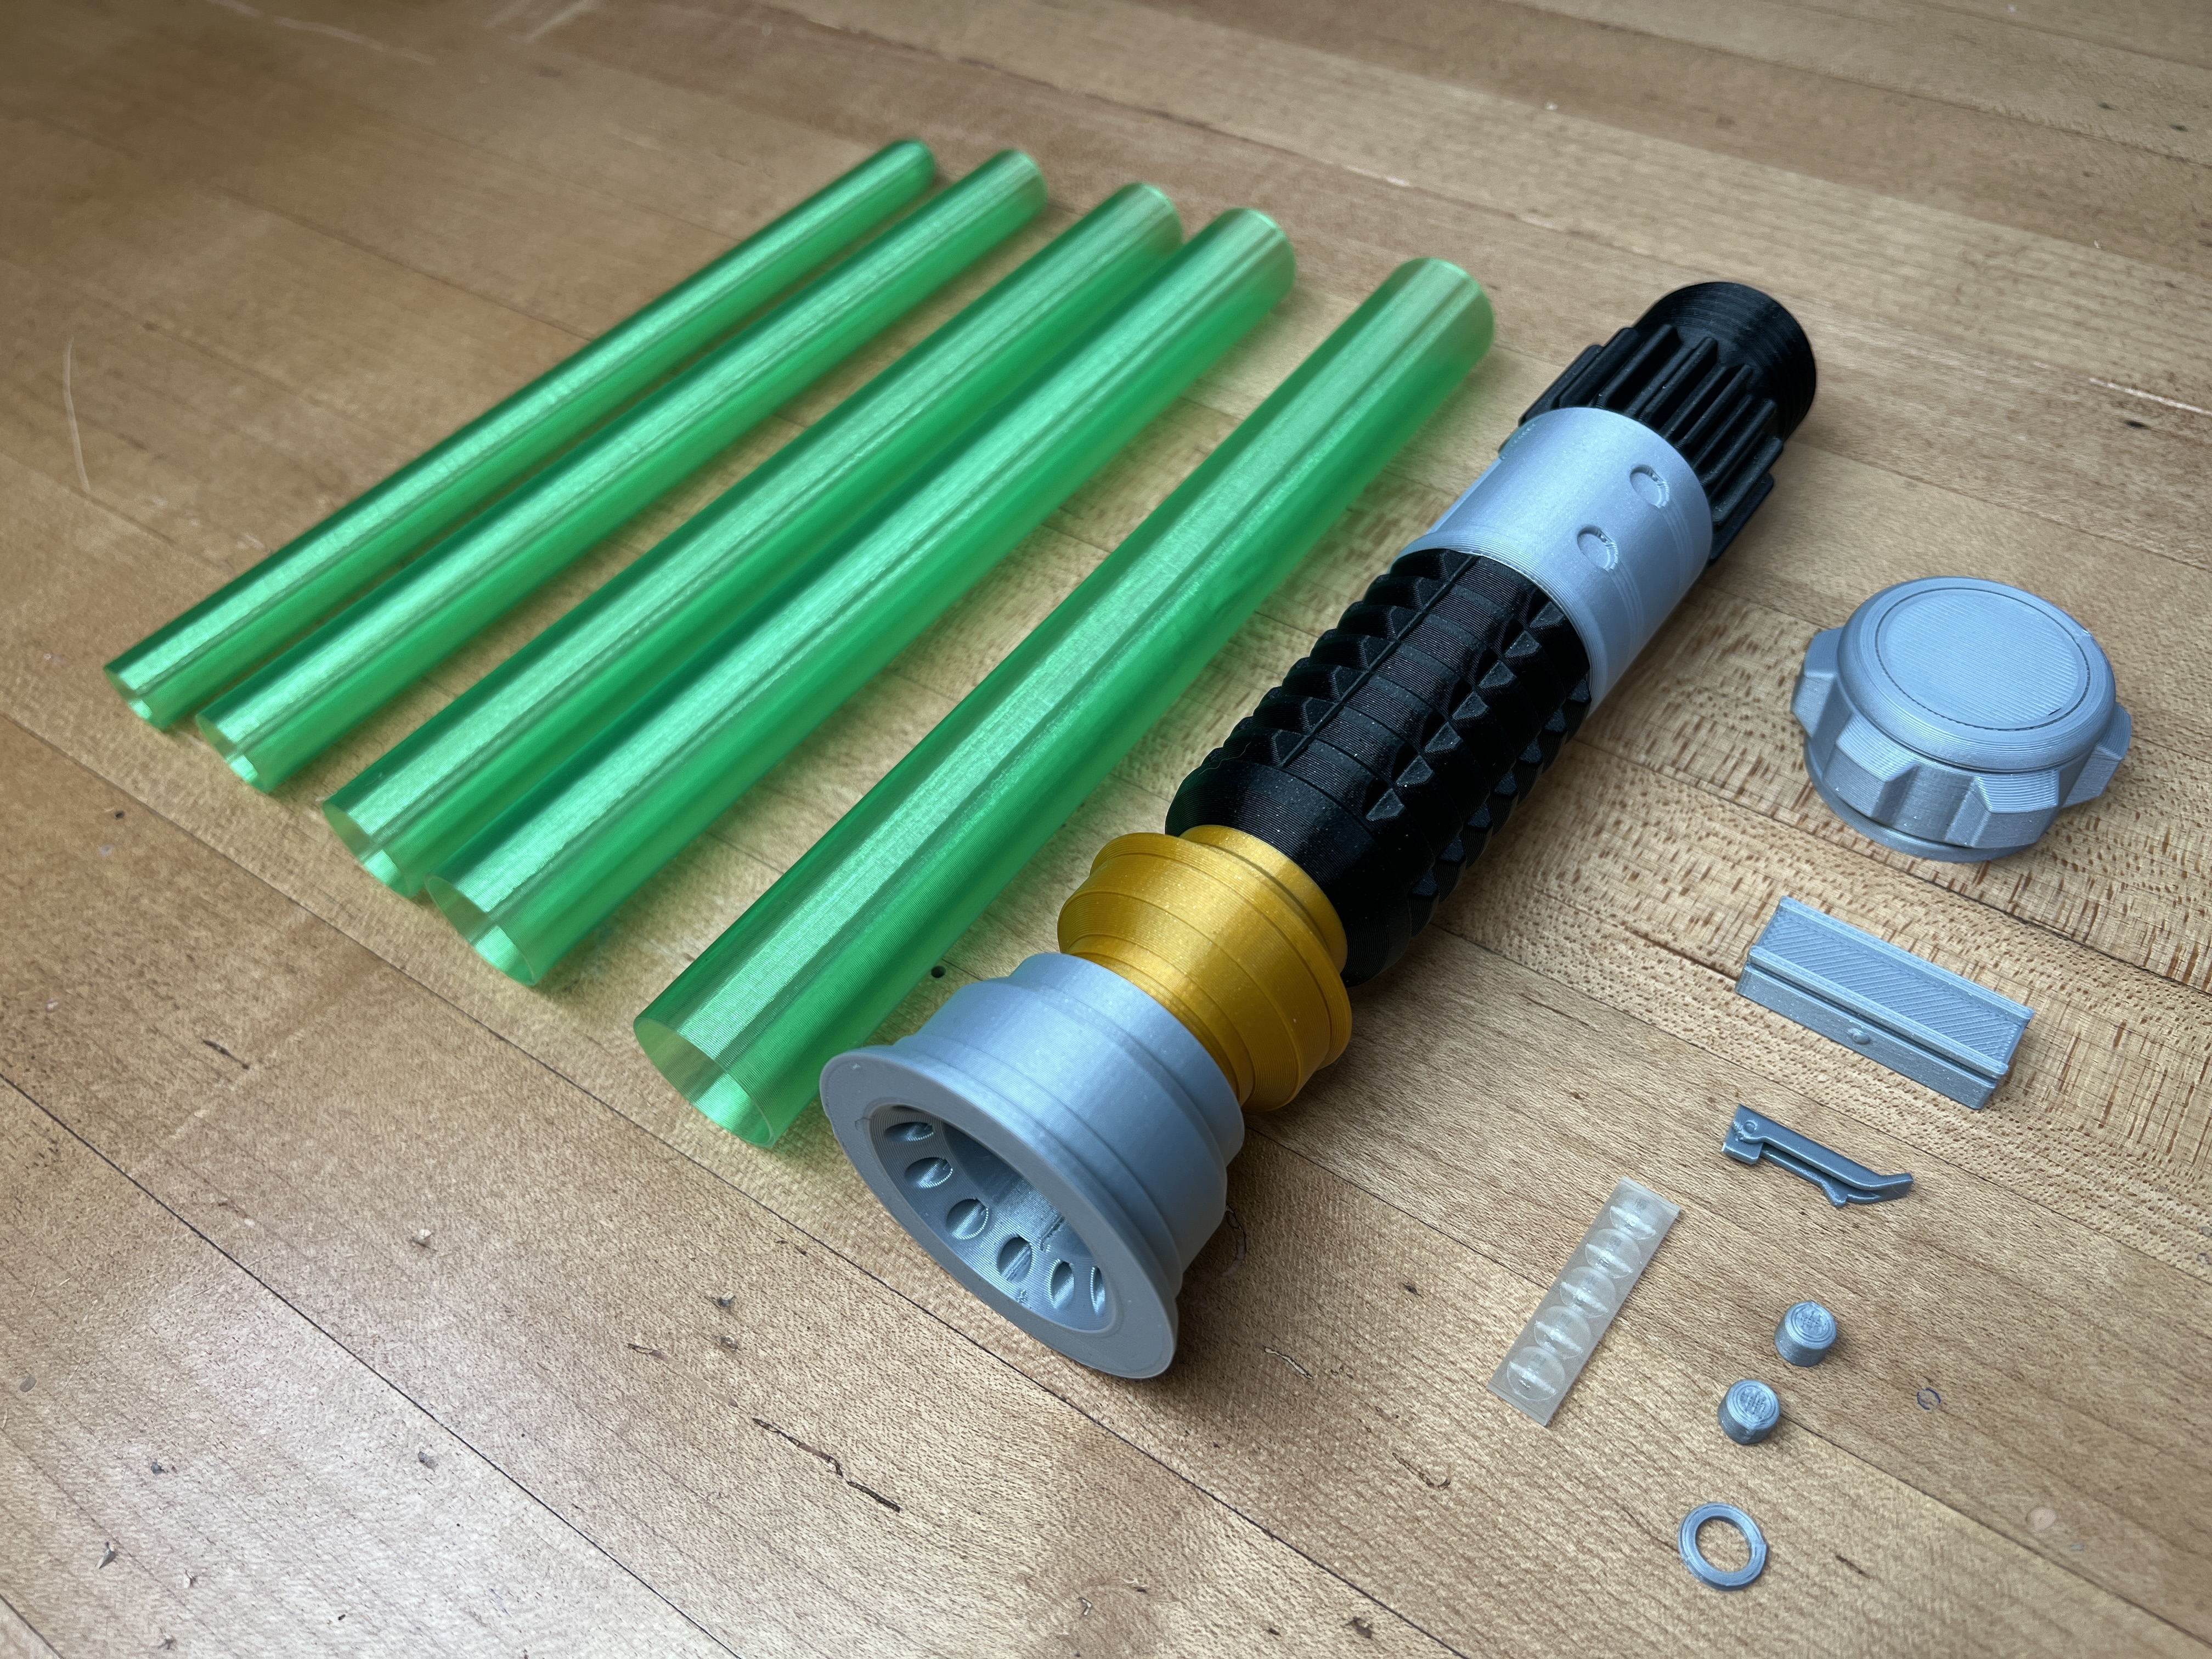
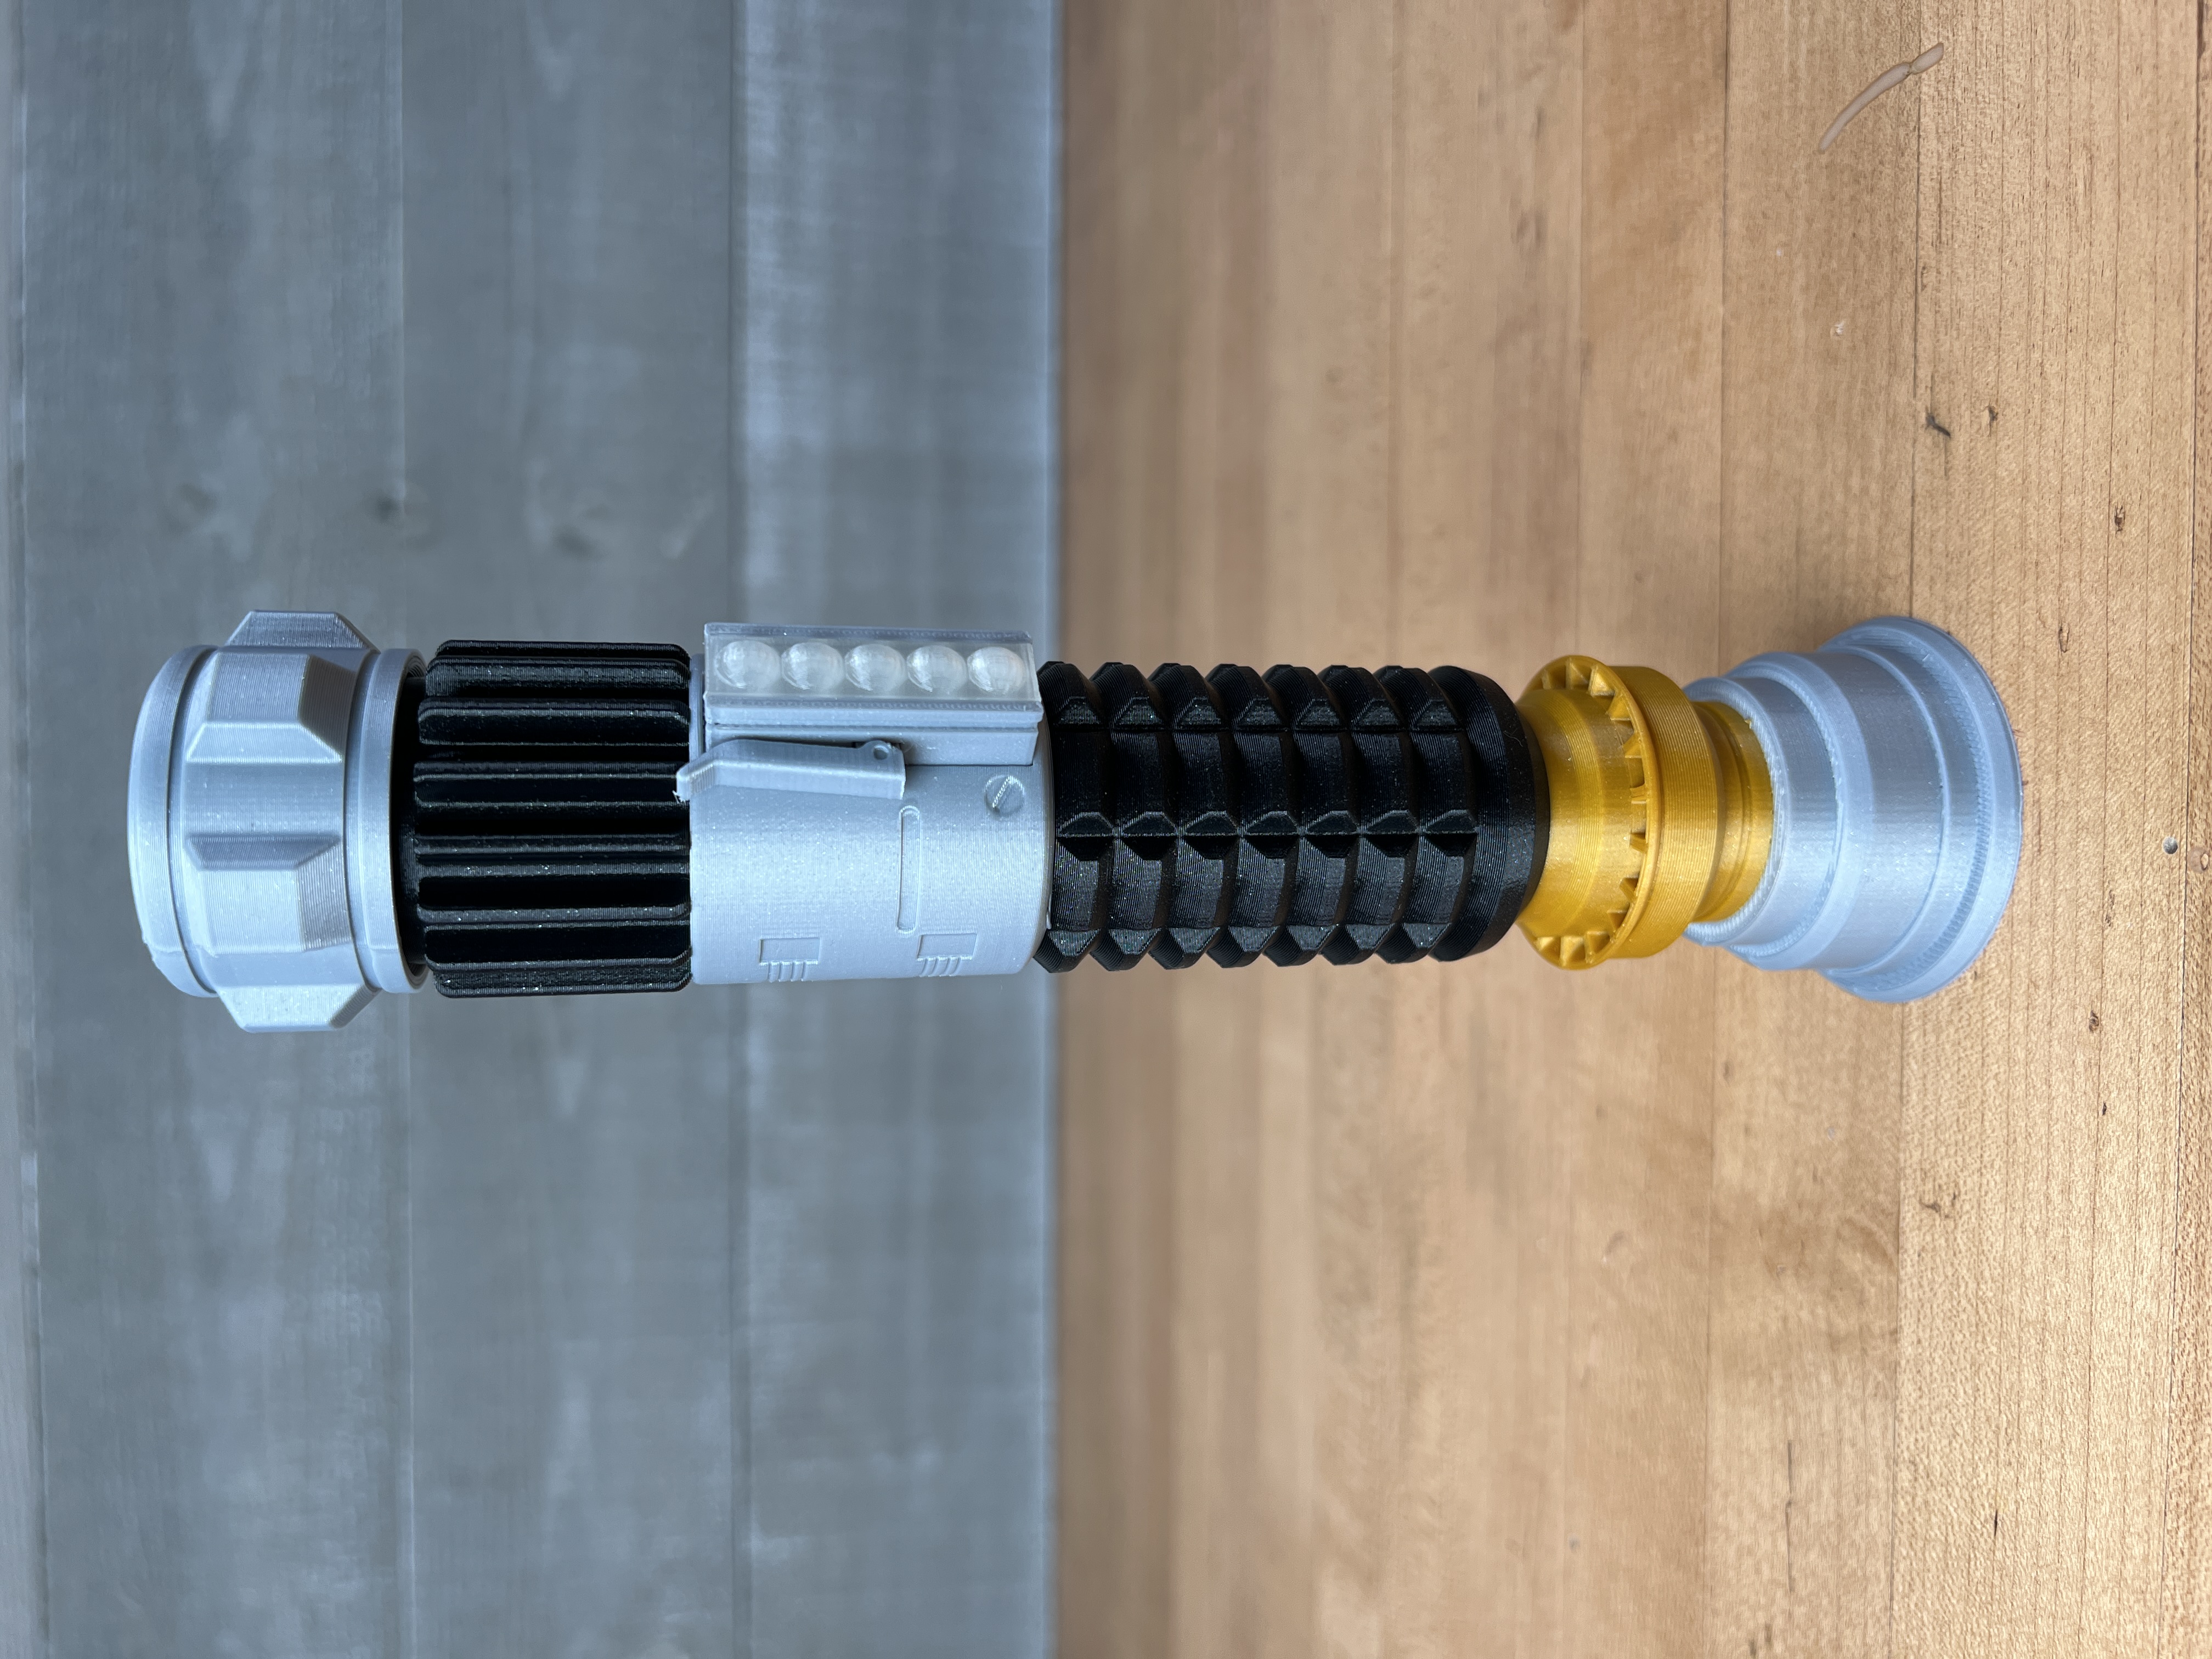
May the fourth be with you! I decided to release a classic this year. I’m really loving Polymaker PLA Pro Metallics. Plus this lightsaber can be printed five different ways. Some small compromises were made so supports were not needed on the print-in-place versions but nothing too bad.
Personally, I would suggest any of the replaceable blade versions and sequentially printing the blades separately in vase mode so there is no layer seam. I really enjoy printing the multi-part versions the most as it eliminates waist material and they are pretty easy to glue together.
I printed the multi-part version and the print-in-place version. This multi-part version of the sword has been broken down to different parts so they can be printed separately in different colors then glued together. The replaceable versions cap screws on so the blades can be printed separately and inserted or replaced. I achieved multiple colors with the multi-part version with manual filament swaps.
There are five version of this sword:
Print-in-Place Single Color
Print-in-Place Multi-Color (requires a MMU, AMS, IDEX, or Toolchanger)
Replaceable Blade Single Color
Replaceable Blade Multi-Color (requires a MMU, AMS, IDEX, or Toolchanger)
Replaceable Blade Single Extruder Multi-Part
Supports are not required, for best results use a .4mm nozzle. You can print the blades all at once concentrically or one at a time in vase mode. I suggest printing in vase mode but if printing concentrically, the test print can be found here. Find detailed instructions on how to print collapsing swords on my website.
Files