Home
Home

 Artists
 Search
 Recent
 Random
 Posts
Posts
 DMs
DMs
 Tags
Tags
 Random
 Importer
 Import
 FAQ
FAQ
 Account
 Register
 Favorites
 Login
Login

Klipper but really Moonraker - Relays and Buttons (Patreon)
Downloads
Content
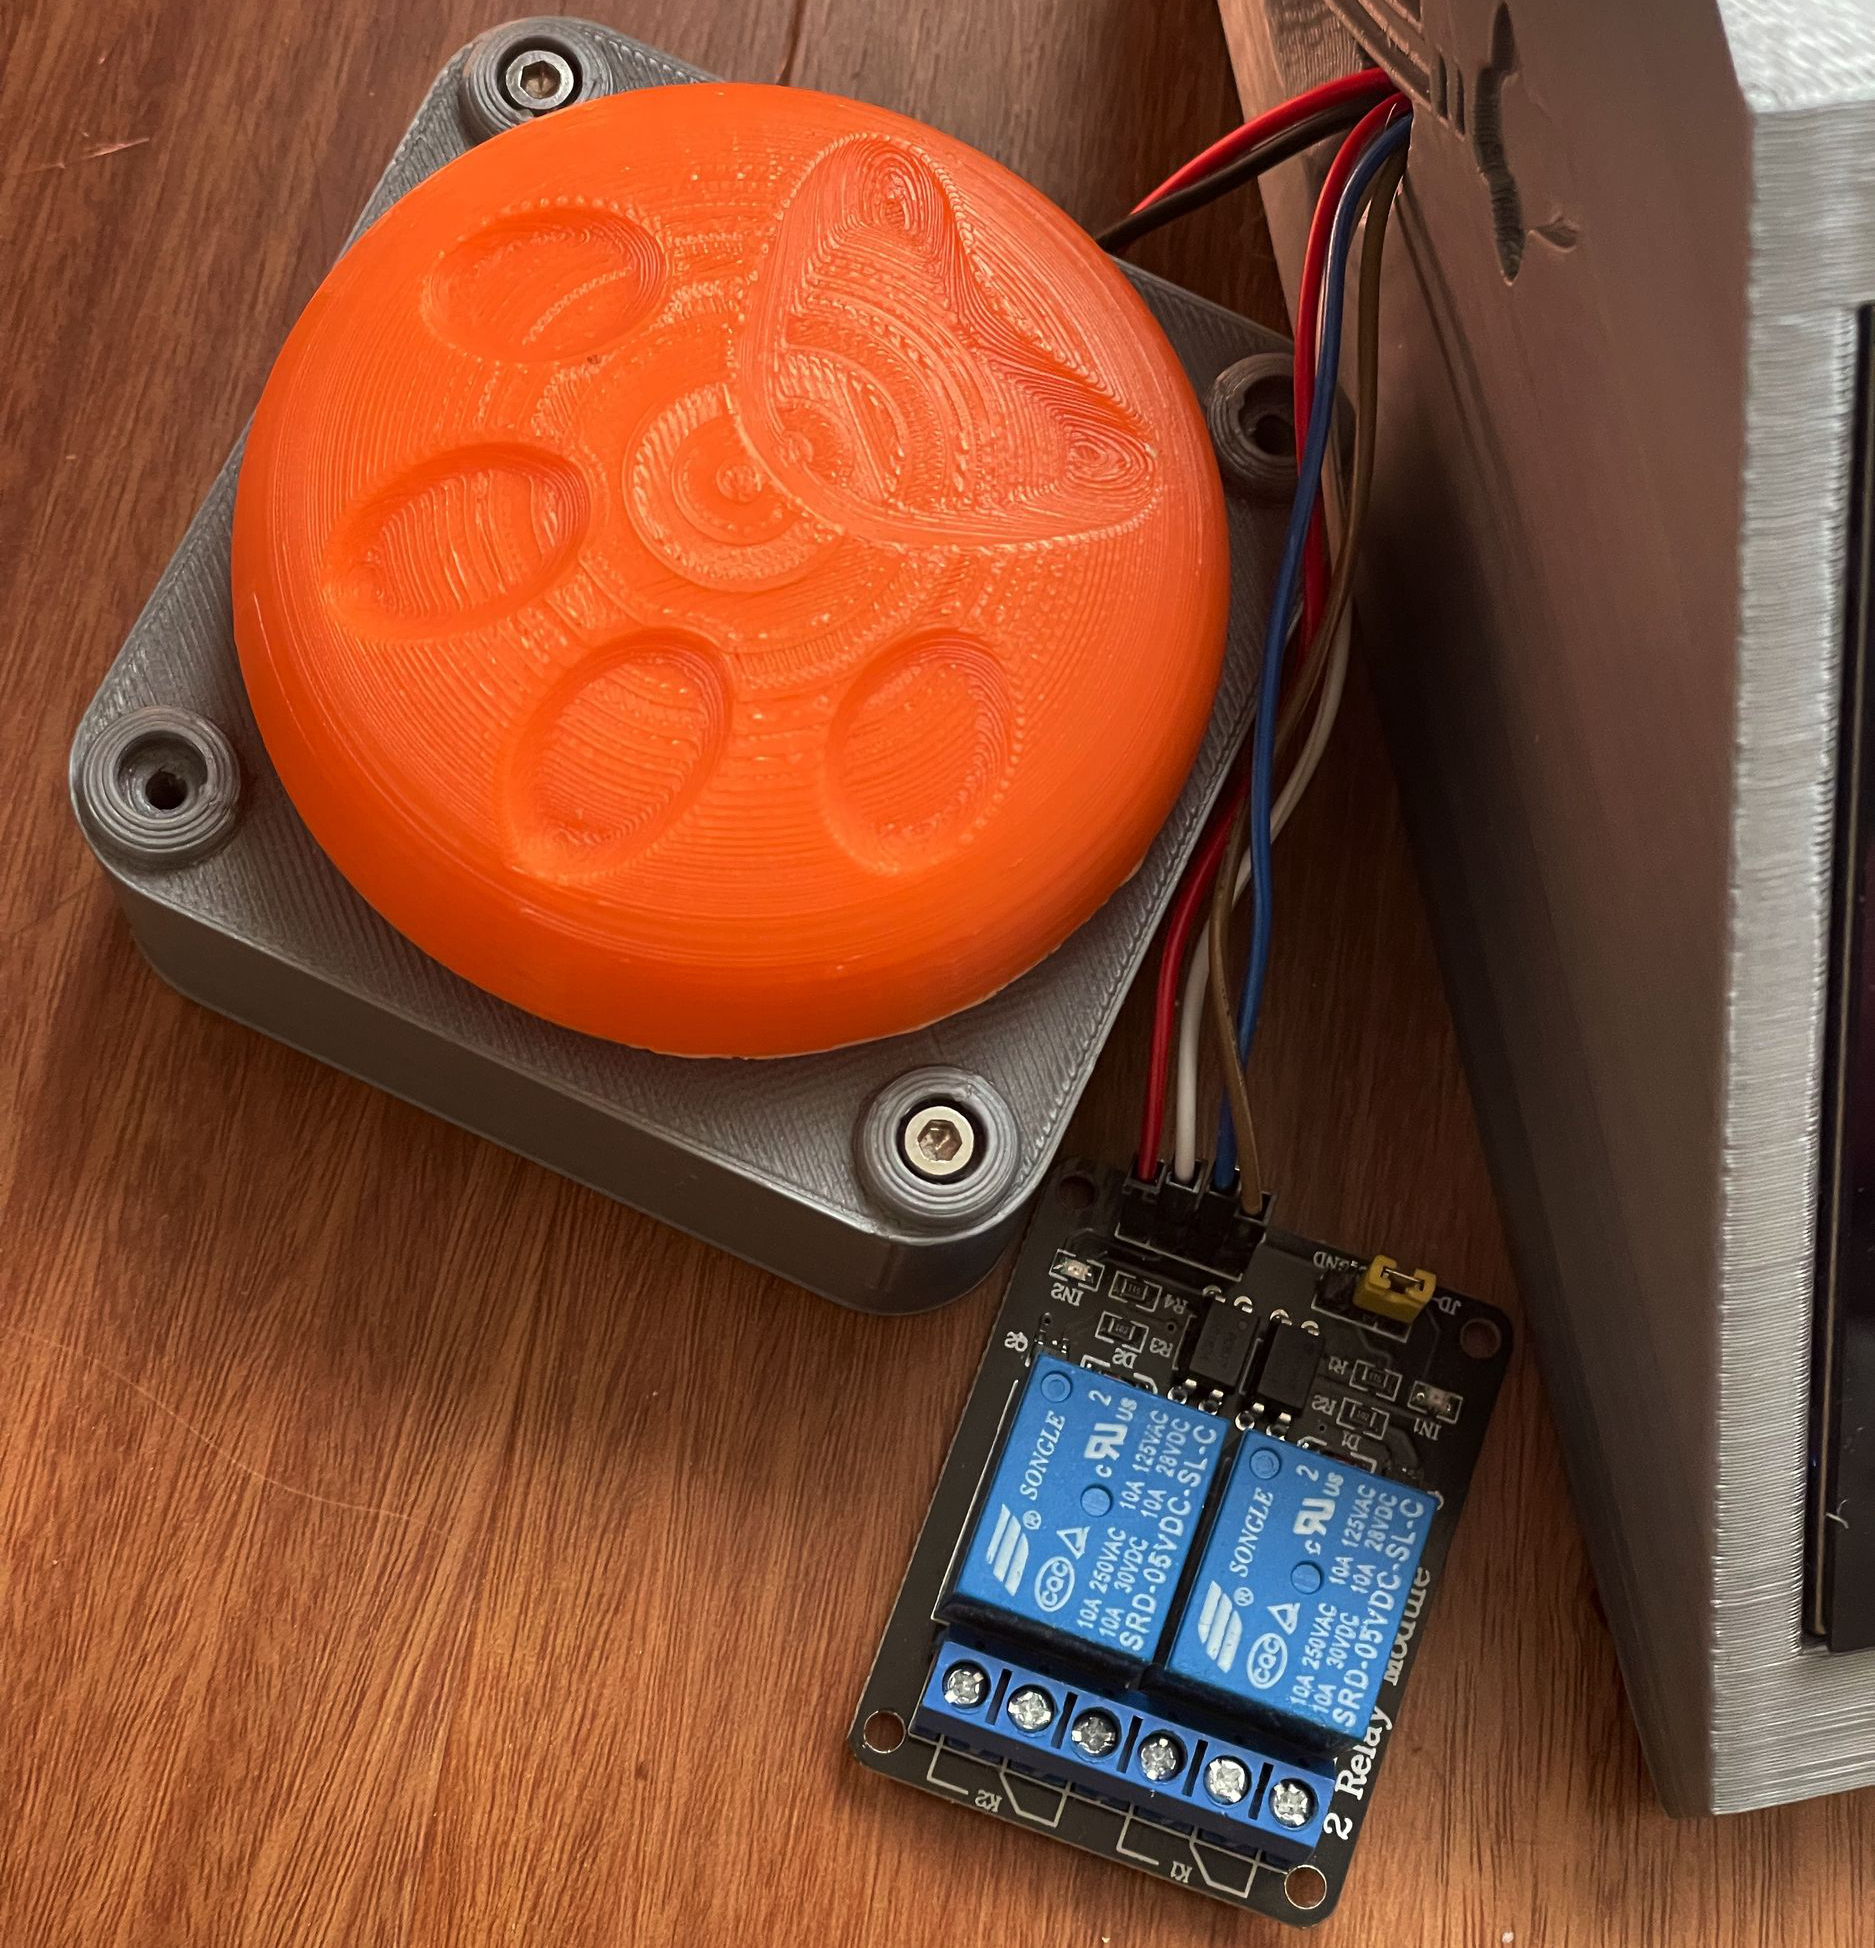
If you want to control your printer PSU or leds with a relay and optionally with a physical temporary switch button. Here is some info I found and compiled
First, what not to do:
Don't connect a 10~15amp relay on the 24v side of the PSU, the amperage is in most cases too high (340w/24v=14amp), you would need a 20~25amp to play it safe.
With LED make sure the amperage going through the relay is at most 70~80% of the relay capability. in most cases you can have plenty of lighting even with 5v (neopixels / sw2812 /sk6812 are usually about 60mv, so about 16leds per amp, at 8amp would allow 128 leds ), just don't go past the limit, and make sure to check the led amperage, or set multiple relay for different LED route, assuming your PSU can handle it, so check that too.
---
Klipper is unresponsive if the printer board is down, however moonraker (the API that is used by klipper) stays up and alive, and same with the web interface / klipper screen. So we'll work with moonraker rather than klipper.
There should be a way to run more complex command, but for some reason wouldn't work when I tested it, a toggle switch however work great for a simple on/off control.
To avoid accidental press, you can set it to responds if it's been pressed for a number of seconds, just edit the minimum_event_time value (happens at button release, after it's been pressed at least 3 seconds in the example below )
There's also an option locked_while_printing, so that the physical button is not responsive while printing.
If you want an instant switch, set it to 0.1 (as it is set for the LED button)
---
gpiochip0 is just the name for to reference the GPIO so don't change it, but do edit the gpioXX number to match your setup, a simple "Pi GPIO pinout" on google image will reveal the gpio name, (don't confuse with pin number, which are different from gpio name/numbers )
the connection of a relay to the GPIO is very standard, vin to 5v pin, ground to any ground pin, and a gpio pin for control (referred in the config)
as for the button, just have one lead on any ground, and another lead on a gpio pin (referred in the config)
For PSU, you just need to cut/switch only one line, it is advisable to cut the Hot wire and keep neutral and ground uncut. In the US the smaller prong is generally the hot wire (of course you can't really tell if the place was wired correctly)
---
off_when_shutdown can potentially have negative side effect, device will be powered off when Klipper enters the "shutdown" state, if that happens while the hotend is very hot, the hotend fan could go off and create heatcreep, and lead to a clog, so a delay would advisable, set with off_when_shutdown_delay
---
instead of a relay you can also control home assistant, or wifi plugs, tplink_smartplug, tasmota, shelly, homeseer, loxonev1
Should only require an ip address, at least is the case for tplink_smartplug
haven't tried homeassistant, smart things, mqtt or hue, so not sure what extra settings that involves
---
text below is also in a downloadable text file
============ inside moonracker.conf ===============
[power printer]
# this is to reference a relay, and will add a software button to the UI
type: gpio #gpio, klipper_device, rf, # tplink_smartplug, tasmota, shelly, homeseer, homeassistant, loxonev1, # smartthings, mqtt or hue.
#address: xx.xx.xx.xx # ip address, if using a wifi plug, then remove pin: line below
pin: gpiochip0/gpio17 # to inverts pin add !
off_when_shutdown: True # If set to True the device will be powered off when Klipper enters # the "shutdown" state. This can be dangerous if it happens mid print, as hotend can get heat creep, so the delay below can take care off that, just measure how long it takes for hotend to cool down to and set the time value below
off_when_shutdown_delay: 120 # If "off_when_shutdown" is set, this option specifies the amount of time # (in seconds) to wait before turning the device off.
initial_state: off
on_when_job_queued: False # set to True if you want printer to turn on after doing a file upload and print from a slicer
locked_while_printing: True # set to False if you want a PSU kill switch
bound_services: klipper
restart_klipper_when_powered: True
restart_delay: 3.0
# Control a status led
[power printer_led]
# this is to reference a relay, and will add a software button to the UI
type: gpio
pin: gpiochip0/gpio27 # to inverts pin add !
initial_state: on
[button my_power_button]
# this is to control a button and an action, here toggle the relay named above
type: gpio
pin: gpiochip0/gpio22 # to inverts pin add !
minimum_event_time: 3.0
on_press:
{% do call_method("machine.device_power.post_device", device="printer", action="toggle") %}
[button my_led_button]
# this is to control a button and an action, here toggle the relay named above
type: gpio
pin: gpiochip0/gpio23 # to inverts pin add !
minimum_event_time: 0.1
on_press:
{% do call_method("machine.device_power.post_device", device="printer_led", action="toggle") %}
Files