Home
Home

 Artists
 Search
 Recent
 Random
 Posts
Posts
 DMs
DMs
 Tags
Tags
 Random
 Importer
 Import
 FAQ
FAQ
 Account
 Register
 Favorites
 Login
Login

X axis tensioner for extended X move (Patreon)
Downloads
Content
Rev 2 mostly just makes it easier to install the inner sled (especially the printed ones which have tighter tolerance). No need to replace it with rev1 if you have it installed.
Also added an accessory clamp bases on this design by request in case you are interested, https://www.thingiverse.com/thing:4880836
------
Normal model should work for wheels (but may not gain as much X move as rails), but was tested and designed for rail setup with apollo belt holder.
I did make a prototype for wheels, also in the STEP file (with top cut out for wheel to keep rolling , potentially losing rigidity, but second screw may actually take care of rigidity) that may allow more X move, try it and let me know.
----
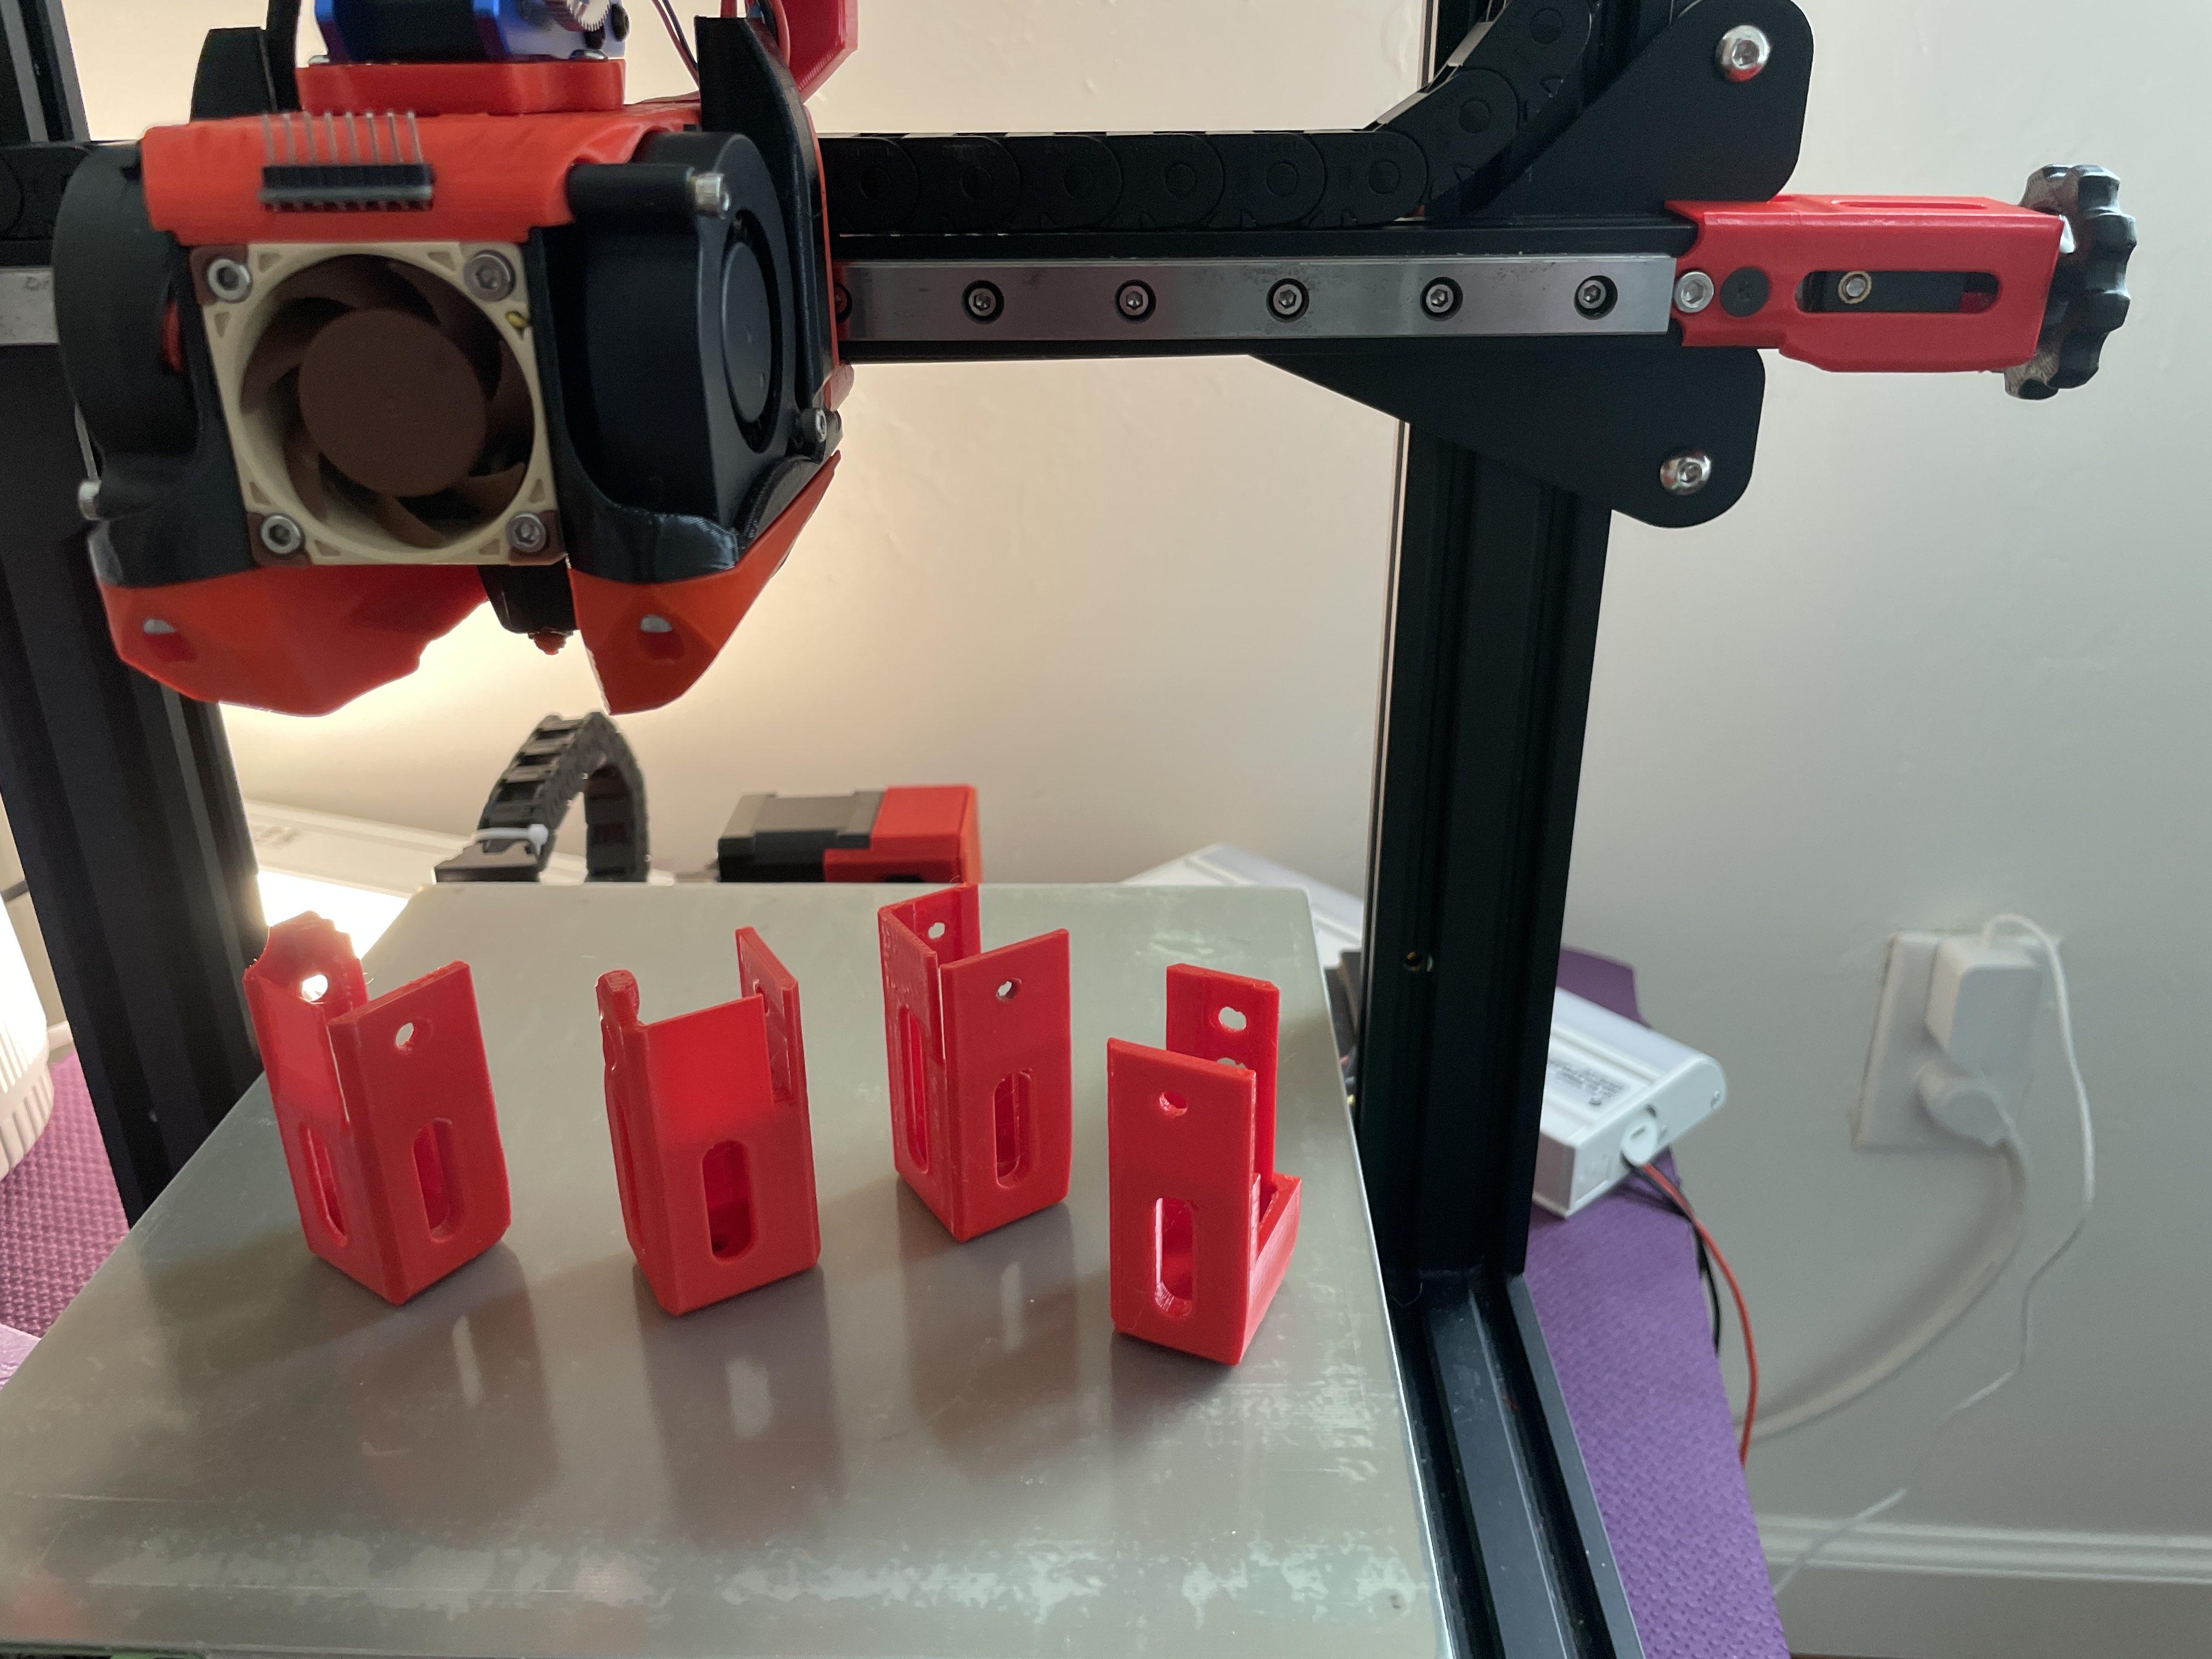
The inner sliding part is compatible with stock ender3v2 one. but you can also print one (in the zip)
the wheel is just something I had made a while back, but you can keep the stock wheel or print different one.
Uses an optional but recommended M4x6 screw + t-nut for added rigidity. (I designed it for a hex socket head, but button head should work)
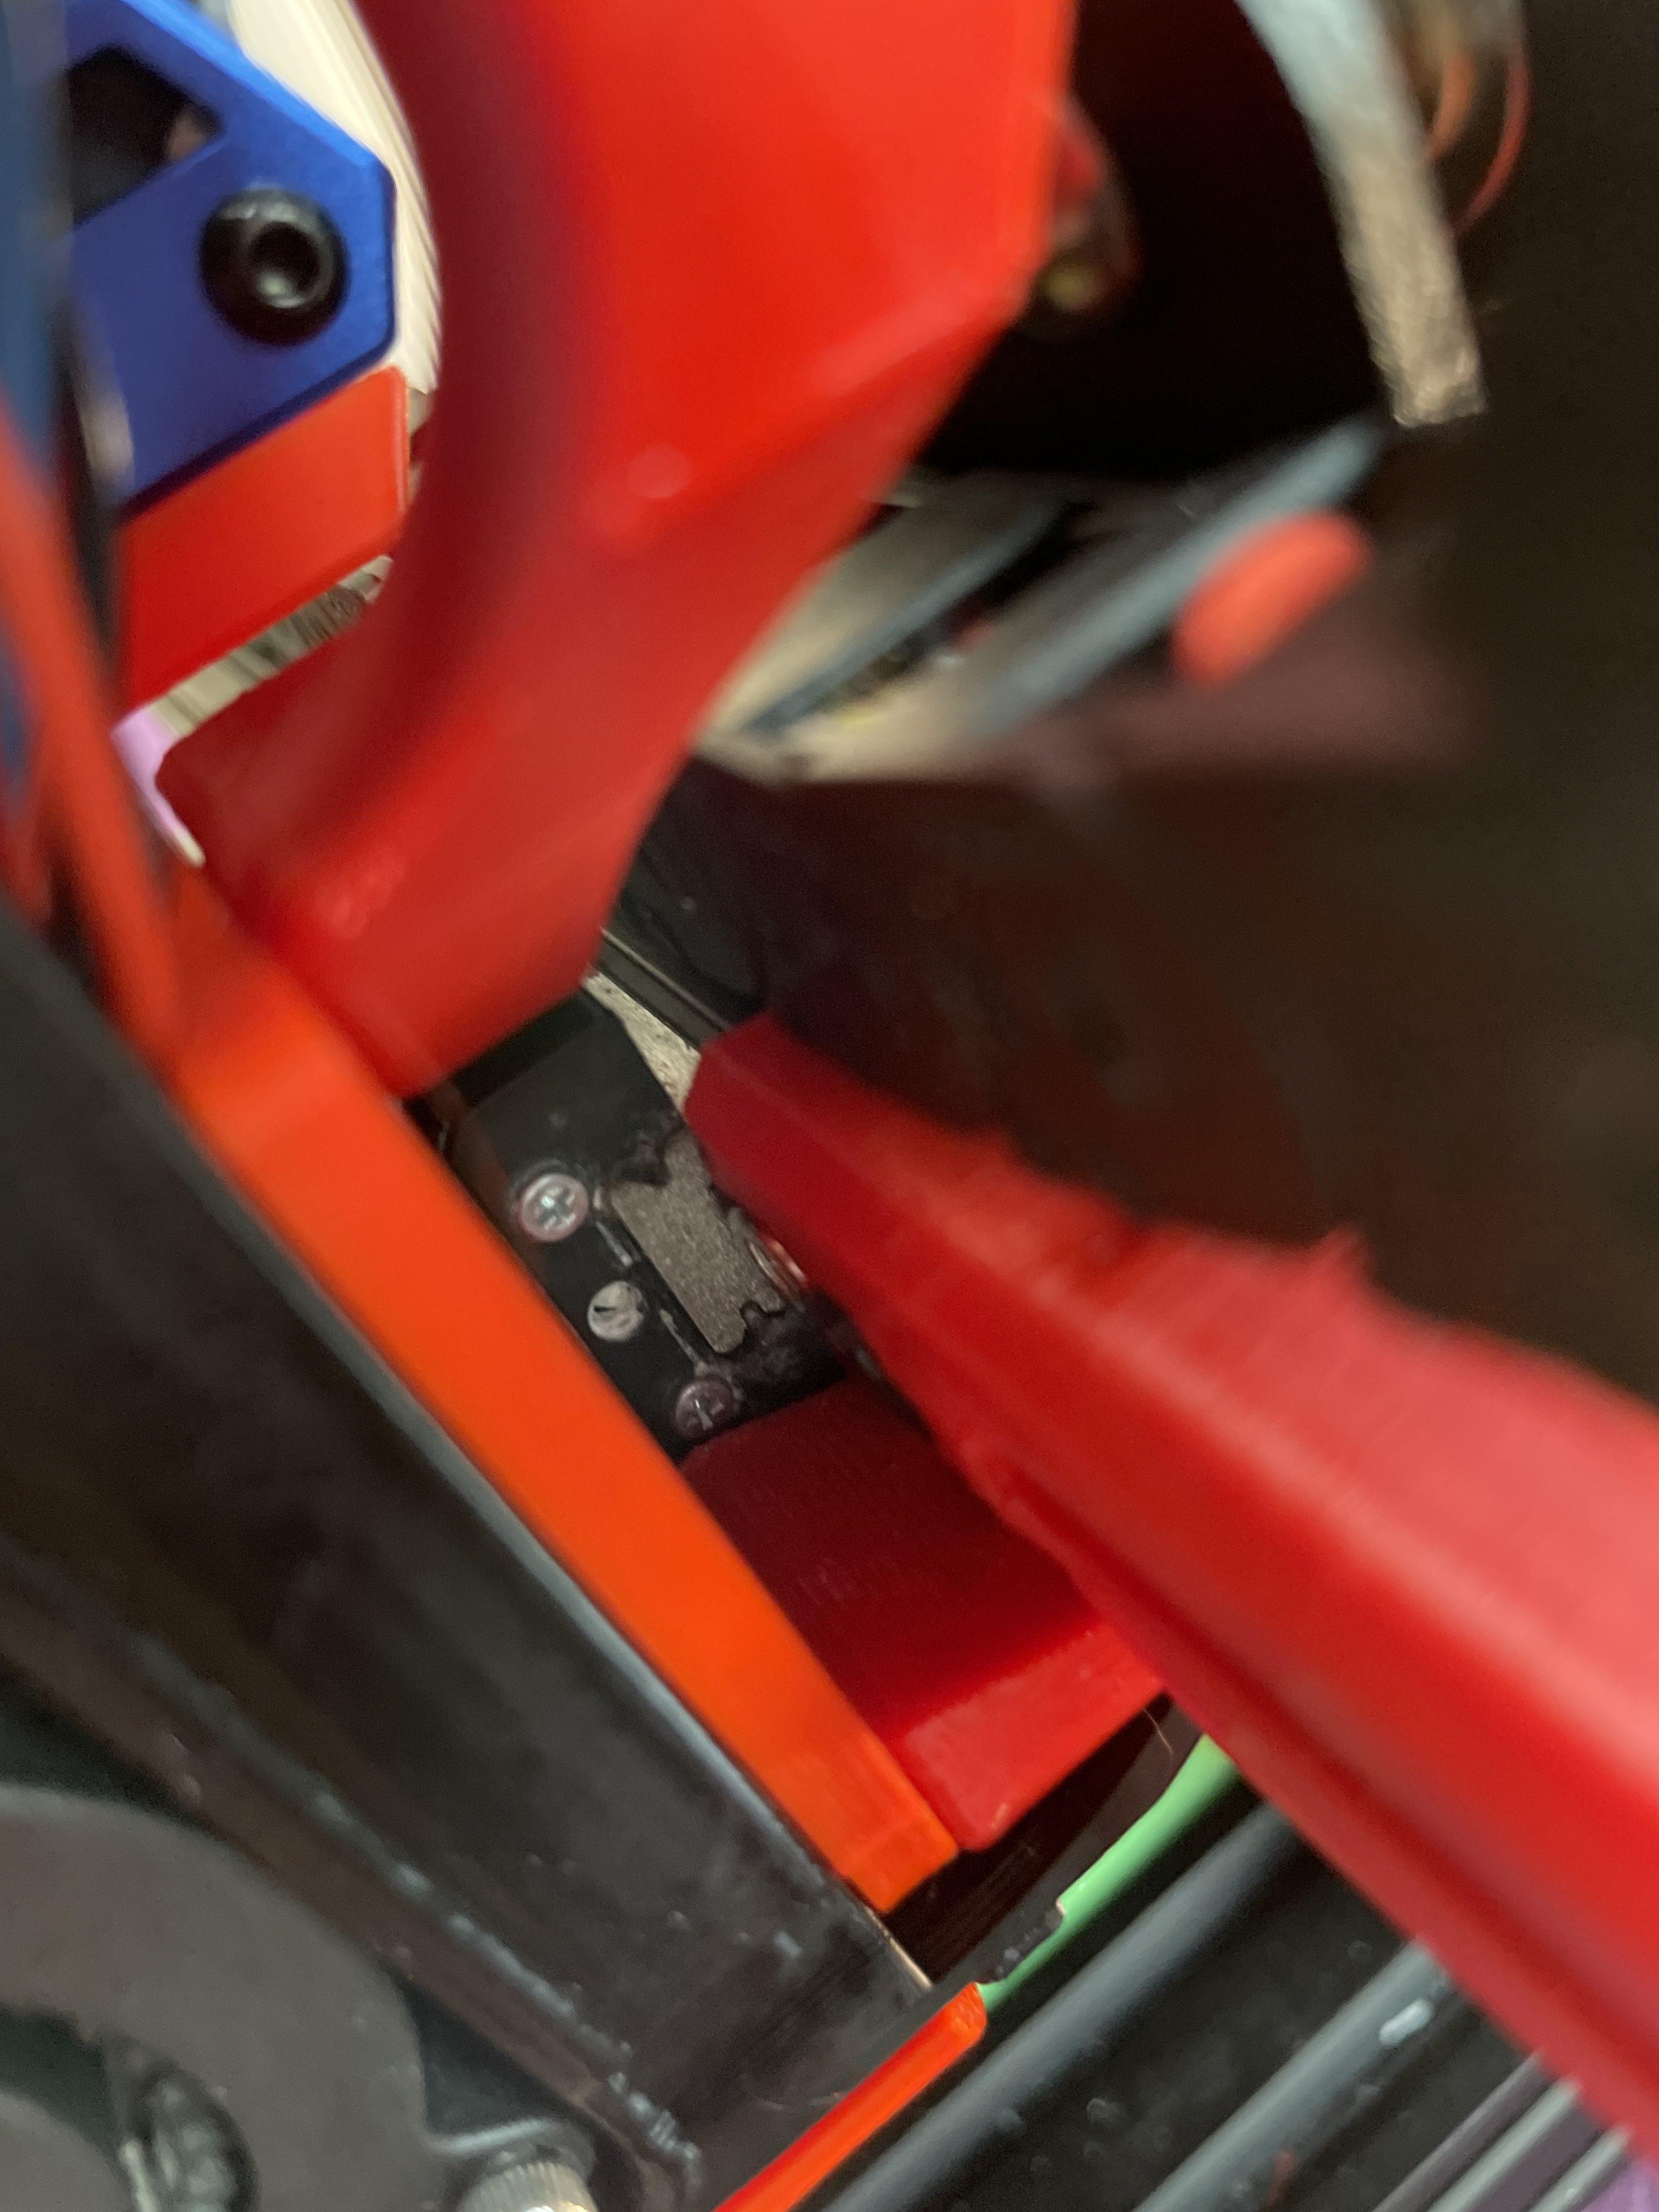
As far as I know all three iteration of the ender3, e3pro and e3v2 have a threaded hole at the end of the extrusion (used to secure the X/Z wheel plate). The stock ender3v2 tensioner relies on it, and I did the same, you can use the ender3v2 stock screws.
For other printers or if you lost the stock screws, front one is meant for a countersunk screw about 10~12mm long
And the back screw (not seen on the render above) is a button head, but you can use a head socket, and is also about 12mm long.
Once secured they should be threaded into the X extrusion but short enough to not hit the opposite screw.
STEP file is included in the zip, but for the different variation of the inner sleds the STEP are in the Y axis tensioner I made.
-----
Install:
Mount the tensioner.
Move the rail against the tensioner (or just about), and you should not be derailing on either side.
Two models are included, one that is labeled safe, and one labeled extended that is meant for extra 5mm derailing move, just before the ball bearing are exposed (and potentially fall off)
-----
If on cable chains, To gain full X move, you might need to add a few extra chain links (had to add 3), and need a new apollo side chain mount (to avoid hitting a screw), included here for your convenience.
-----
On my setup, my x endstop position is set to -1 (nozzle is above the bed, about 3~5mm inside), and max X is now 253mm
Files