Home
Home

 Artists
 Search
 Recent
 Random
 Posts
Posts
 DMs
DMs
 Tags
Tags
 Random
 Importer
 Import
 FAQ
FAQ
 Account
 Register
 Favorites
 Login
Login

X axis linear rail adapter plate ender3/pro/v2/max (MGN12H & MGN9H) (Patreon)
Downloads
Content
I don't recommend using this with the Apollo, as the Apollo has direct mount to front mounted rail (unlike the Saturn)
For a top mounted rail the Apollo support the wambam plate.
-------
Aug 8th:
- added STEP file for the ender3 riser
ender3_riser.step
May 27th:
- Added STEP files for the mounts
- ender3 model (9H and 12H) with rotated print orientation needed a small tweak if you already printed it file down the back corner by 1mm, otherwise it hits the frame before triggering the endstop (sorry about that!)
X_axis_MGN12H_ender3_pro_v2_2022-05-27.zip
X_axis_MGN9H_ender3_pro_v2_2022-05-27.zip

May 11th:
- MGN9H riser added, I don't have mgn9 rail dimensions (specifically edge to first hole center), so let me know if mount hole position have to be adjusted.
May 10th:
- Prototype for ender 5, no riser needed - Ender5_prototype_MGN12H.stl - BottomSpacer.stl for lower screw in case hole is larger like ender3
- New print orientation works great and very solid, removed the old one.
Had to print it with a 10mm brim (print in PETG or better.) - MGN9H plate for max (riser coming soon)
May 8th:
- New print orientation of the interface for increased strength, leaving the old one temporarily as the new one gets printed and tested, but otherwise recommended.
(ender6 hasn't been updated, other model have)
May 5th:
- Ender 3 Max - added 375mm and 350mm support, and fix on 400mm
- by request, Ender3_pro_v2 mgn9h + mount for those chains (https://www.thingiverse.com/thing:4569492 ) , needs one heat insert and one M3x6

May 2nd:
- Update Ender3 Max backplate
May 1st:
- Updated the riser length bit, the medium tolerances is the default model now, and repackaged in zip files, cleaned up the instructions
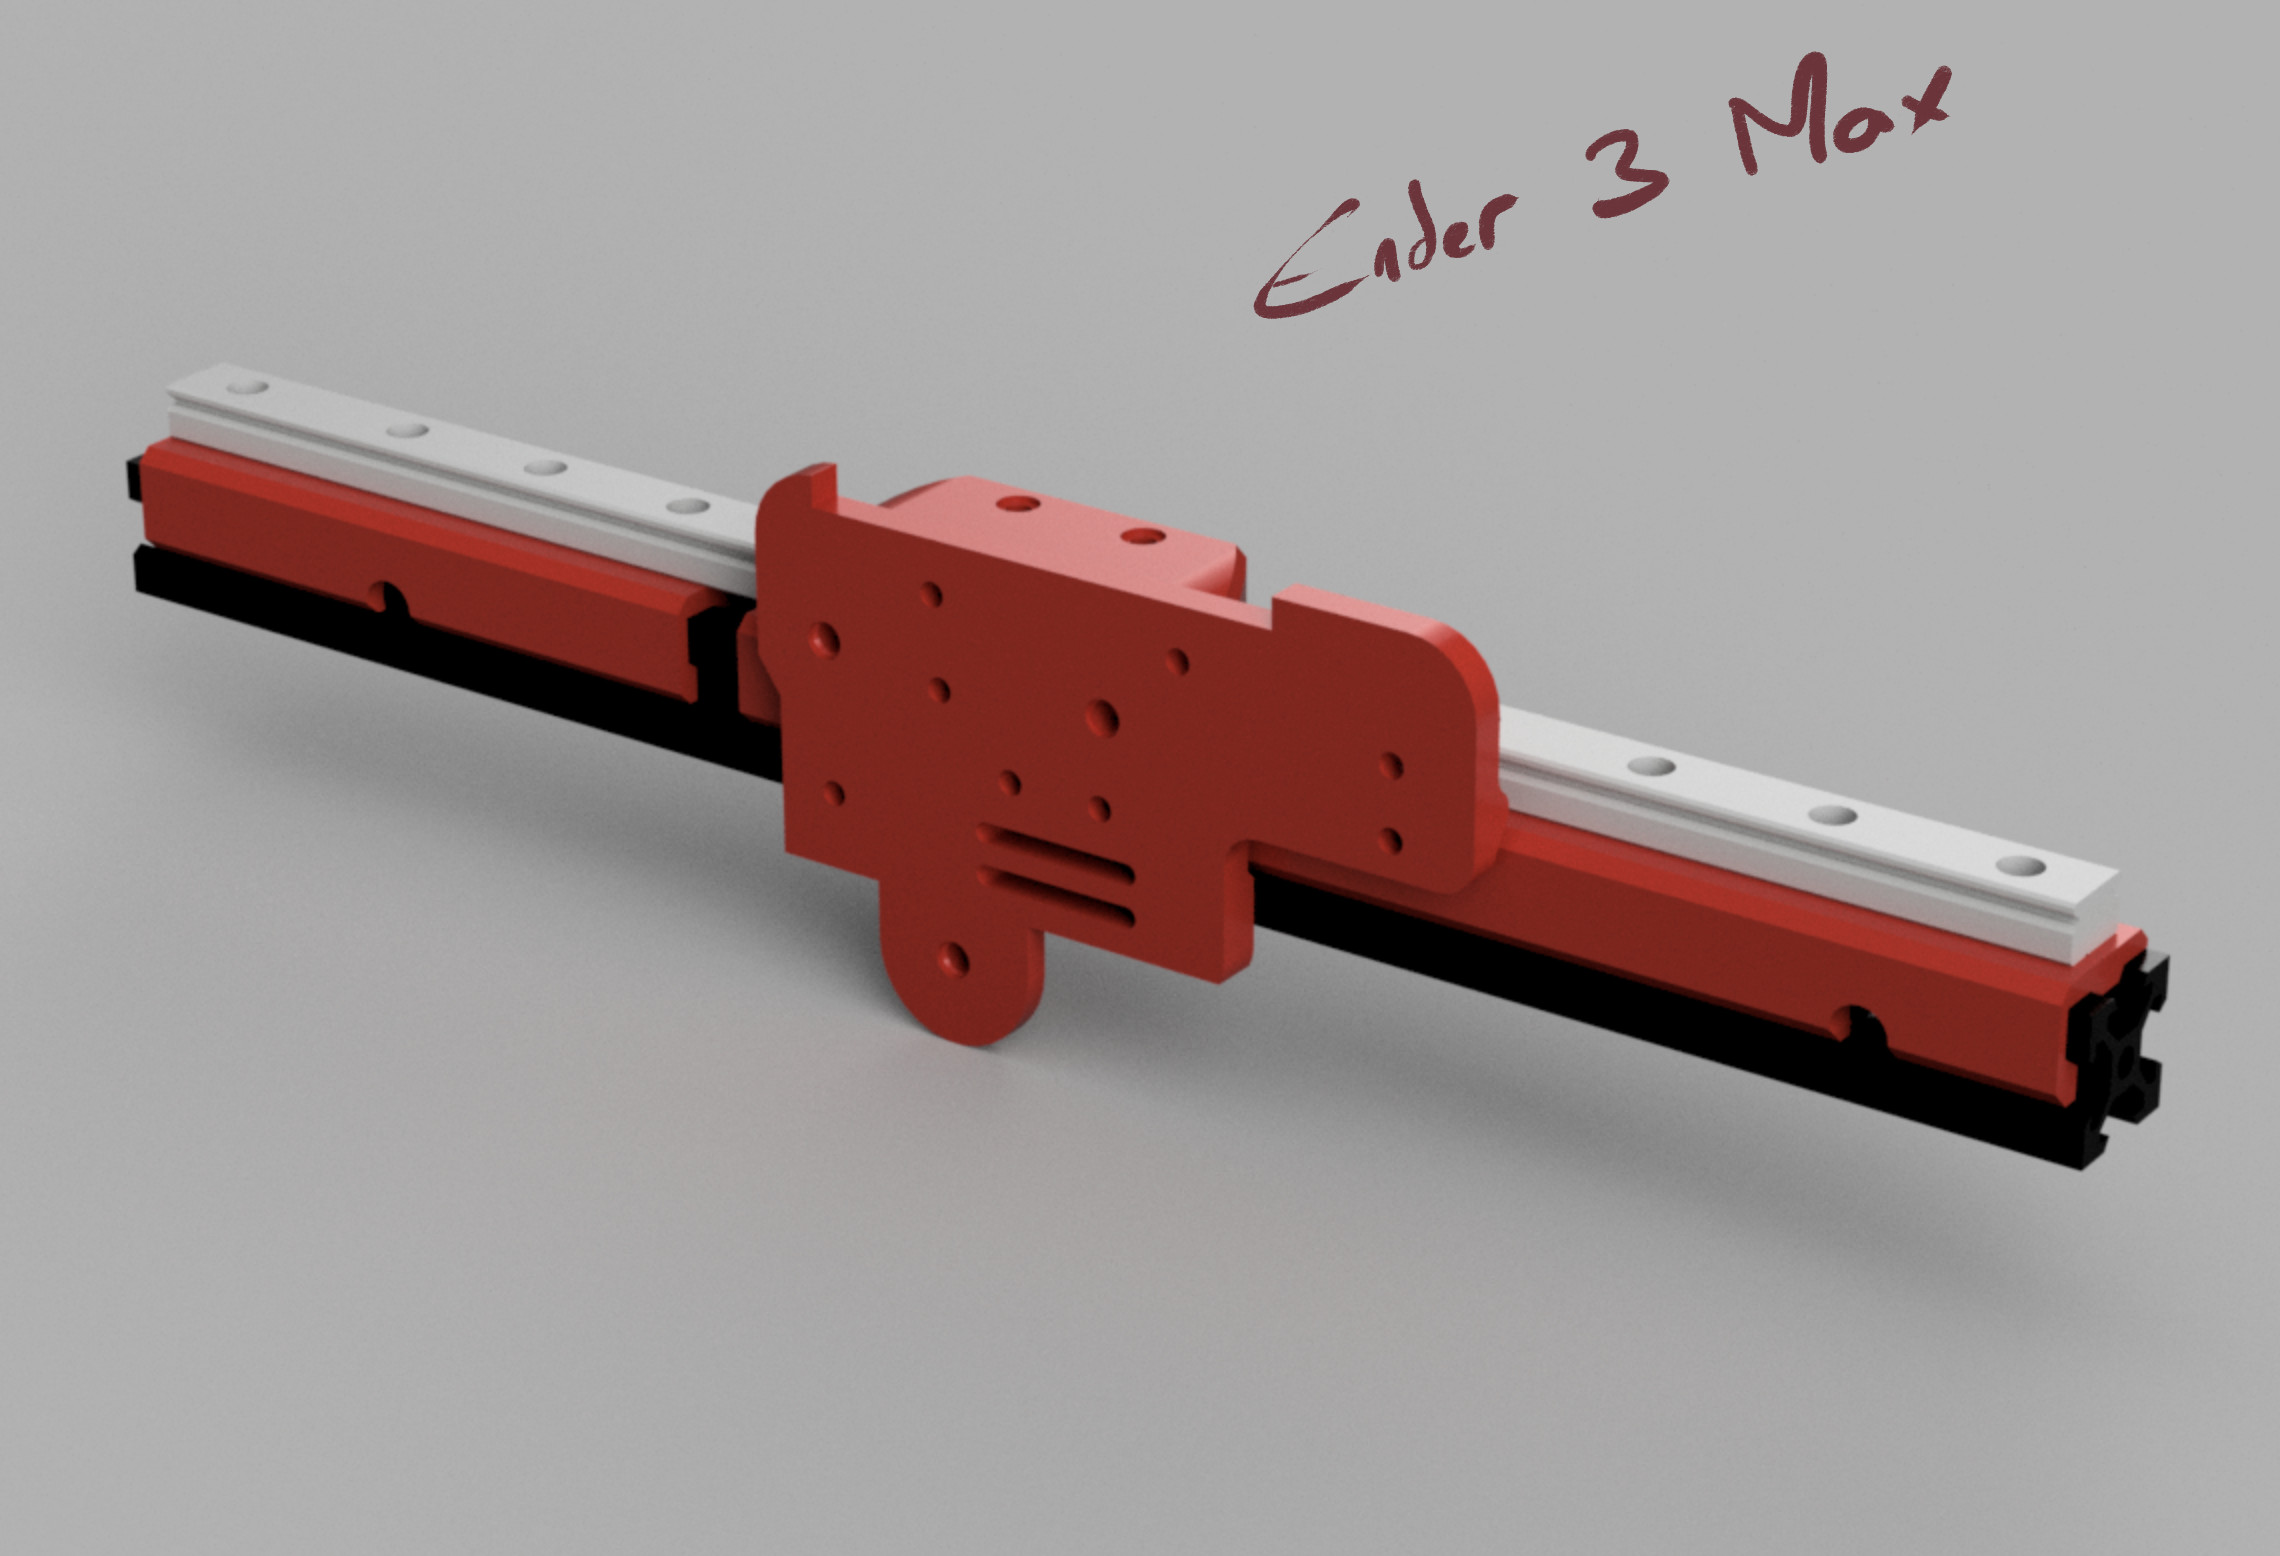
- Ender3/pro/v2 riser and plate - MGN12H (for 325mm and 300mm) -X_axis_MGN12H_ender3_pro
- Ender3Max riser and plate - MGN12H (for 400mm) - X_axis_MGN12H_ender3max
Apr 30:
- Ender3/pro/v2 riser and plate - MGN9H (for 320mm and 300mm)
Apr 27:
- Ender3Max riser and plate - small fix
Apr 26:
- Medium rail tolerance, recommended tolerance
Apr 23:
- Ender3Max riser in one long piece — untested
- Ender6 plate (use as many "Riser - Center" as you need for the rail mount riser — for 300mm rail, use 4 of them, they have 3 mounting holes each — untested
Apr 22:
- Looser tolerance on the risers, to make the install easier (can be snapped on)
- added a hole I missed on the right side riser
Apr 21:
- small fix on heat inserts holes, old ones were ok, these are better
- Ender3Max plate - untested
--------
X shift is about 3.5mm down
Y shift is about 5mm forward
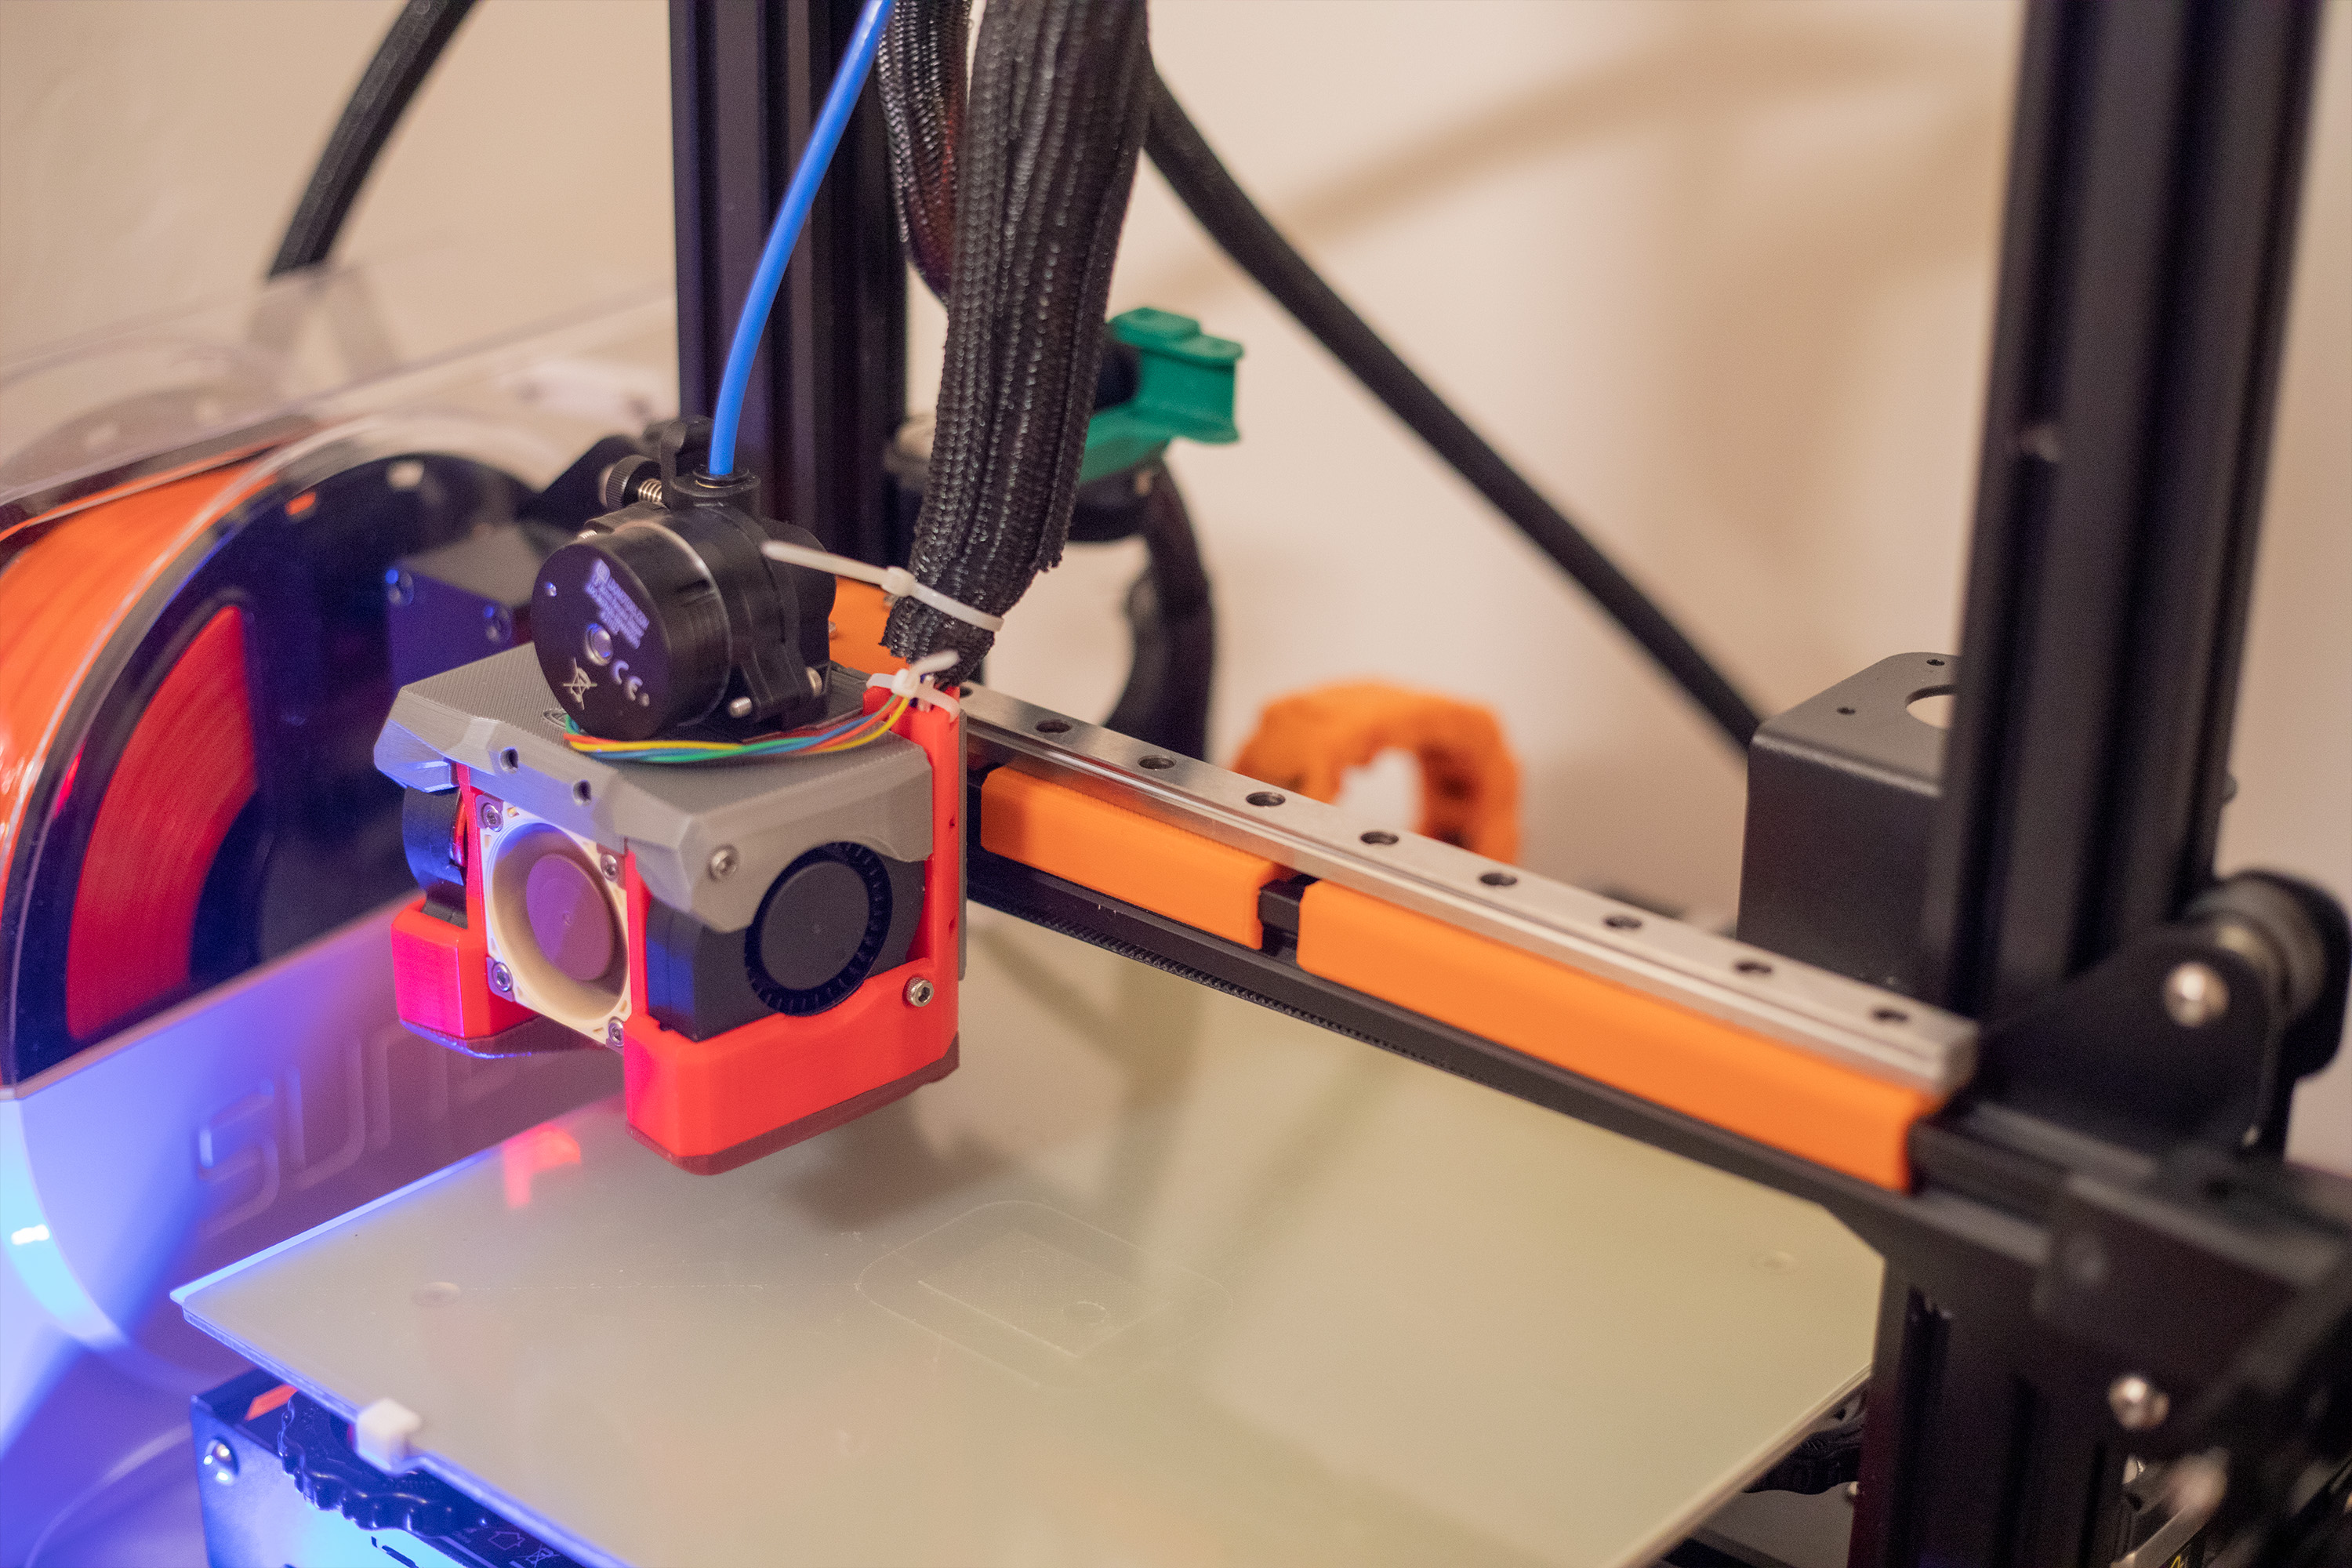
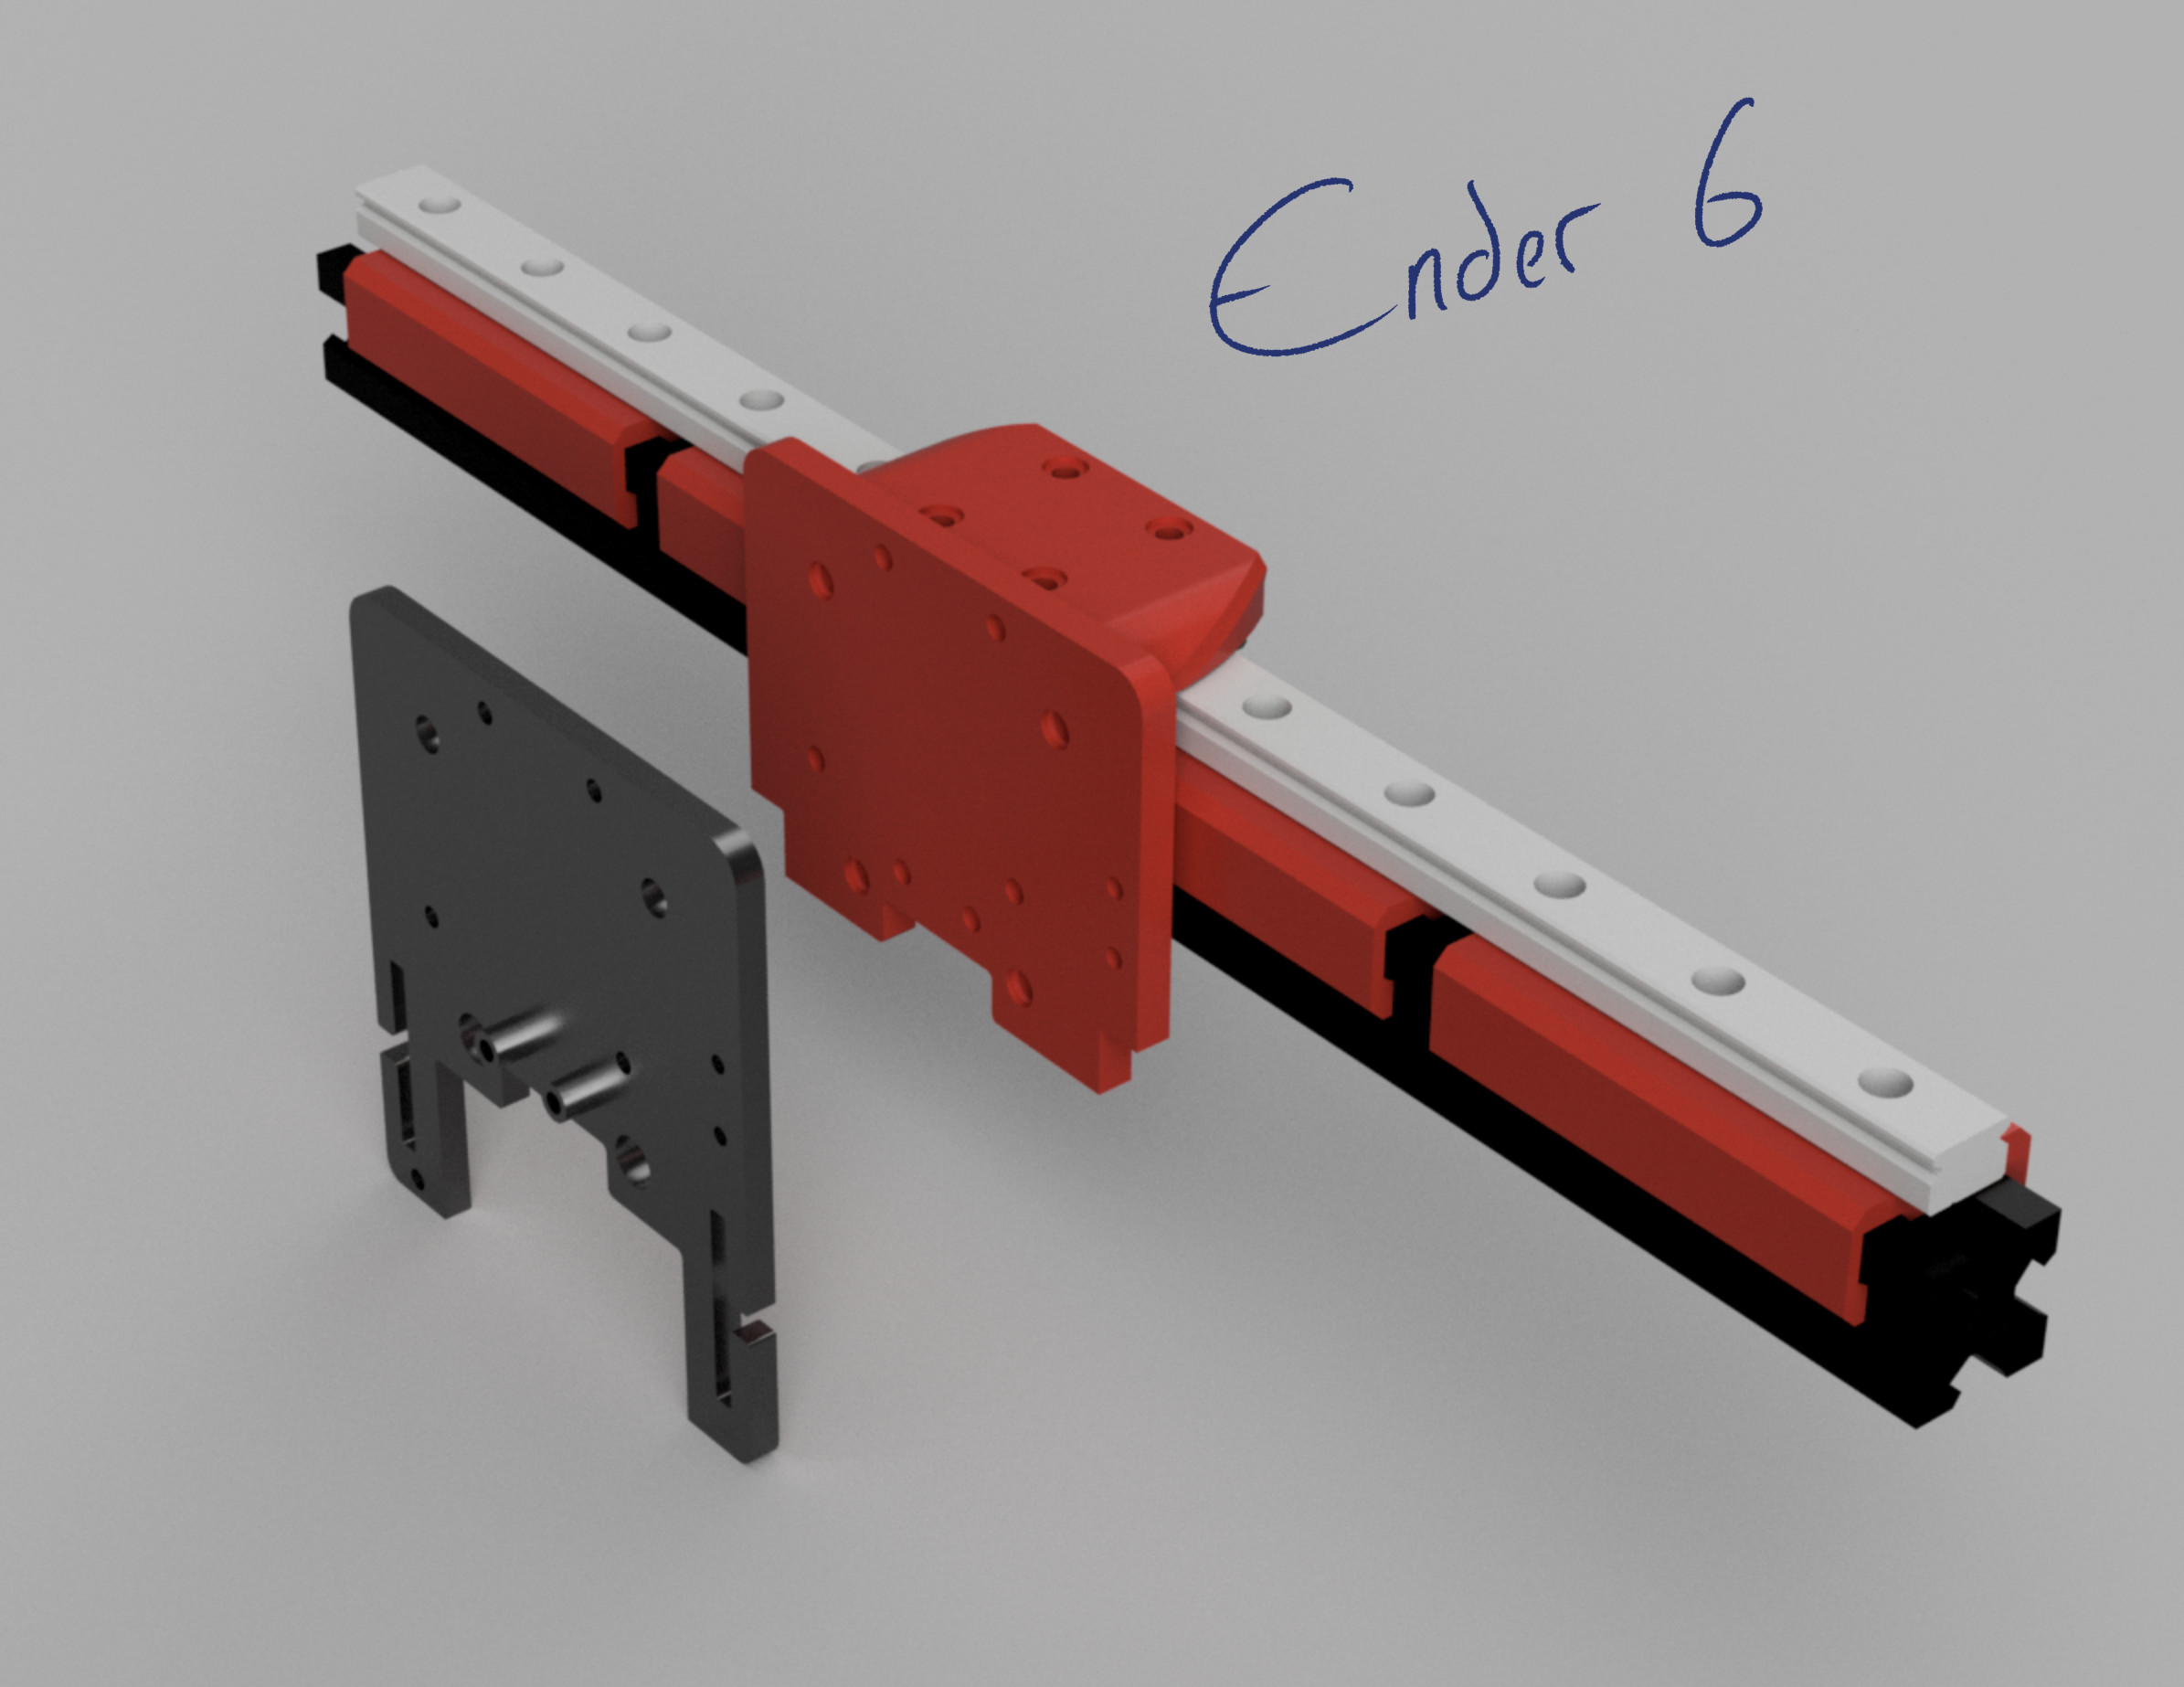
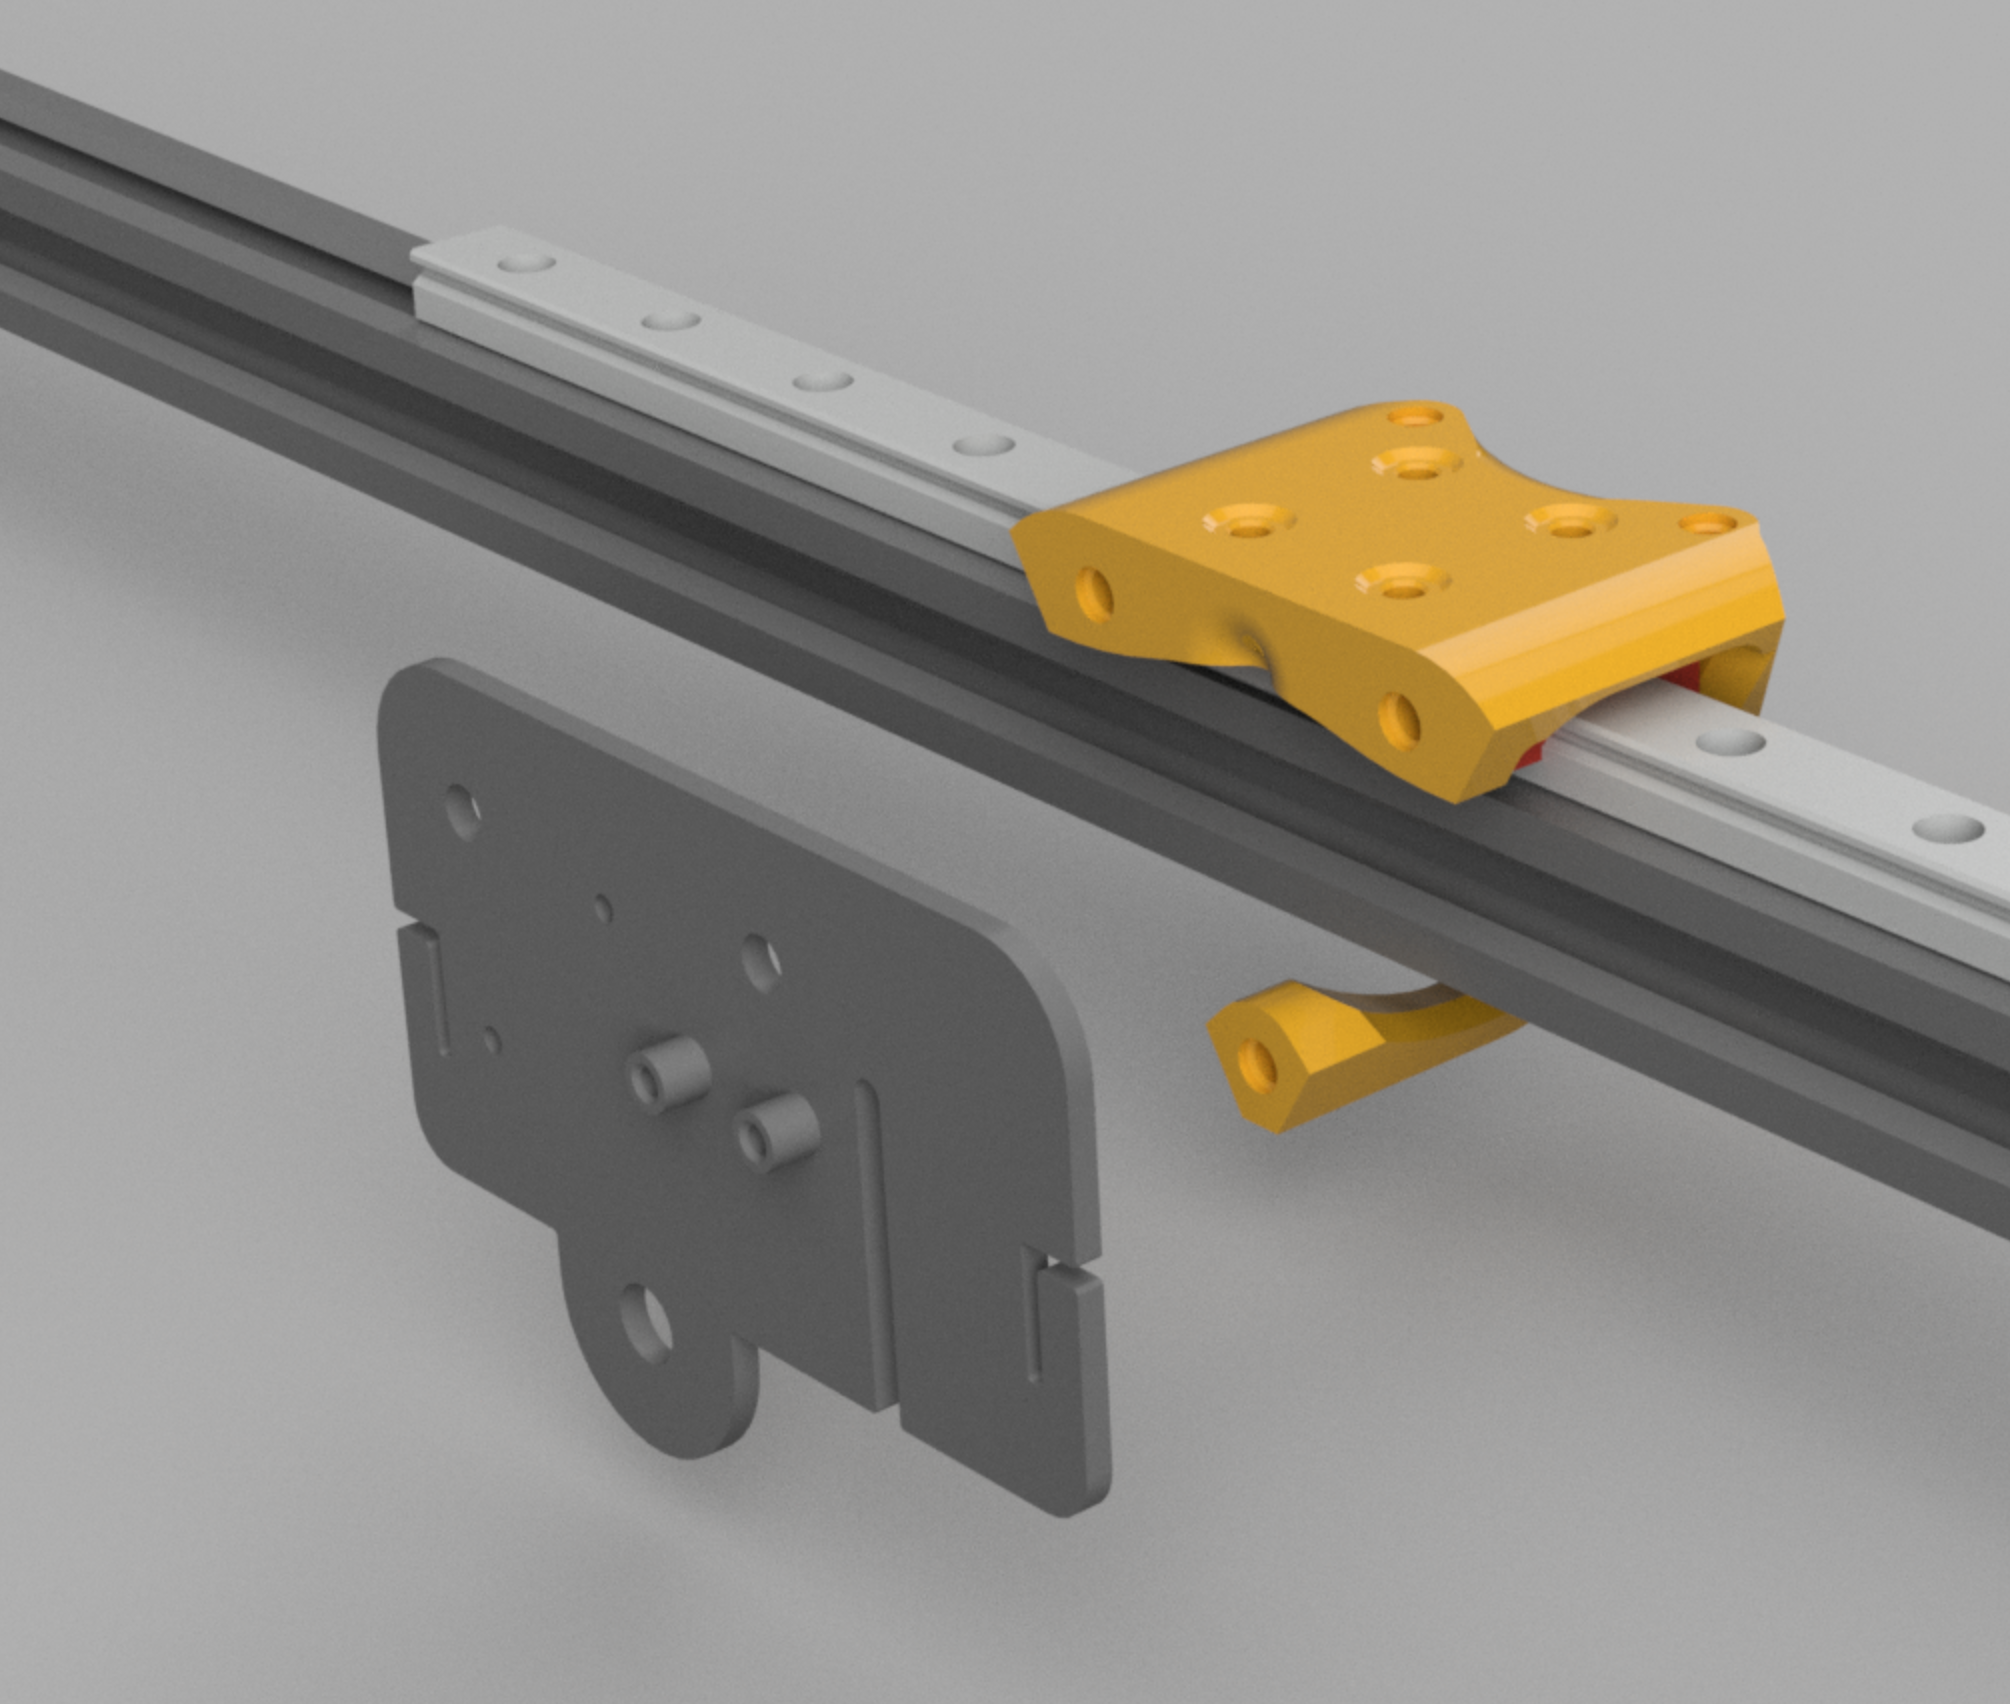
I initially went with a top mounted rail setup, because it doesn't require any modification to the shroud mounting setup. and using the metal plate give strength to the belt attachment.
These are the rail I'm using (the recommended cheap alternative brand/vendor from the Voron team) and request medium preload Aliexpress
(medium preload won't be as loose, but will be more rigid with tighter tolerance )
Easy install, can slide or be snapped on in most cases.
Print in PETG, ABS or better, don't know how PLA would handle this.
no support needed, use 3 walls or more and high infill.
Printed mine at 0.3mm layer hight on a 0.4mm nozzle
Heat inserts: (15+ total)
M3
4.6~5mm Outer Diameter.
3~4mm long.
- x12+ for mounting the rail to the riser
- x3 for mounting metal plate
Screws:
- x12+ M3x8 for mounting rail. (m3x6 will work but won't have as much bite into the heat inserts, so only as a last resort)
- x4 M3x6 for mounting interface plate to carriage
- x2 M3x6 for mounting metal plate ( upper screws) + 2 flat washer
- x1 M3x8 for mounting metal plate( lower screw) + printer Spacer
- x6 M3x8 or M3x10 for securing the riser with t-nuts
T nuts:
- x6 M3 2020 t-nuts to secure the riser, you porbbaly can get by with just one per riser.
This MIGHT requires partial unmounting the X aluminum extrusion to slide on the pieces from the right side. Depending on how your printer tolerance and layer adhesion are, snapping them on might work well, what I would recommend (if you only have one printer) is printing as second set of center riser, so you can try snapping it on, and if it breaks, you'll know you'll have to slide them from the side of the rail.
Ender6 model is the only untested one.
Renders might be a bit different from latest available model, but idea is the same
Step 0 - install the heat inserts

Step 1 - getting things ready on the printer
- remove shroud, and X gantry plate, remove wheels
- There is a chance that you can snap the riser on without further disassembly. otherwise do the next step
- unmount X axis extrusion. You don't have to take it completely off, only the right side - unscrew and removed the X tension block (remove hand wheel, and two screws on each side) - unscrew the screw holding the X axis extrusion - at that point the right side of the extrusion should be free - On the left side, partially undo the three nuts holding the three wheels, At that point you X aluminum extrusion should have enough play without bending or forcing anything to slide the printed risers from the right side.
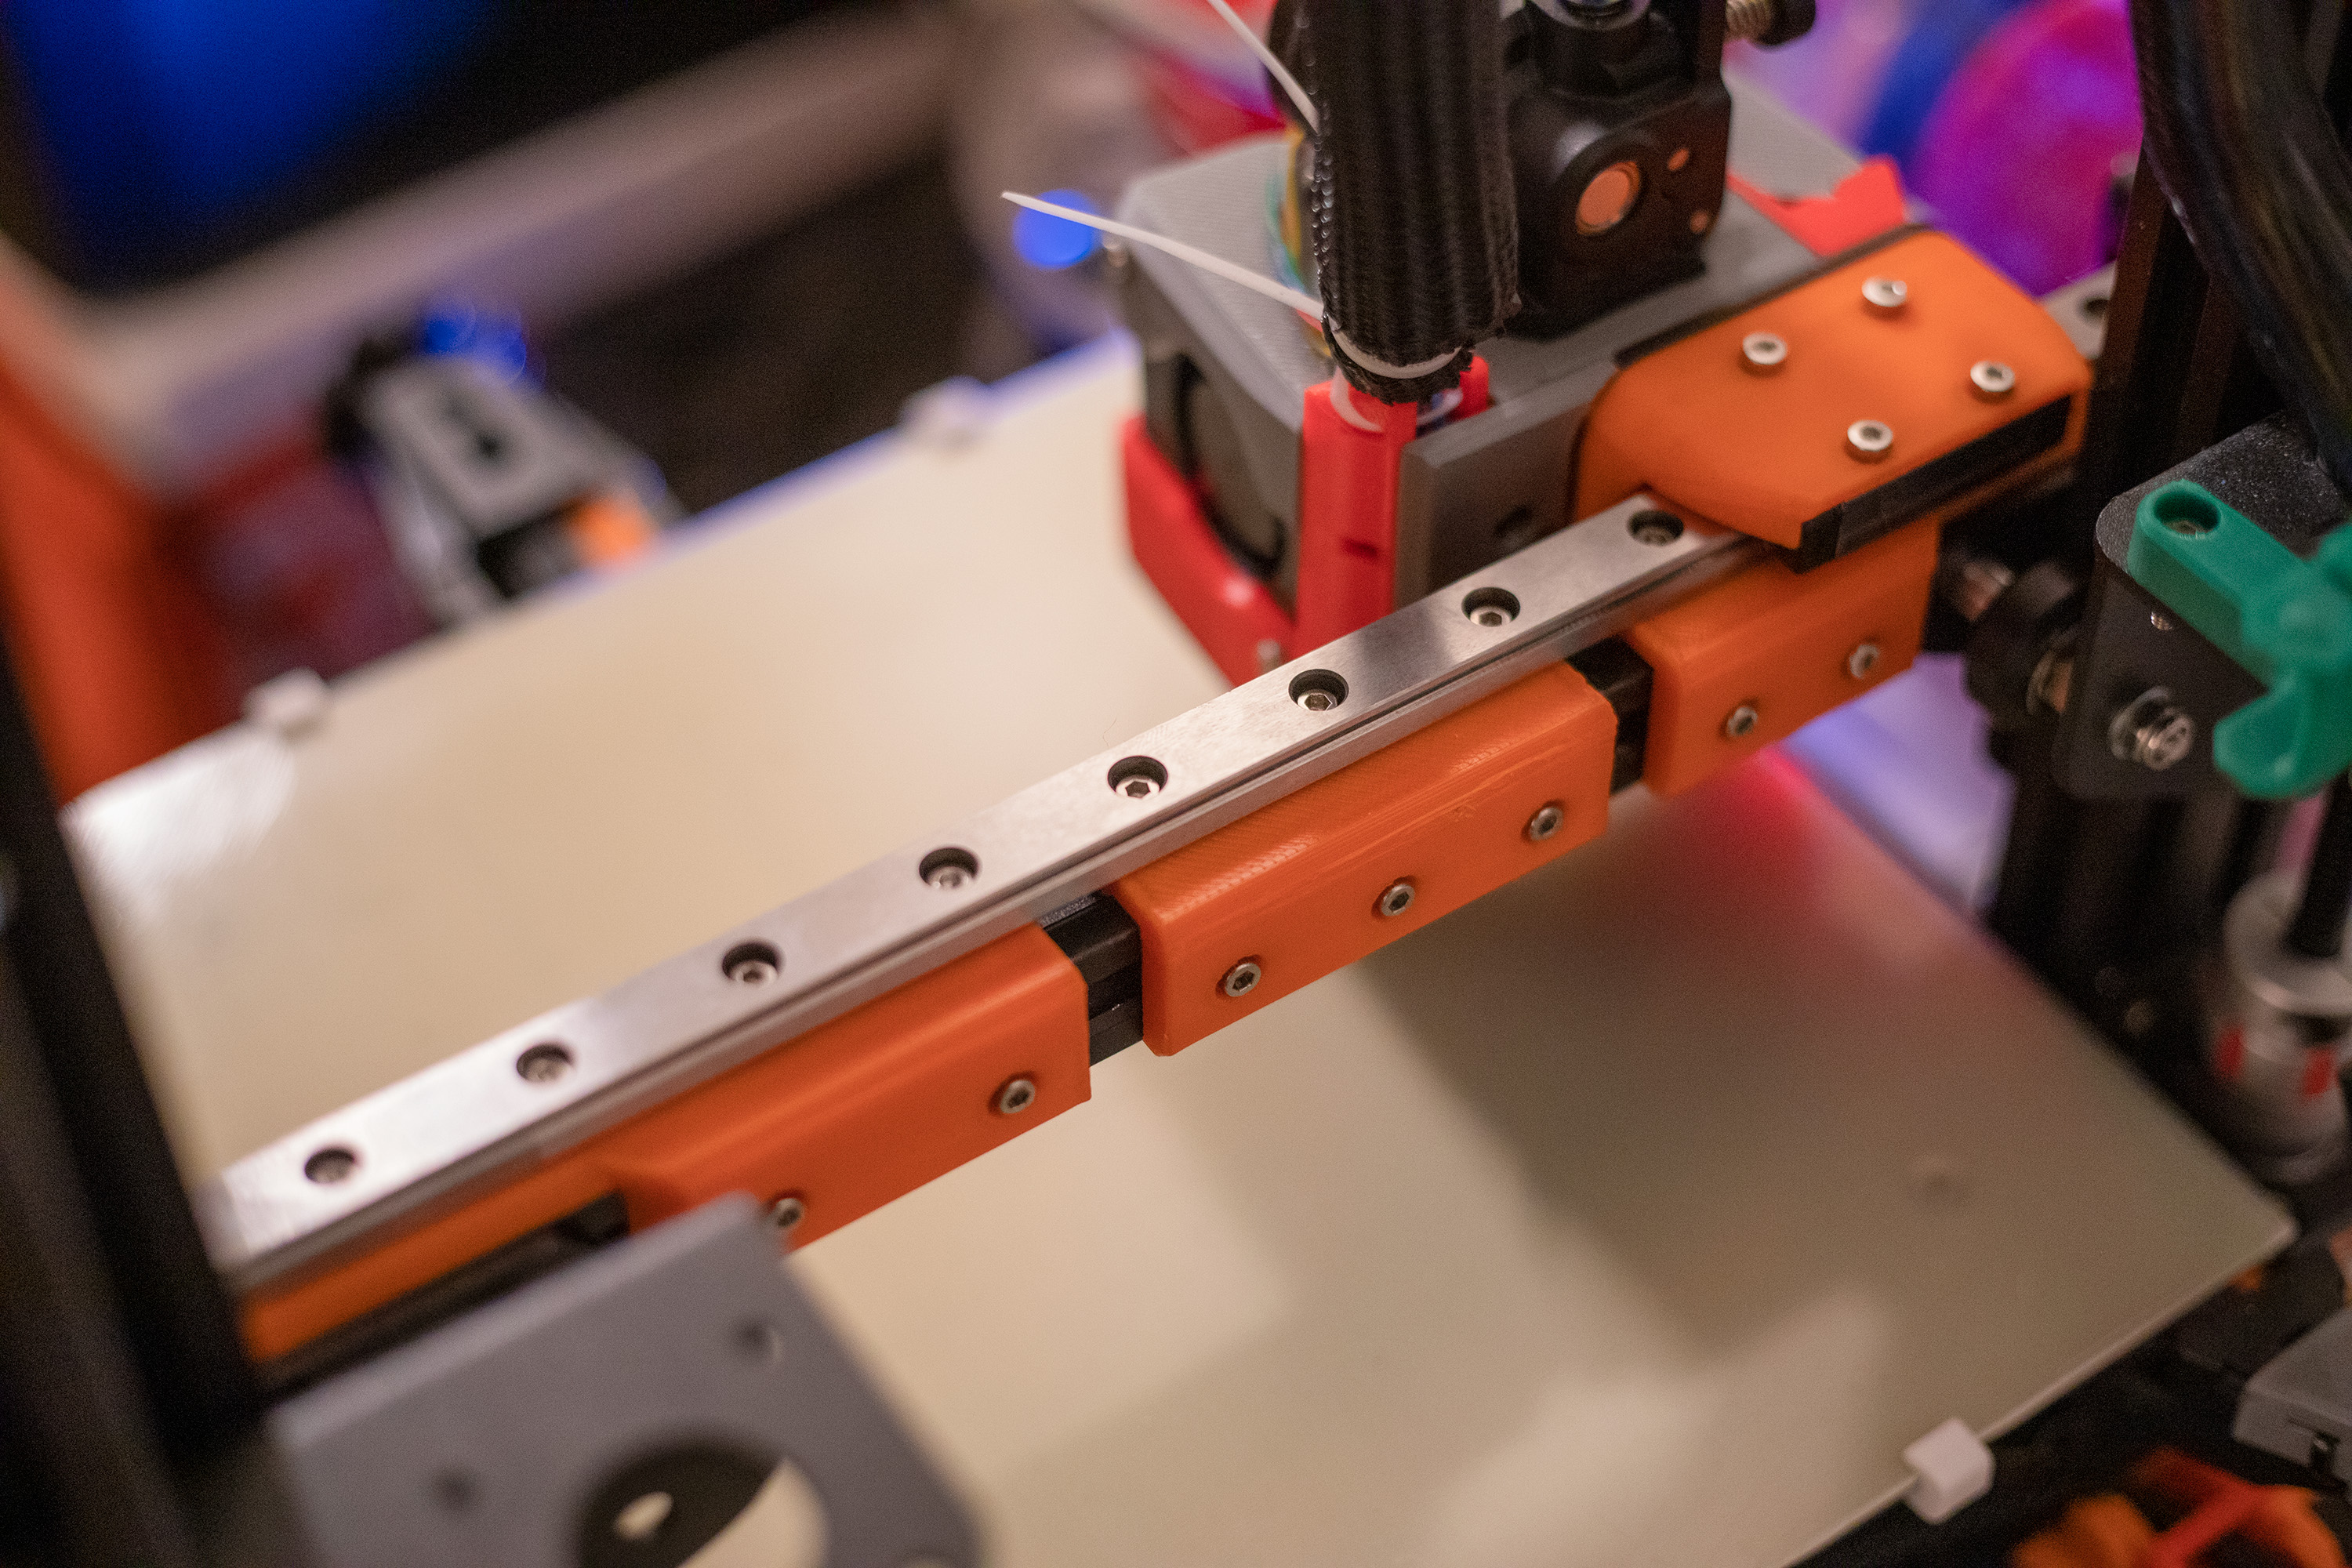
Step 2 - install the risers
WARNING, the side of the extrusion is really sharp, so be careful
- I recommend your install the riser first and add T-nuts after. You can slide or snap them on if your print is solid enough
- First riser will go all the way to the left. either touching the metal plate or 1mm away at most. There is a 2mm gap between the risers.
- You can now slide t-nuts use hex tool or something to align them and partially screw in the screws
- place your linear rail on top, you can partially screw the linear rail onto the left riser , and adjust the center and right riser to line them up to the linear rail mounting holes.
- tighten up everything. printer frame, rail and t-nuts and any affected eccentric nuts

Step 3 - mount your shroud
- For the upper screws (where the wheels axle were), user an m3 washer and M3x6 to secure the metal plate to the rail adapter
- For the lower screw use the printed BottomSpacer and an M3x8
- On ender3v2 only before mounting the adapter to the rail, there is one screw that attaches to the Saturn backplate through the back
- then you can either mount the adapter to the rail, using x4 M3x6 screws, or mount the shroud first and attach to the rail last, either way works.
- mount the Saturn as you would normally do. You can use slightly longer screws for the hotend area, and the one behind the left fan, but that's totally optional. they will lightly bite onto the rail adapter
Files