Home
Home

 Artists
 Search
 Recent
 Random
 Posts
Posts
 DMs
DMs
 Tags
Tags
 Random
 Importer
 Import
 FAQ
FAQ
 Account
 Register
 Favorites
 Login
Login

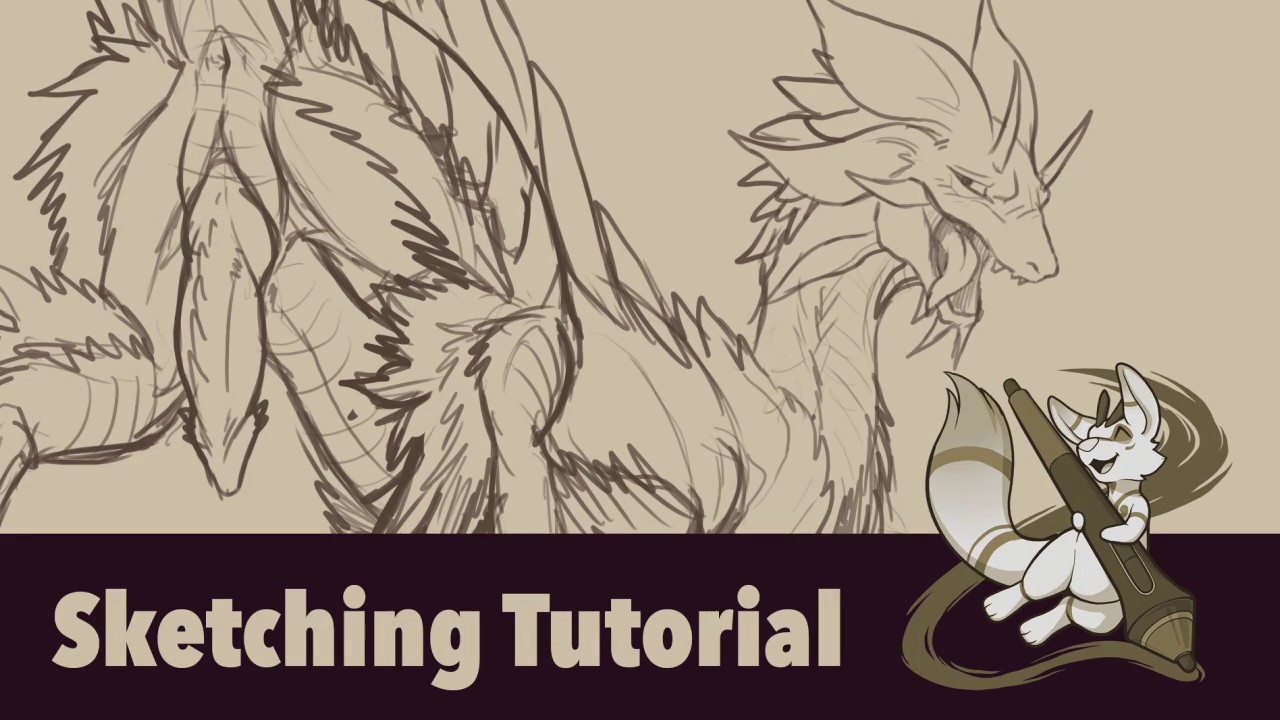
September Tutorial: Sketching (Patreon)
Content
The sketching phase of an image is one of the most important steps of creating an image, since it shall work as the “bones” or main structure of your final image, a good sketch will help you create a better image and save you lots of time editing pose and composition later on if done right ^^
Before we even begin sketching I suggest having a clear goal in mind, having a clear focus of what you want to achieve with this new drawing. For example, think of what you want the viewers to feel when they see the image, what personality traits do you want to emphasize, how the characters would react in this scenario, etc… Its also possible that you already have a very clear idea in mind, down to even the poses, but I find that having some wriggling space can help the creative juices flow ^^
Ok! I shall now show you the methodology I use to make my sketches, keep in mind there are a ton of other methods to do this, so I encourage you to try out multiple ones and use the one that feels best for you ^^
Step one Gesture/thumbnail:

I usually begin with one simple line, doing my best to represent the pose or action with it, conveying some of the movement of the character into it. This is what is usually called a “Line of action” you can get a ton of examples by googling that ^^. I usually imagine this is the place where the spine of my character will be, or close to it at least, so this already helps me manage the size of the character within the composition.
After this I draw 3 ovoids, each representing the head, the chest and the hips respectively, at this point its important to think of the image as a 3D scene, so the size and shape of these ovoid will already be affected by this.
Once I have these shapes in place I draw a very quick sketch on top of them, at this stage I’m not paying attention to the small details, I’m thinking more on the “gesture” of the image, the “idea” behind it all, and doing my best to convey it. Hence this stage tends to be quite messy XD but this is the point when I also add a rough idea of what the expression will be as well. The idea here is for the whole thing up to this stage to be something you can do fast, as some sort of “graphic brainstorming” just bringing up the idea to life, at this stage it doesn’t matter if it doesn’t look “presentable” this is for your eyes only, as long as you understand them, these “thumbnails” work just fine!

I tend to do at least a few of these for each image, I tend to find that the more of these you make, the more interesting ideas you come up with! So i recommend doing at least 3 for each idea you have ^^ (sometimes the first idea will still get chosen, but I tend to find that usually it's the later thumbnails that make it into my final drawings ^^).
Things to take into account in this stage:
- Silhouette (having a strong silhouette will strengthen your image/pose! Some people even do their thumbnails using just silhouettes!)
- Intentionality (make sure it DOES convey what you want it to convey! If you want a character to be “dominant” he must FEEL like it just by looking at him)
- Believability: Hey that pose looks awesome, but can the body really twist like that? And are the proportions correct?
Step two: Fleshing things out
Ok! You have chosen the winning thumbnail! What now? Well in the last stage you focused on the general, it's time to go onto the specific! I usually just lower the opacity of the thumbnail and draw the final sketch over it. The thumbnail already serves as my guide for the general proportions of the character, so I don’t have to worry about those that much, and can instead focus on getting the details this time.
I usually do 2 passes on this; I first do a quick version of the sketch correcting the things I don’t like about the thumbnail, and adding the places where the details will go, and then I paint the final sketch over this. It's important to know that you can do as many “passes” as you need! The more complex the pose, the more detailed the character, etc… the more sketches you may need to do before you get to the final result.

Note: do NOT let your thumbnail cage you in!!!! Do not just paint directly over the lines you have there, it's supposed to serve as your guide only, so don’t be afraid to draw things differently over it ^^
Ok, I have used a few image examples here, but I also have one video showing the whole process from start to finish, so things are more clear ^^ you can see it at the top of this post ^^
Finally, if you’re having issues with sketching, I suggest doing Gesture Drawings, use a tool like this one: https://line-of-action.com/
You will need to create fast gesture drawings of the pose you’re looking at ^^ (they usually give you 30 secs or one minute per pose for this) you will need to follow the same steps, starting by finding the line of action, adding the placement of head, chest and hips, and ending with the limb placement. Practicing this will help you with proportions and understanding how the body bends, in order to create interesting poses!
And remember if you guys have any questions I’ll be happy to answer! I hope this quick tutorial helped you!
-Tiesci