Home
Home

 Artists
 Search
 Recent
 Random
 Posts
Posts
 DMs
DMs
 Tags
Tags
 Random
 Importer
 Import
 FAQ
FAQ
 Account
 Register
 Favorites
 Login
Login

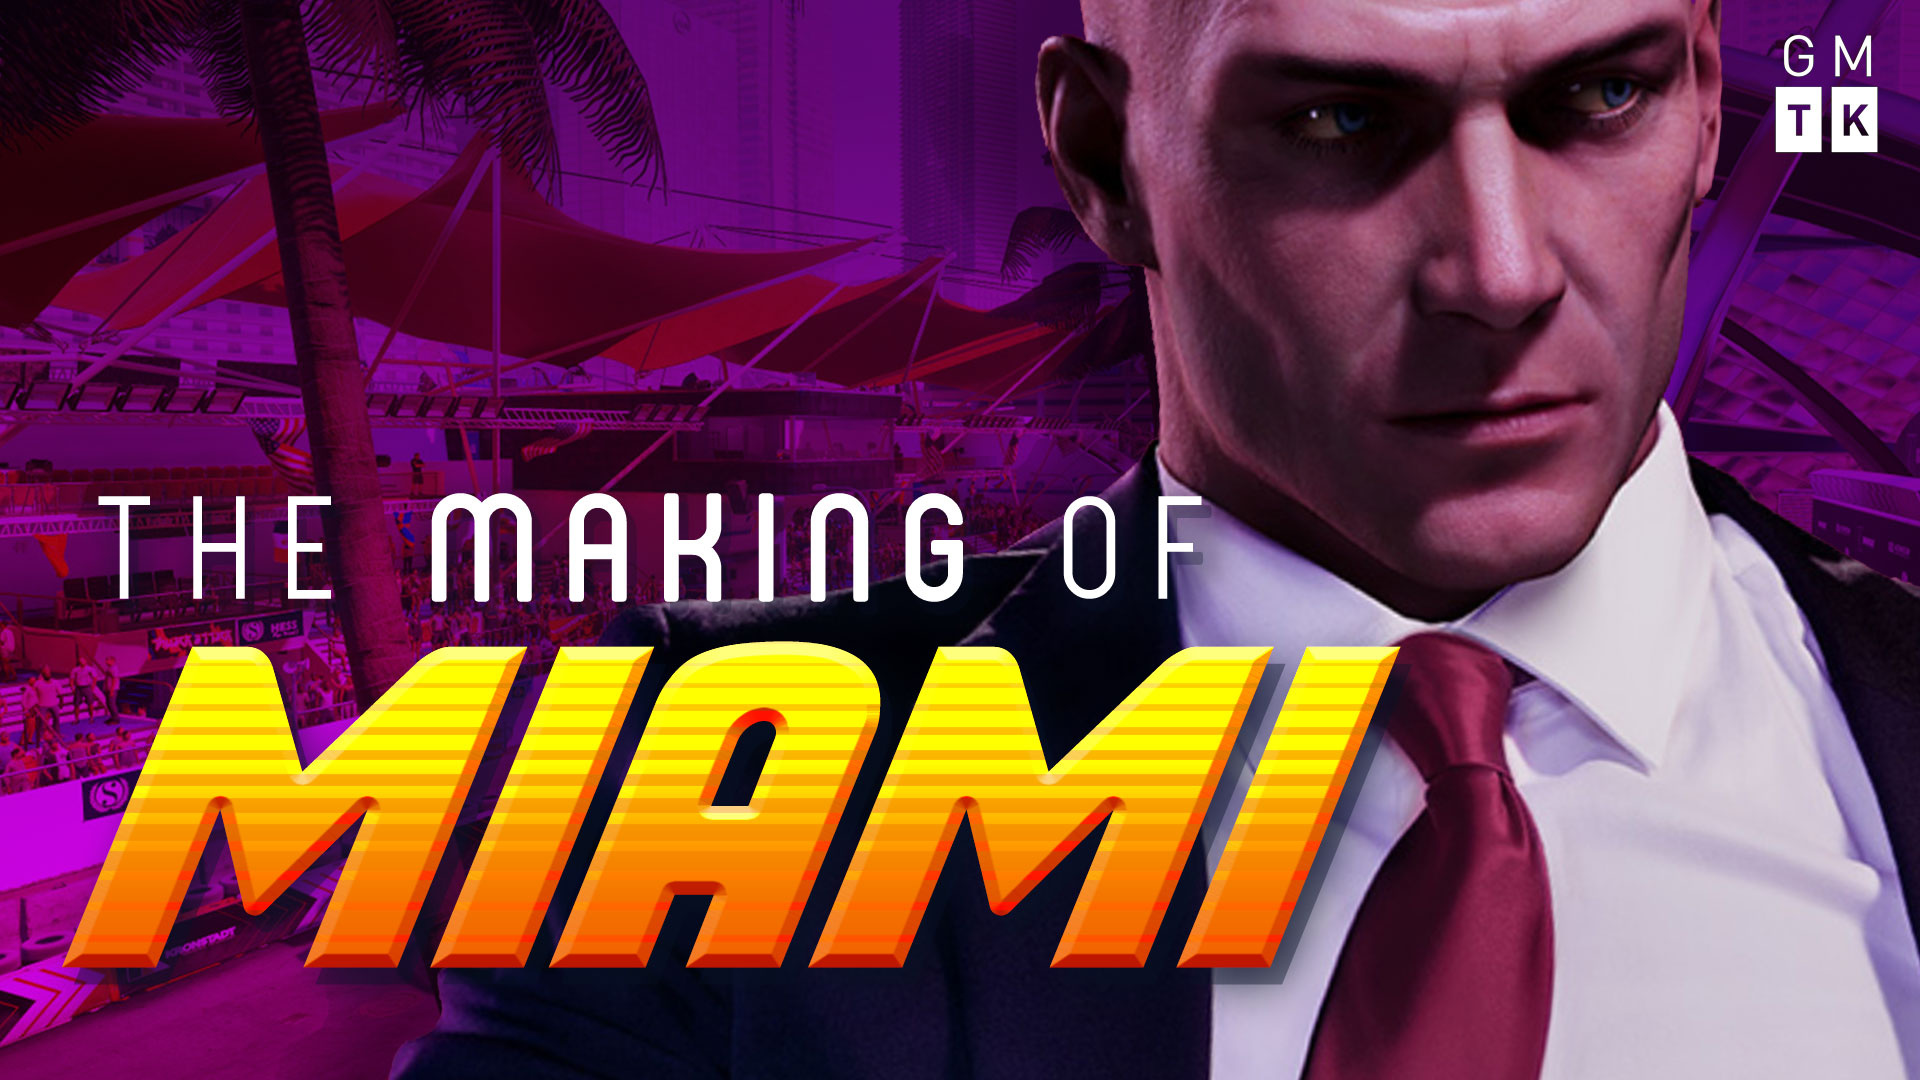
The Making of The Making of Miami (Patreon)
Content
Hello!
Today I released one of the most ambitious videos I’ve done in a long time: a chunky 20 minute deep dive into a single Hitman level, complete with loads of graphics, different maps, an interview with the designers, and almost 100% unique footage.
So let me tell you some stuff about how this video was put together.
Set up
Back in November, a PR firm asked me if I wanted a free copy of Hitman 2. I said yes*. And then I suggested that I could chat to the developers at IO about how they go about making one of their levels.
Unfortunately, the games industry is about as complex as a Kingdom Hearts story so I asked the PR, and they asked the publisher, and they asked the developer - who replied to the publisher who replied to the PR who replied to me.
You can see why it took a couple months to get a Skype call set up.
When we finally did, I chatted to Jakob and Eskil for over an hour about Hitman stuff - and tried to tease out as many details as possible about Miami, and Hitman level design in general.
Writing the script

So the next step was to cut the interview footage down to the bits I thought were most interesting, and then write a transcript of those sections. This meant I could write the rest of the script and drop in Jakob and Eskil’s words when I wanted more detail, or to relay an interesting anecdote.
I’ve written lots of articles with developer voices during my journalism days, and I’ve spoken to lots of devs when making past GMTK episodes, but this is the first time I’ve actually put the developers on screen on GMTK.
And this is tricky! When you’re writing, if a person says
“I like erm, uhm, yeah, eating bagels, and…. uh… erm… flying my kite”,
I can write that as
“I like flying my kite,” says Bill. “[And] eating bagels”.
But when you’re dealing with audio and video, you’re more restricted in how you can cut down, rearrange, and use transcript. The guys were very eloquent, I should say, so it wasn’t a huge deal - but definitely something I had to be mindful of.
Showing the interview

Next I had to decide how to show the interview on screen. Cutting to a full-screen Skype window of low-res footage of two guys in a conference room didn’t seem satisfying. So I made this cute little Skype frame in Photoshop.
Here’s a tip: you can save clusters of effects in Adobe Premiere as Presets. So I saved the drop shadow, the way the Skype window slid up from the bottom, the motion blur, and the slight 3D twist as an effect which I could apply to every interview clip in the video.
Scenic shots and other footage

I know I wanted to have some scenic shots of the level, and the targets, and other such things. This was tricky because you can’t hide Agent 47, so he’s going to show up in every clip.
What you can do, however, is back 47 into a wall, crouch down, and then twist the camera in such a way that it shoots over his head and hides him. But then there’s another problem: getting spotted by guards, or having NPCs come up and ask why I’m suspiciously squatting in the corner of the room. Hitman? More like Sh… nevermind.
So what I found to do was to put on a cheat code that makes Agent 47 “invisible” to other characters. This let me go into any point in the map and get my scenic shots without worrying about nuisance security.
These scenic shots looked so nice that I thought they’d clash with footage that had all the gamey HUD and UI and mini maps on it. So I decided to just bin all my old footage of this game and gather everything I needed from scratch, without any UI.
It was a long process, but it made for really nice clips I think.
Nvidia Ansel

So, Nvidia Ansel is basically the PC version of the photo mode you get in console games. Supported titles let you pause the game, spin the camera around, and take awesome screenshots.
The game is paused, so it’s no good for the scenic shots I talked about above. But also the camera is locked into a tight orbit about 47: no good for the bird’s eye view screenshots I wanted to take.
Luckily, some clever sod has made a hack that lets you unlock the camera in Ansel. Now you can fly anywhere you like, letting me make those fab full-level maps.
Zoom Out

But what I really wanted to use Ansel for was an eye-catching intro screen where I zoomed out from Agent 47 and showed the entire area of Miami. It took a while to figure out how to do this, but here’s what I did:
- Start recording the entire screen.
- Make Agent 47 walk along for a bit, with the camera looking downwards.
- Hit the Ansel keyboard shortcut.
- Press insert to hide the HUD.
- Hold the down key on the keyboard, which makes the Ansel camera slowly pan backwards (and upwards).
- Save the footage.
- Cut out the bit where I fiddle with Ansel, so it cuts immediately from 47 walking to the camera going backwards.
- Use speed controls to massively speed up the bit where the camera pulls back.
- Put on a filter in Apple Motion** called zoom blur, to add the “woosh” effect on the edges.
I’m pleased with the final effect. There’s a little glitching because Ansel isn’t designed for this, so some small details disappear or glitch out when you zoom out too much. I actually fixed some glitched details, like a disappearing roof, in post production.
But I am especially pleased because I wanted to get the hot air balloon in shot and that literally just meant trying random angles of the original camera again and again until I got one that would bring the balloon into view.
I then used a quick mask to have the balloon travel over the letters of “The Making of Miami”.
IKEA Level

I definitely wanted to make a dynamic map of IKEA. So I remade one in high definition in Photoshop (even downloaded IKEA’s official font for the text!) and used Apple Motion to make the dotted lines appear.
But then decided it would be funny to have IKEA show up as a selectable level when I said “look to a place that should totally be a Hitman DLC level… IKEA.”

This basically just involved taking some video of me selecting the final level in a list, and then replacing all the video and text with IKEA stuff. It wasn’t that complicated - just masks, replacement text, and the like - but it was fiddly. Still, it’s a good effect.
Disguise Areas

I’ve done plenty of stuff like this before. I use Apple Motion and draw a shape around an area, and then use the “Offset End Point” option to make the line draw itself on screen.
Robert Knox’s Route

First, I had to watch Robert in the game, to see where he went. That was fun. Then I had to just replicate this in Premiere, using keyframes. I used the map from the game for the inside of the Kronstadt building, and Ansel for the outside.
The rest
And that’s kind of it!
I had to play through a bunch of Dishonored 2 and Deus Ex to get those shots of the Clockwork Mansion and Palisade Bank. And then it was simply a case of laying down all the footage, popping in the music, and all the rest. The whole thing took about 5 focused days of editing (not counting the interviews, research, writing, voice recording etc).
Oh, and yes - that is Agent 47 voice actor David Bateson on the intro. How did that happen? Well, I've got to keep some secrets from you.
Thanks for watching and reading. Talk soon.
Mark

The “people” in the hot air balloons are actually just funny human-like shapes!
*I get offered free copies of games here and there. Some I take, some I don’t. Some I cover, most I don’t. It doesn’t affect coverage on my channel - a free game definitely doesn’t guarantee a video. I disclose this info in the description for any video where the game is discussed prominently.
**I know it’s weird to use Apple Motion instead of After Effects (especially when I pay like £40 a month for AE), but I just find it faster for a lot of basic stuff so I prefer to use it.
Files