Home
Home

 Artists
 Search
 Recent
 Random
 Posts
Posts
 DMs
DMs
 Tags
Tags
 Random
 Importer
 Import
 FAQ
FAQ
 Account
 Register
 Favorites
 Login
Login

PROCESS VIDEO // light mode - screen capture (Patreon)
Published:
2023-12-15 10:00:05
Imported:
Flagged
Downloads
Content
Here’s the process for my light mode painting! The process for this one is the one that I explained in my most recent tutorial on soft and hard edges with the lasso tool. I definitely recommend checking that one out if you want to know more about how I approached rendering and detailing this one! I also recorded the process with my phone, and I will be uploading that one in a minute.
Some information about this process:
- This video has been sped up by 300%.
- The total process took me about three hours in total.
- The brushes I used to render are from the Davemh Spellbook airbrush set.
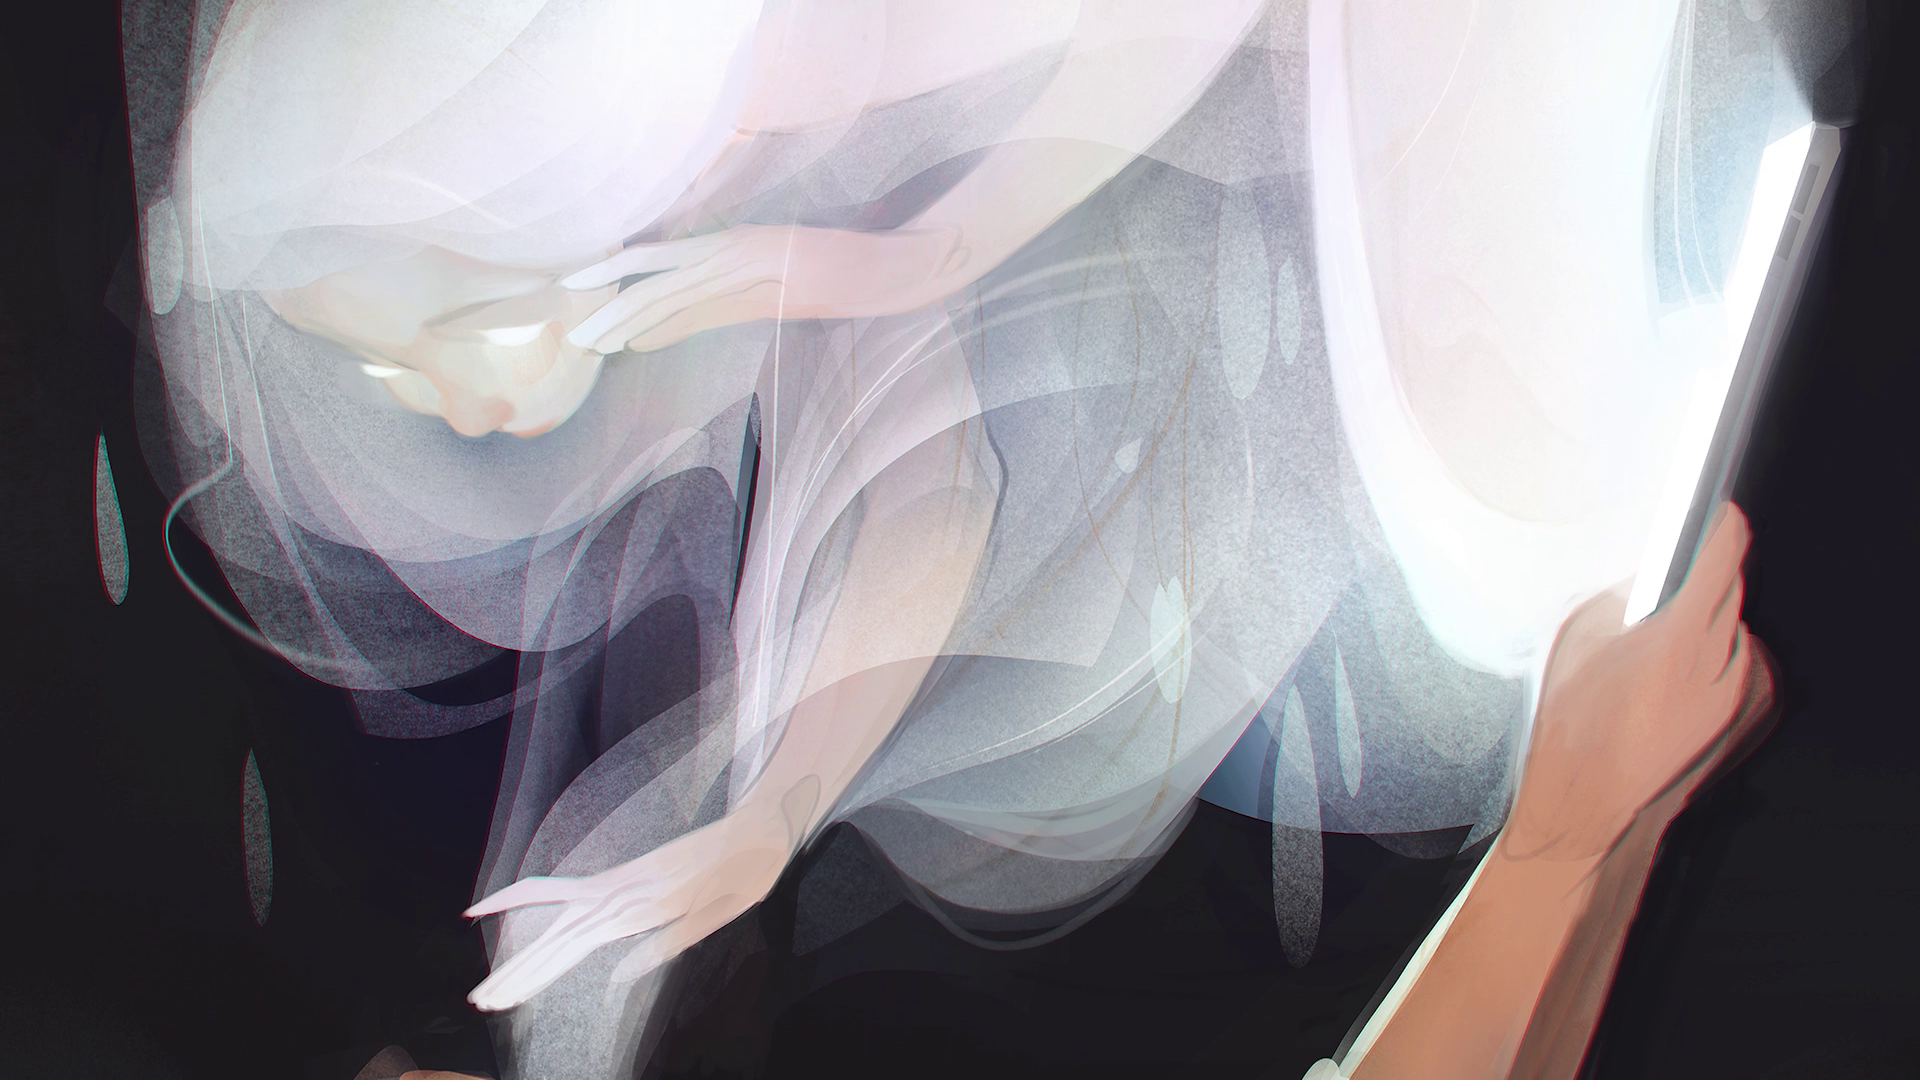
- The pose and the general vibe of the light mode persona is heavily inspired by Allure, a painting by Eric Fortune.
Some things to keep in mind while watching this video:
- WORKING FROM THE ROUGH SKETCH // At the beginning of the video, I start by making a rough sketch. I try to clean up and finalize these sketches a few times, but I end up getting rid of that and just working from the rougher sketch. This is something that happens a lot in my process. I feel like I need to fix mistakes in my sketches, but as soon as I spend more time doing that, I notice that I am losing the movement and energy of my original sketch and I start to feel like I’m wasting my time. Whenever I catch myself in this loop, I just start adding color over the rough sketch without fixing anything. I generally find that it’s a lot easier to fix these issues. at a way later stage. When I try to fix them early on, it just results in less movement and I usually end up painting over it anyway.
- BUILDING VALUES GRADUALLY // I think this process is a good example of a principle that I talk about a lot in my tutorials: the idea of building up your values very gradually. In the early stages of adding color to this painting, the values are quite low, and the colors are quite monochromatic. I end up adding more contrast and brightness later on in the process, and very slowly introducing color variation to the neutral tones. This is because I know that I want the light mode character to be very bright. I think that building up towards that brightness gradually gives me more space to experiment with color and depth before committing to extremely bright highlights. If I were to start with really bright colors right away, it would be harder for me to create subtle color transitions and shading.
- COLOR VARIATION // This overlaps with another bit of advice that I can give: if you’re painting very light or dark colors, it’s helpful to realize that there is a lot of color variation in extreme hues like white and black. I think having secondary colors that support the brightest tones really help to create depth. For this light mode character, I wanted there to be a lot of other colors besides just white. At the end of the process video, at about 47:42 minutes in, I use the feathered lasso tool and color balance modifier to add a kind of iridescent effect to the light mode character. I basically just select different areas and push the sliders towards different hues so that there’s a kind of colorful shimmer. I definitely recommend experimenting with these kind of subtle secondary tones if you’re trying to convey something that is very white or black.
I hope you enjoy this video, and the phone recorded version is coming up in a minute too.
Files