Home
Home

 Artists
 Search
 Recent
 Random
 Posts
Posts
 DMs
DMs
 Tags
Tags
 Random
 Importer
 Import
 FAQ
FAQ
 Account
 Register
 Favorites
 Login
Login

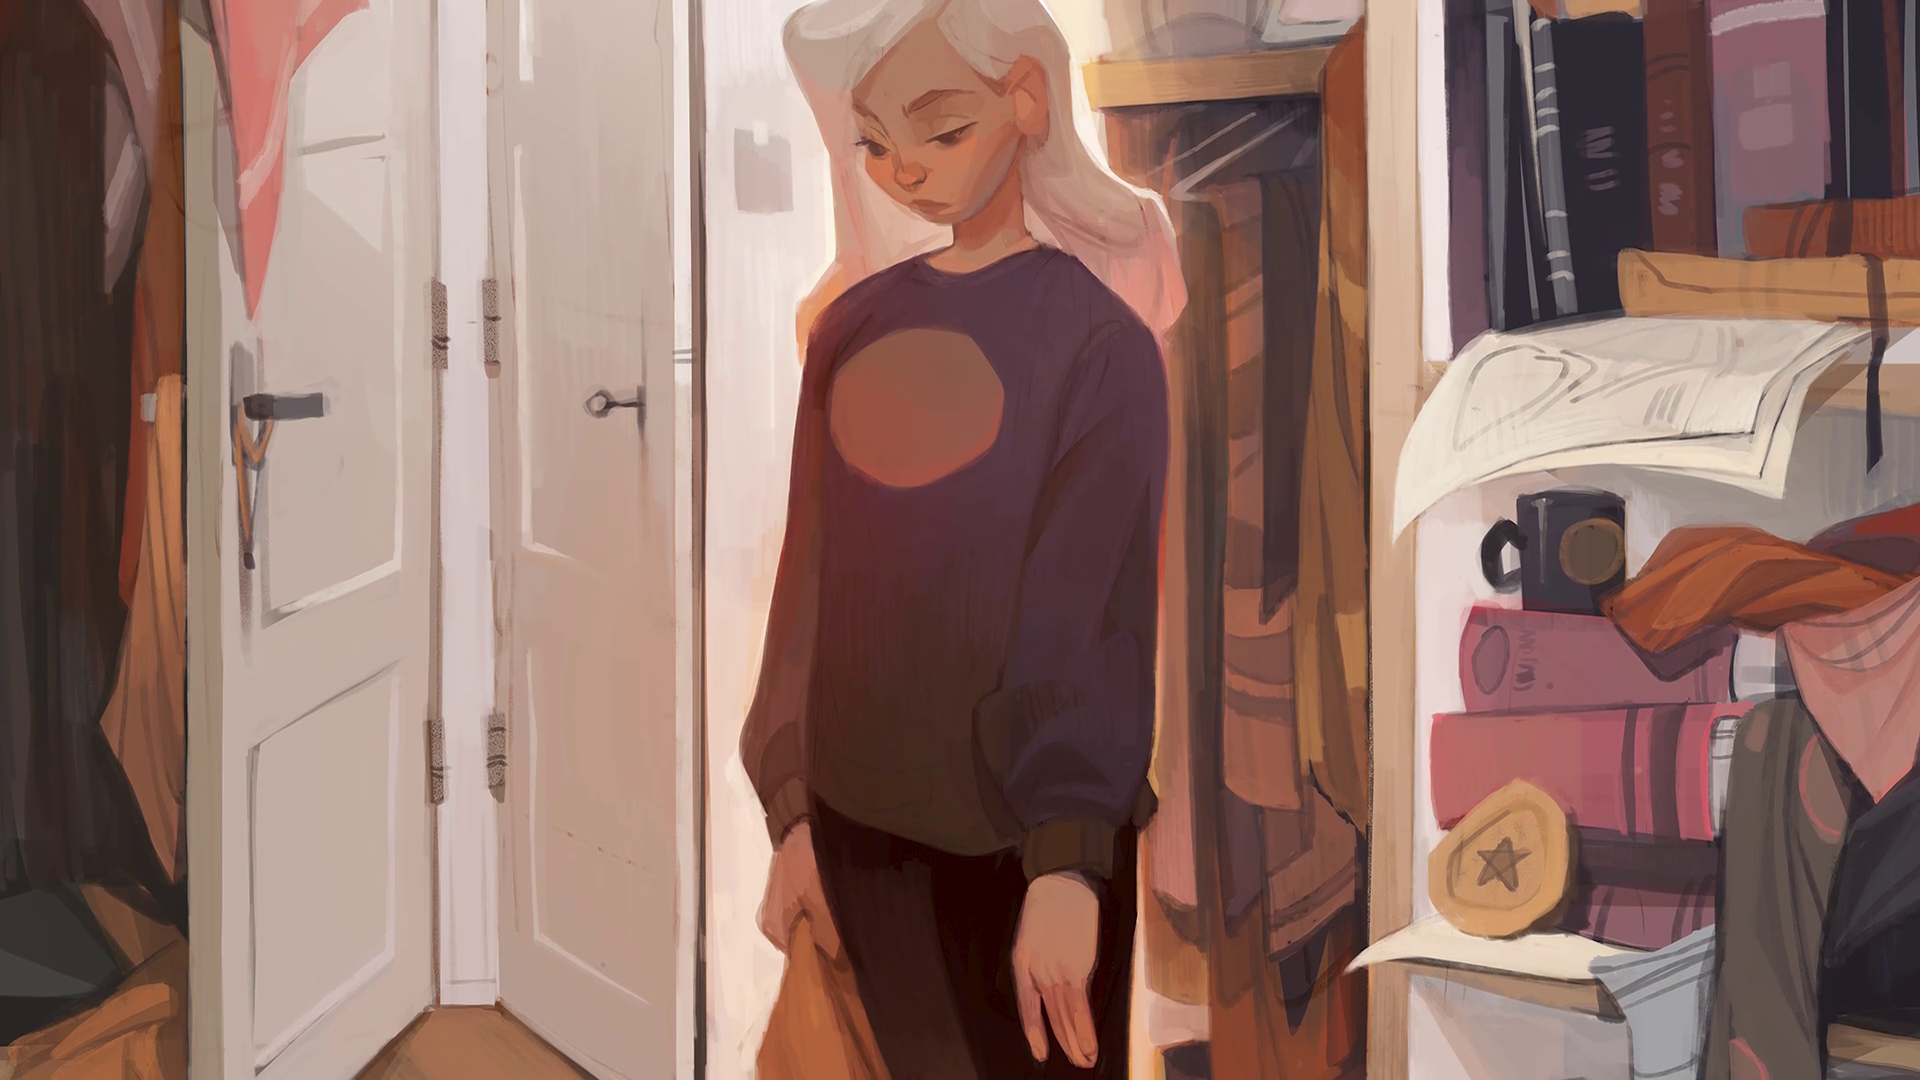
PROCESS VIDEO // clutter, part 2 (Patreon)
Downloads
Content
Here's part 2 of the process for Clutter! Some facts about this video:
- The video is sped up 250% - a little faster than twice the original speed.
- I have split it into two parts in total. this is the second part! Part 1 can be found here.
- The entire piece took me about 5 hours to paint, which was split up into shorter painting sessions.
- Just like with the mushrooms process I posted last month, Wes Gardner’s gritty butter brush was crucial in allowing me to render this one. The texture and shape of it worked great for rendering this in a more chunky style! You can find it here: http://cbr.sh/kfv7sa?ref=loish
NOTES ON MY PROCESS
This part consists mostly of the tedious process of detailing and cleaning up the image! This painting has a lot of detail in it which makes that process especially boring and painstaking, haha. For me it always helps to put on a good podcast and just go from object to object. I try not to get stuck on one thing for too long - basically just cleaning everything up to a minimal extent and then zooming out, re-assessing how much detail will be needed to make the image look finalized, and start on a new pass. And just like I said about the last video, it’s important not to add too much contrast as I’m rendering - I want to keep the values and colors in a similar range as the rough version, so I need to keep that in mind as I'm finalizing.
There were two things that I found helpful for rendering this one and dealing with the specific challenge of adding detail and depth without throwing off the values. First of all, I found it helpful to paint some desaturated bounce lights into the shadows. This had the effect of adding depth to them while still maintaining a softer look. You can see me doing this 12:09 minutes in on the face. Another thing I found helpful was to distribute some of the brighter accents of the image around the clutter. This creates a look and feel that is lighter and more fun, and breaks up the darker areas while still maintaining consistency. You can see me do this around 5:05 minutes in for example, when drawing a clothing item that has a lighter pink hue.
I think the rest of the process speaks for itself! I tried to only render what was necessary for the piece to feel complete, and keep some of the roughness intact. I hope that shows through in this process video! I hope you enjoyed it and as always, feel free to post a comment if you have any questions about it!
Files