Home
Home

 Artists
 Search
 Recent
 Random
 Posts
Posts
 DMs
DMs
 Tags
Tags
 Random
 Importer
 Import
 FAQ
FAQ
 Account
 Register
 Favorites
 Login
Login

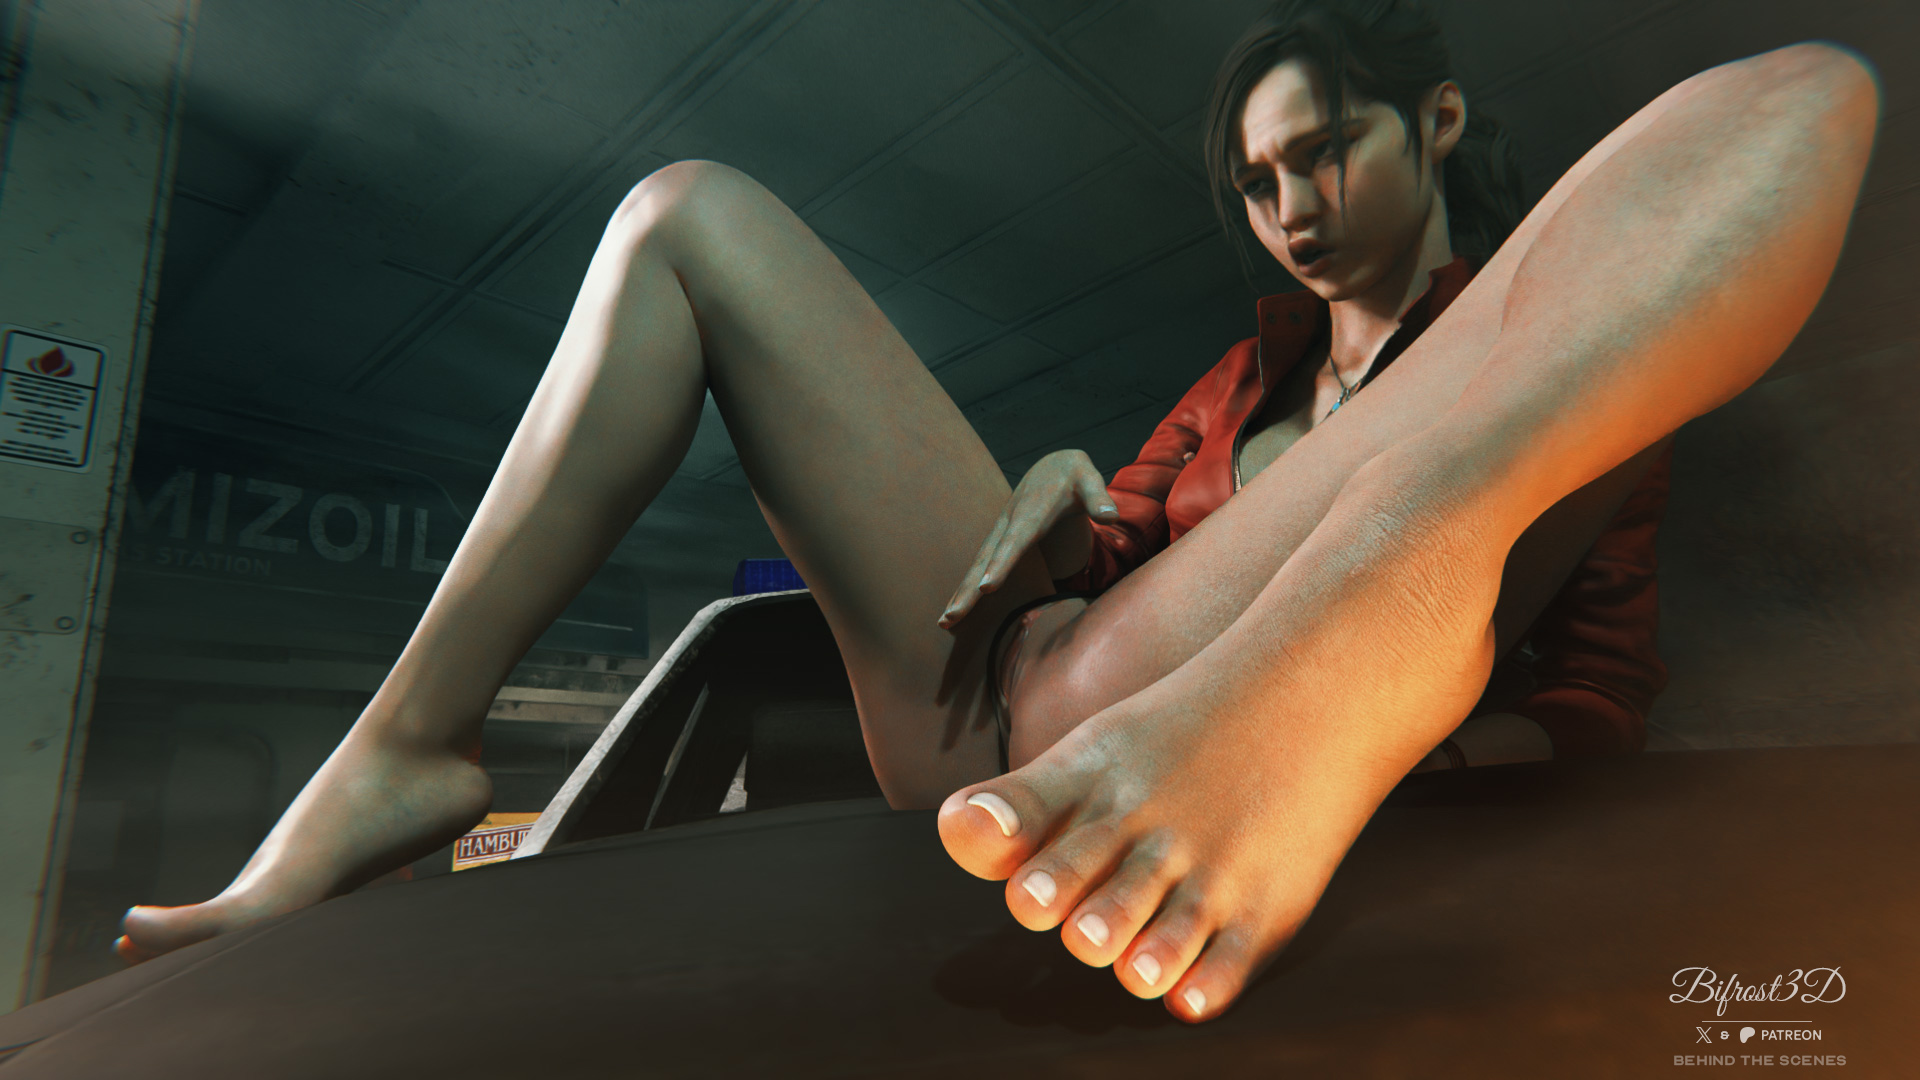
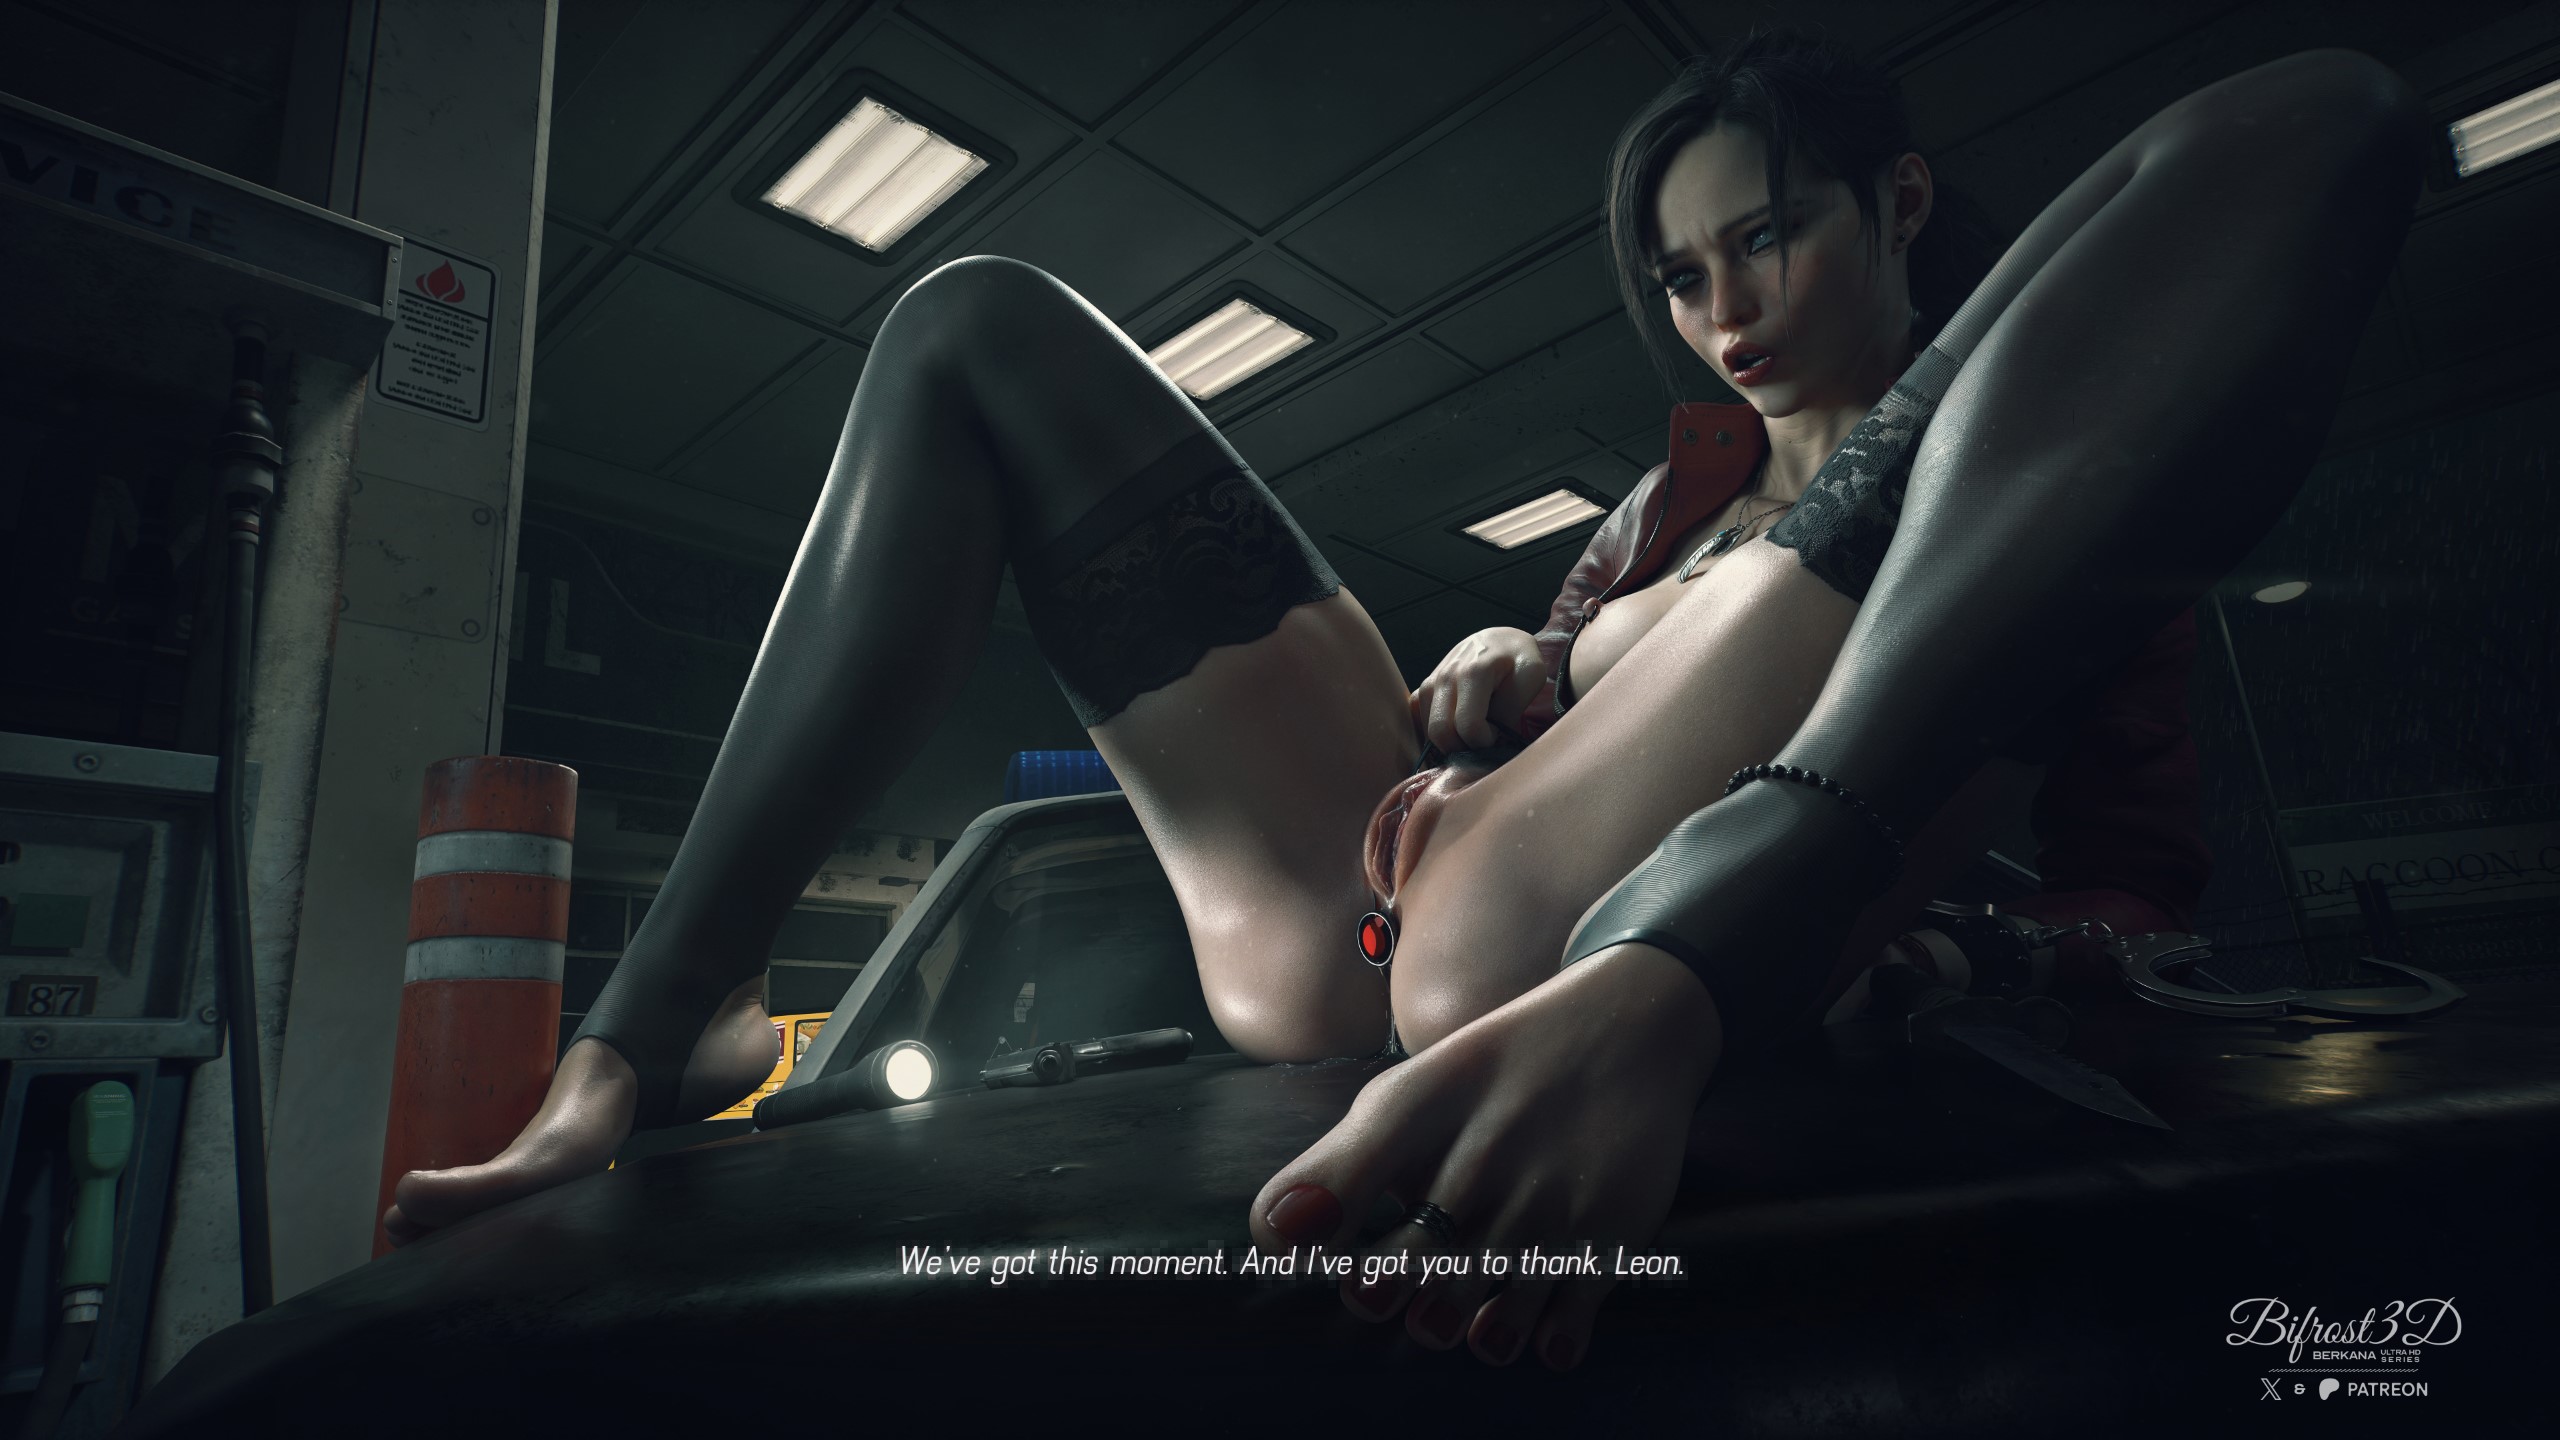
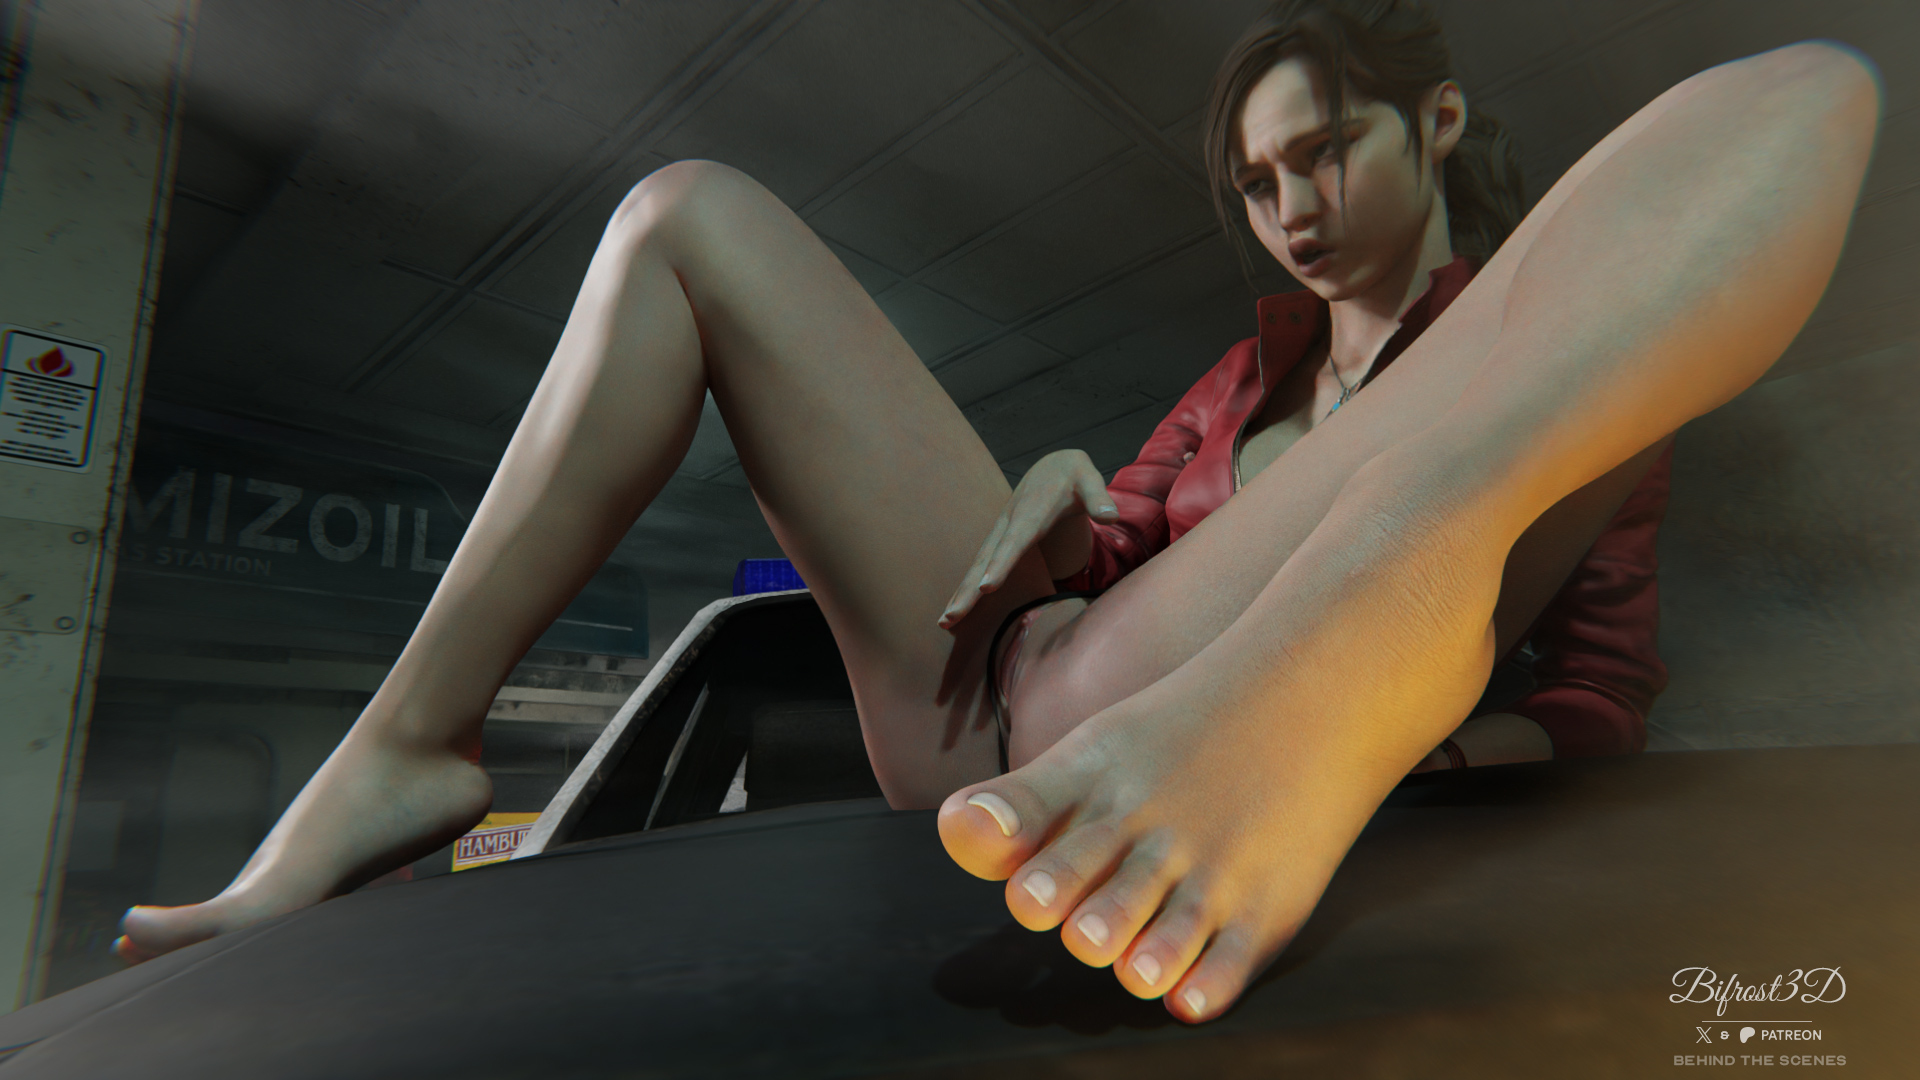
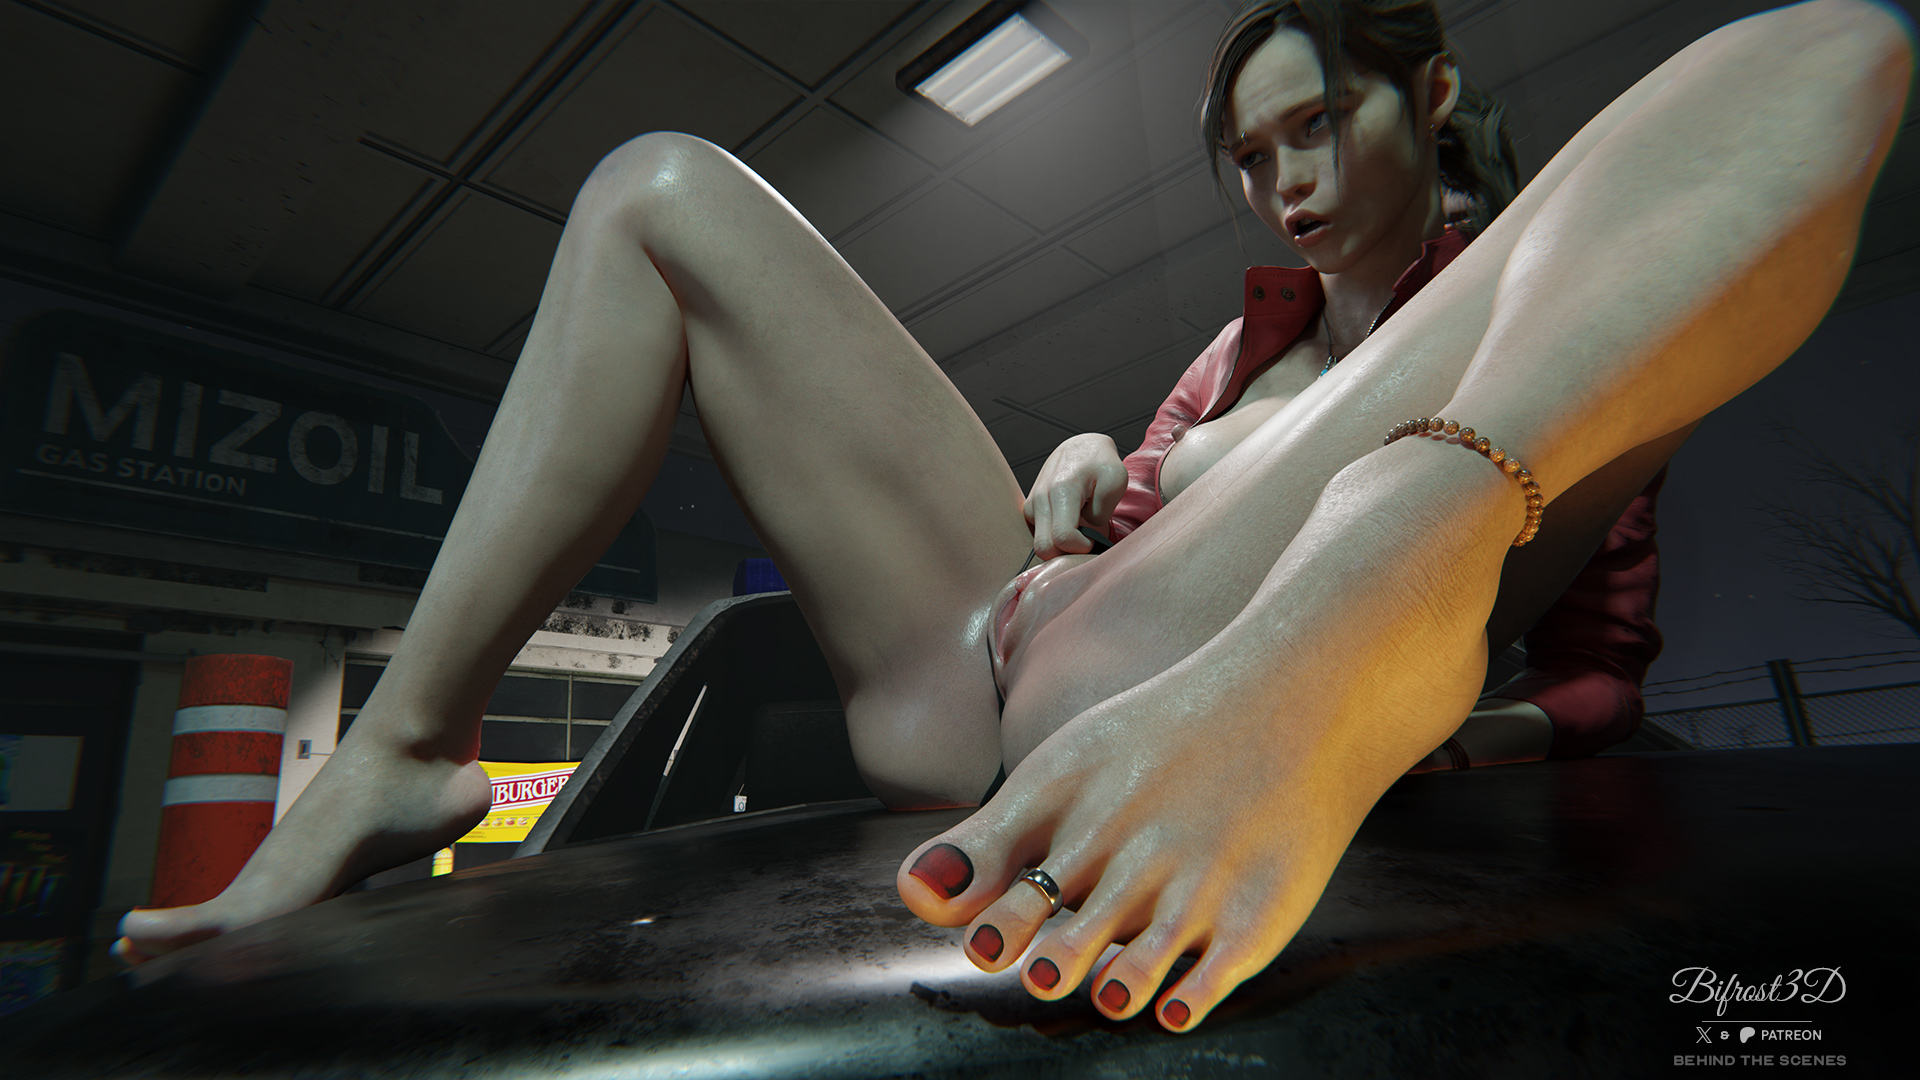
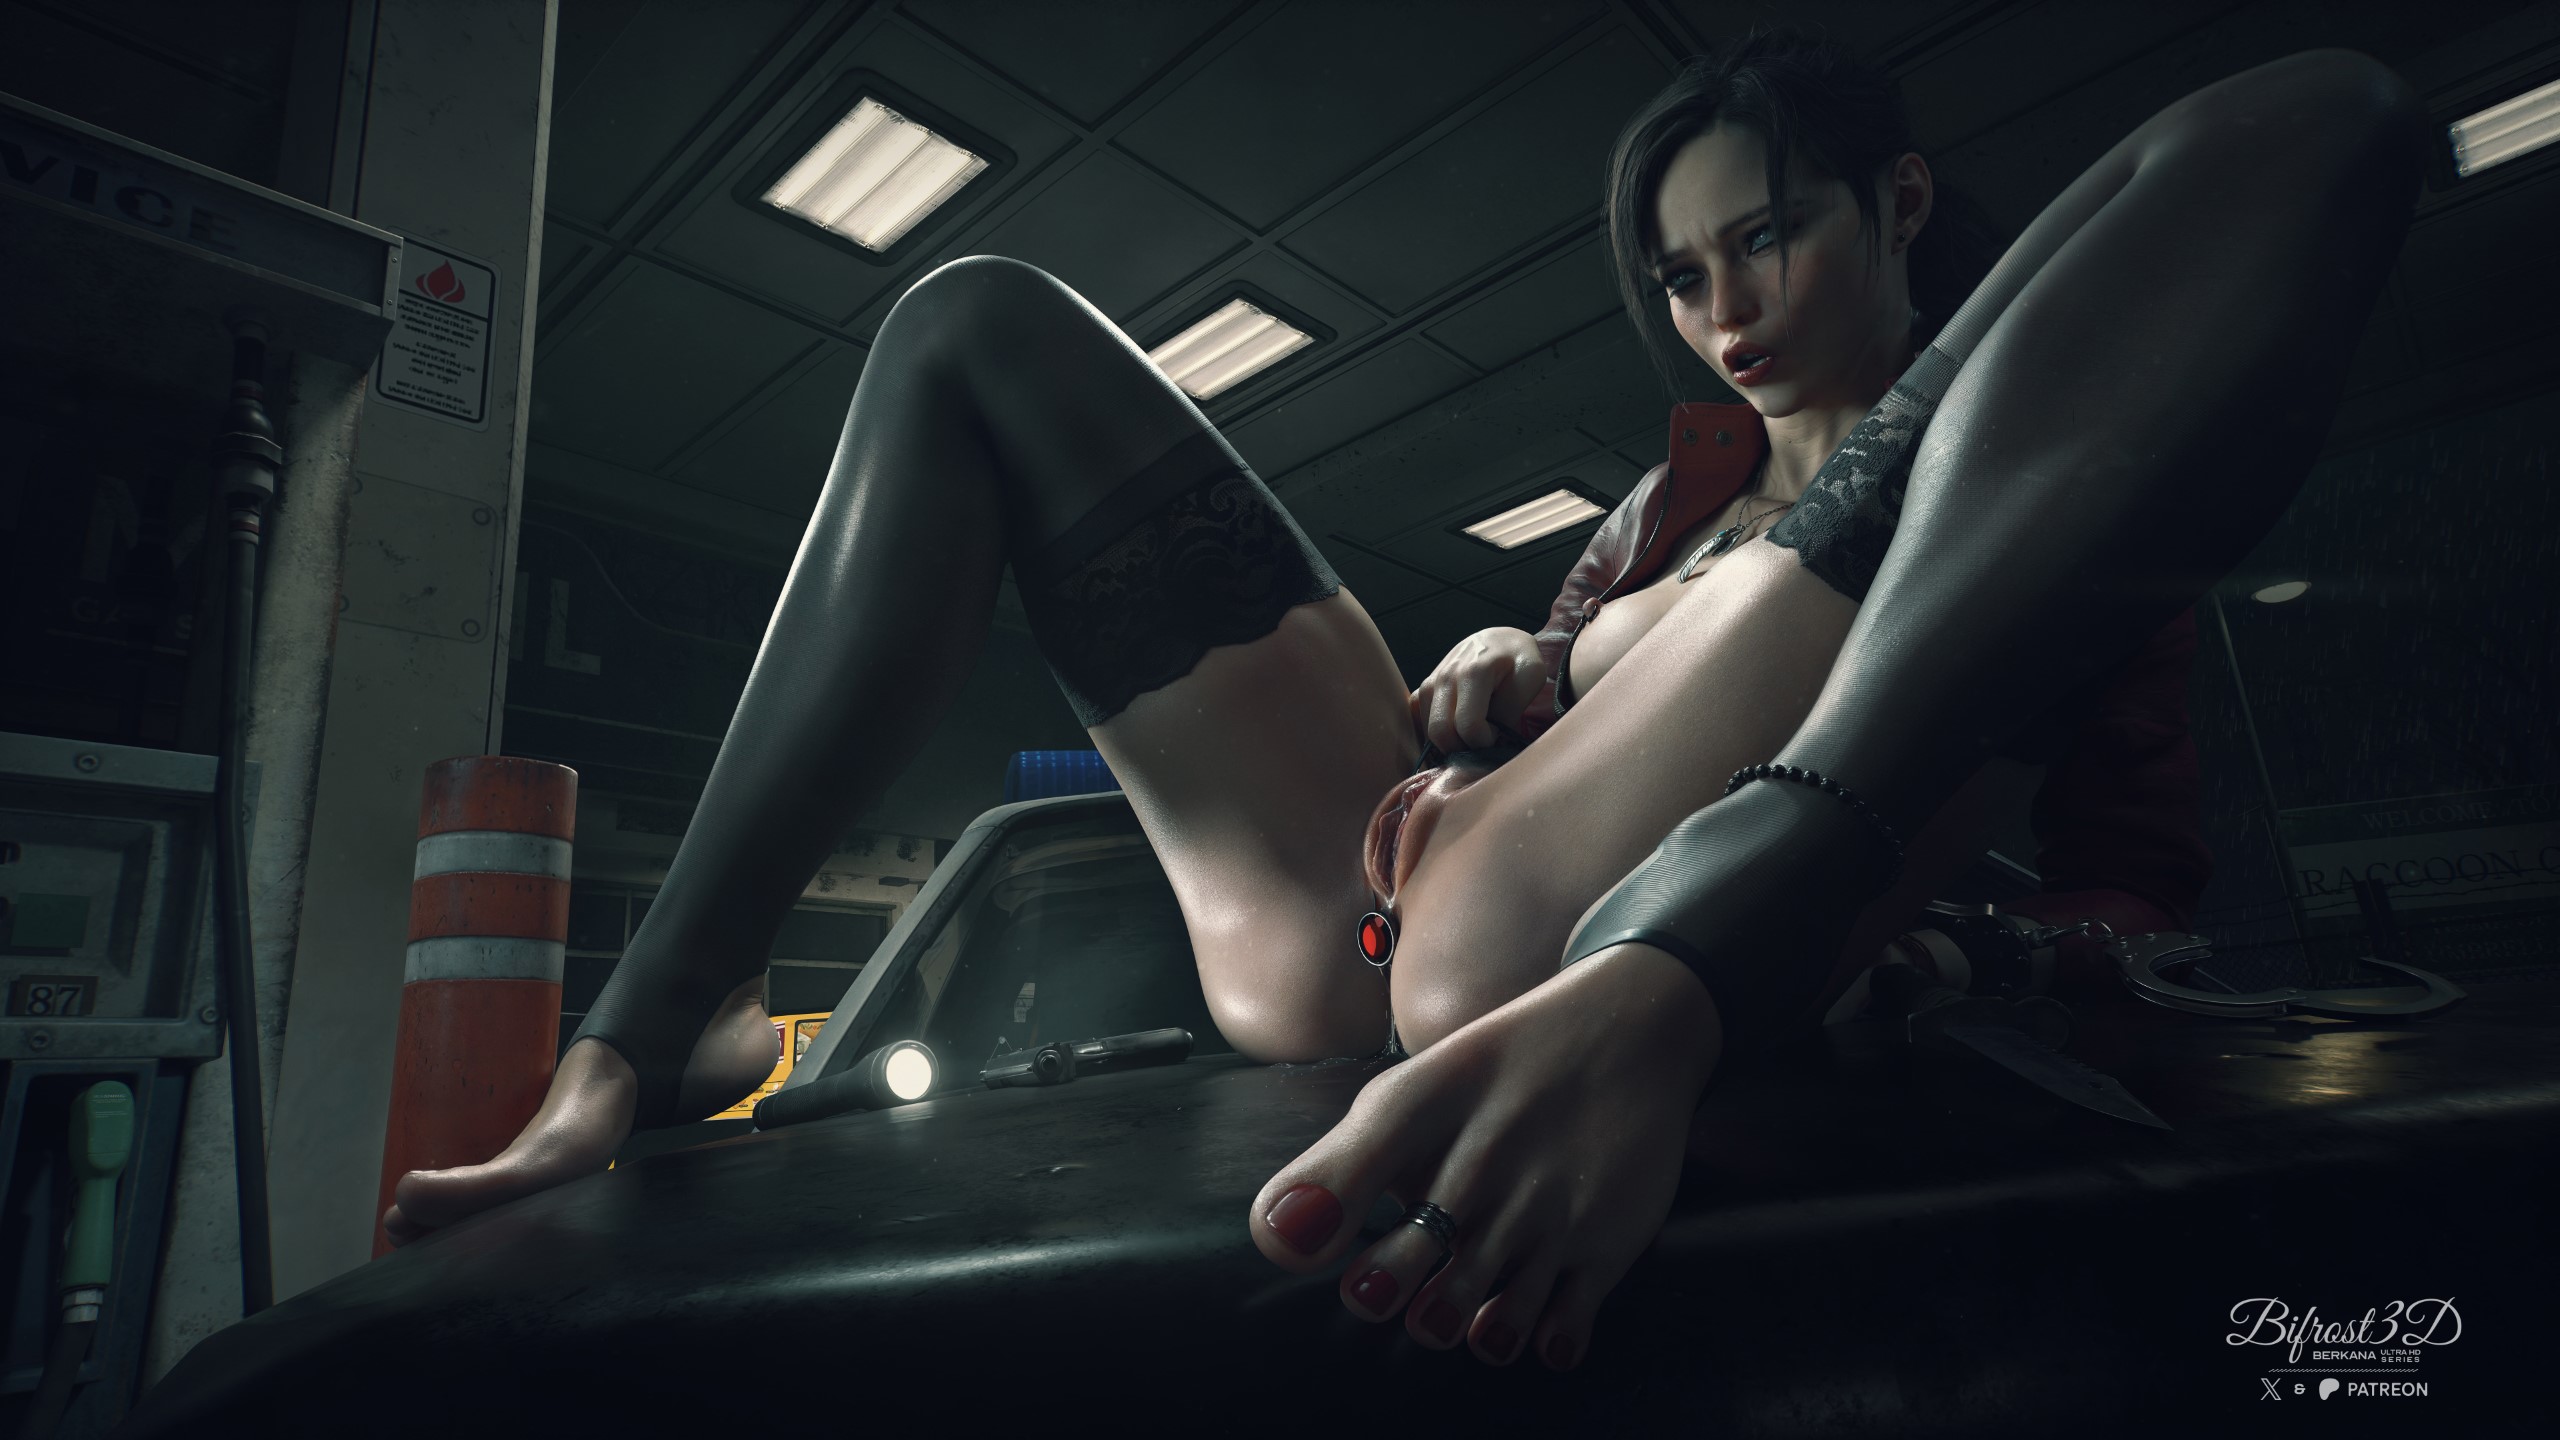
Behind the Scenes of "Showing Her Gratitude" (Patreon)
Content
Hey everyone!
I wanted to give you all a behind-the-scenes look at how I created my latest 3D render set featuring Claire Redfield from Resident Evil. You can take a look at all of my test renders above. I used only parts for them below to visualize the most important changes and improvements.
Inspiration and Concept

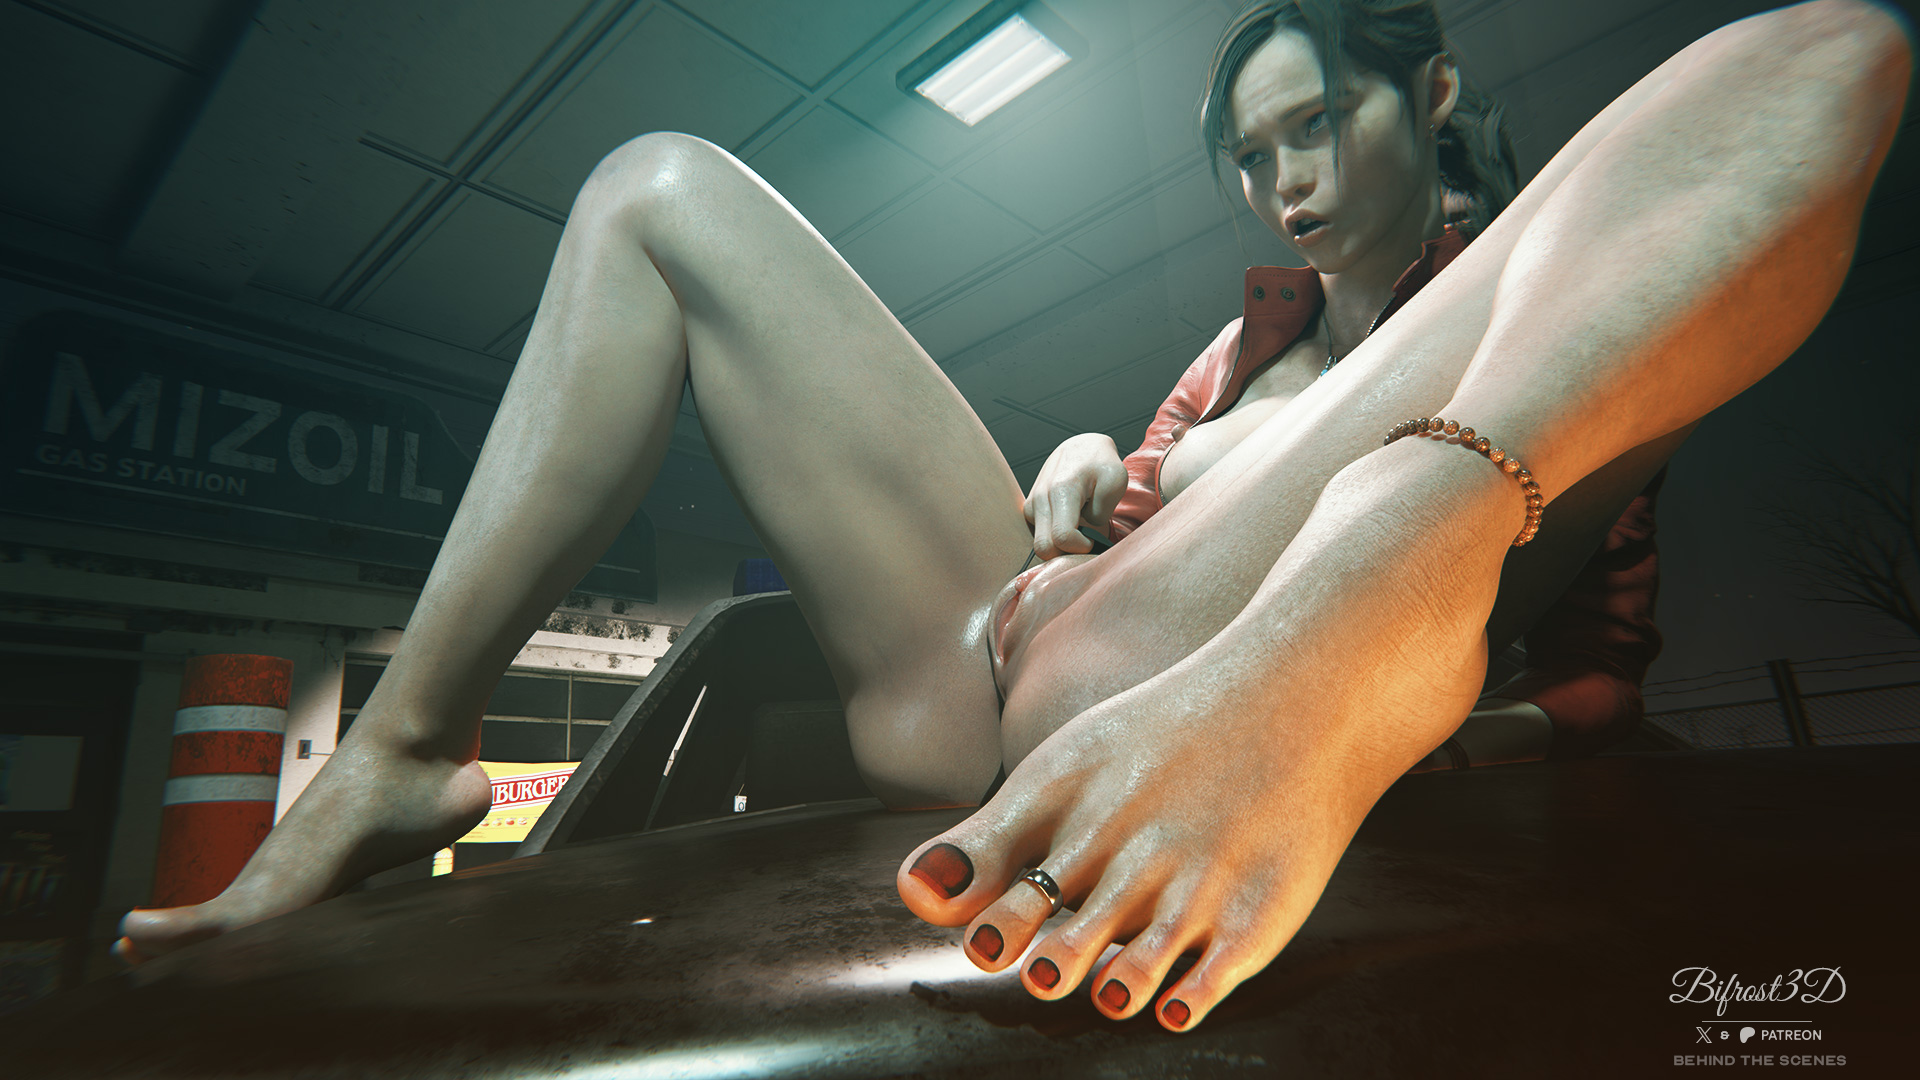
The idea started with my desire to work on another project with Resident Evil characters. Initially, I was torn between Claire Redfield and Jill Valentine, but I eventually chose Claire. I decided on a pose that resonated with me and opted to use the police car from the beginning of Resident Evil 2 as the background. This choice aimed to create a setting that felt true to the game's story while allowing me some creative freedom.
Setting the Scene

After finalizing the pose, I experimented with the lighting. Originally, I wanted the yellow light from the car’s rear to highlight Claire’s foot more prominently, but I toned it down to ensure better color composition. I added initial details like an ankle bracelet and toe ring at this stage.

To handle fog effects efficiently, I used a trick involving a semi-transparent green-gray cylinder around Claire, which helped darken the background and create a subtle tint. This texture was also applied behind the gas station to enhance the scene without drawing too much attention.
Adjustments and Detailing

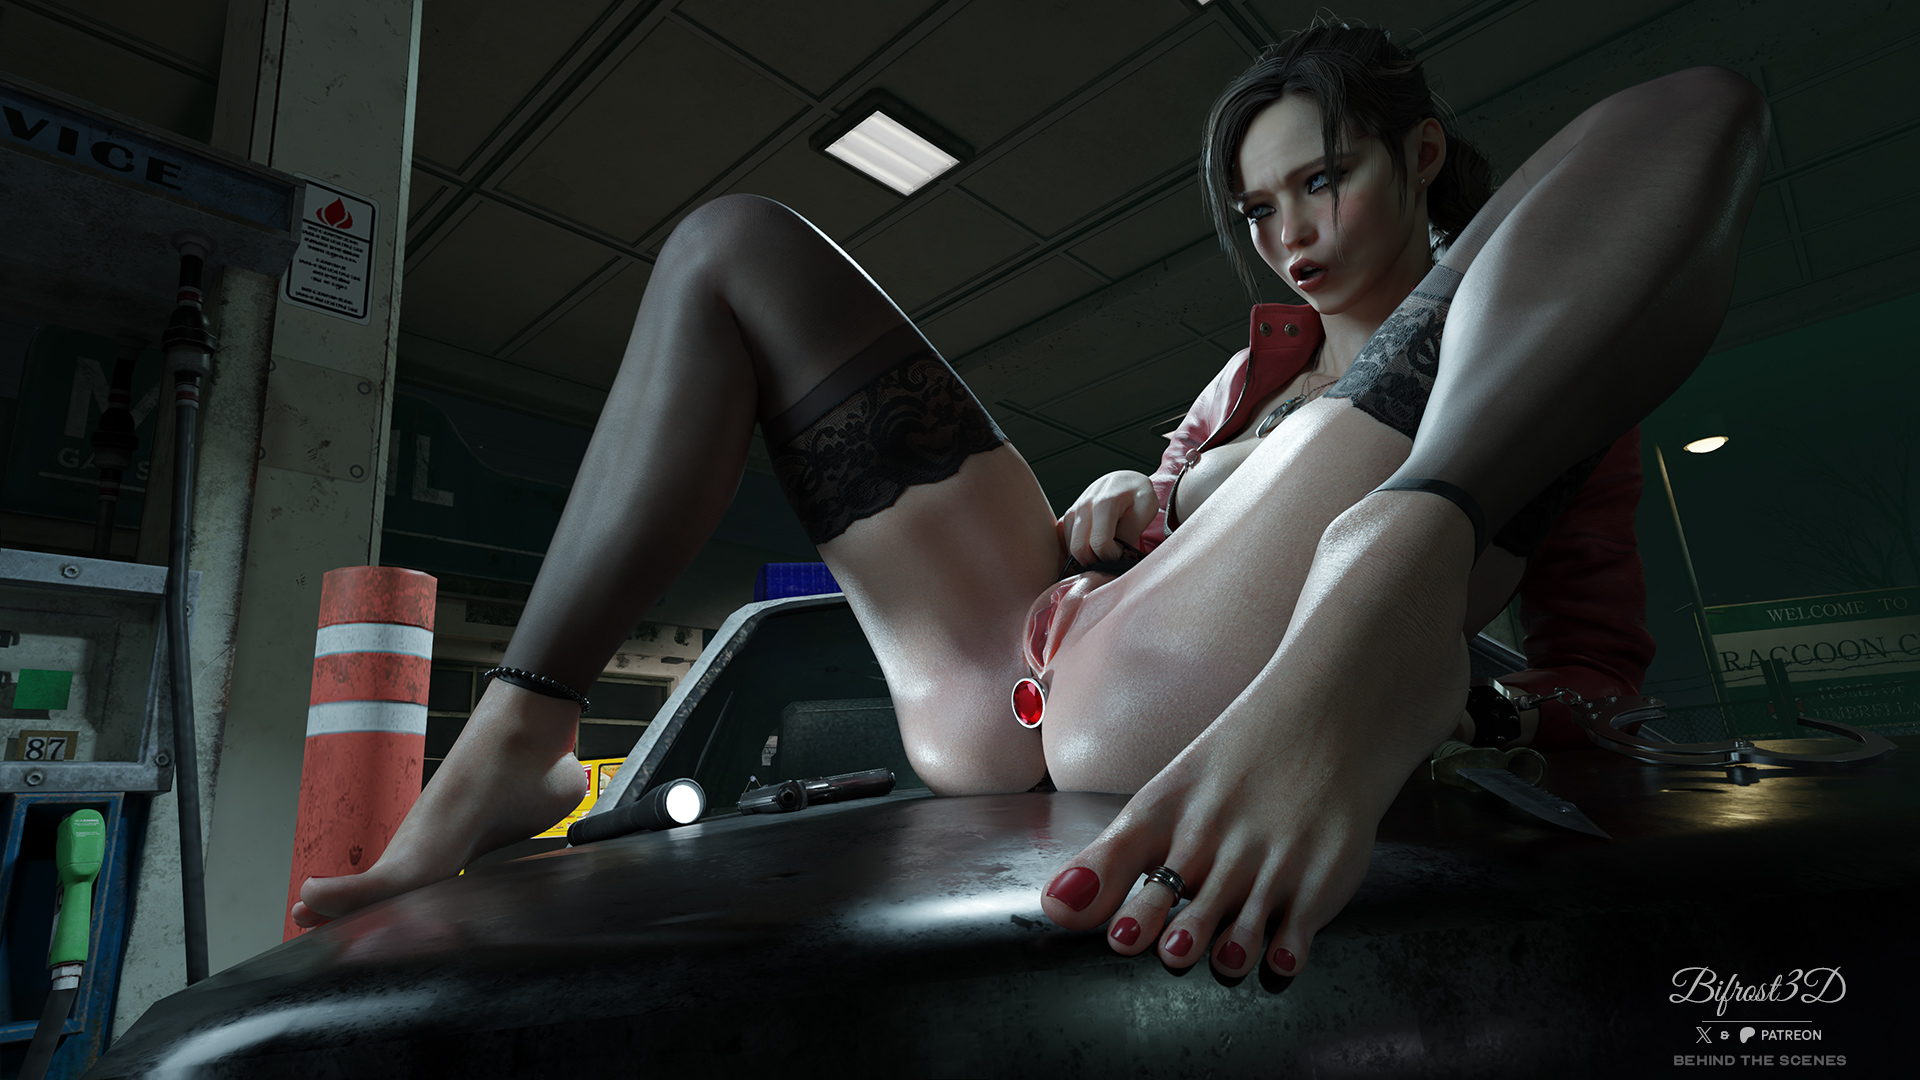
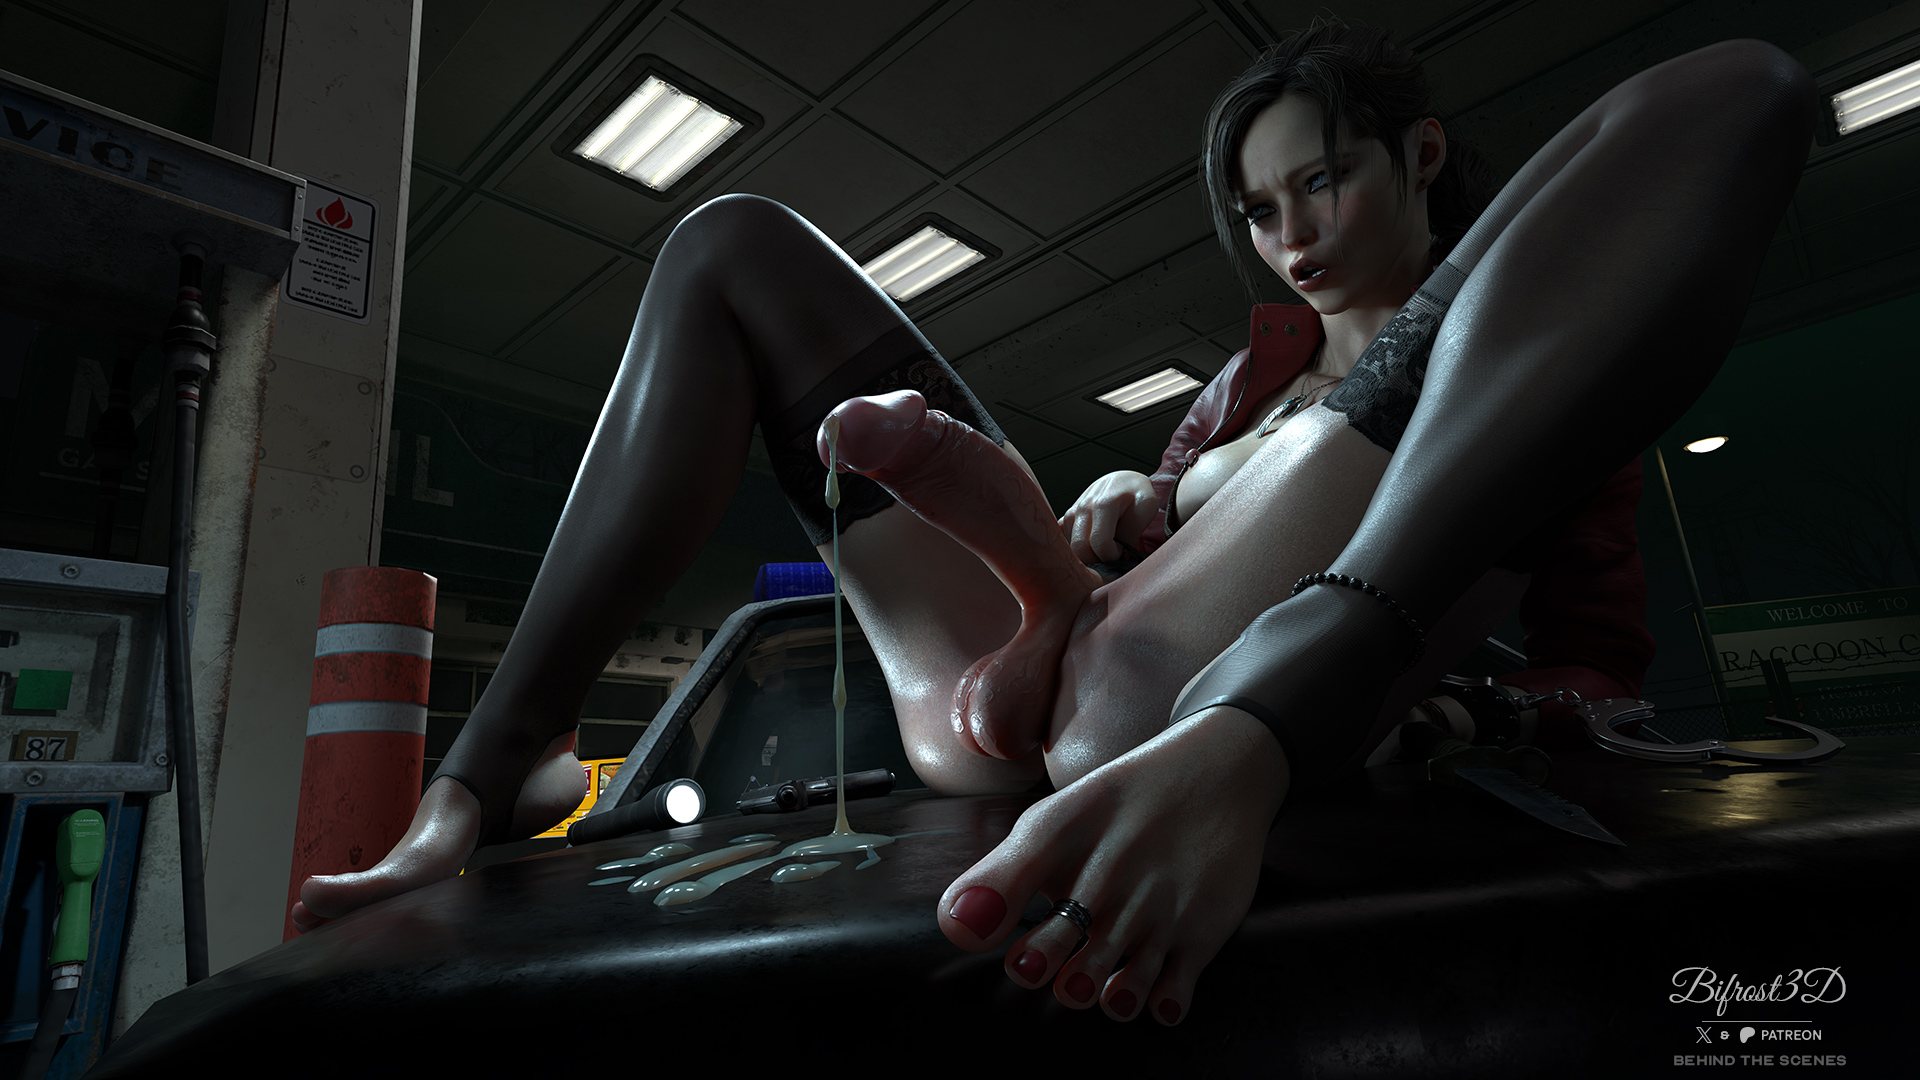
Next, I used a higher-resolution texture for the part of the police car where Claire is seated. I also adjusted the camera perspective to minimize lens distortion effects. Inspired by recent renders from Strauzek, particularly those featuring Resident Evil characters, I modified Claire’s stockings to leave parts of her feet exposed. I added a partially pulled-out bead chain and initially considered using lubricant for visual effects. However, after testing, I opted for a different approach to keep the focus on Claire’s primary features and switched to a plug instead.
Final Touches

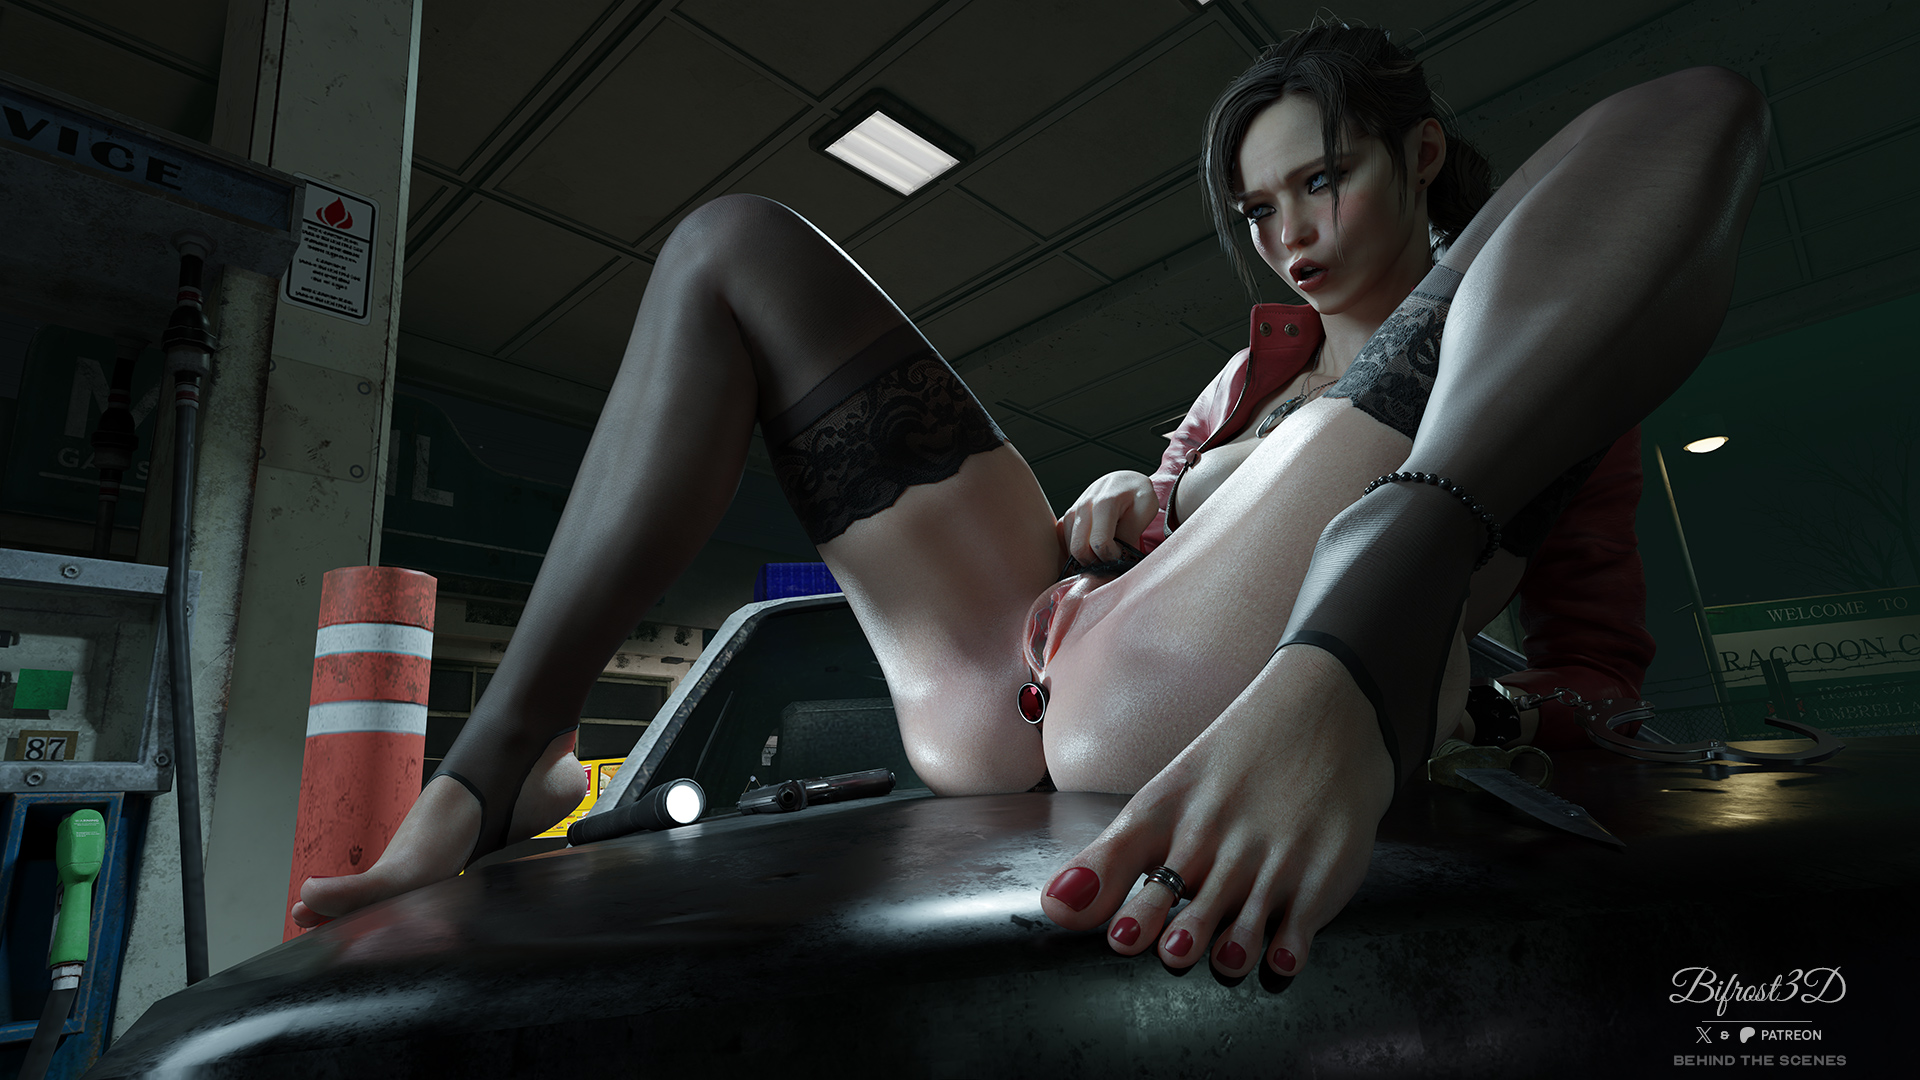
I also tested smeared mascara for added emotion. After adjusting positions and adding details like handcuffs, I filled the left side of the image to balance the composition.

I performed several test renders, darkened the background further, resized the plug, and refined the stockings. I also tested an outfit variation with people standing around Claire in hazmat suits, but the model didn’t fit well, and an alternative was too costly at the time. If there’s interest, I might revisit this idea.

Final Composition
Throughout the process, I also worked in Photoshop, combining various render passes to achieve a satisfactory result. In the end, I had about 10 Blender files and a Photoshop file with over 200 layers.

I hope this gives you a clear insight into my creative process. I would love to hear your thoughts and any suggestions for future projects.
Please leave a comment below!
Files