Home Artists Posts Import Register

Downloads

Content

Hi everyone! 

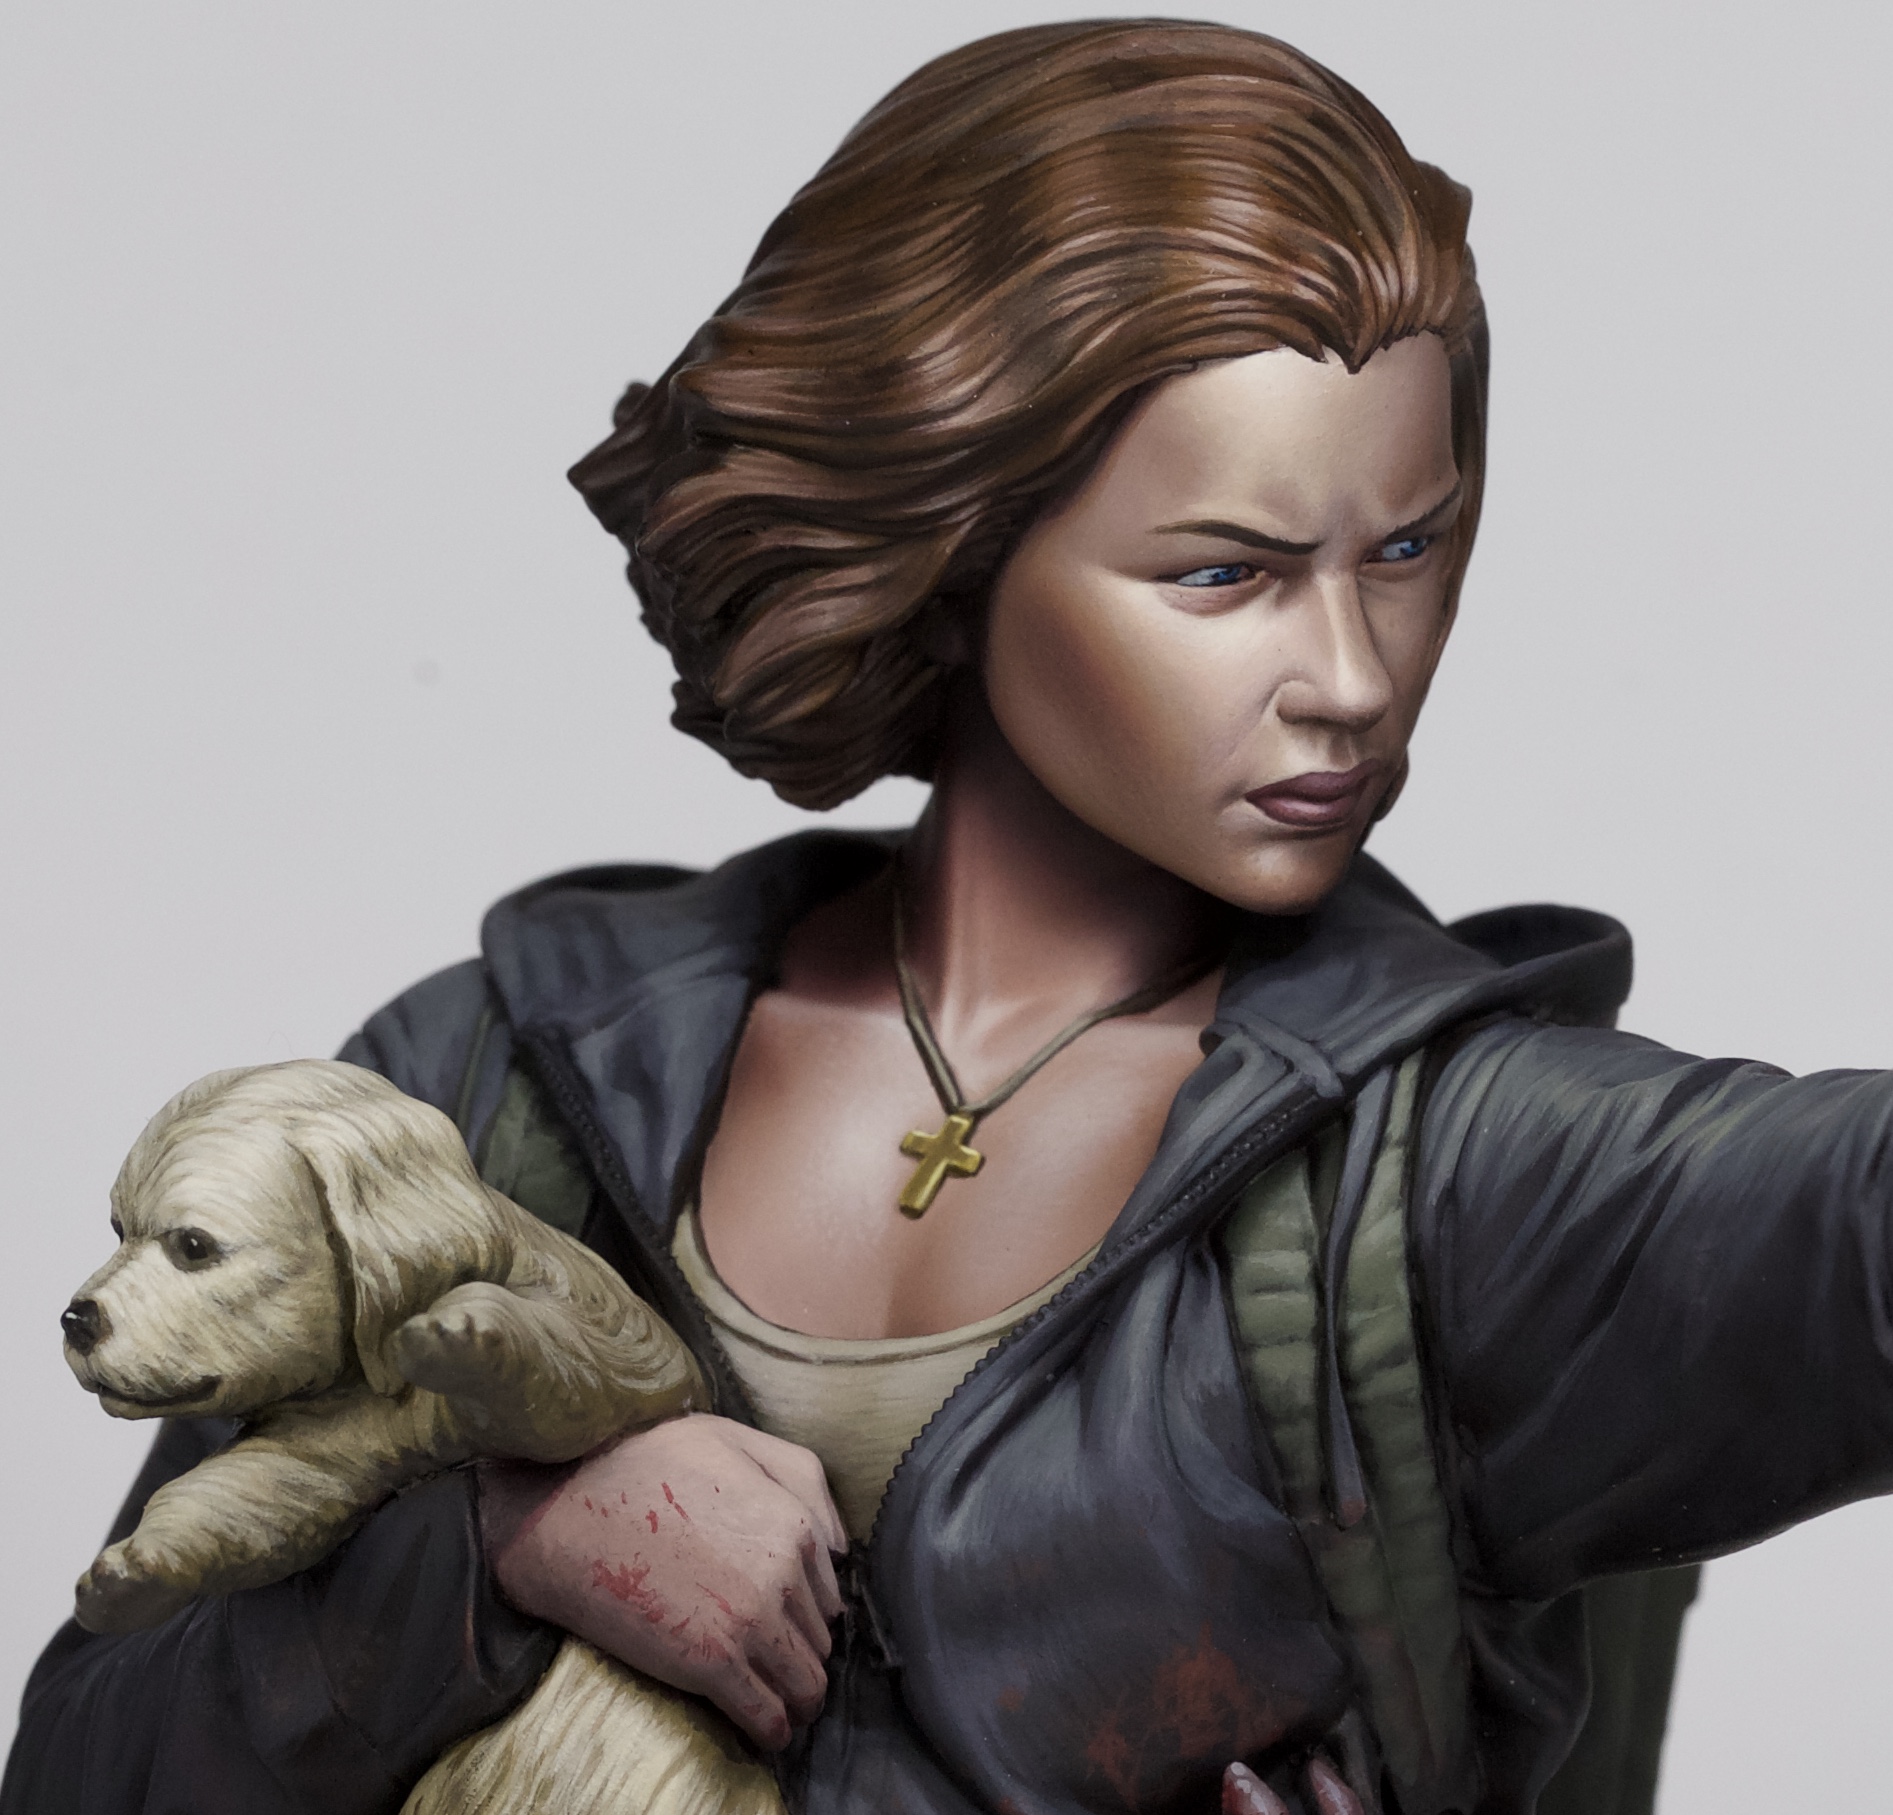
This week I present to you how I painted the face for this bust. The Bust is called “Surrounded” by Life Miniatures. As I write in the article, the sculptor and painter of this brand, Sang-Eon Lee is an amazing painter and worth checking out. Links below. 

https://www.lifeminiatures.com/product-page/surrounded

https://www.puttyandpaint.com/SangEonLee

I am excited to share with you more tutorials using models not from Games Workshop. I hope you can see these lessons can be used for all miniature painting, even if you just find a nice new colour recipe. I would love your feedback on this style of article, and I hope you enjoy the variety we are trying to bring to you at Cult of Paint.

Furthermore, I encourage you above all else to look at many many references before painting faces of any scale. I could not induce the photos in the article, but links below show some of my favourites. It is fundamental to your understanding where highlights must be places on faces. This should be learn from observation of photographs, not miniatures. Google Portraits and start to study the face. This is how I make judgements on where to place highlights. 

http://www.totsisa.com/wp-content/uploads/2017/12/dd594e241abf617abed2b7d586c19ef9-female-portrait-model-portraits.jpg

https://designyoutrust.com/2018/03/marvelous-female-portrait-photography-by-kai-bottcher/

https://www.pinterest.co.uk/pin/504966176962450204/

Files

Comments

Anonymous

I enjoyed hearing more about your thoughts on process and progress. I often get jammed up chasing a image stuck in my head. I think I need to be more patient and take more breaks instead of plowing ahead on one project at a time.

Anonymous

Amazing guide. I really enjoyed going through it. I had some questions though for Andy related to the refinement stage, specifically page 24. You mention about refining the highlight on the jawline and the shadow with glazes but I was wondering the following: 1. What direction is your brush going, is it going down the edge of the transition from top left to lower right, along the jawline direction, glazing in long strokes or is it going perpendicular to that from upper right to lower left? 2. How far in do you take the brush stroke when doing the glazing? is it all the way from the jaw to the shadow or is it just small hash marks over the transition line? Thanks and keep up the great work!

cultofpaint

Thanks John! For the stroke, it is perpendicular as you describe in your second option. I tend to do very small precise glazes, focusing on blending a very small area at a time. This allows me to add many tones as I refine. I almost always move my brush stroke from light to dark. Hope that answers everything? Andy

Anonymous

Thanks for the quick and detailed response. One more point of clarification, if you go from light to dark, that will end up lightening the shadowed part of the transition since more paint is deposited where the stroke ends, correct? Is that just your preference or are there advantages of going light to dark vs dark to light?