Home
Home

 Artists
 Search
 Recent
 Random
 Posts
Posts
 DMs
DMs
 Tags
Tags
 Random
 Importer
 Import
 FAQ
FAQ
 Account
 Register
 Favorites
 Login
Login

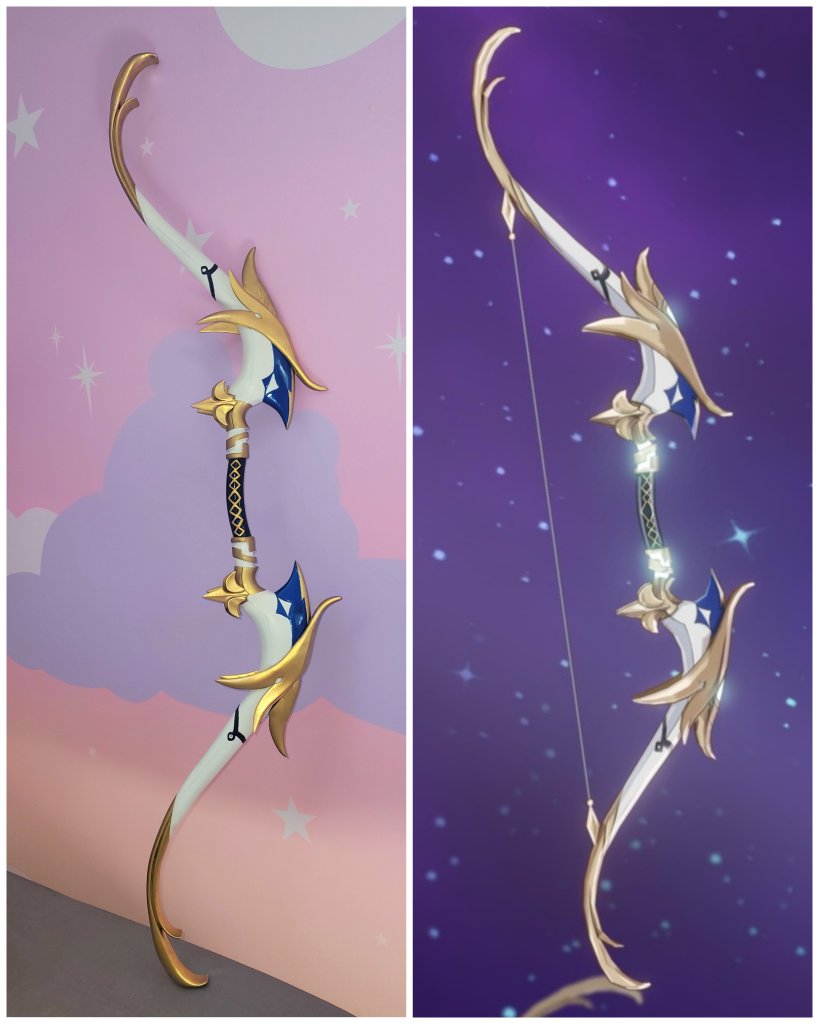
Misadventures in Prop Making (Patreon)
Content
This was my very first time attempting to make a 3d printed prop. I have little to no experience in prop making, so this was UNFAMILIAR WATERS for me for SURE. To say I struggled was a massive understatement. I'm not the most upset with how it turned out but I'm definitely not the most proud either. I made so many many many mistakes and now I'm going to tell you about them in detail! Maybe you can avoid some of the dumb things I did.
First of all, it's impottant I make it clear that i did not model or print the piece of this prop. The model was a free STL file by the user Helenalove on the site 3dmixers.com. The file was printed and mailed to me by my friend @Yayjaybae on instagram.
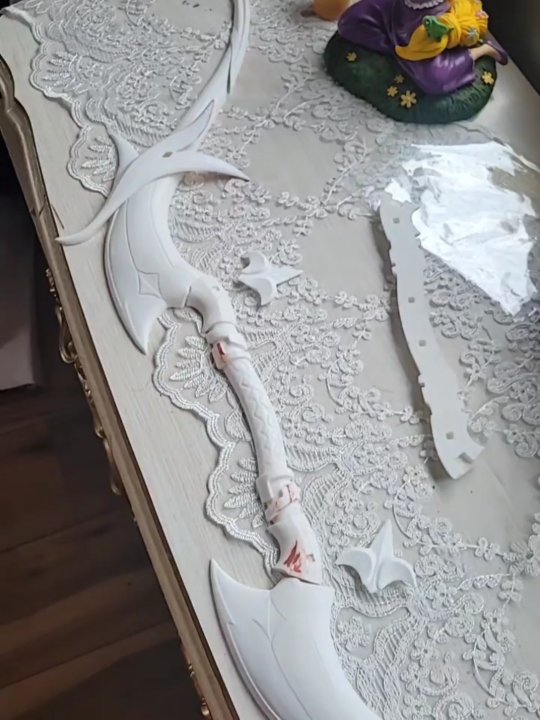
I started prepping this print back in late January. It took me several weeks just to sand every piece of the print. There were pretty deep print lines on every piece that needed to be sanded away. I used a combination of 120 and 250 grit sandpaper then wiped the pieces down with 100% acetone to slightly melt the surface to a super smooth texture. To fill the little holes and deep lines, I used Bondo Glazing and Spot Putty, Stage 2.
After all of the pieces were sanded and filled, I began the process of gluing them together. I Square wooden dowels at my local hobby store that fit the holes in the print for supports perfectly and cut them down into the appropriate sizes. Each support I covered in Gorilla Glue 2 part Epoxy, stuffed into one side, wiped away the excess glue, and then let dry before gluing the other side of the print down.
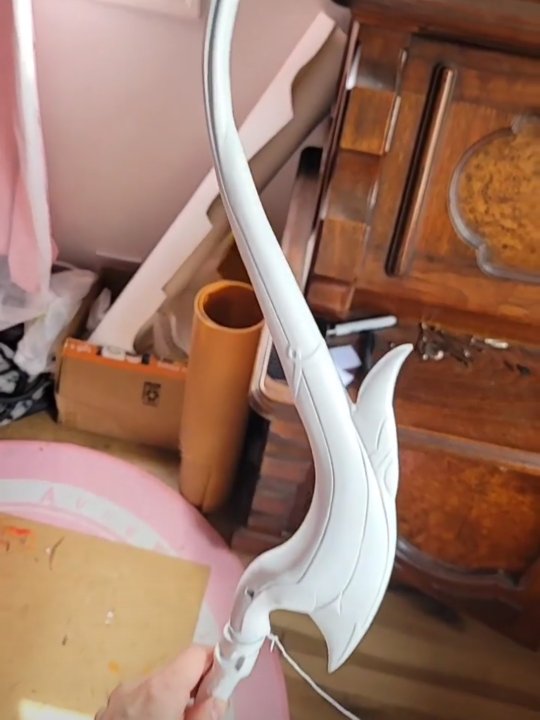
Most of the pieces fit together perfectly, but several did not. After gluing the whole bow together, I needed to sand down every seam and sand away every piece of the bow that didn't fit perfectly together, filling any gaps with bondo. Every seem also needed to be filled with bondo and sanded down to be invisable.
Once the entire bow was fully glued, filled, and sanded, I started the process of priming it. I used jewelry wire to hang the bow outside and begin spraying layers of filler primer. Between each layer of filler primer, I buffed the entire bow with a 400 grit buffing block. After 3 layers if filler primer, I spray painted the bow white with rustoleum satin spray paint. This was a bit of a disaster. I'm still not sure if it was too humid outside, too cold, or if i didn't shake the can well enough, but my initial layer of spray paint came out fuzzy. I was able to buff the entire bow again and repaint it a nice even white.
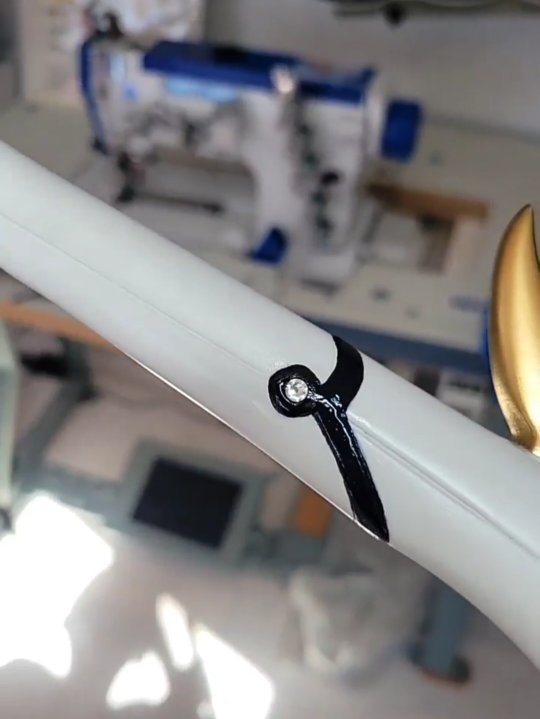
After the white, I used frog tape to tape off the areas I would be painting god. This was another disaster. The gold leaked under the tape, creating tacky textures drips and a very bumpy edge. I had to very very very carefully sand away what I could and then spray the white spray paint into a cup and repaint the edges with a brush. I received a lot of advice online from people telling me to use spray a layer of the base color or clear coat over the tape before painting but unfortunately, this didn't work for me. The there were textured tacky drips from the blue Tamiya paint over the gold and white. I had to spray both the gold and white into cups and hand paint over the edges. At this point, the bow was beginning to lose its smoothness and become streaky from the brush strokes and I was beginning to become discouraged.
I opted to hand paint the dark blue loops instead of trying to spray paint them. Because I have a shakey hand, I wasn't able to get perfect little circles inside the loops, so i cheated by gluing swarovski crystals in the center.
For the hold pattern on the handle, I decided to use an acrylic paint. It didn't match the gold perfectly, but I figured it would be much better to use acrylic that wouldn't rub off on my hand every time hold the bow.
The final details to add to the bow were the swoopy gold pieces and pointy bits. I painted these pieces separately because it just seemed like it would be easier. I glued them on using the same Gorilla Glue 2 part Epoxy.
I decided to not string the bow after being advised by many cosplayers and photographers that it's better to ad the string in photoshop. Some places won't allow fake bows if they are strung and it's easier to pose without pulling back an actual string.
I do not think I'll be making my own prop again any time soon. Wigs, makeup, and sewing are much more my area of comfort. Luckily, Farvonious Warbow works for both Venti and Gorou so I'll be using it for both cosplays.
If anything didn't make sense or you have any questions, please let me know in the comments!!!!
Files