Home
Home

 Artists
 Search
 Recent
 Random
 Posts
Posts
 DMs
DMs
 Tags
Tags
 Random
 Importer
 Import
 FAQ
FAQ
 Account
 Register
 Favorites
 Login
Login

Barbatos Tail Feather Breakdown (Patreon)
Content
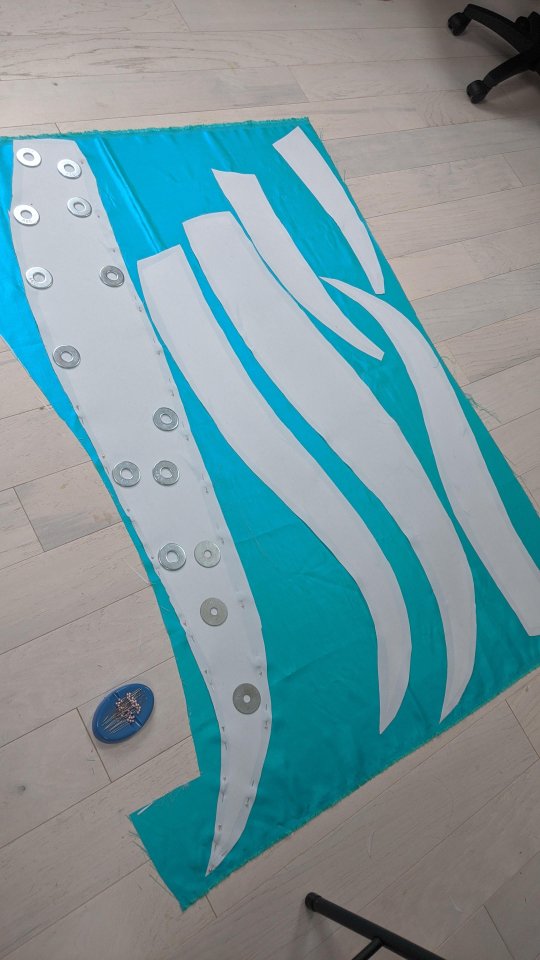
I struggled so so so SO MUCH with making these tail feathers. It was important to me that they had little cuts in then to make them look more like feathers and not just long noodly shrapnel dangling behind me. This became a huge problem for me as soon as I started trying to see together two fabrics that Frey A LOT and then turn them inside out in the areas that were very narrow and pointy. I had to come up with some nightly creative solutions.
To start patterning the feathers, I held a tape measure to my hip and let it fall behind me to get an idea for how long I wanted the feathers to drag, then I started cutting out paper feathers about that length and pinning them to the back of a mannequin. I ended up with 7 tail feathers I fiddled with until I got the exact shape and angle I was happy with.
I'll spare you the list of crazy things I tried to make the tail feathers and just skip to the crazy method that actually ended up working.
I traced the feather pattern onto the white fabric, laid it over the white fabric, cut them out with about an inch of extra space outside of the tracing, then ironed them together with disable webbing in ½ inch strips JUST along the edges underneath the traced line. Something about the heat to make one of the fabrics shrink then expand, so ironing the entire front and back together caused the feathers to curl in on the blue side and also made the feathers very stiff. Once the fabrics were fused together, I used a wood burn to cut and cauterize the edge of the feathers. This way, the feathers were fused together only at the edges, wouldn't frey, could shift and drape nicely, and had nice clean points and cuts in them.
Once the feathers were all made, I pinned them together on the mannequin to confirm the exact angle and placement wanted each one at then top stitched them together.
If you have any questions at all, please let me know!!
Files