Home
Home

 Artists
 Search
 Recent
 Random
 Posts
Posts
 DMs
DMs
 Tags
Tags
 Random
 Importer
 Import
 FAQ
FAQ
 Account
 Register
 Favorites
 Login
Login

Tutored Life Drawing Blog Week 31: The Hands (Patreon)
Content
The hands are a subject many find challenging to draw. They are a complex part of the body, with many joints and mobile elements within a visually small area relative to the whole figure.
Handling this complexity is the biggest challenge of drawing the hand. This requires keen observation of subtle changes in contour, and a good understanding of the structure of the hand to help with simplifying all the visual information.
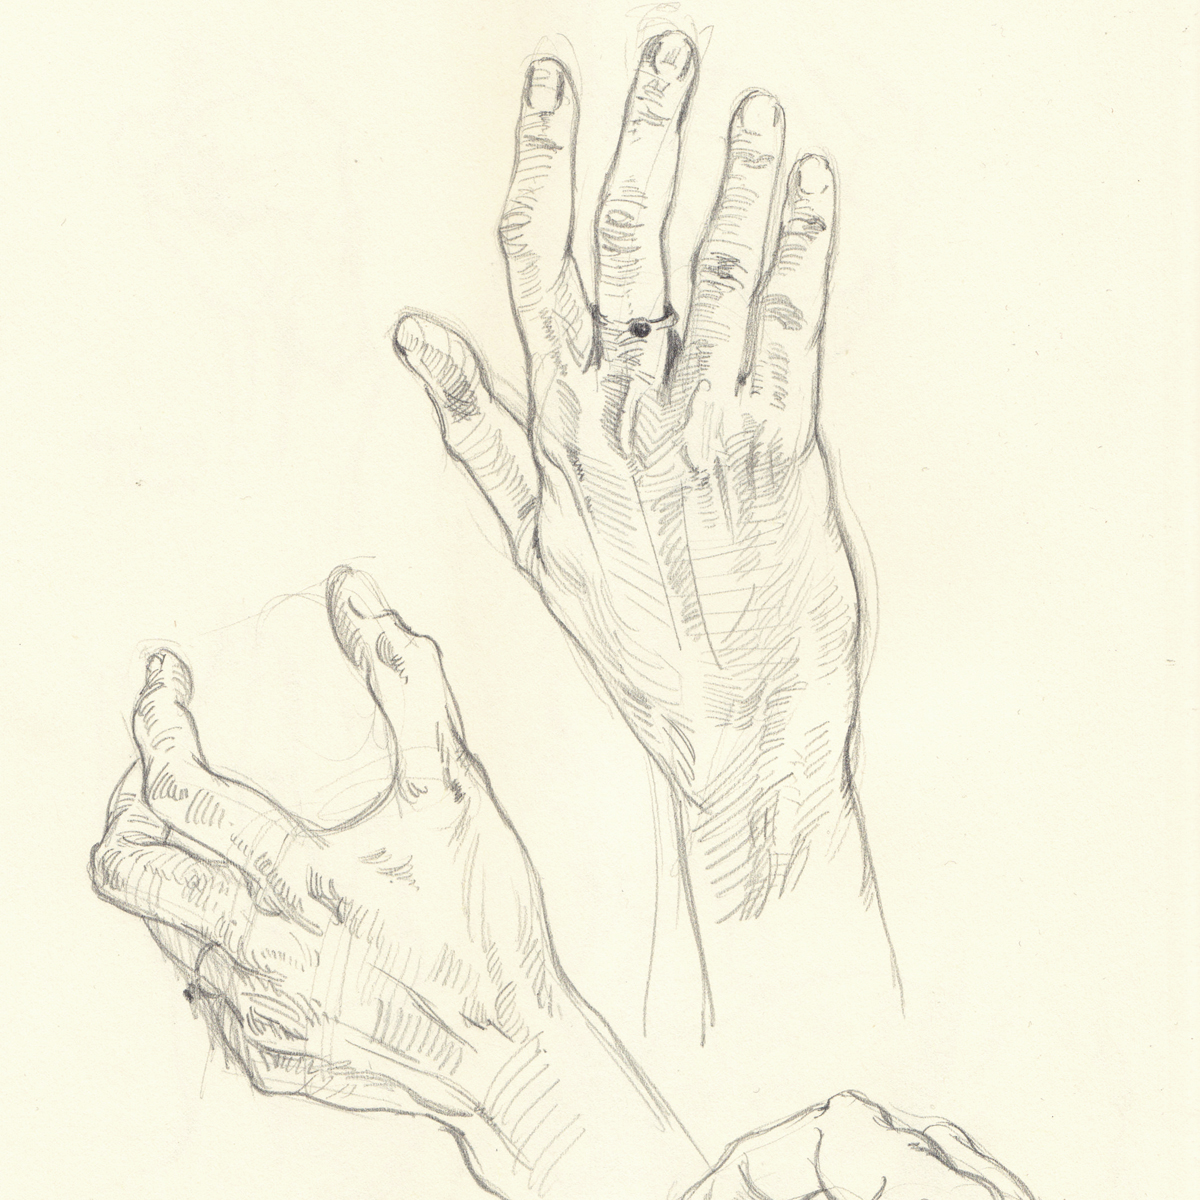
Above Image: Sketches of hands
Observational Cues
To start, let's look at the role the hand plays in the gesture of the figure. Although the hands are very small and lack mass, they are a key focal point, as they convey emotions and perform actions.
The hands tend to continue the the flow of the arms' gesture, arching through the wrist into the fingers. This does vary, as the hands are far more mobile and independent that the feet. Often, the rhythm of the arm flows into the hand and runs through the first and second finger – though some poses put more emphasis on the thumb or the outside of the hand. Identifying this 'dominant' part of the hand that leads from the arm is a good way of selecting a starting point to work out from when drawing the hand.

Flow of the gesture through the arm into the hand. When drawing hands on the full figure, consider how the hand continues the arm, rather than adding it on as an isolated element.
The wrist connects the hand to the arm. There is a slight 'step' down from the wrist into the hand, as the forms do not align. This gives the wrist a bit of a raised form from the back of the hand in most relaxed and flexed poses. As the hand extends backwards, the forms are compressed, though the bottom of the wrist does bulge a little as the tendons are stretched out.

How different fingers, or the thumb, can lead the gesture of the hand in different poses.
Like the feet, the hands have a distinct structure for the palm and fingers. The hand is not a flat structure – it has a degree of innate curvature, although it is more mobile than the foot, able to create a 'scooping' shape or flatten out. This is especially true of the fingers and thumb.

Transitions from the wrist to the palm – the wrist steps down into the palm, until the hand bends backwards.
The palm of the hand curves across and lengthways. This means the forms of the back of the hand are convex, though they roll more strongly to the sides.
The inside of the palm is concave, with a rounded indent in the centre. This changes a lot with different positions of the fingers and thumbs, as there are muscles and protective fat pads shaping the surface forms.

The palm arches across. This is accentuated on the underside by muscles and fat pads.
The fingers and knuckles fit to an arc-like rhythm. This tracks the joints of the fingers too, with the curvature of the arch increasing from the knuckles to the fingertips. The shape will vary a little from person to person, with the second or third fingers typically extending the farthest. This arc is useful in drawing differently posed hands, especially with fully extended fingers, as it can be visualised as creating a rhythm or sheet across the fingertips that flexes with different poses.
The contours of the hand have lots of specific characteristics, especially around the fingers.

The fingers and knuckles fitting to arcs.
The fingers typically have a flatter upper side compared to the lower side, which is rounded by padding. At the joints, where the top of the fingers bulge out, the underside dips in – this tends not to quite align.
Much of the taper of the fingertips is generated by the bottom side curving up. The fingernail does curve down too, but only a little. Keep an eye out for this asymmetry, as it varies from person to person.
The fingers also connect to the palm in a distinct way. The fingers slot into the forms of the palm at an angle, with the knuckle set back a little from the edge of the fat pads of the palm.

The finger joints bulge out a little at the side when viewed at the top, whilst side on, the contour is more defined by the fat pads.
This means that when viewed from the top, the fingers will overlap the palm of the hand. When viewed from bottom, the forms of the palm will overlap the fingers.

Overlaps of the fingers and palm. These are useful for indicating the orientation of the hand.
Anatomy and Structure of the Hands
The hand is mostly made of bone, so it contains little muscle, and only has some fat to protect the palm and fingers.
Bones
The bones of the hand are split into three main groups; the phalanges of the fingers, the metacarpal bones of the palm, and the carpal bones of the wrist, which form a joint with the radius. Though the proportions are different, the bones of the hand are similar to those of the foot.
The carpal bones are mostly concealed by soft tissue. The ulna is set a little back from the wrist, so the radius can rotate about it. The heads of the ulna and radius mark the bottom of the arm. The head of the ulna creates a bump above the back of the hand on the outer side. The radius forms a small flat side to the bottom of the forearm underneath the thumb.
There is one metacarpal bone for each finger and the thumb. These are similar to the metatarsal bones, and curve downwards and across the palm of the hand, producing a slight scooping shape.

Major bone groups of the hand, viewed from above.
The metacarpals also affect the surface by forming the knuckle joints. The knuckles show clearly on the top of the hand – tendons fit over the joint, so the bones aren't completely visible. They are more concealed by protective padding on the palm.
The phalanges come in three rows for the fingers, whilst the thumb only has two – this means the thumb has one less joint. They are visible at the joints, which are a bit squarer, whilst the rest of the bone is covered in protective padding. The middle finger is the straightest – the other fingers have a slight inwards curve towards it.
Like the foot, the hand has little muscle mass. Most of the action of the hand and fingers is driven by the muscles of the forearm. There are a few muscles that affect the surface forms in a noticeable way, and visible extensor tendons on the back of the hand. The flexor tendons are mostly hidden under protective padding.

Major bone groups of the hand, viewed from underneath. The metacarpal bones create a scooping form.
Muscles
The muscles of the hand result in three main groups that noticeably change the forms. The palm is rounded by muscles wrapping around the outside of the hand. These work with the little finger – when spreads outwards, or bends at the knuckle (without curling the finger up) they may create creases in the skin on top. The definition is hidden by fat pads. The group of muscles at the base of the thumb create a rounded form underneath on the opposite side of the palm – these two groups help emphasise the scoop-like form of the palm.
Whilst the fingers overlap the palm when viewed from the back, the opposite is true of the thumb. The first dorsal interosseous overlaps the thumb's muscles, which shows in how the skin on top creases. When viewed from the palm-side, the overlap switches around and the thumb group overlaps the forms of the rest of the palm.
The extensor digitorum tendons are the tendons on the back of the hand – the muscle group itself is in the forearm. The tendons are covered by ligaments in the wrist, before fanning out to the fingers.

Visible muscles of the hand. These can be simplified into three groups for the thumb (blue box), little finger (purple box) and forefinger (pink box).
The thumb has its own extensor tendons that can create a little dip in the forms behind the thumb. This is a handy landmark for thumb placement, and indicating its pose.

Two tendons extending the thumb, sometimes forming a dip in the surface.
Fat
Though not nearly as tough as the foot, the palm of the hand has its own padding to protect it. This plays a significant role in shaping the palm and the fingers. This protective padding is made of fatty tissue, and covers a lot of the definition of the muscles and tendons of the palm of the hand, whilst the back of the hand has more visible bone and tendon features.

Approximate placement of the fat pads of the hand.
Application in Artworks – Hands in Action
In the full figure drawing, hands are challenging due to the need to compress a large amount of visual information into a relatively small visual area. There are many different ways to do this. In this example Rembrandt breaks up the contour lines – broken lines generate the illusion of a thinner line – and simplifies the details. The bumps in the contours are smoothed out, and the details are reduced to indications, such as simple lines being used for skin creases and tendons.
Hands are an important element of a pose, as they often contribute a narrative element to the action. Here the cupped pose of the hands shows how they are being warmed.

Rembrandt (Rembrandt van Rijn) - Beggar Seated Warming His Hands at a Chafing Dish (Source: The New York MET)
The hands can pose in a huge variety of different ways, and convey a narrative by performing actions. Here that is the focal point of the image. Sensitive observations show the light grip of the etching tool, and the way the fingers curl in on each hand.
The hatching in this print also shows the character of the hands, giving them a sense of bulk and toughness. There are many different ways to convey hands, and it is well worth looking at hands drawn and painted by a wide variety of different artists. Everyone draws hands differently, and different people's hands also show individual likenesses. The distinctive nature of how different artists draw hands in particular is an important reason to copy them, as there are lessons to be learnt in how they simplify and stylise this complex subject.

Francis Seymour Haden - Hands Etching (Source: Cleveland Museum of Art)
Key Points to Remember About Drawing the Hands
- Look for how subtle changes in contour and overlap affect the appearance of the hands.
- The top of the hand is characterised by bones and tendons, whilst the palm is softened by protective pads and has a scoop-like form.
- There are many different way to represent the hands in drawing – different artists often draw distinct hands, and it is necessary to simplify hands when they are part of the whole figure.
Over to You – Practising Hands
Recommended Materials: Any
Exercise 1: Small Hand Sketches
Drawing very small hands is an excellent exercise to practise drawing hands for figures. Often, when drawing the full figure, it can be a challenge to draw hands small and simple enough. There is a lot of detail packed into this tiny visual area, and it can be tough to manage. In this exercise, draw as many small hands as possible, trying to progressively shrink them smaller.
When doing this exercise, try to simply the hand down into key component shapes. Consider fusing some or all of the fingers together, testing different types of contour line, or using tonal shapes.

Tiny sketches of hands.
Exercise 2: Draw Your Own Hands
Practising by drawing your own hands is an excellent little drawing exercise. It is a good way to get some more experience with observational drawing, and the hands are great subject that is always available.
When doing studies from your own hand, try to draw lots of different poses. To mix things up, consider drawing the hand doing different actions, holding different objects, or viewed through a mirror to access more difficult angles.

Sketchbook studies of hands.
–
Further links
>> Watch the Week 31: Hands main lesson HERE (Student & Life Tiers)
>> Watch the Week 31: Hands demo HERE (Student & Life Tiers)
>> Practice your drawings with our photo set HERE (Student & Life Tiers)
Find links to the whole Tutored Life Drawing Course HERE
Files