Home
Home

 Artists
 Search
 Recent
 Random
 Posts
Posts
 DMs
DMs
 Tags
Tags
 Random
 Importer
 Import
 FAQ
FAQ
 Account
 Register
 Favorites
 Login
Login

Tutored Life Drawing Blog Week 25: The Torso (Patreon)
Content
The torso presents the largest mass of any area of the body both visually and physically, forming the core of a figure's gesture. It links up all other elements of the body, connecting to the head and limbs. The torso can show a lot of individual variation, with many factors affecting the visibility and appearance of different bone, muscle and soft tissue features.
One of the most immediate benefits of understanding the torso better is more active gesture drawings. A common challenge with drawing this region of the body is a 'straightening up' effect, so finding angles and rhythms of the core will help prevent stiff-looking figures. This lesson will also cover some of the surface features of the torso, looking at common landmarks, understanding visible muscle structures, and soft tissues such as the breasts and subcutaneous fat.
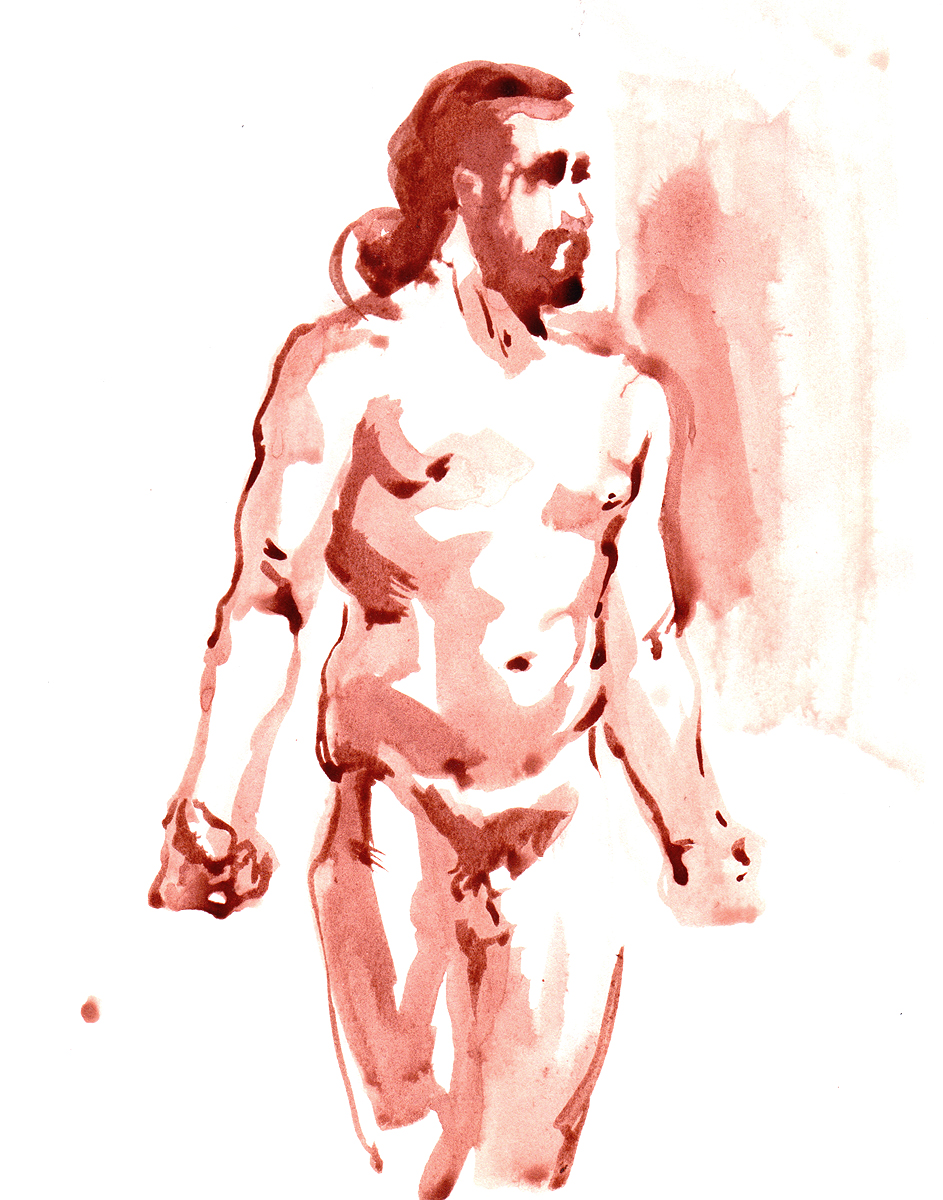
Image Above: 'Felix'
Drawing Tips for the Torso
When approaching the torso, it can sometimes be tricky to figure out where to start. One initial observation to help get started is the angles of the shoulders and the hips.

Lines showing how symmetrical elements – the shoulders, nipples, and hips – can indicate tilting forms. Note that the nipples can be lifted up when the arms raise, and therefore might not sit evenly on the chest.
In most poses, the shoulders and hips will be at least slightly tilted in comparison to one another other. The torso connects everything and has to facilitate other motions. It is worth checking on the angle for the nipples as well, as they are going to tilt with the torso, but will vary in placement due to the action of the arms and effects of weight.

These action lines go through the mass of the torso – note how the centre sketch, with its side-on view, has a line going through its middle.
This tilting of the shoulders against the hips often results in a bend or twist in the torso, even a subtle one. This is a useful idea when it comes to continuity within a whole pose, and links the torso to the idea of an action line – a simple line indicating the body's overall gesture. (See Lesson 14 – Gesture)
This line is different to the centreline of the torso, which is a line of symmetry that runs down its length. The centreline sits on the surface of the body, rather than going through it. However, it is a useful observational cue, as it helps with placing other features. The centreline runs down the chest, through the navel and down to the genitals.

The centreline (red) runs down the middle of the torso. It helps to visually support other symmetrical rhythms created by skeletal (green) and muscular (blue) structures.
The centreline is usually easy to spot, and is a useful reference point in the torso. One way it can help is by anchoring visual rhythm lines of other surface features. Think of these as more of a 'flow' or path to the drawing process, rather than something rigid – these aren't contour lines that can be observed, but an underlying continuity.
As more bulk and detail is added to the torso, it is also useful to keep an eye out for the overall angles formed by the contour lines on either side.

Torsos with the angles indicated; the more acute angle (red) is the active, or compressed side, whilst the flatter side is inactive, and tends to crease less.
This is useful for identifying bends in the torso. Typically, bending results in compression, where skin creases, and the forms of the torso appear rounded, in contrast to the opposing side, where the skin is stretched out and the forms flatten. When drawing creases, try to observe how they curve around volumes – the torso has a fairly variable cross section, being quite round about the chest and belly, and becoming squarer around the hips, though body composition will affect this.
Another important visual feature in contour lines that is often neglected when drawing the torso is the overlaps formed by interlocking and twisting muscles. This is especially useful for helping portray the torso in foreshortened poses.

Overlapping lines are marked out in red on these foreshortened torsos.
When trying to locate overlaps, first think about what part of the torso is closest, or turning to the viewer – this is likely the part that will overlap the farther part. Small creases might be hard to spot, but they are there. Putting a little extra emphasis on them will make the torso look more three dimensional.
Anatomical Features of the Torso
The two major skeletal features of the torso are the ribcage and the hips, as well as the spine which connects them. Much of the focus in this lesson will be on the ribcage, as the spine and hips will be covered in future weeks. The collarbones are covered in more detail in Lesson 24 – The Neck.

The bones of the torso with major surface features labelled.
There are typically twelve ribs in the ribcage, and they form an approximately egg-shaped, mostly rigid volume. However, unless someone has very little soft tissue, much of this is covered up; the most important features visually are the manubrium, sternum, thoracic arch and tenth rib - the final rib connected to the thoracic arch. The spine, though not visible from the front, forms the back of the ribcage and connects it to the pelvis, which can be seen from the front of the torso at the iliac spine, and possibly part of the iliac crest.
The visibility of the bones of the torso changes a lot with pose, body type, and individual differences. Typically the collarbones and ribcage show visible landmarks most easily.

Torsos with some of the bony landmarks roughly indicated.
The surface features of the ribcage are useful as they help educate the marks used for describing its forms, and the sternum also creates a useful centreline for the figure. In more stretched out poses, the thoracic arch is more noticeable - even on figures with more muscle and fat – as the soft tissue is flattened over it. The ribs become more visible in leaner figures with less muscle and fat.
The torso, like the neck, has a lot of layers to its structure, but for drawing, the focus will be on surface muscles. In most people, these are relatively flat muscles, with small volumes relative to the large areas they cover. Deeper layers of bone and tissue form the bulk of the torso.

Major surface muscles of the torso.
The most visible muscles of the torso are the pectoral muscles, abdominal muscles, the obliques, and it is sometimes possible to see a little of the serratus muscle as well. These muscles all interlock, linked up by fascia and tendons. Much of the definition is concealed by fat or breast tissue, though even when not visible directly, muscles tend to create rhythms on the surface of the figure.

Muscles interlocking at the armpit.
The muscles of the abdomen can affect the surface features even under soft tissue. The deltoid and pectoral muscles form a crease or depression, which leads to a small hollow formed under the collarbone called the infra-clavicular fossa. There is also an interlock of muscles at the armpit, where the deltoid (shoulder muscle) overlaps the pectoral muscle, which overlaps the bicep – this is useful when drawing outstretched arms, and it can cause distinctive creasing. The serratus muscle usually isn't defined enough to be seen. Its volume does add a small bulge to the contour of the ribcage, and when visible, the 'teeth' form a line that curves over the ribcage to the nipple.

Landmarks caused by the affect of connective tissue on surface features.
The abdominals can result in a visible centreline due to connective tissues, and this is often seen, or inferred by rhythms in many different body types – if there is more fat present, it will be reduced to a slight furrow in only a few places. Where the abdominal muscles border the obliques, a similar effect forms a line, again more obvious in lean individuals, but also visible in many other body types as a change in surface direction. Although fat covers the definition of the torso, the structure of the body underneath continues to affect its forms due to the distribution of fat.

Fat distribution on the torso and creasing forms.
Fat is present under the skin over much of the body, but there are concentrations of mass in fat pads. The torso readily accumulates of fat, especially around the breasts, abdomen and hips, which all have their own fat pads. However, body fat distribution varies immensely from person to person for a variety of reasons, resulting in different volumes.
Fat has no internal support of its own (unlike rigid bones and active muscles) so it is entirely subject to gravity and the tension of the skin. This results in creases, though these can change with pose.

Breast tissue sitting on top of the pectoral muscle. Breasts vary widely in size and structure, as do the nipples and areolae.
The breasts are very variable, and are part of the soft tissue of the chest, sitting on top of the pectoral muscle. The breast sit either side of the centreline of the chest, the bulk of their mass loosely attached to the muscles, though some breast tissue extends up to the armpit. This can be seen as the pectoral muscle forms a line from the armpit that sinks into the breast tissue. When drawing the breast, it helps to be mindful that this tissue sits on top of the muscle, and moves with gravity.
Meaningful Marks – The Torso in Artworks

Egon Schiele - 'Torso of a Nude' (Source: New York MET)
This simple sketch efficiently indicates some of the anatomy of the torso to better describe this stretched out and slightly twisted pose. The external contours follow changes in bone and muscle structure, whilst there are just a few short lines to indicate some of the surface anatomy of the ribcage. When drawing the torso, it is tempting to overemphasise the surface anatomy with our marks. This demonstrates that a drawing can 'read' well as long as the most essential information is included.

Francisco de Herrera, the Elder - 'Study of a Seated Nude, Bearded Man in Half-Length' (Source: New York MET)
The expressive marks in this ink sketch indicate a rough light and shadow pattern, and show the relative inward tilt of the ribcage towards the hips. The sitter appears to be an older model; in the torso, the skin tends to get looser with age, especially around the abdomen. Here this is indicated by the extra creases and contour lines that loosely curve around the abdomen, across the top of the pelvis and back up again. Contour lines are useful for indicating skin textures without overworking them – tighter skin tends to result in smoother, simpler lines, whilst looser skin produces flowing lines with a more 'chaotic' rhythm.
Key Points to Remember About The Torso
- The torso is a key element of gesture, particularly the angles of the shoulders and hips.
- Skeletal landmarks help portray the gesture and structure of the torso; they are most prominent around the ribcage.
- The muscles of the torso change its surface, and create visual rhythms through fat, even if they aren't fully visible.
Over to You – Torso Studies
Recommended Materials: Any
Further Reading: Lesson 14 – Gesture
Exercise 01: Torso Gestures
The torso plays an important role in gesture drawing, and is worth studying on its own. Try drawing some short pose figures whilst focusing on capturing the torso. Short poses between 2-10 minutes are ideal for this.
When drawing these quick studies, think about how the angles of the hips and shoulders are orientated relative to each other, look for landmarks of the muscles and skeleton, and try to grasp which side is compressed versus which side is stretched out.

Some short form sketches of different torsos.
Exercise 2: Long Torso Study
The torso is well suited to a longer effort, as there is a lot of nuance to the surface anatomy that we often don't get time to delve into when drawing shorter poses. It is also a fairly popular subject of study because it is such an important part of the body. This sort of study should extend to an hour or more.
Tackle this like you would with any long figure drawing; this is a little easier as there is no need to accommodate the limbs. When drawing the torso, start by focusing on the key landmarks that would be covered in shorter poses, before expanding out to more subtle features and volumes. In particular, try to pay attention to how surface directions change.

A longer torso sketch with a focus on broad changes in surface forms.
–
Further links
>> Watch the Week 25: The Torso main lesson HERE (Student & Life Tiers)
>> Watch the Week 25: The Torso demo HERE (Student & Life Tiers)
>> Practice your drawings with our Torso photo set HERE (Student & Life Tiers)
Find links to the whole Tutored Life Drawing Course HERE
Files