Home
Home

 Artists
 Search
 Recent
 Random
 Posts
Posts
 DMs
DMs
 Tags
Tags
 Random
 Importer
 Import
 FAQ
FAQ
 Account
 Register
 Favorites
 Login
Login

Tutored Life Drawing Blog Week 15: Gesture in Longer Poses (Patreon)
Content
As poses get longer, you will have more opportunity to add information to our drawings. In this blog, we'll focus on short poses of five to fifteen minutes long. This allows plenty of time to record the initial gesture, and from there it is important to be mindful of how information is added.
It is easy to get carried away with a drawing and forget the big ideas supporting it. Knitting the fundamental properties of a gesture, such as rhythm, angles, and shapes, among other ideas, into the drawing as detail is built up will help maintain the energy of the pose. Balancing a pose's gesture with the solidity of the body is always a challenge; it is all too easy to lean too far in either direction.
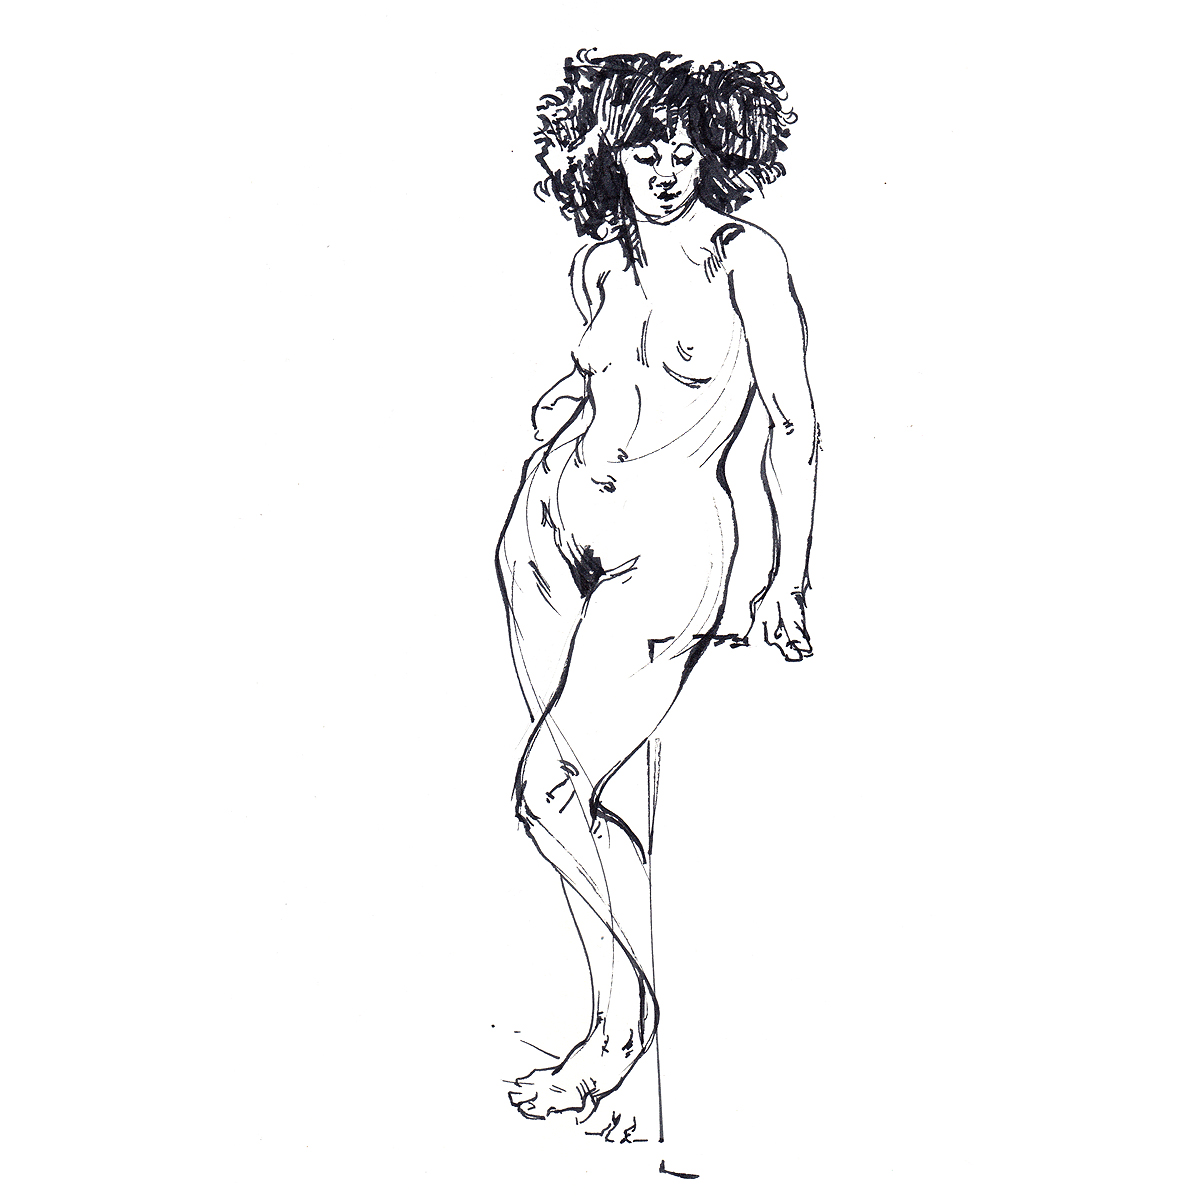
Above: 'Jade'
Gesture and Angles
Angles are a basic observation that can be made about the tilt of lines, shapes and their placements. This is often overlooked however, even though angles can improve both observations, and help design more interesting drawings.

Red lines approximately indicate the angle of the limbs, or their contour lines. The blue lines indicate the angles between the hands and feet, which are well contrasted in this particular pose. There are lots of other ways that parts of the body can be related by angles. What is interesting about a pose?
In gesture, angles arise from rhythm lines and the placement of different parts of the body. For instance, the orientation of the limbs, or the way the torso is tilted. One way to improve gesture drawings is by being mindful of avoiding 'stiff' looking combinations of angles, and introducing interesting angles.
Stiff looking poses are often caused by 'straightening' angles up to horizontal and vertical lines. Forming perfect right angles with these can make a pose appear even more static. Whilst verticals and horizontals sometimes occur naturally, more often than not the body is built up of a variety of other angles. If verticals or horizontals do pop up, consider adjusting them in your drawing, as even small deviations can make a difference.

These drawings of the same pose show a relatively faithful gesture sketch in the centre (blue). The left hand version (red) shows the same pose, with the angles straightened out more, whilst the right had version (green) shows a more exaggerated version, where the angles have been pushed further.
Exaggerating angles and pushing the amount of variety is also an effective way of making poses more dynamic. It might be something that is only done a little bit – just enough to give the figure a sense of movement or tension – or can be pushed further in more expressive drawings. This is very much down to personal taste.
Using Shape
A literal observation of shape can be the silhouette or outline containing the figure, or observed shapes of colour or tone. However, it can be used to push ideas about gesture, either in small ways that highlight asymmetry, or more dramatic exaggeration. These shapes are broad simplifications of the figure or parts of it, rather than the result of accurate and literal observations. In drawing, shapes are formed by line enclosures, or areas of tone or colour.
When applying shape to gesture, try looking for ways to incorporate asymmetry into the shapes of the figure, be they large enclosures for the complete pose, or individual parts of the body such as the limbs.

A distinct shape can enclose the whole pose. This can be a useful starting point for a drawing. Note how these shapes are very asymmetric.
One use of shape in gesture is to look for the overall shape of the pose. Keep this simple, using only a few lines to sketch it. This helps with capturing how distinct the pose is, and can help push it further. Keep an eye out for flexing shapes – shapes that appear to be bending or warping, such as the bendy rectangle above – and asymmetric shapes, especially those with a contrast in straight and curved lines making up their enclosure.

Asymmetric shapes help keep the fluidity of this pose. On the right are various organic shapes created by varying the curves – C, or S curves and straight lines – and the 'strength' of the curve.
Introducing variety helps create dynamic shapes, and preserve a sense of gesture in longer poses. When working with simple shapes, try to focus on using basic curves, such as C and S curves, with straight lines, and build shapes with only a few lines. To inject some variety, these lines can be mixed up in any combination – such as balancing curves and straights, or C-curves with S-curves. The strength of a curve, or how bendy it is, also plays a role in forming varied shapes.
Try to see past the complex contours when starting to build the figure to find these underlying basic shapes. Once they are resolved, either literally by drawing them, or by consciously being aware of them, any contours, and other details drawn on top will have a more dynamic feel.
Starting to Add Volume
With longer poses there is more time to build up structure to the figure. Linking gesture with dimensional drawing – making things look like solid volumes – can be a challenge, and this is the point where investing more time into a sketch can start to make things look stiff.
Overlaps are a big element to adding a sense of space and volume to any drawing. There are places where one line, or shape, passes in front of another, indicating that the edge one line is describing sits in front of the other.

Overlaps are especially important in foreshortened poses like this. The nearest arm overlaps the torso, which itself is made of overlapping forms in this forwards-leaning pose.
This is useful to keep in mind when drawing for a bit longer, as overlaps are one of the quickest ways to give a drawing a more convincing structure. They add a sense of dimensionality by implying there is a space between two different objects, or two volumes are interlocking.

Keep an eye open for how the hips and chest interlock in the torso. The nearest form, in this case, the chest, will have lines that tend to overlap and slot on top of the farther form, which here is the hips. Pay special attention to this in more complex poses, such as twists.
Sometimes overlapping lines can be tough to spot on the figure, especially without knowing what is going on under the surface. One useful question to ask in challenging situations is: what part of the figure here is closest? Learning about anatomy can help tremendously, as understanding how the body works helps with making better decisions about what details to include. Is that crease showing anything about what the figure is doing or is it a passive feature? This also helps with locating subtle overlapping forms.
Overlaps are everywhere, so look for any excuse to show them in a drawing; even in less realistic drawing styles, they add a sense of structure and perspective.
As the structure of the figure develops, consider how the rhythm lines link up to the volumes that are being drawn. (Check the previous lesson on Gesture and Rhythm to learn more about rhythm.) Rhythm lines help indicate the thrust of the figure, and broadly speaking, it helps to align major structures along them.

Linking basic volumes of the figure to rhythm lines helps connect gesture with form.
One way to think of this is by considering the volumes of the body to be a bit like beads on a wire, where the rhythm is the flexible wire they hang off. The rhythm might not pass through the centre of the volumes, but they should roughly align with it.
Sometimes, the initial rhythm lines sketched out might be a bit too dramatic, in which case, think about how to compromise this with the observed reality of the volumes. There is a bit of a balance to be had with observation and expression; sometimes allowing for a bit of exaggeration can create a more interesting end result.
The next lesson on Form will delve deeper in to portraying volumes and surfaces in our drawings.
Key Points to Remember About Gesture in Longer Poses
- Angles are everywhere in the figure; try to vary them, and limit using horizontal and vertical angles.
- Think of the simple shapes that enclose and make up the body, and look for natural asymmetry.
- Overlaps are an essential ingredient in dimensional drawing – keep a look out for them!
Over to You – Gesture Drawing Practice
Recommended Materials: Any drawing materials
Further Reading: Lesson 14 – Gesture and Rhythm
Exercise 1: Short Pose Drawing
For this exercise, draw figures for five to fifteen minutes, either in a life drawing session with these pose times, or by timing your own drawings.
Think about how the time is used for these poses, and how you want to approach the drawing. It is likely too short a time to spend laying in accurate proportions, shapes and the like, so these poses still benefit from a gesture-focused approach. Consider starting with a short sketch of the whole figure, such as was practised in the previous lesson on Gesture and Rhythm. From there, check the angles look good, and start to built up shape and volume.

These poses took around five minutes each, and were created on top of a basic rhythm gesture sketch.
Exercise 2: Drawing Clothed Figures
Clothed figures are an excellent subject for gesture drawing, and the design of clothing opens up a world of interesting shapes and volumes as well. Because clothing tends to create simpler shapes than the body, it is a good subject for practising shape.
If clothed figures seem like an intimidating subject for longer drawings, doing lots of shorter studies is a great way for getting an idea of how to portray the big ideas of how the fabric sits on the figure, alters the silhouette and changes with movement, without committing to any large projects.

Short poses of a clothed figure – this suit makes excellent shapes to draw.
Exercise 3: Animal Sketching
Animals are a great subject for gesture drawing. All of the ideas for drawing figures in this lesson apply to animals in a similar way. I mentioned sketching animals quickly in the previous lesson's exercises; here is a good chance to try some slightly longer efforts. Try to apply the ideas of the lesson, especially around angle, shape and overlaps, to these drawings.
Animals offer unique shapes to draw. If finding simple shapes in the human figure is a challenge, animals are a good midground between the graphic shapes of clothing, and the complex forms of the body, as they may have fur or feathers to help simplify their anatomy. Try different creatures – some are definitely more difficult than others!

Short sketches of horses in different poses.
–
Further links
>> Watch the Week 15: Gesture main lesson HERE (Student & Life Tiers)
>> Watch the Week 15: Gesture demo HERE (Student & Life Tiers)
Find links to the whole Tutored Life Drawing Course HERE
Files