Home
Home

 Artists
 Search
 Recent
 Random
 Posts
Posts
 DMs
DMs
 Tags
Tags
 Random
 Importer
 Import
 FAQ
FAQ
 Account
 Register
 Favorites
 Login
Login

Drawing from Home: The Clothed Figure (Patreon)
Content
Clothing and costume are a common challenge we encounter in our drawing, especially outside of the liferoom! It is useful to have some confidence with drawing clothing, as it inevitably pops up with human subjects, such as in portraiture and illustration. Building on last weeks focus on drapery we be looking at how to draw clothing in a clear way, and break down the challenge of complexity.
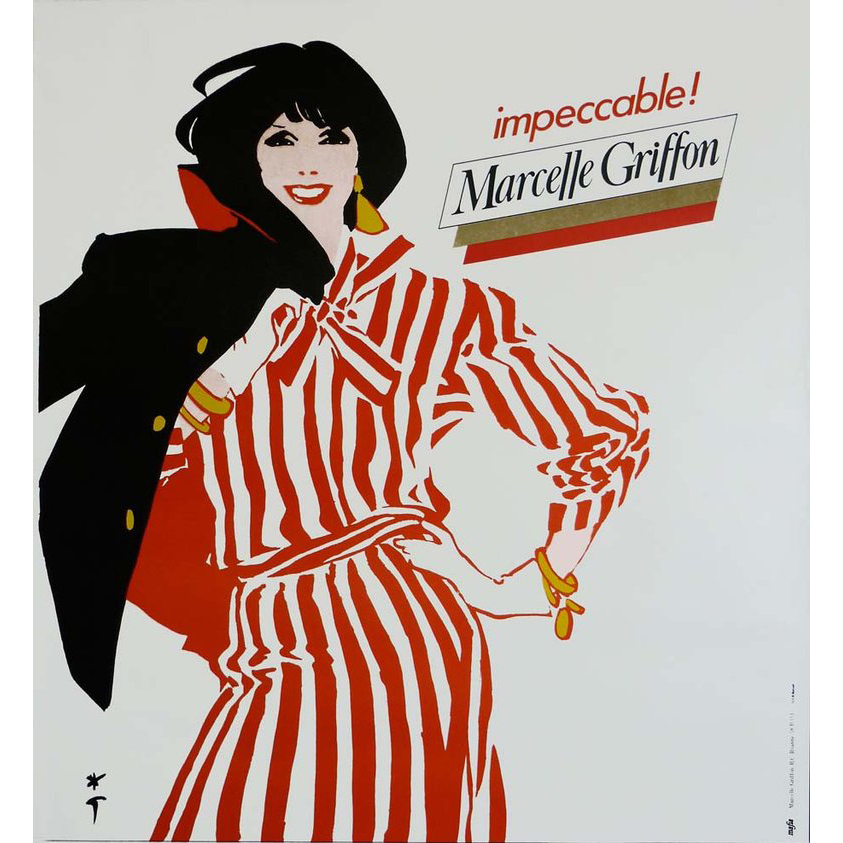
René Gruau - Illustration for Marcelle Griffon
Key Features of Clothing
Some characteristics of clothing can be particularly useful for drawing the outfit and the pose of the figure. Clothing differs from drapery, because clothes are held together around the body, and designed to create specific shapes and looks. However, clothes are still made of fabric, so everything we learnt about folds still applies.

Silouette is one of the first things we notice about clothing. A clear silouette can tell us about an article of clothing and the pose of the figure; large blocky shapes can indicate stiff, excess fabric, such as in a coat, whilst fabric with lots of small rumpled edges is probably thin and baggy. Close fitting outfits will clearly show the figure, but will probably have a few creases showing on the silouette when the joints bend and compress the fabric.

Examples of seams (red), cuffs and collars (blue) and overlapping edges (green).
Cuffs, collars, seams and other features wrap the body, showing volume. A seam (red) will wrap around or travel along the body, and will track the undulation of fabric – indicating folds without the need to draw them.
Cuffs and collars (blue) show volume by wrapping around the body, so the curvature of their edge will indicate how round something is – a huge help in foreshortened poses. Because they wrap around, they also create a series of overlaps. The fabric will pass behind a limb and in front of it, so the line for this edge overlaps, and is overlapped by the limb.
Overlaps are created whenever one thing passes in front of another. They are created by folds as well (green), and help indicate depth and volume in drawing.

Fabric has no bones of its own, so it hangs off the body being pulled down gravity (red). Pay close attention to the contact points clothes have with the body, as folds will hang down from these. The shoulders and waist (especially in items like skirts) are important for this, though extended limbs will also have fabric hanging from them.
Fabric tends to crease around the joints (blue), especially when they bend and compress it. Folds on the arms and legs are more likely to wrap around the limb (as the clothing effectively forms a tube) whilst the folds around the torso hang down – remember, gravity is always going to pull down.
Drawing Clothing
In this step by step, I suggest a possible drawing process, but there are many ways of working! Generally, it is a good idea to work from large shapes and gestures down to the smaller ones, and to be mindful of how the marks you make describe the clothing. Clothing can be visually complex, so we need to curate what we include in our drawings.
Step 1
It is important to be aware of the body underneath when drawing a clothed figure. It isn't necessary to draw everything, but a clear indication of gesture will help ensure that the clothing follows the body more cohesively.

As clothing shapes develop, we can see how gesture affects them. Like the body, fabric will squash, and crease, when compressed, and flatten out when stretched. Look for places where the complexity in the silouette can be simplified and places where it should be preserved. Areas of simplification are important for giving the eye a 'rest' in the image. If everything is highly detailed, it is hard to find a focal point.

Bernie Fuchs – For Sports Illustrated. In this illustration, we can see how the lit side of the figure, lacking compression folds, has few details, whilst folds bunch up around the joints and emphasise movement. The solid white shape clears a clear silouette of the pose.
Step 2
Now we are from big to small details by starting to add things like folds and seams.

An easy trap with clothing is trying to include every single fold, which might harm the drawing as whole – here I have selected out enough folds to show how the pose stretches the outfit, but have omitted more redundant ones. Ensuring that plenty of overlapping lines are incorporated into the folds will help push a sense of volume as well.

Cornelis Saftleven - 'Standing man from the rear' The folds in the jaket help describe the volumes of the limbs and torso. The large folds on the left hip show overlapping layers of fabric as the coat wraps the body.
Step 3
With the foundation of the drawing down, we can work more on the details and patterns, and start to add tone or colour.

Here I've added details to the clothing such as the seams wrapping the shoes, and most noticably, the logo on the shirt. This pattern fits to the undulation of the folds, so I need to take care with the shapes – the text has been warped. In the second image, I have also added a layer of tone to seperate the clothing from the lighter skin and socks – the outfit is dark, so it will need a couple of layers of tone.

Louis Carrogis dit Carmontelle – 'Portrait de Monsieur de la Neuville Morfleury' Like patterns, the buttons also fit the undulation of the fabric, as they sit on the surface. This drawing uses a simple combination of conté and charcoal to clarify different clothing elements.
Step 4

To finish, more detailed shading has been added to the first layer to define the folds and push everything darker. This shading has directional marks that compliment the direction the fabric is draped or folding in.
In the final image, to add extra polish I've gone around the figure and adjusted some of the edges. This includes softening more distant edges to allow overlapping forms to come forward (such as around the left leg) and pushing the highlight on the right calf by lightening the line.

Helen Allingham (Paterson) – 'Pteridomania' Dark fabric can be a challenge, as it shows less contrast. The shading in Allingham's example sculpts out the form and 'sweep' – direction – of the fabric, to compensate for this.
Over to You
Fabric opens up many drawing possibilities in terms of design. There is a wealth of reference material out there – Draw has some high quality images on Patreon, but there are also free references in terms of photography. Fashion blogs and magazines are a good resource, but think out of the box – sports, film/television, catalogues, etc. are all great sources of posed, clothed models.

These quick studies were done in ink and wash.
As with drapery, I think it is good to incorpate shorter studies of clothing to help understand the relationshop between gesture and shape. This also allows for more chances to experiment with different ways of portraying it.
--
This is the second of a pair of blog posts in Lancelot's focused on drawing clothed figures and commissioned using money raised here on the Draw Patreon. As an added bonus, we'll be making this months clothed photoset (usually only available to Life Drawing tier supporters and above) to all levels to help you practice your clothed figure drawings.
Please do share your drawings with us, as we would love to see what everyone is up! Just tag us with @Draw_Brighton on social media or use the #LifeDrawingFromHome and #DrawBrighton hashtags. You can follow Lancelot on instagram here: @lancelotrichardson
Thanks for your support!
Files