Home
Home

 Artists
 Search
 Recent
 Random
 Posts
Posts
 DMs
DMs
 Tags
Tags
 Random
 Importer
 Import
 FAQ
FAQ
 Account
 Register
 Favorites
 Login
Login

PROJECT DIARY: Painting the Ashen Wastes (Patreon)
Content
Hey Folks,
Marcus (reliquat28) here!
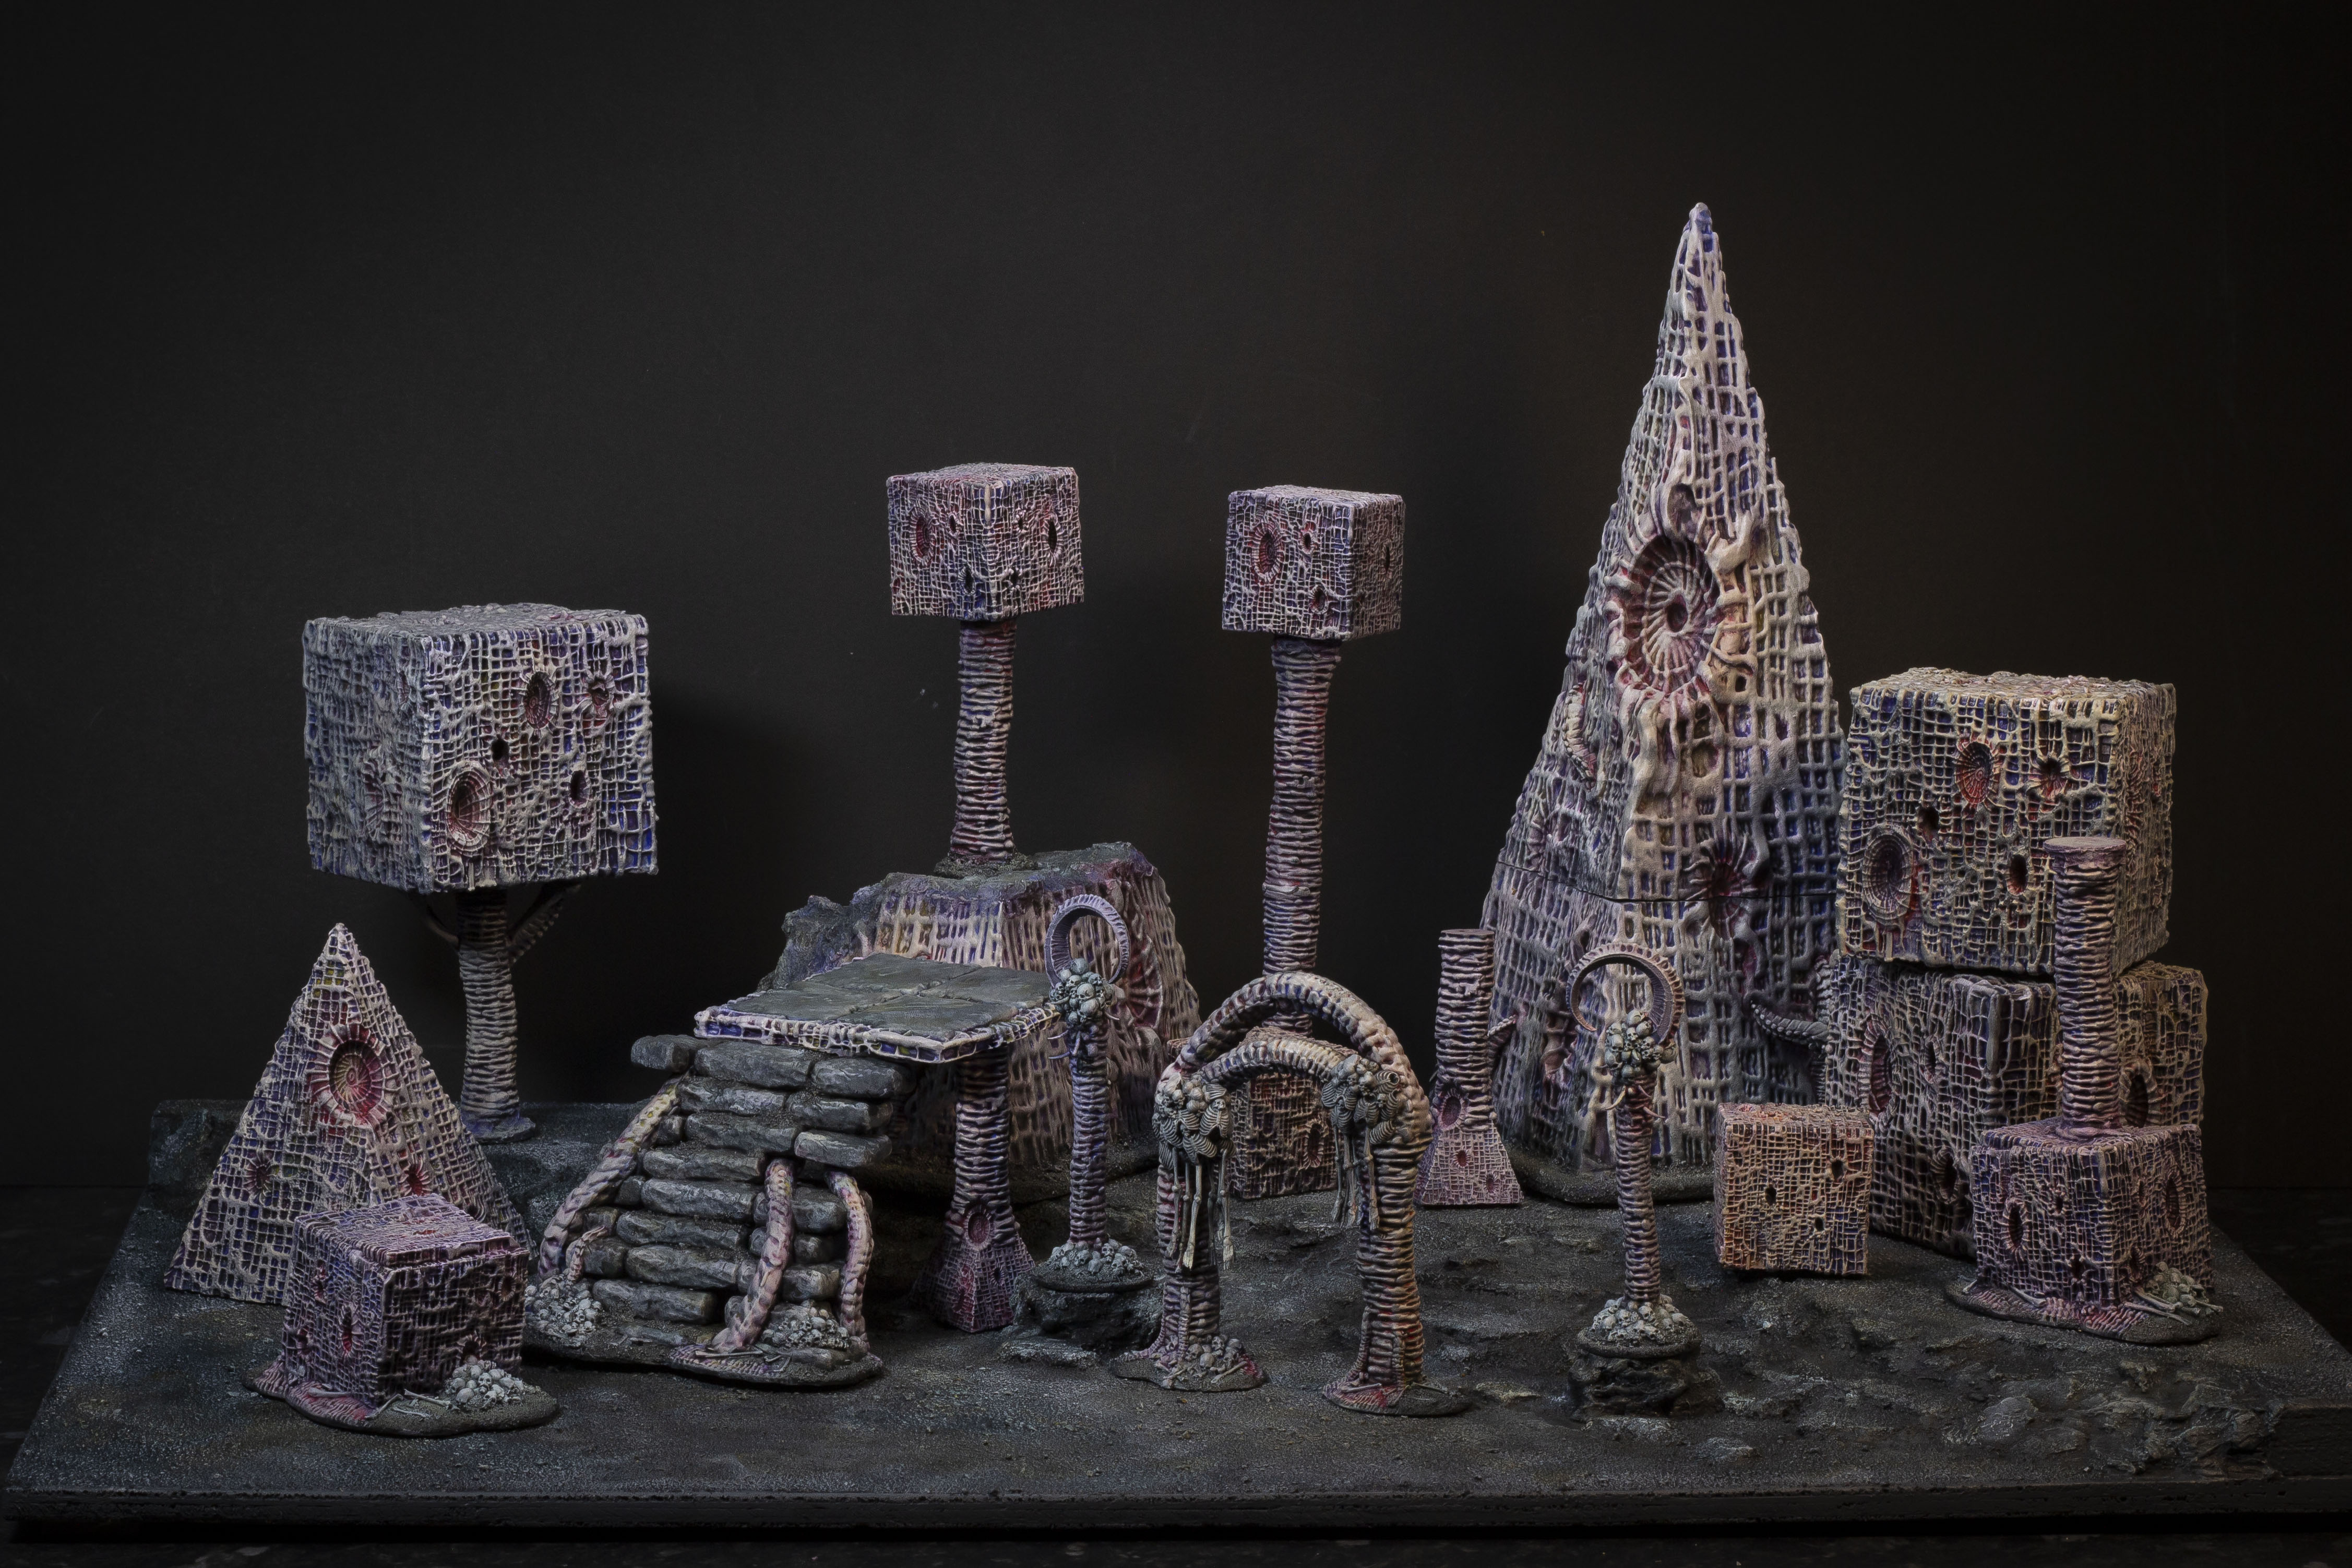
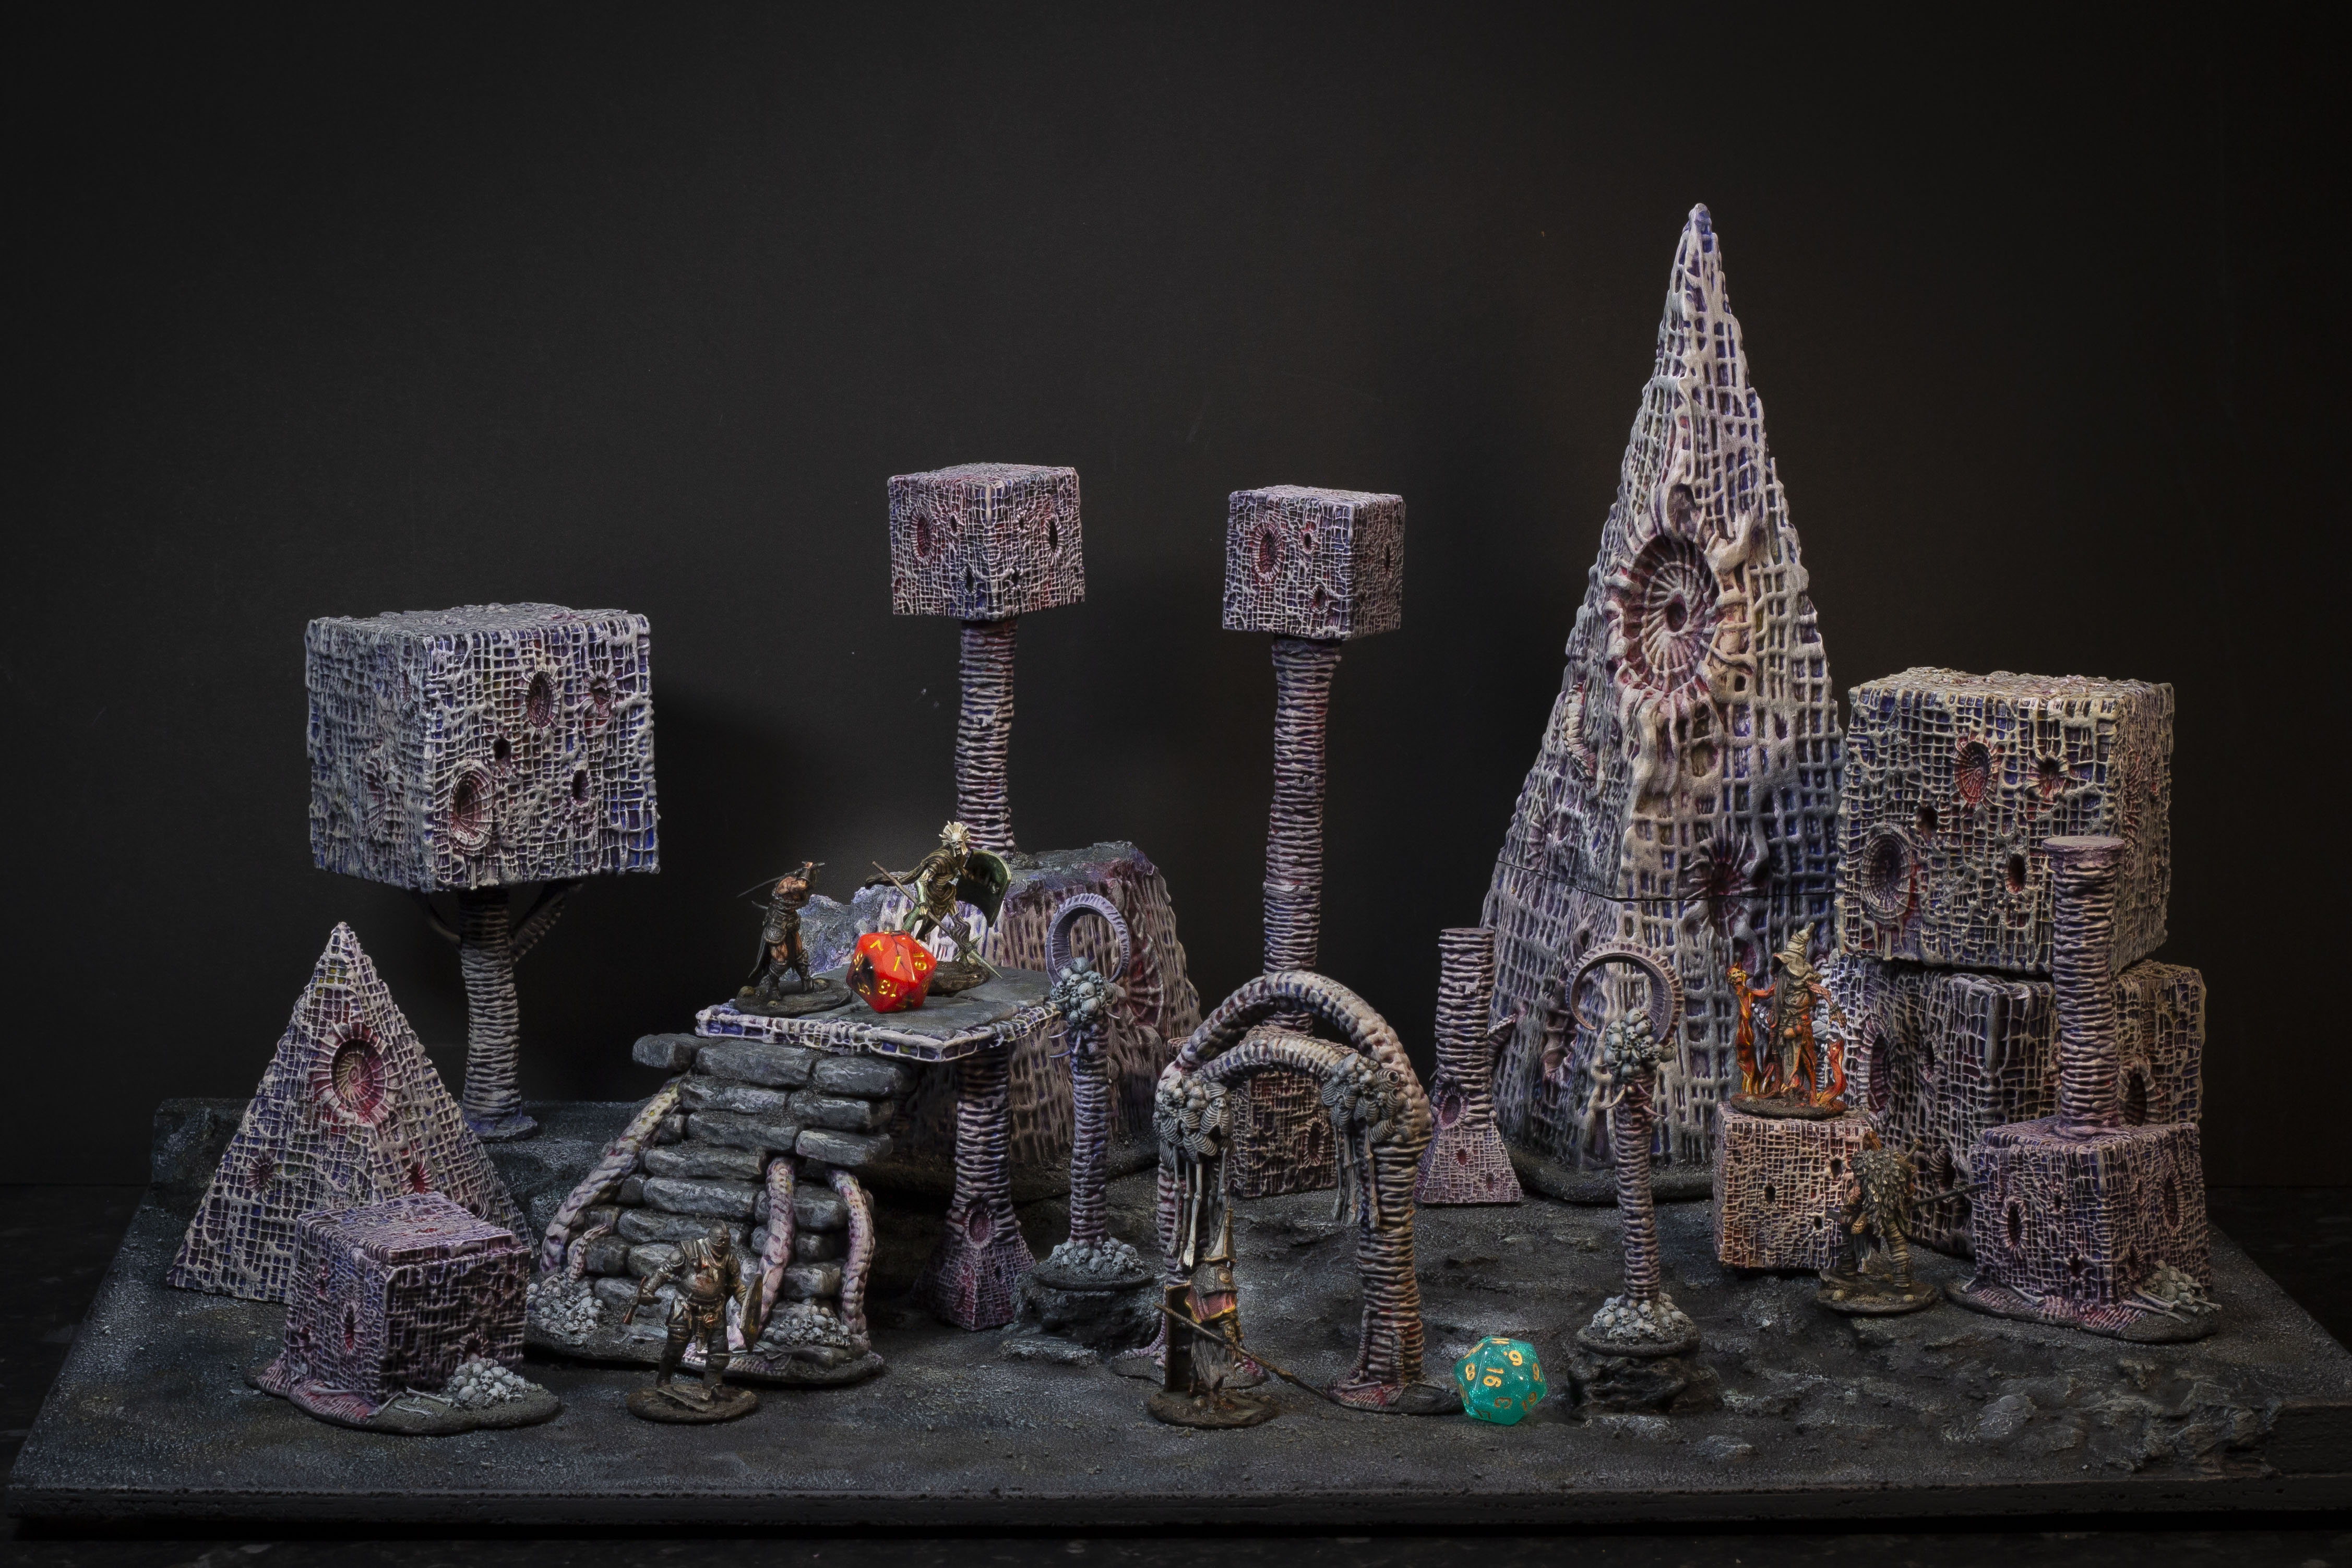
I spent last weekend in a mad frenzy, getting this month's insane Ashen Wastes terrain set all painted, and I wanted to share a bit of the process with you all.

Artist's interpretation of Marcus' weekend.
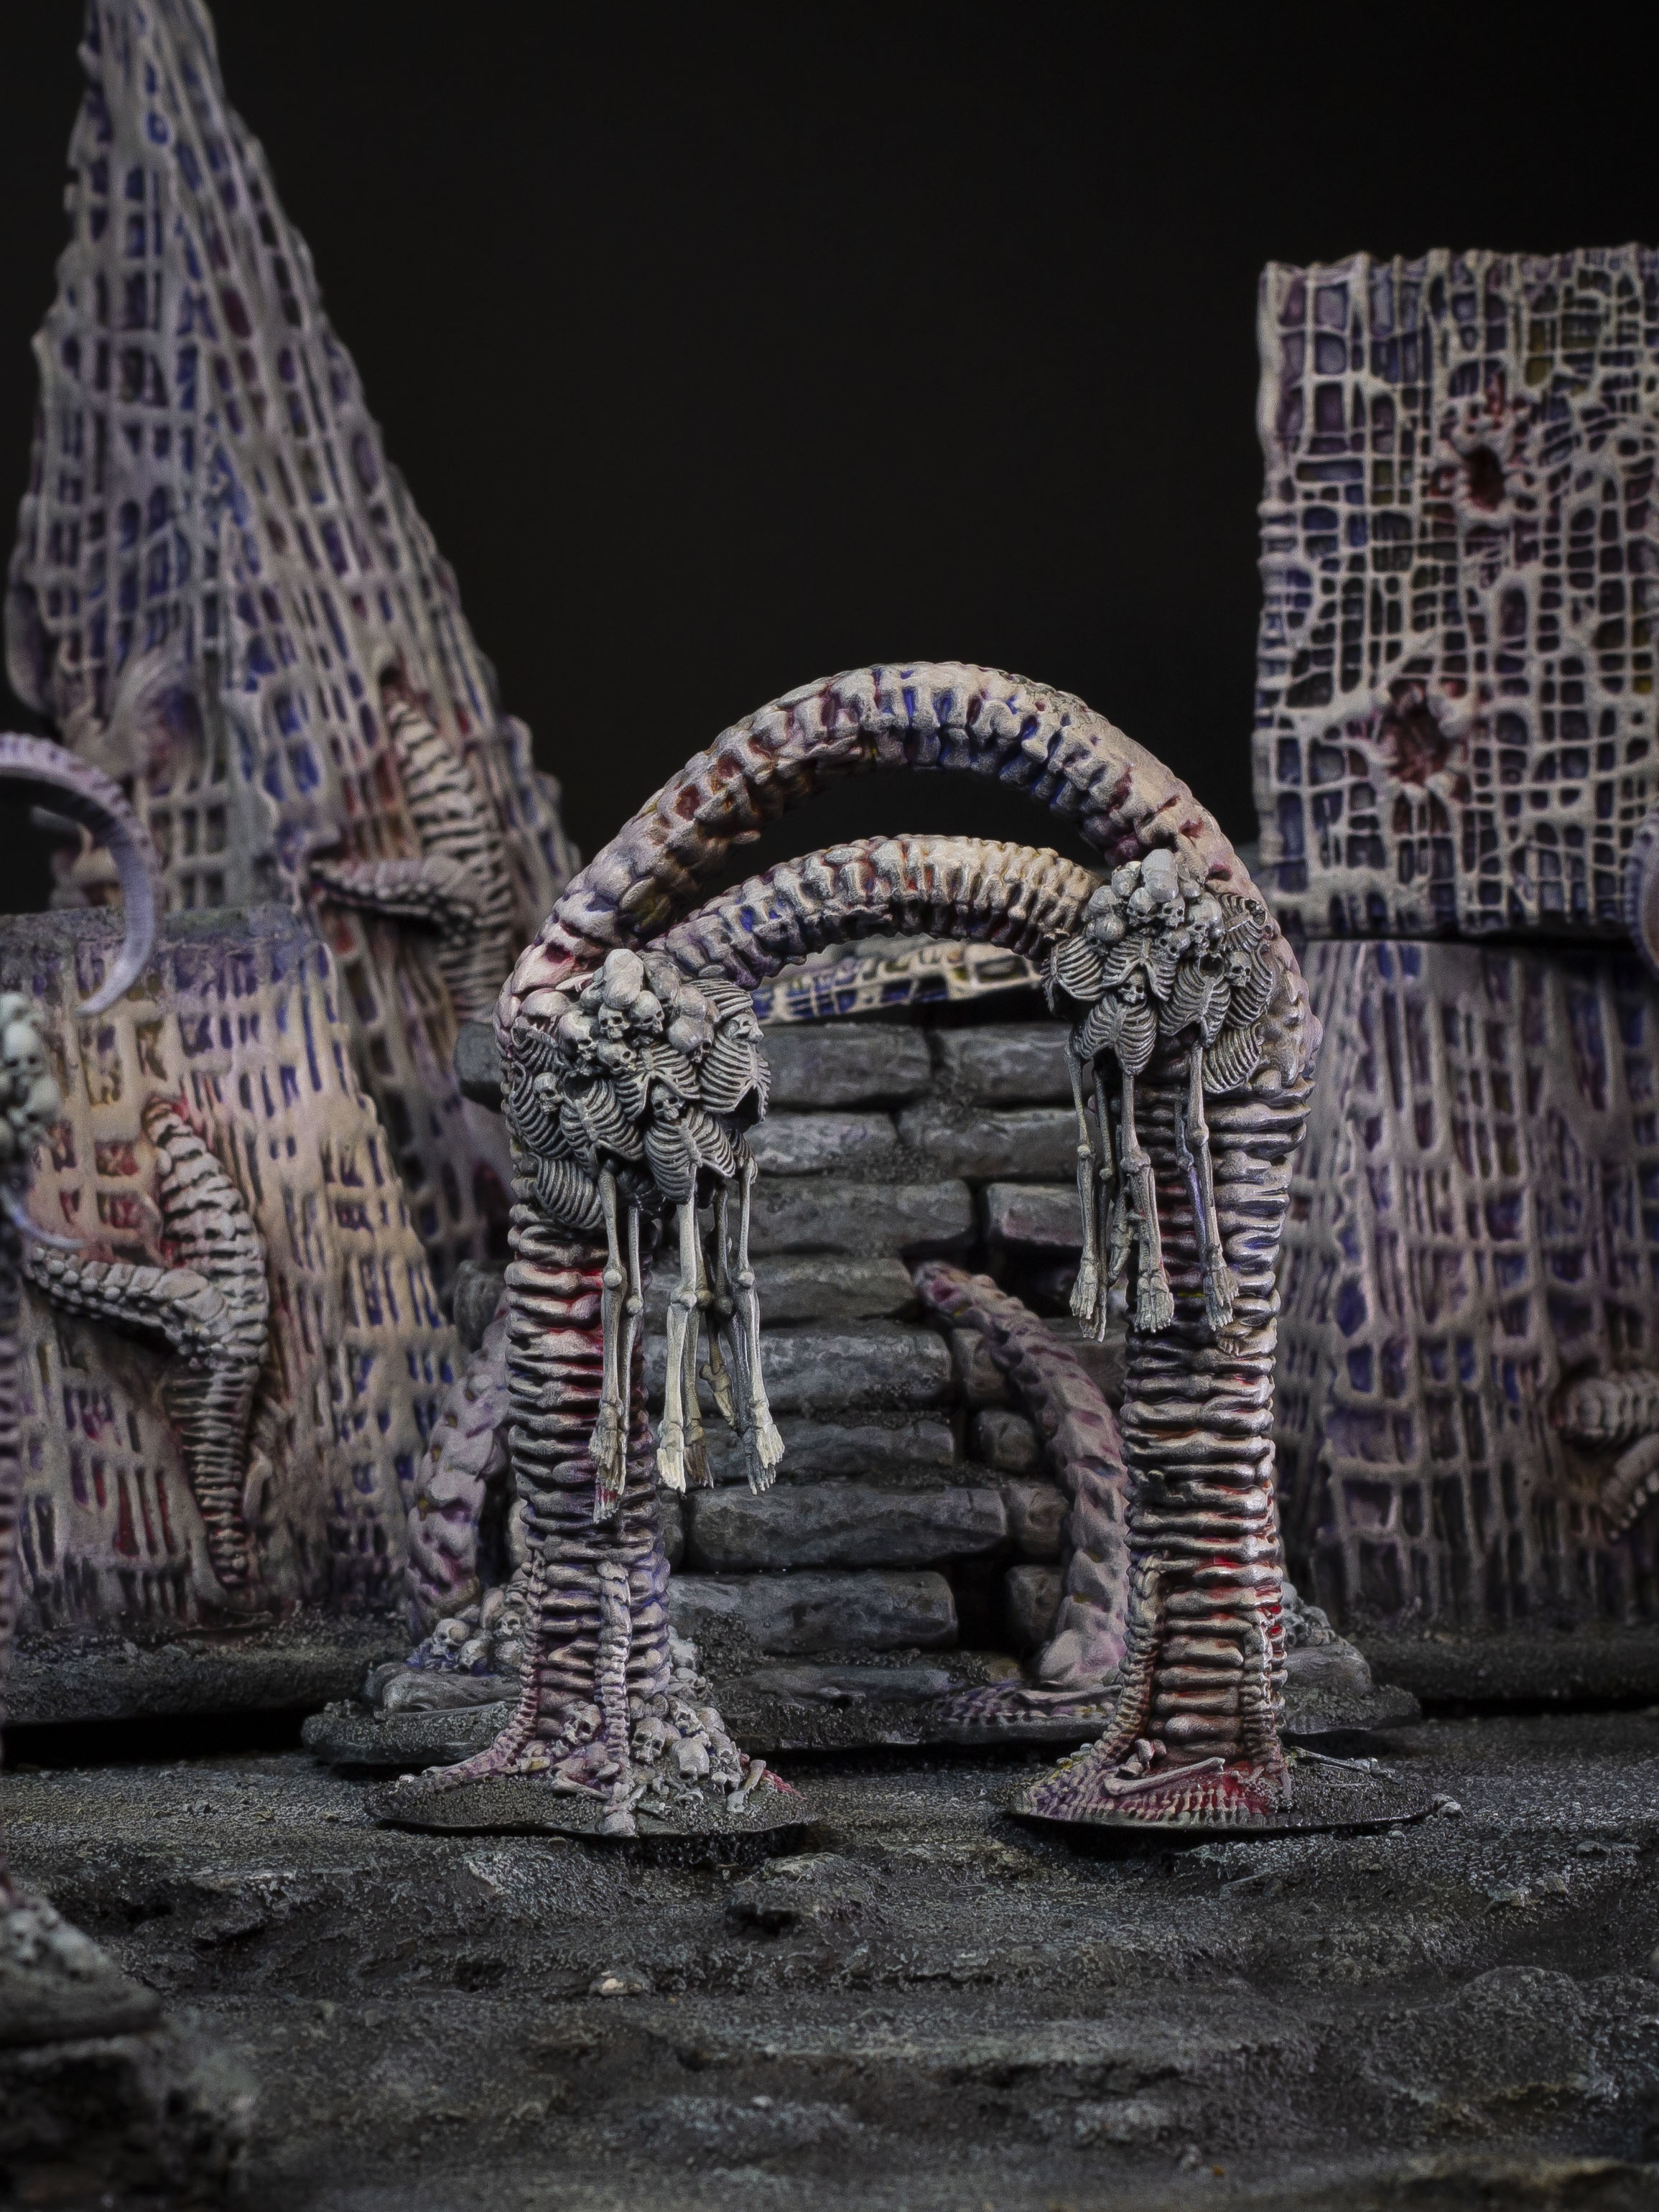
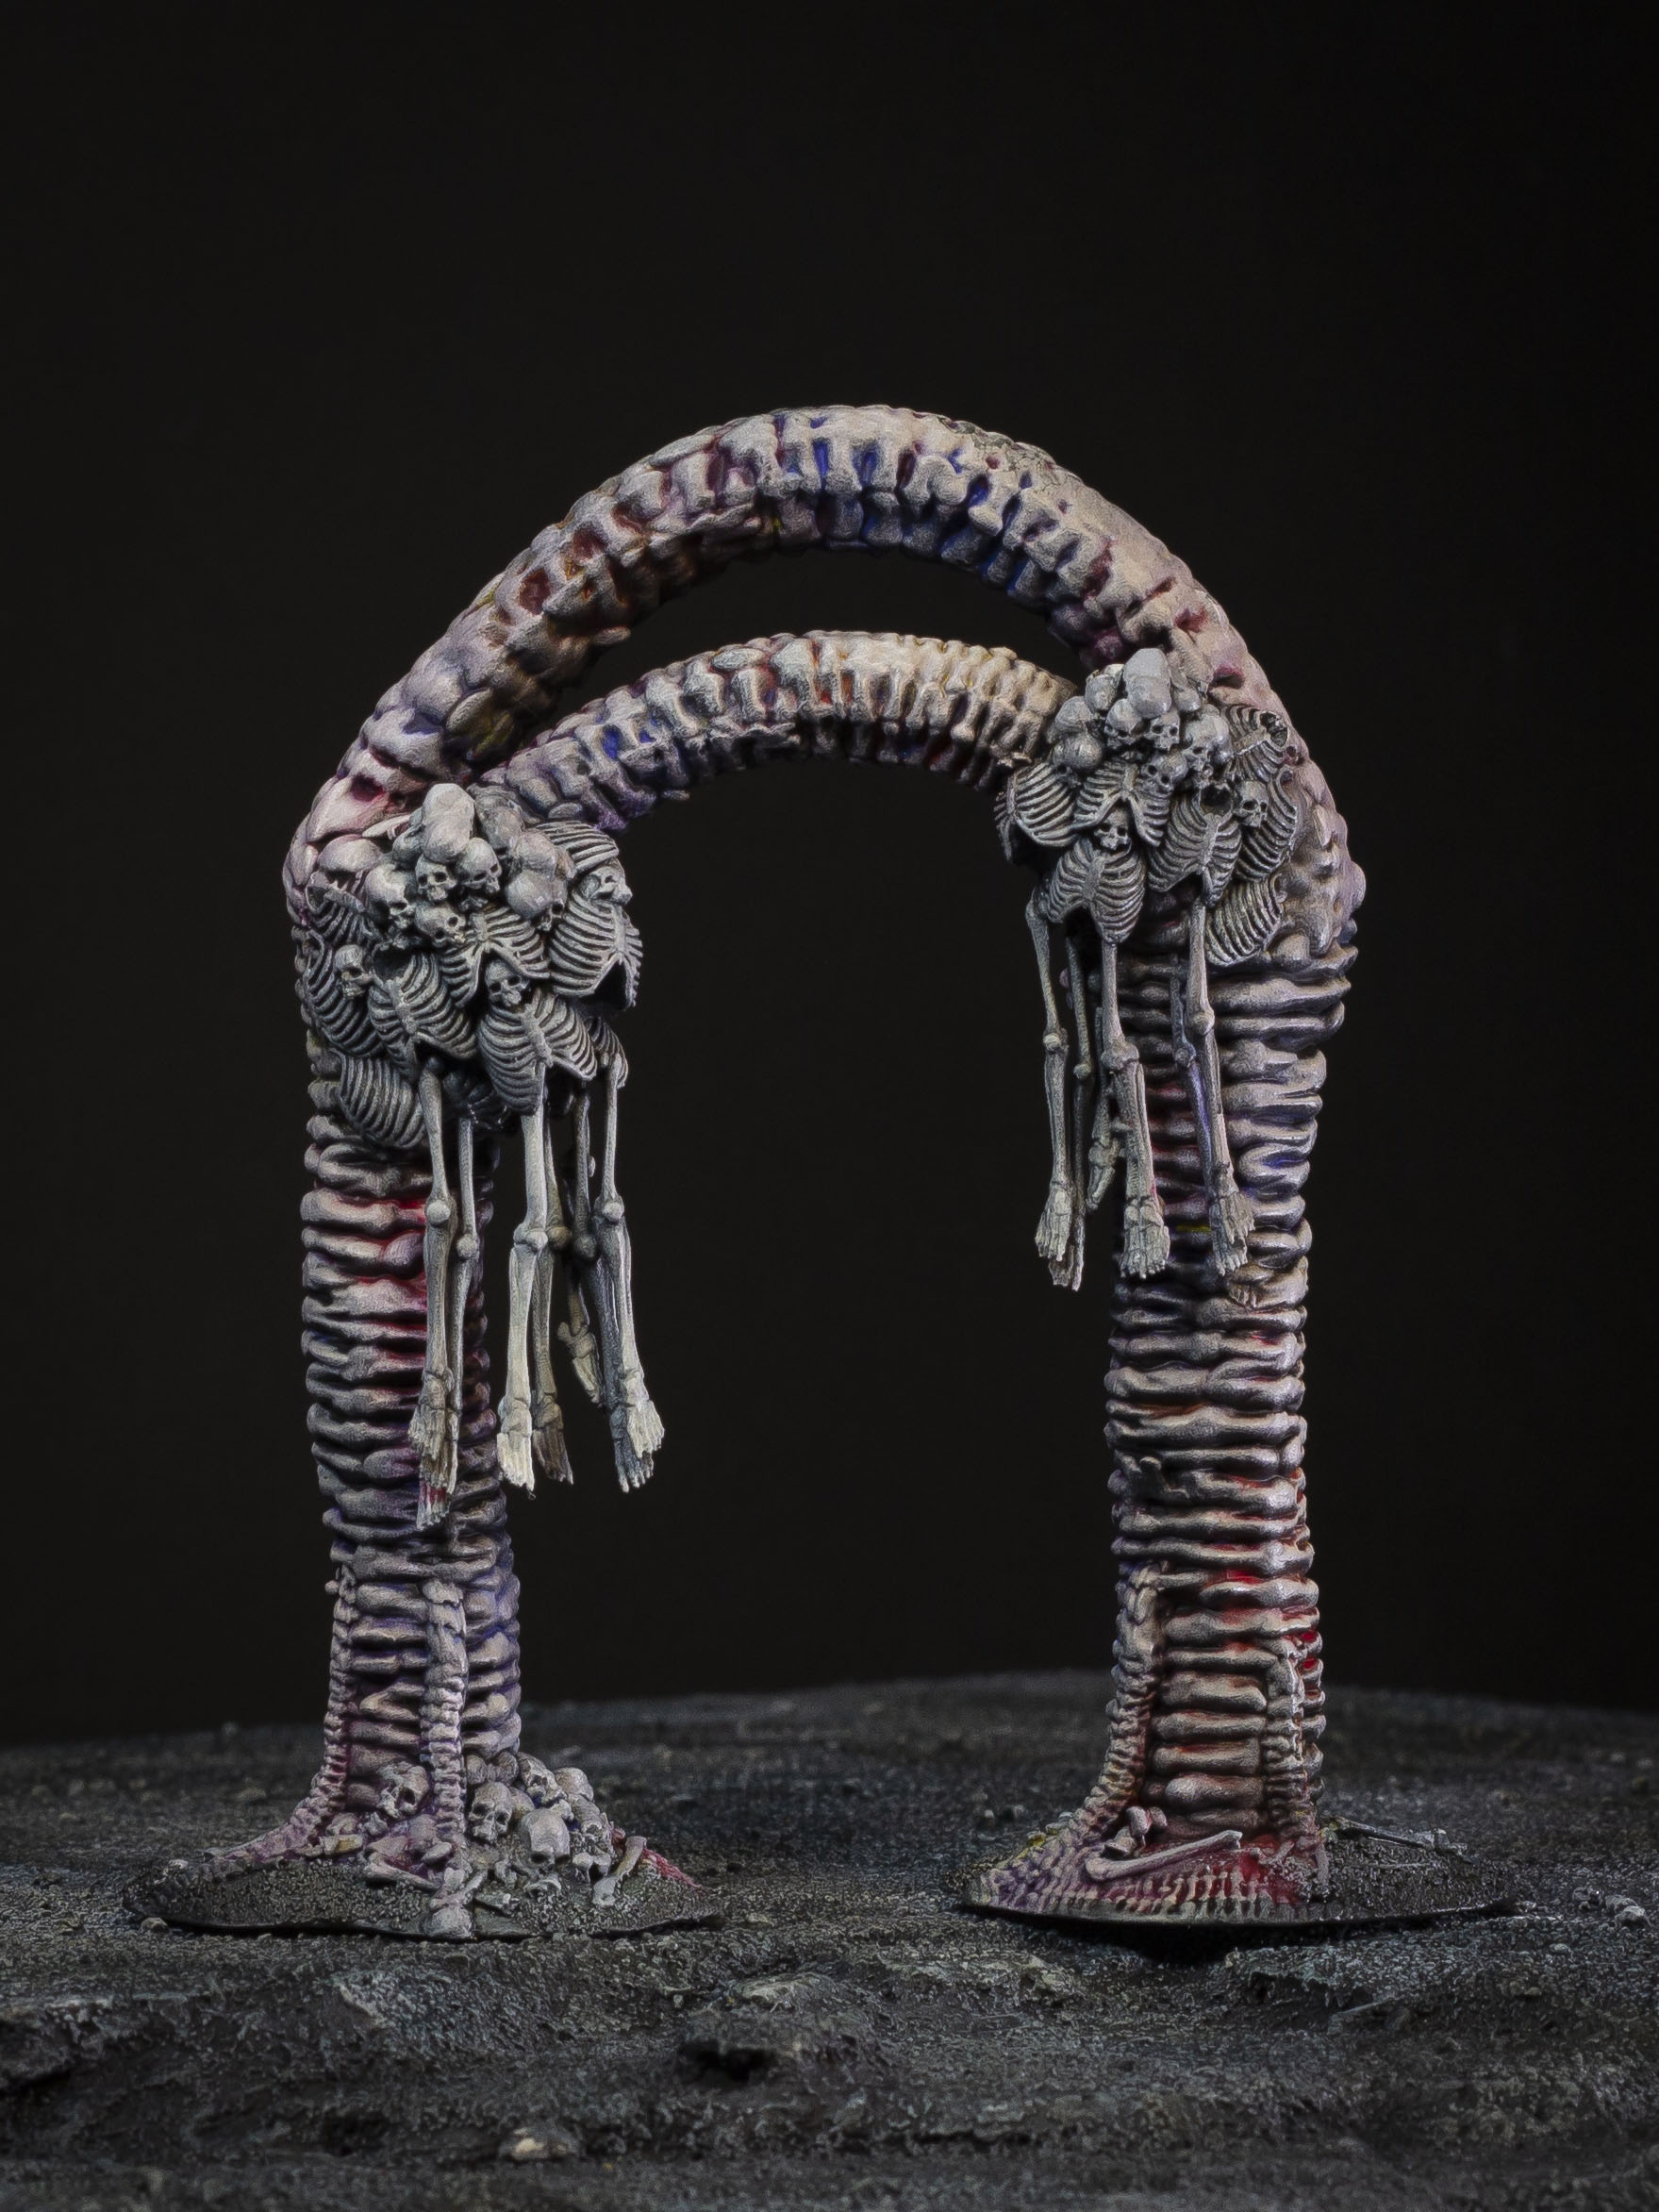
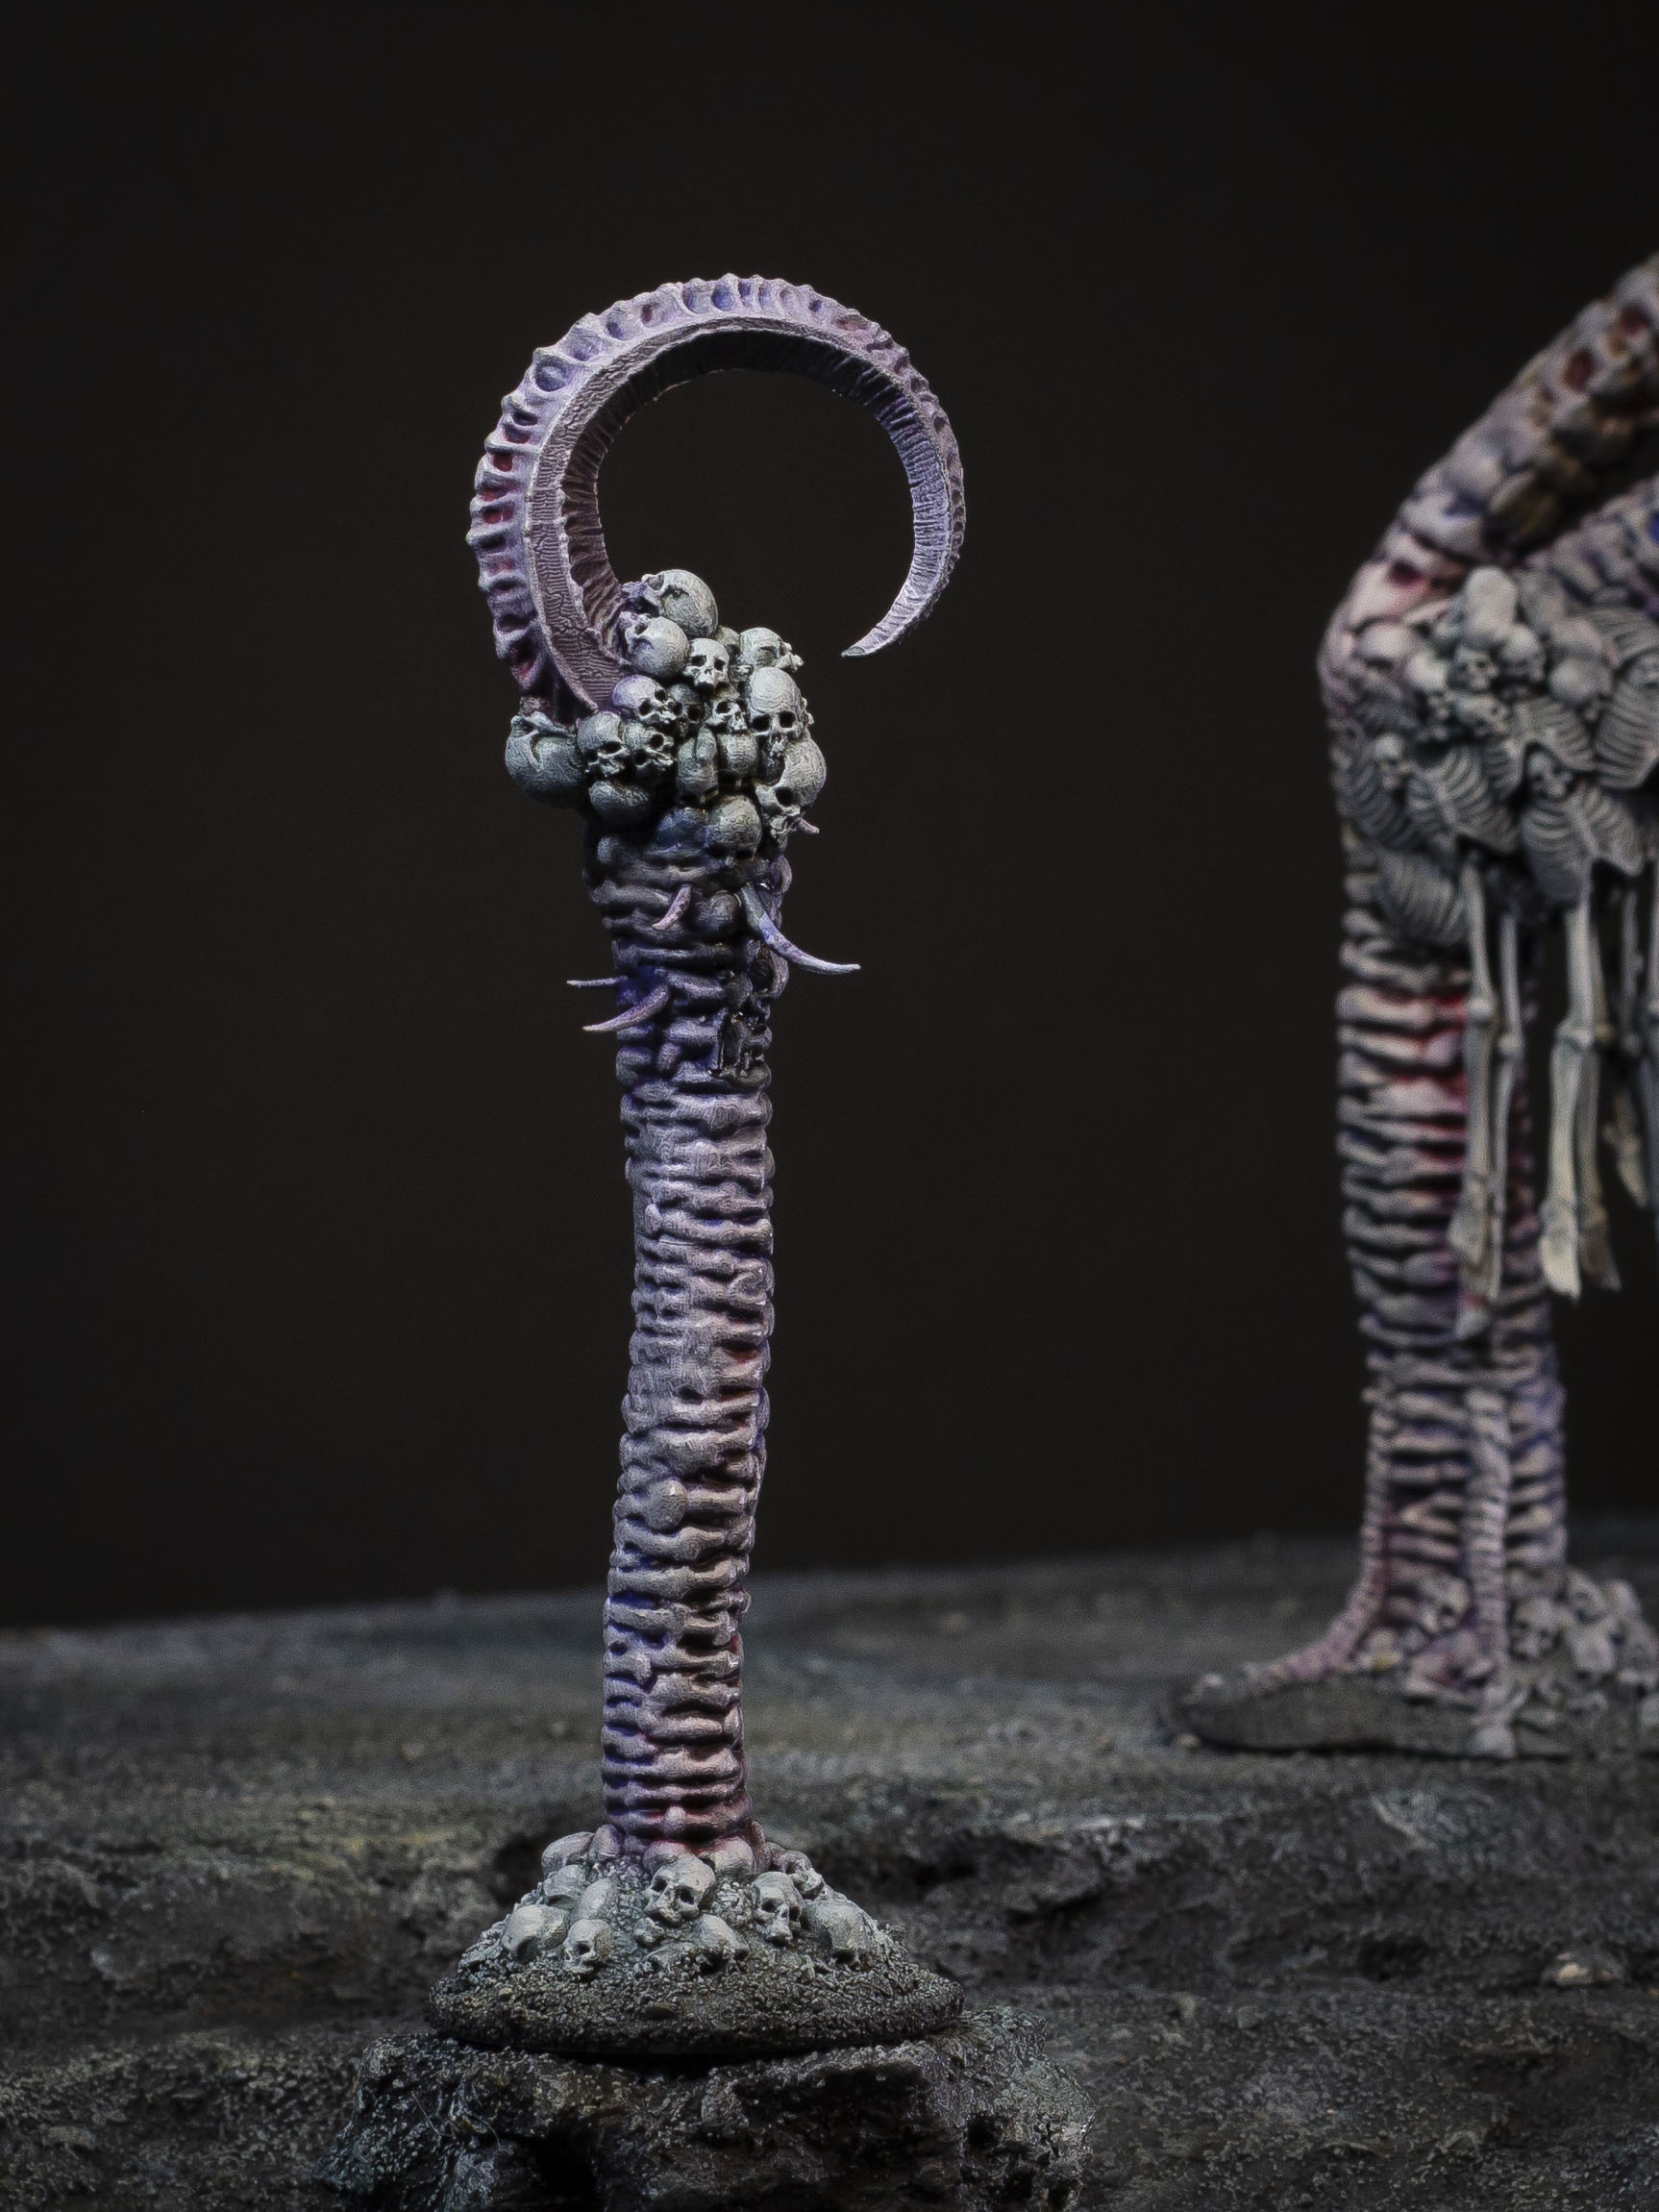
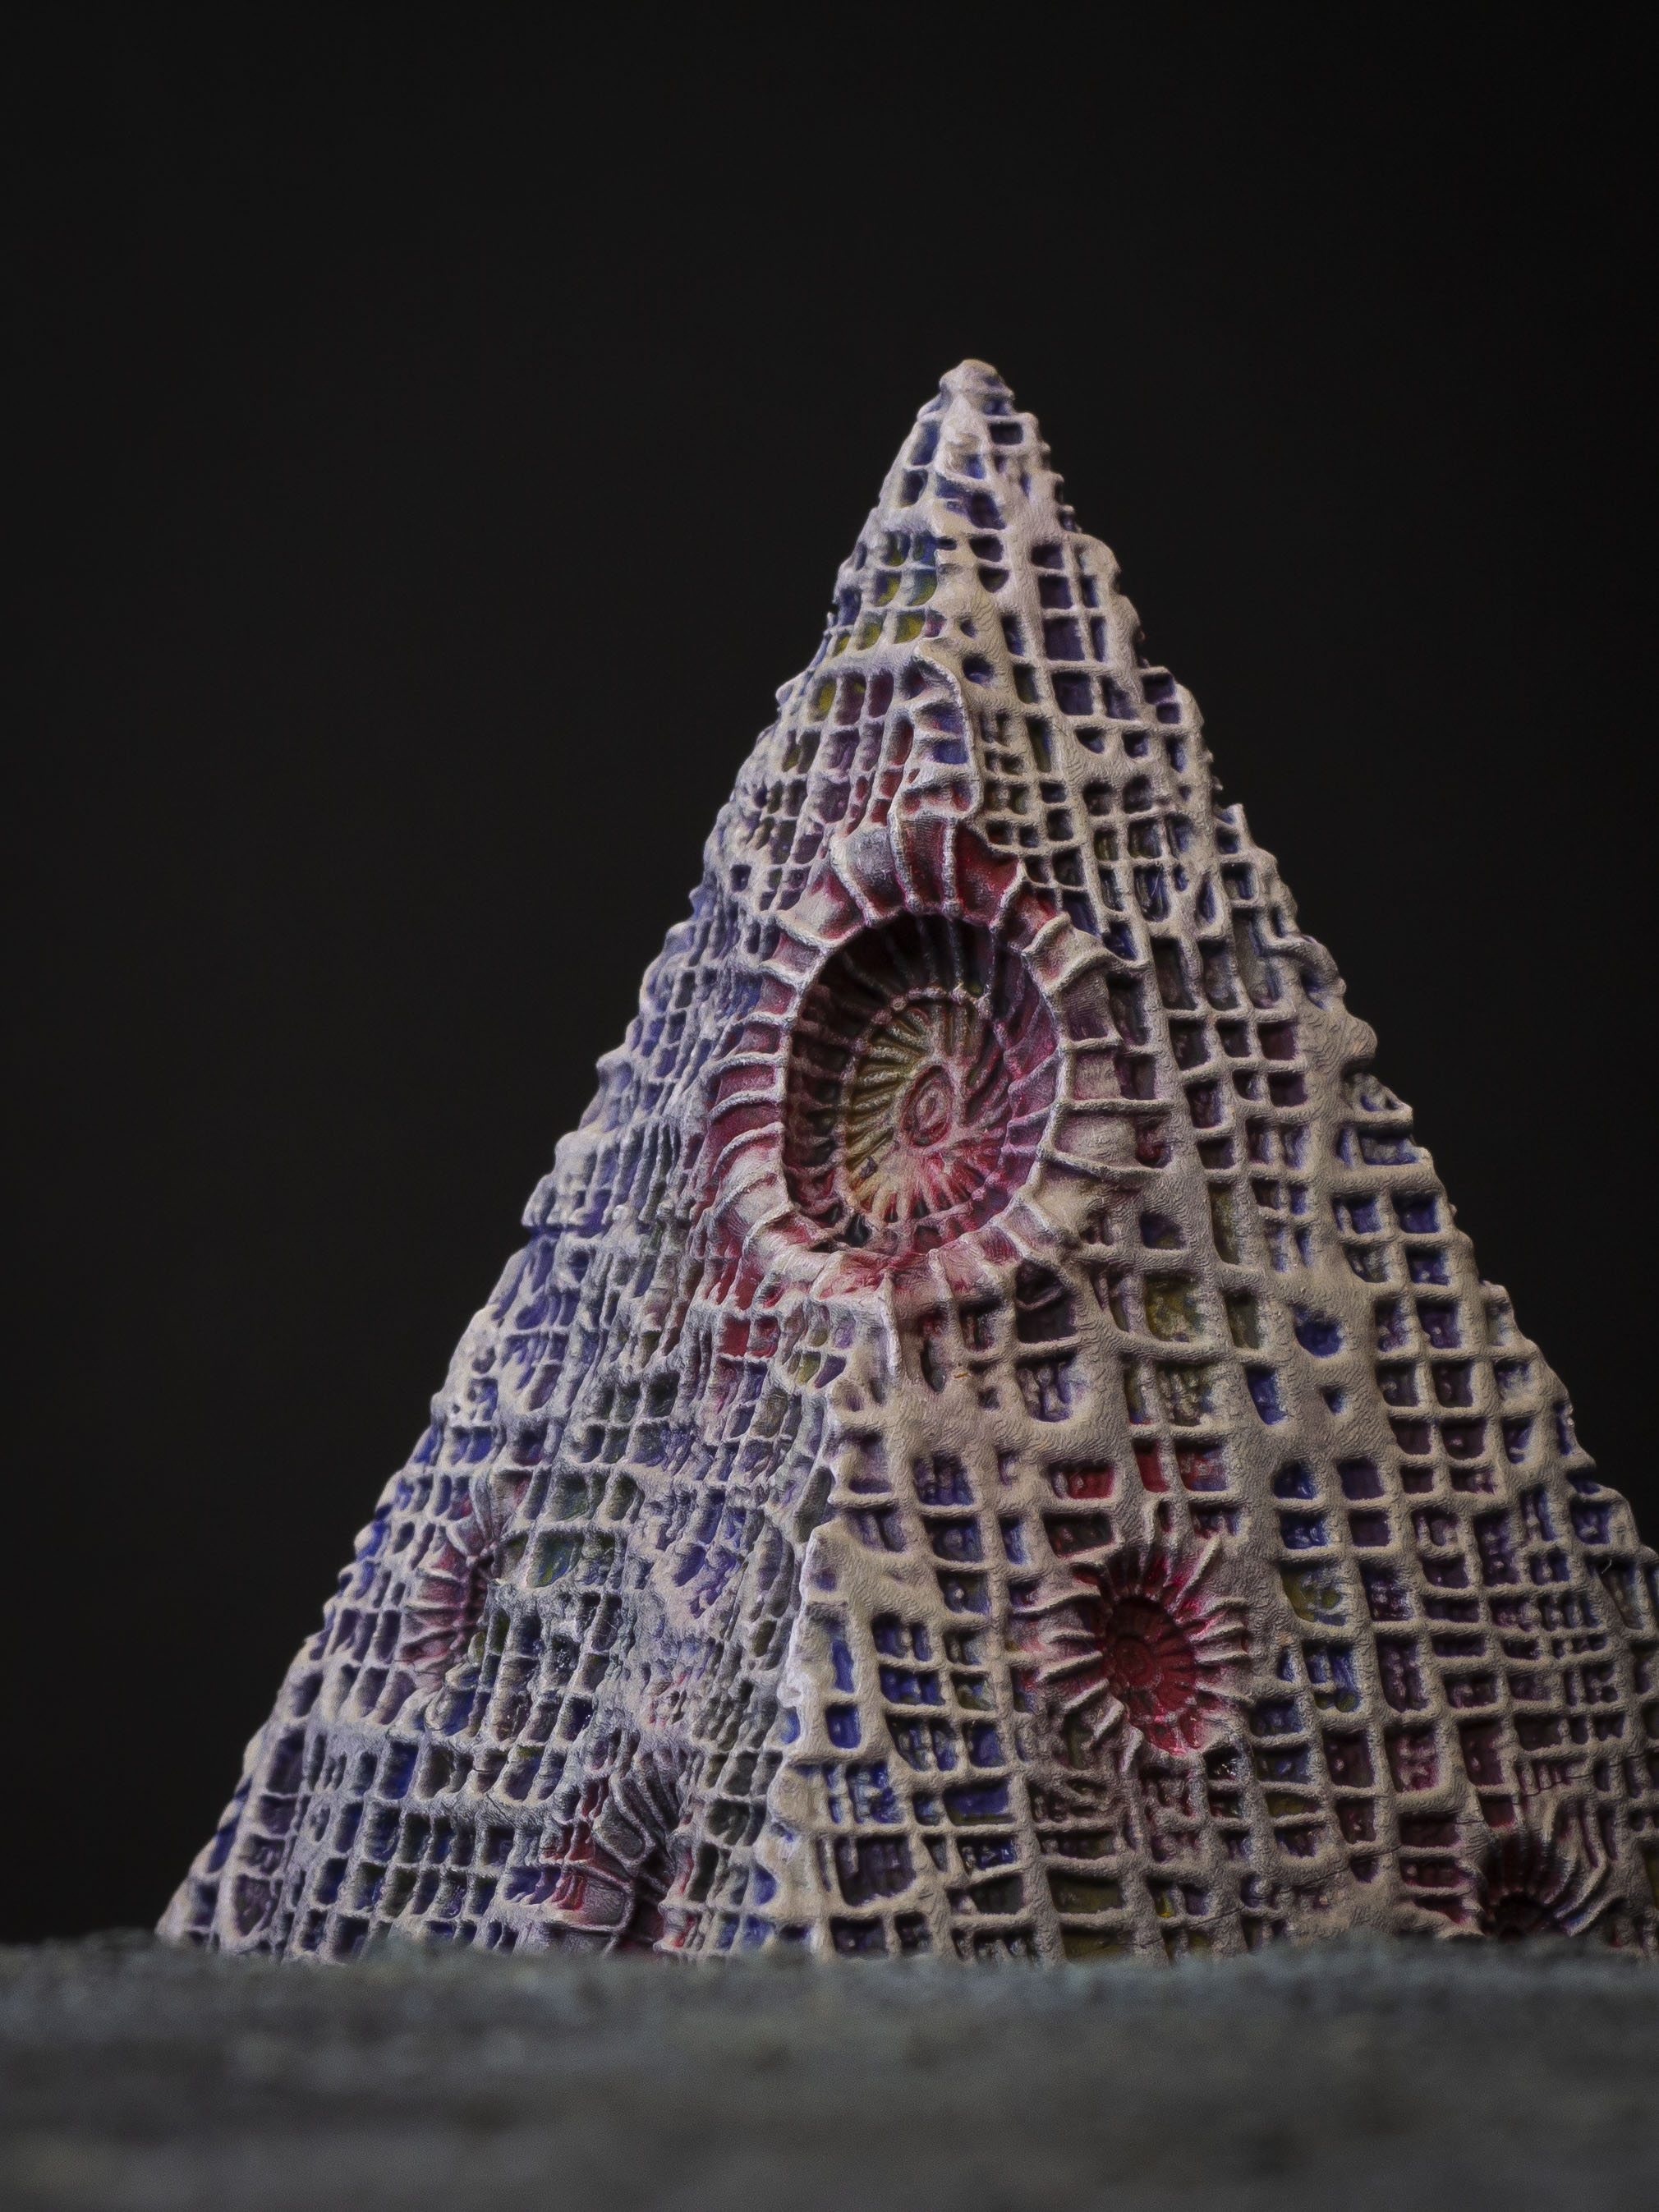
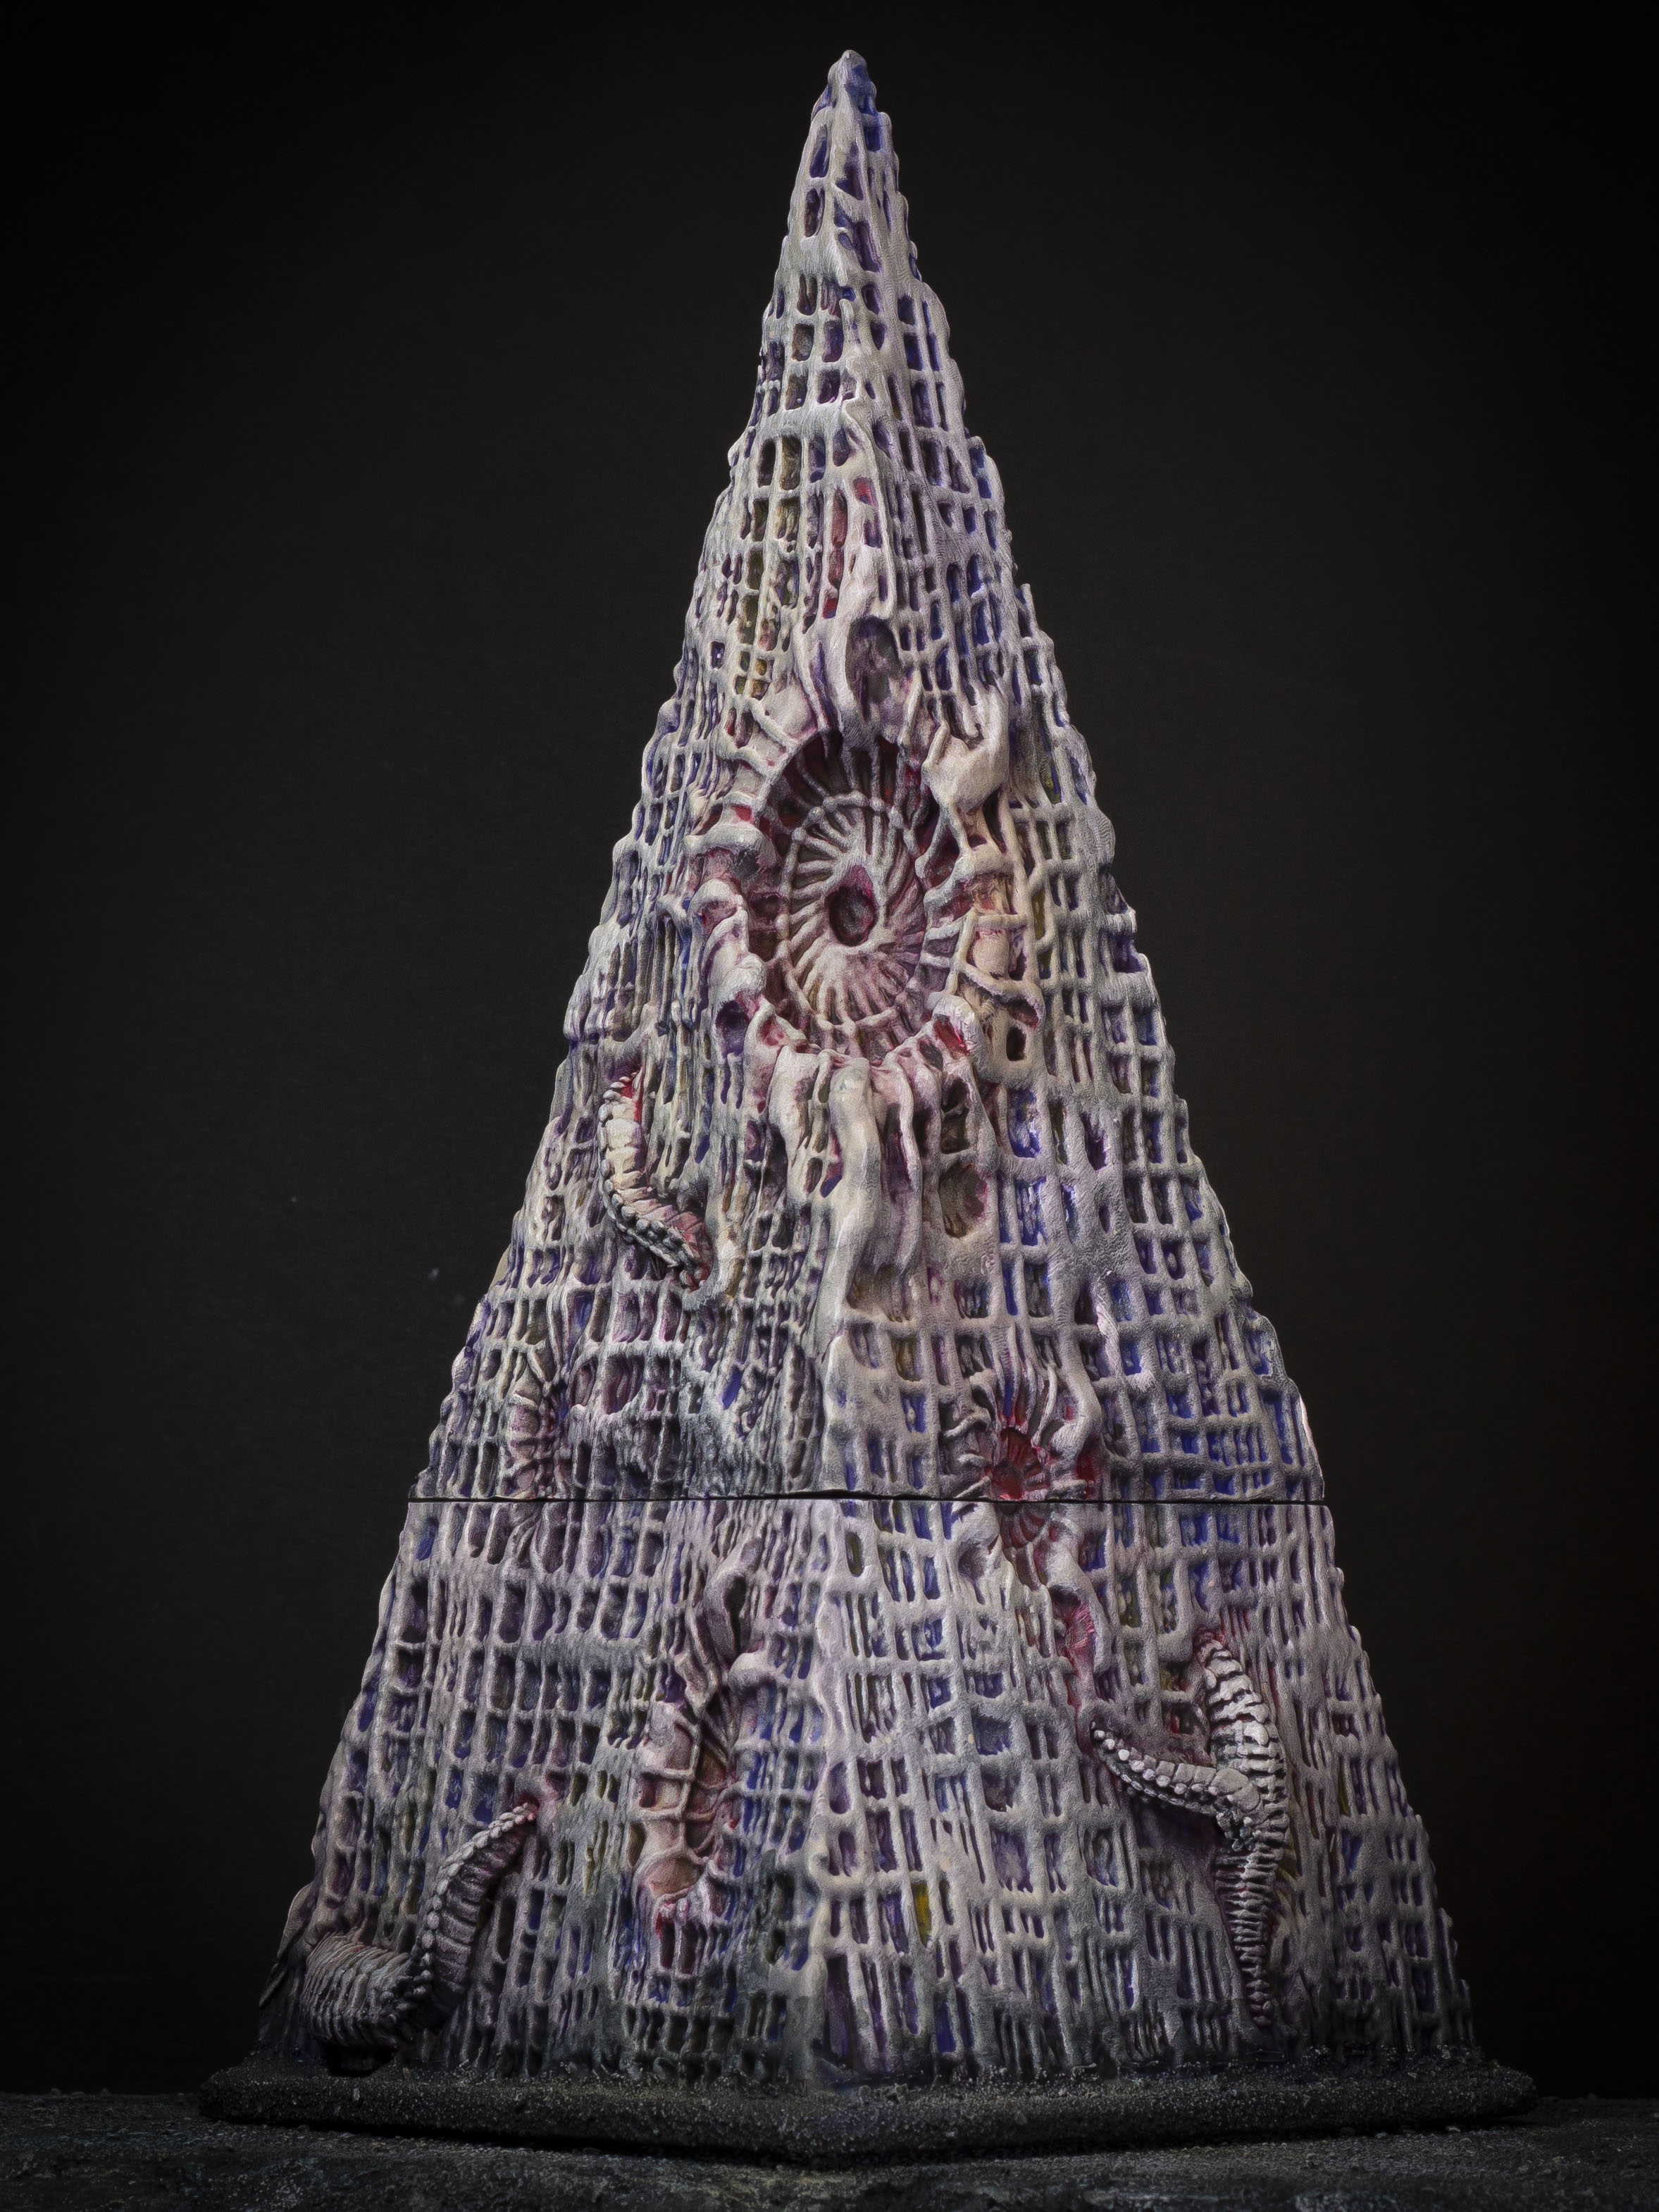
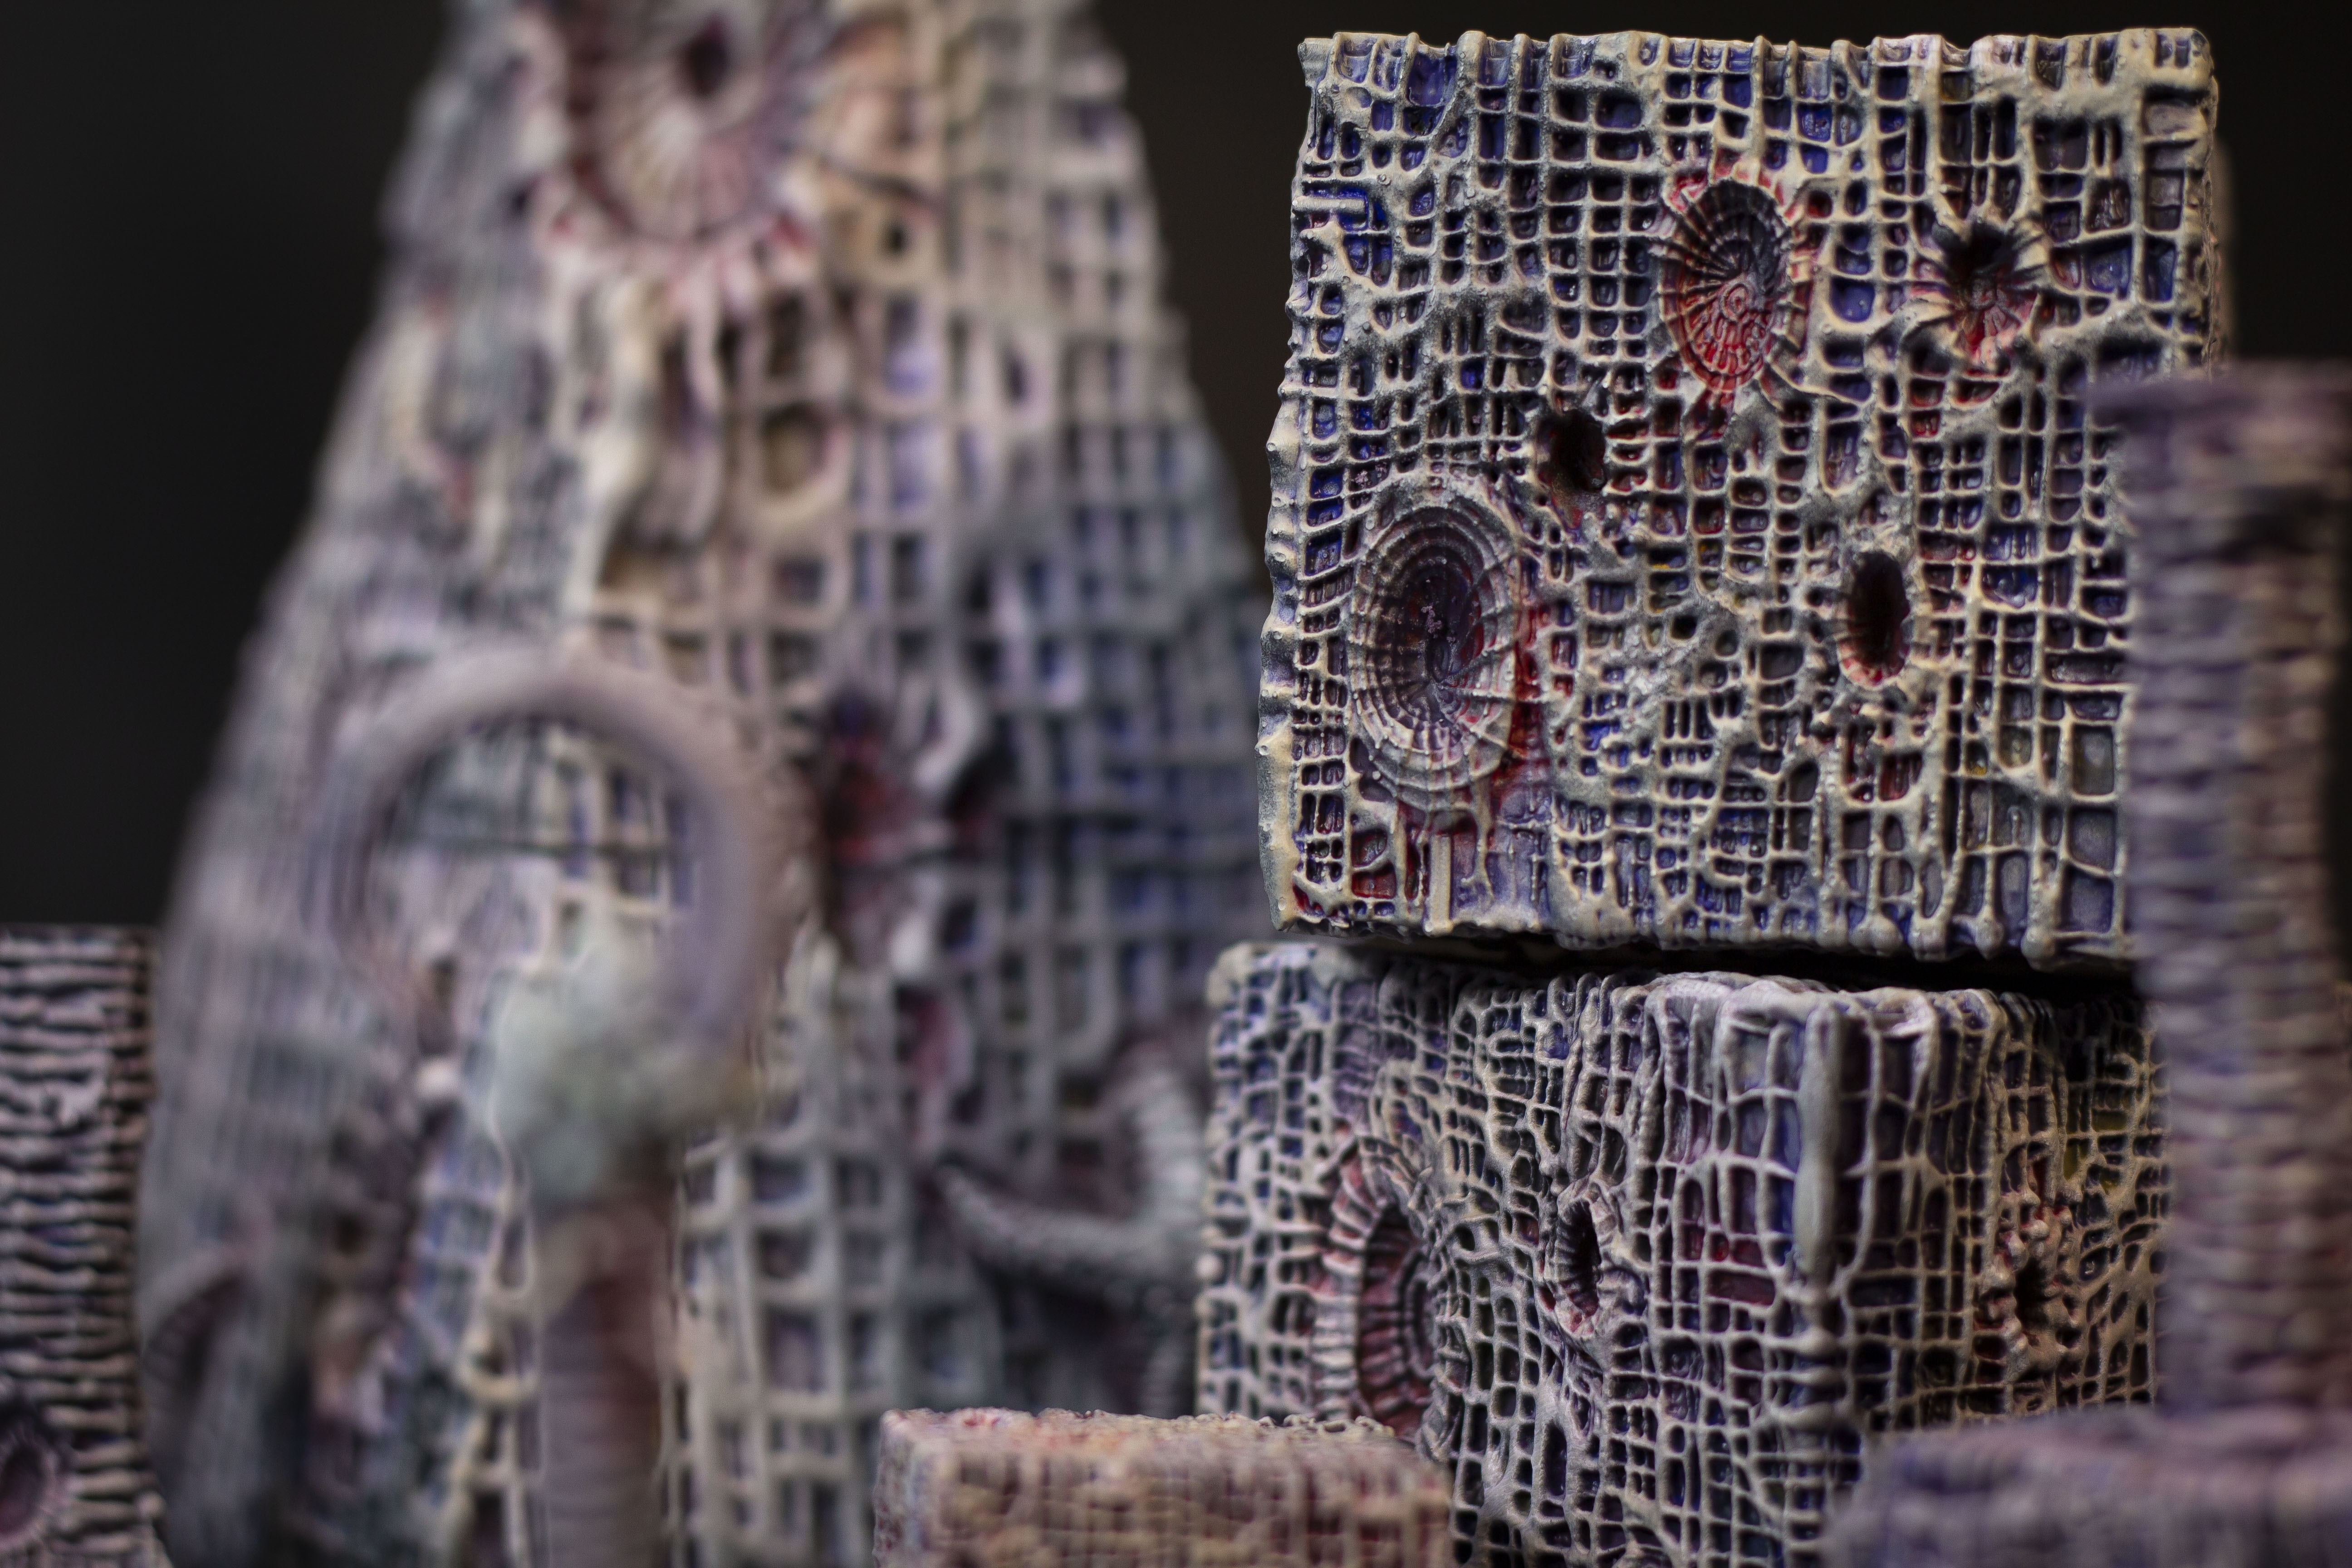
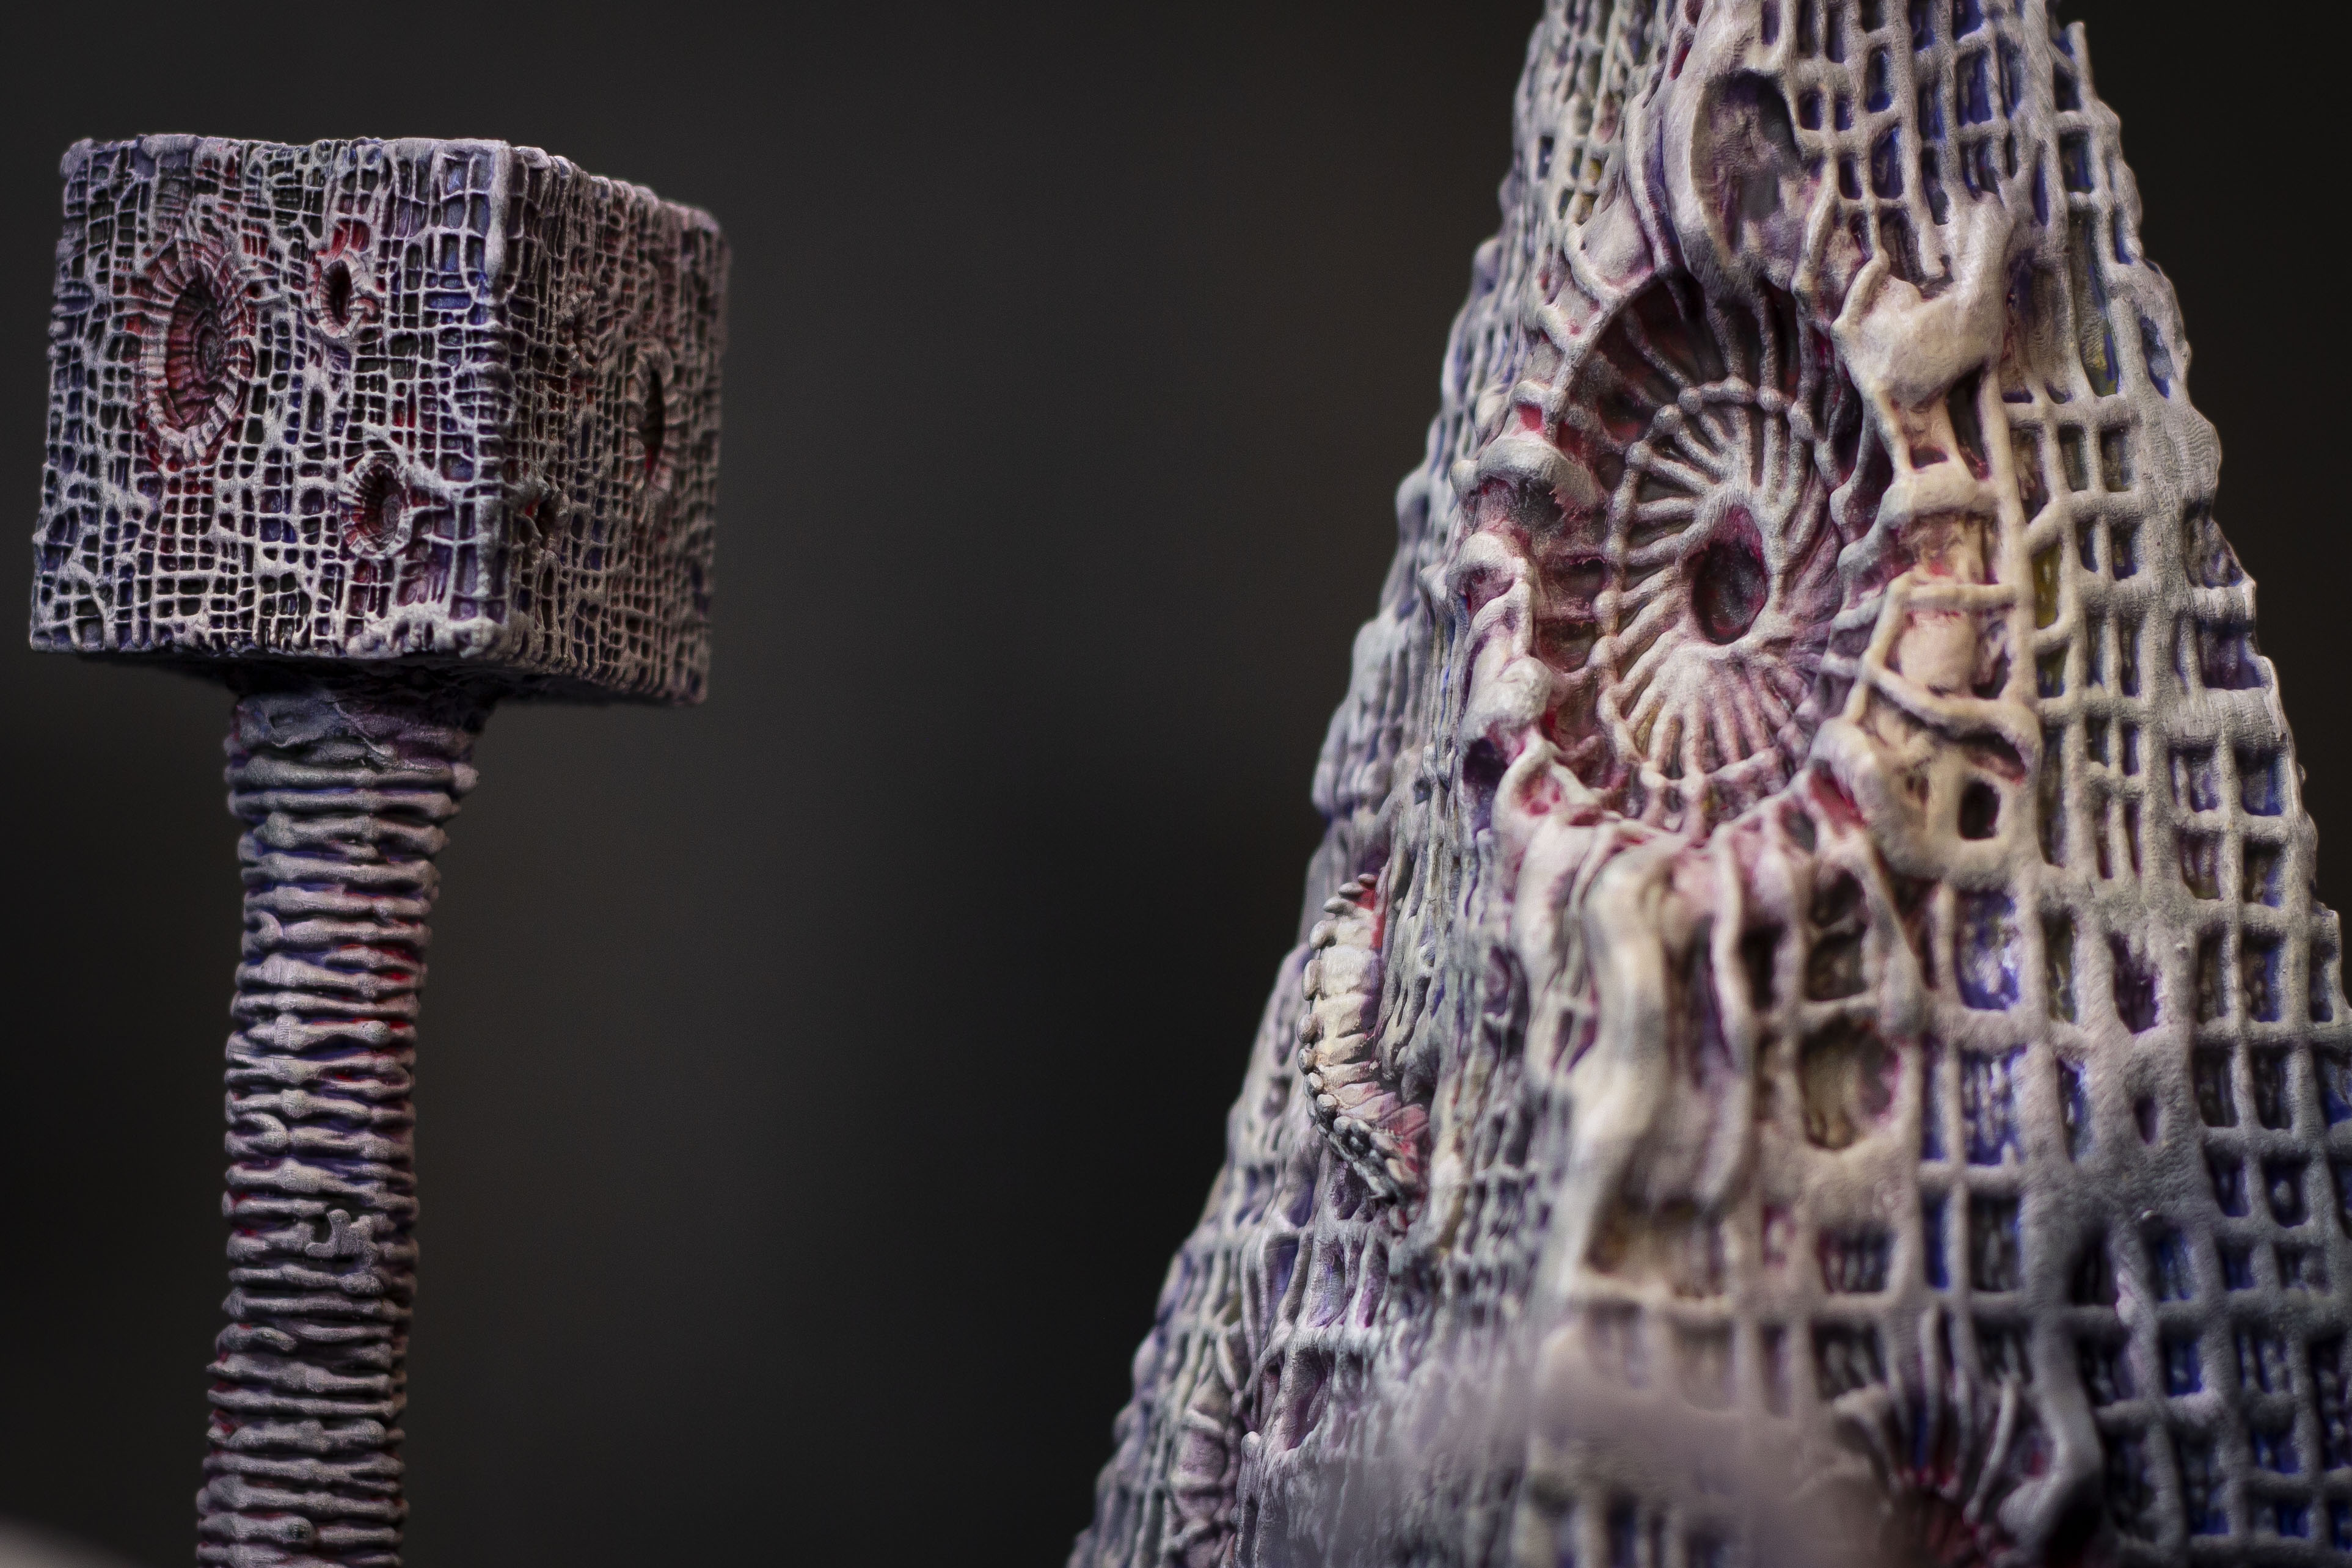
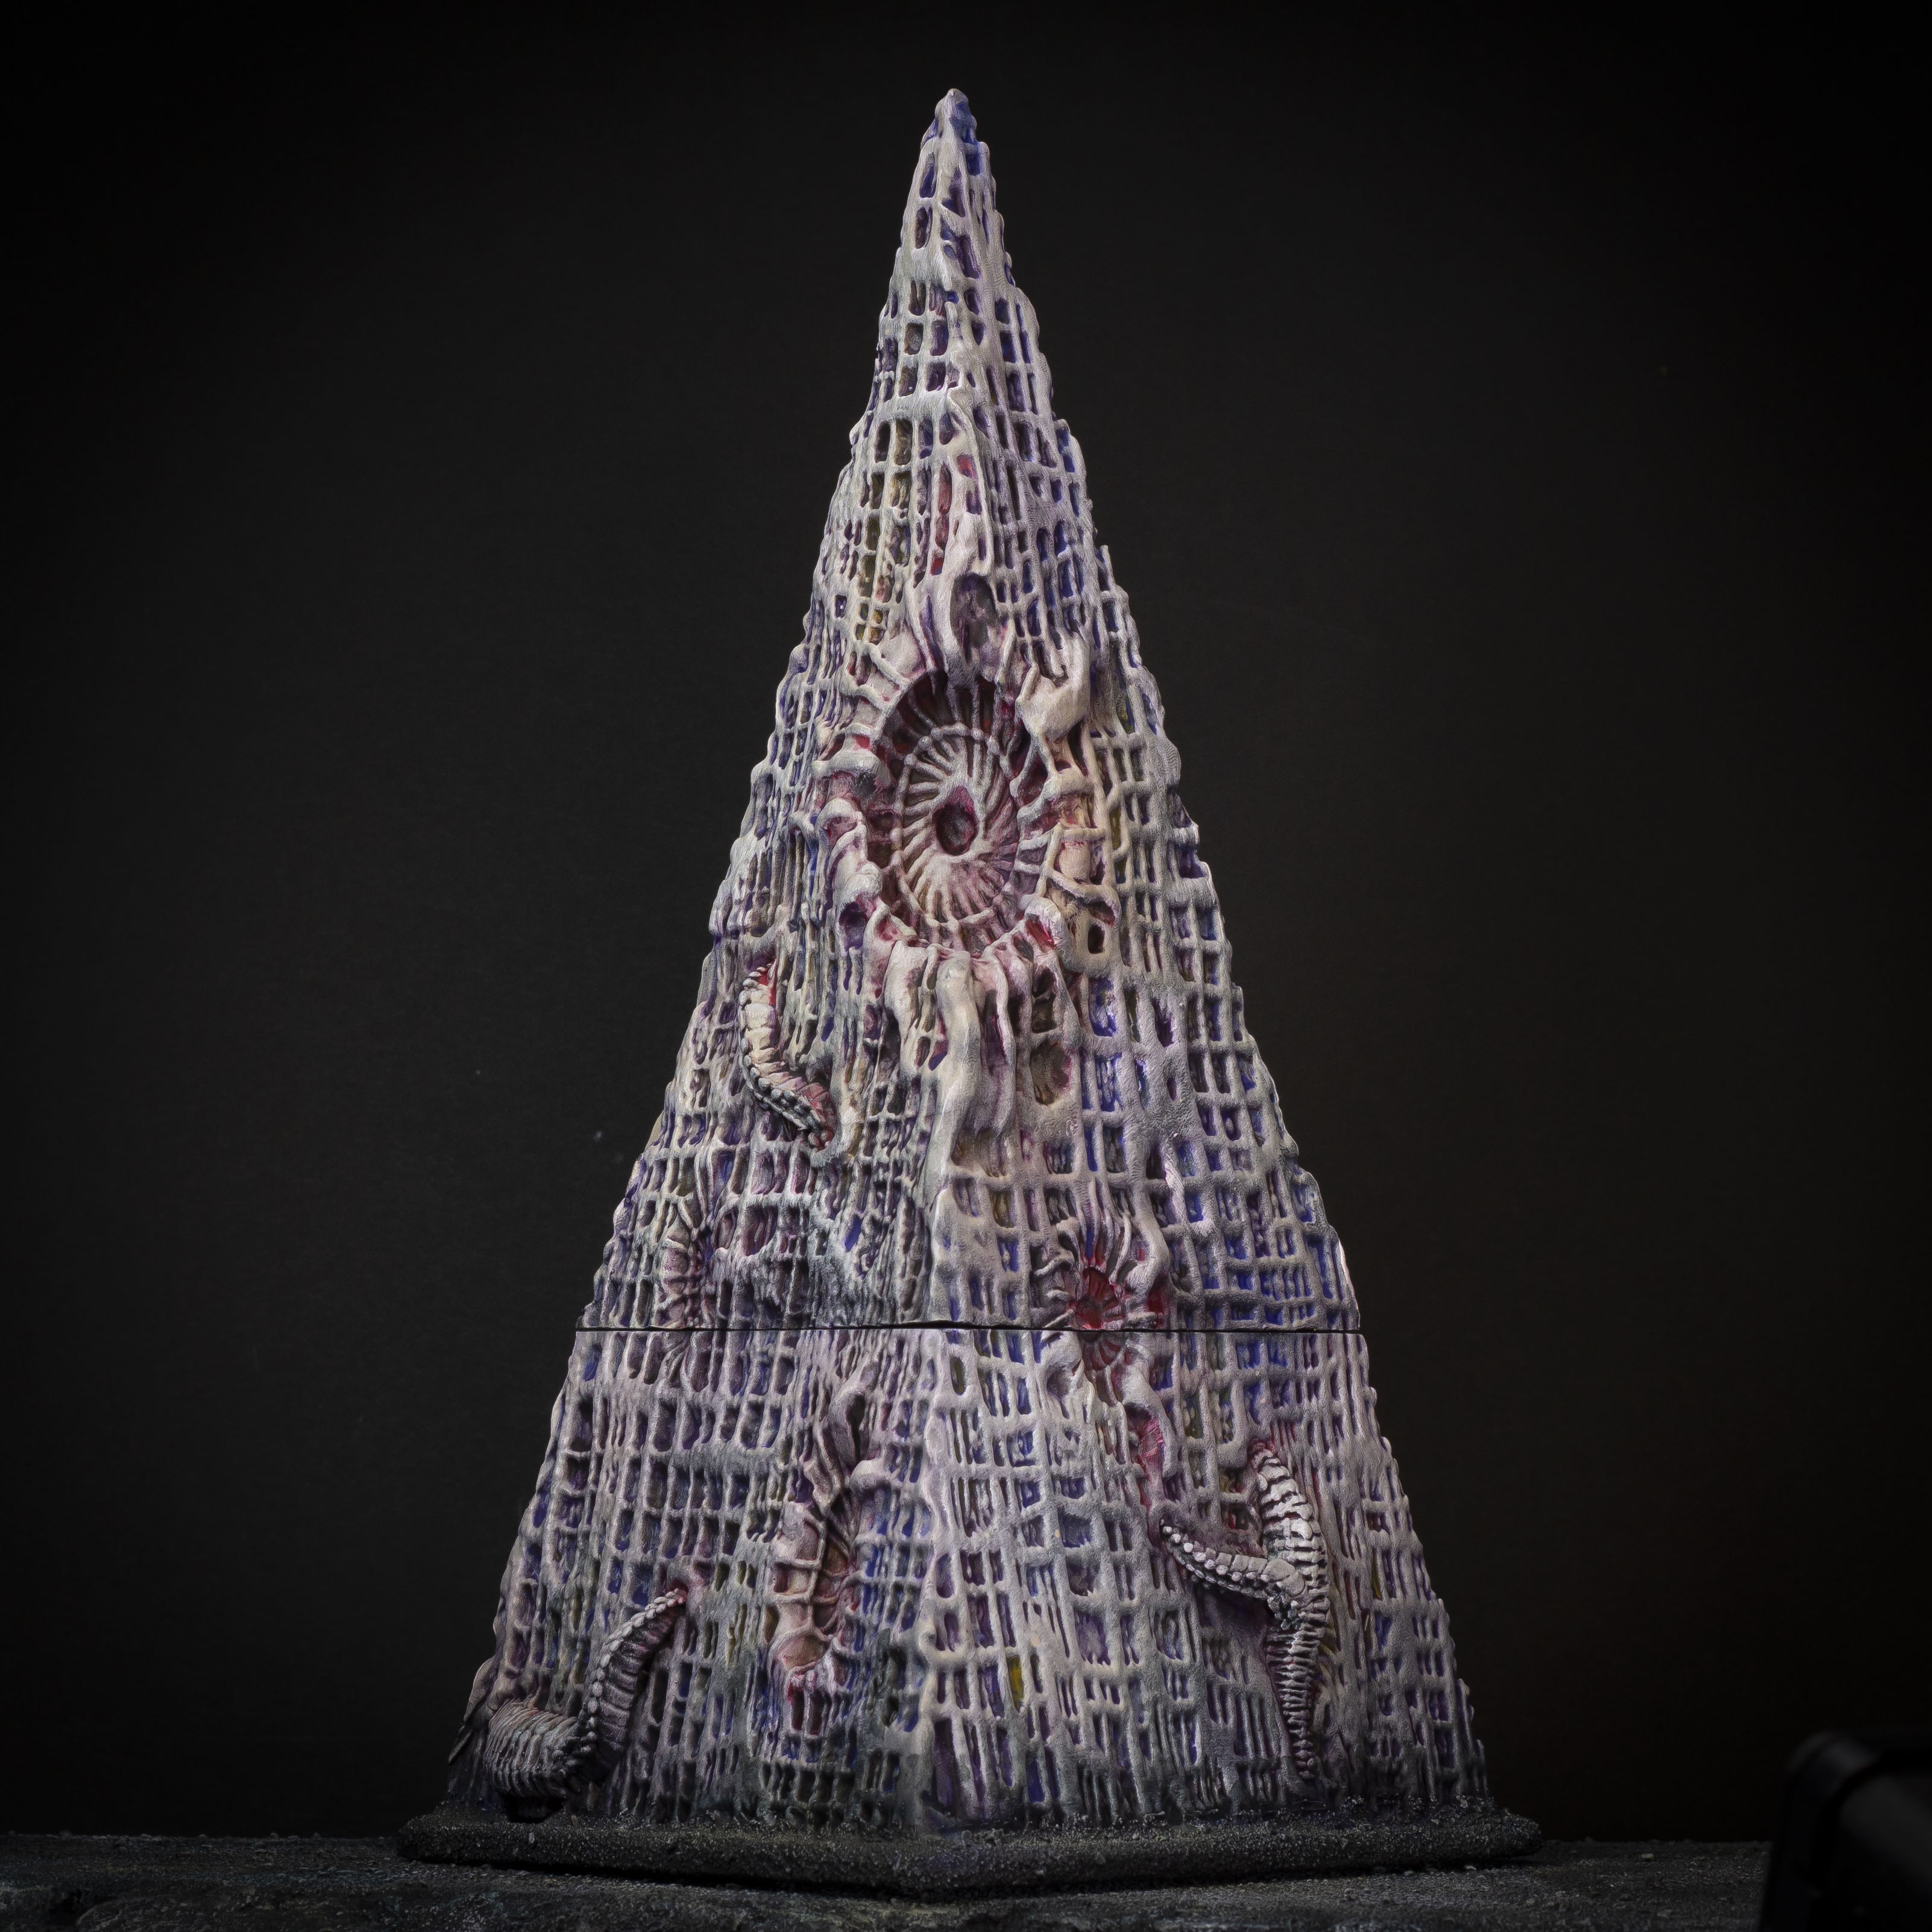
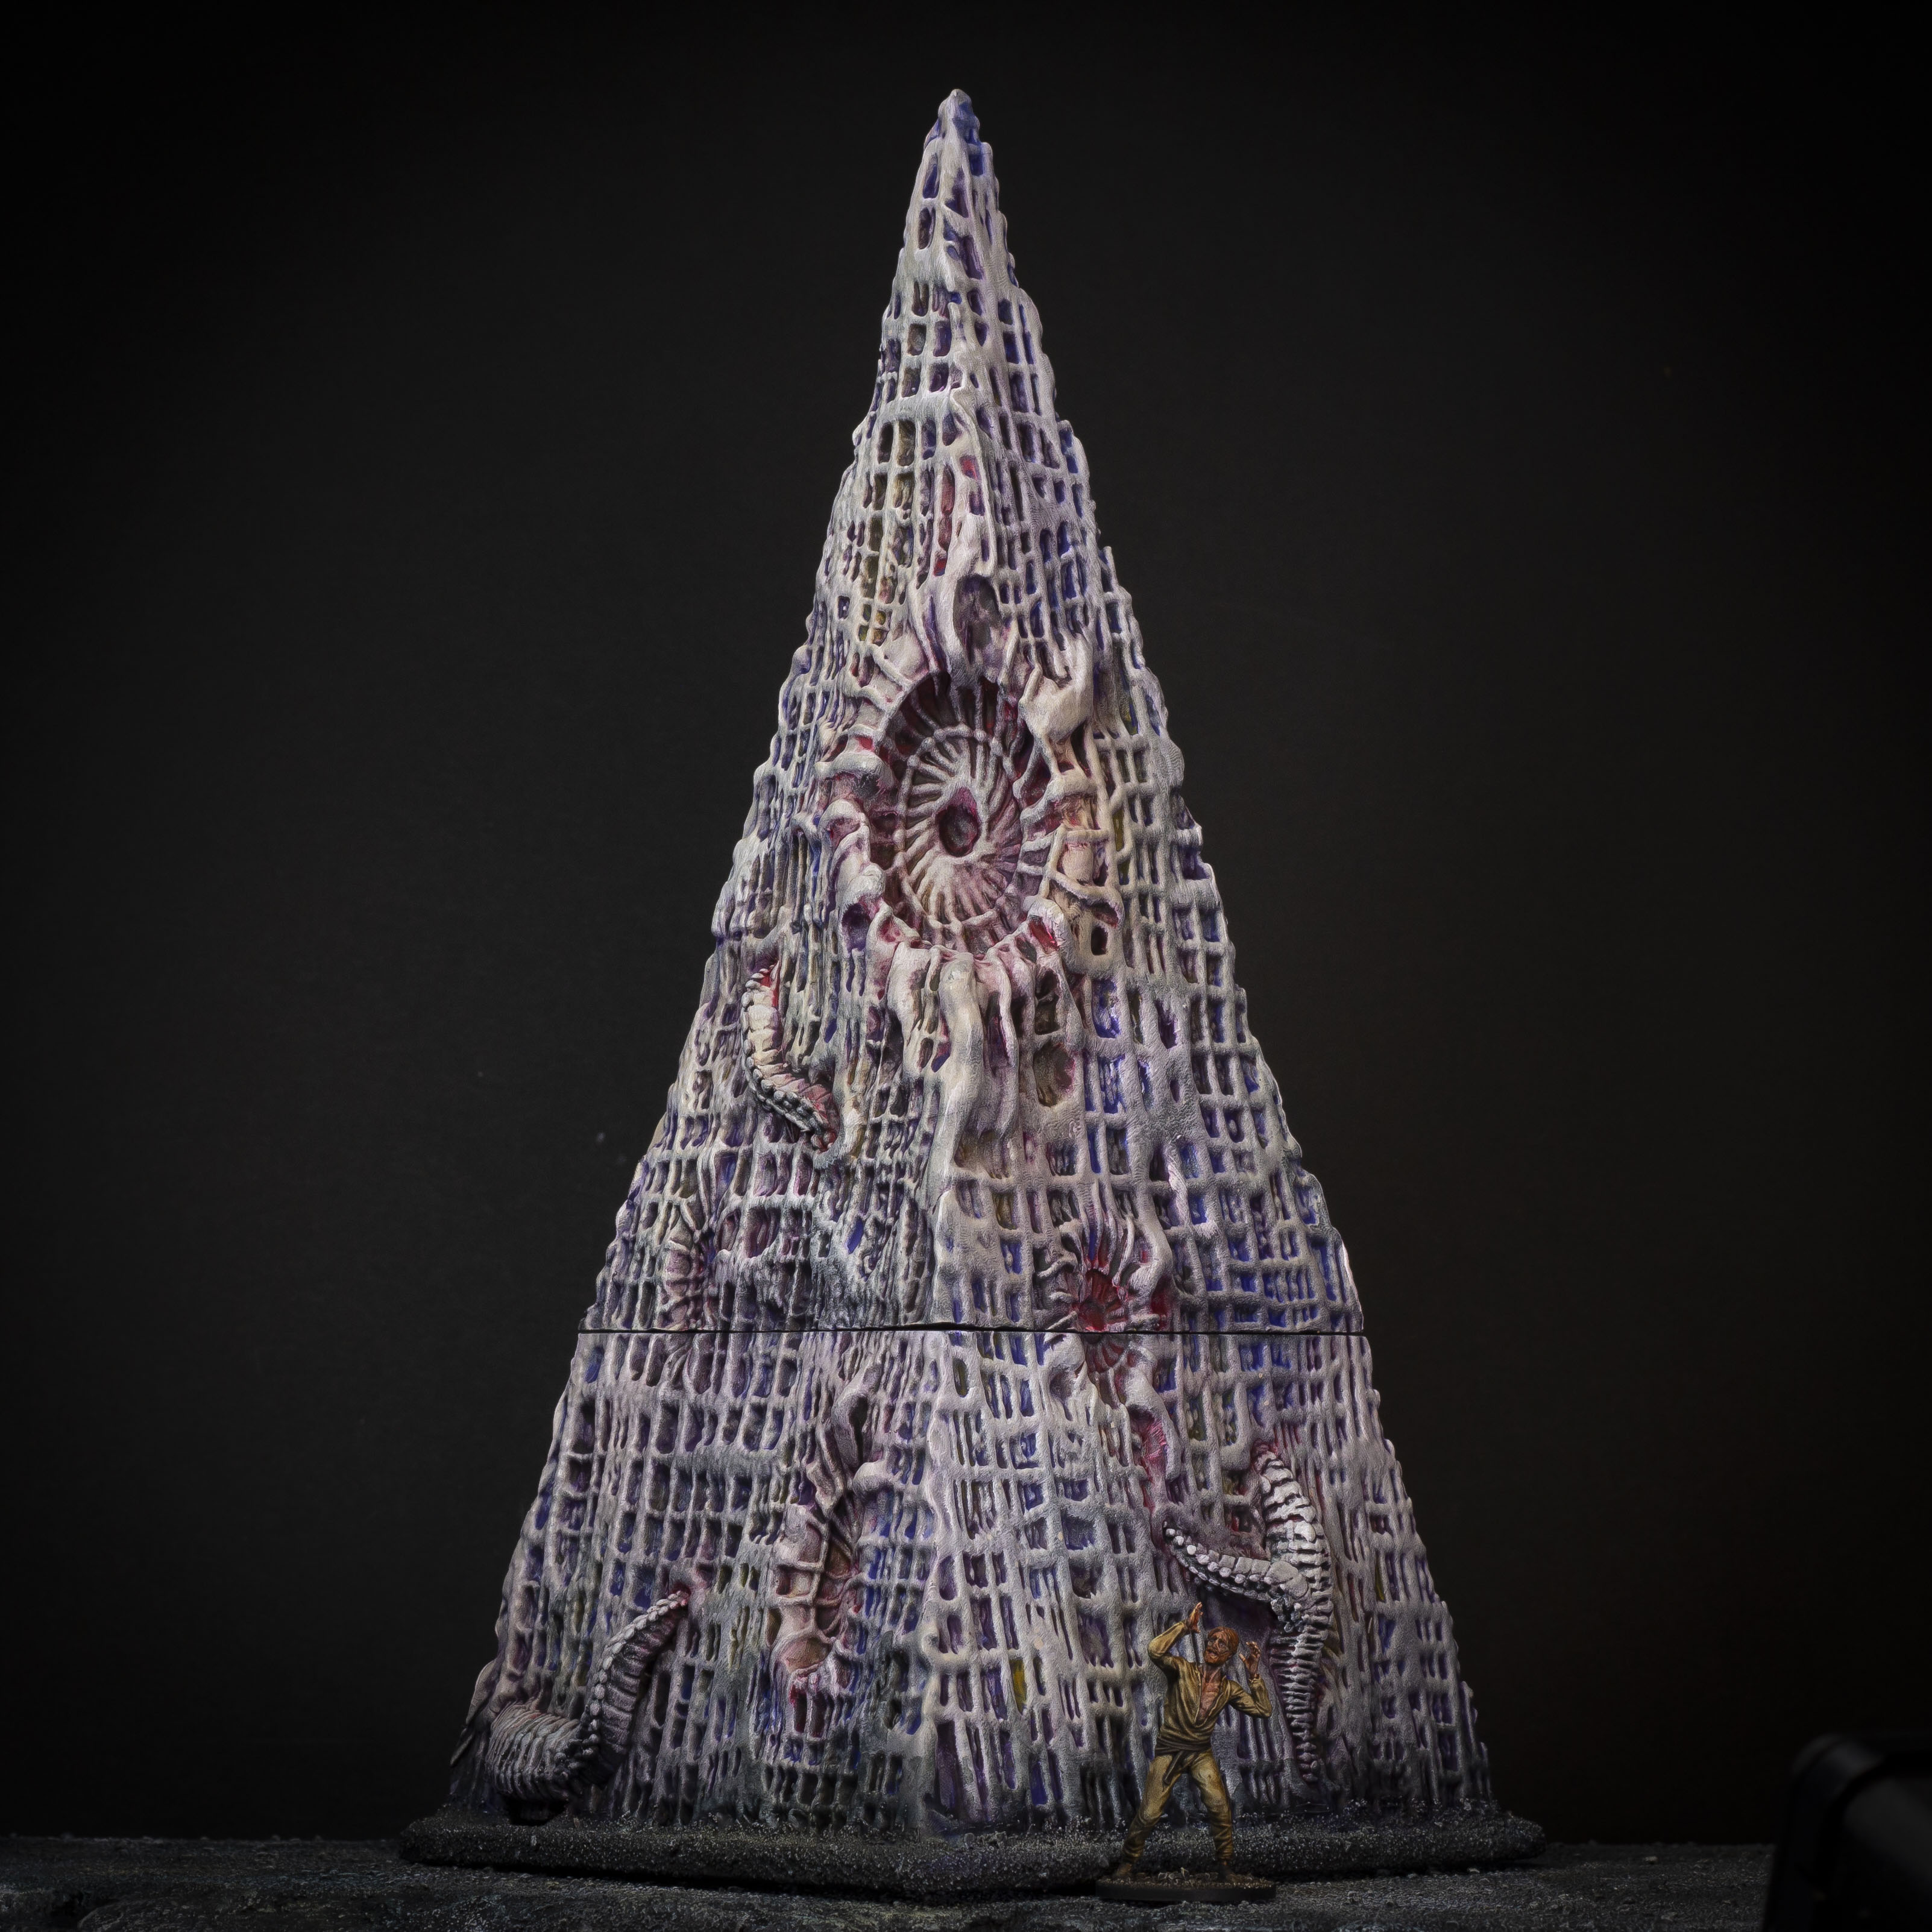
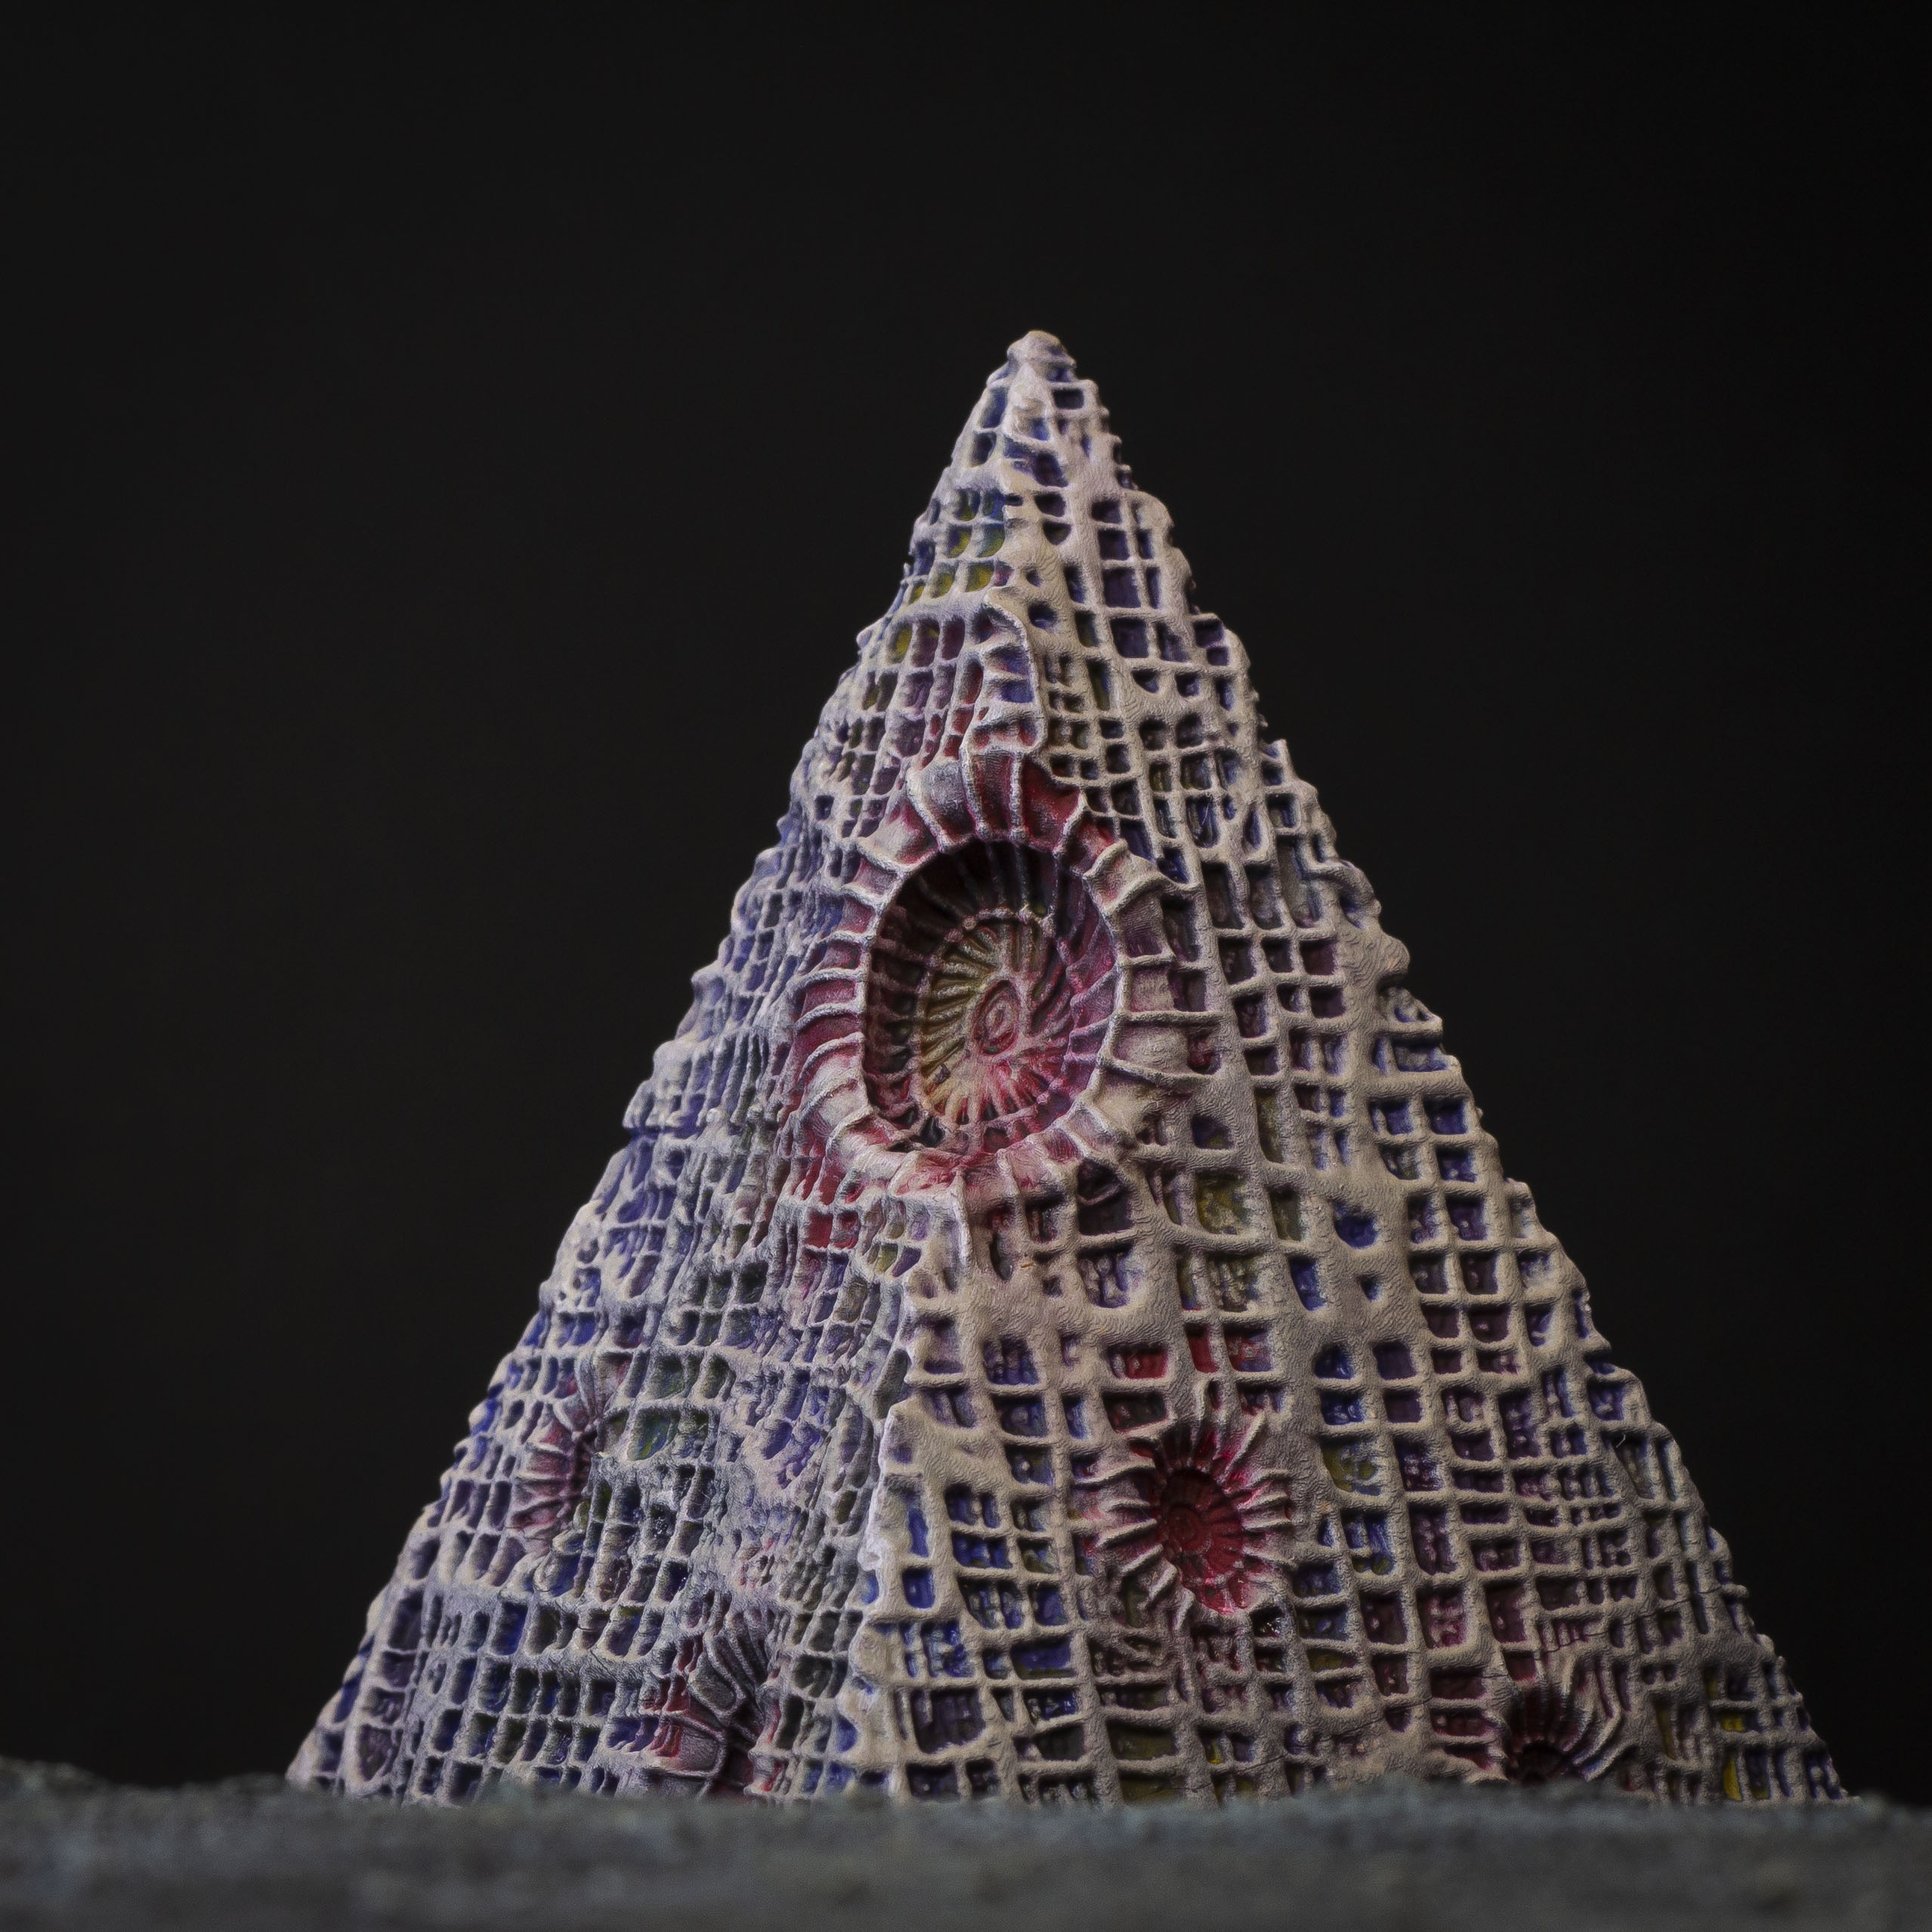
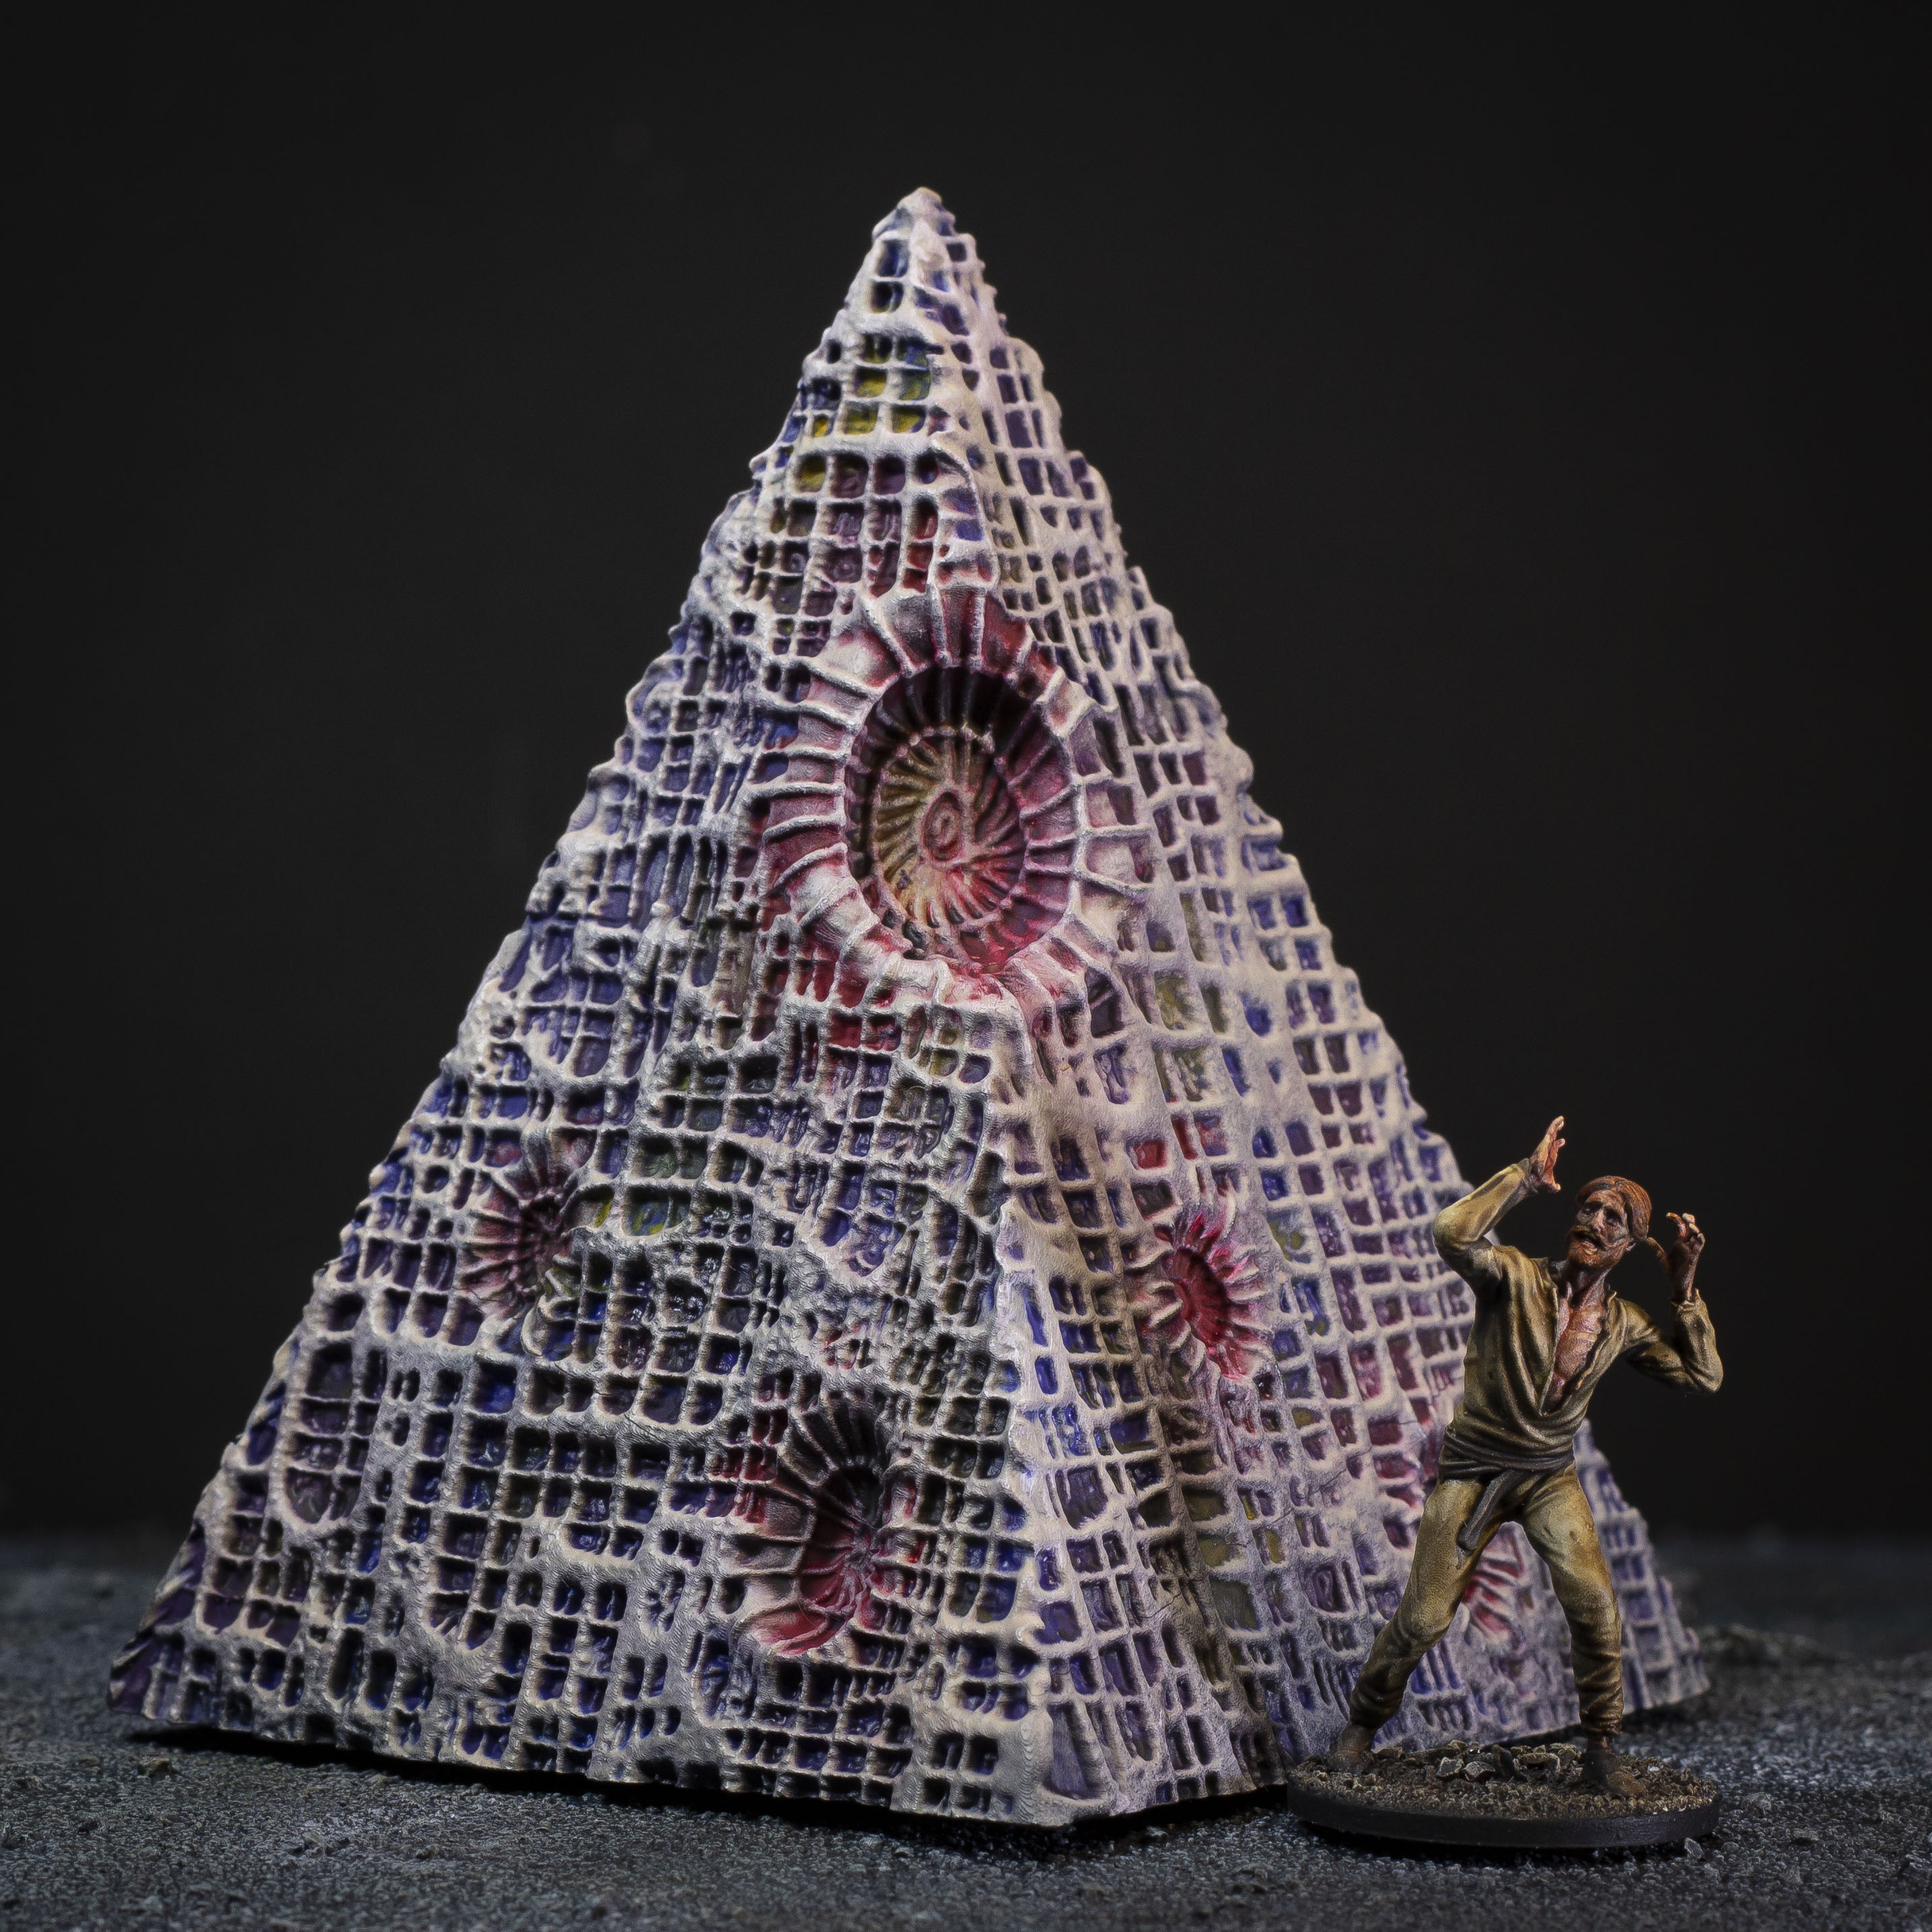
Approaching these strange cuboids and towering pyramids, there were a few things I knew I wanted to achieve with this project -
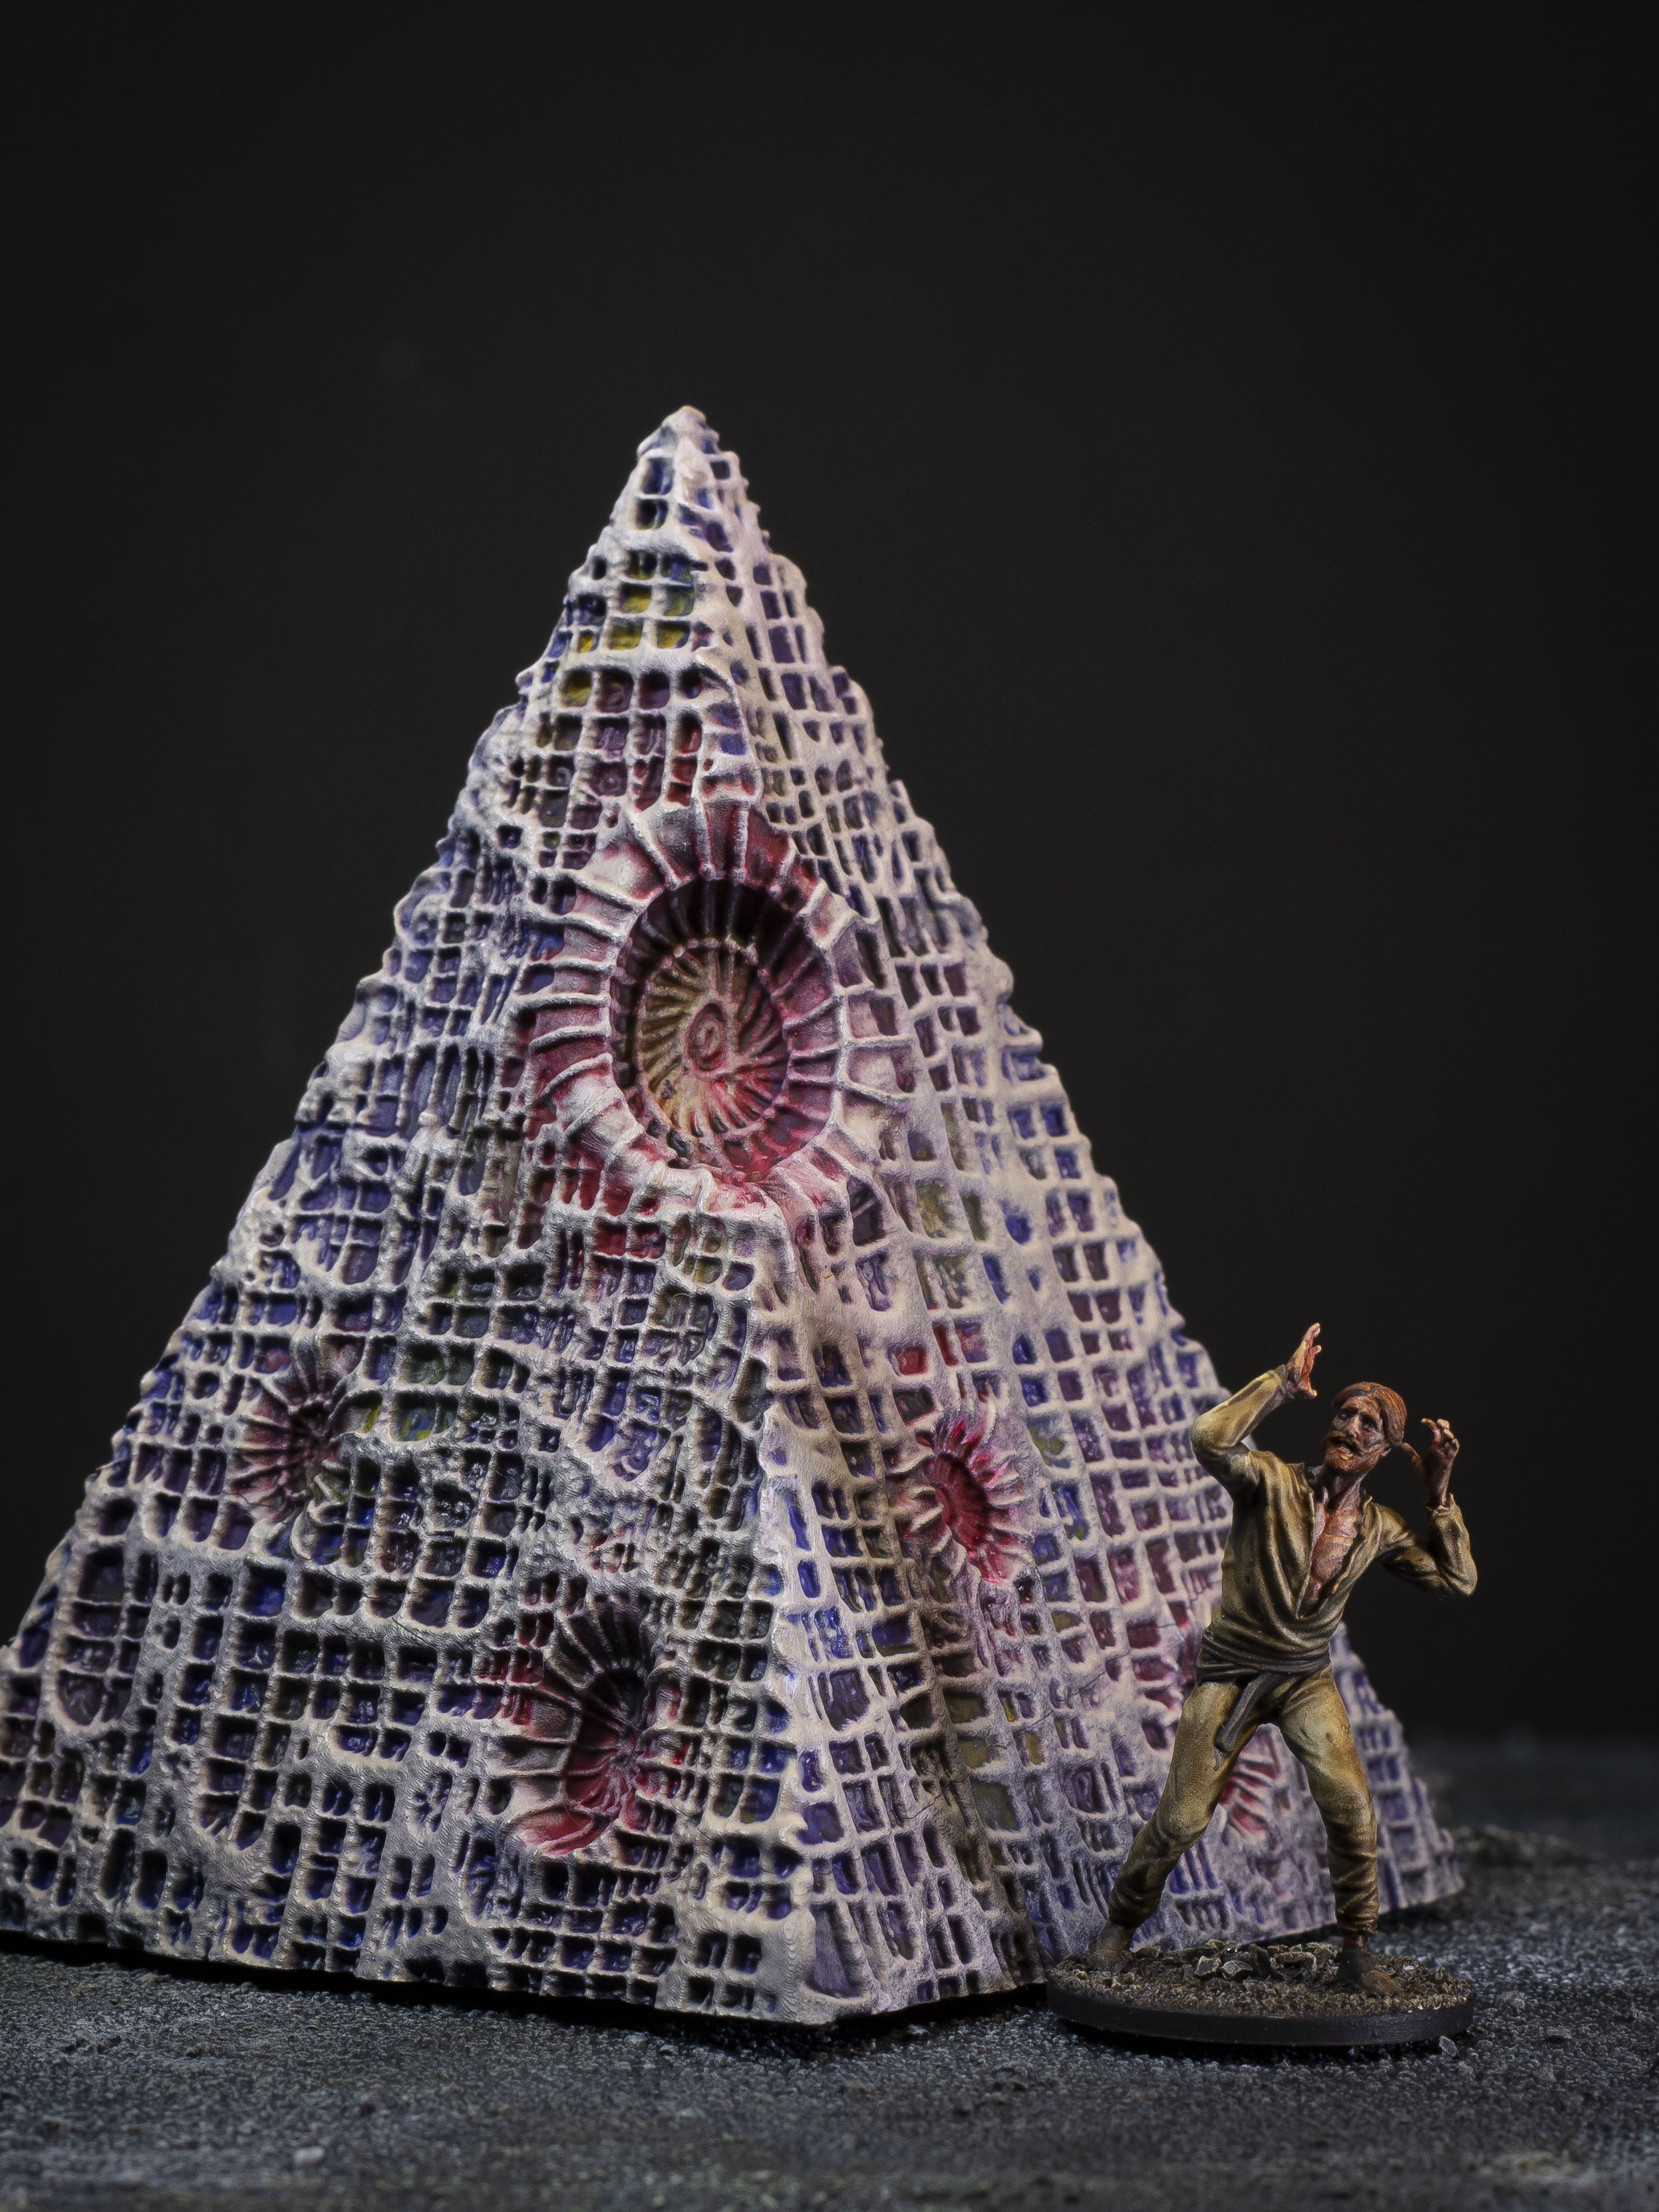
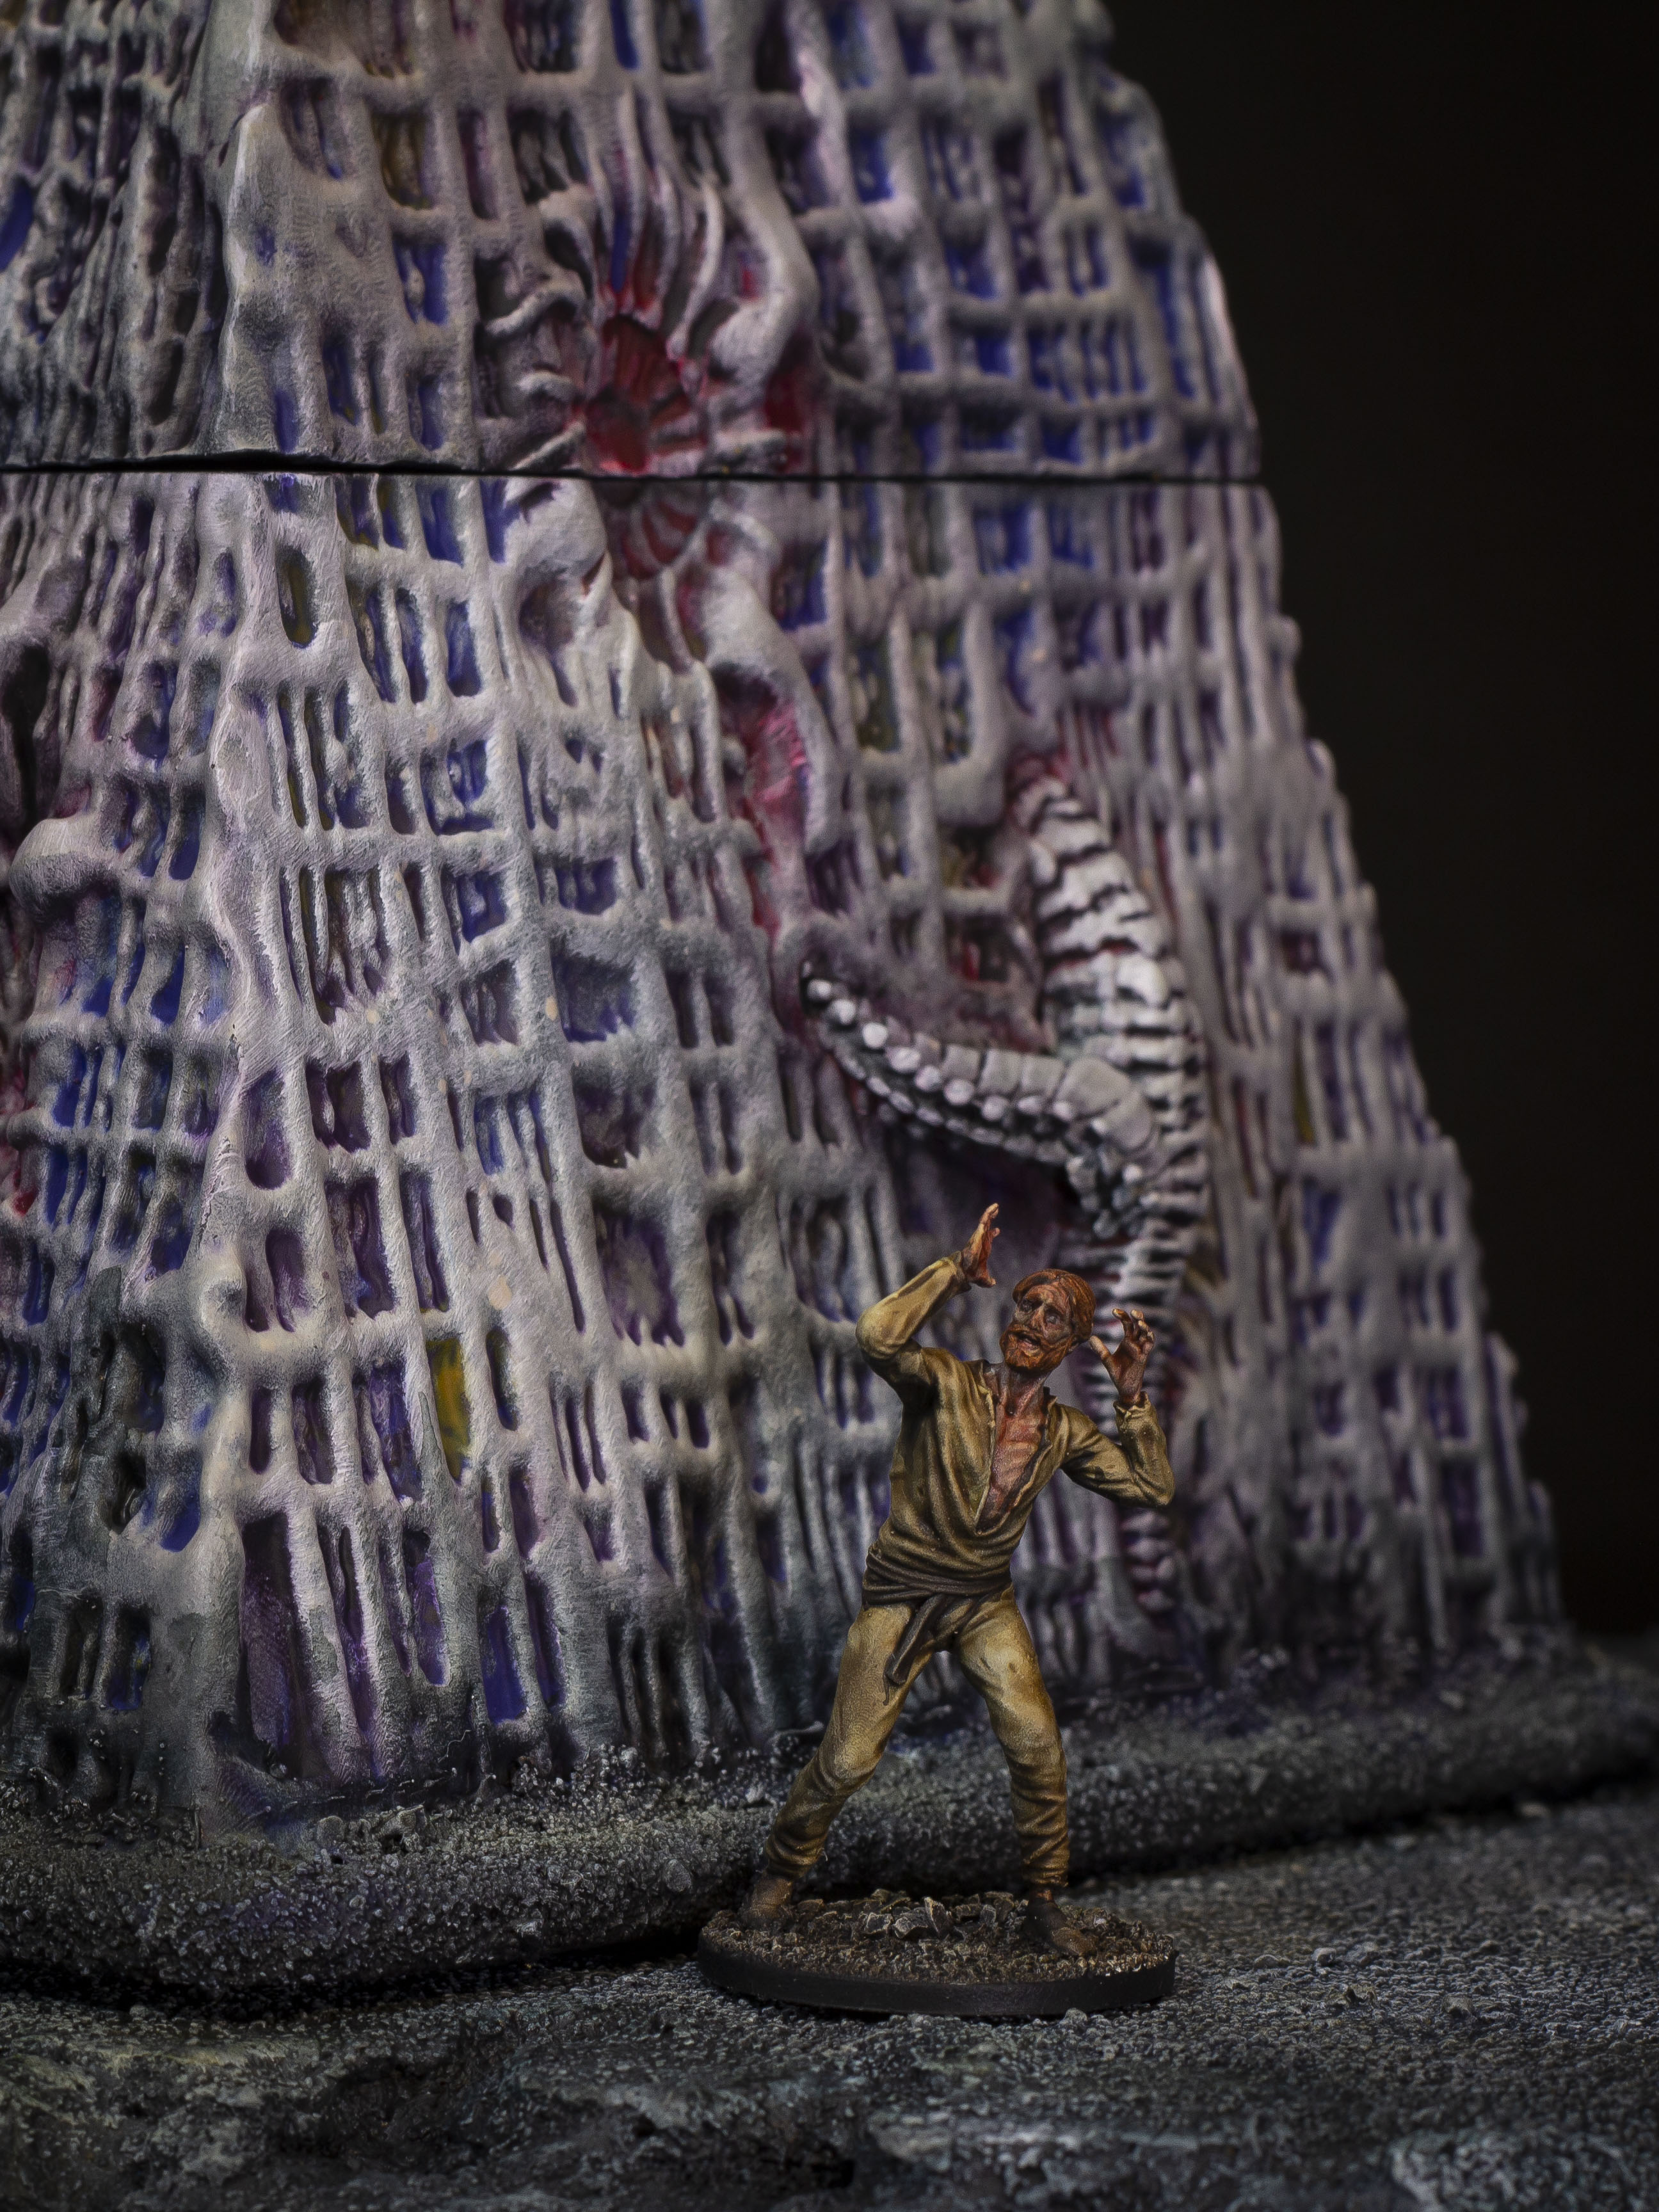
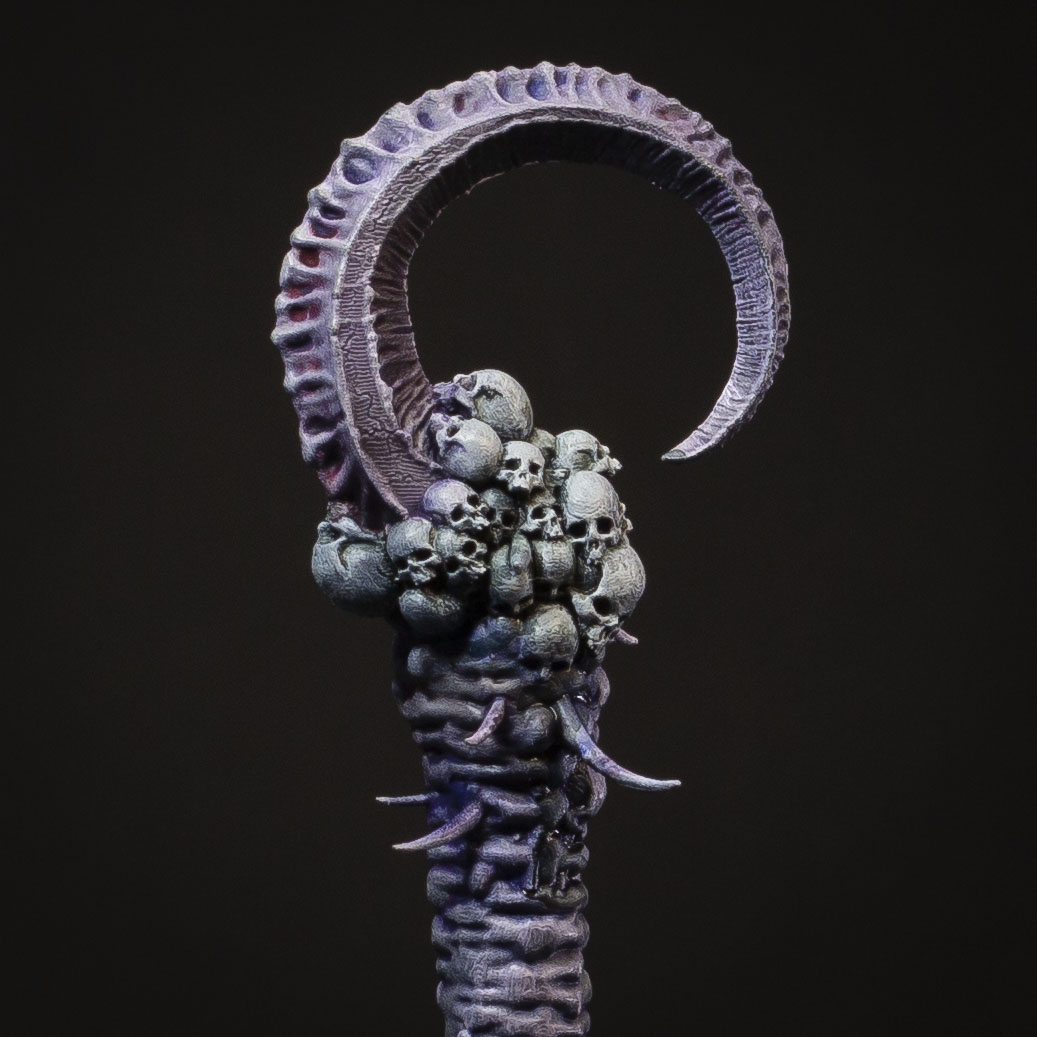
Strong Colours, with the Ashen Wastes being a land filled with arcane fallout and other strange energies, I wanted the terrain to reflect that and look weird as hell! The awful red/blue/yellow palette you can see here was in my head from the start.
Speed, I needed to get these pieces done quick, there was helluva lot of Resin to work through, and however tempting it was for the meditative value, blacklining each of the square inserts would probably be the death of me.
Something New, for the past couple months I've been in a bit of a painting slump, or at least I've felt the joy I normally feel getting a bit damper. At times like that, it really pays to try something new and give yourself a fresh challenge.
With all that in mind, I decided to use Oil Paints for this project. Oil Washes are quick, intensely coloured, blend easily, and most importantly, it's a technique I've been avoiding trying for some time.
There's a couple reasons I've been avoiding Oils, I wasn't too pleased with my previous attempts at using them (compared to acrylics at least), and I was afraid my brush-licking habits would carry over. Either way, it fit the bill so lets dive into the project.
Assembly
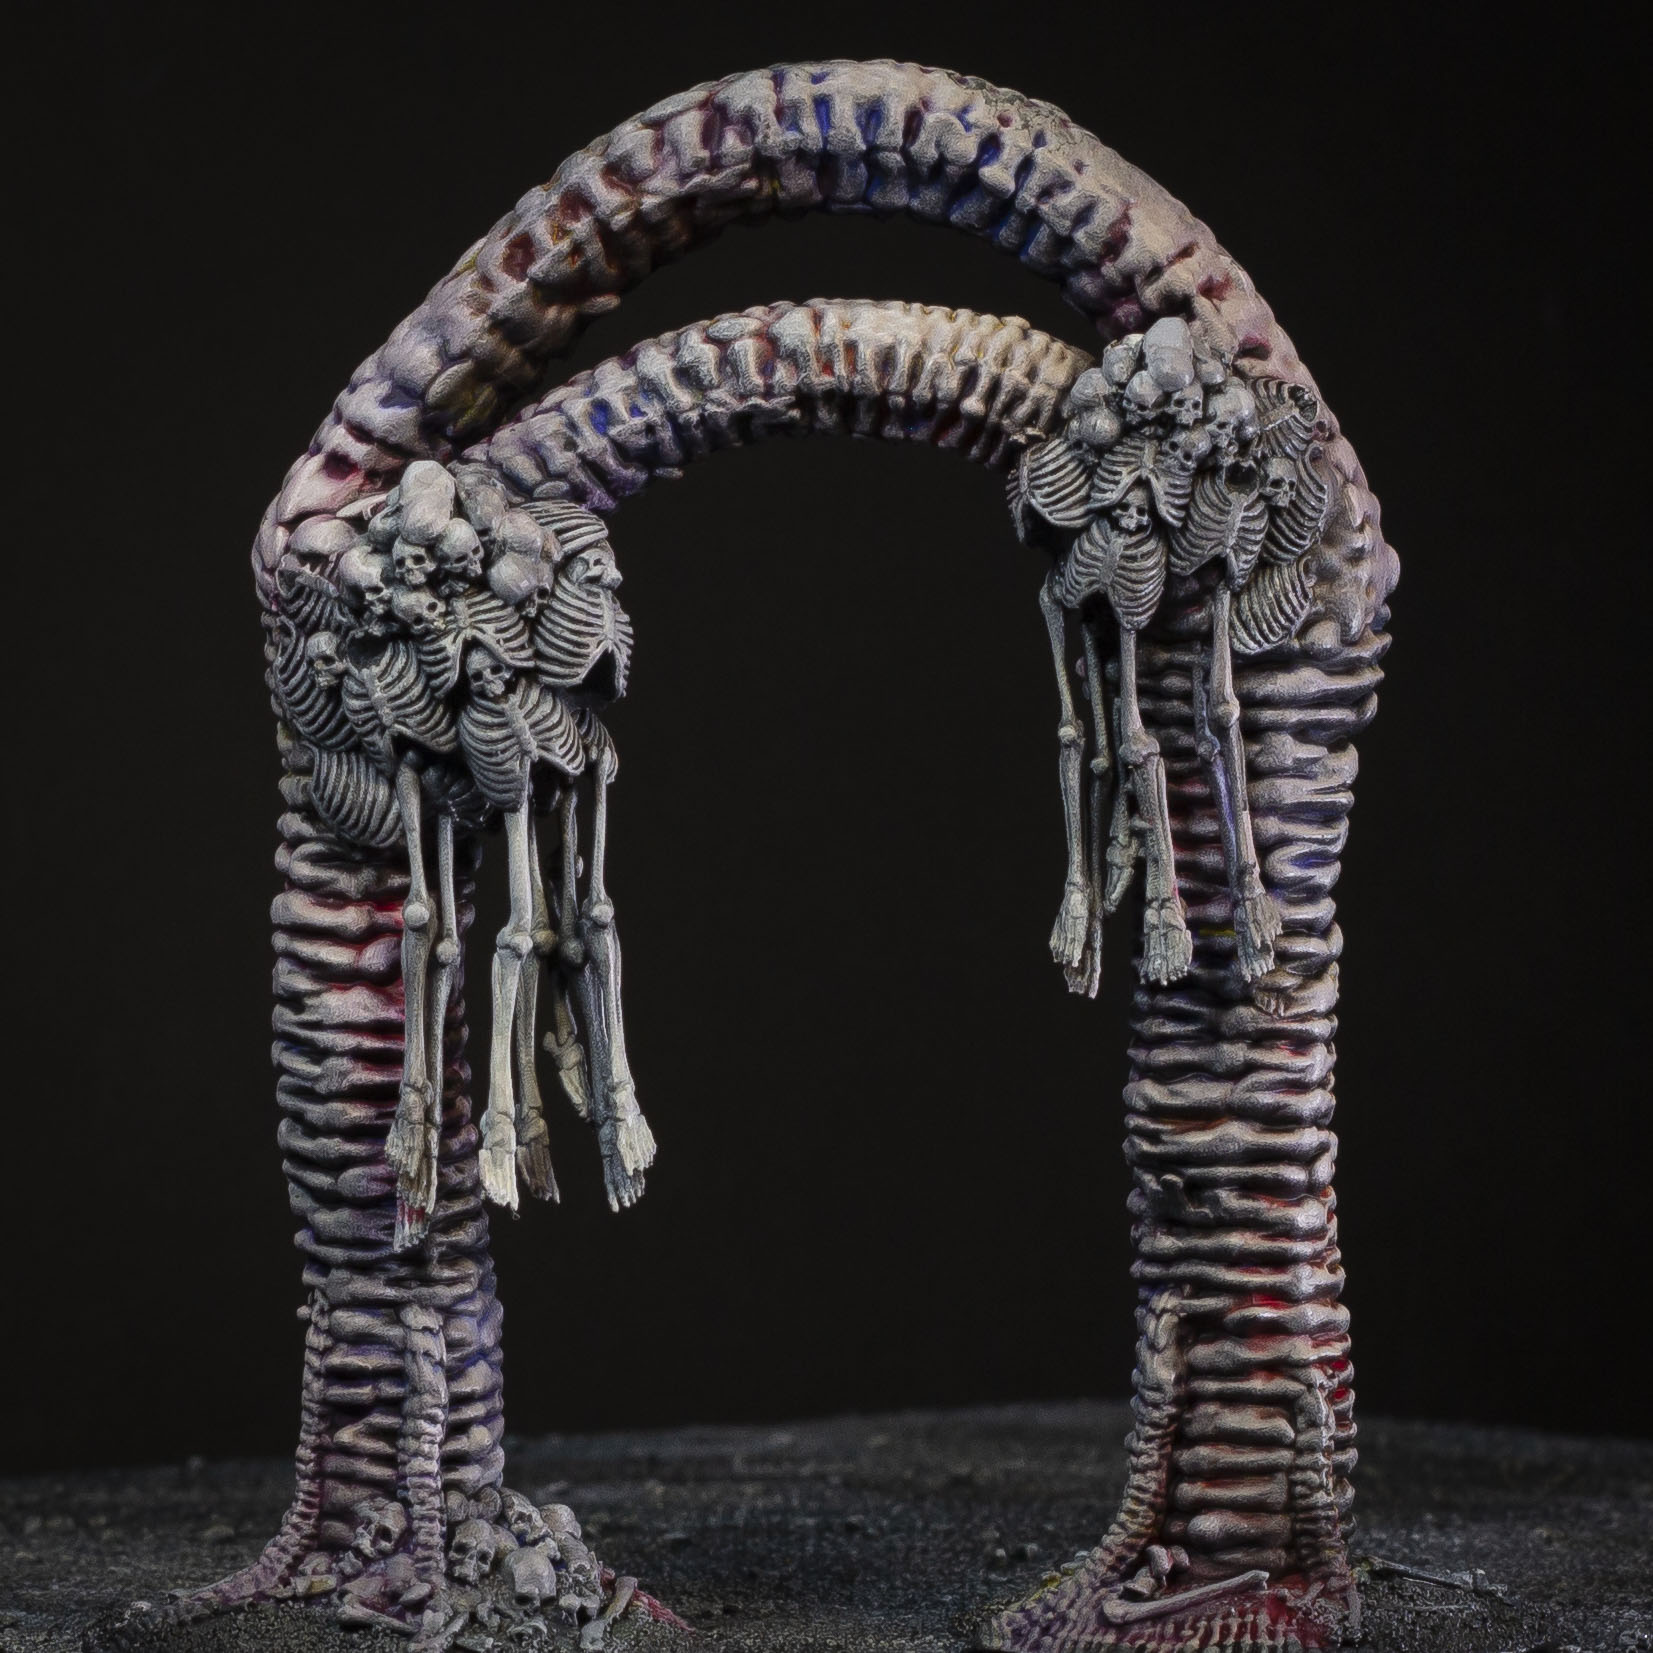
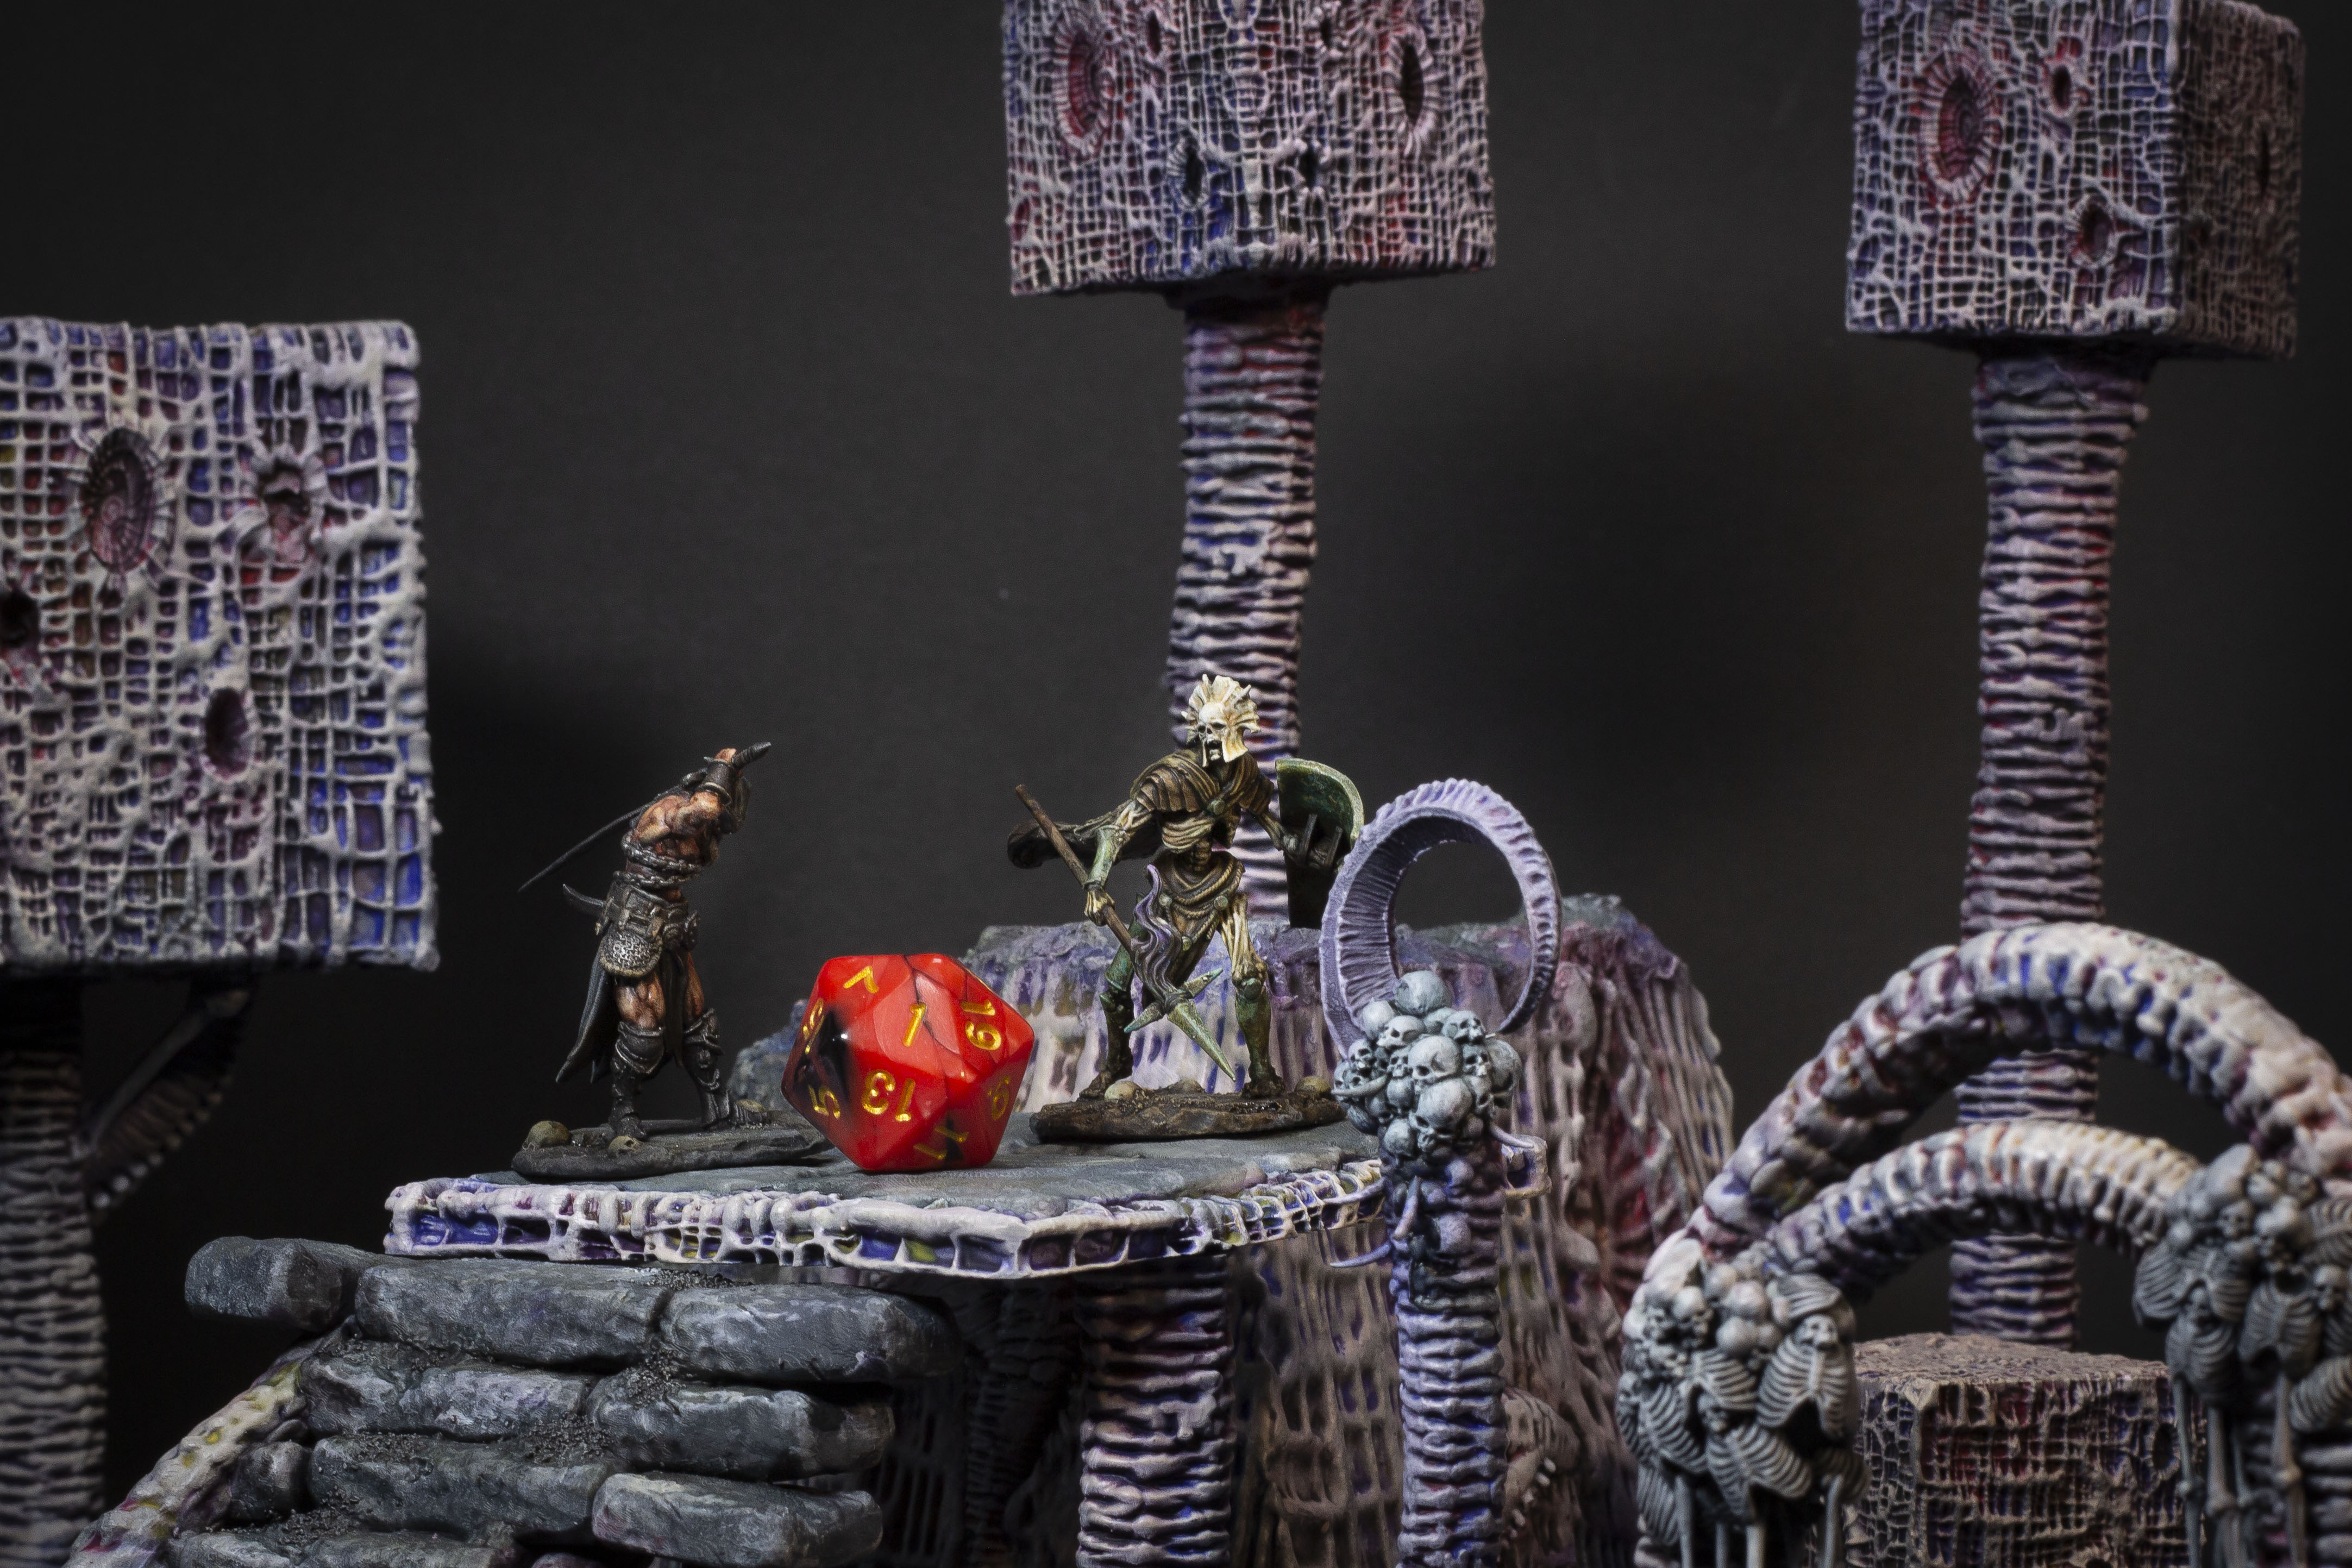
First up, I got to work assembling the set. The way the pieces are split is great, as you can see in the render images, you can make some really weird pieces by glueing a few different parts together.
Nothing too complicated in terms of build technique here:
- Initial Assembly was done with a hot glue gun, then fixed tight with a few squirts of super glue.
- I fixed a few pennies to the taller pieces to help keep them standing upright.
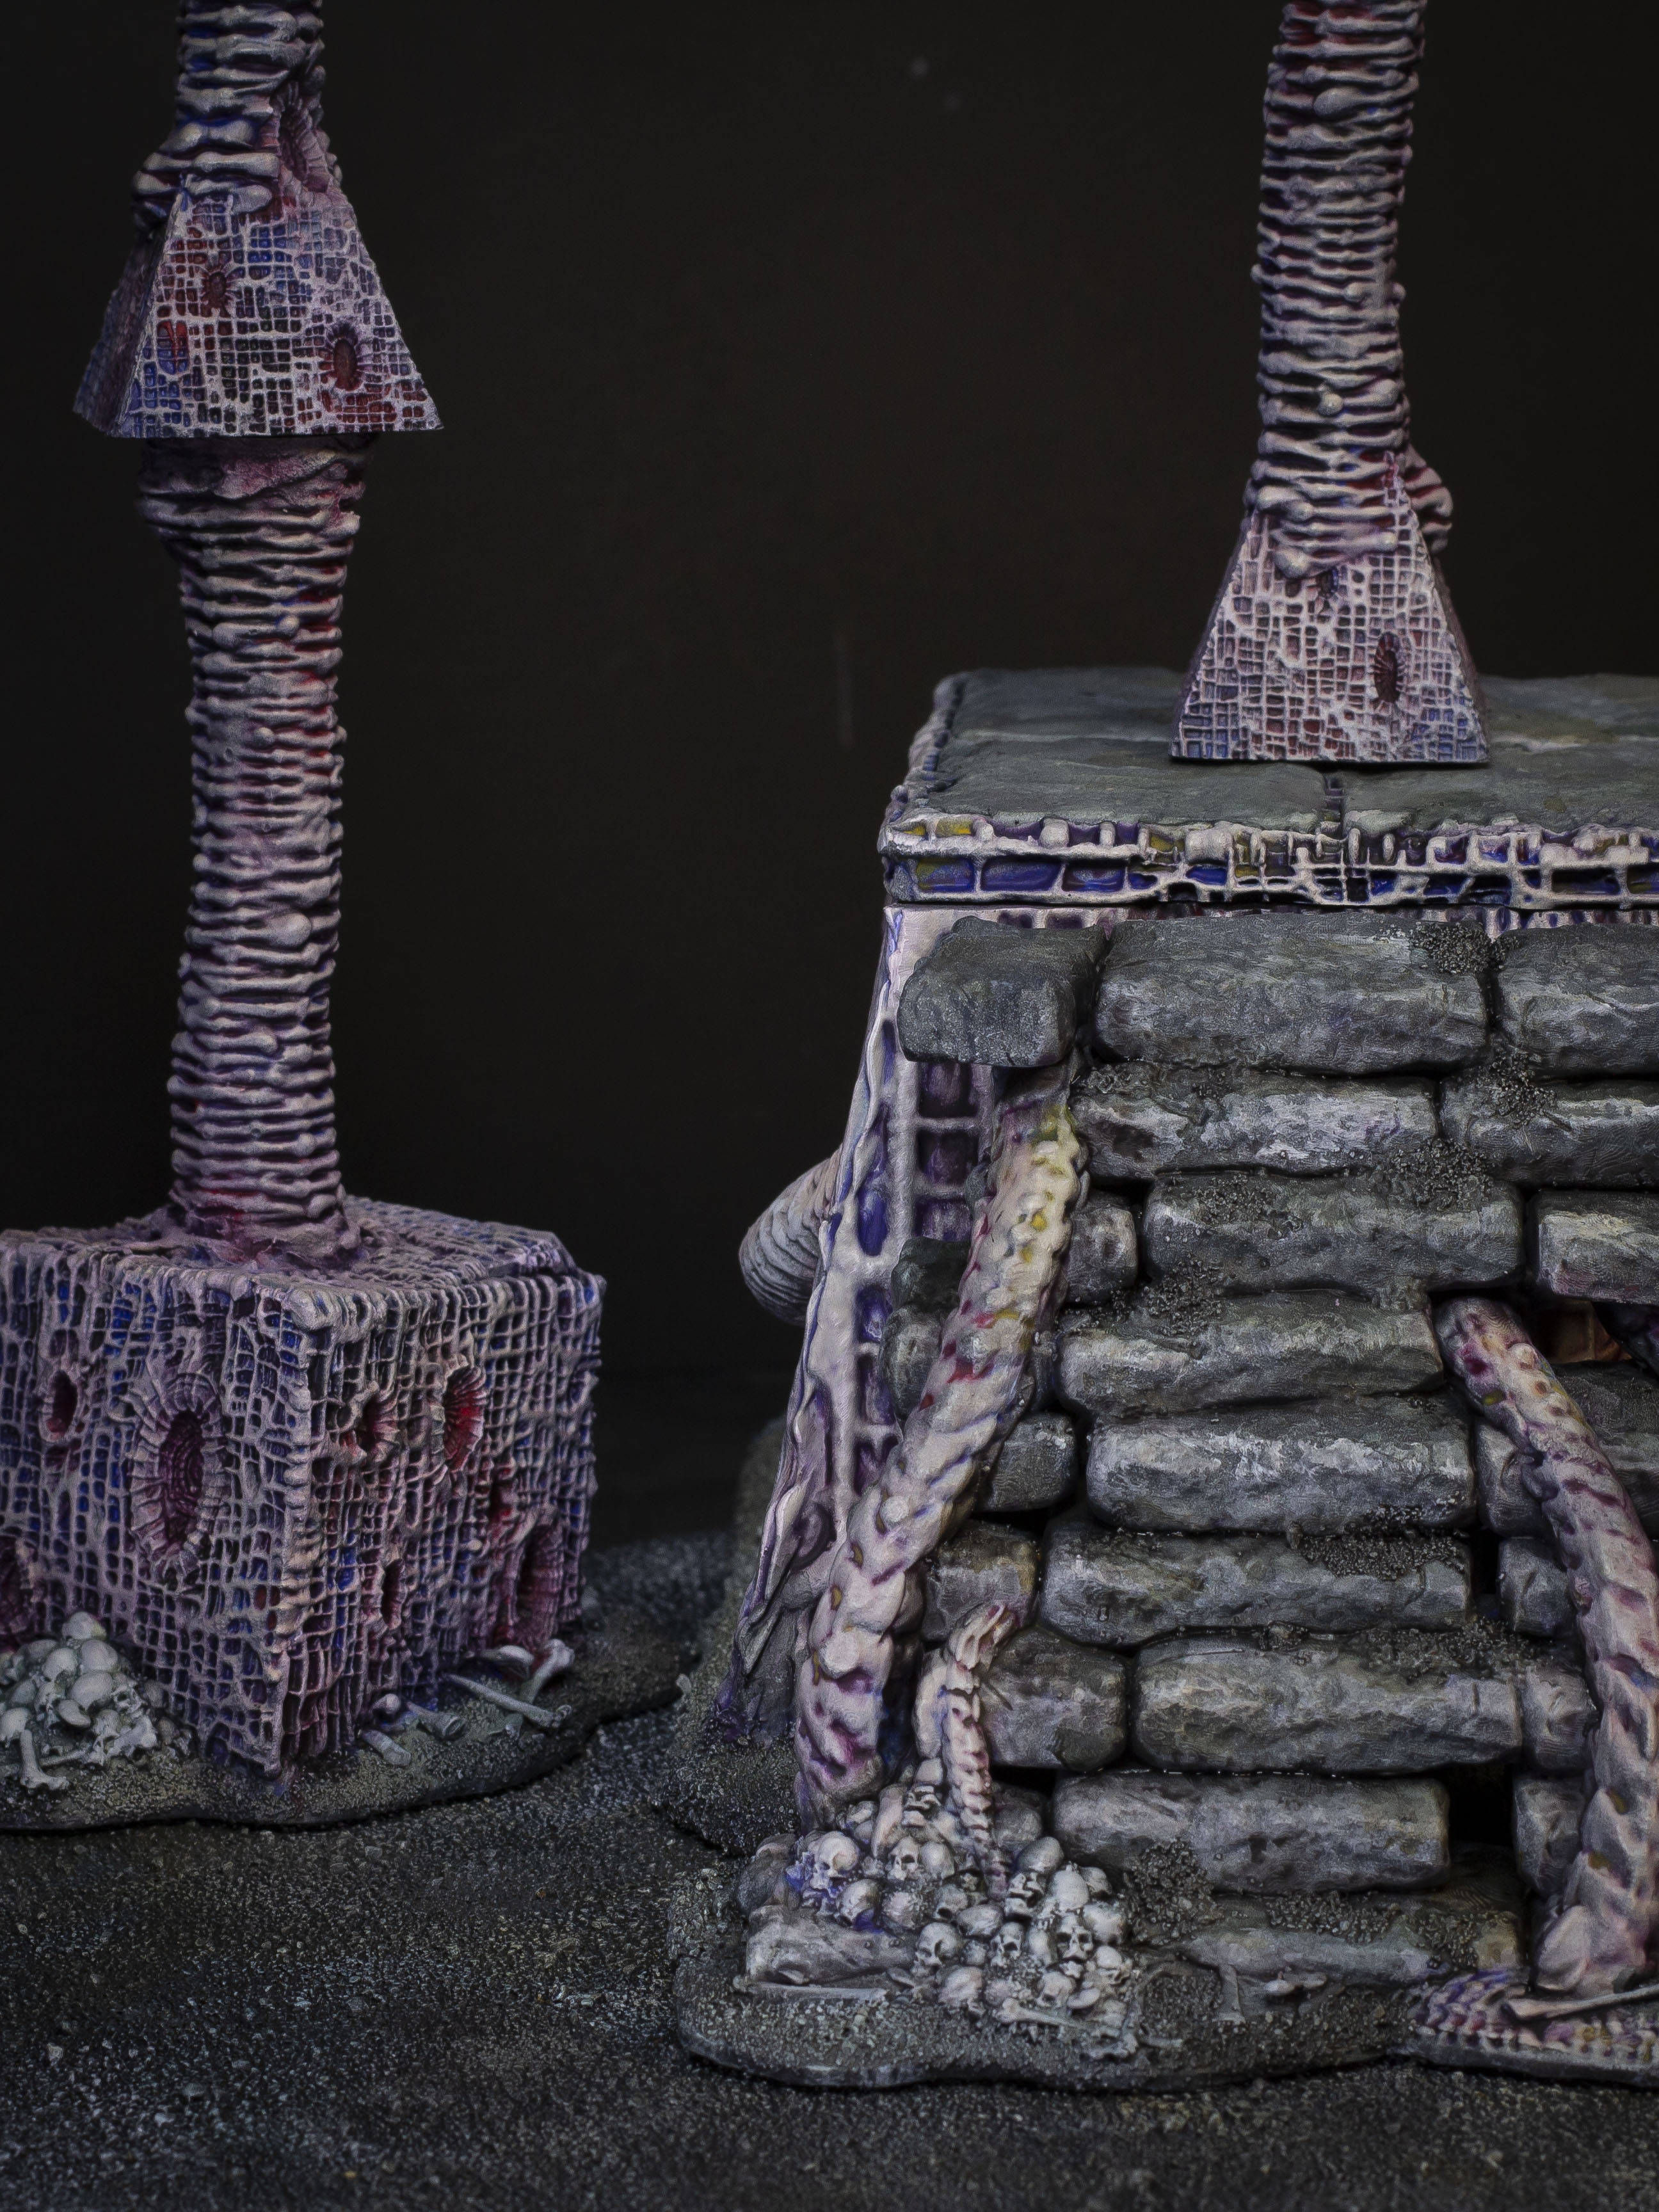
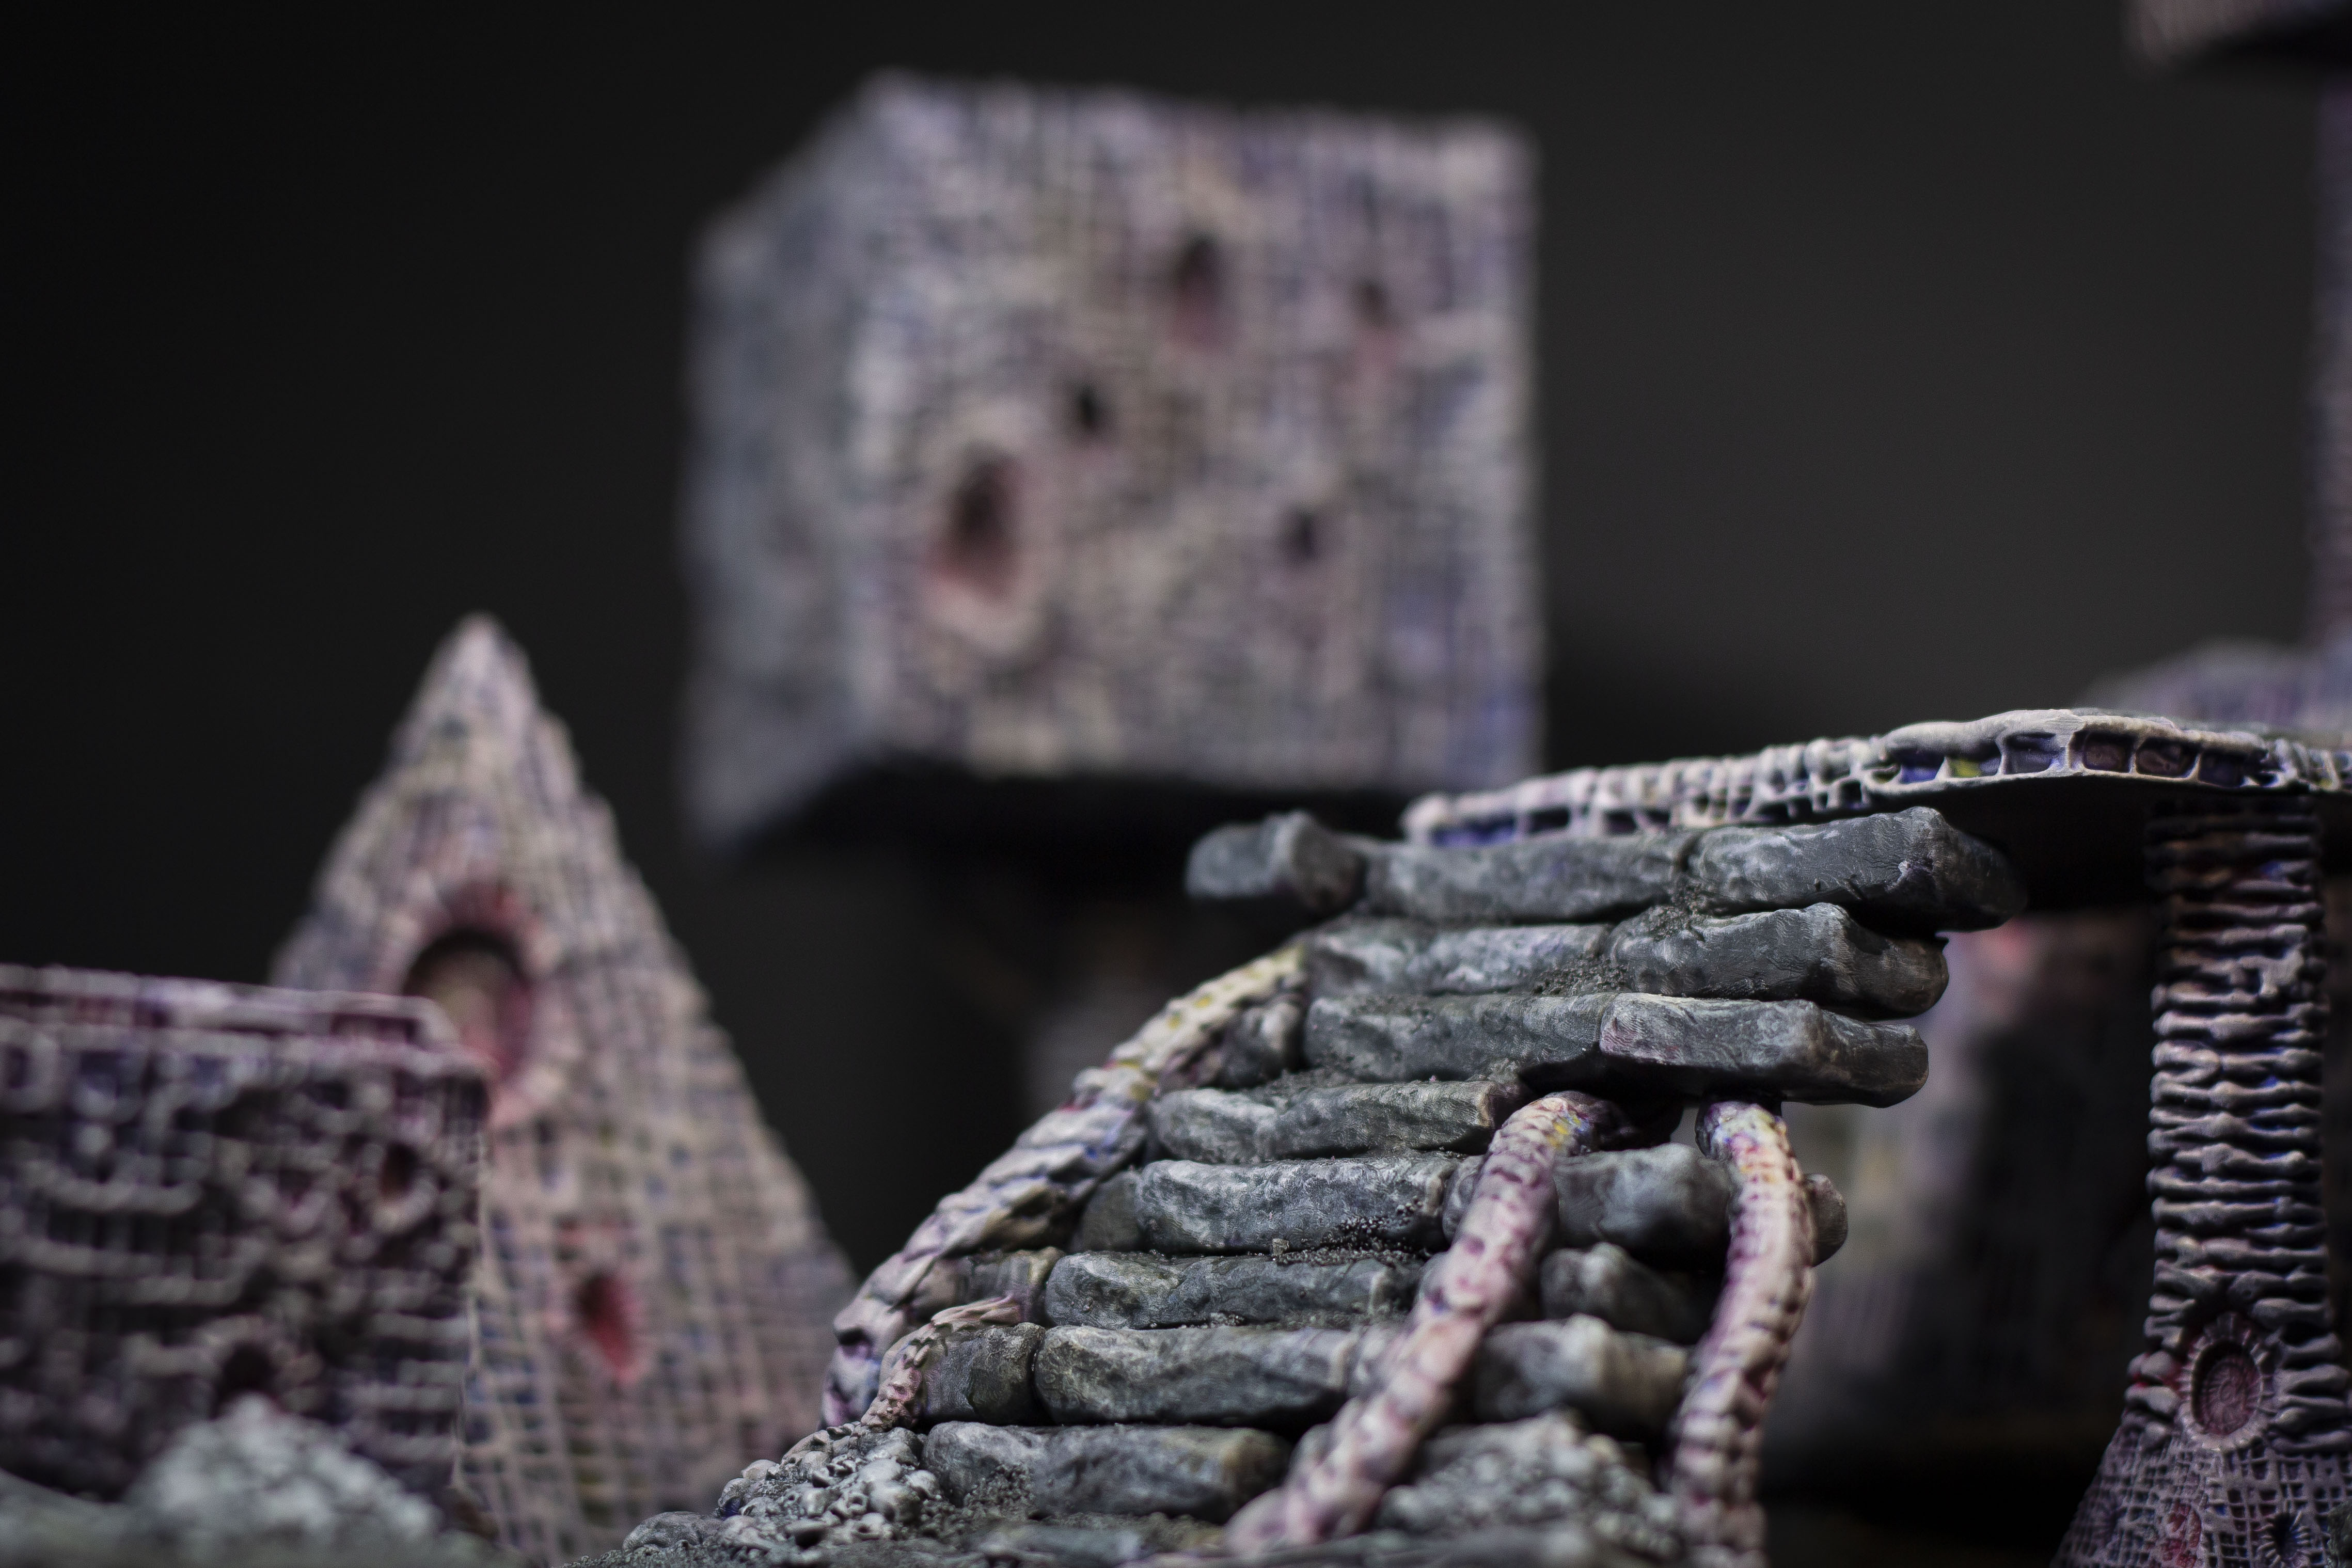
- The Pyramid base was stuck on a piece of plyboard.
- I also screwed up printing the Pyramid base (ran out of resin!), so I stuck the extra failed half-print down and built a rock hill into the other side with hot glue and cork.
- Any 'ground' bits you see are rough builder's sand, fixed down with pva, then sealed with a coat of watered PVA.

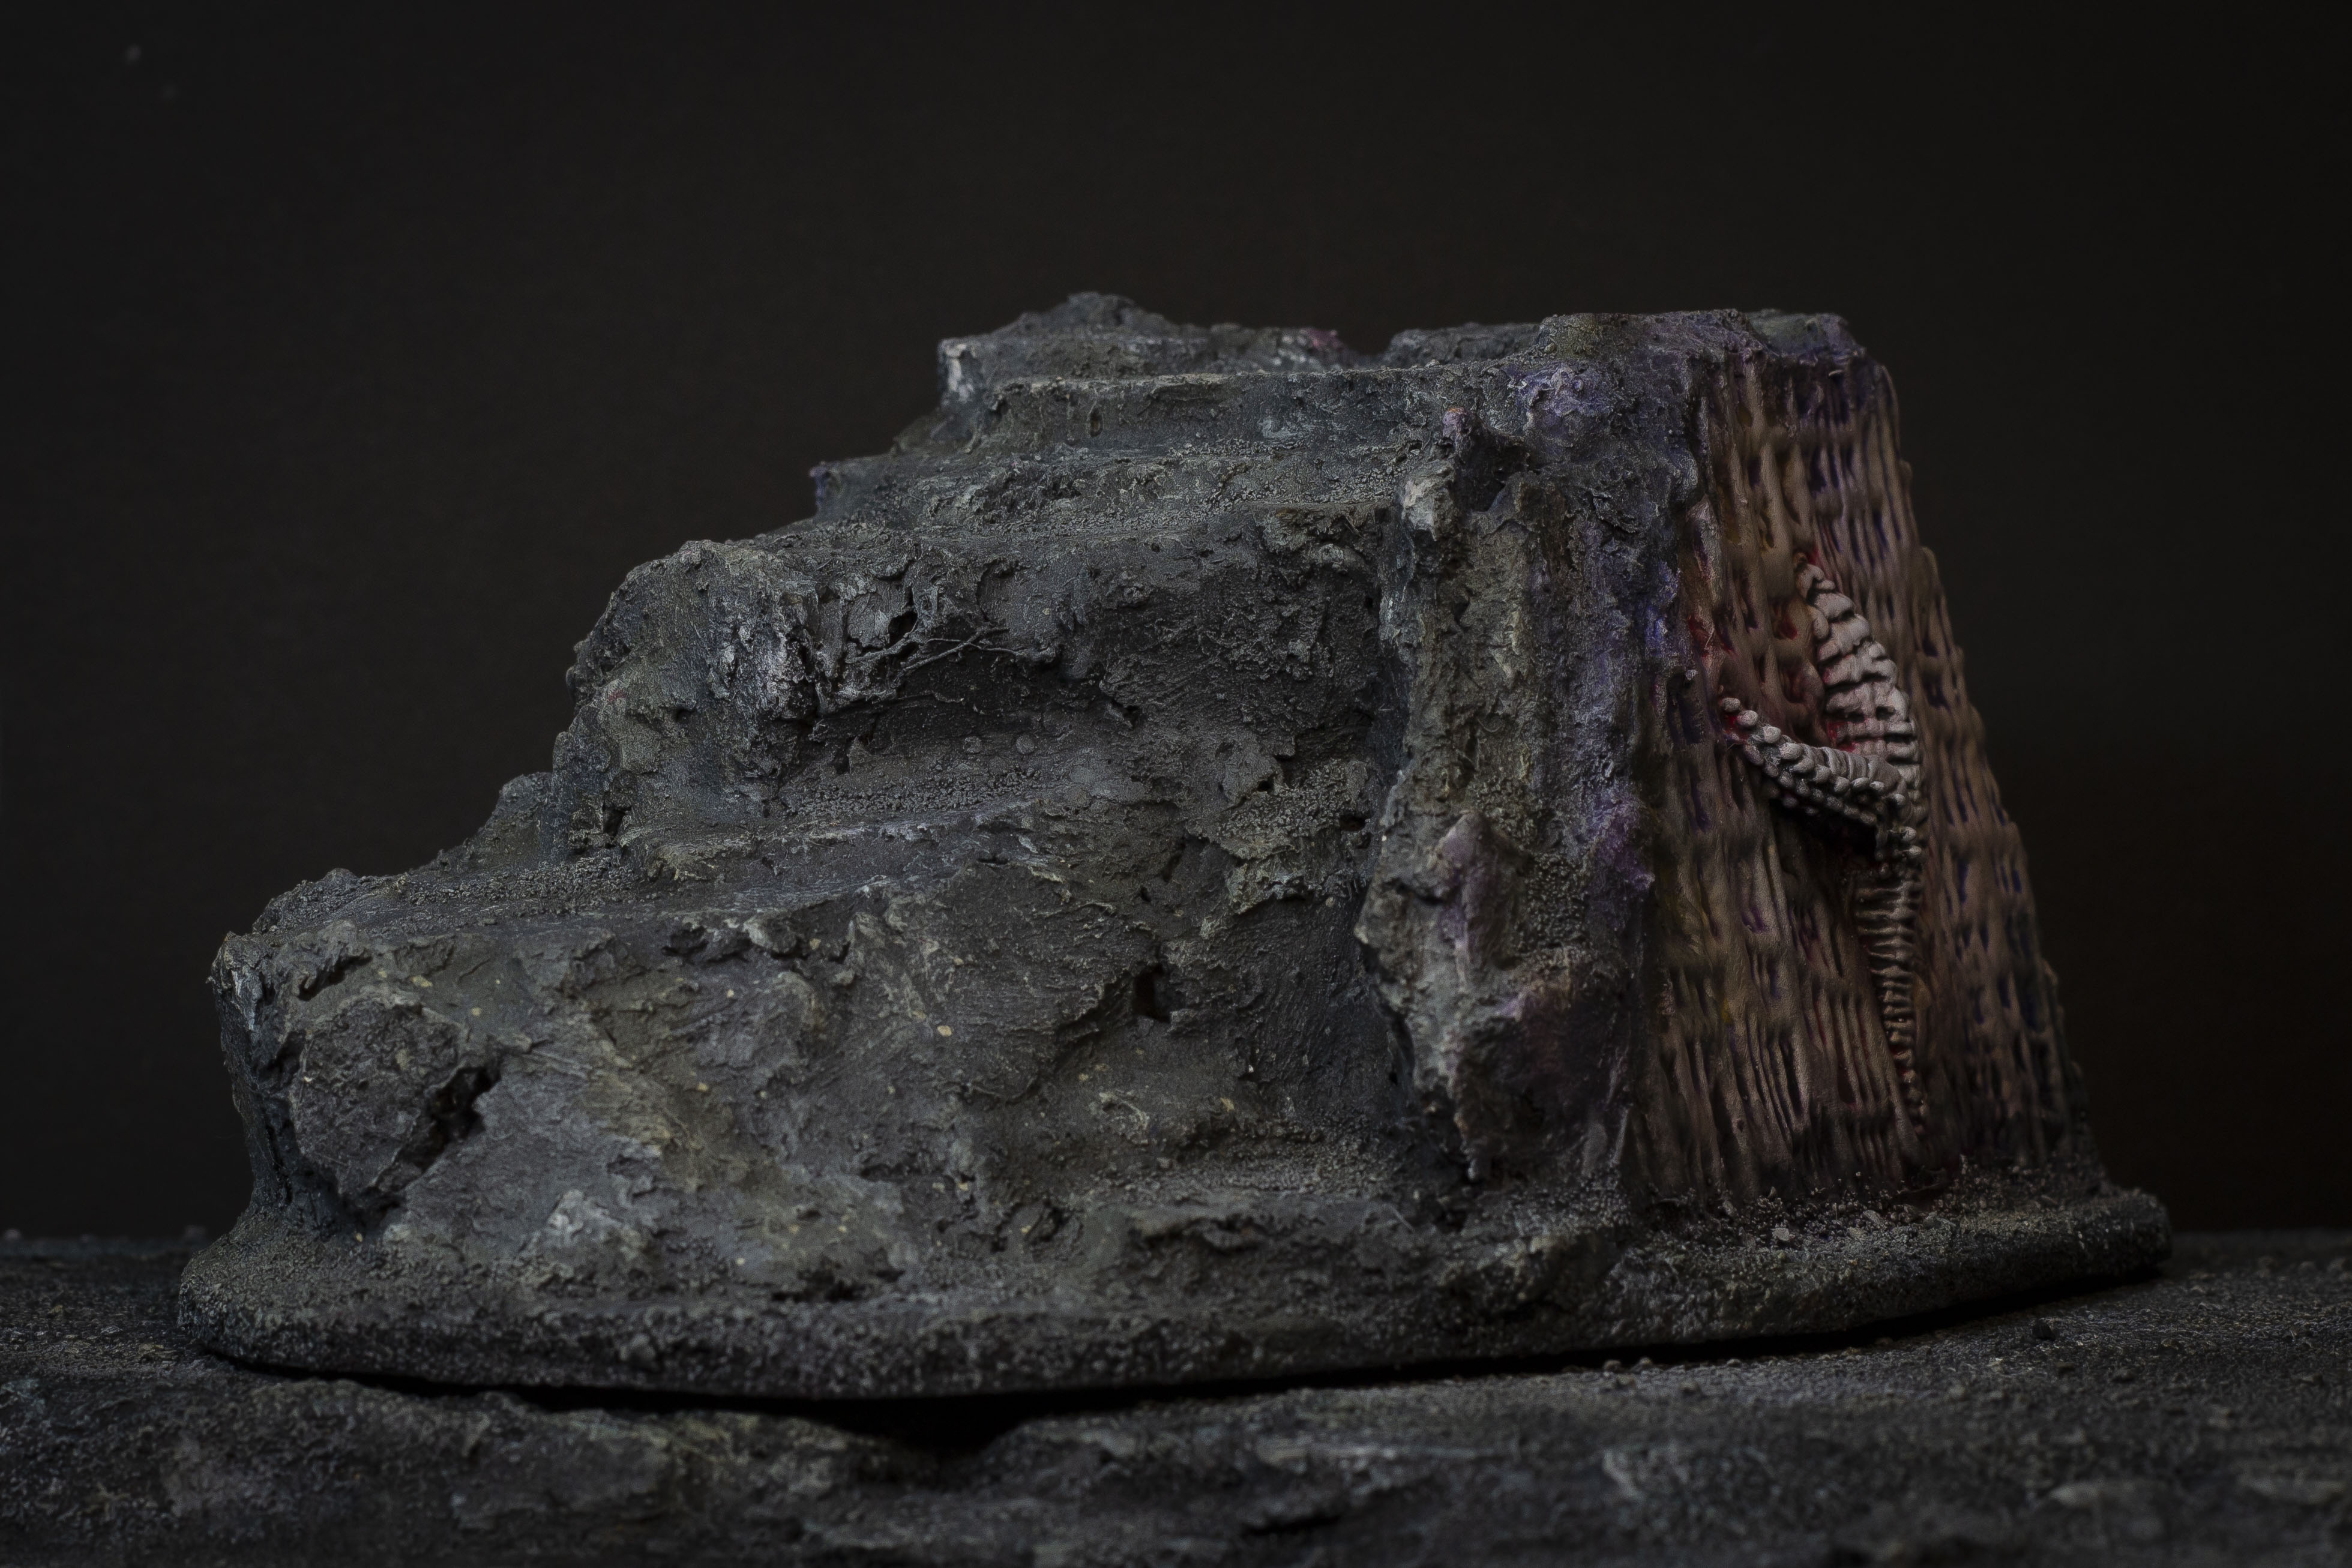
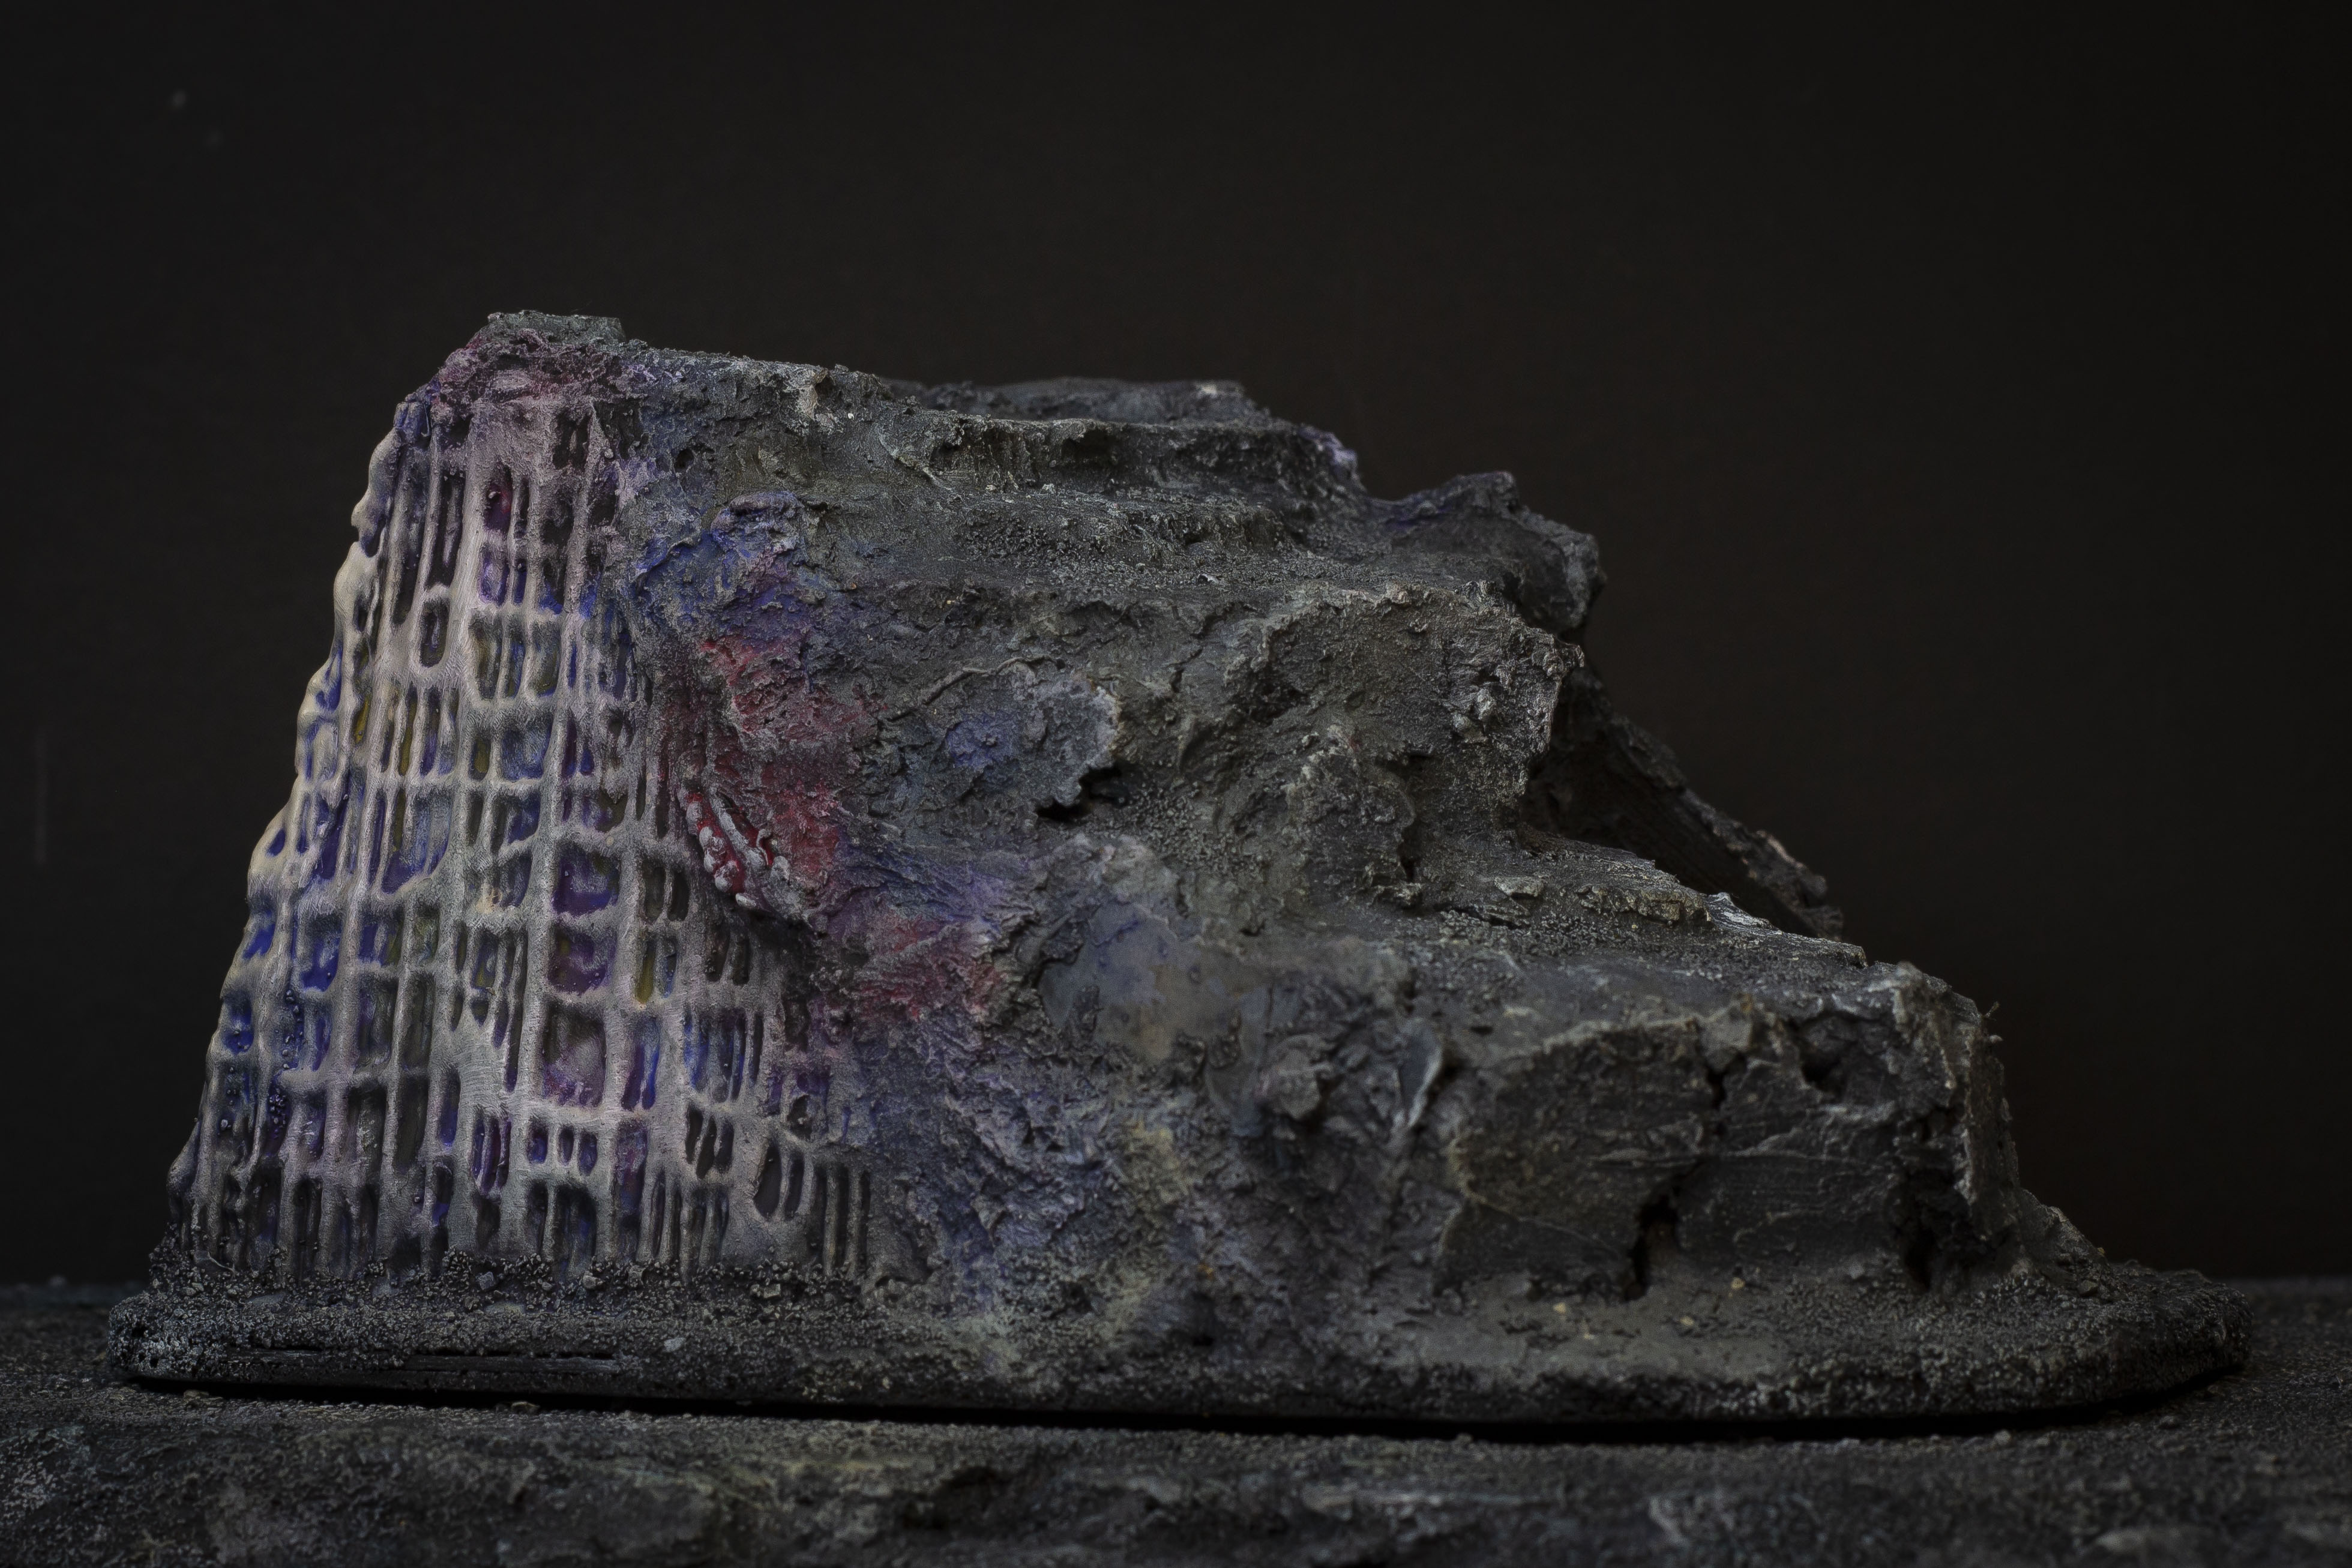
Pennies to fix the centre of gravity.


A cool cliff, built from my FAILURE.
Priming
I primed these with my airbrush, first black, then a Zenithal coat of an ivory-white, but in retrospect, a spray can of white would have been much quicker, for similar results.

Ready for oils!
Oil Washes
Next up, I started on the Oil Washes. For those of you who aren't familiar, Oil-based paint is thinned with solvents, not water, and they dry much more slowly than acrylic paints - meaning you have more time to work with the paint (this is helpful for blending etc).
Here's a picture of my workspace -

Clockwise, from the top left corner, I've got -
- A Cheap Oil Paint Set
- Makeup Applicator Sponges
- Terrain
- Plastic Palletes
- Pipette + Pots (for grabbing more solvent)
- Cardboard (for soaking up excess Oil from the paint)
- Pallette Knives and Old Brushes (Don't use your nice brushes here!)
And, out of shot, I've also got -
- A Bottle of White Spirit Solvent
- Pair of Nitrile Gloves
- A Fan and an Open Window (Solvent stinks, and it's not safe to inhale, stay safe!)
In terms of technique, I squeezed the oil paint out onto the Cardboard, then moved some to the palette, and mixed in White Spirit until the paint was thinned down to a milk-like consistency (A thicker Wash will be more vivid).
Using a large brush, I covered the models in large patches of different colours. Cleaning my brush between colours, to prevent them mixing too much.
The colours I used, in order, are -
- Crimson
- Cobalt Blue
- Purple (Mix of Crimson and Cobalt)
I used these 3 colours to cover the model. Then, after it had dried a little I went in again with Black, and Yellow Ochre to add some shadow and muddiness to the colour scheme.
And this was the point I began to question everything, I mean seriously... it looks horrific.

But, I forged onwards, trusting the process - I applied the washes to the whole set, which took about 3hours.
As I mentioned before, Oils don't dry quickly, so I was able to really maximise the efficiency of the batch painting. If I'd used acrylics, I would have needed to be way more careful with my choices to achieve the same result.
Before moving on to the next step, the washes needed to dry out a bit. I used a hair dryer to speed up the evaporation of the White Spirit.
You can think of the oil washes as drying in two stages, first, the Solvent dissipates, this happens fairly quickly - a few hours or so, you can tell it's gone if the model doesn't look wet anymore. Secondly, the remaining oil paint begins to dry, which is much more gradual (Overnight, depending on thickness of the paint).
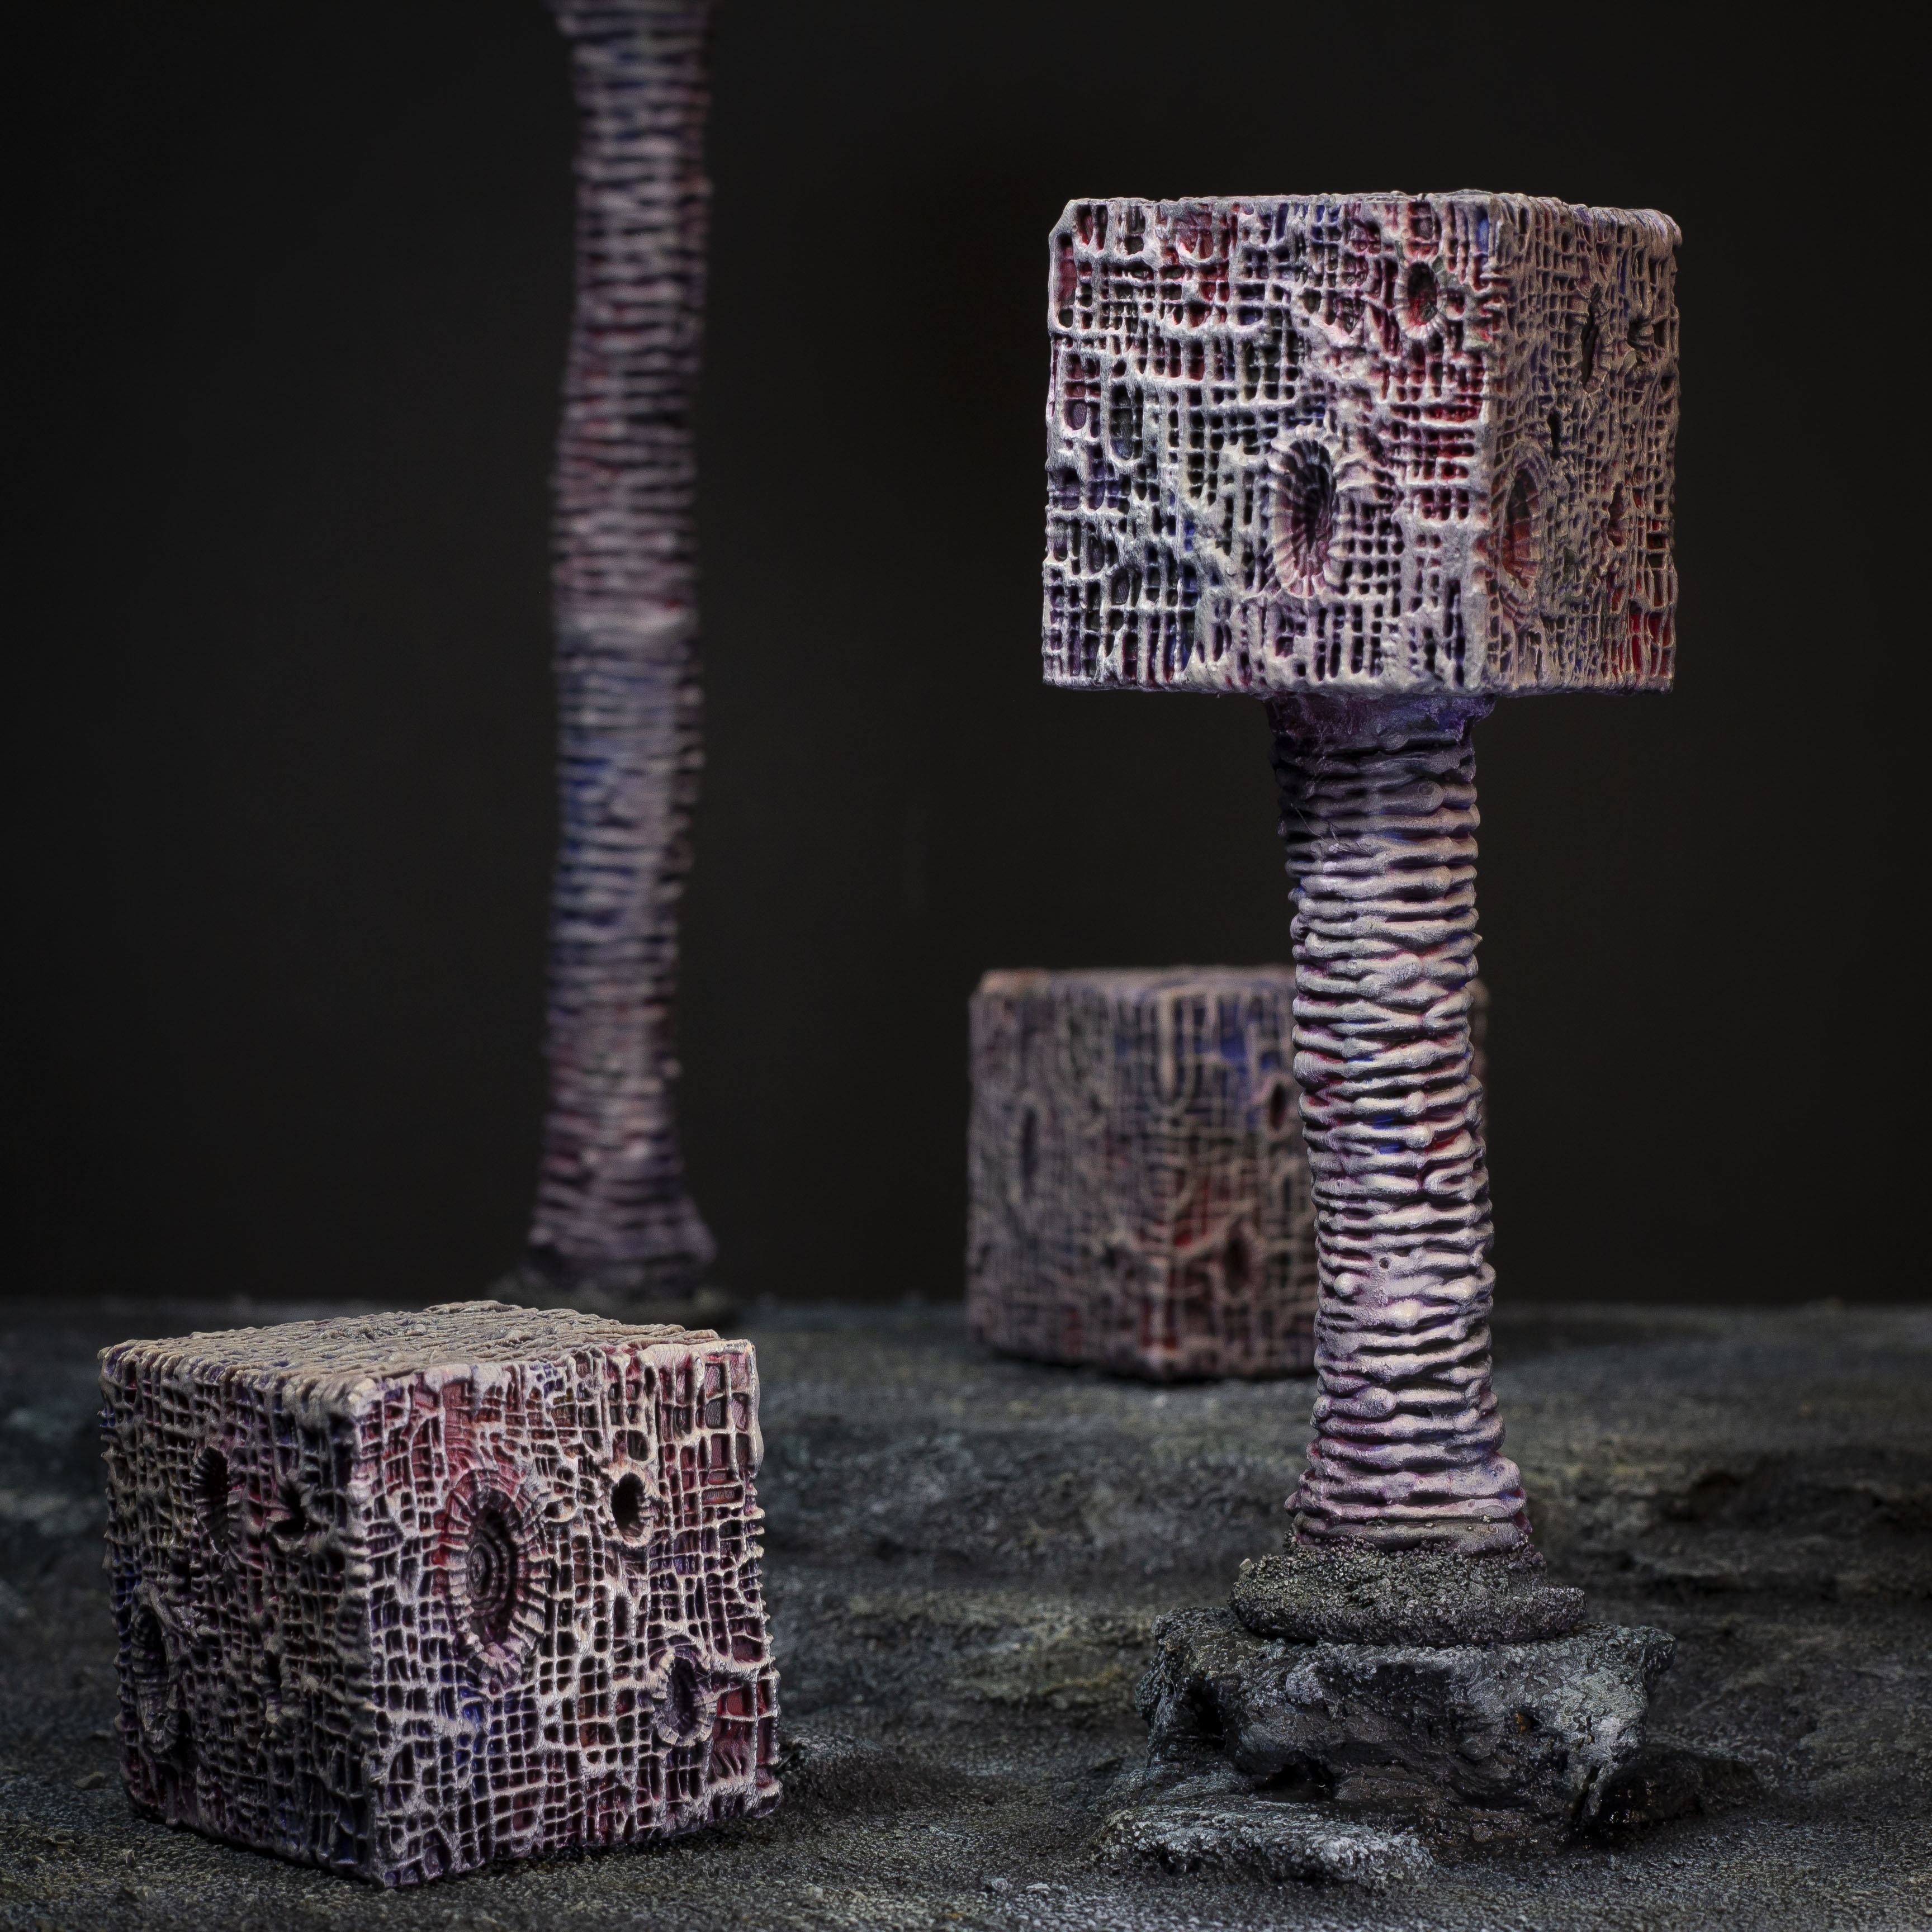
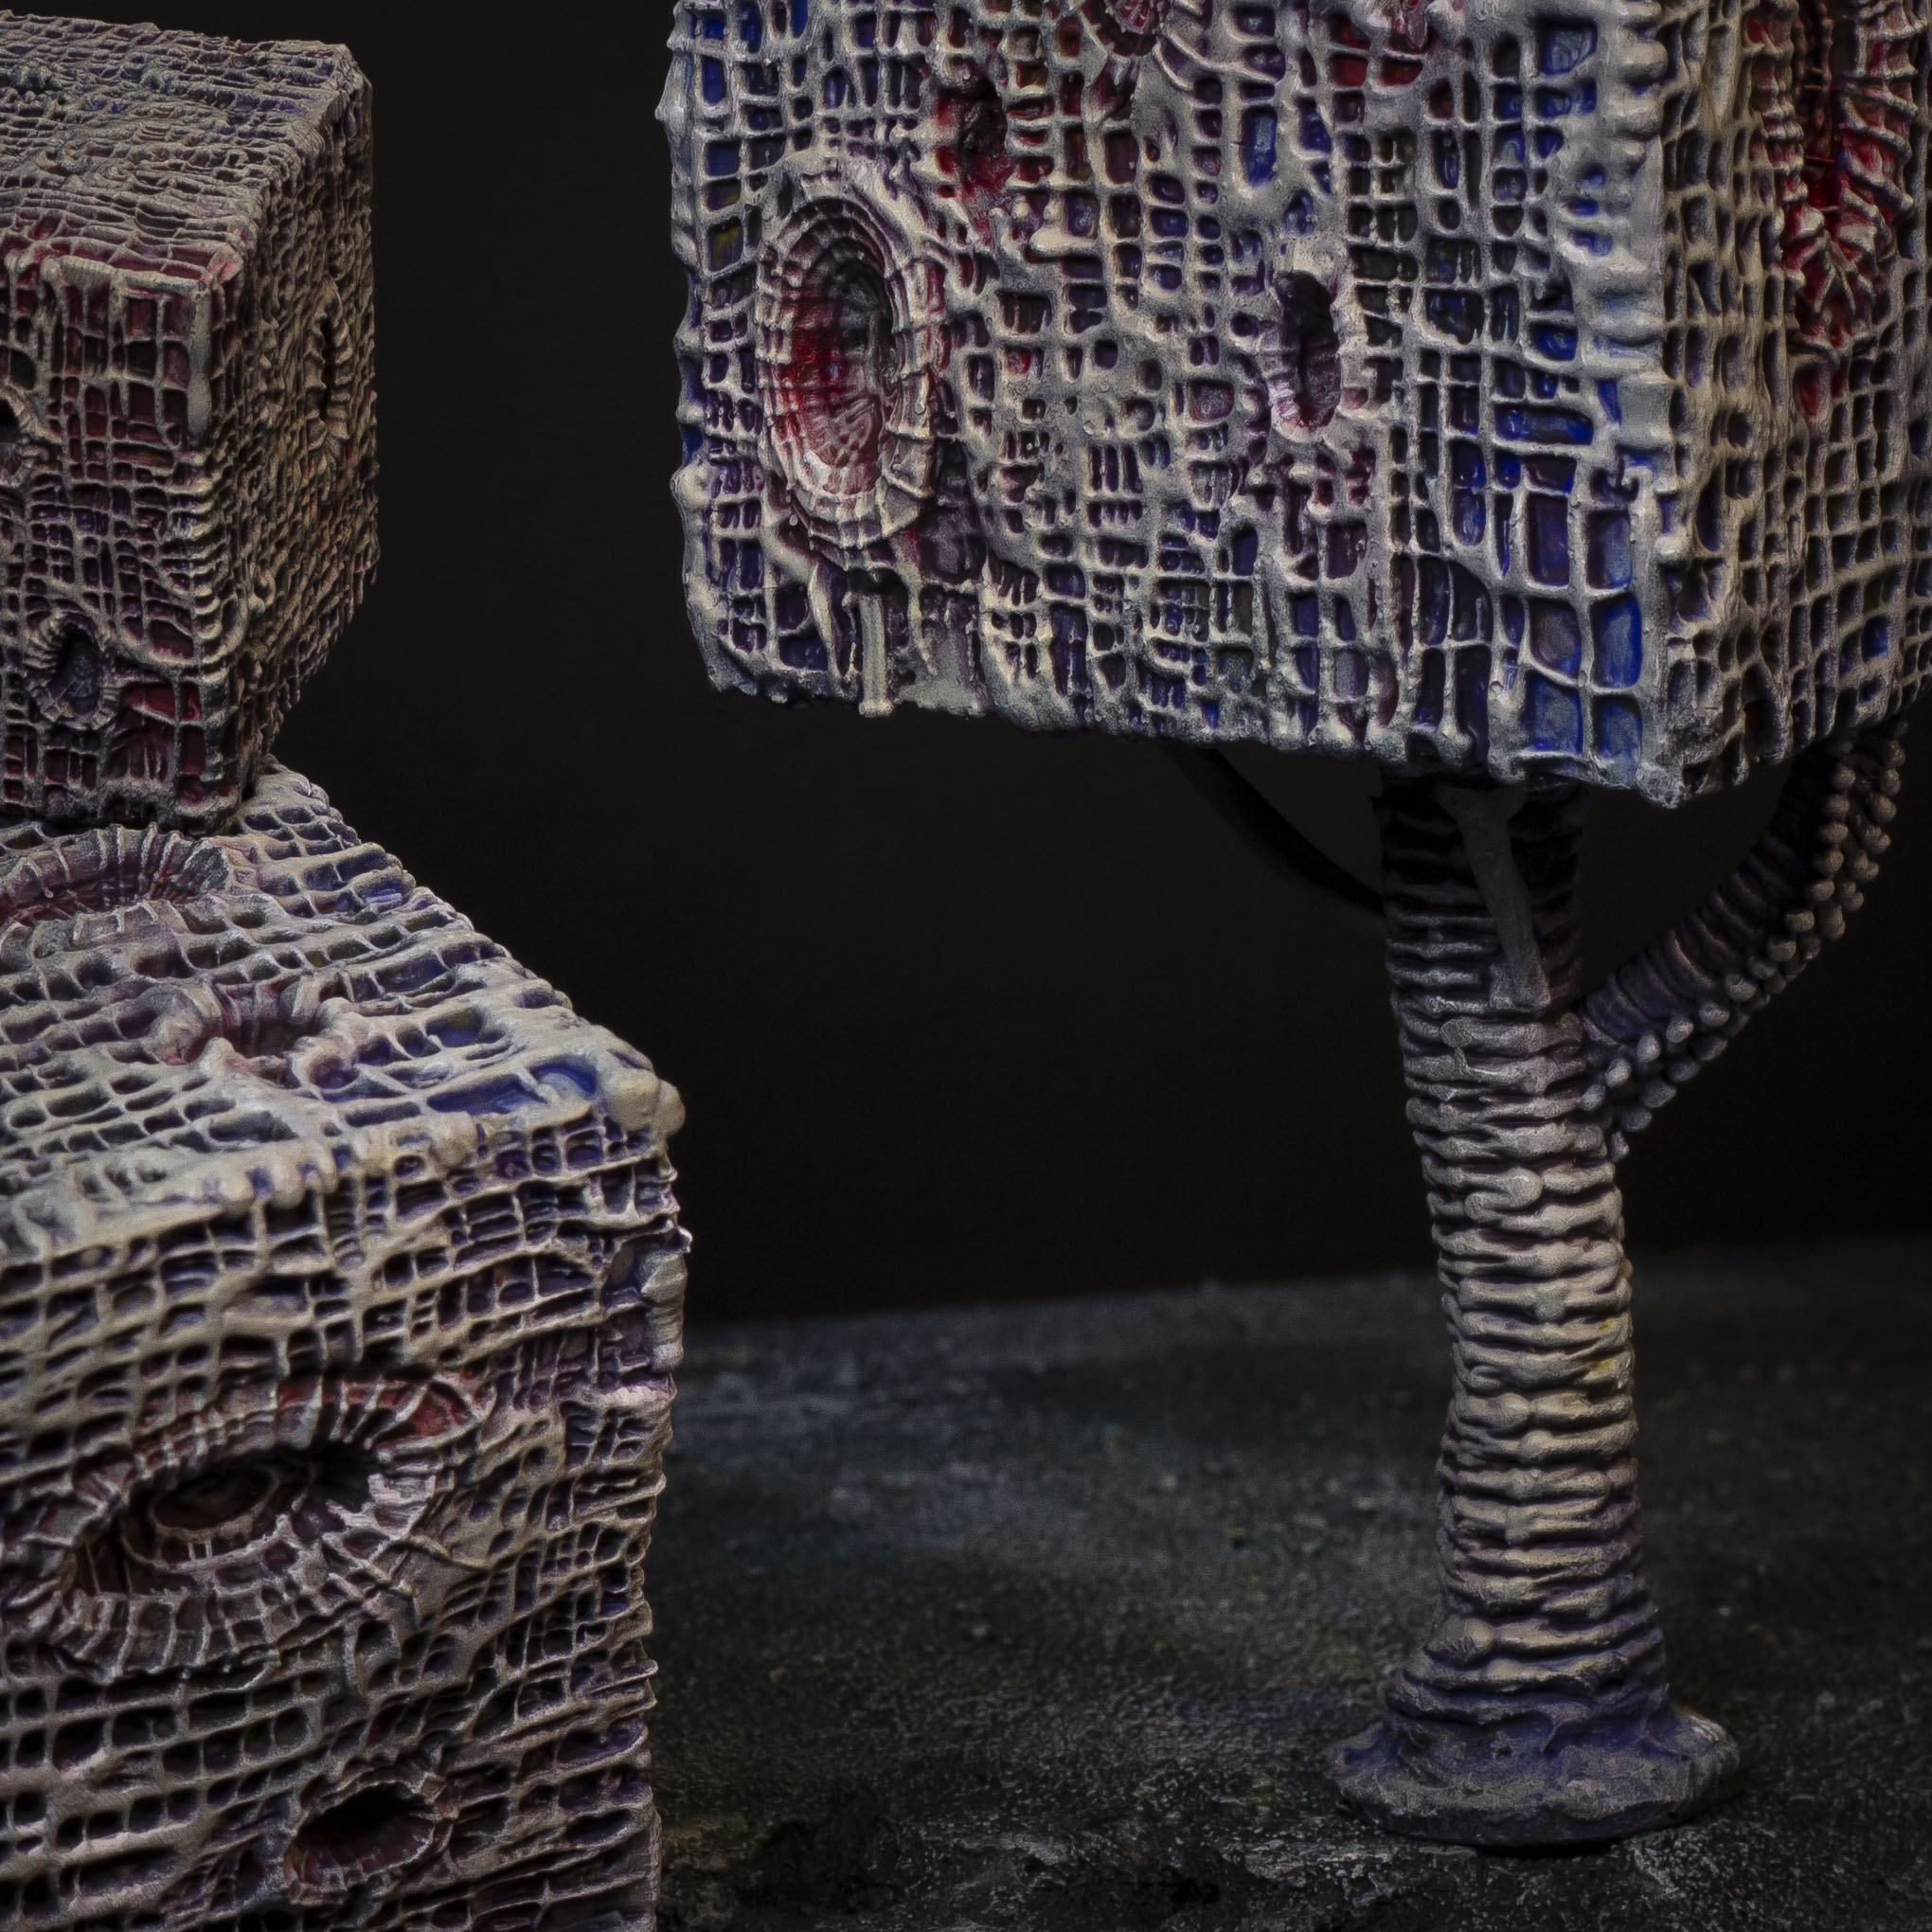
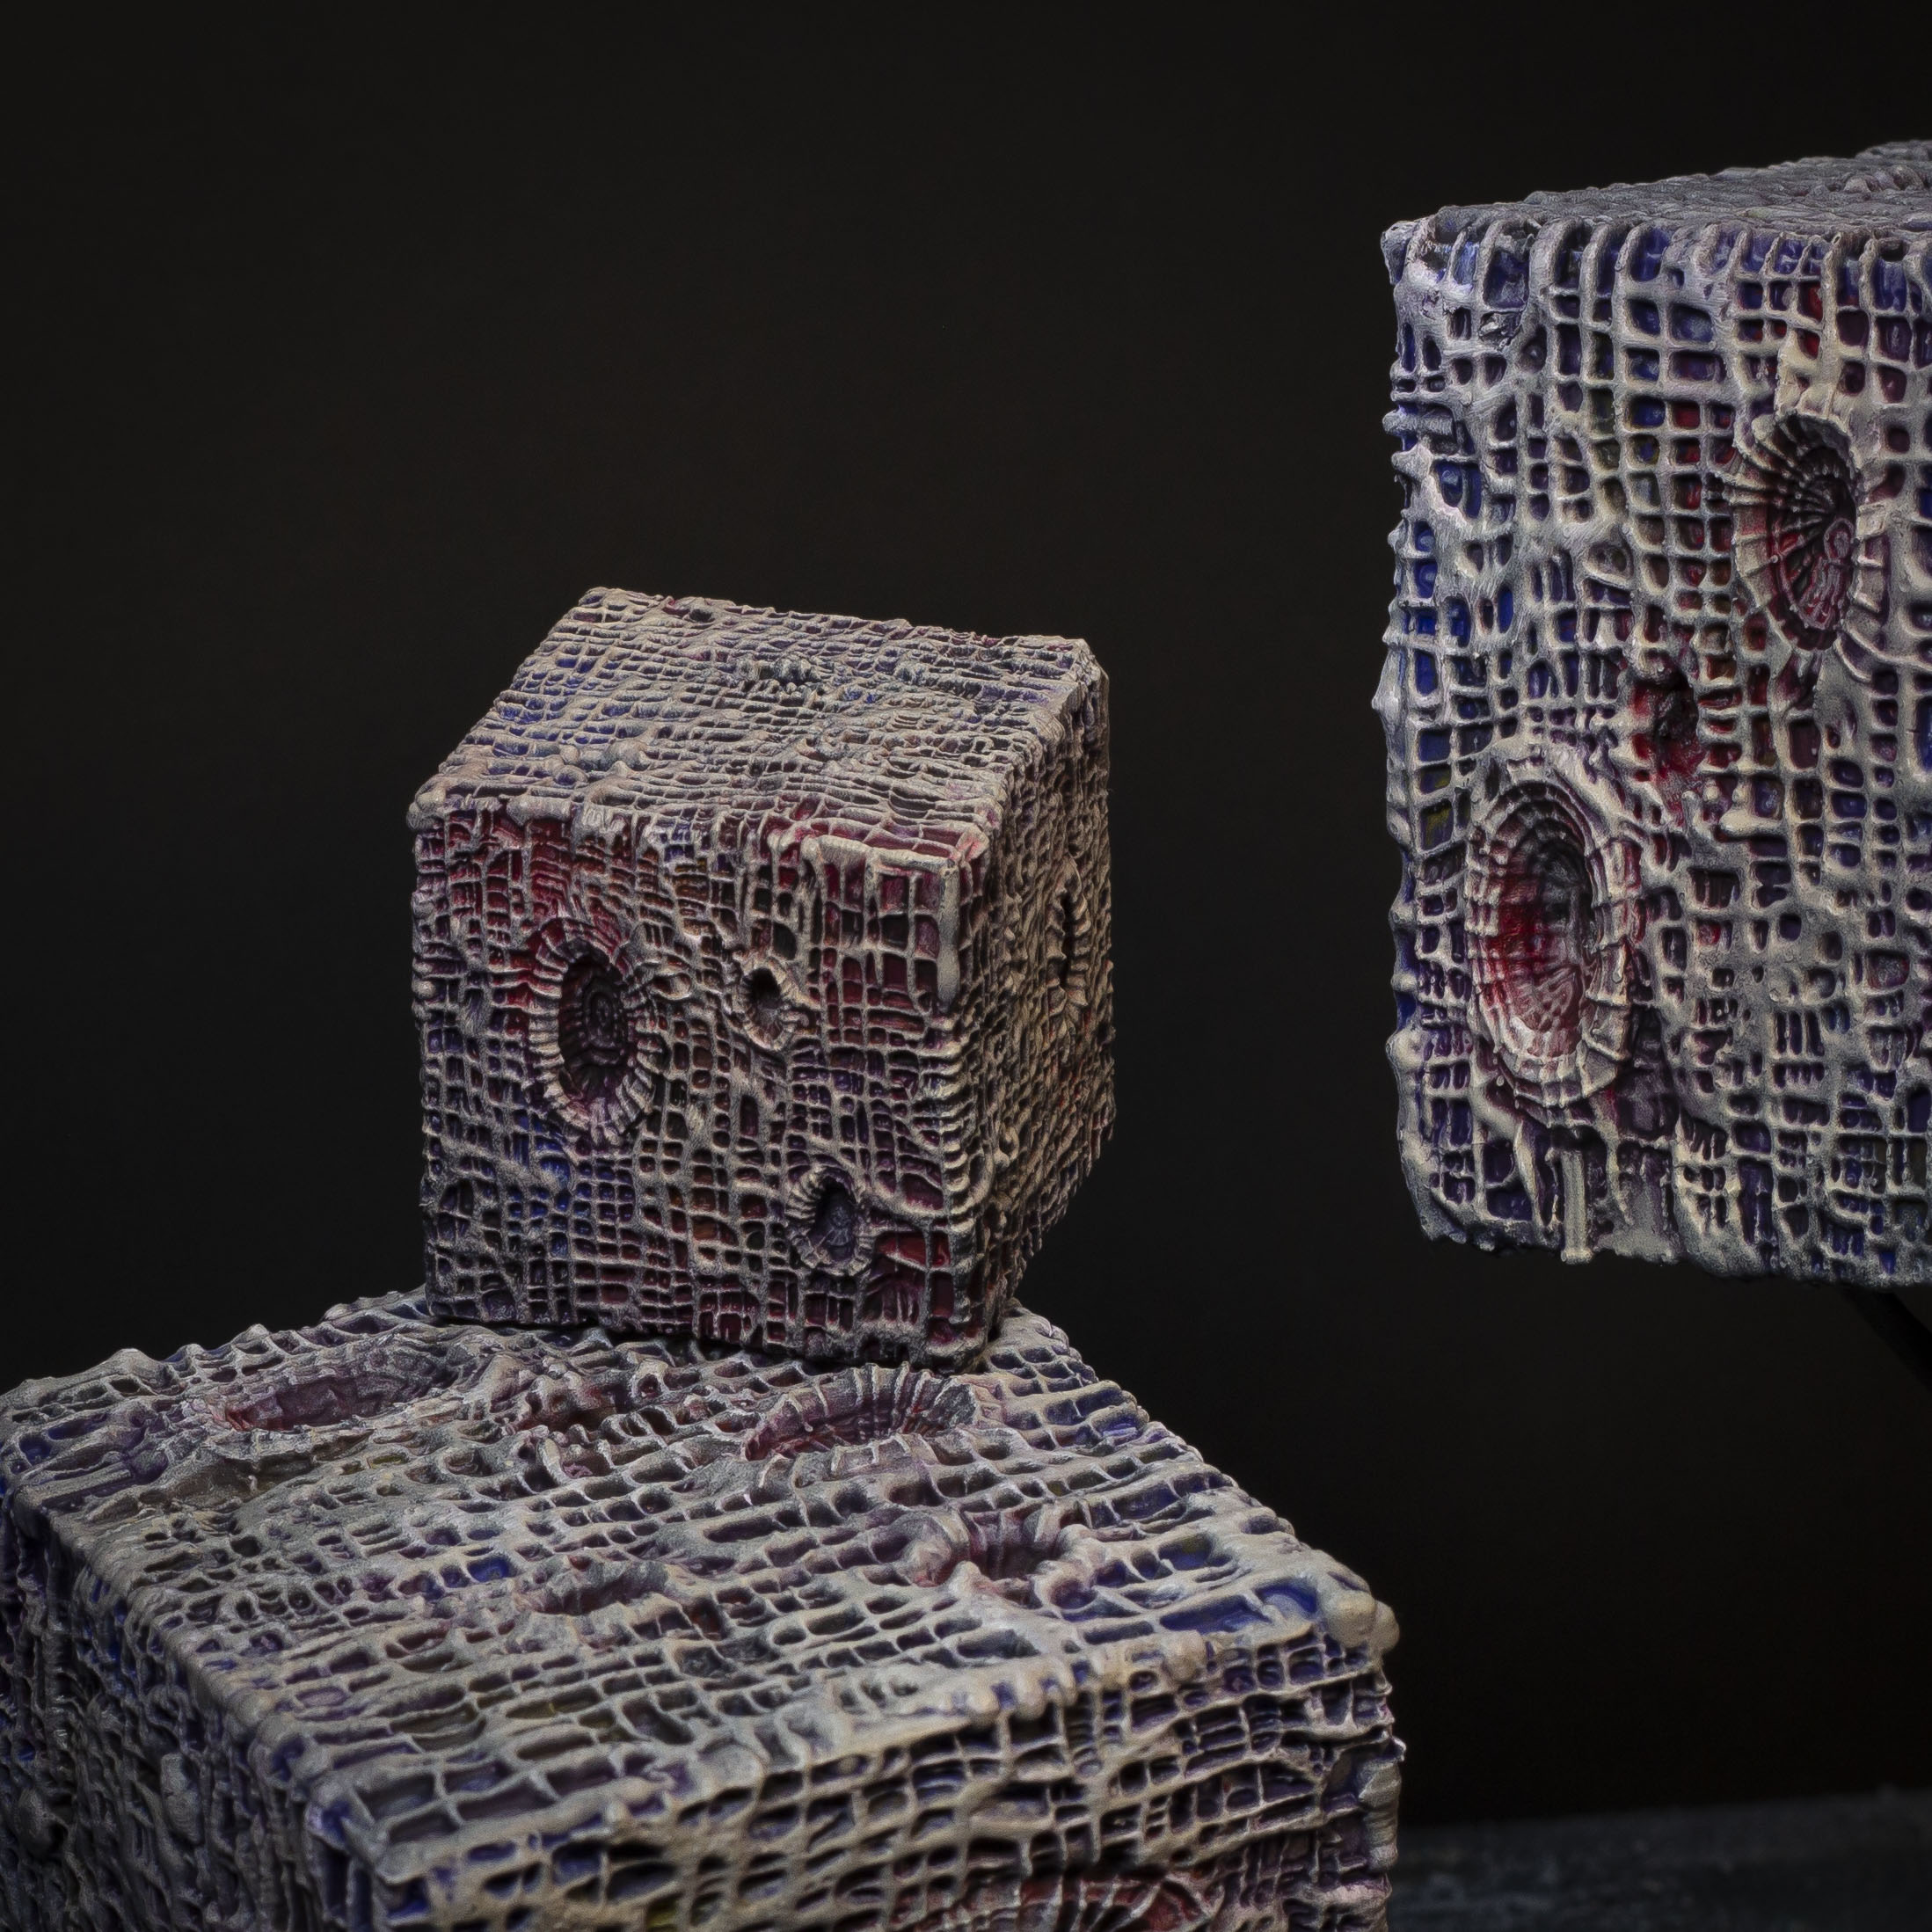
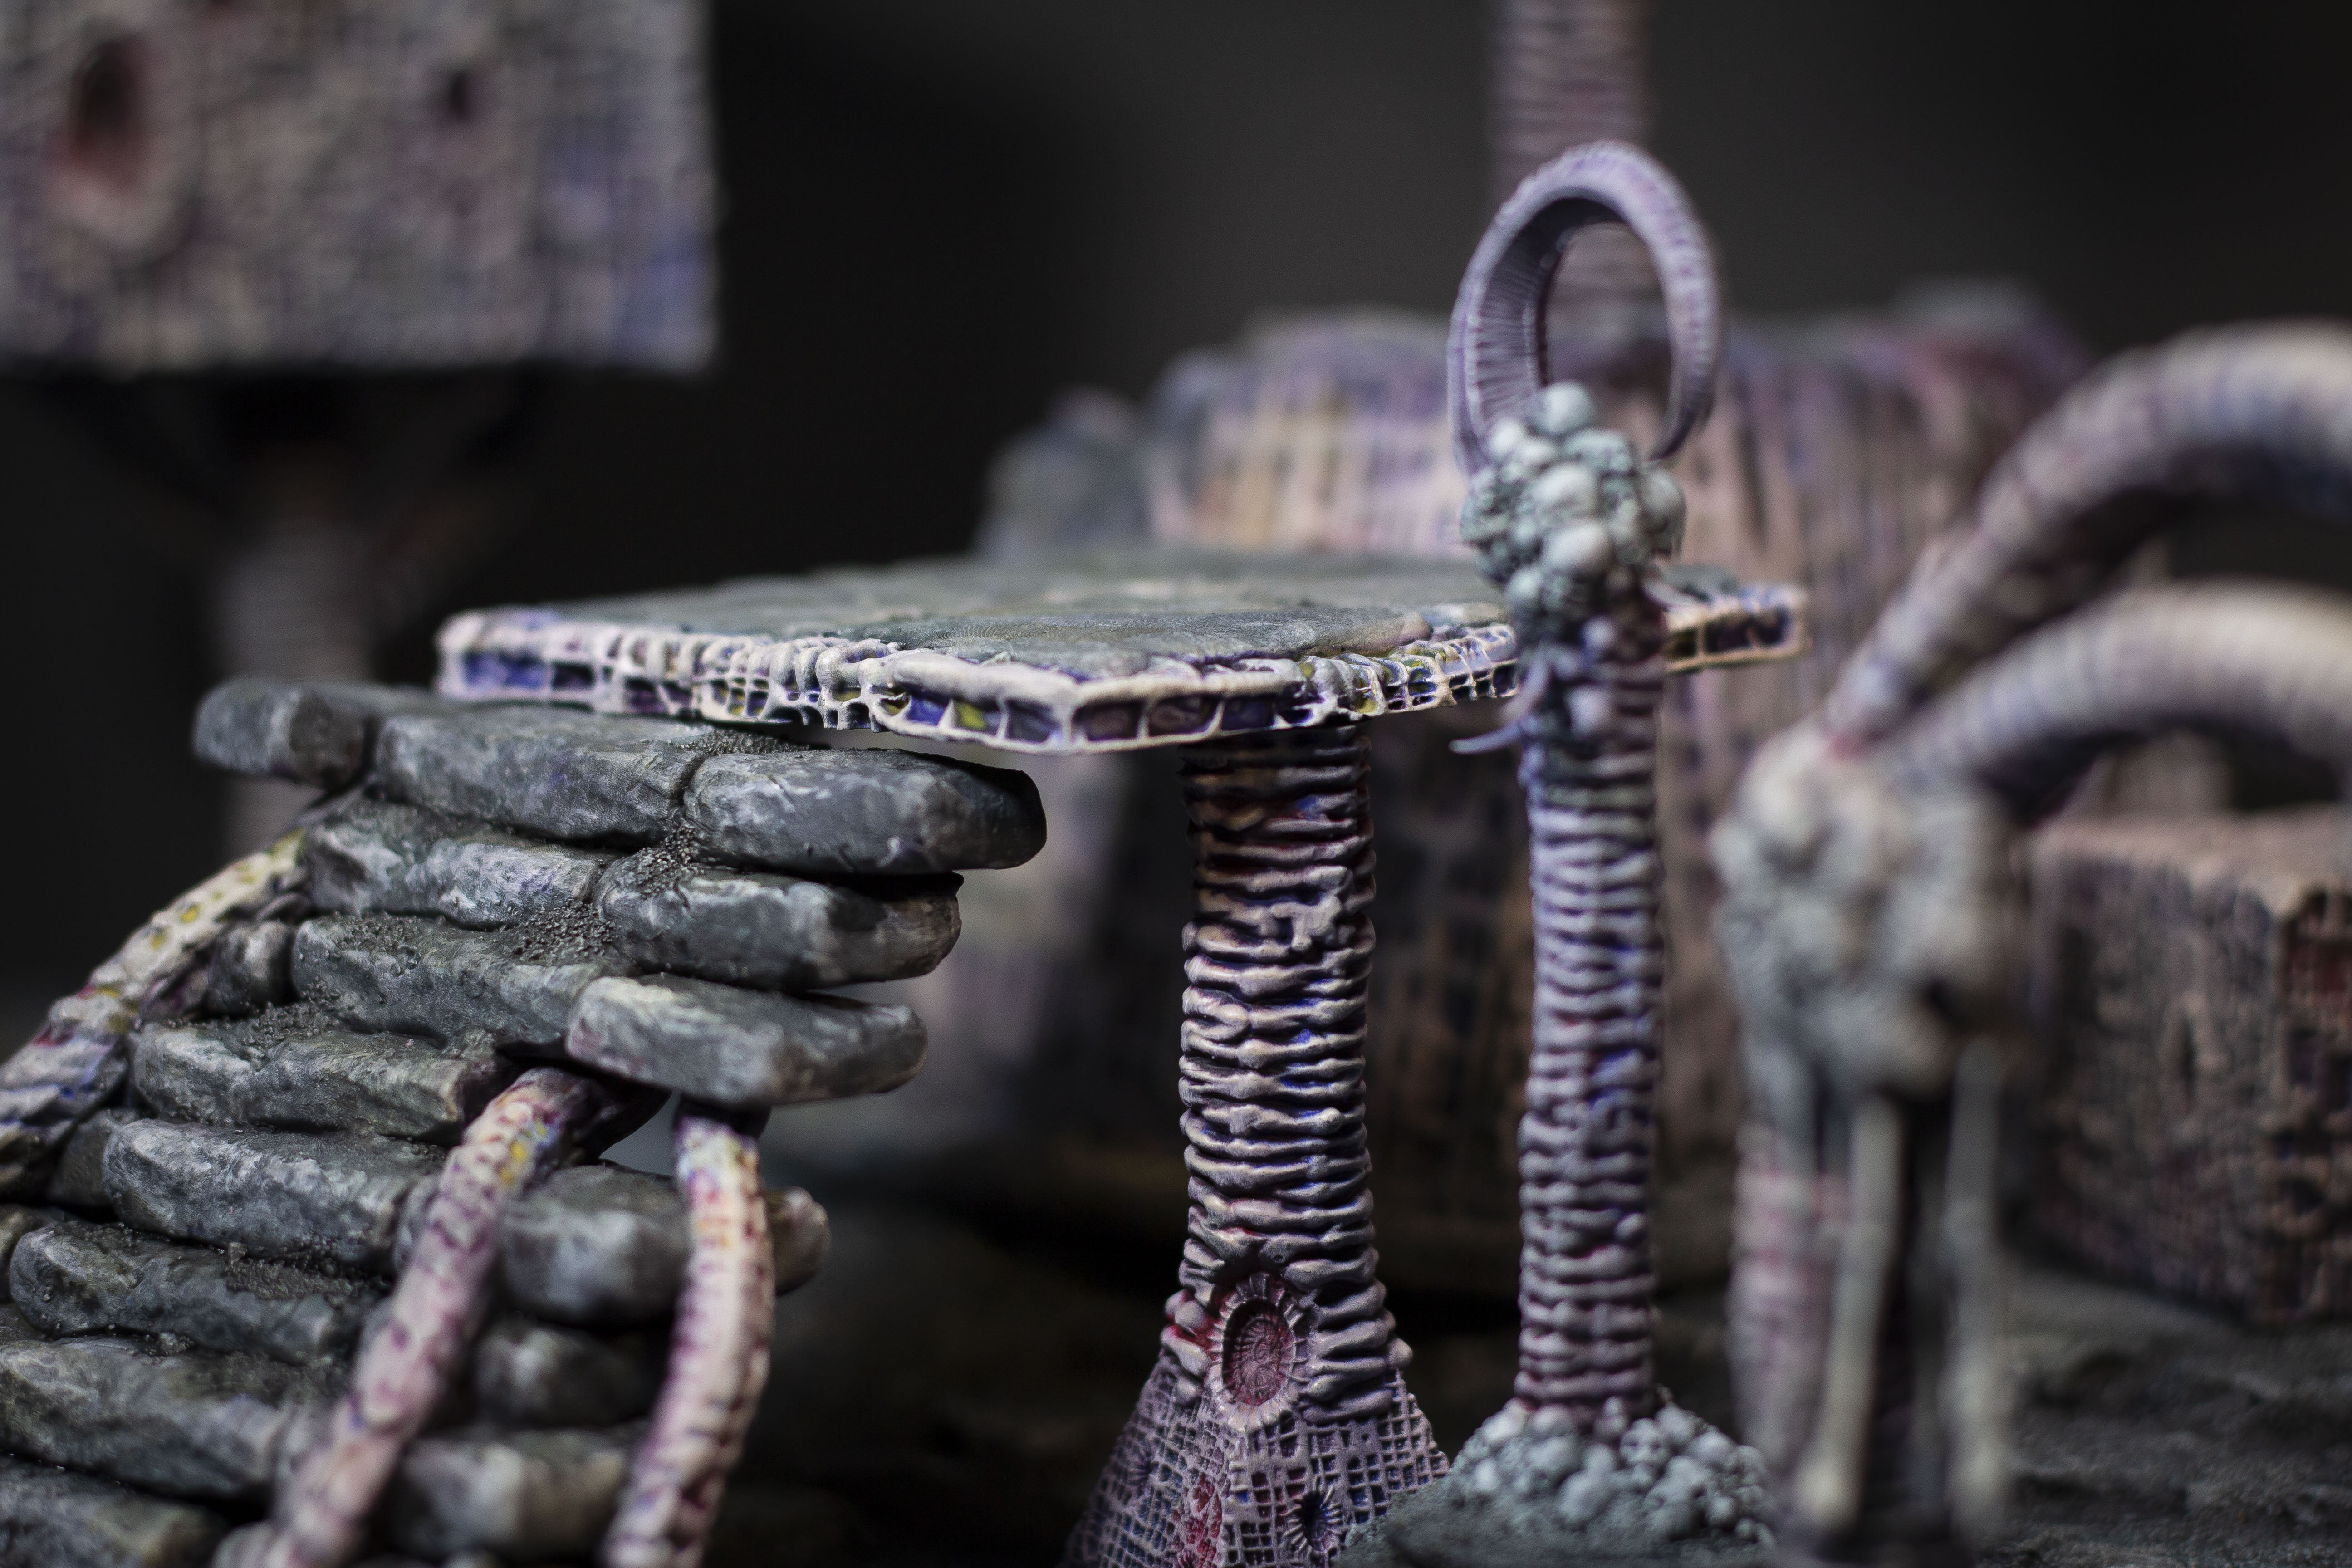
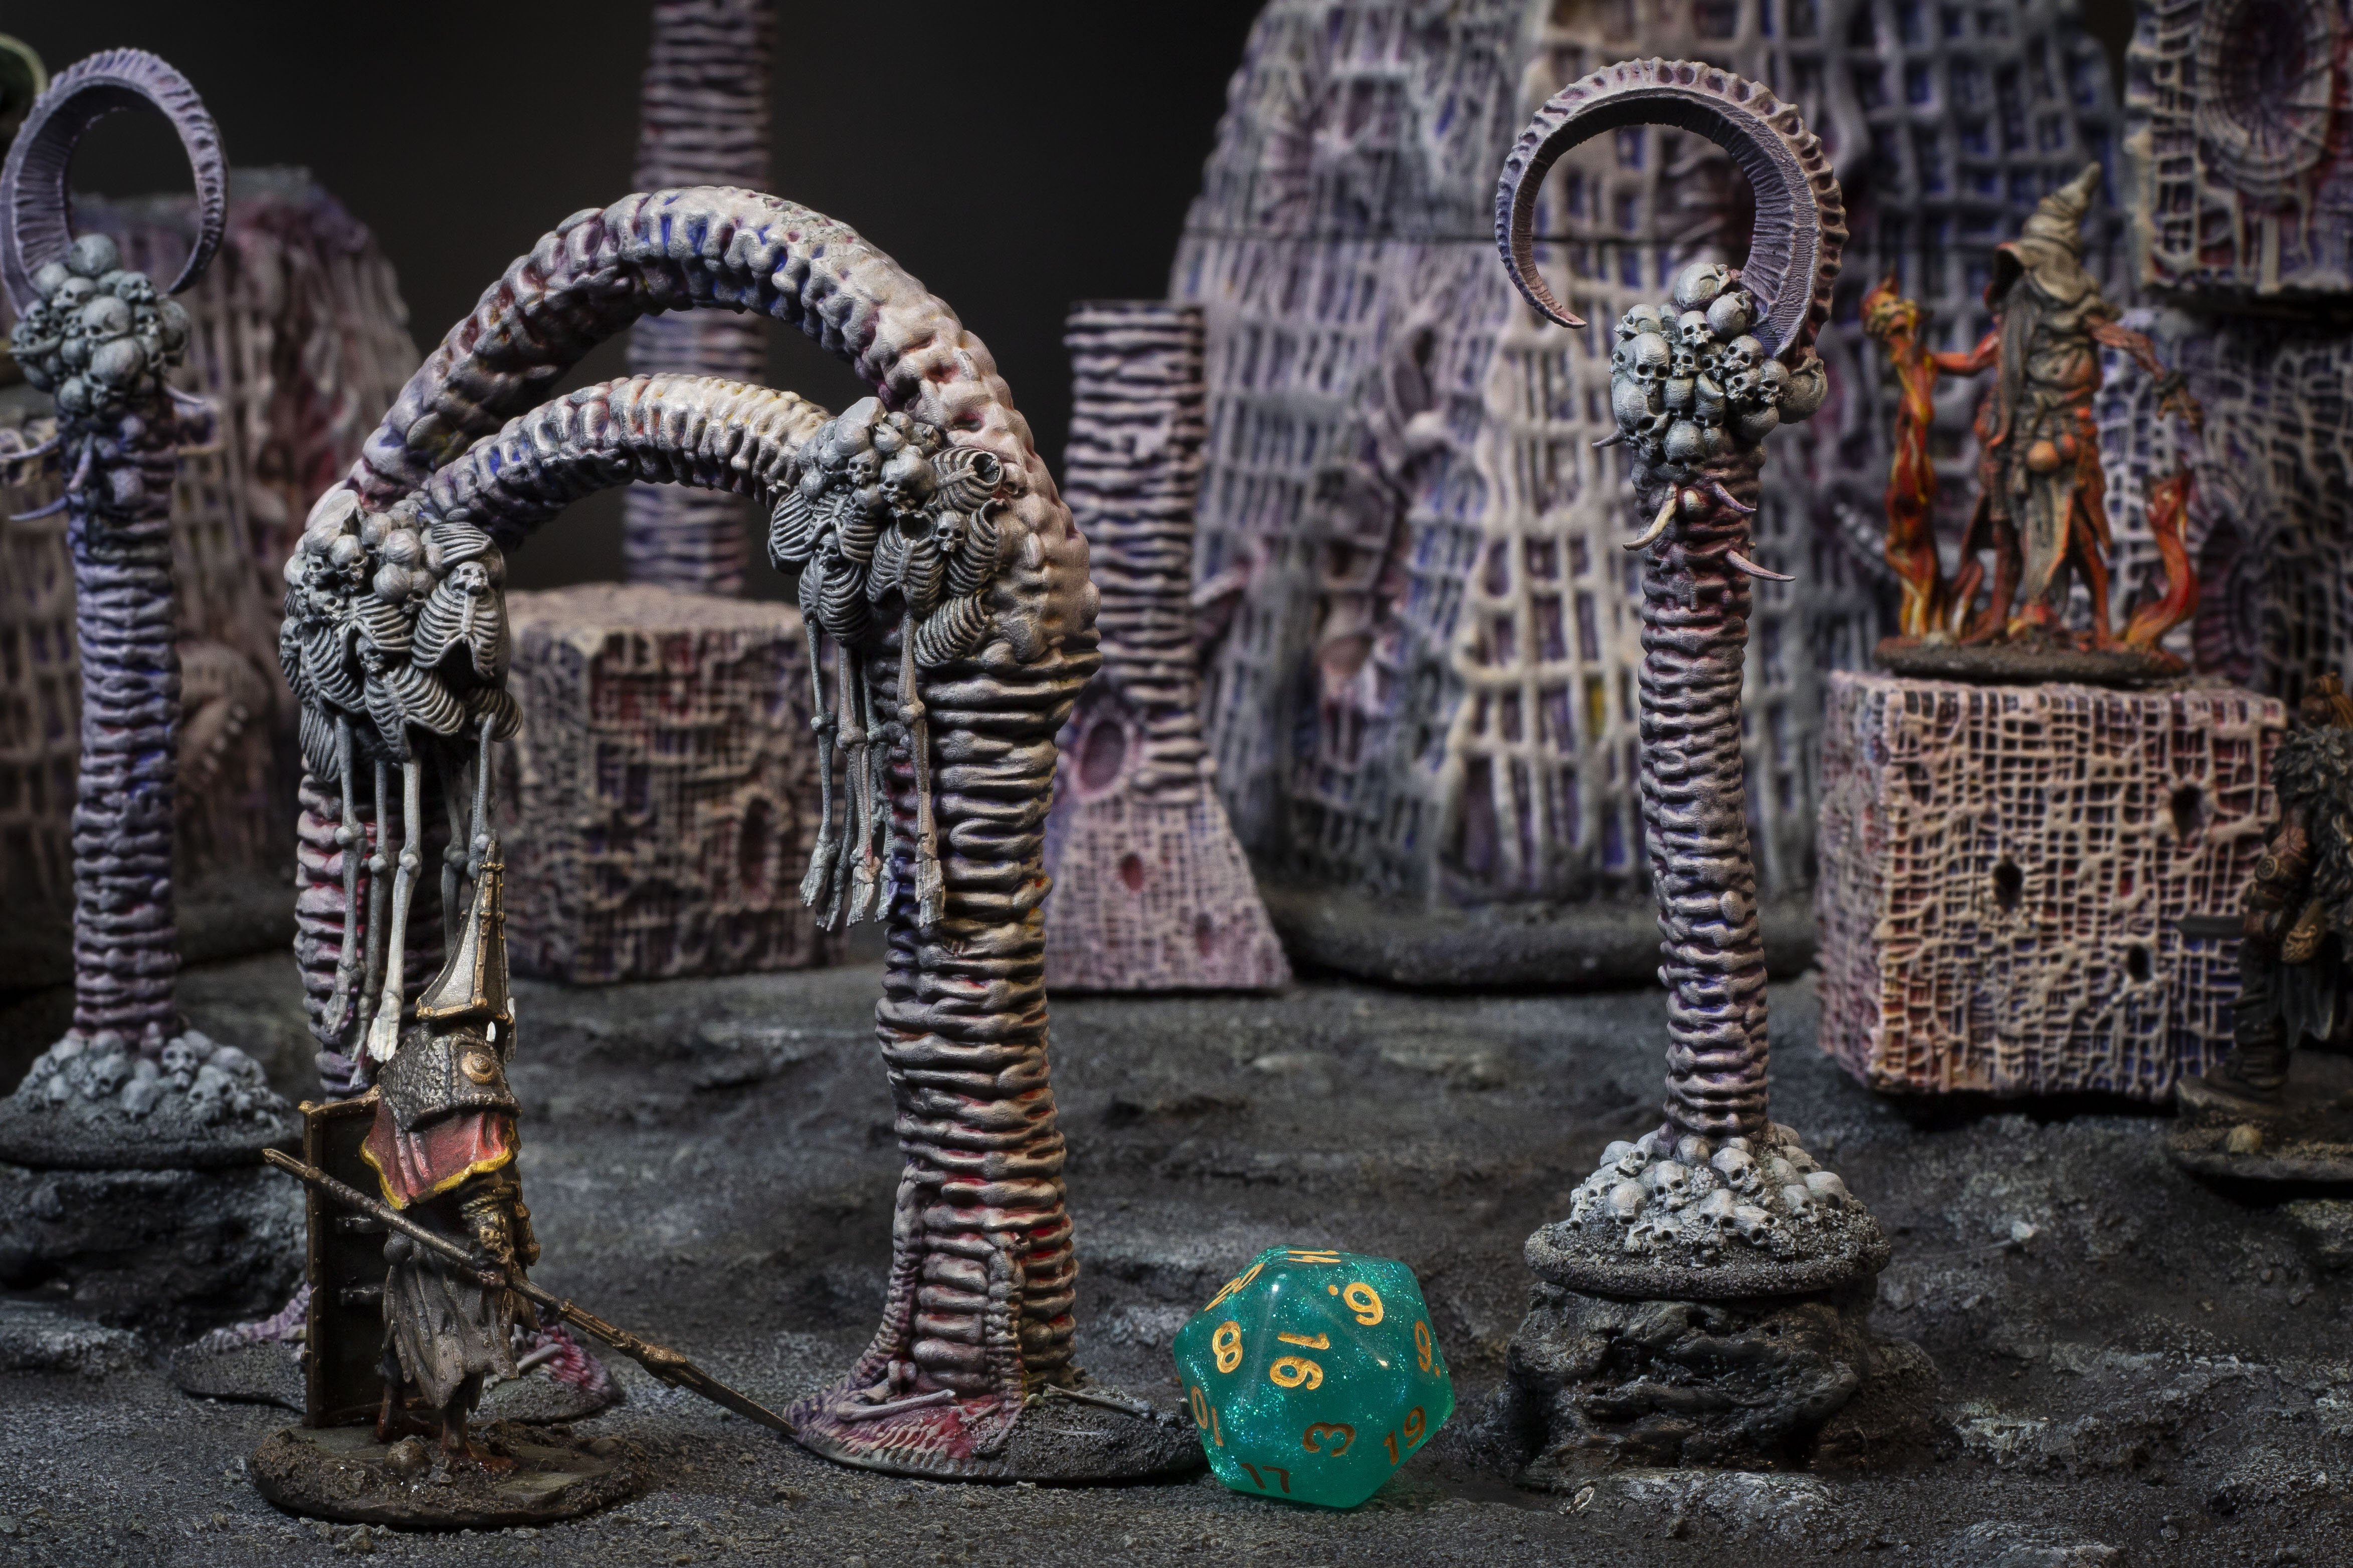
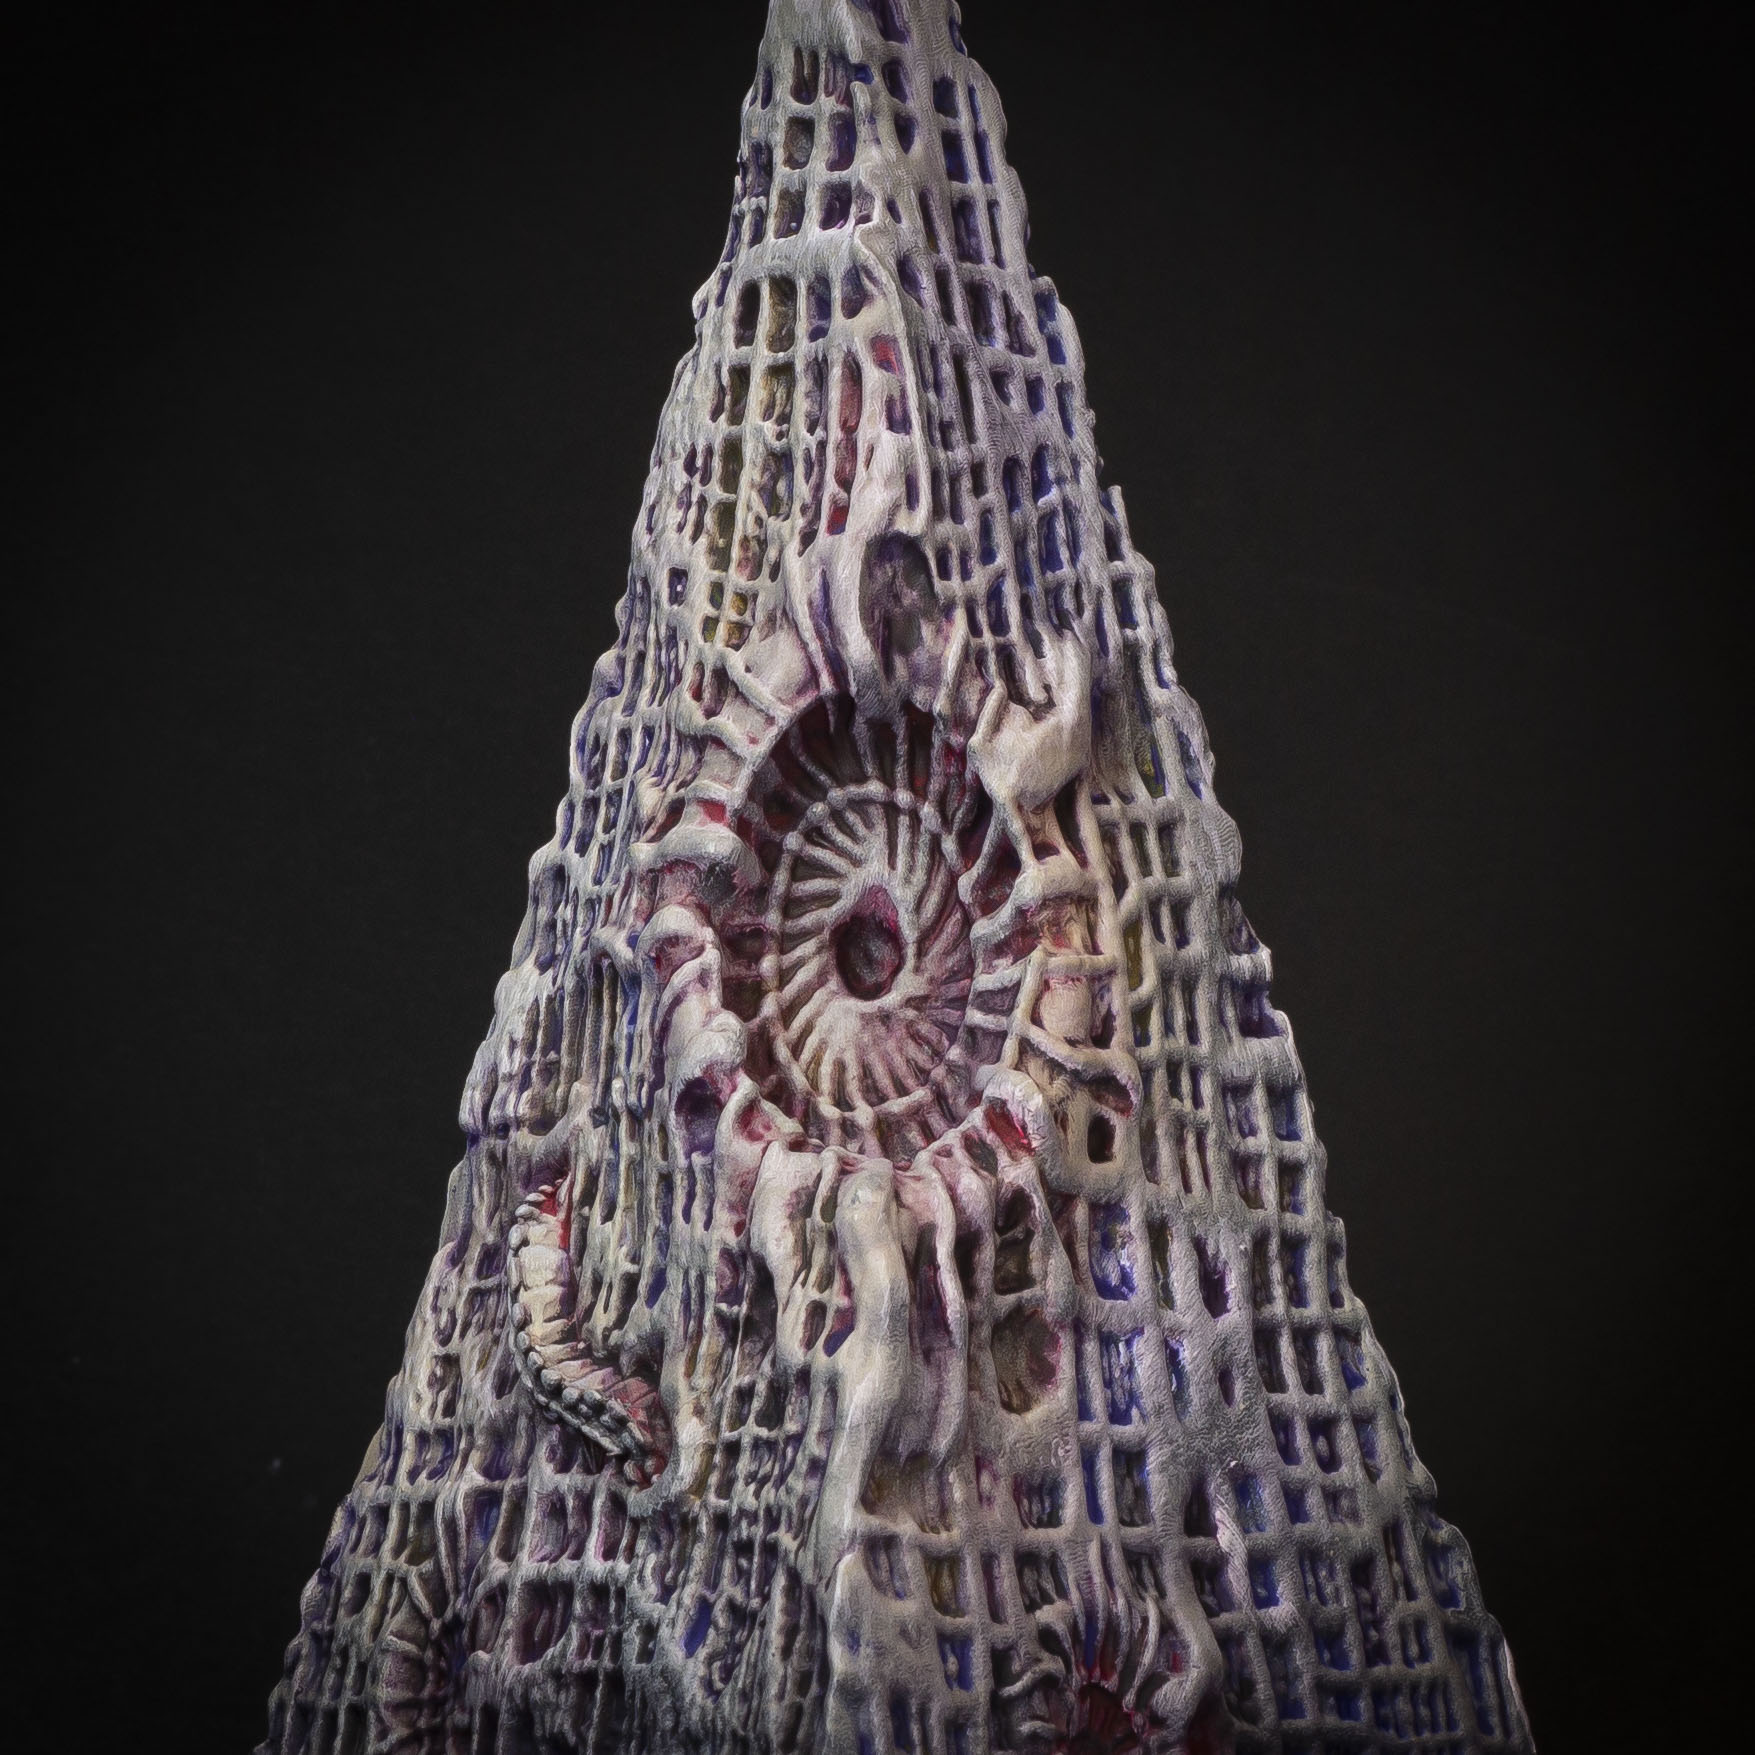
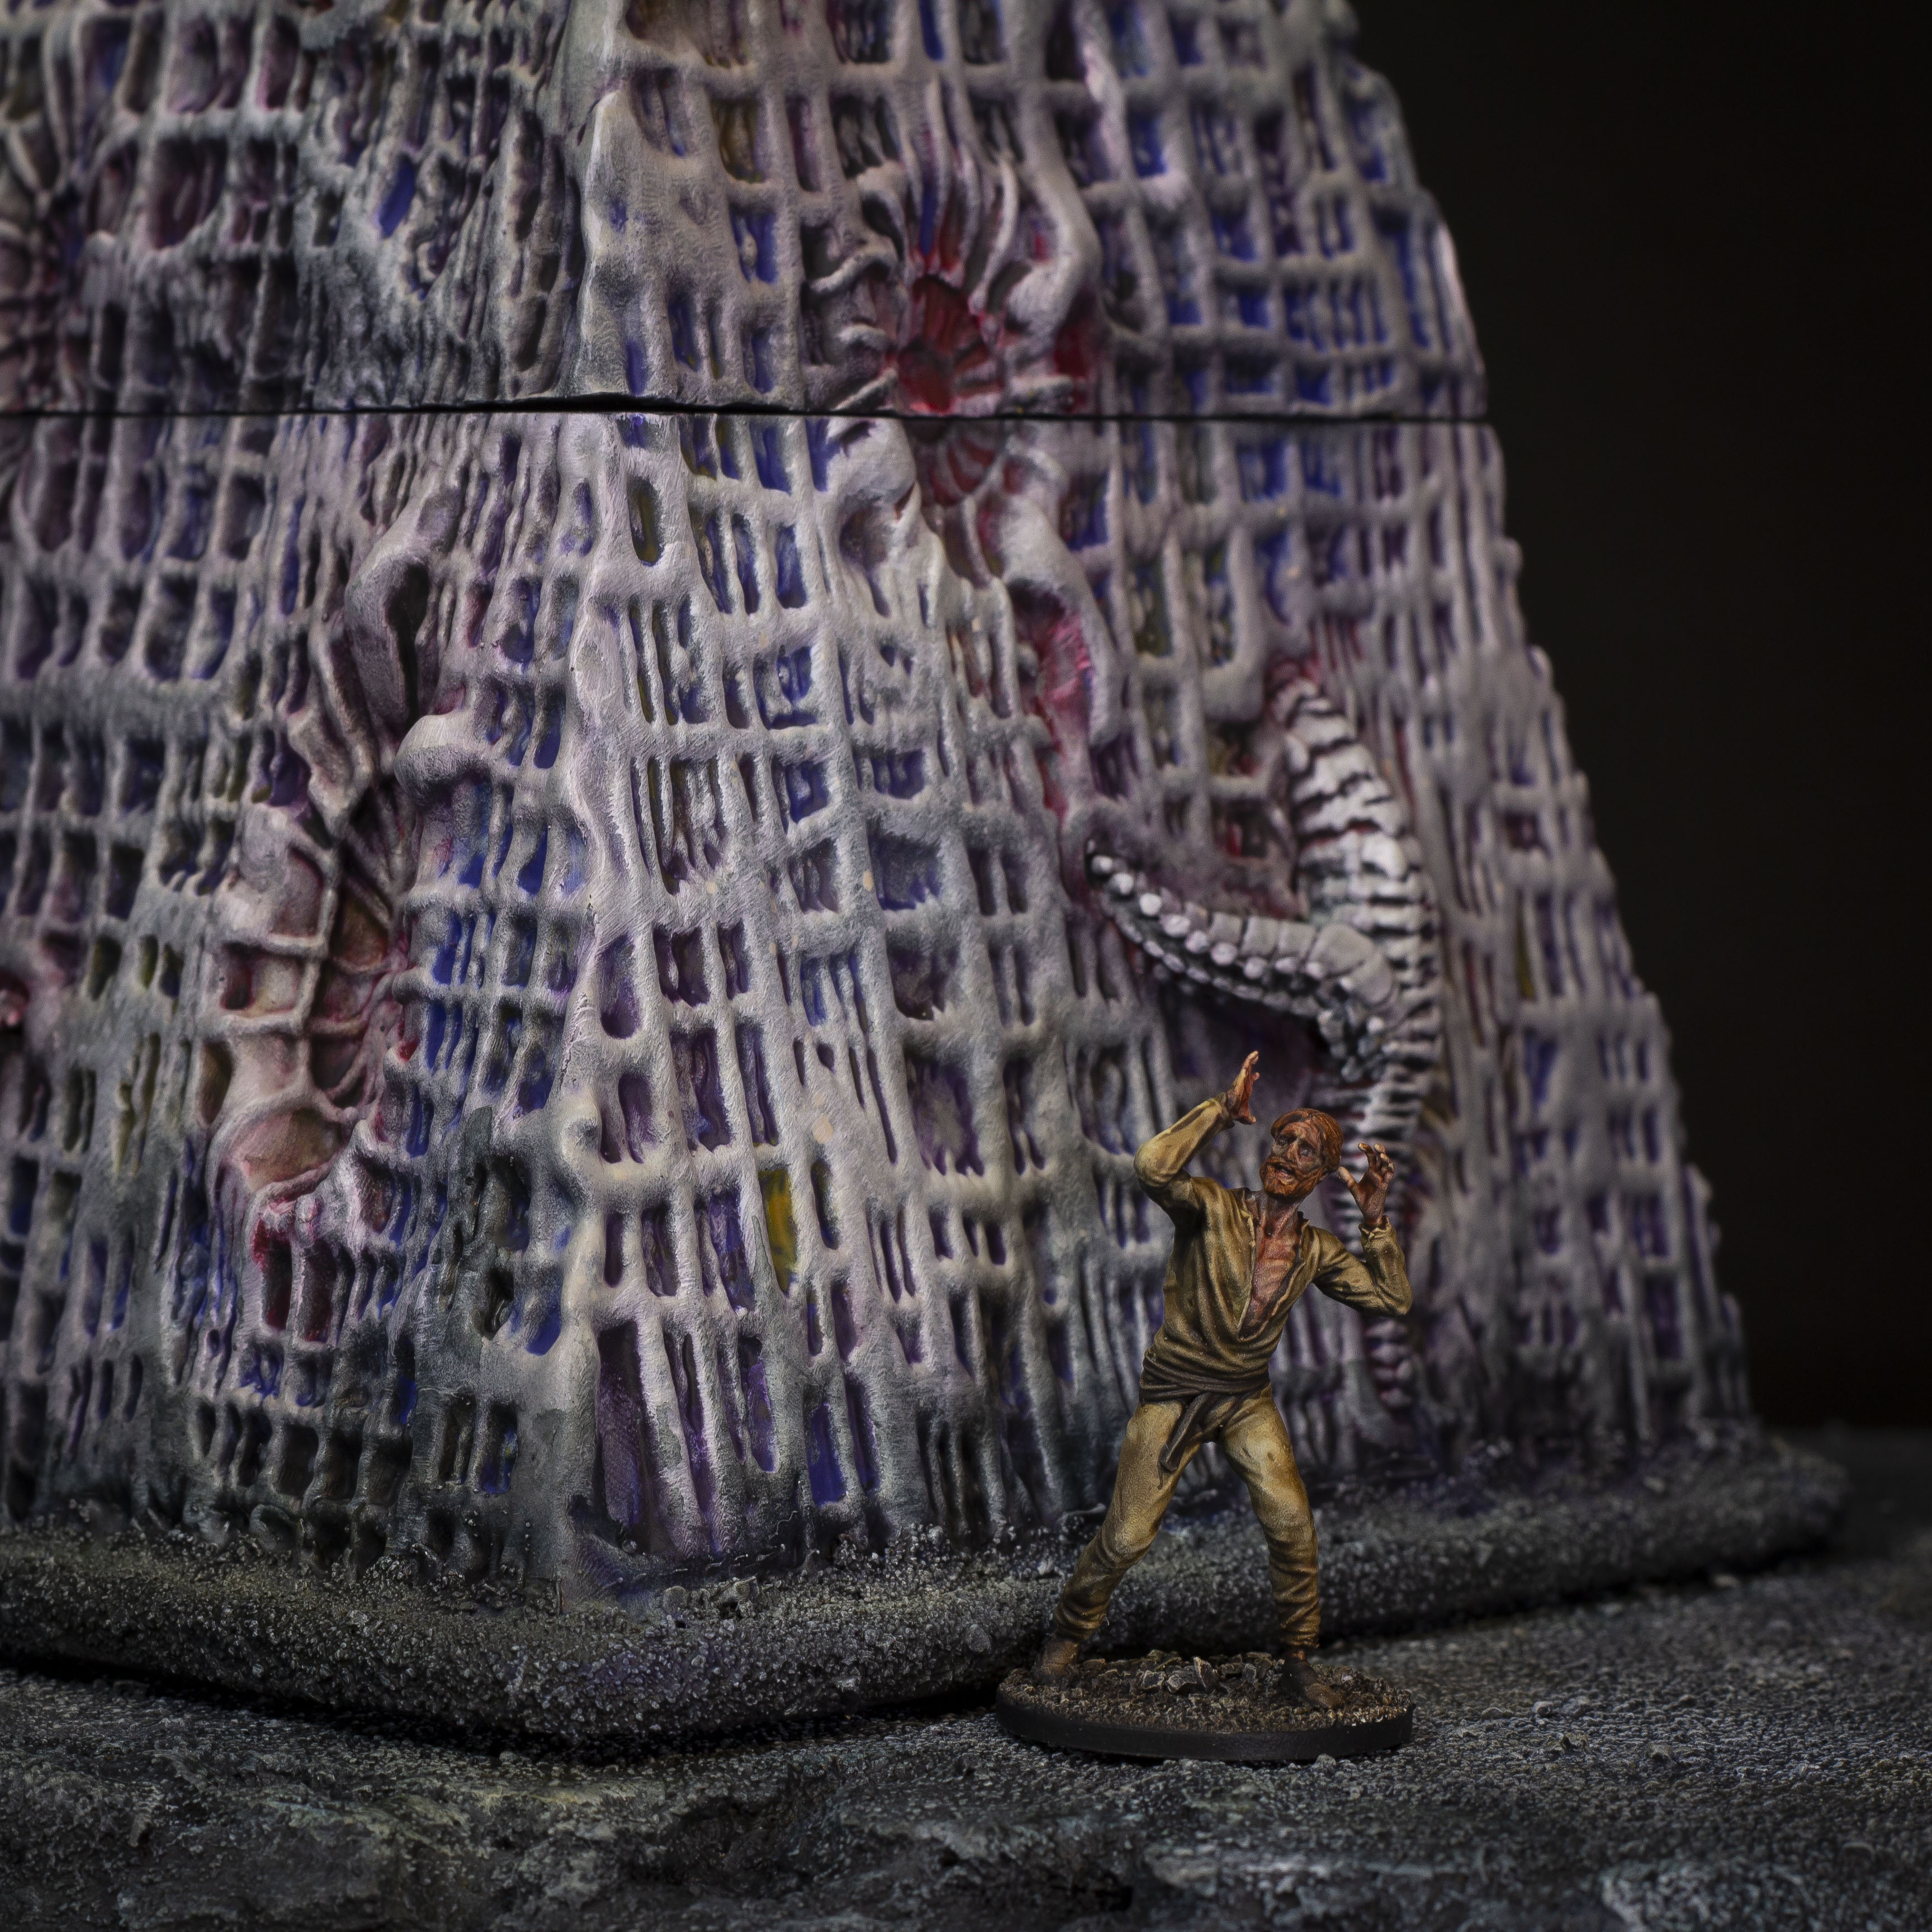
With the drying complete, I took one of those makeup sponges, and began wiping away at the models. This took away all the paint from the raised textures, leaving only the colours in the crevices.
I cannot express how satisfying that step is, seriously, it's now in my Top 5 Hobbyfeelings.

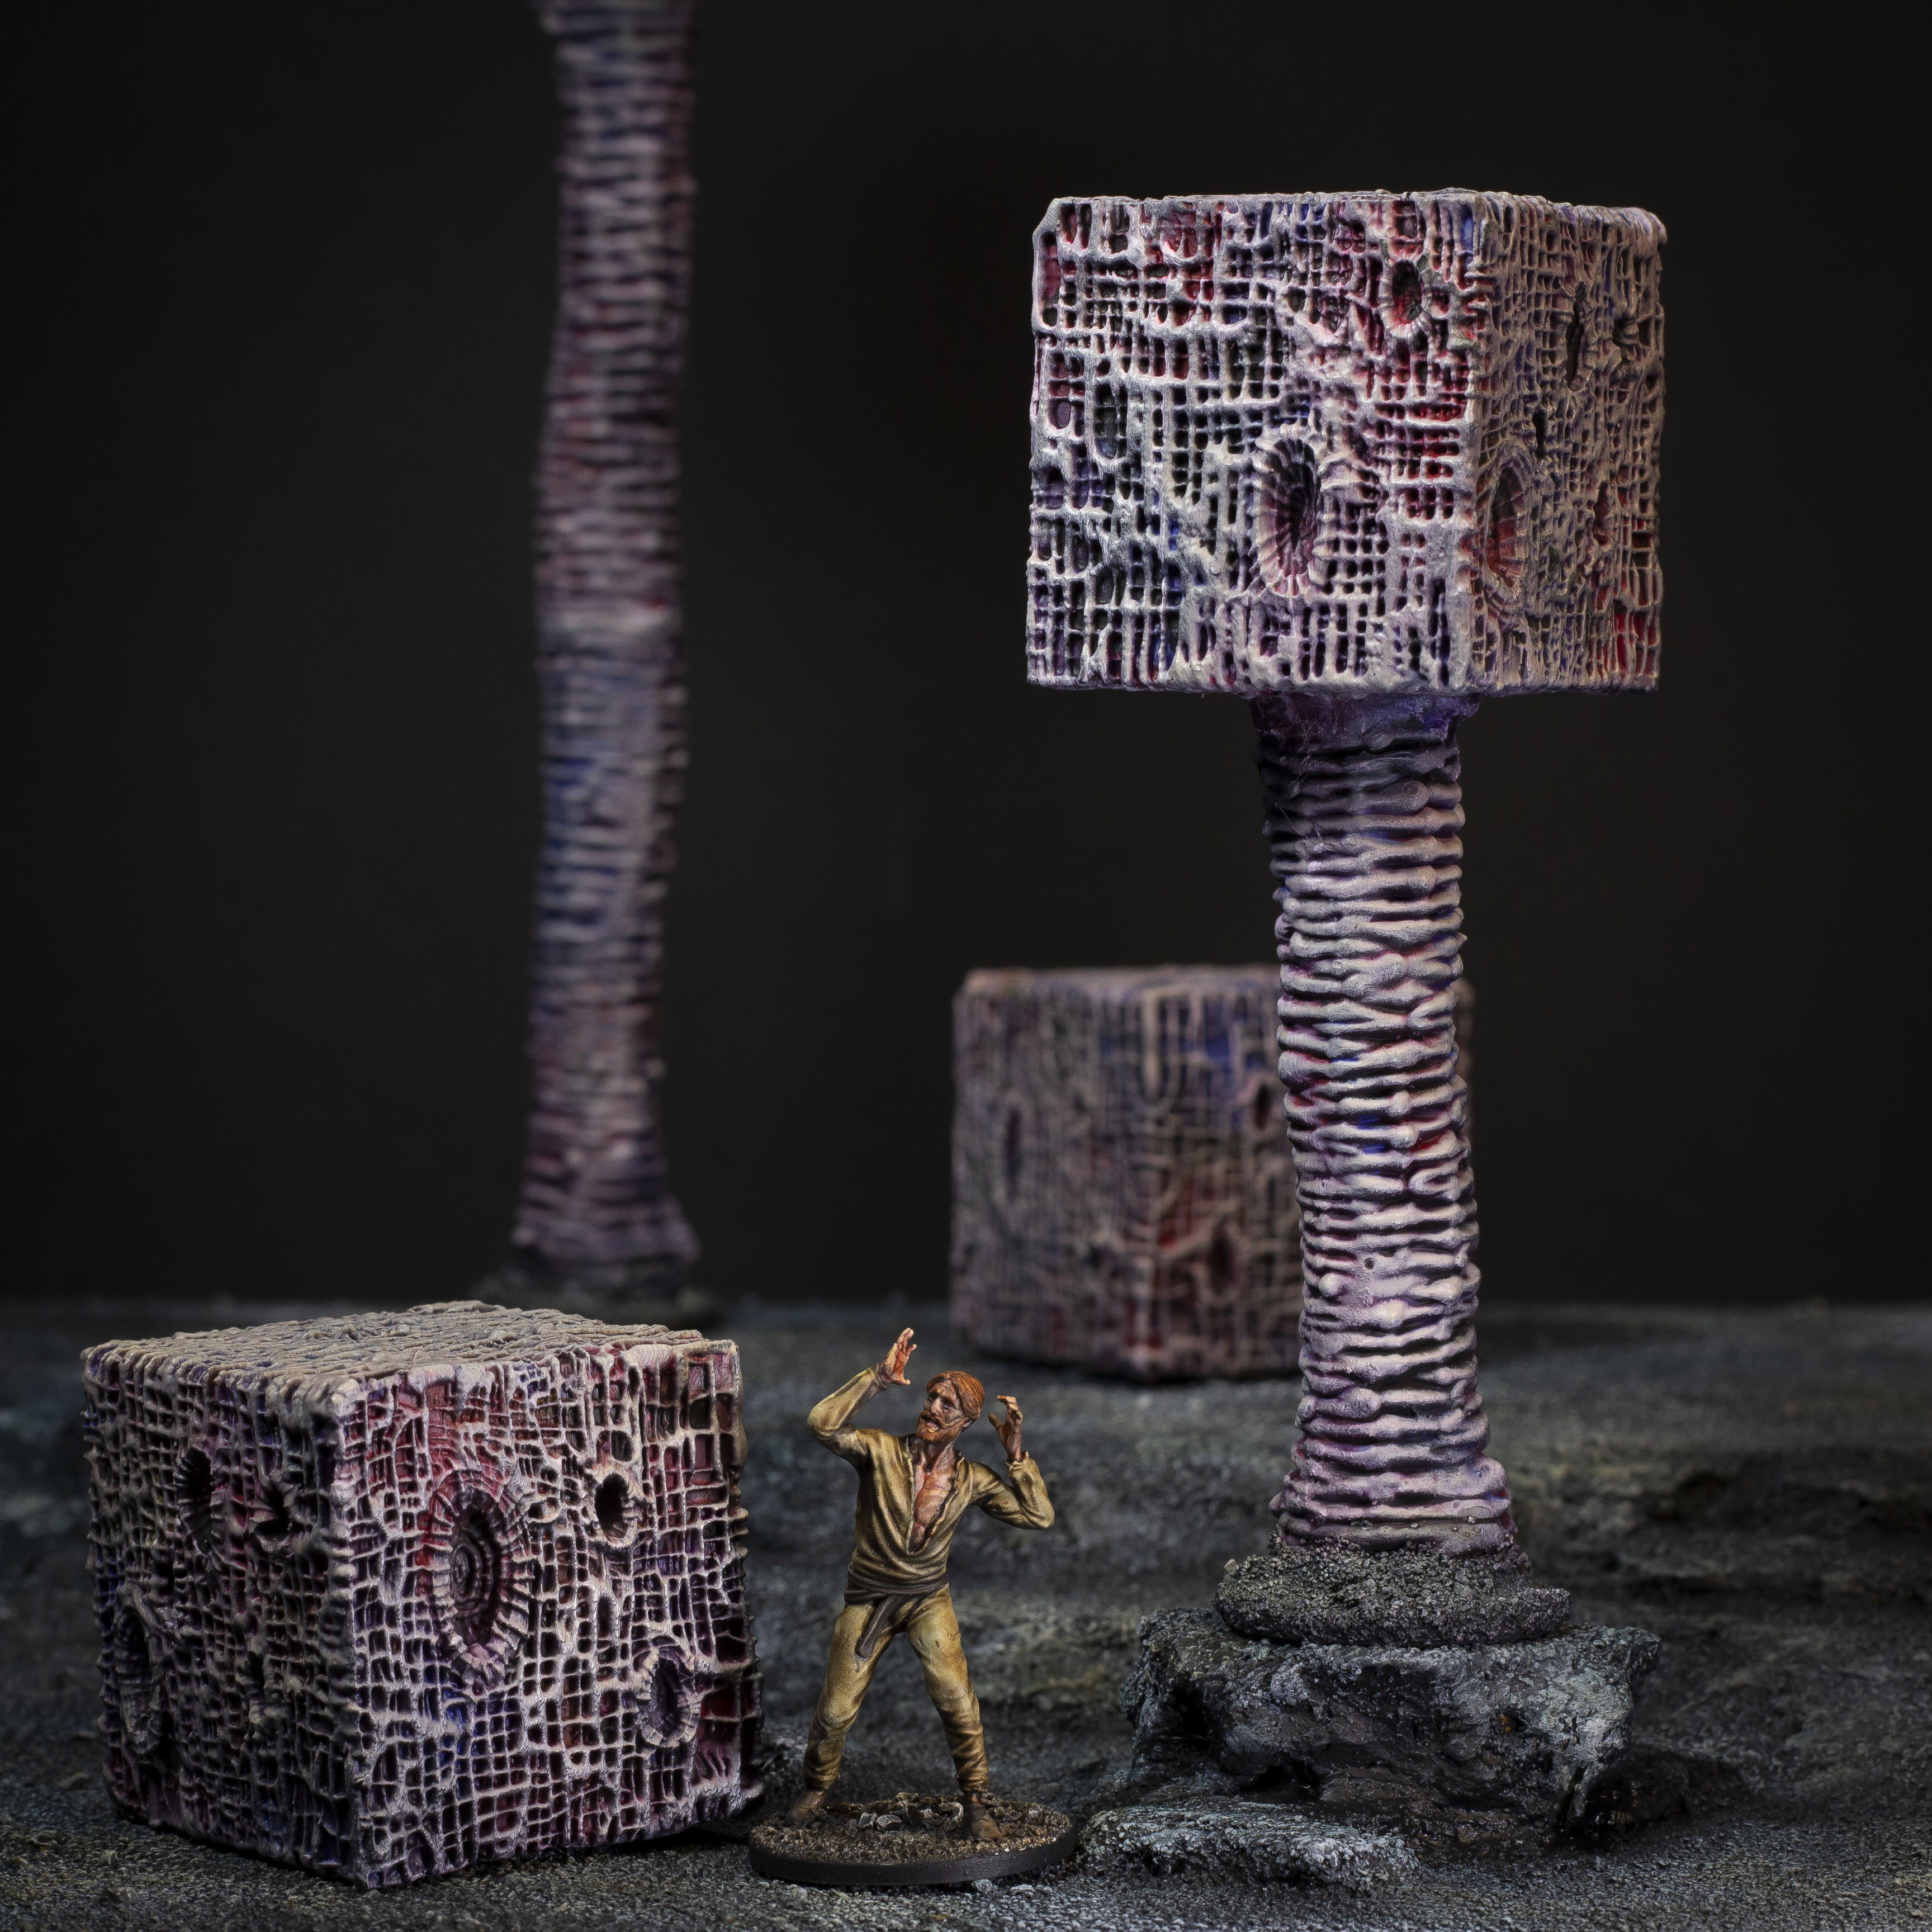
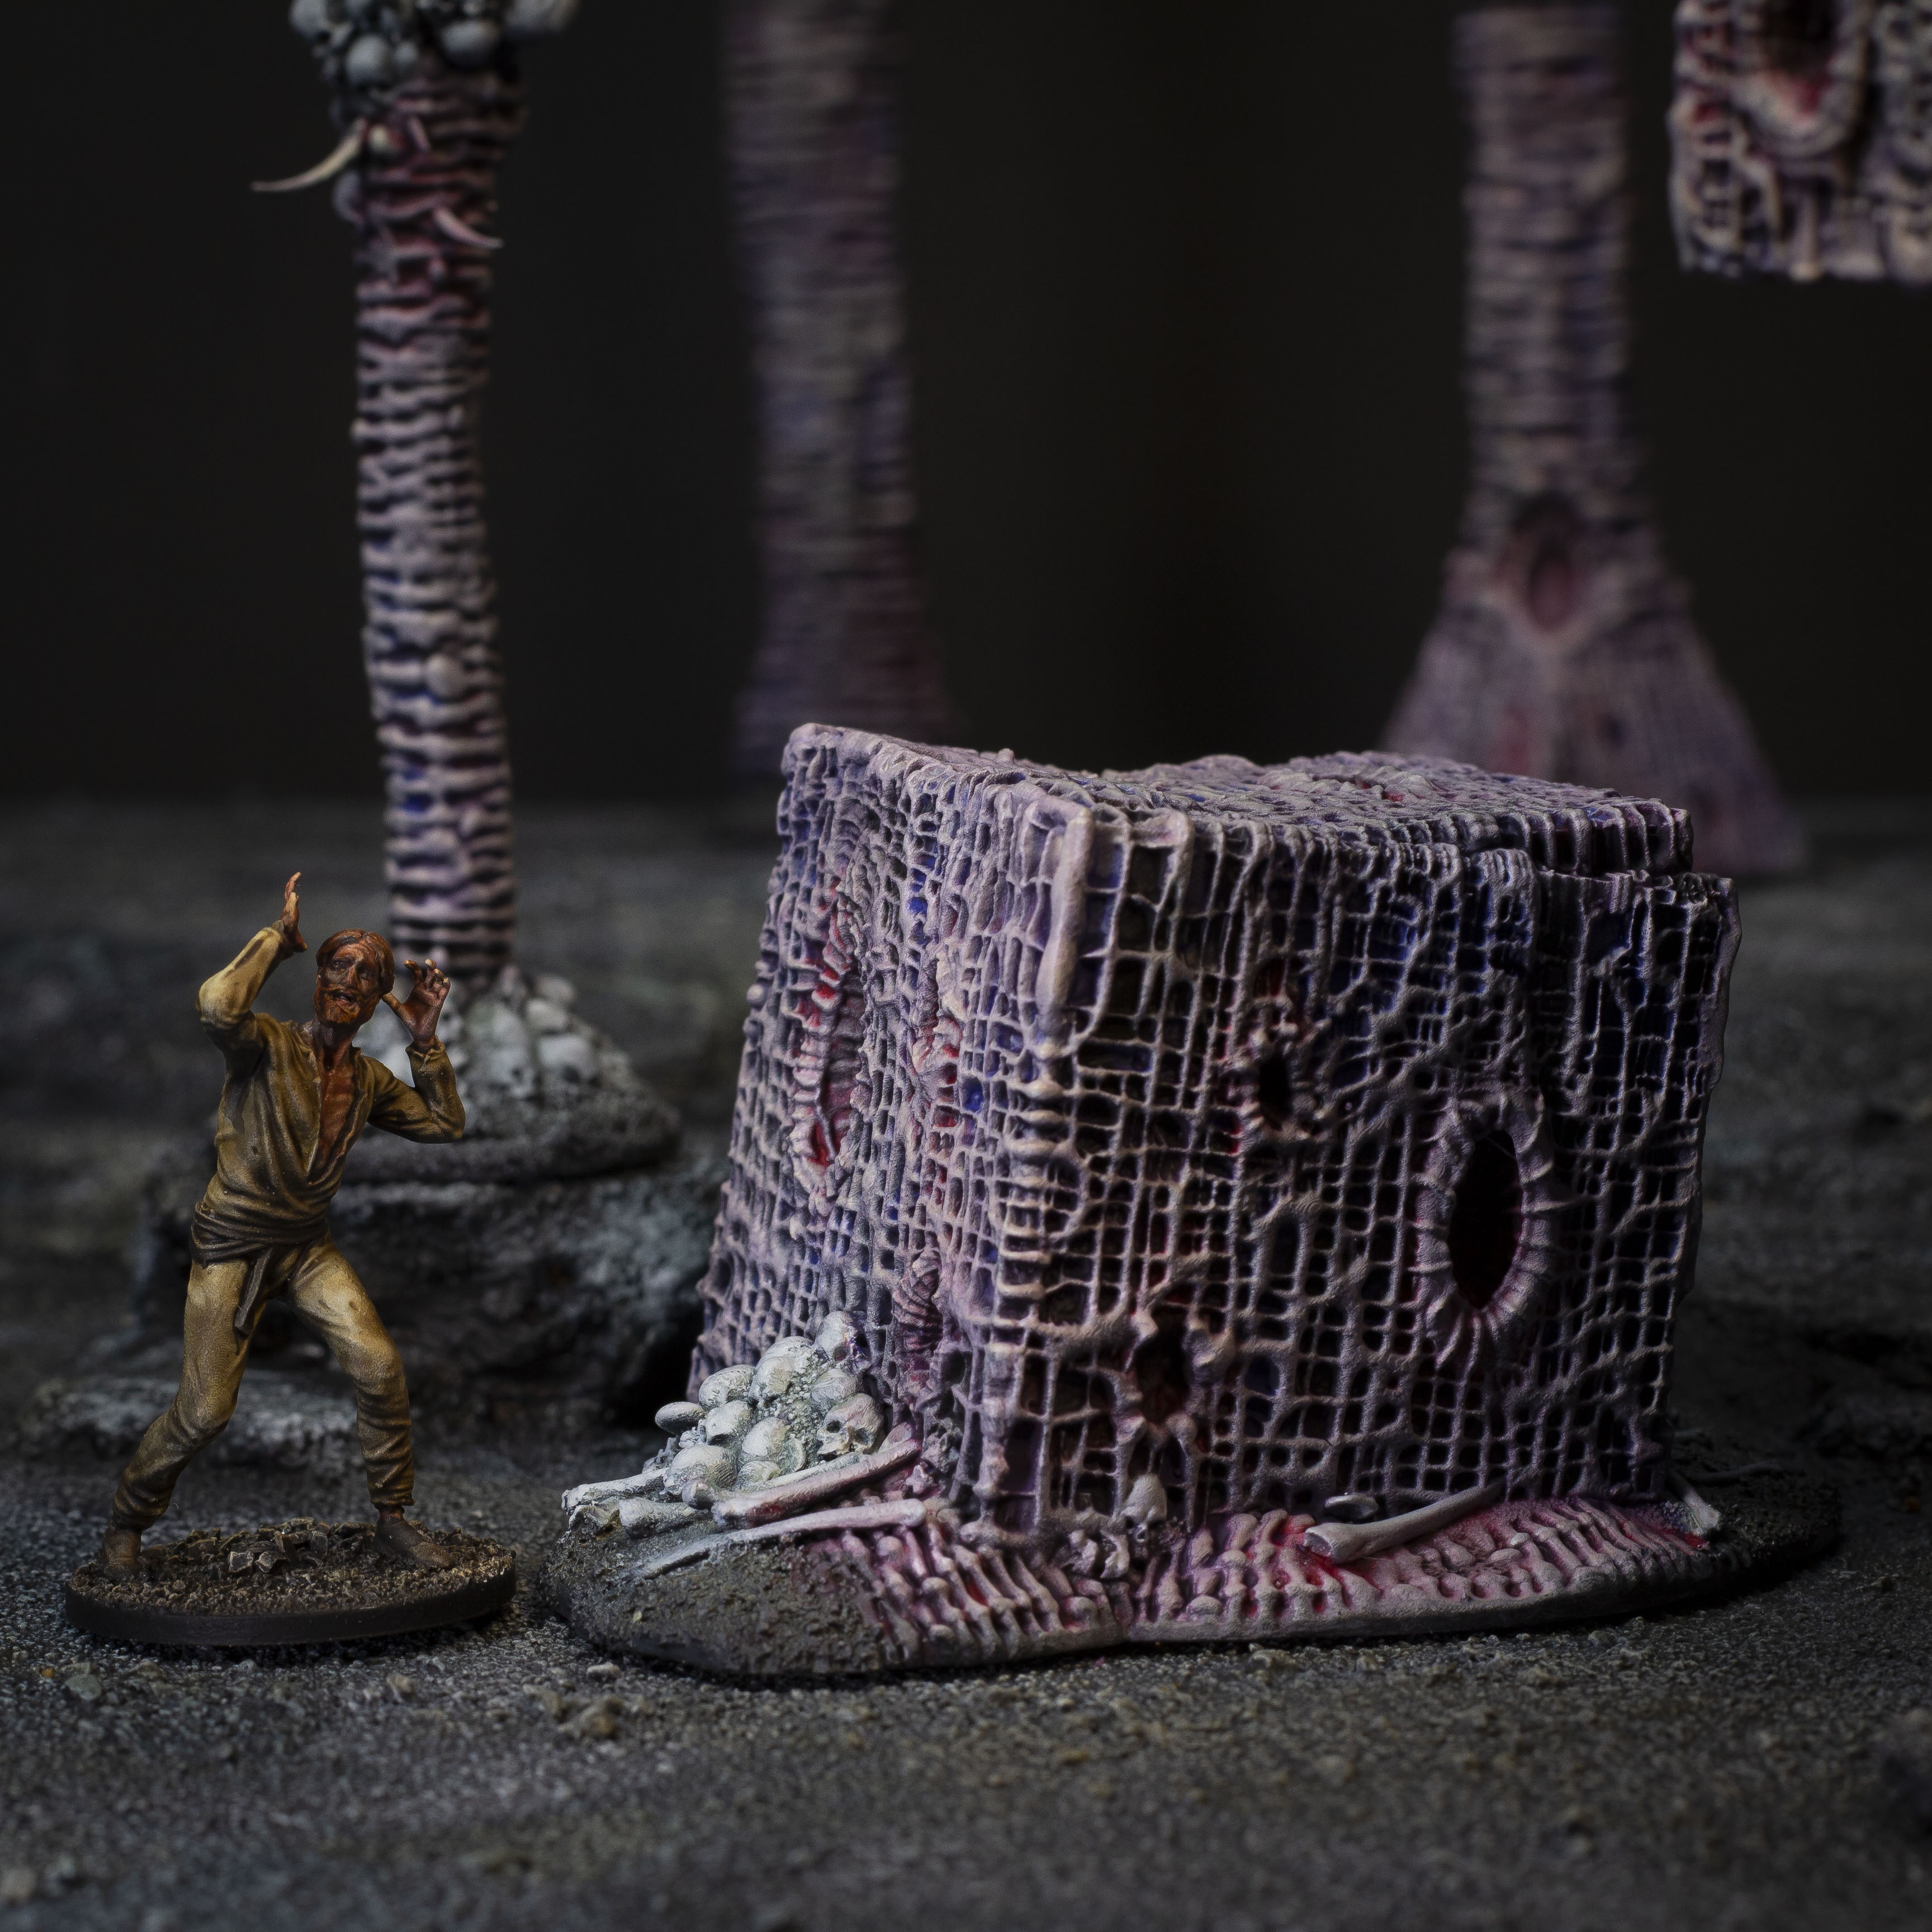
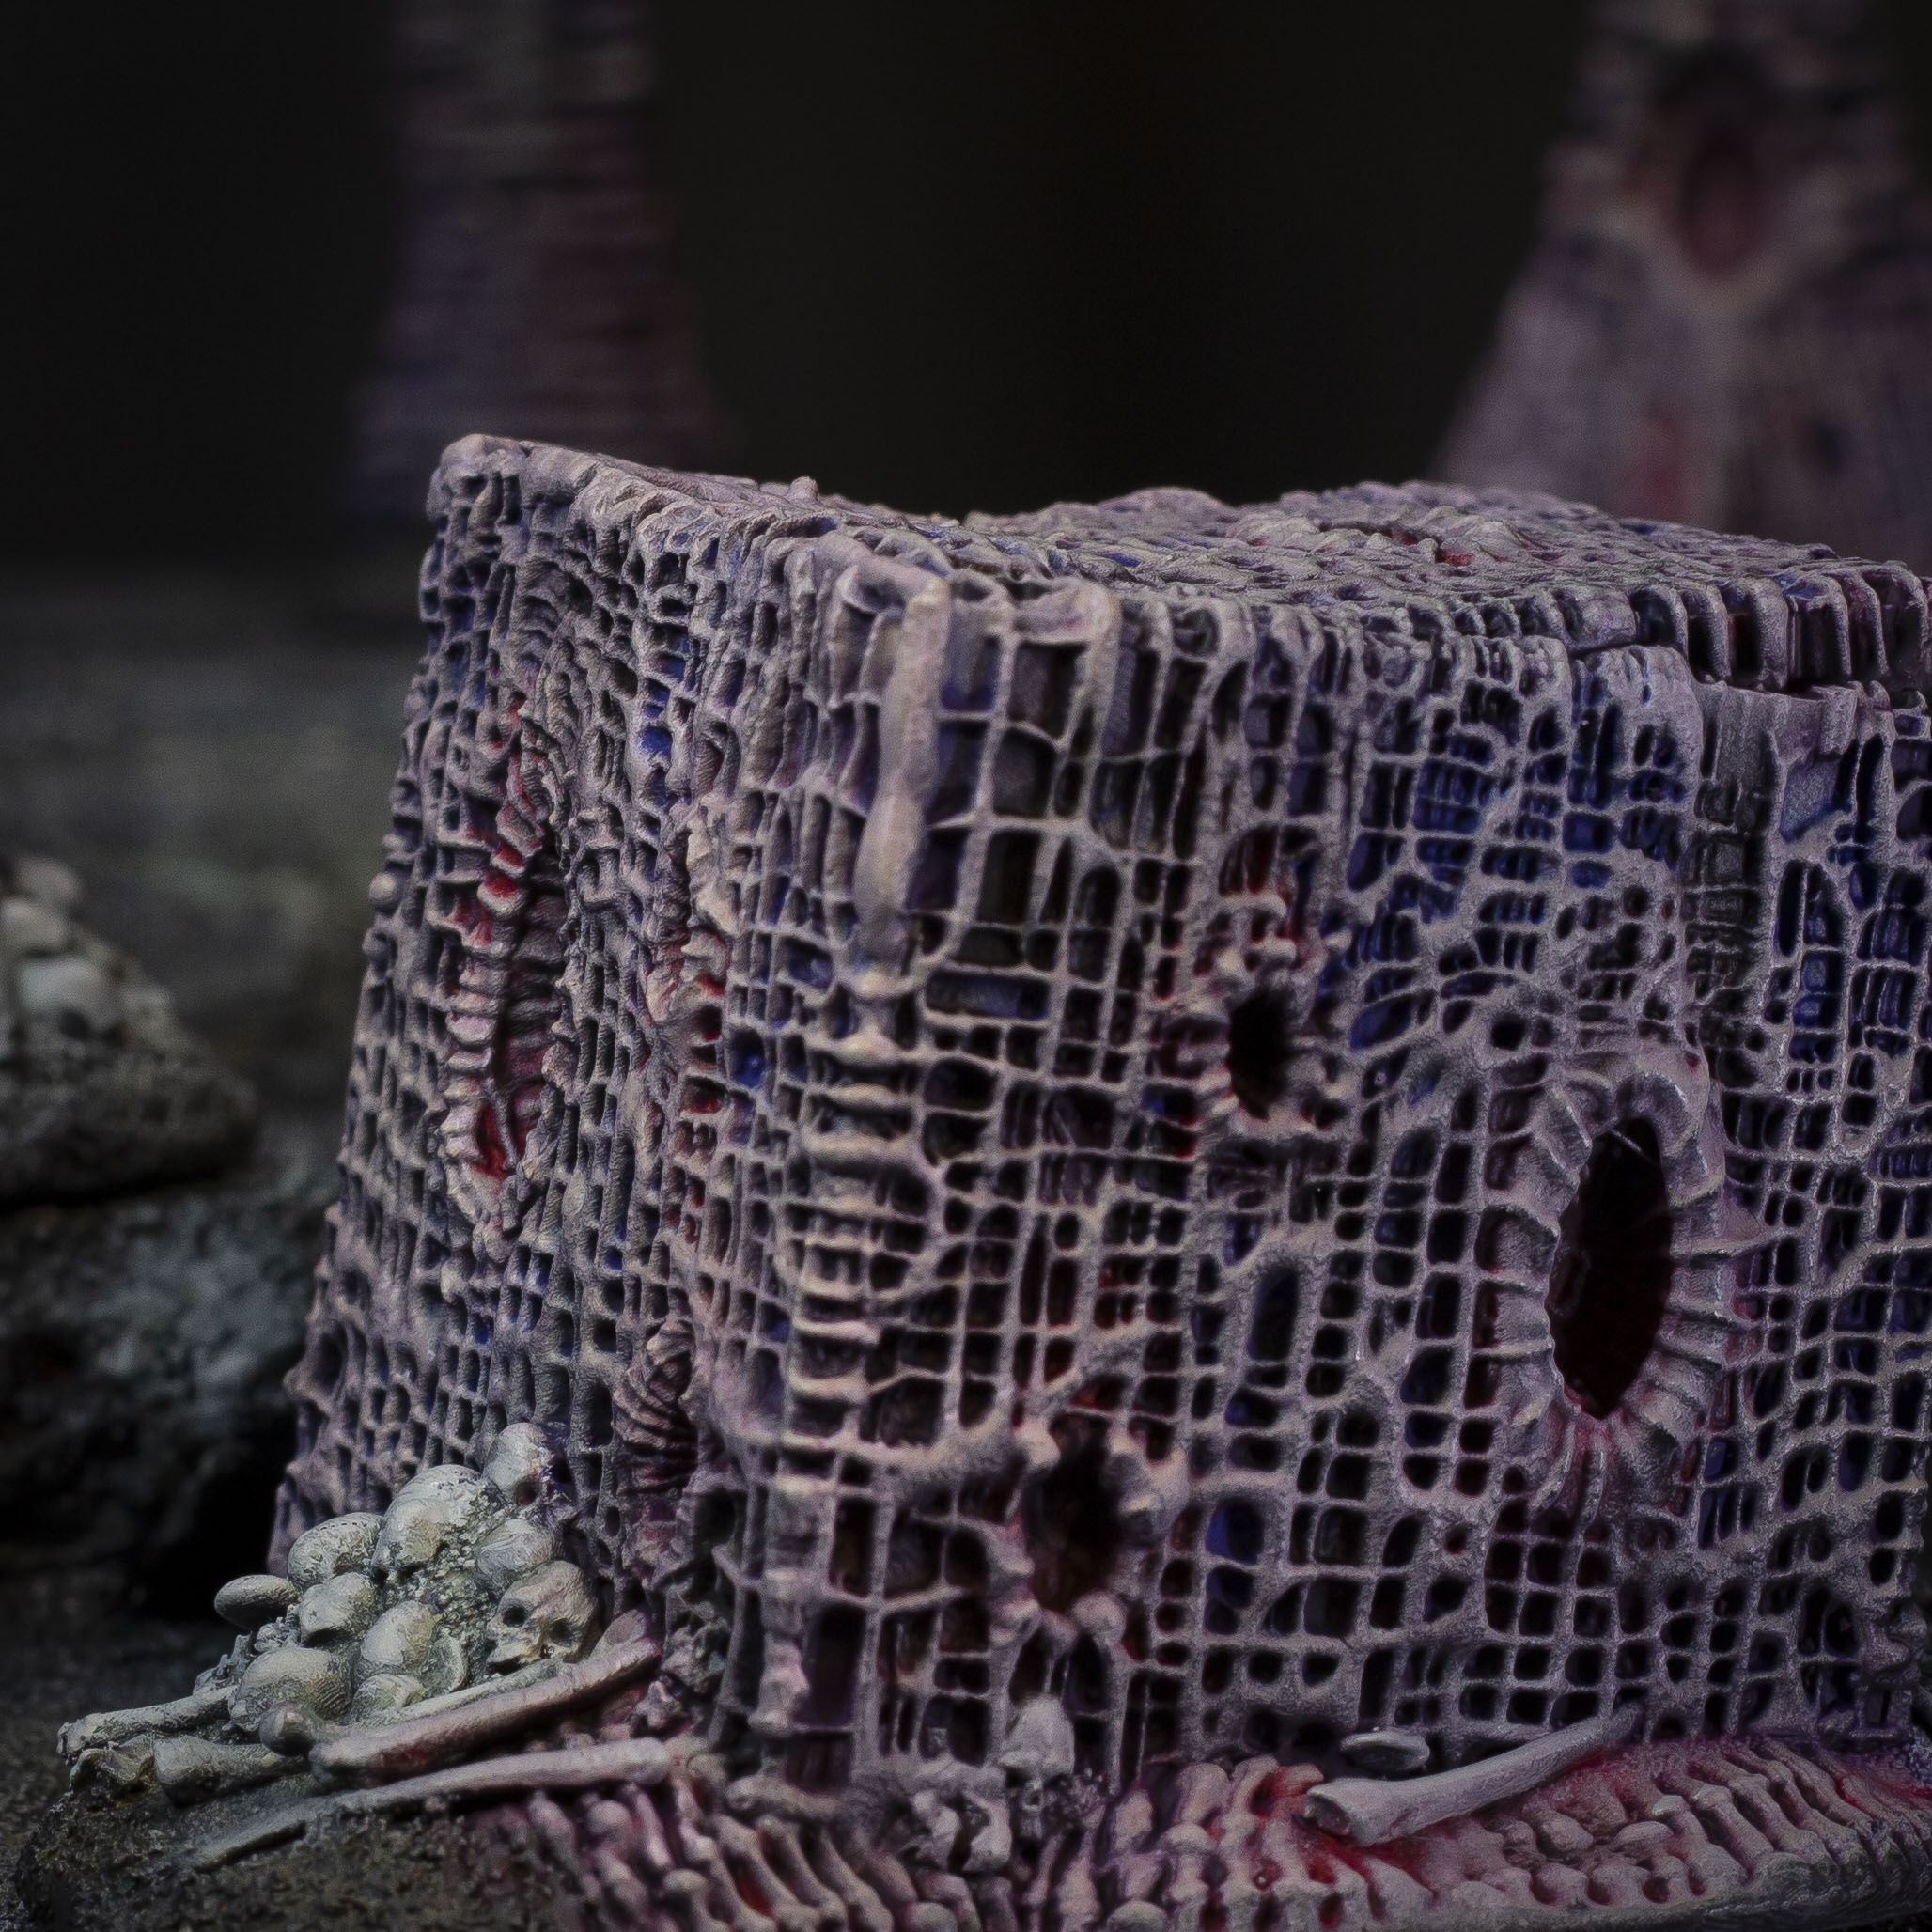
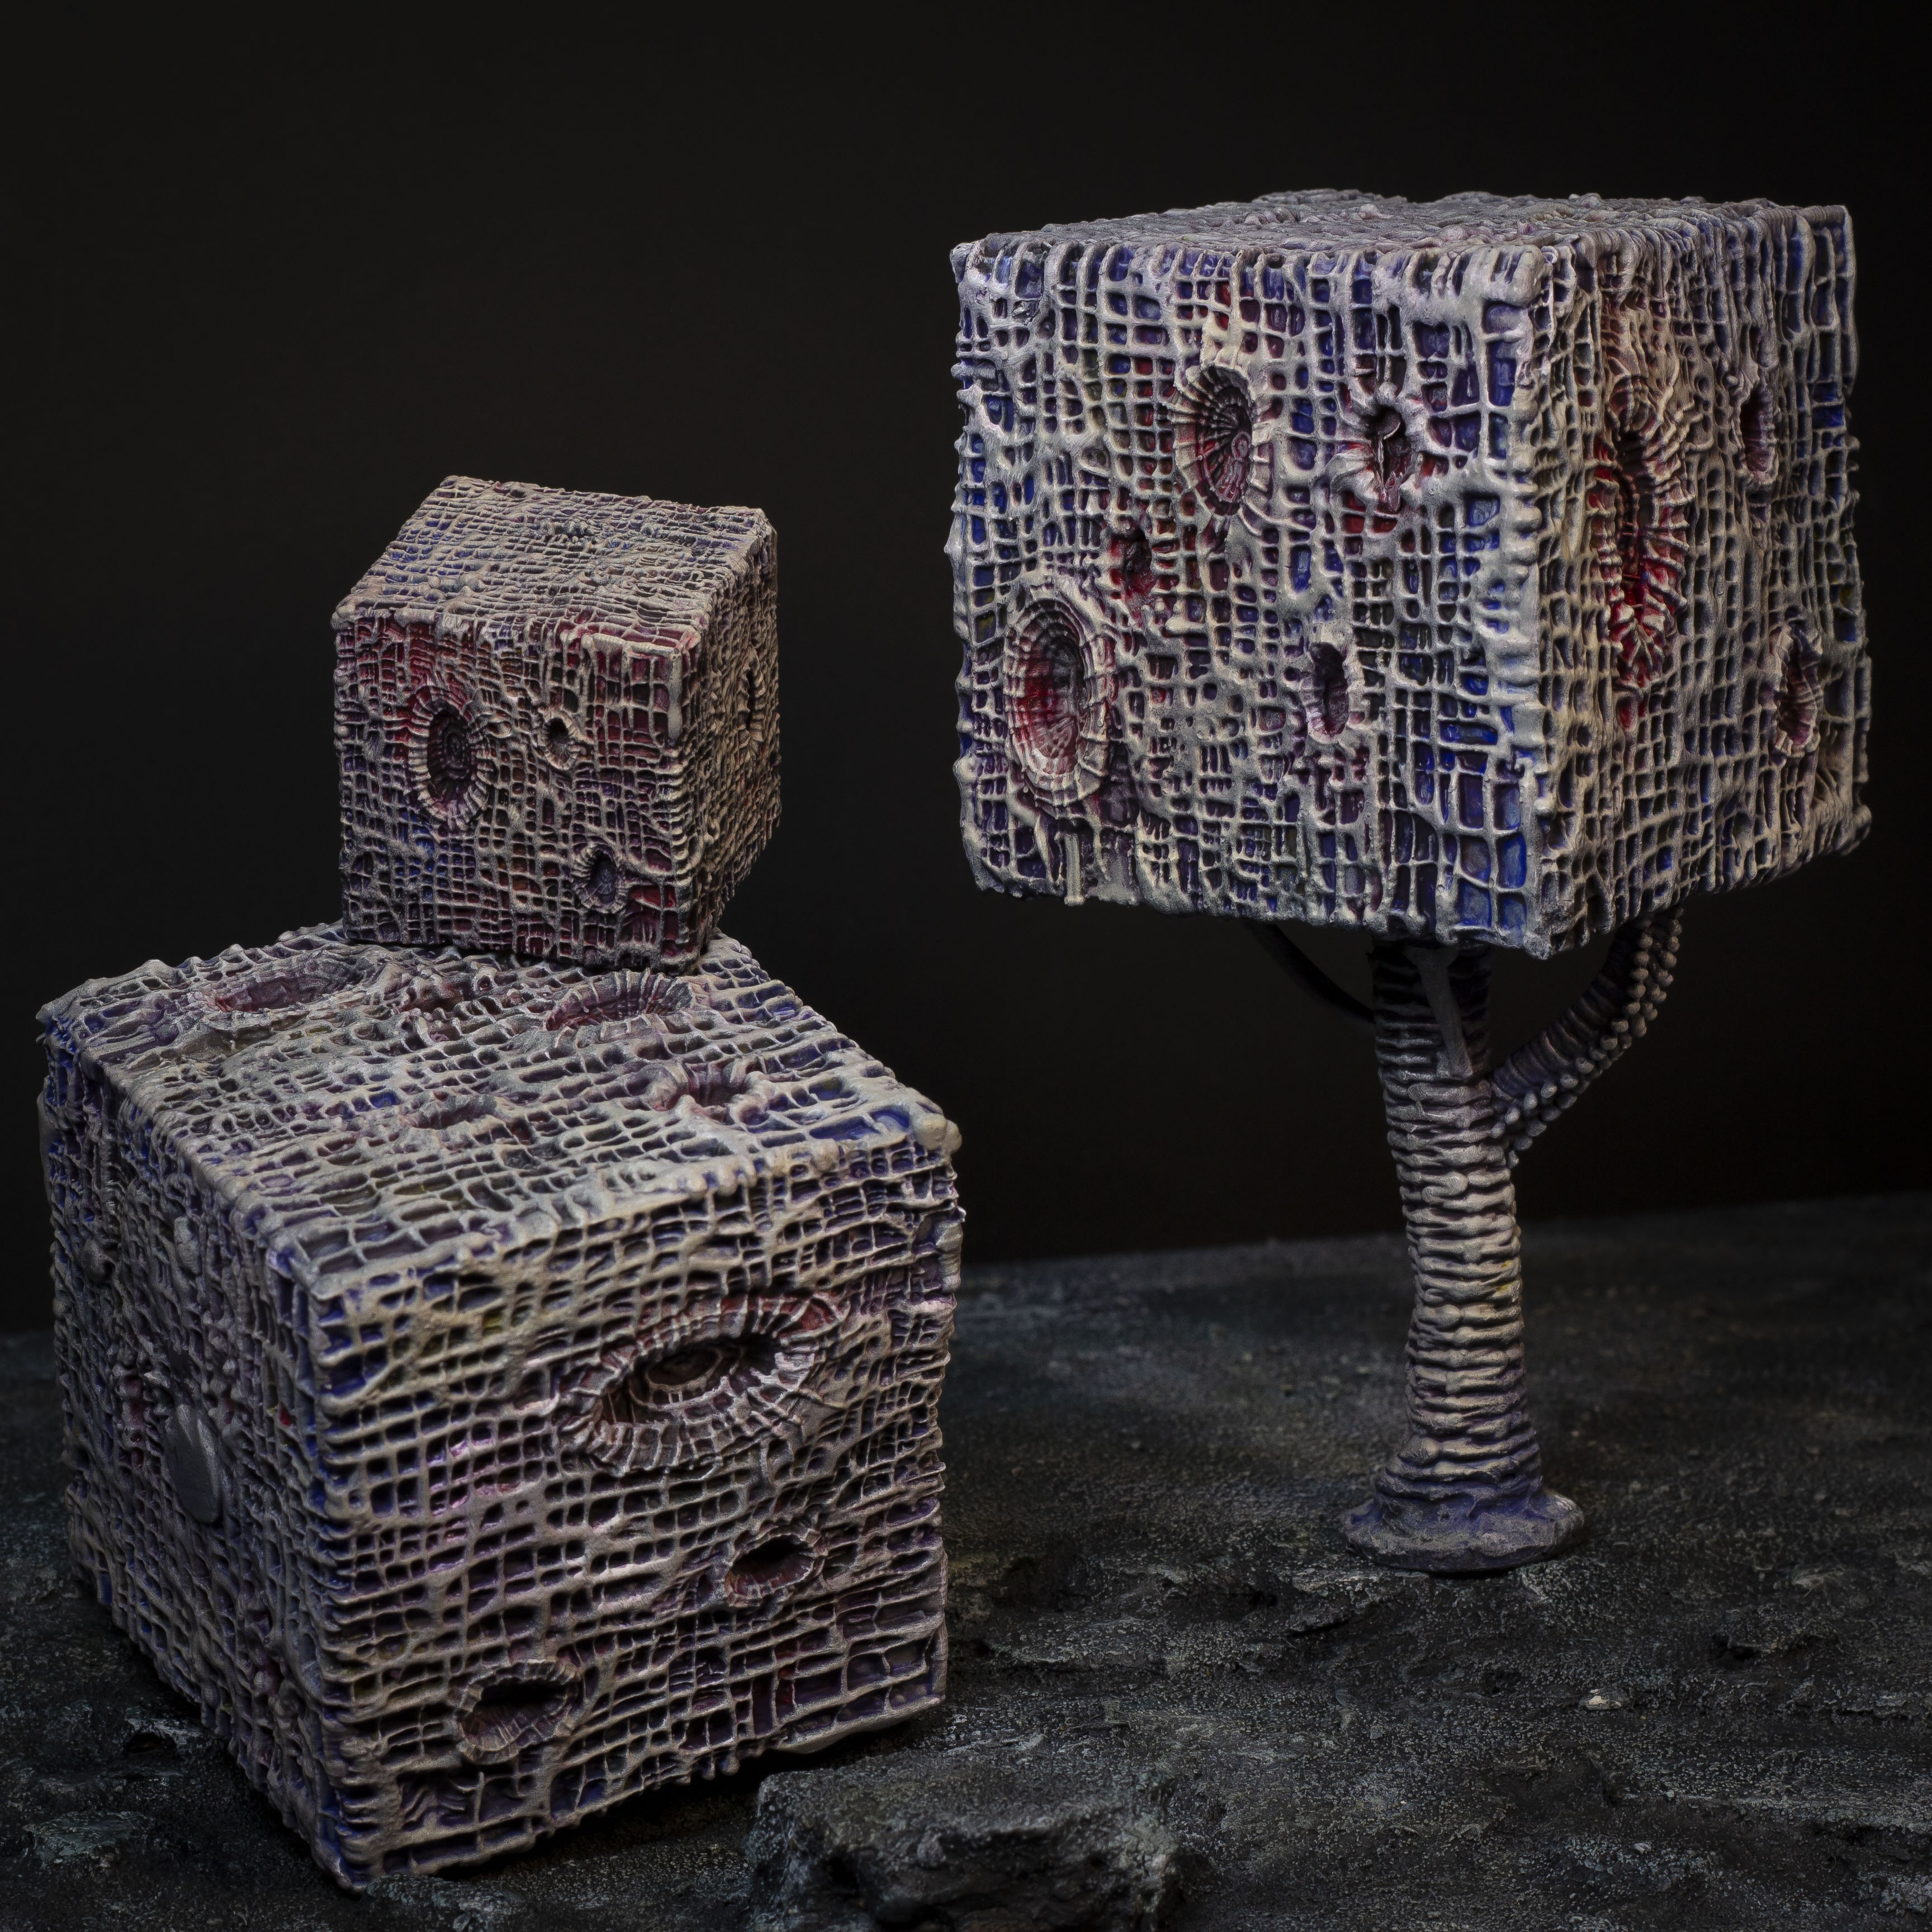
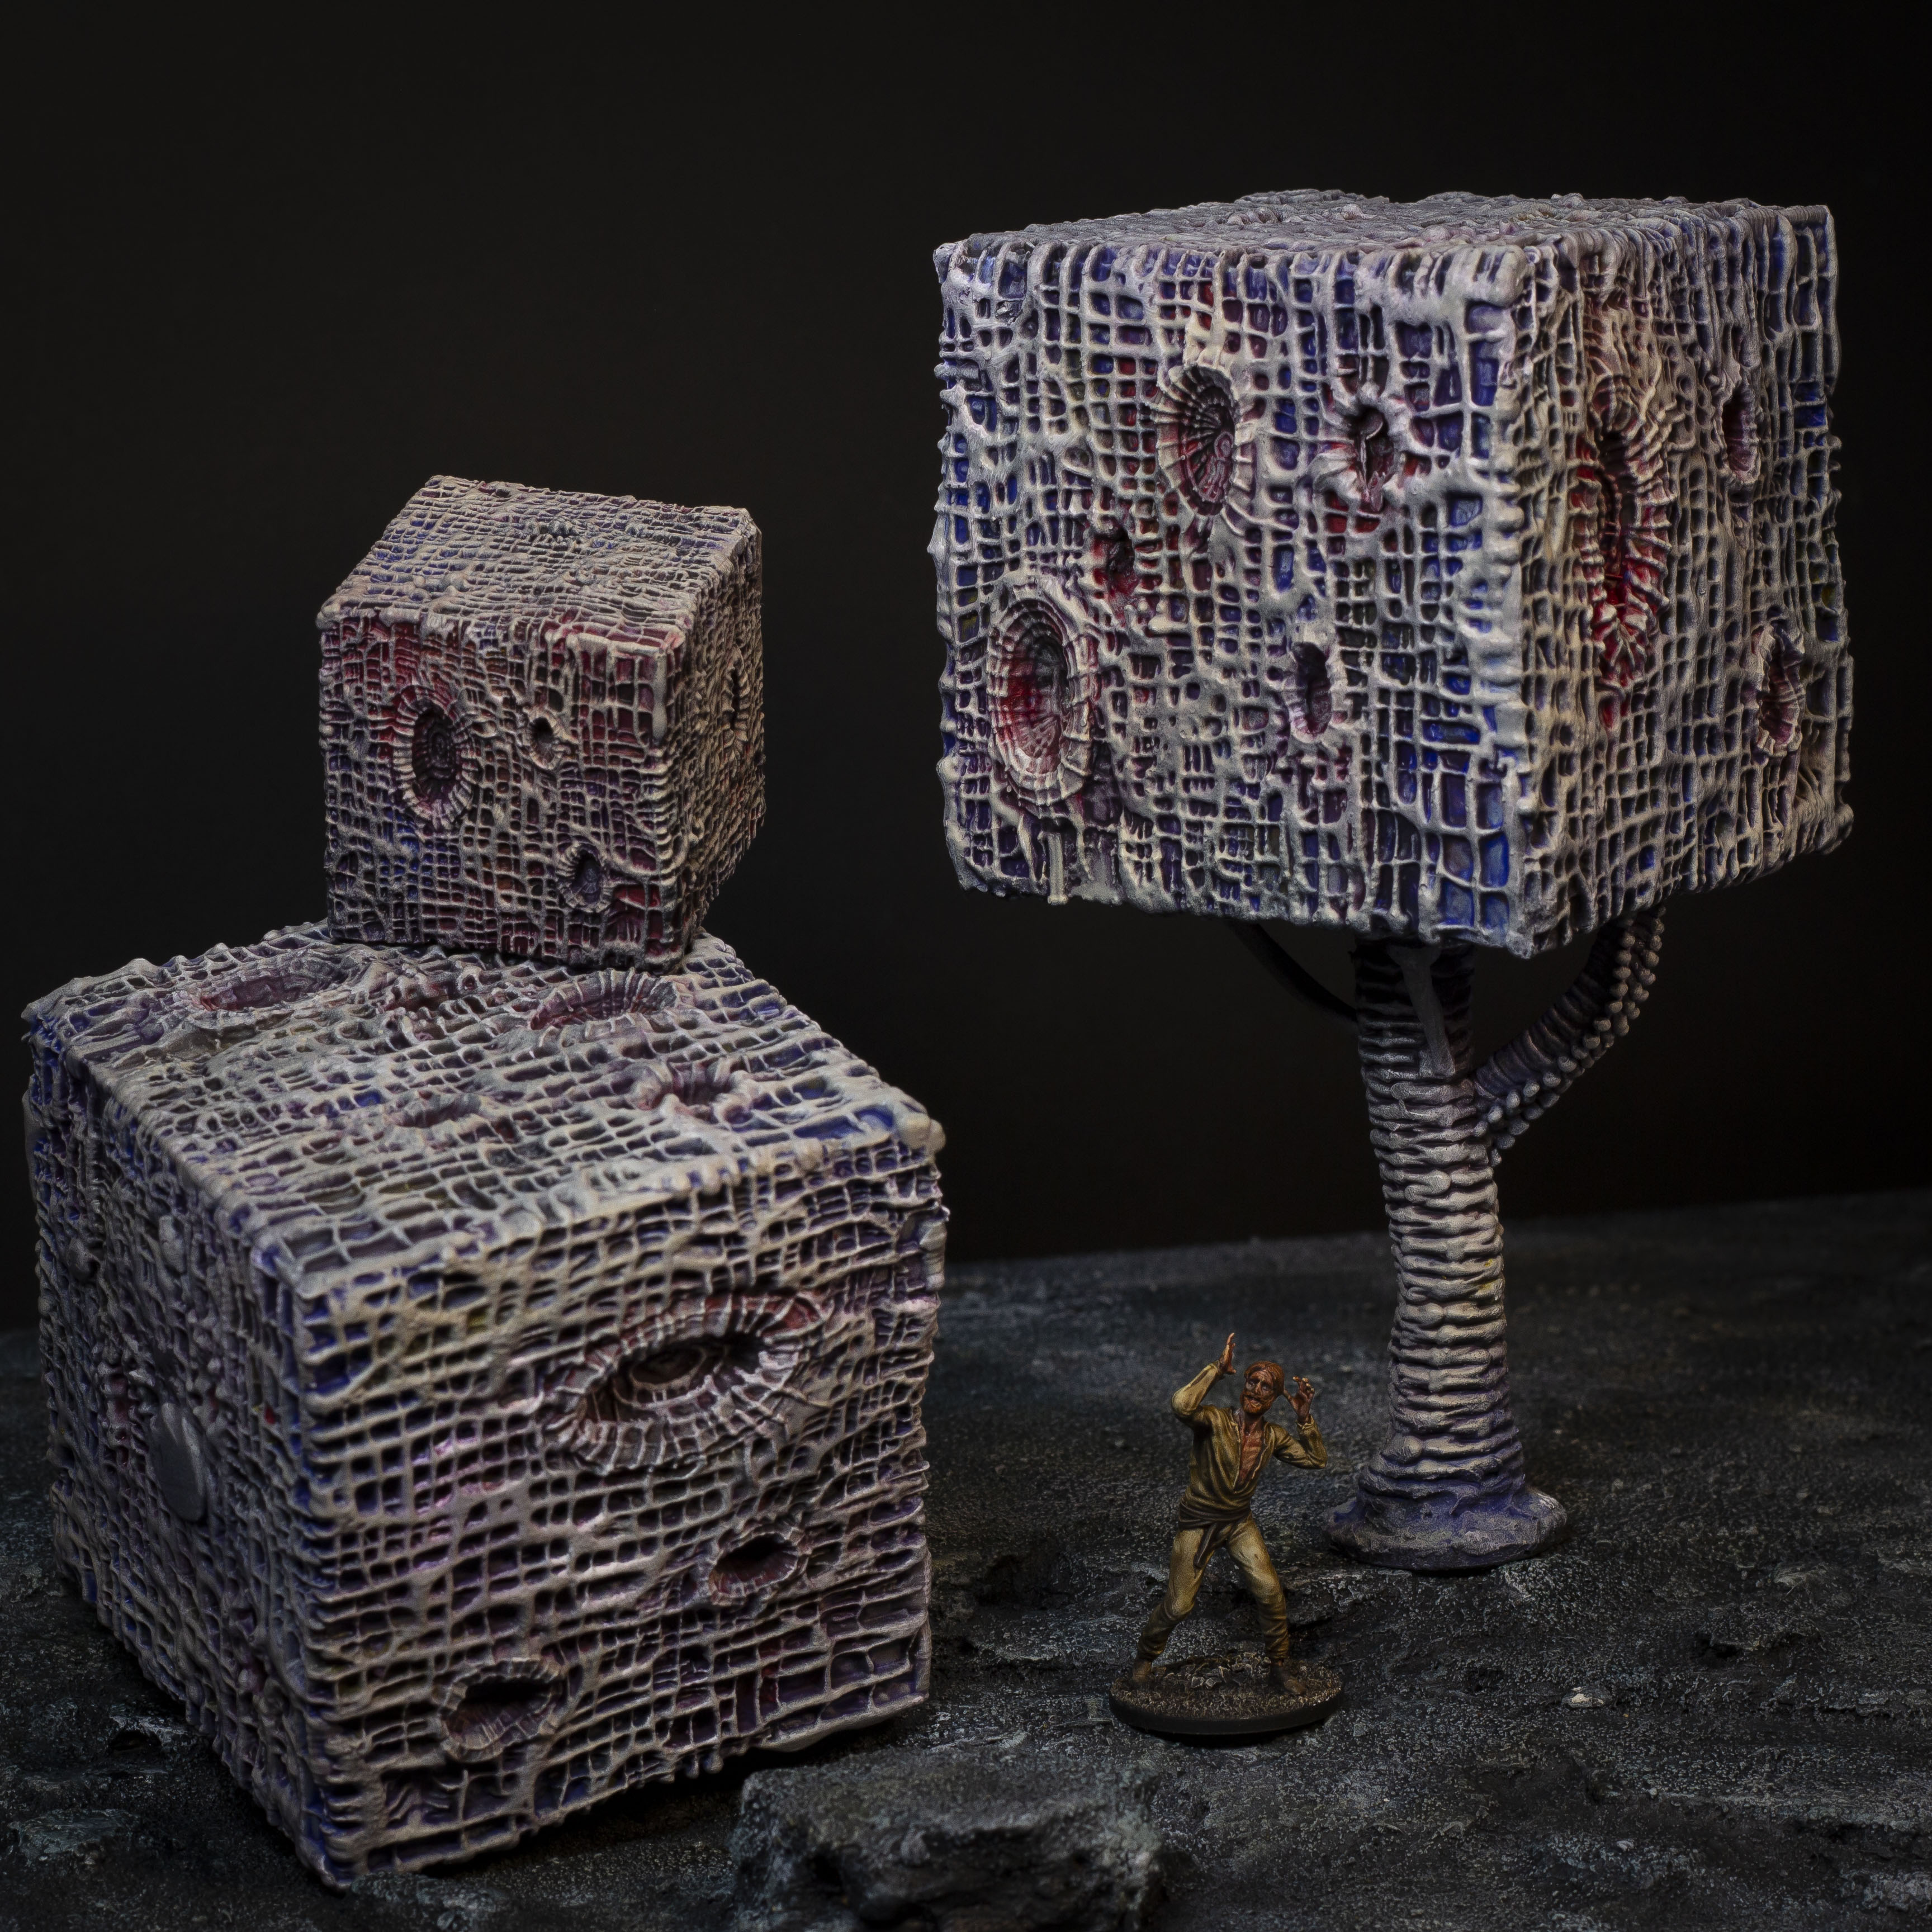
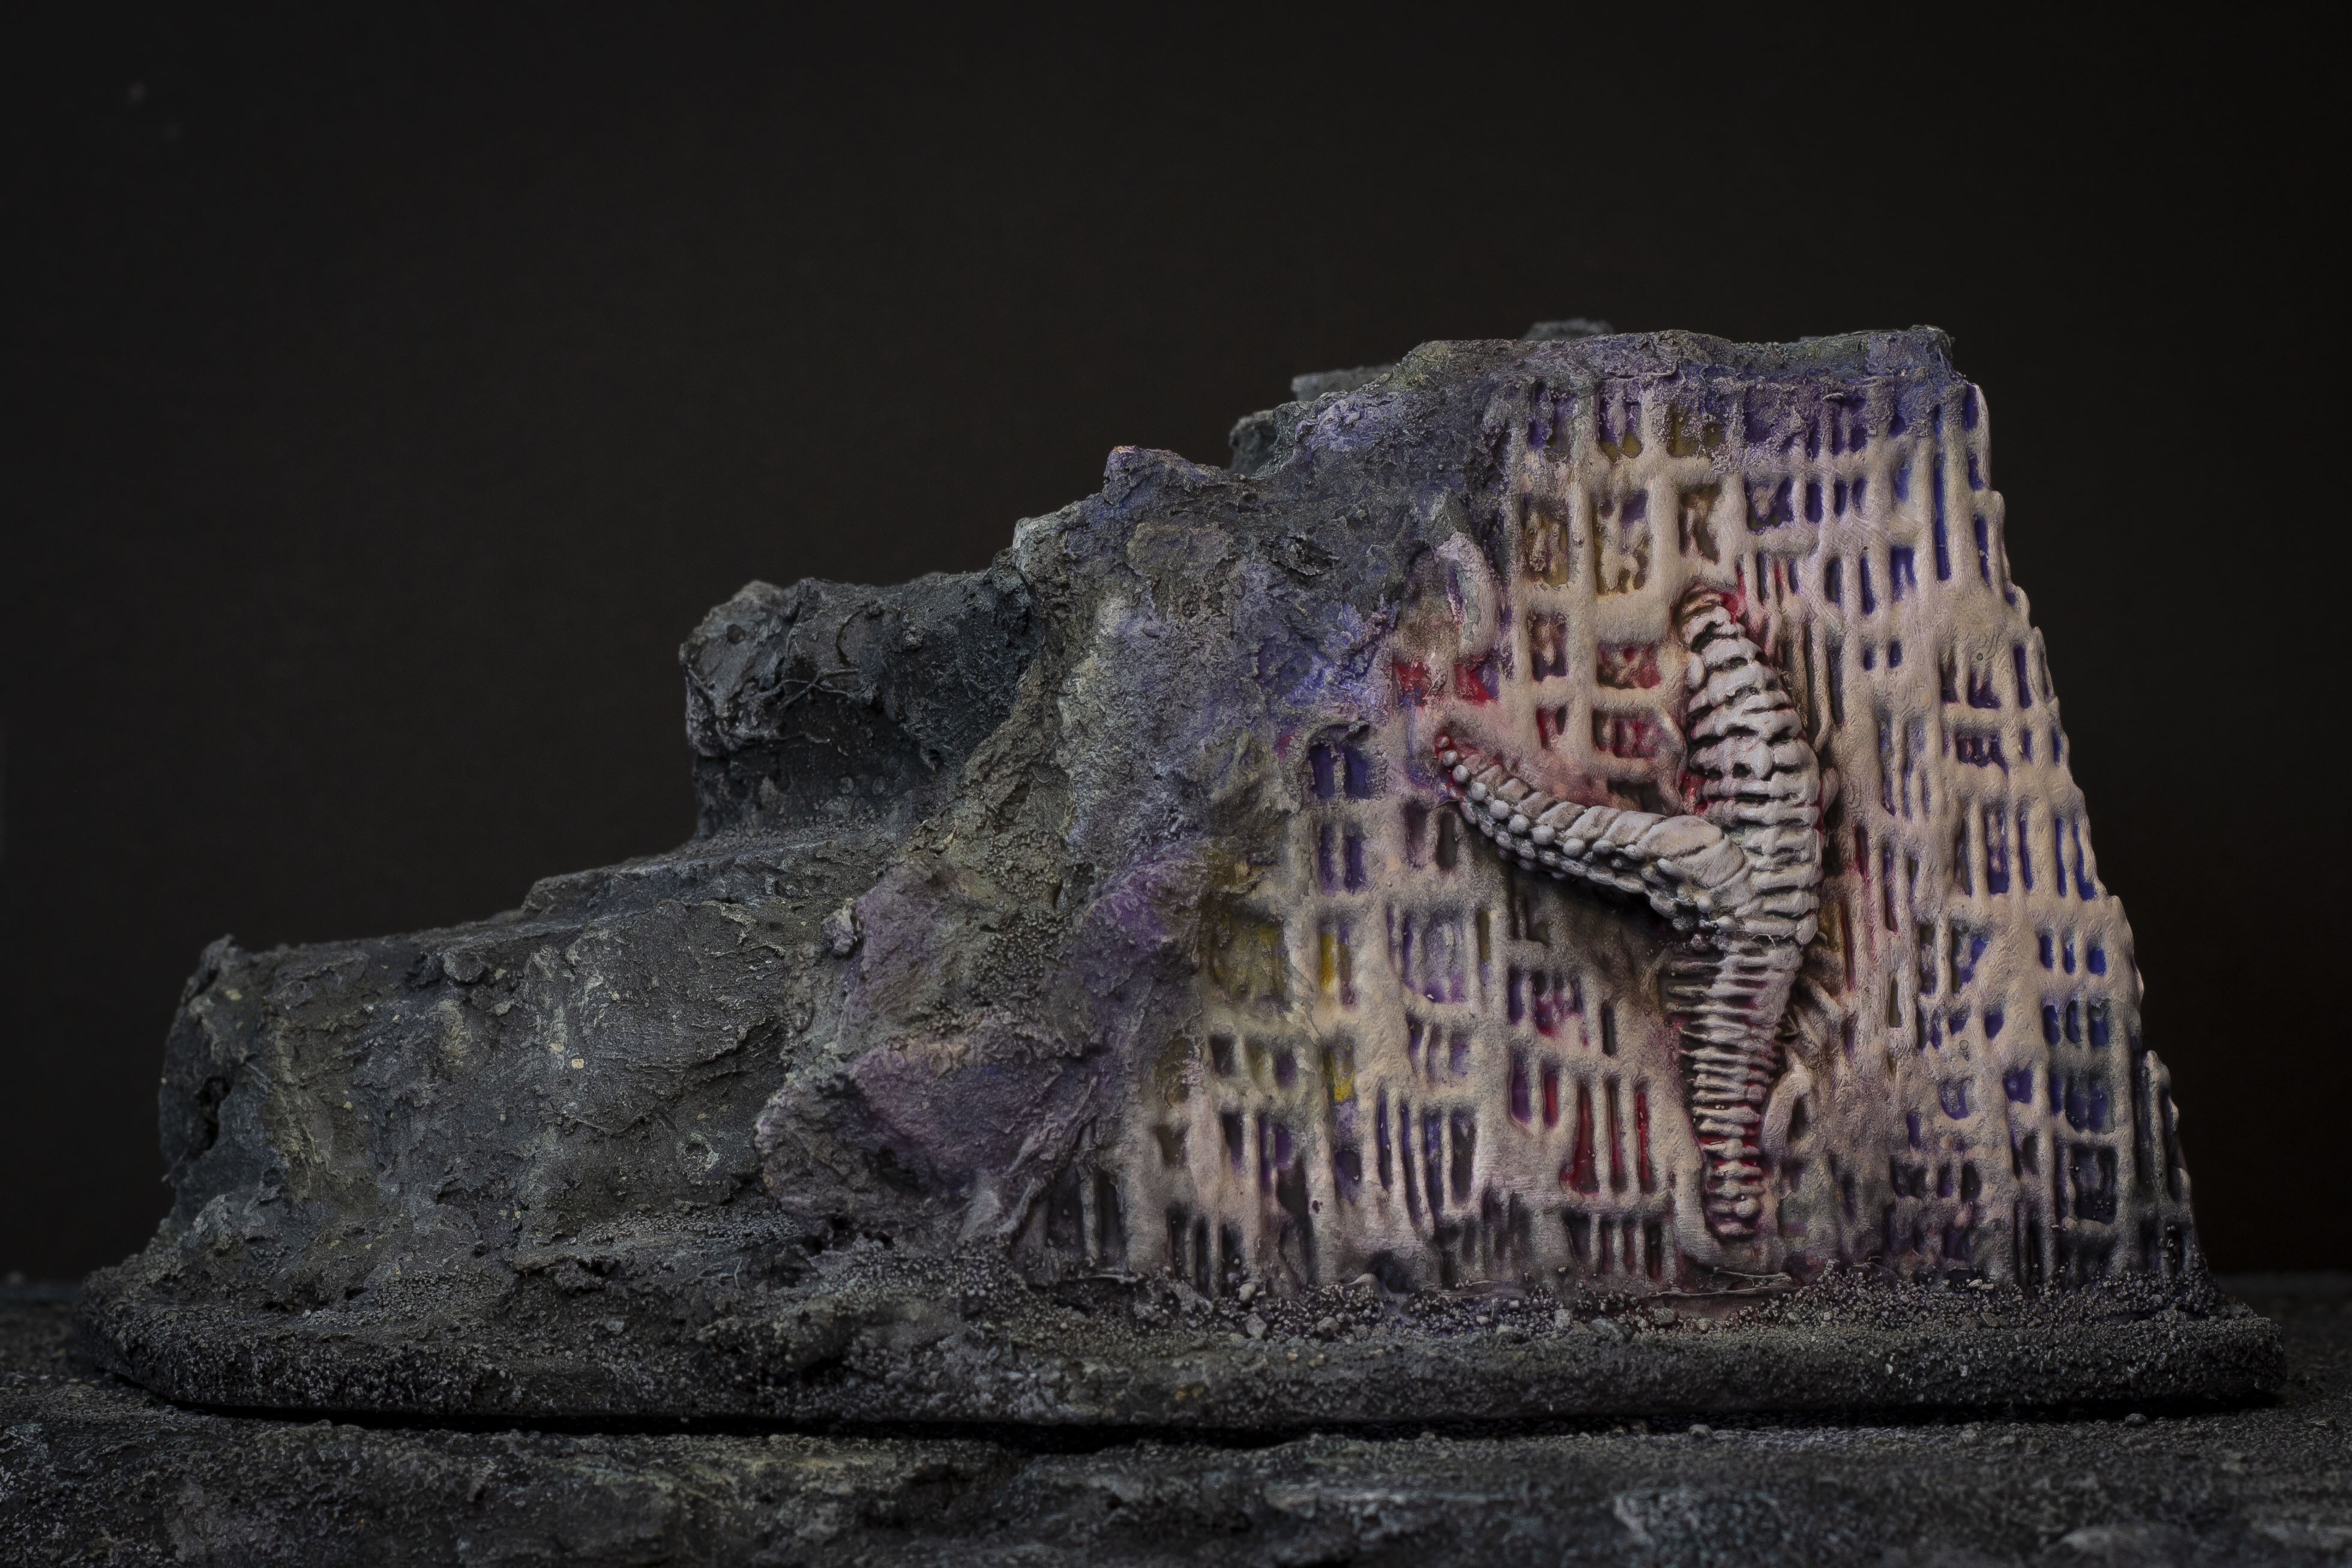
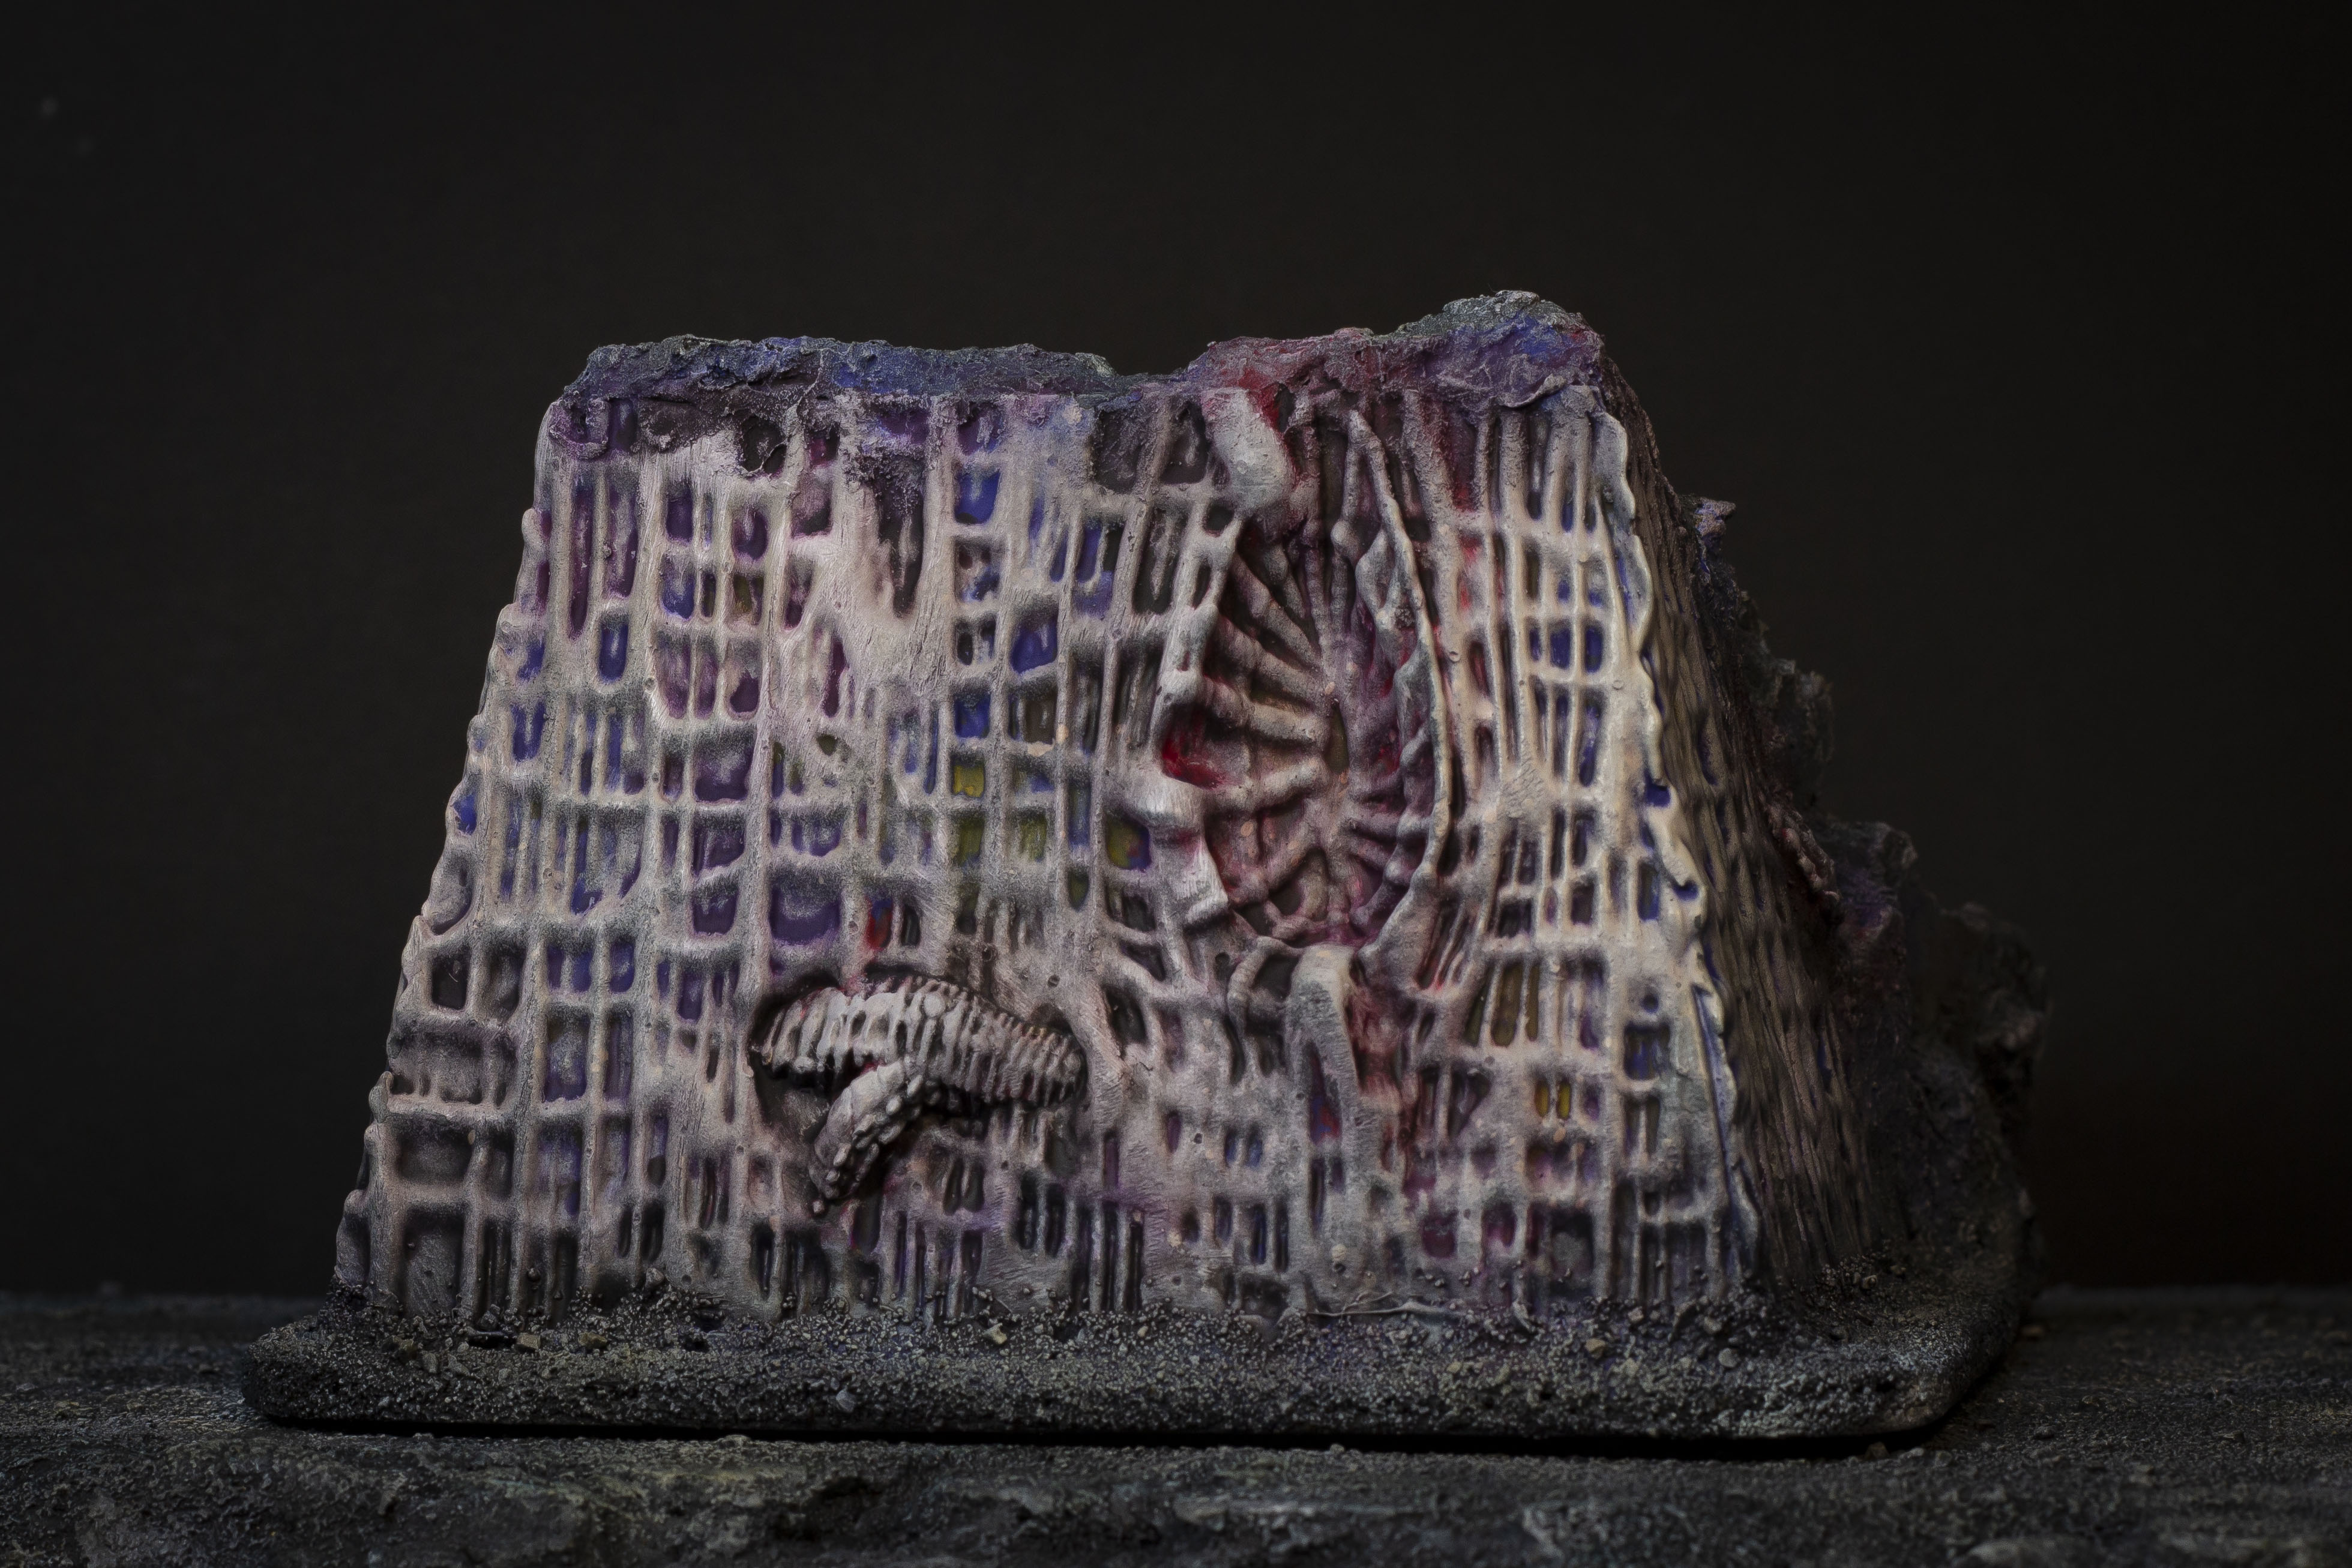
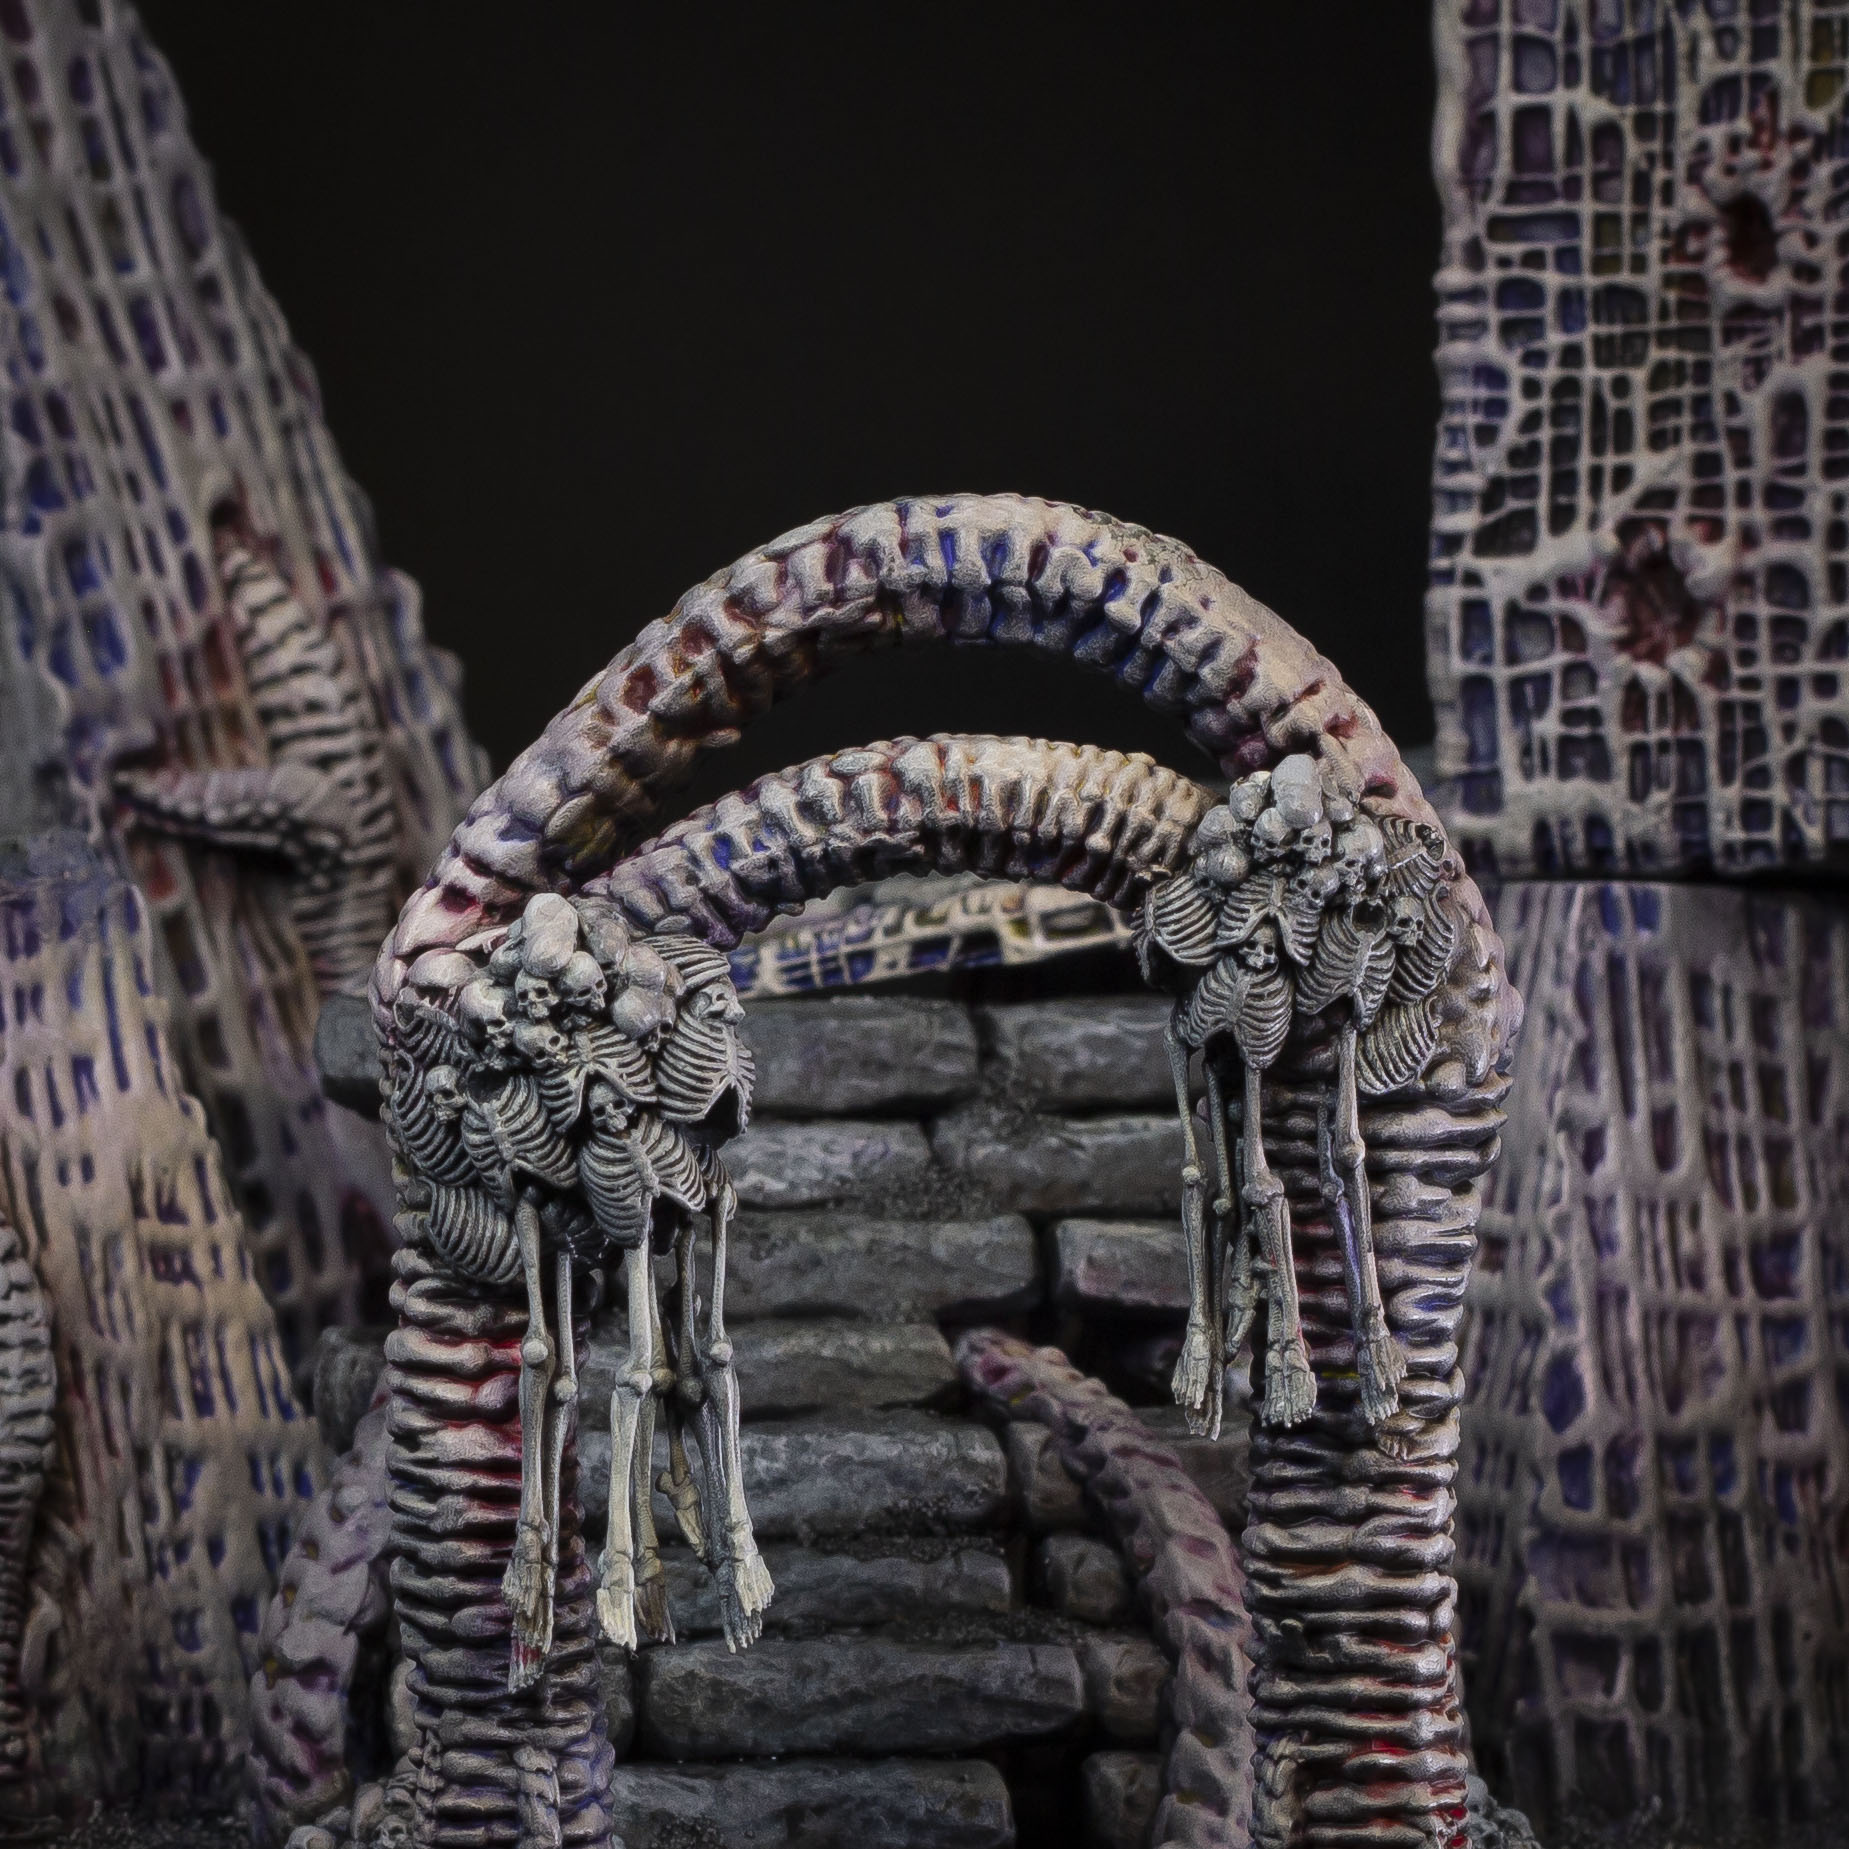
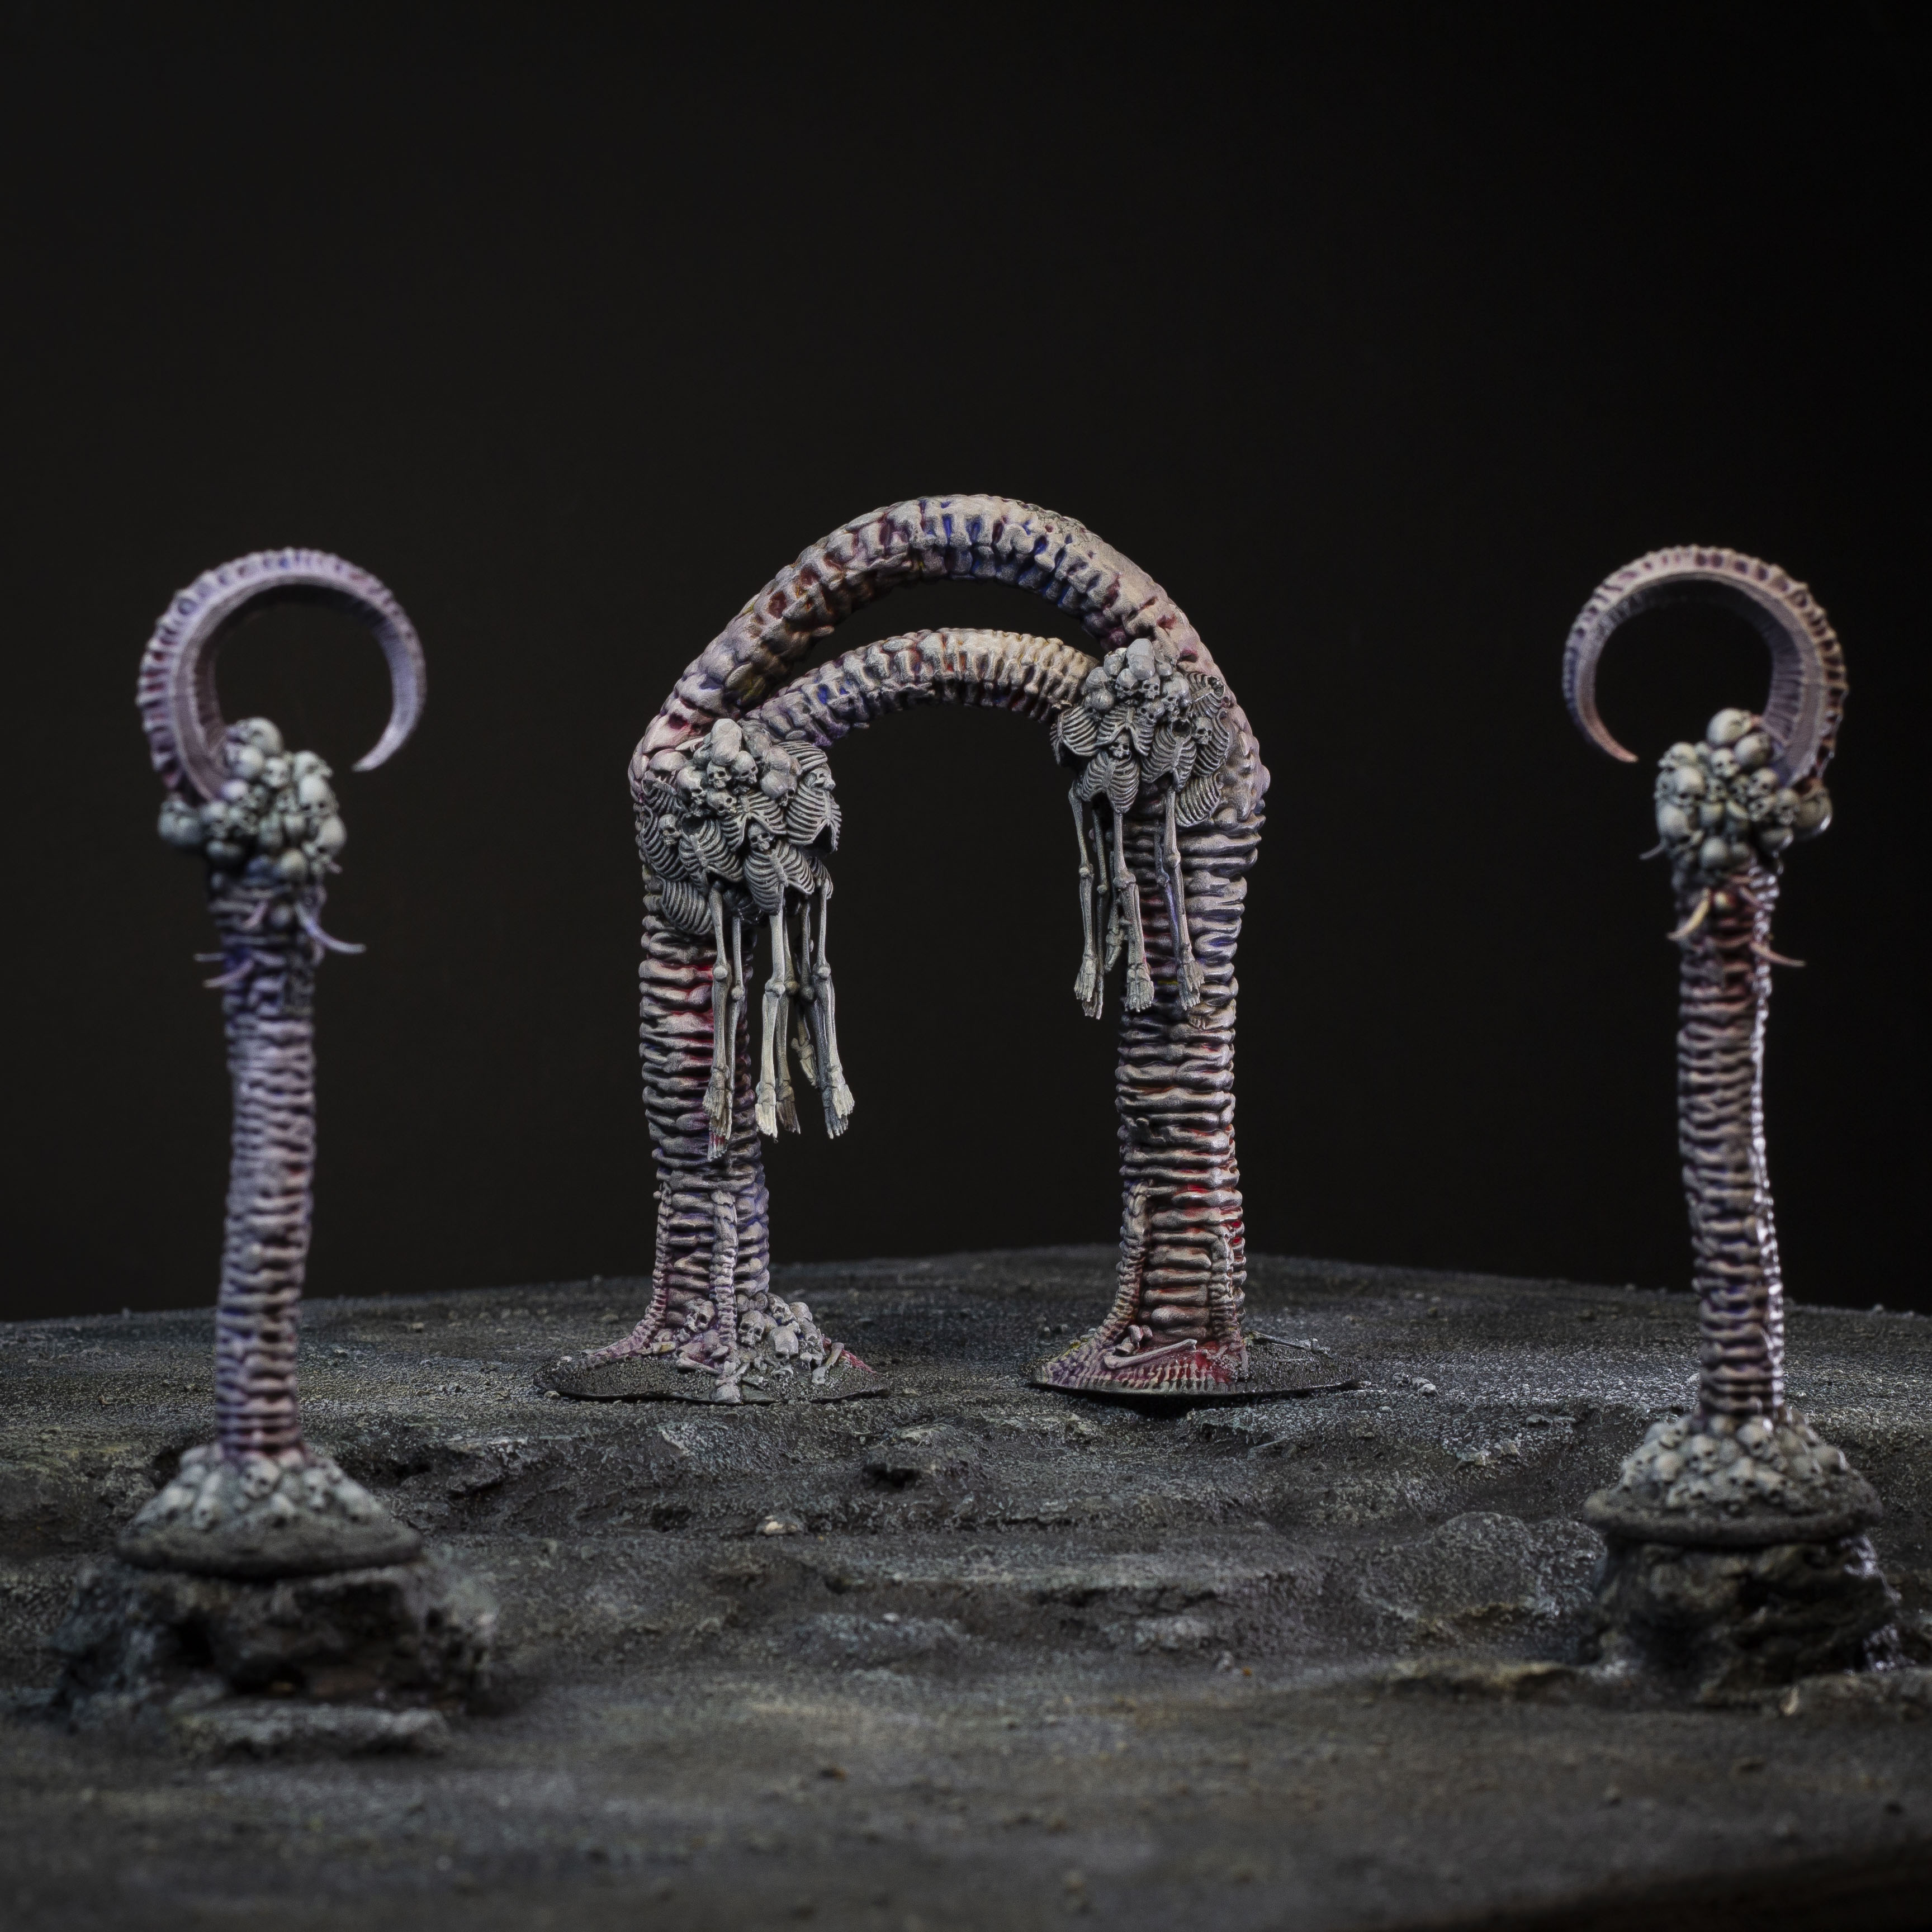
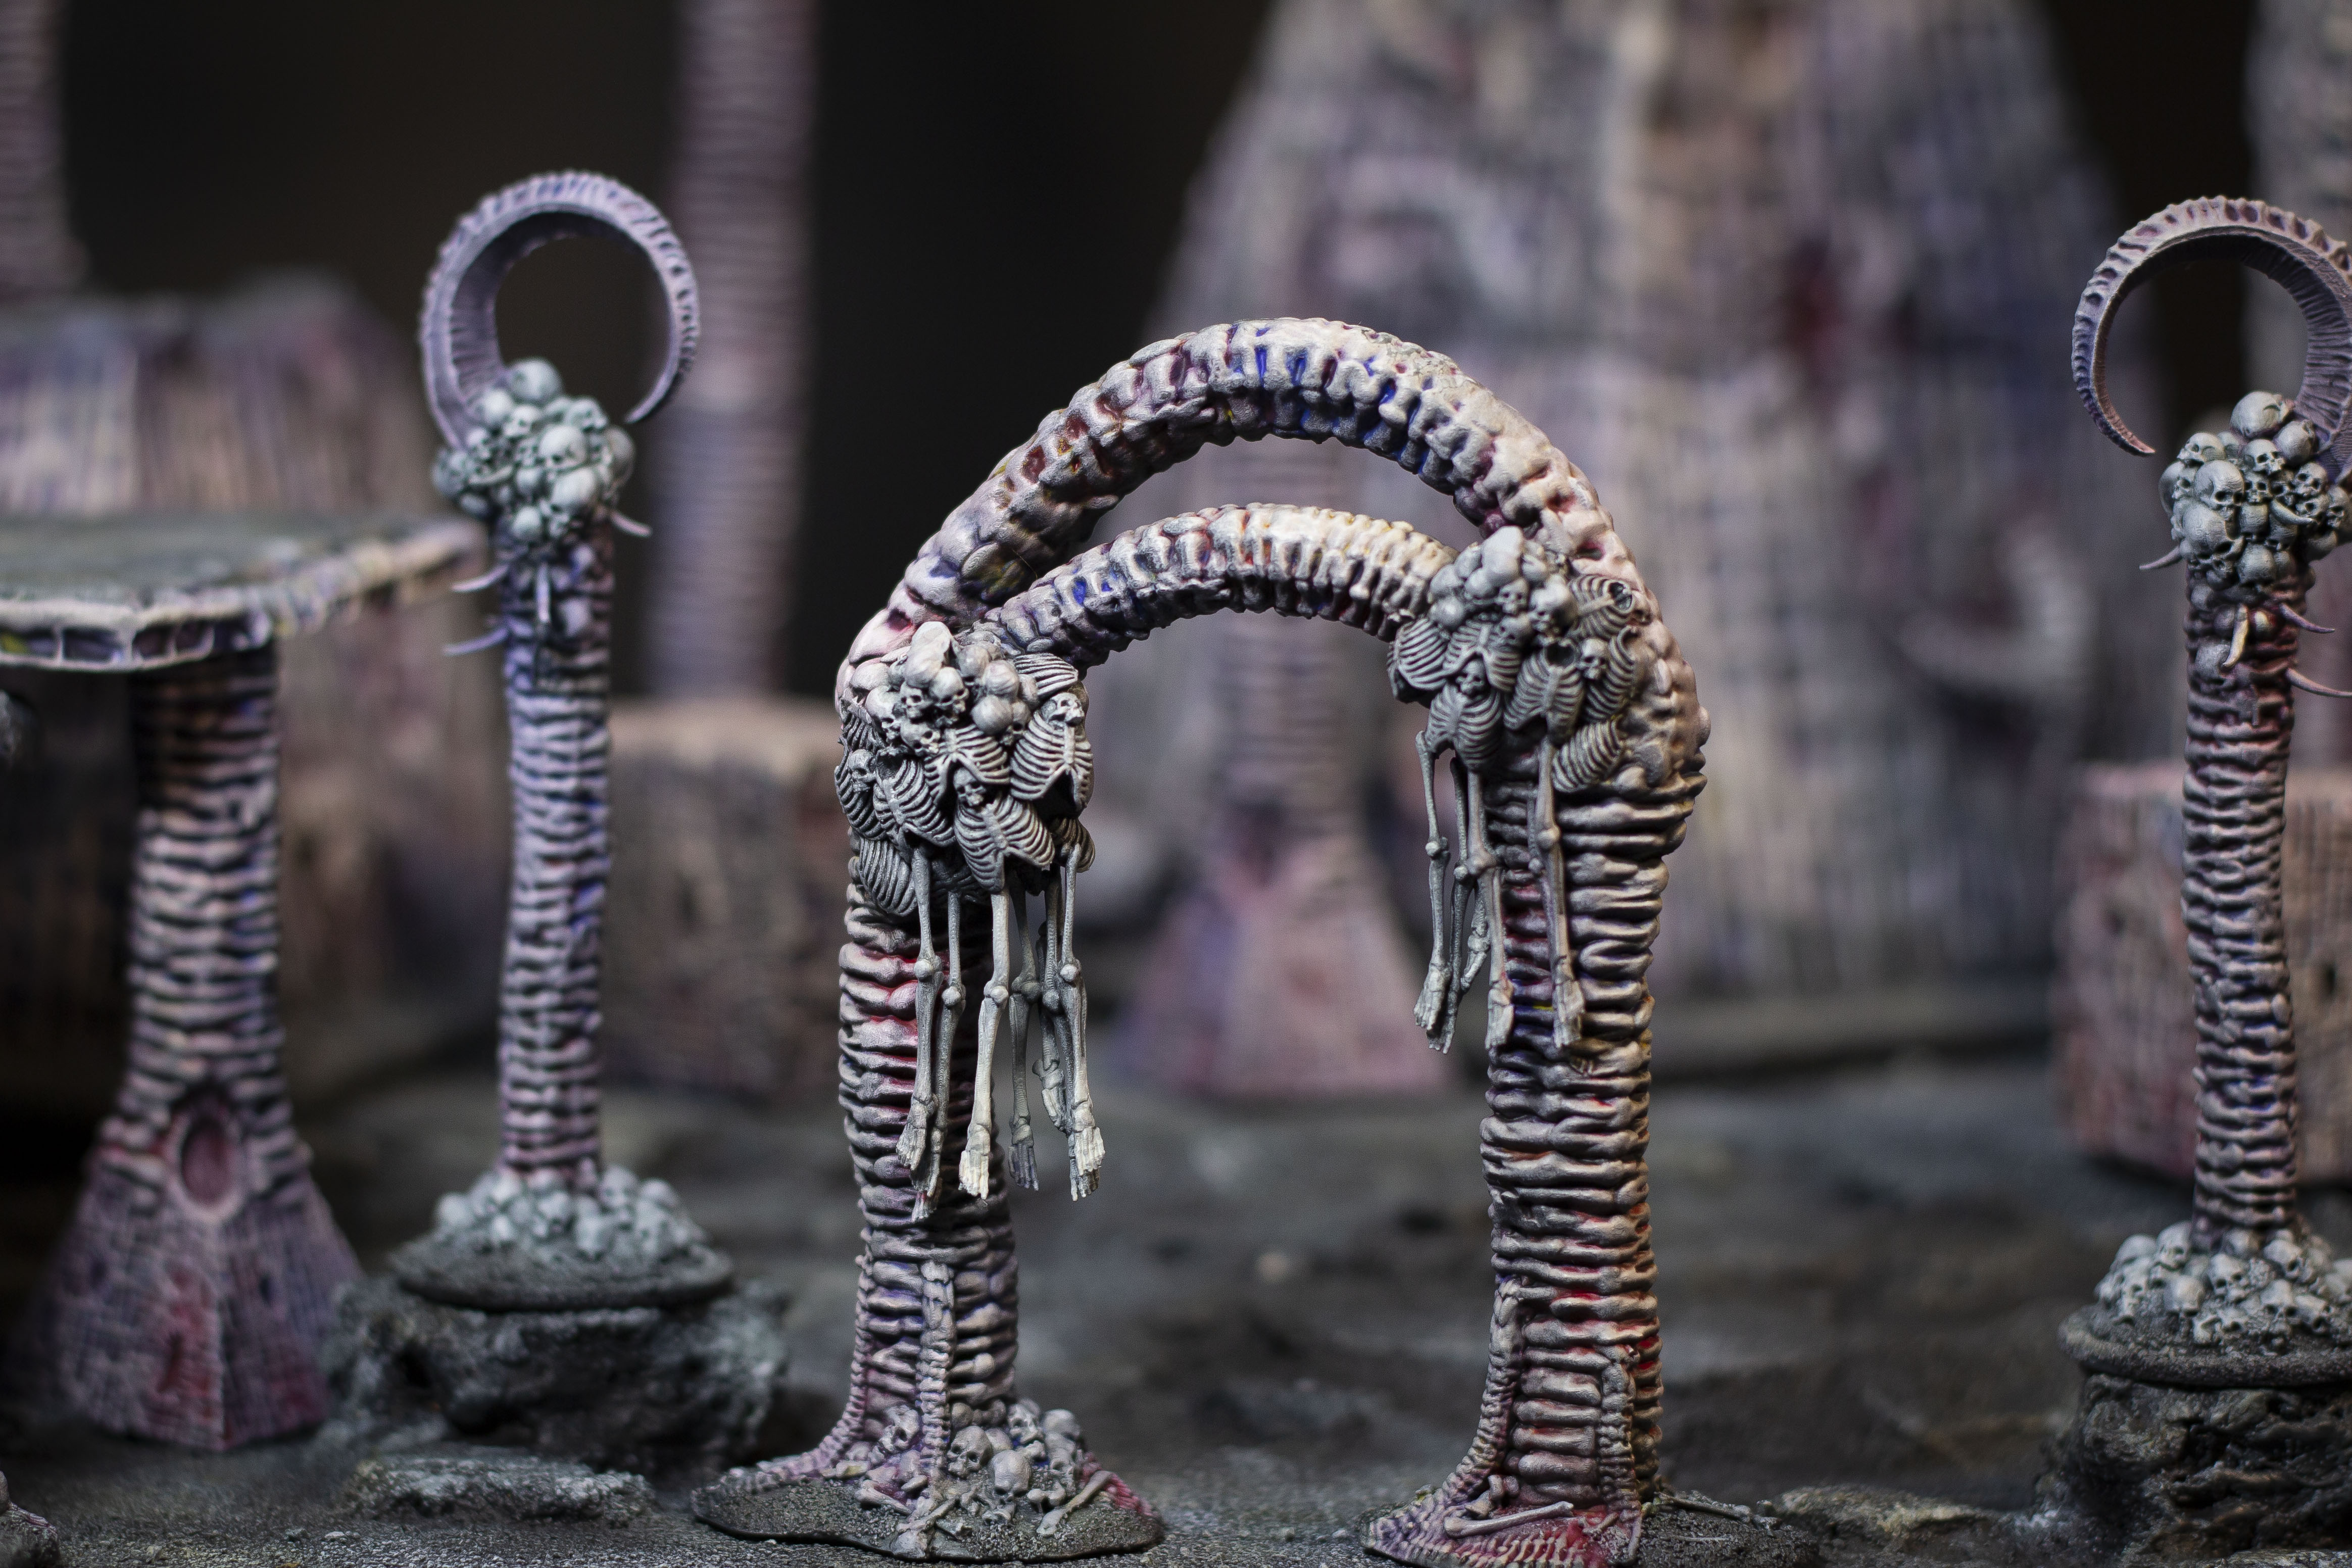
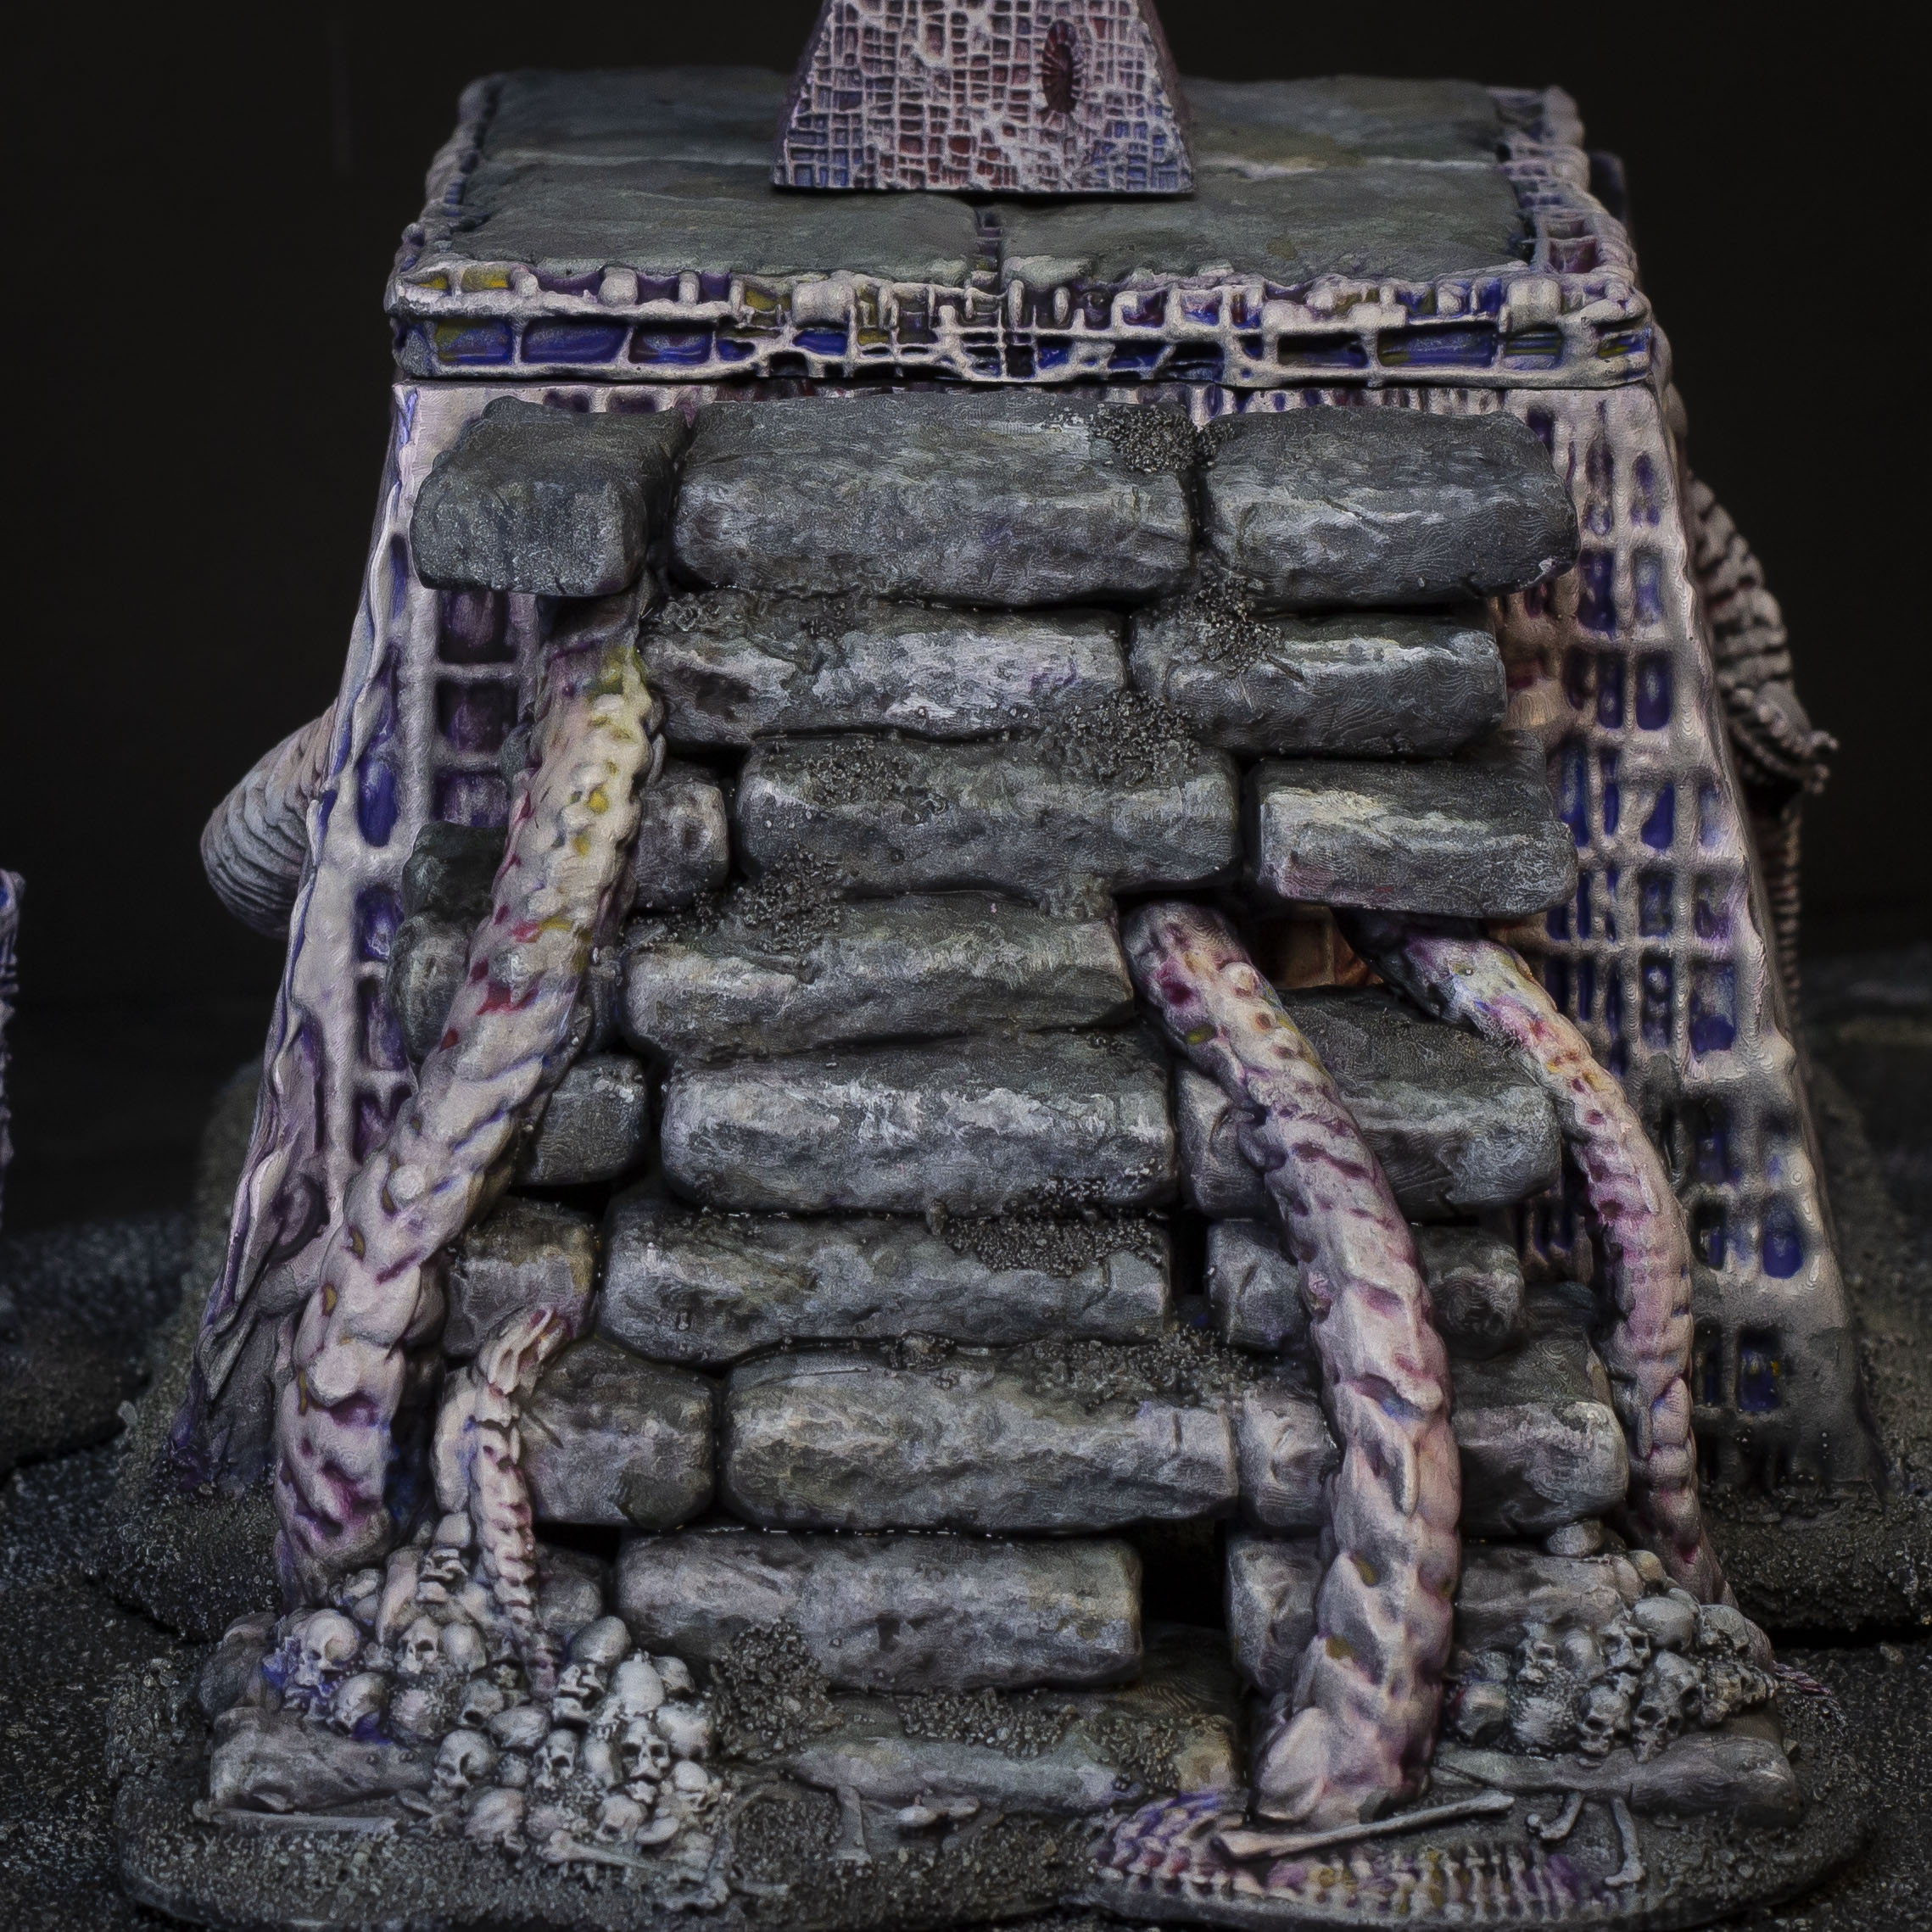
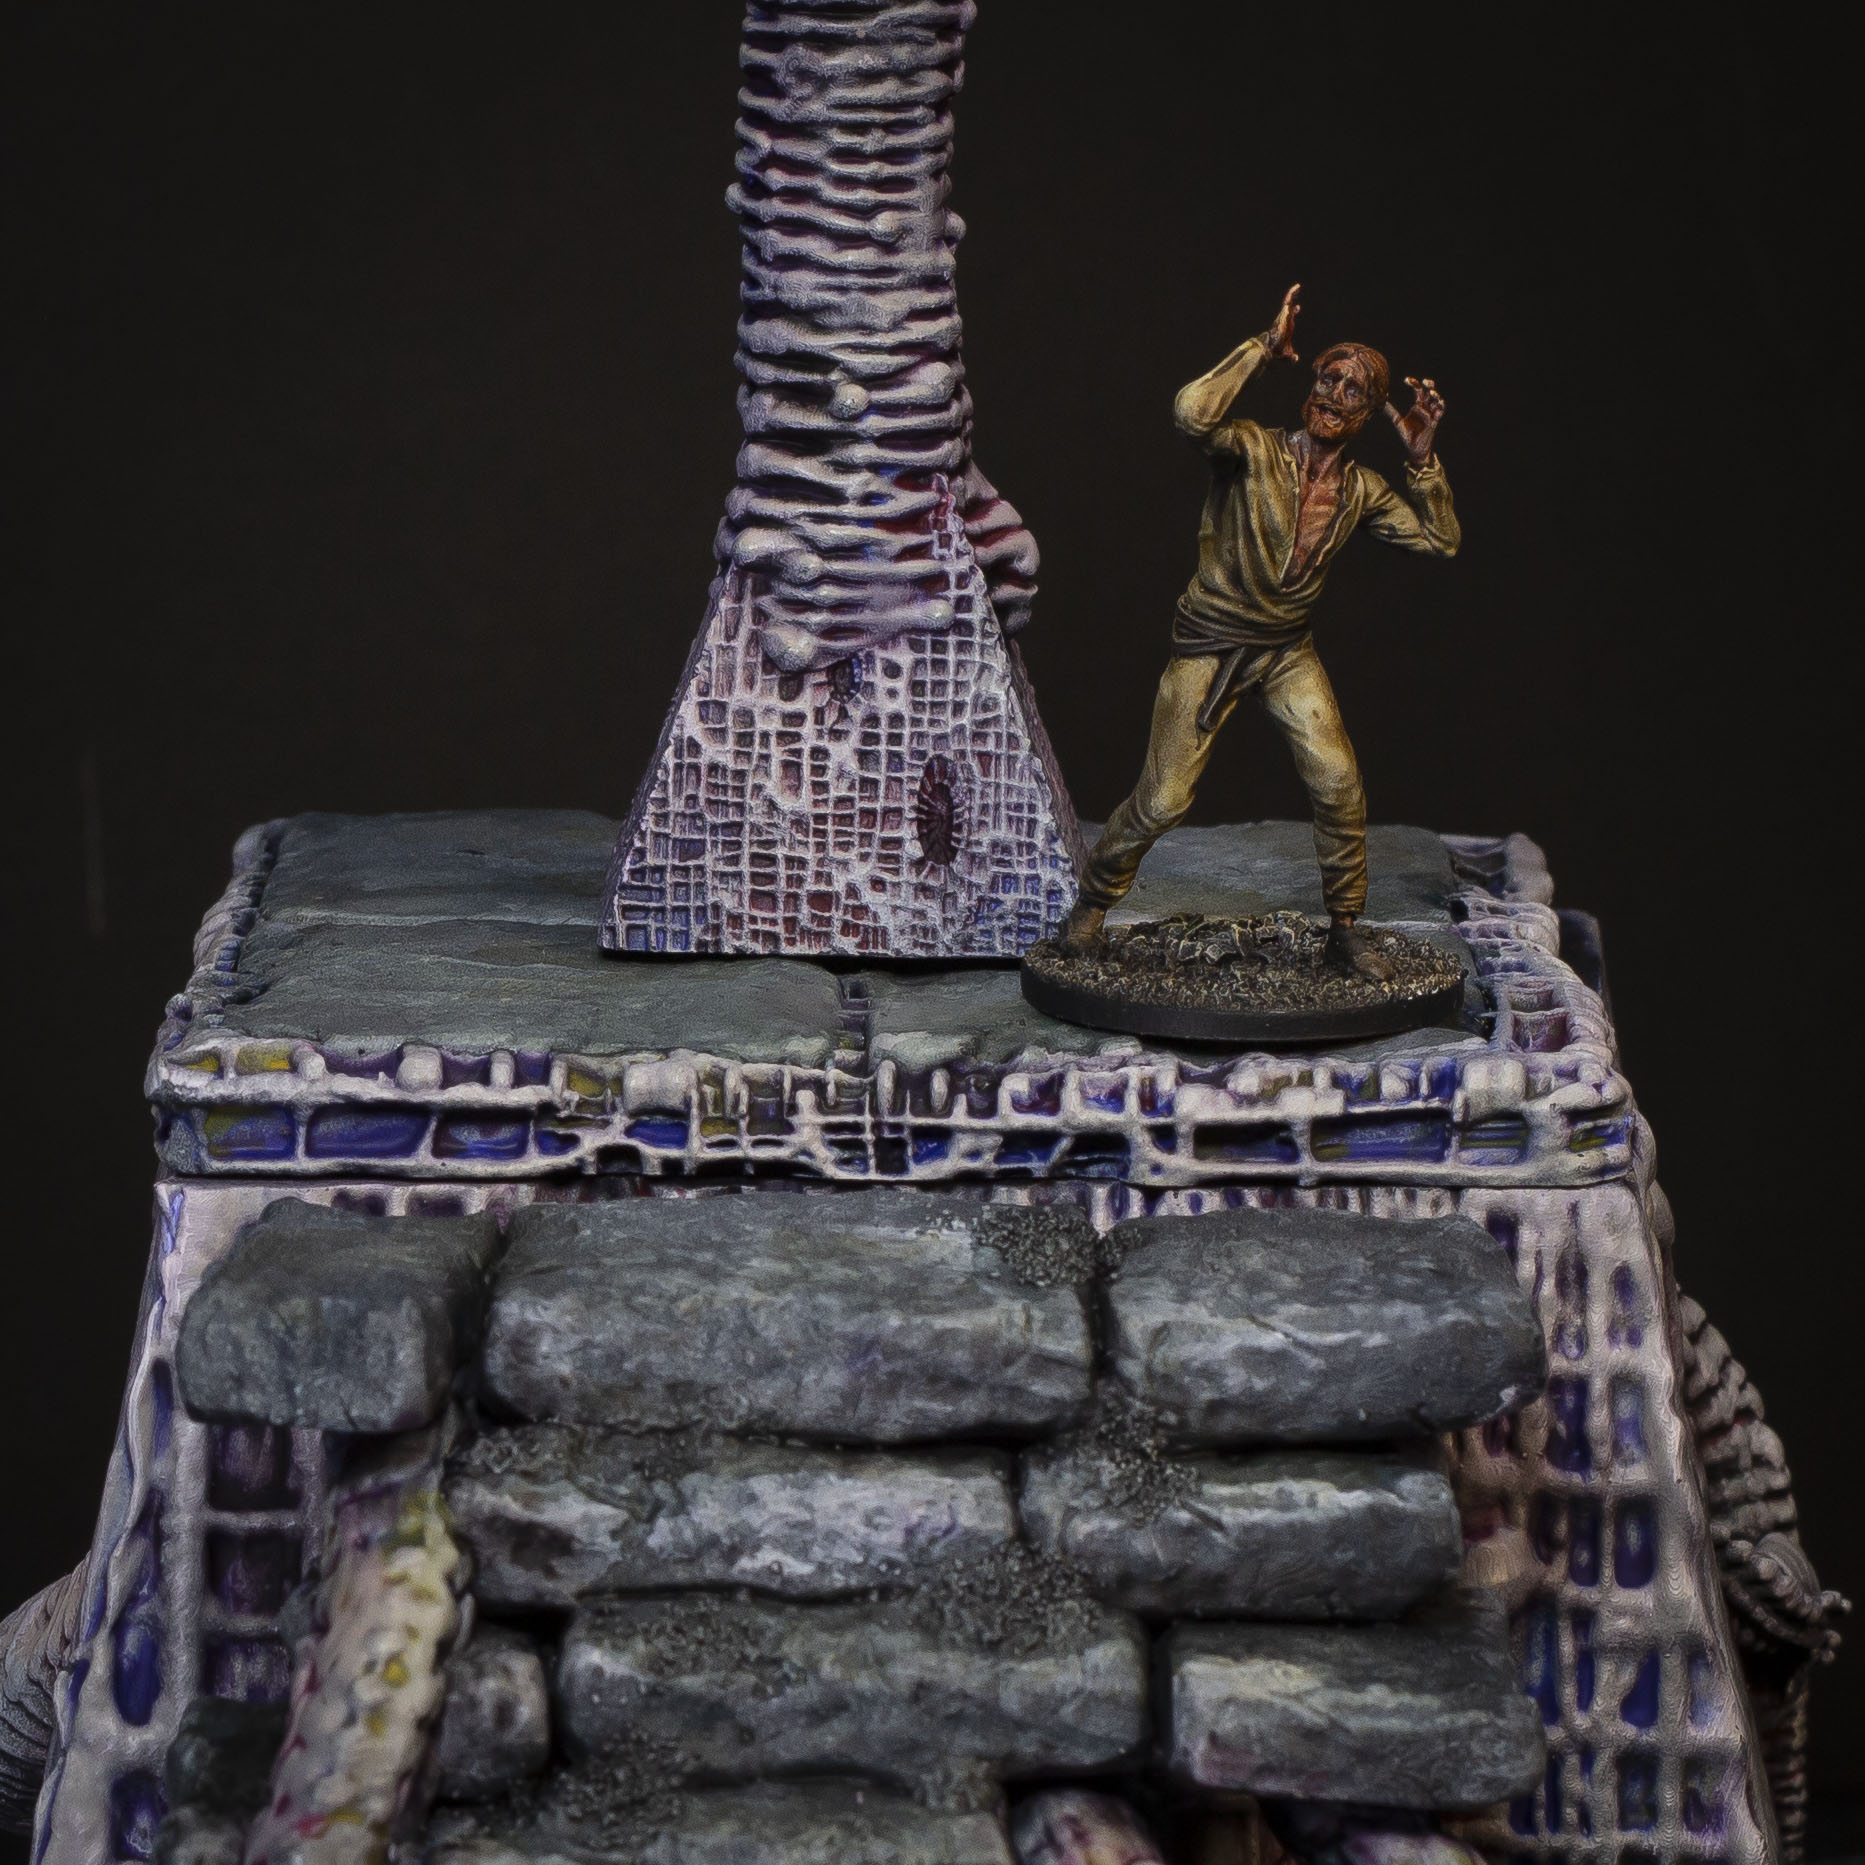
Here they are!
Finishing
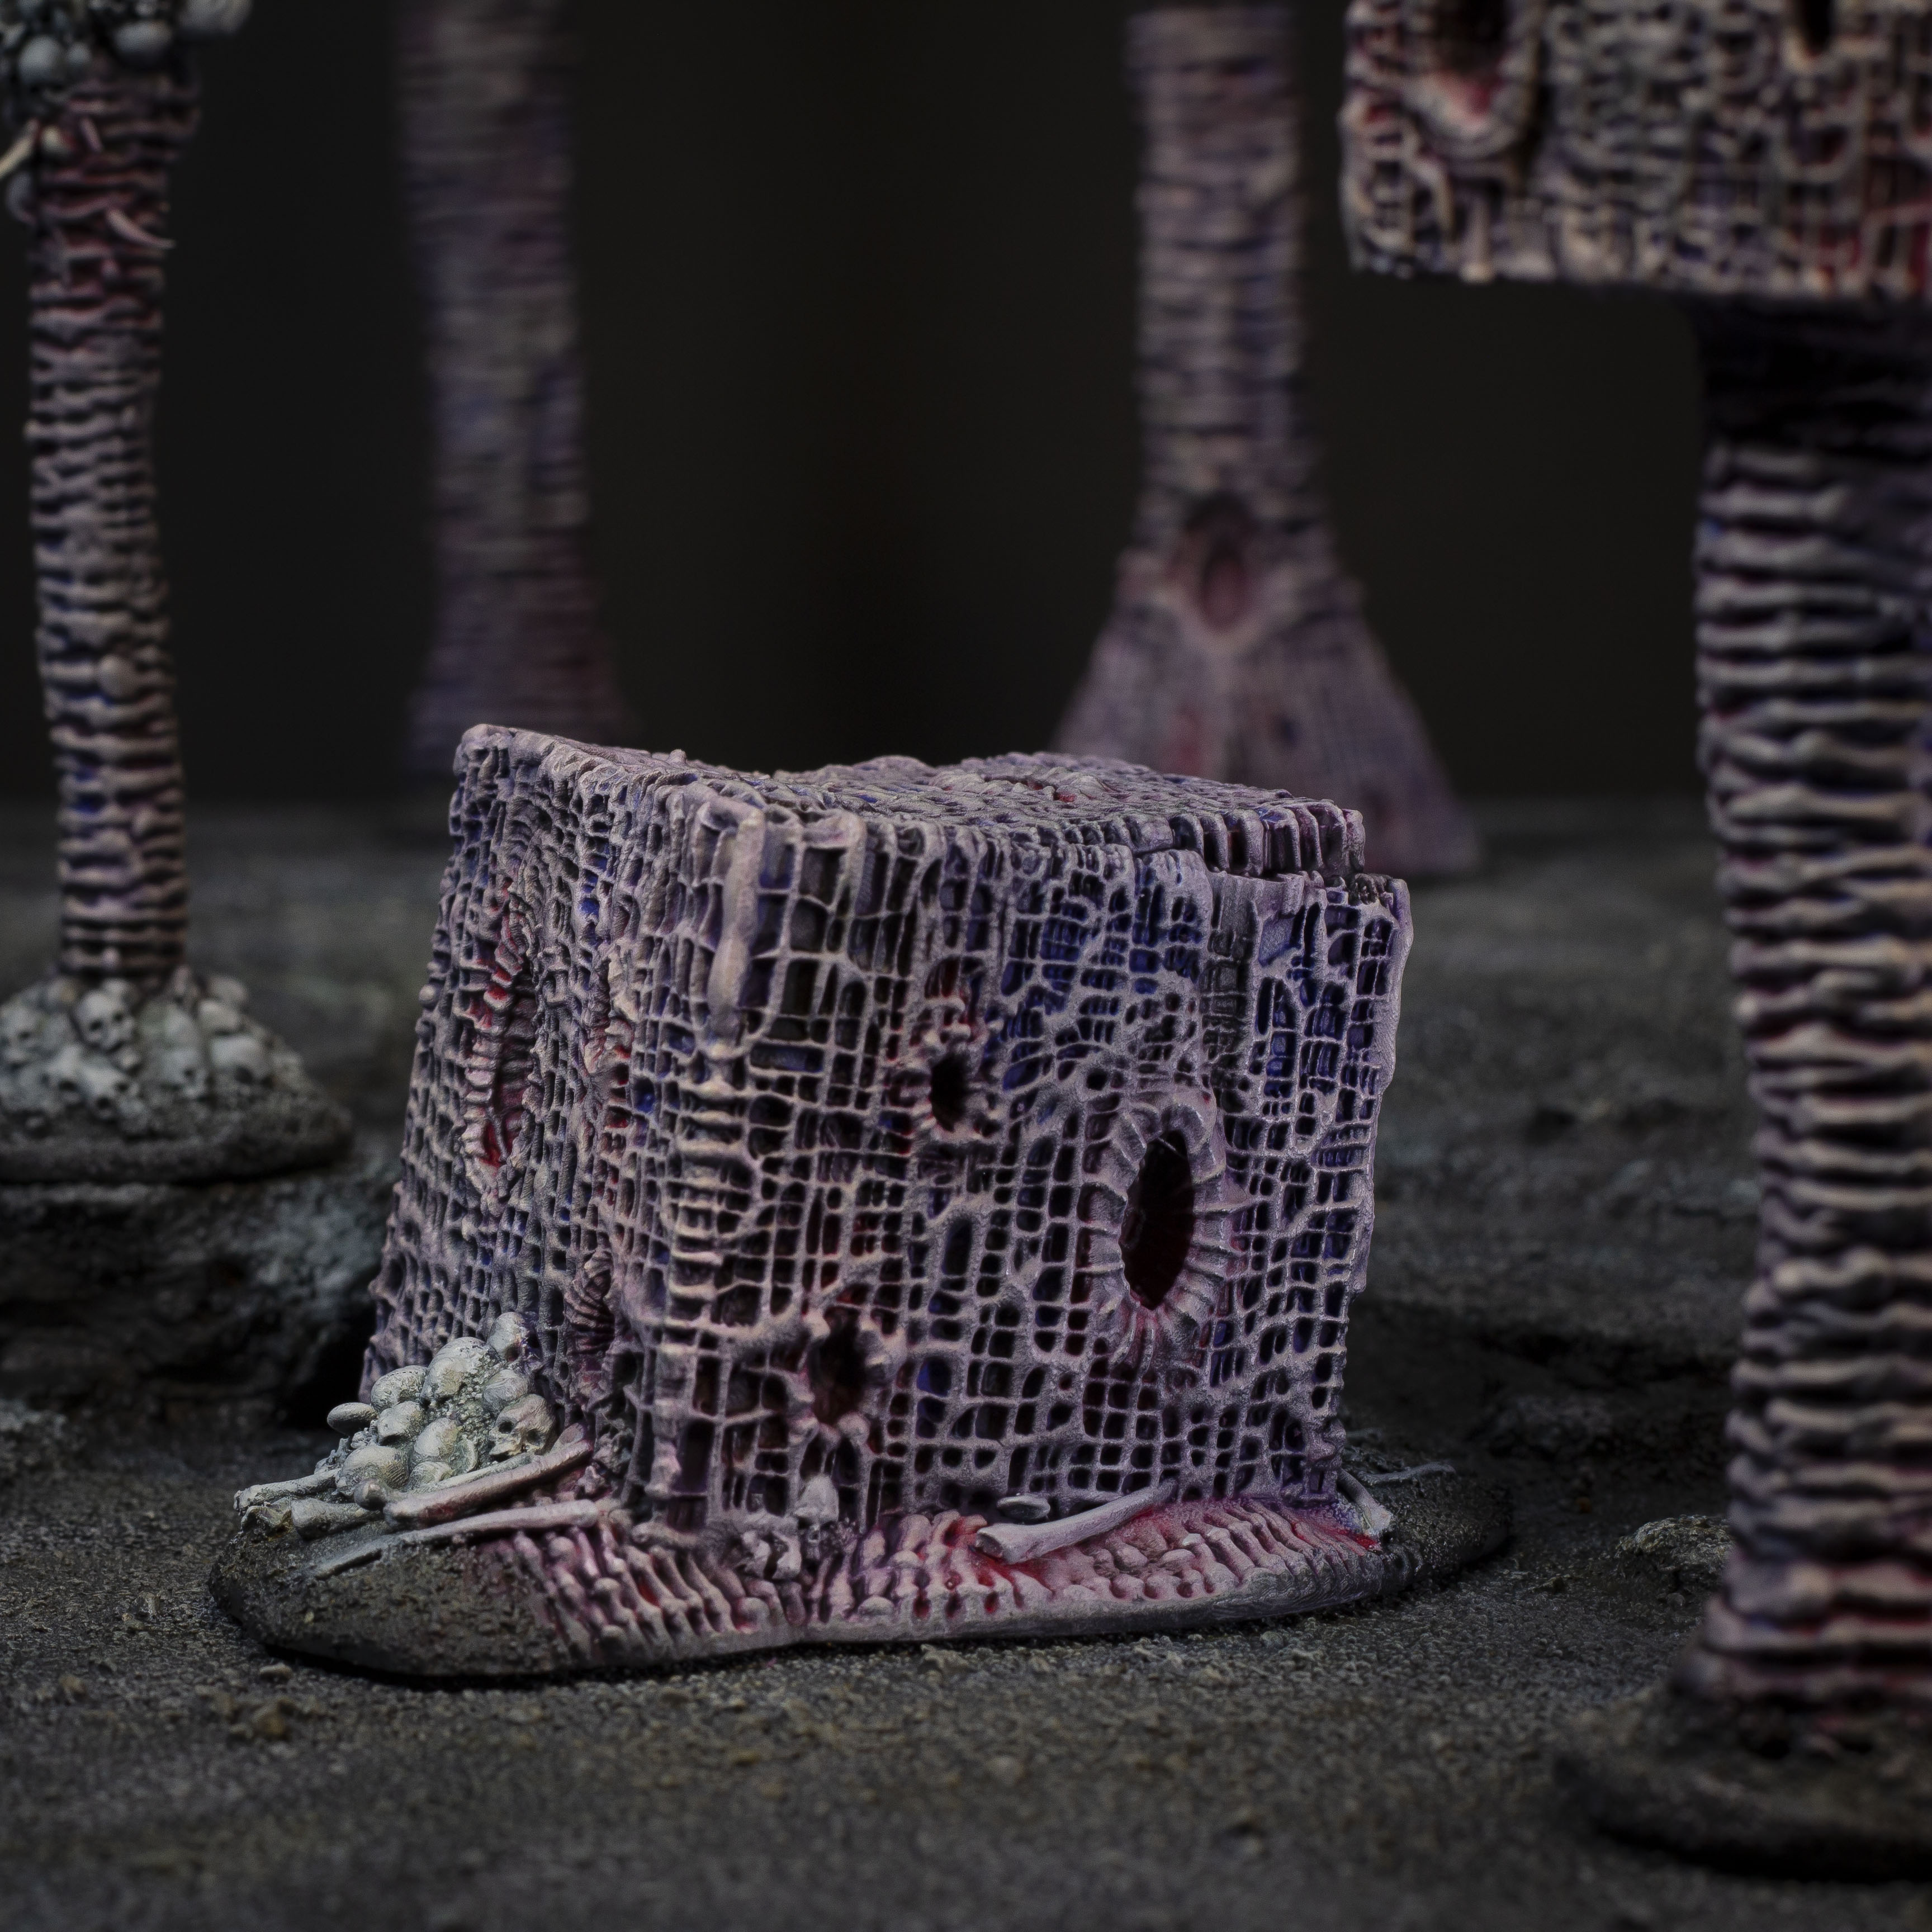
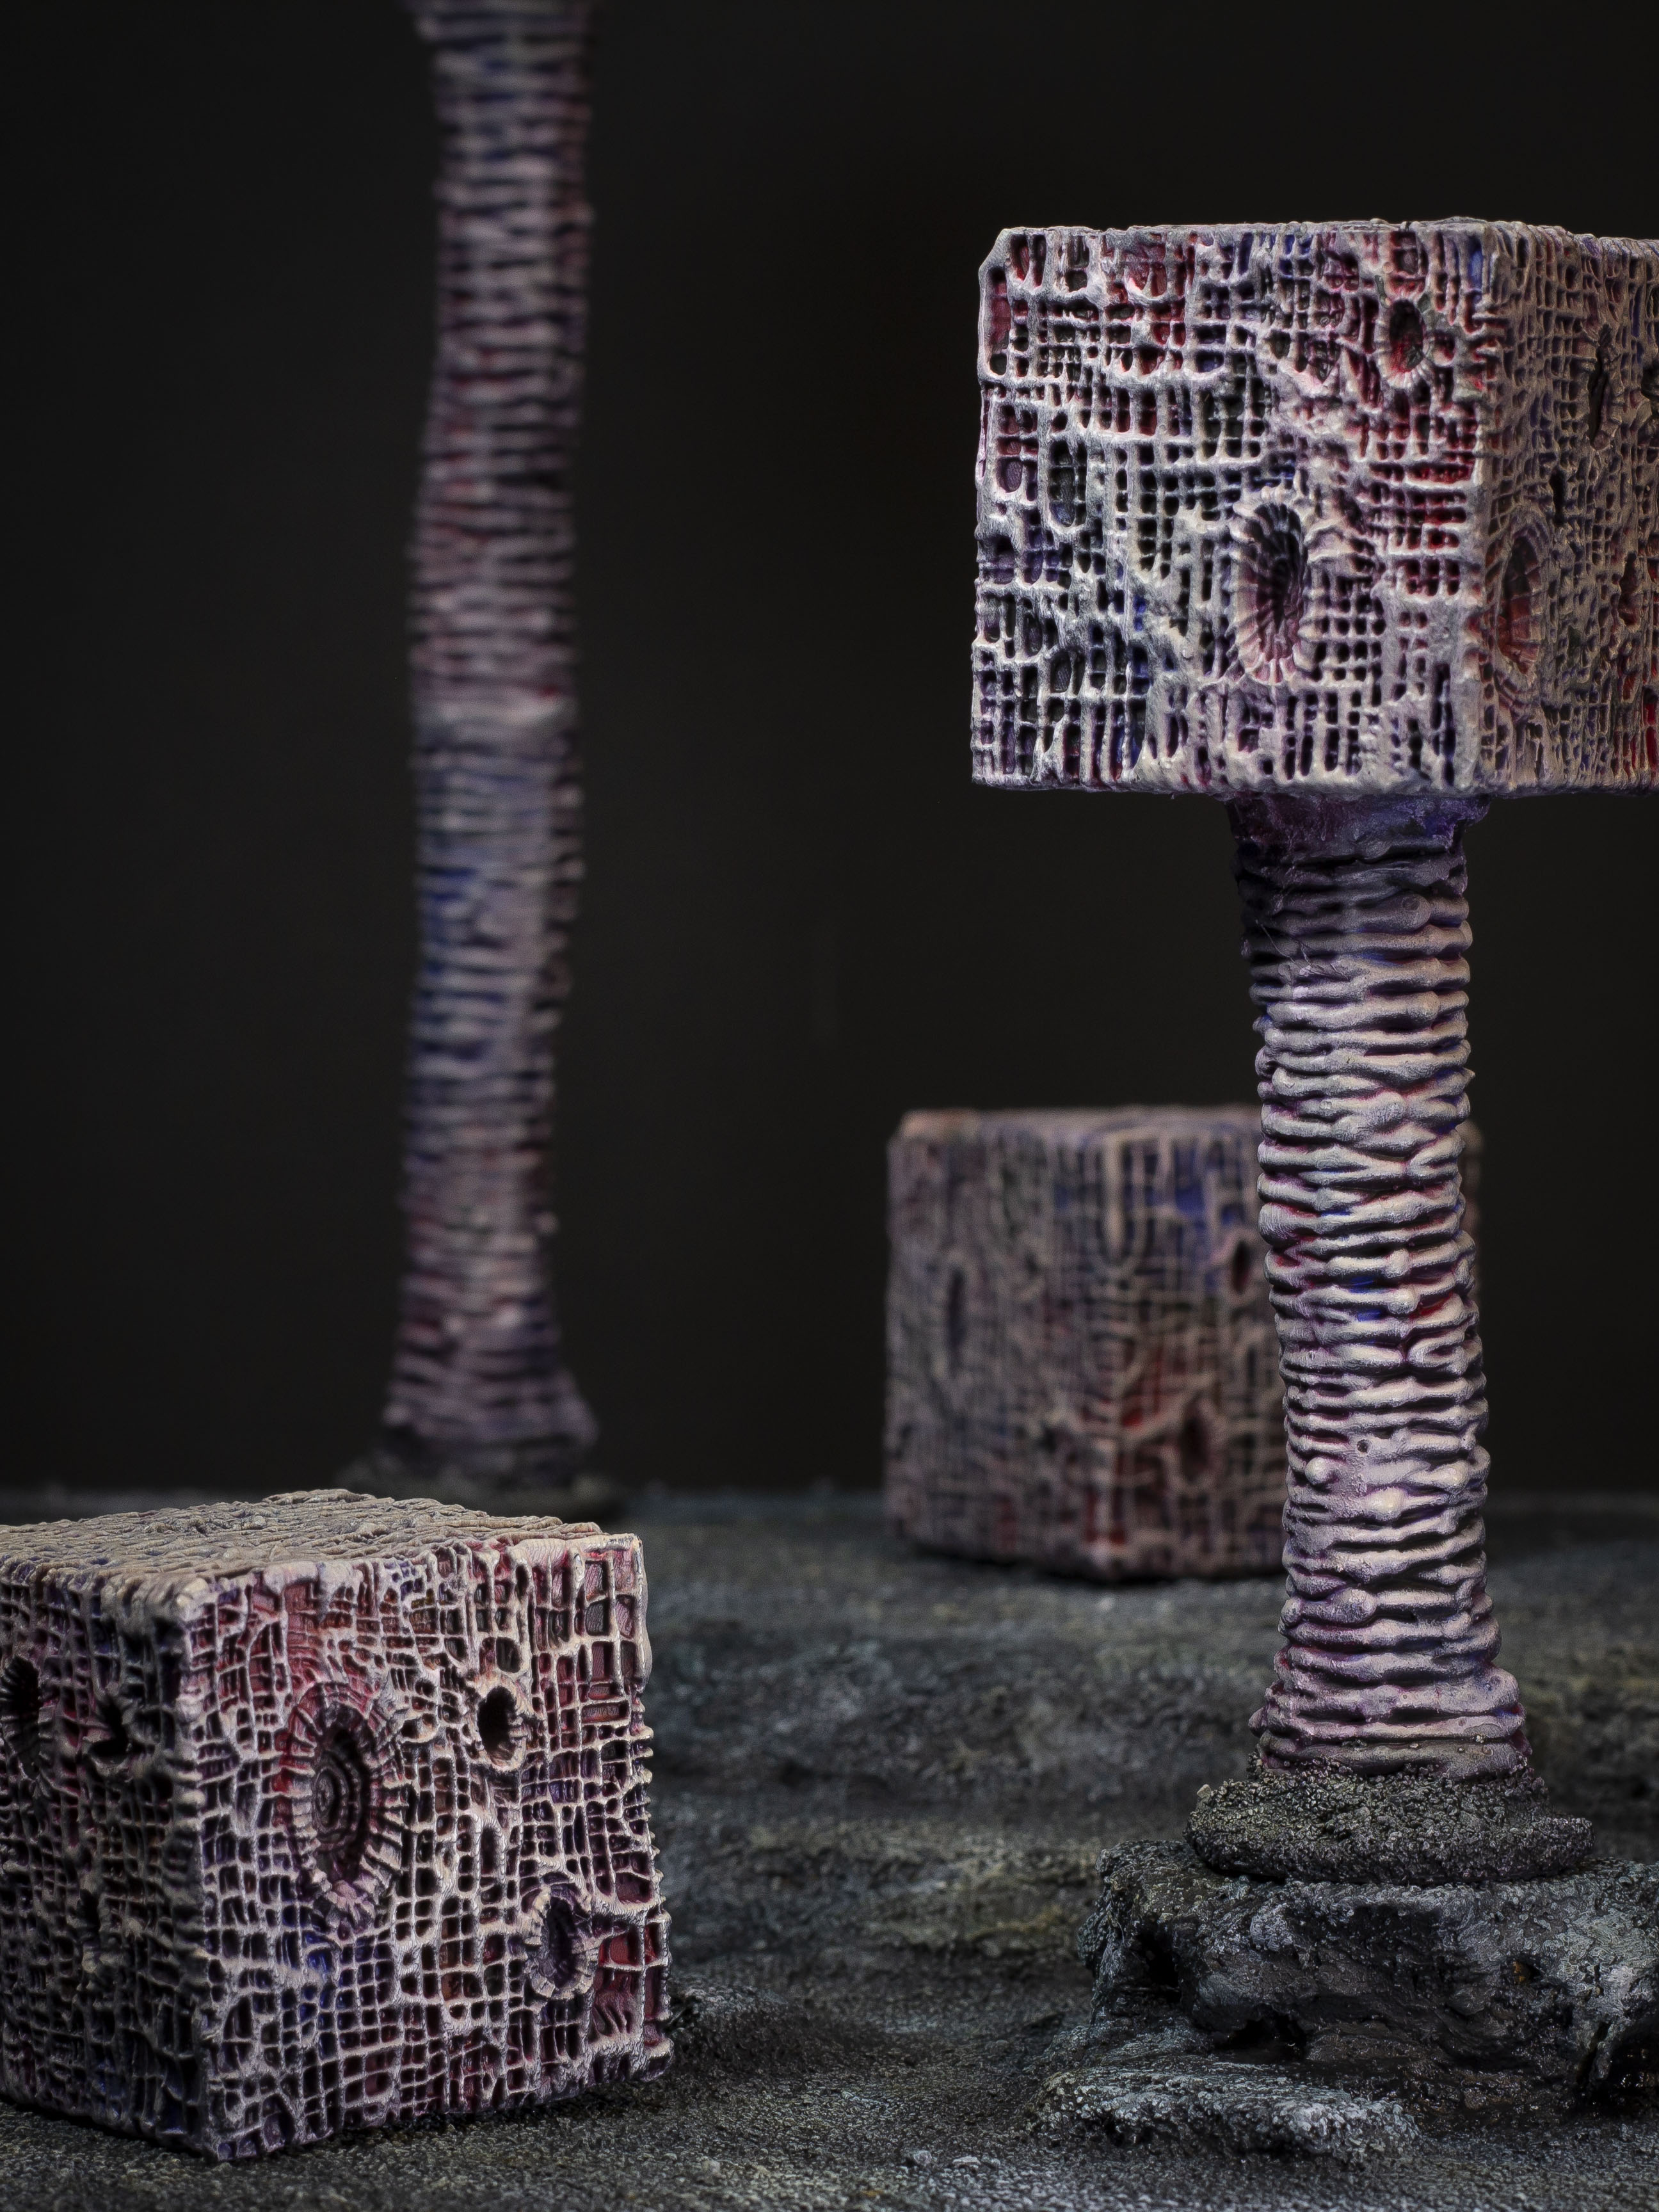
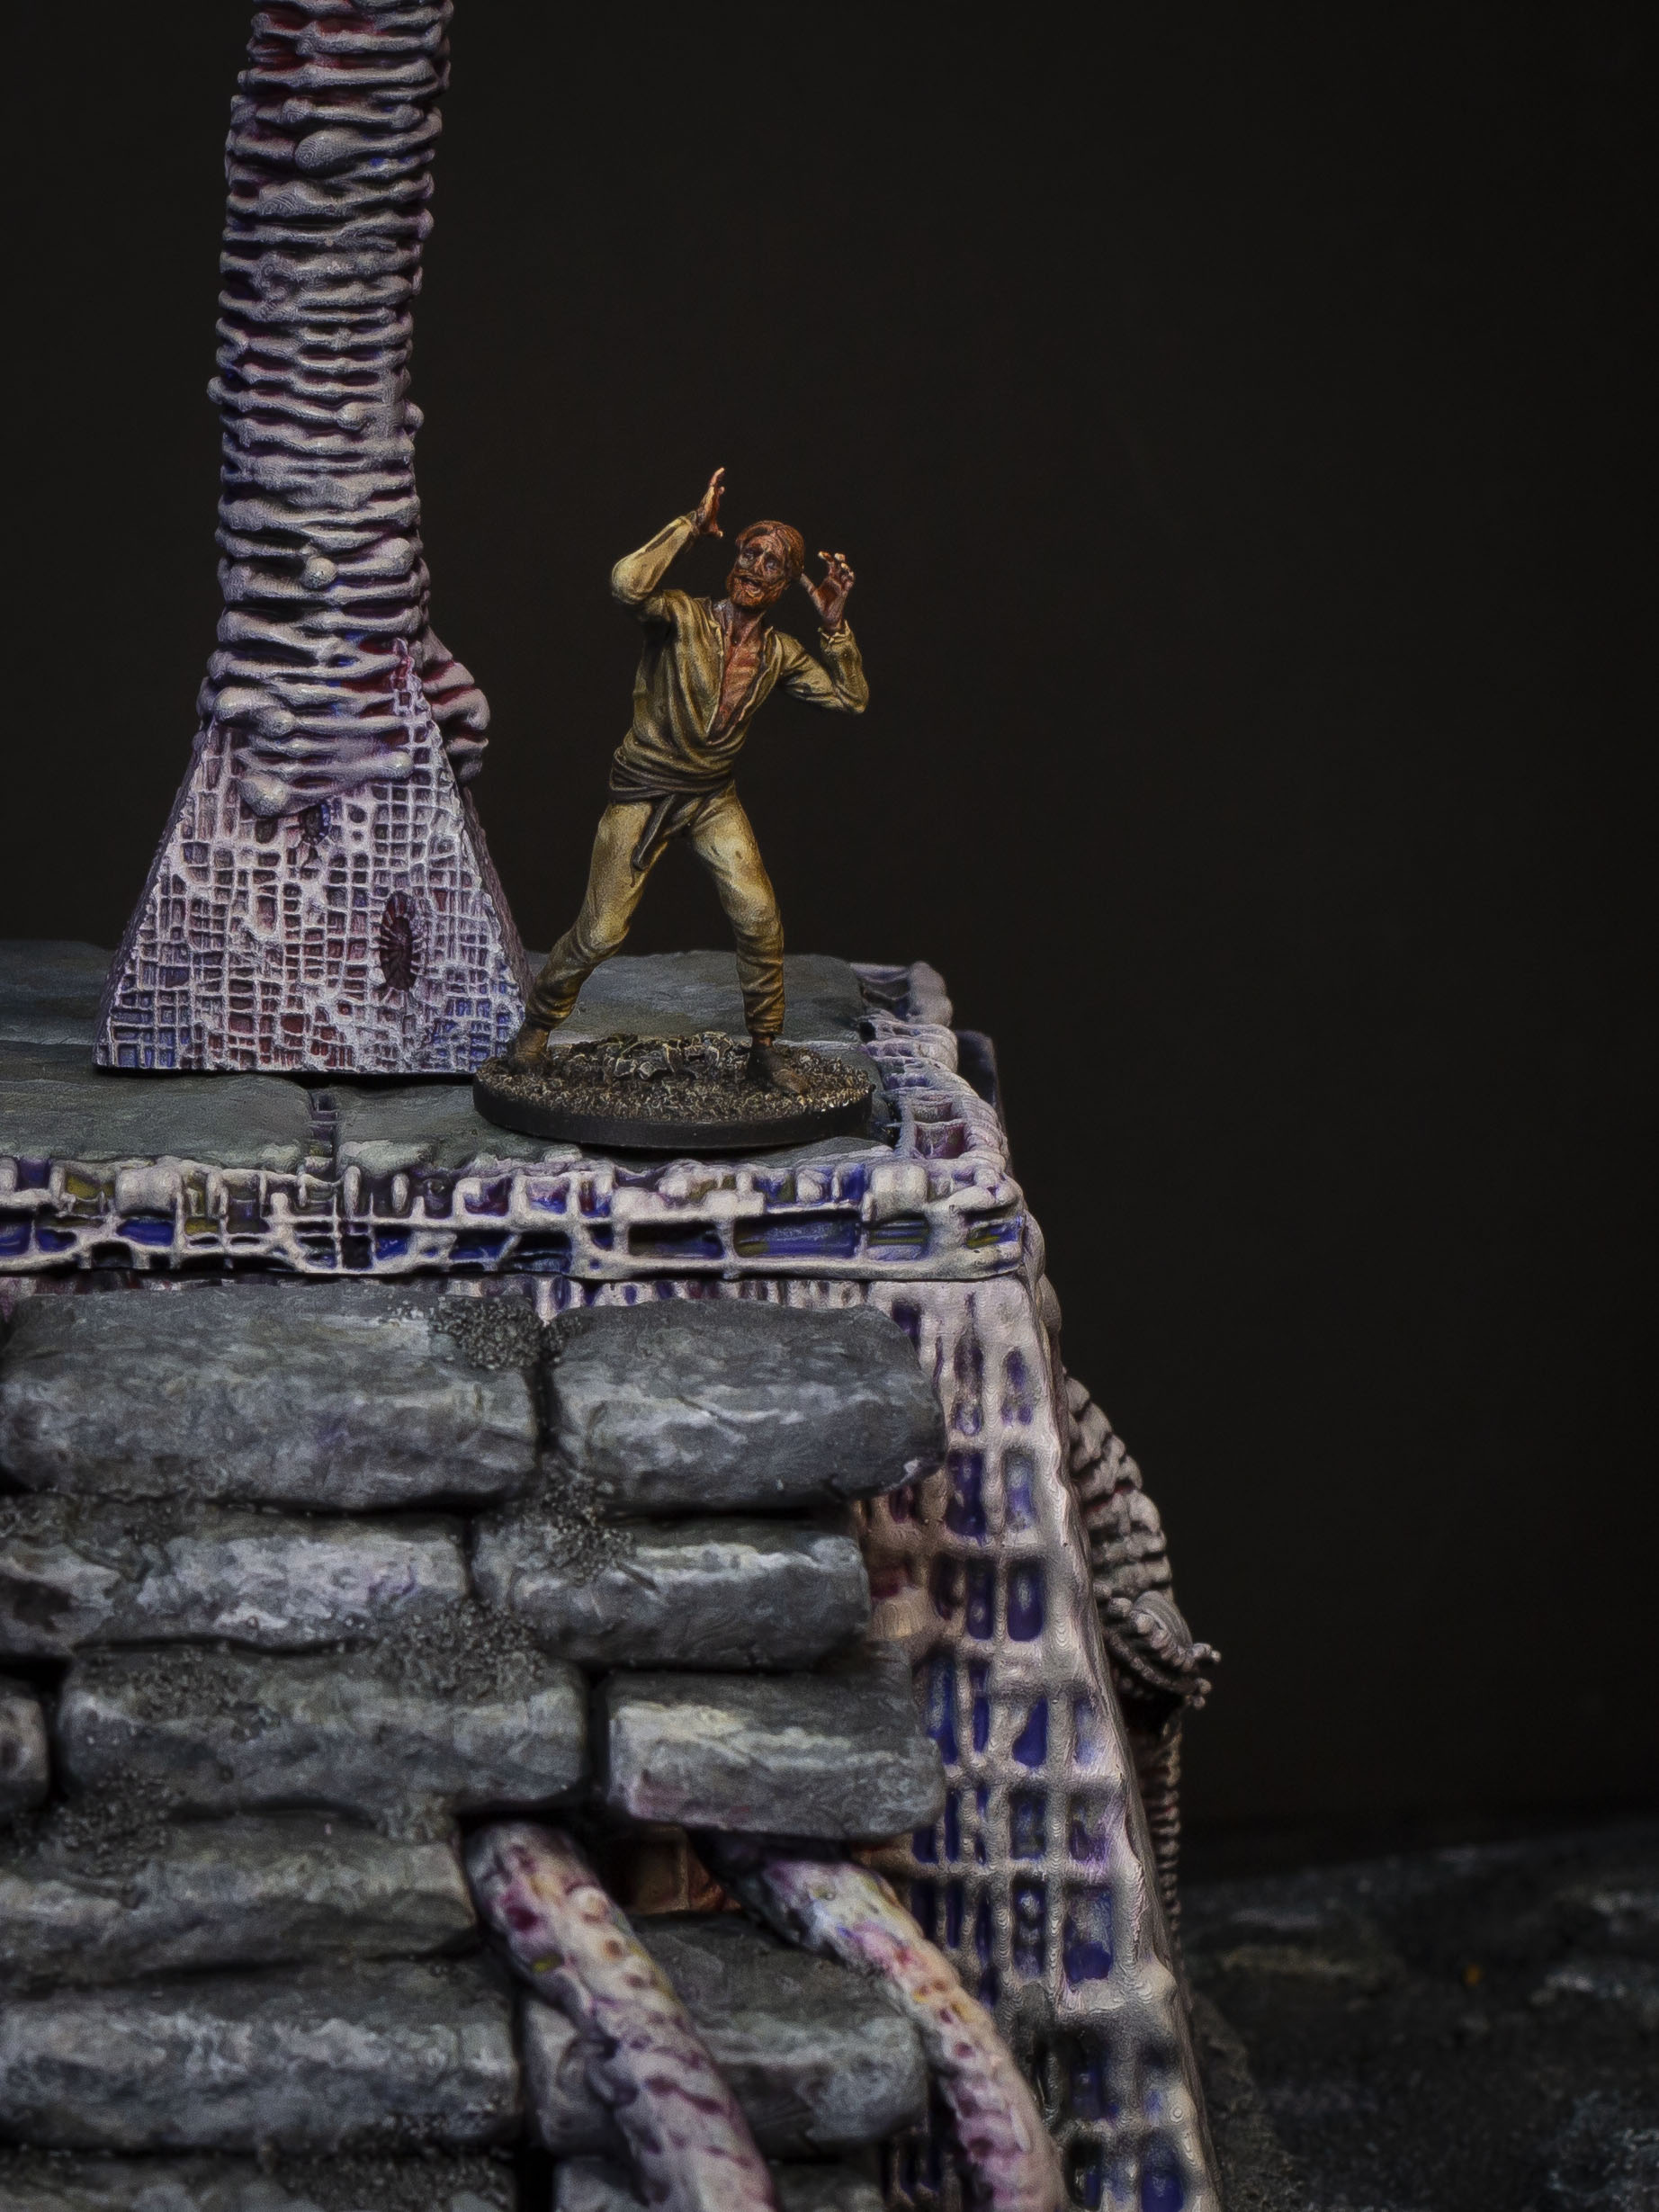
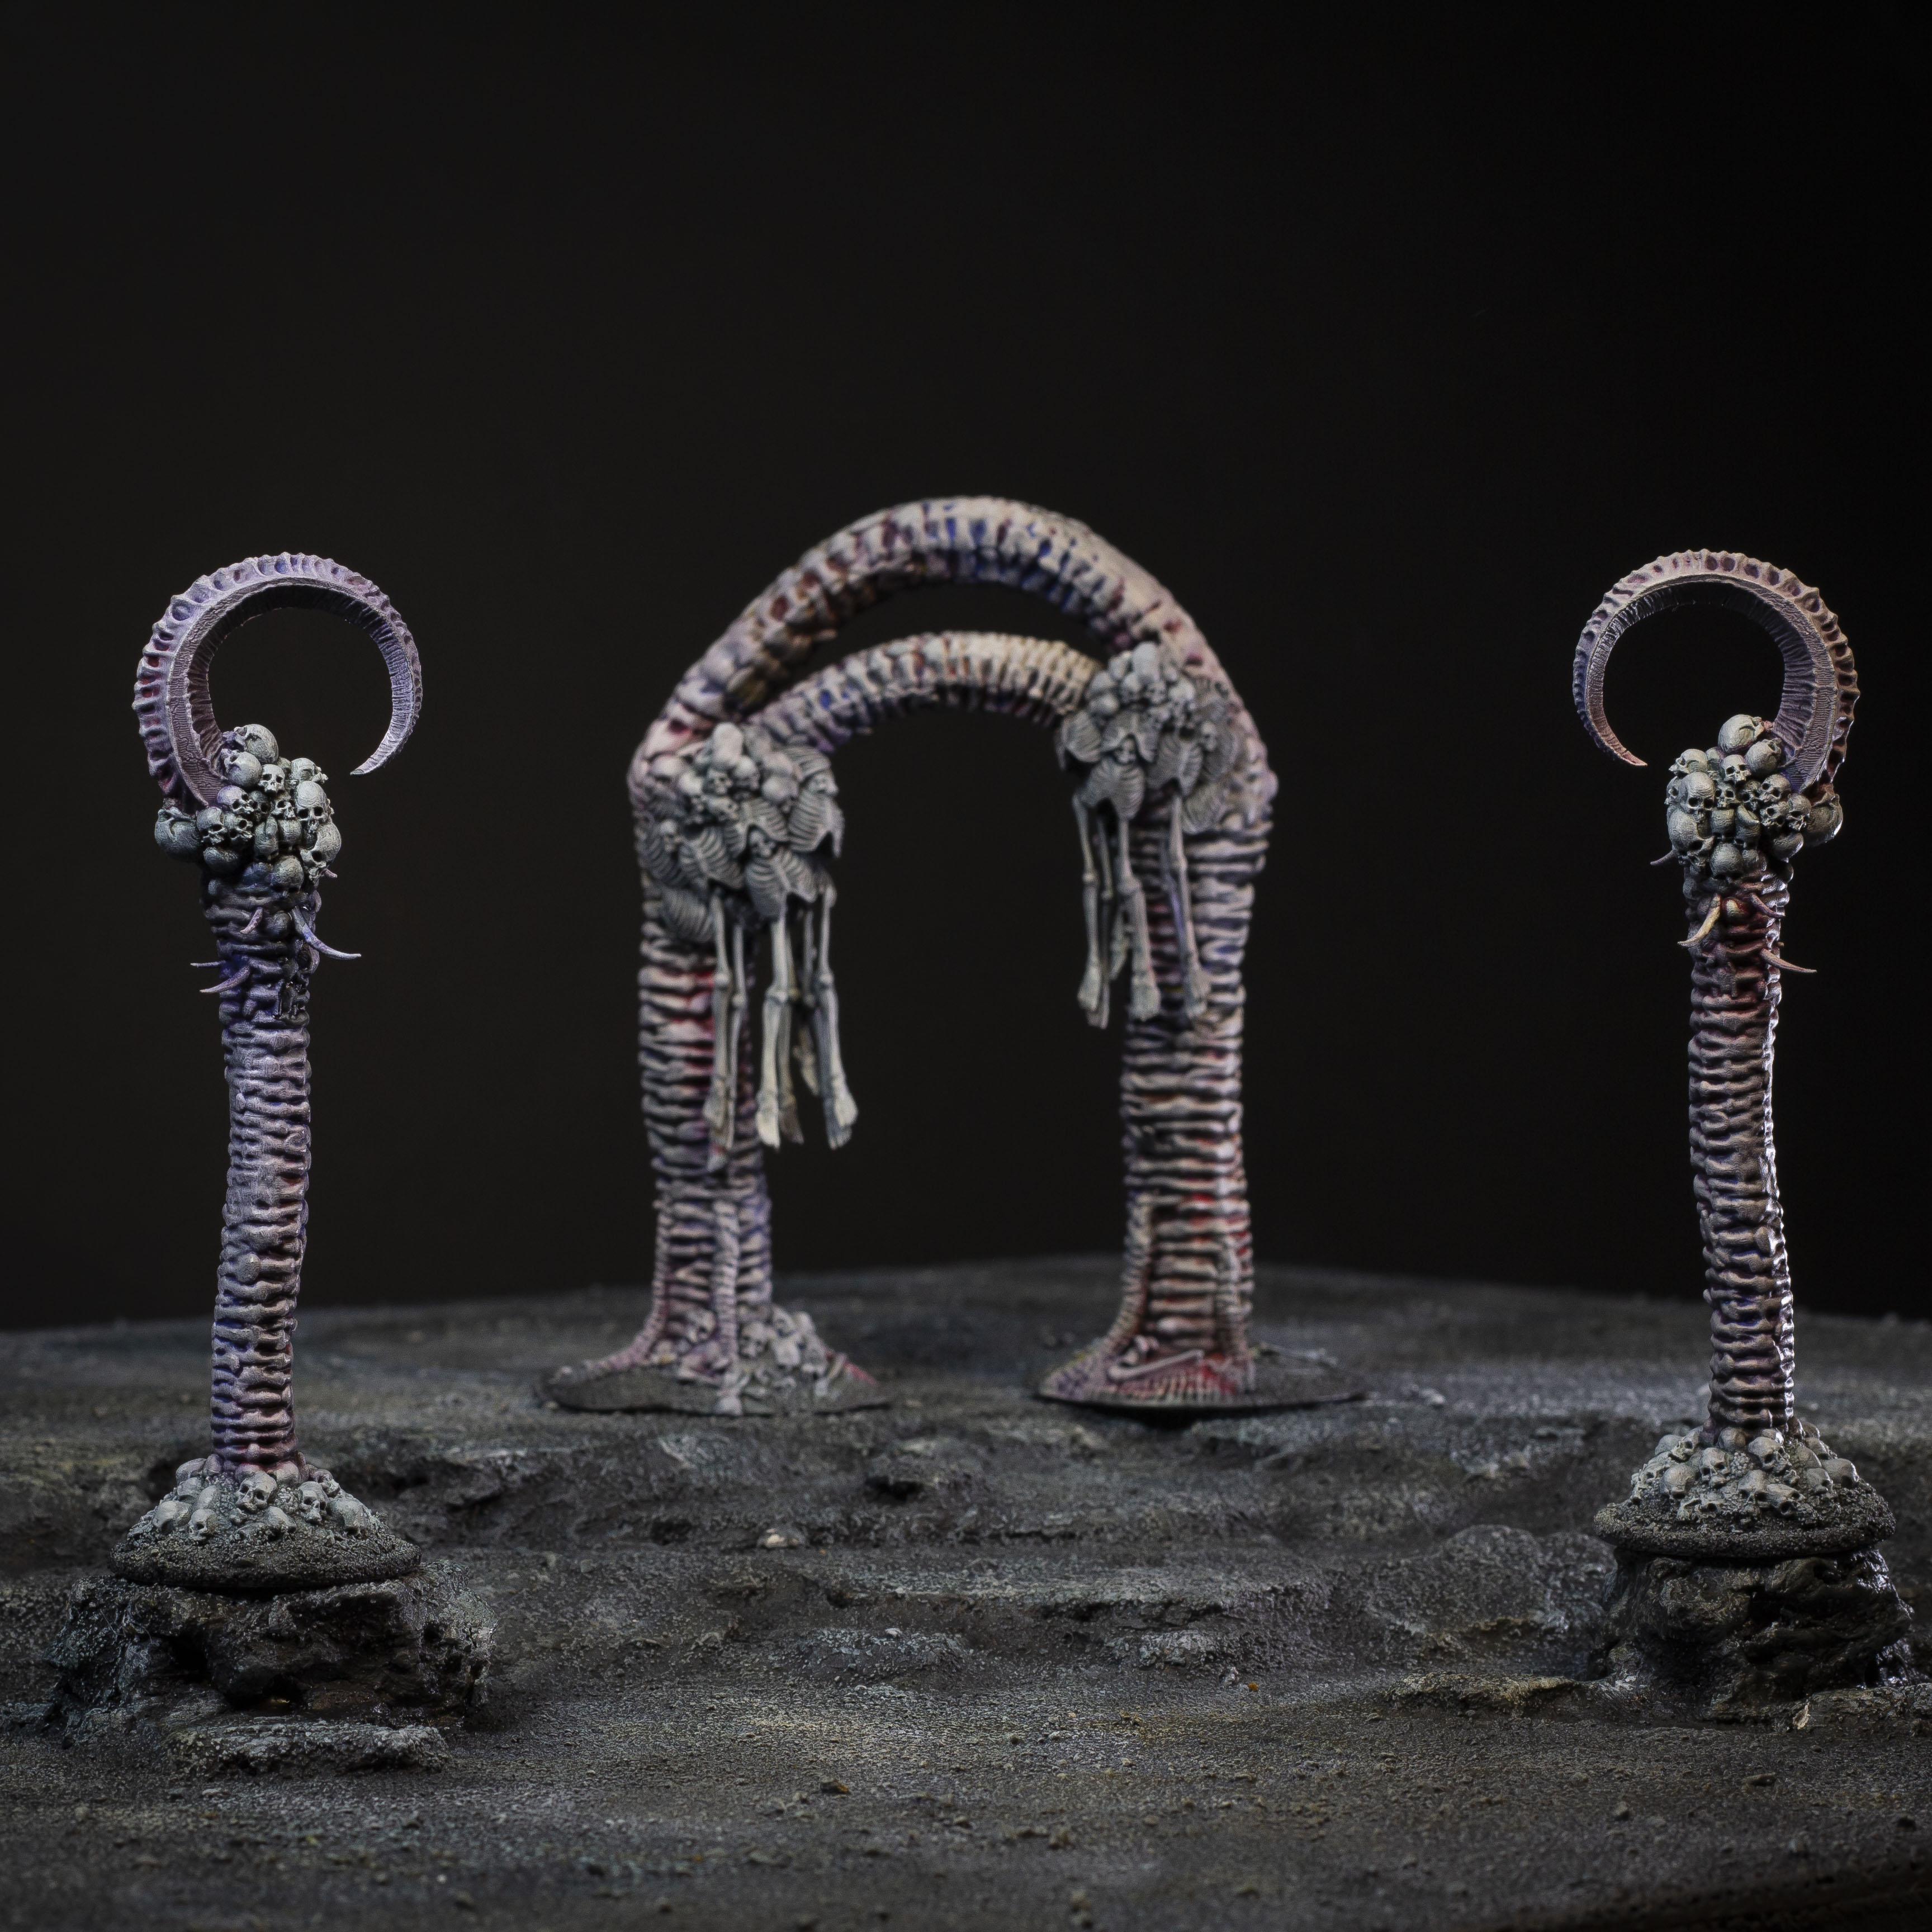
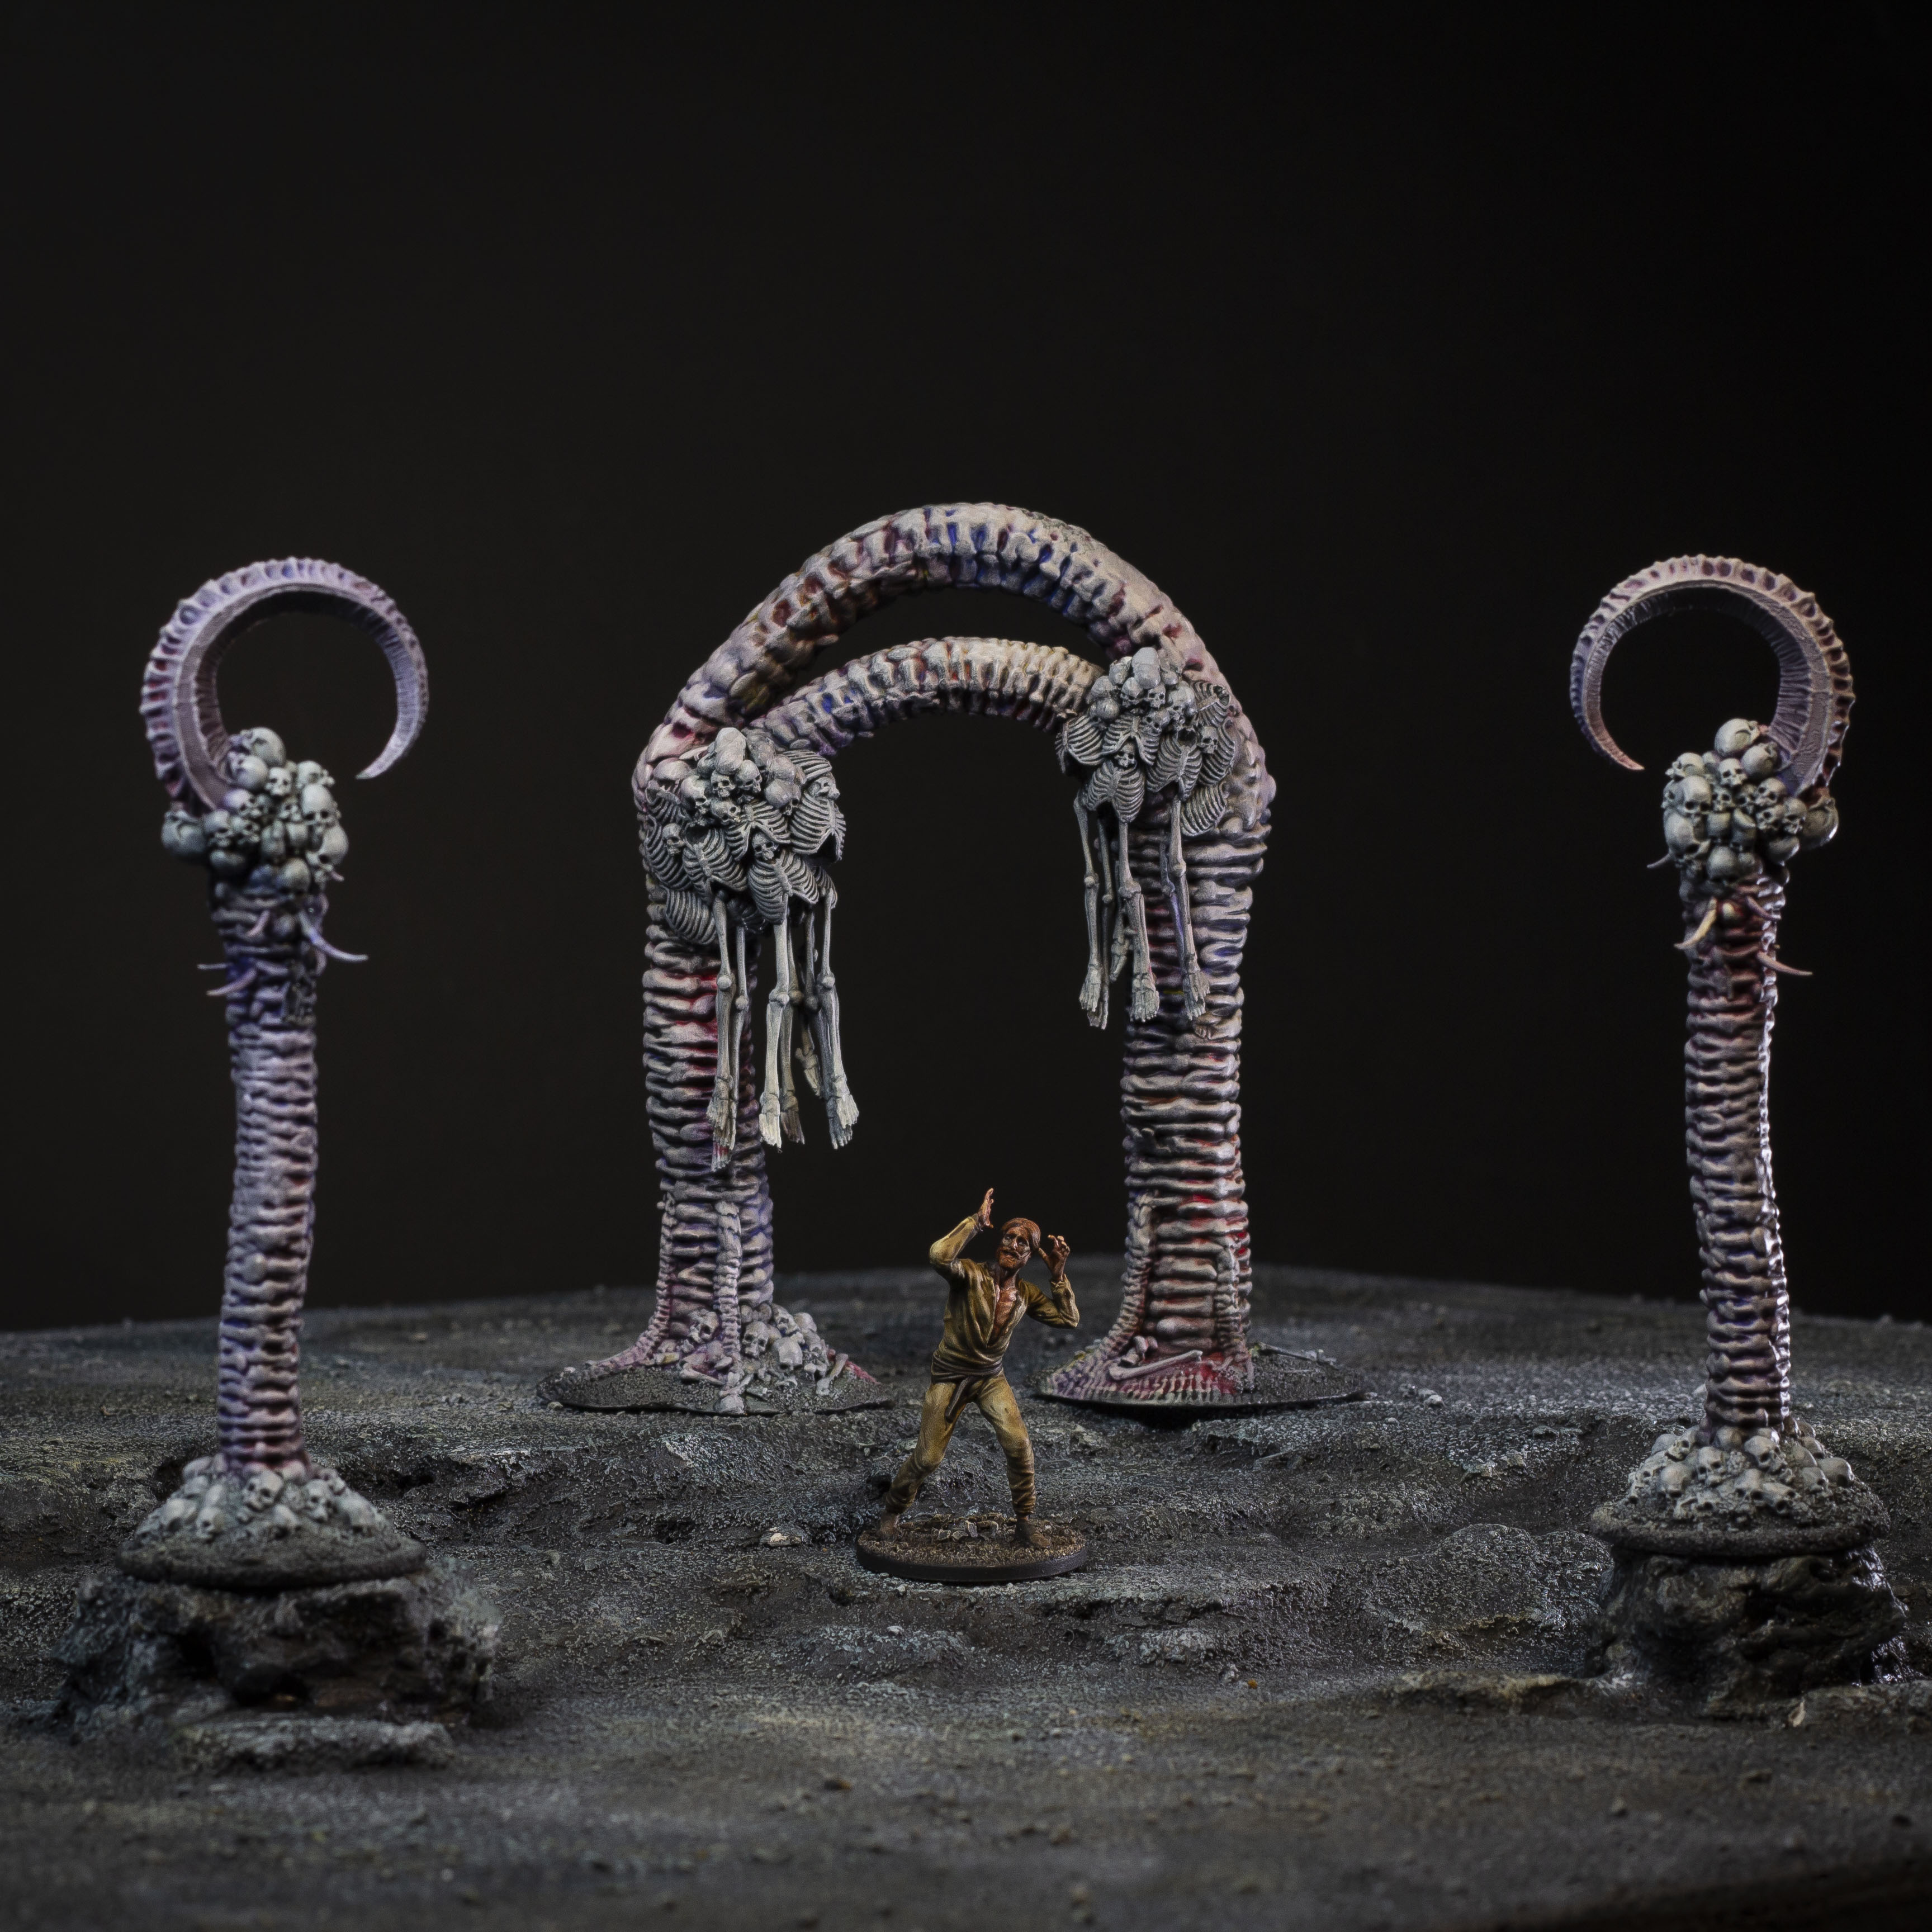
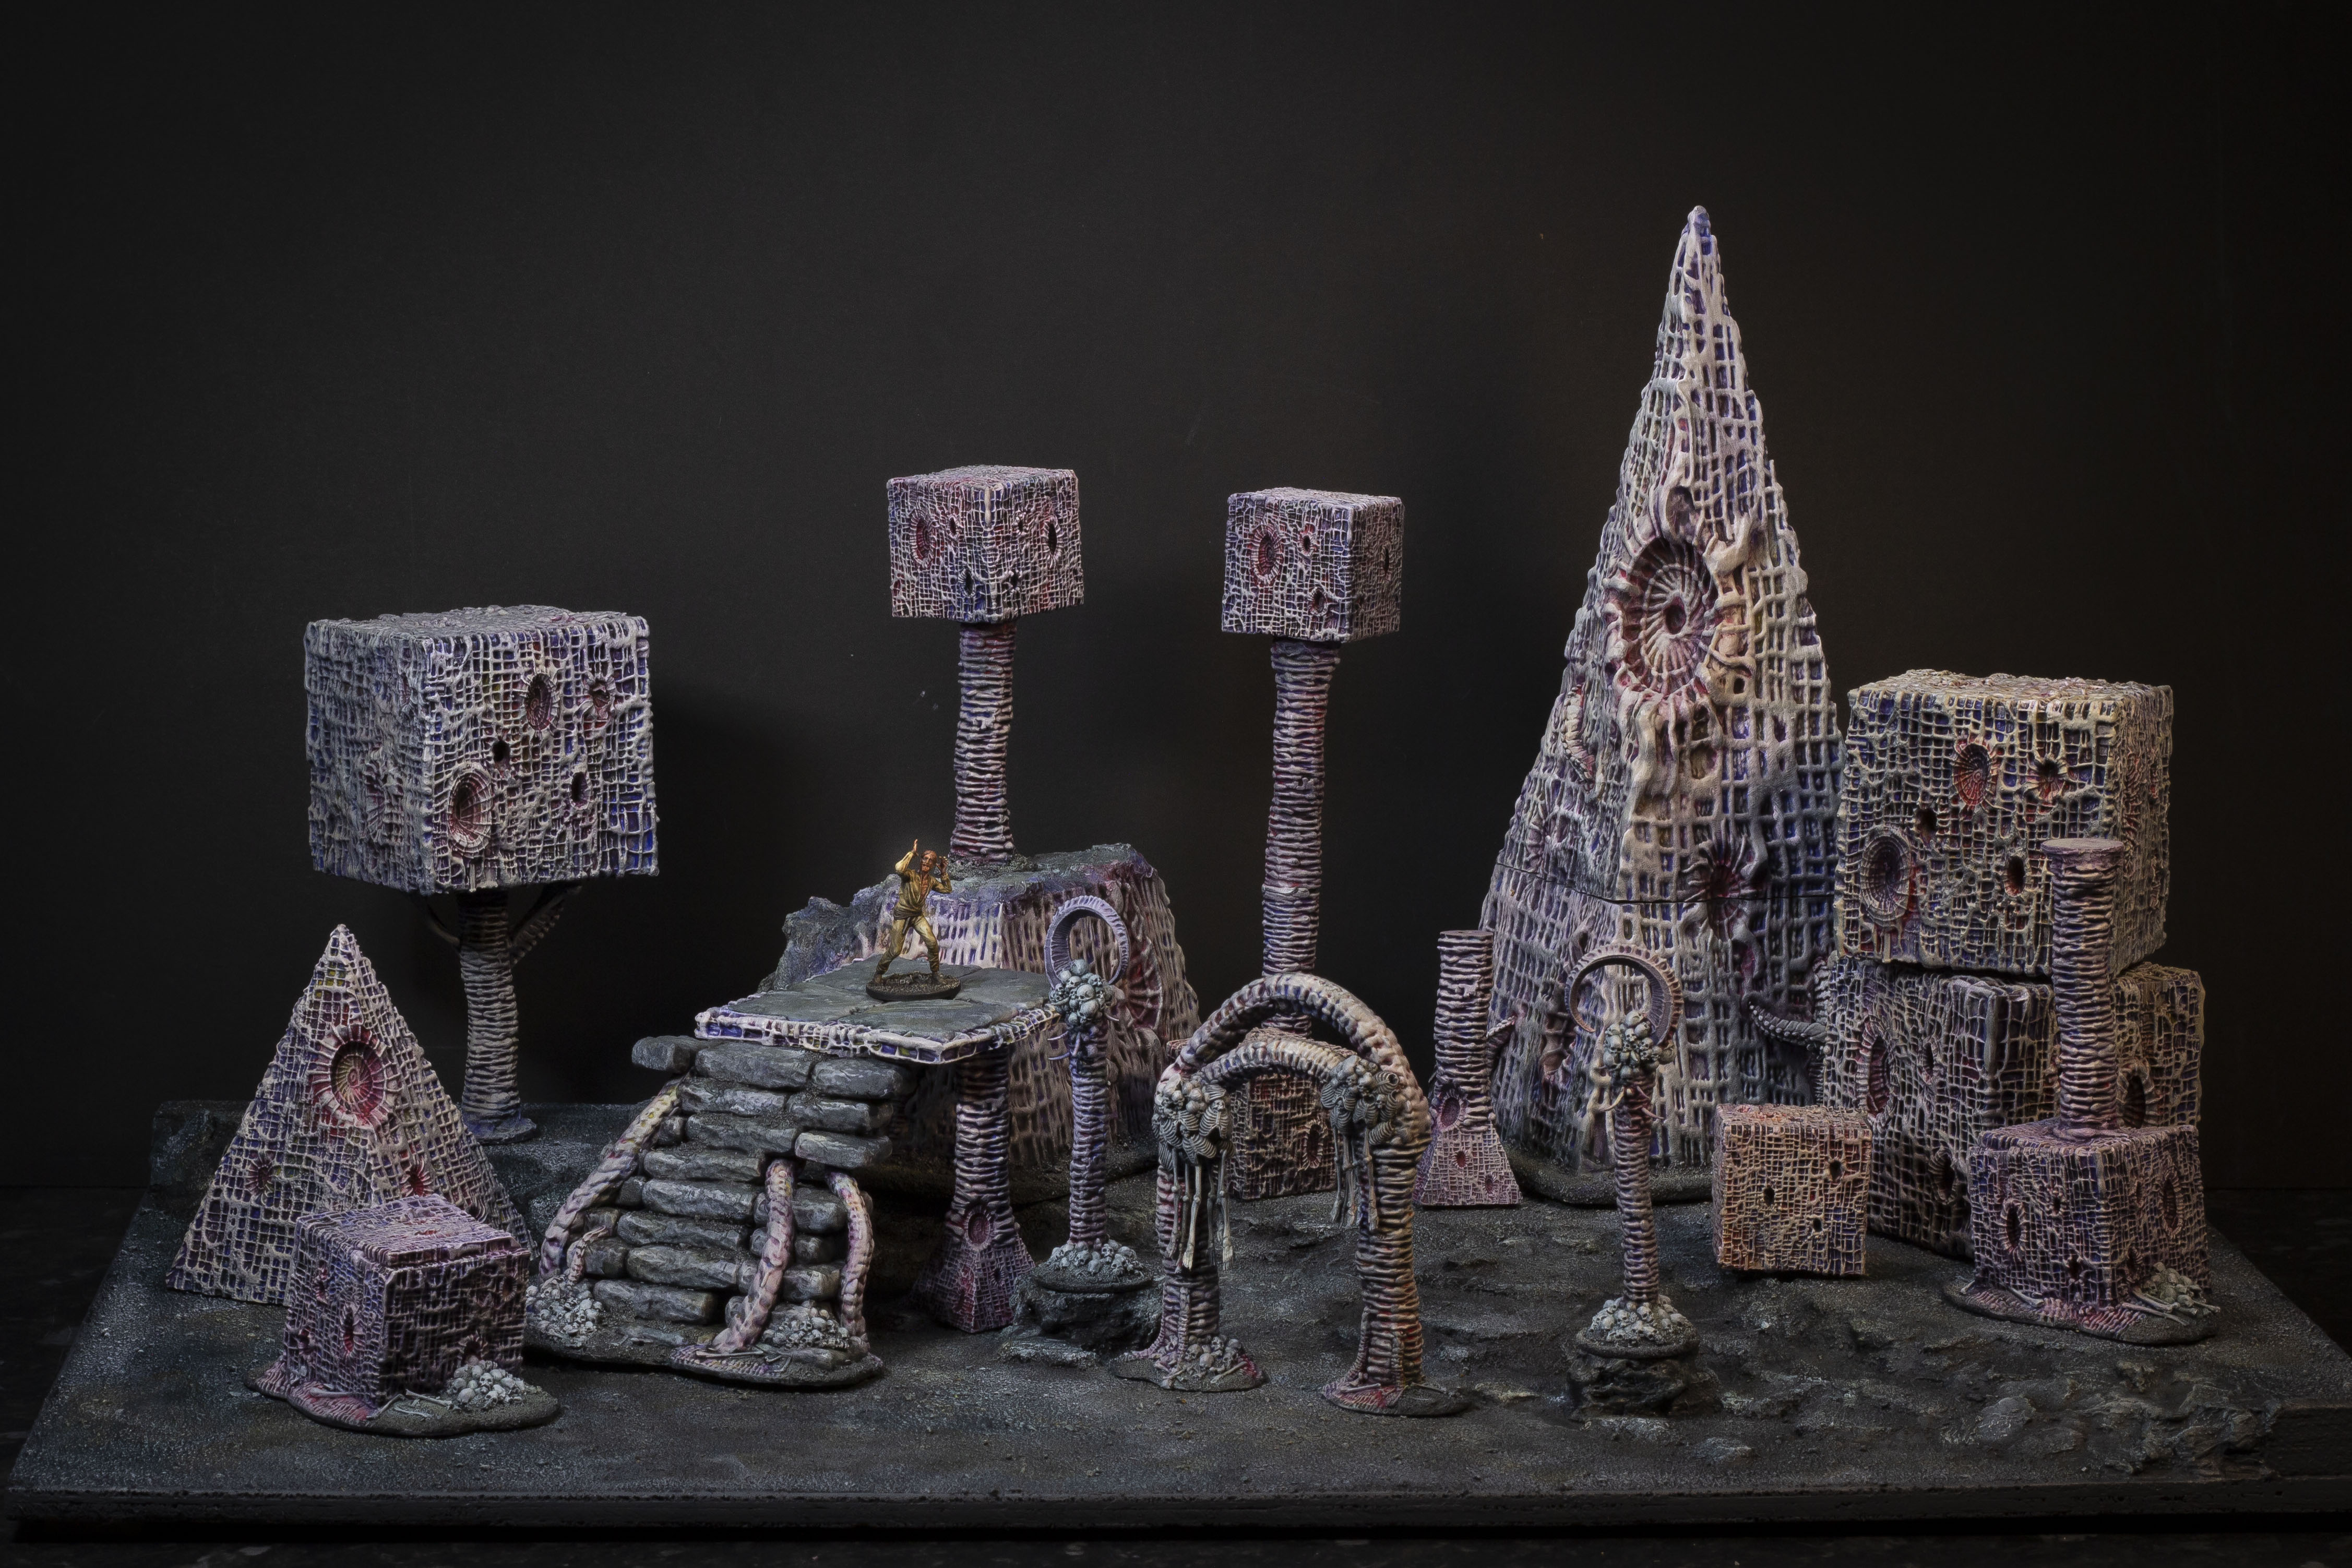
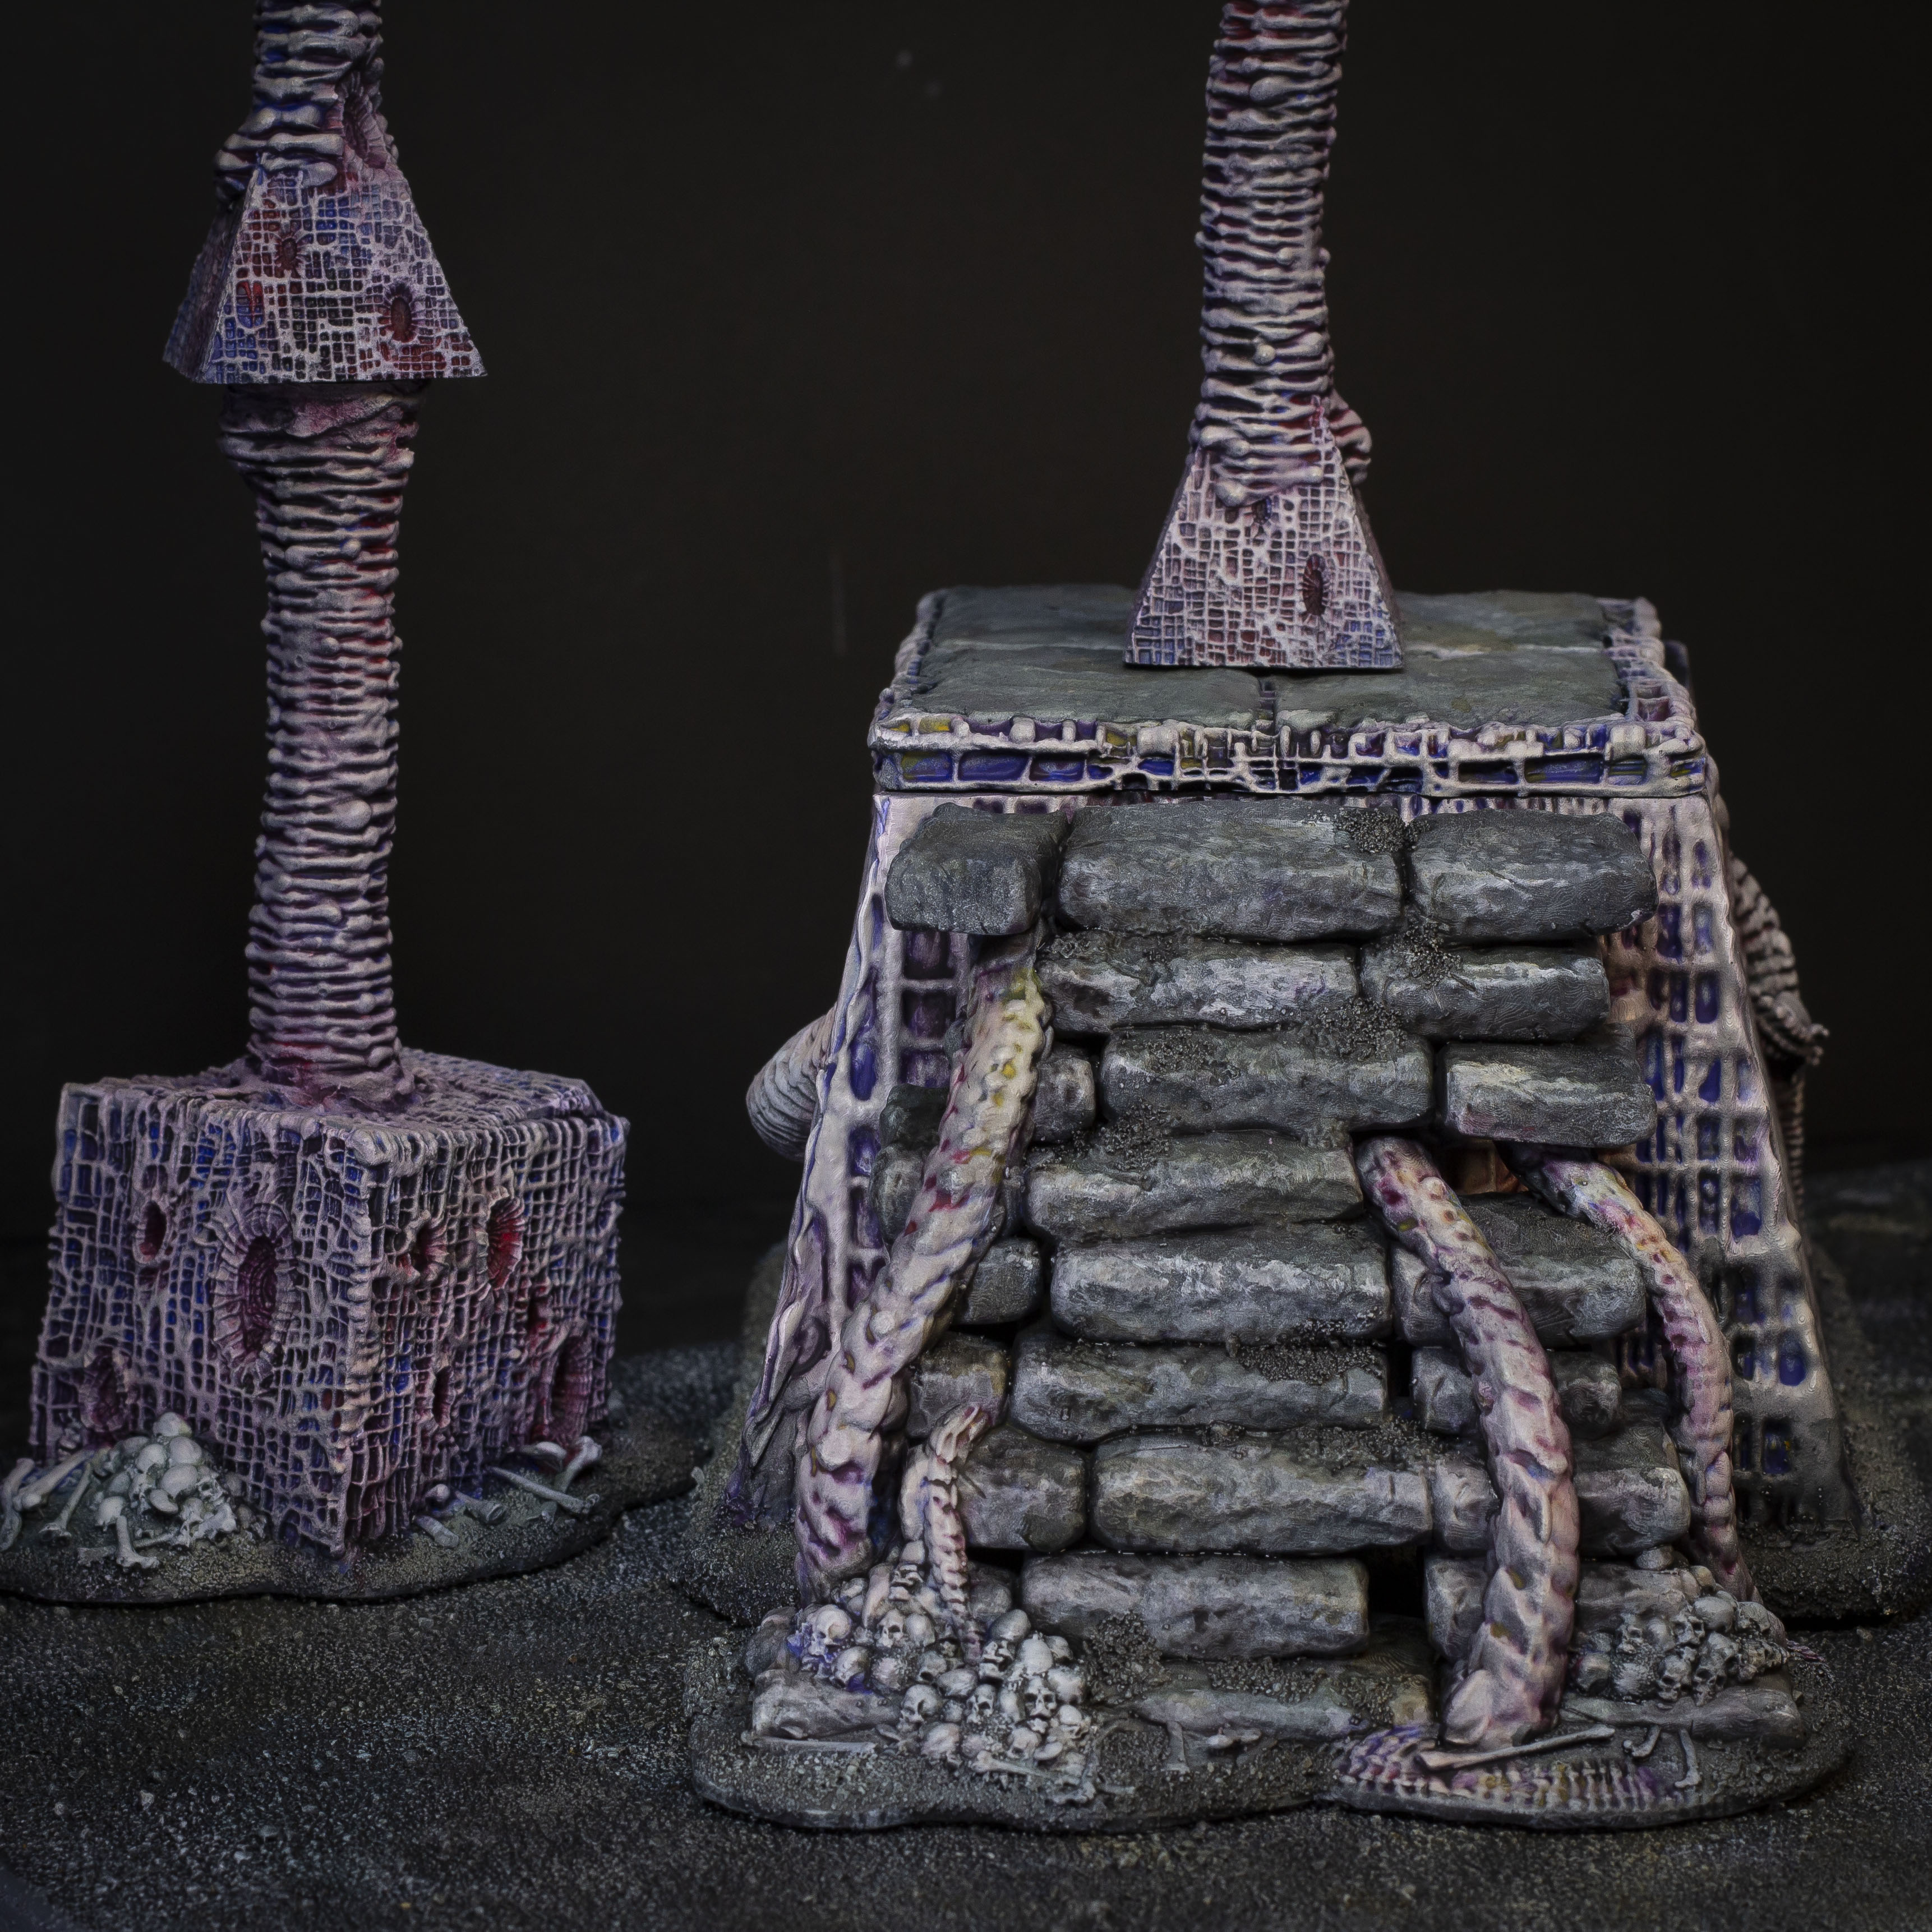
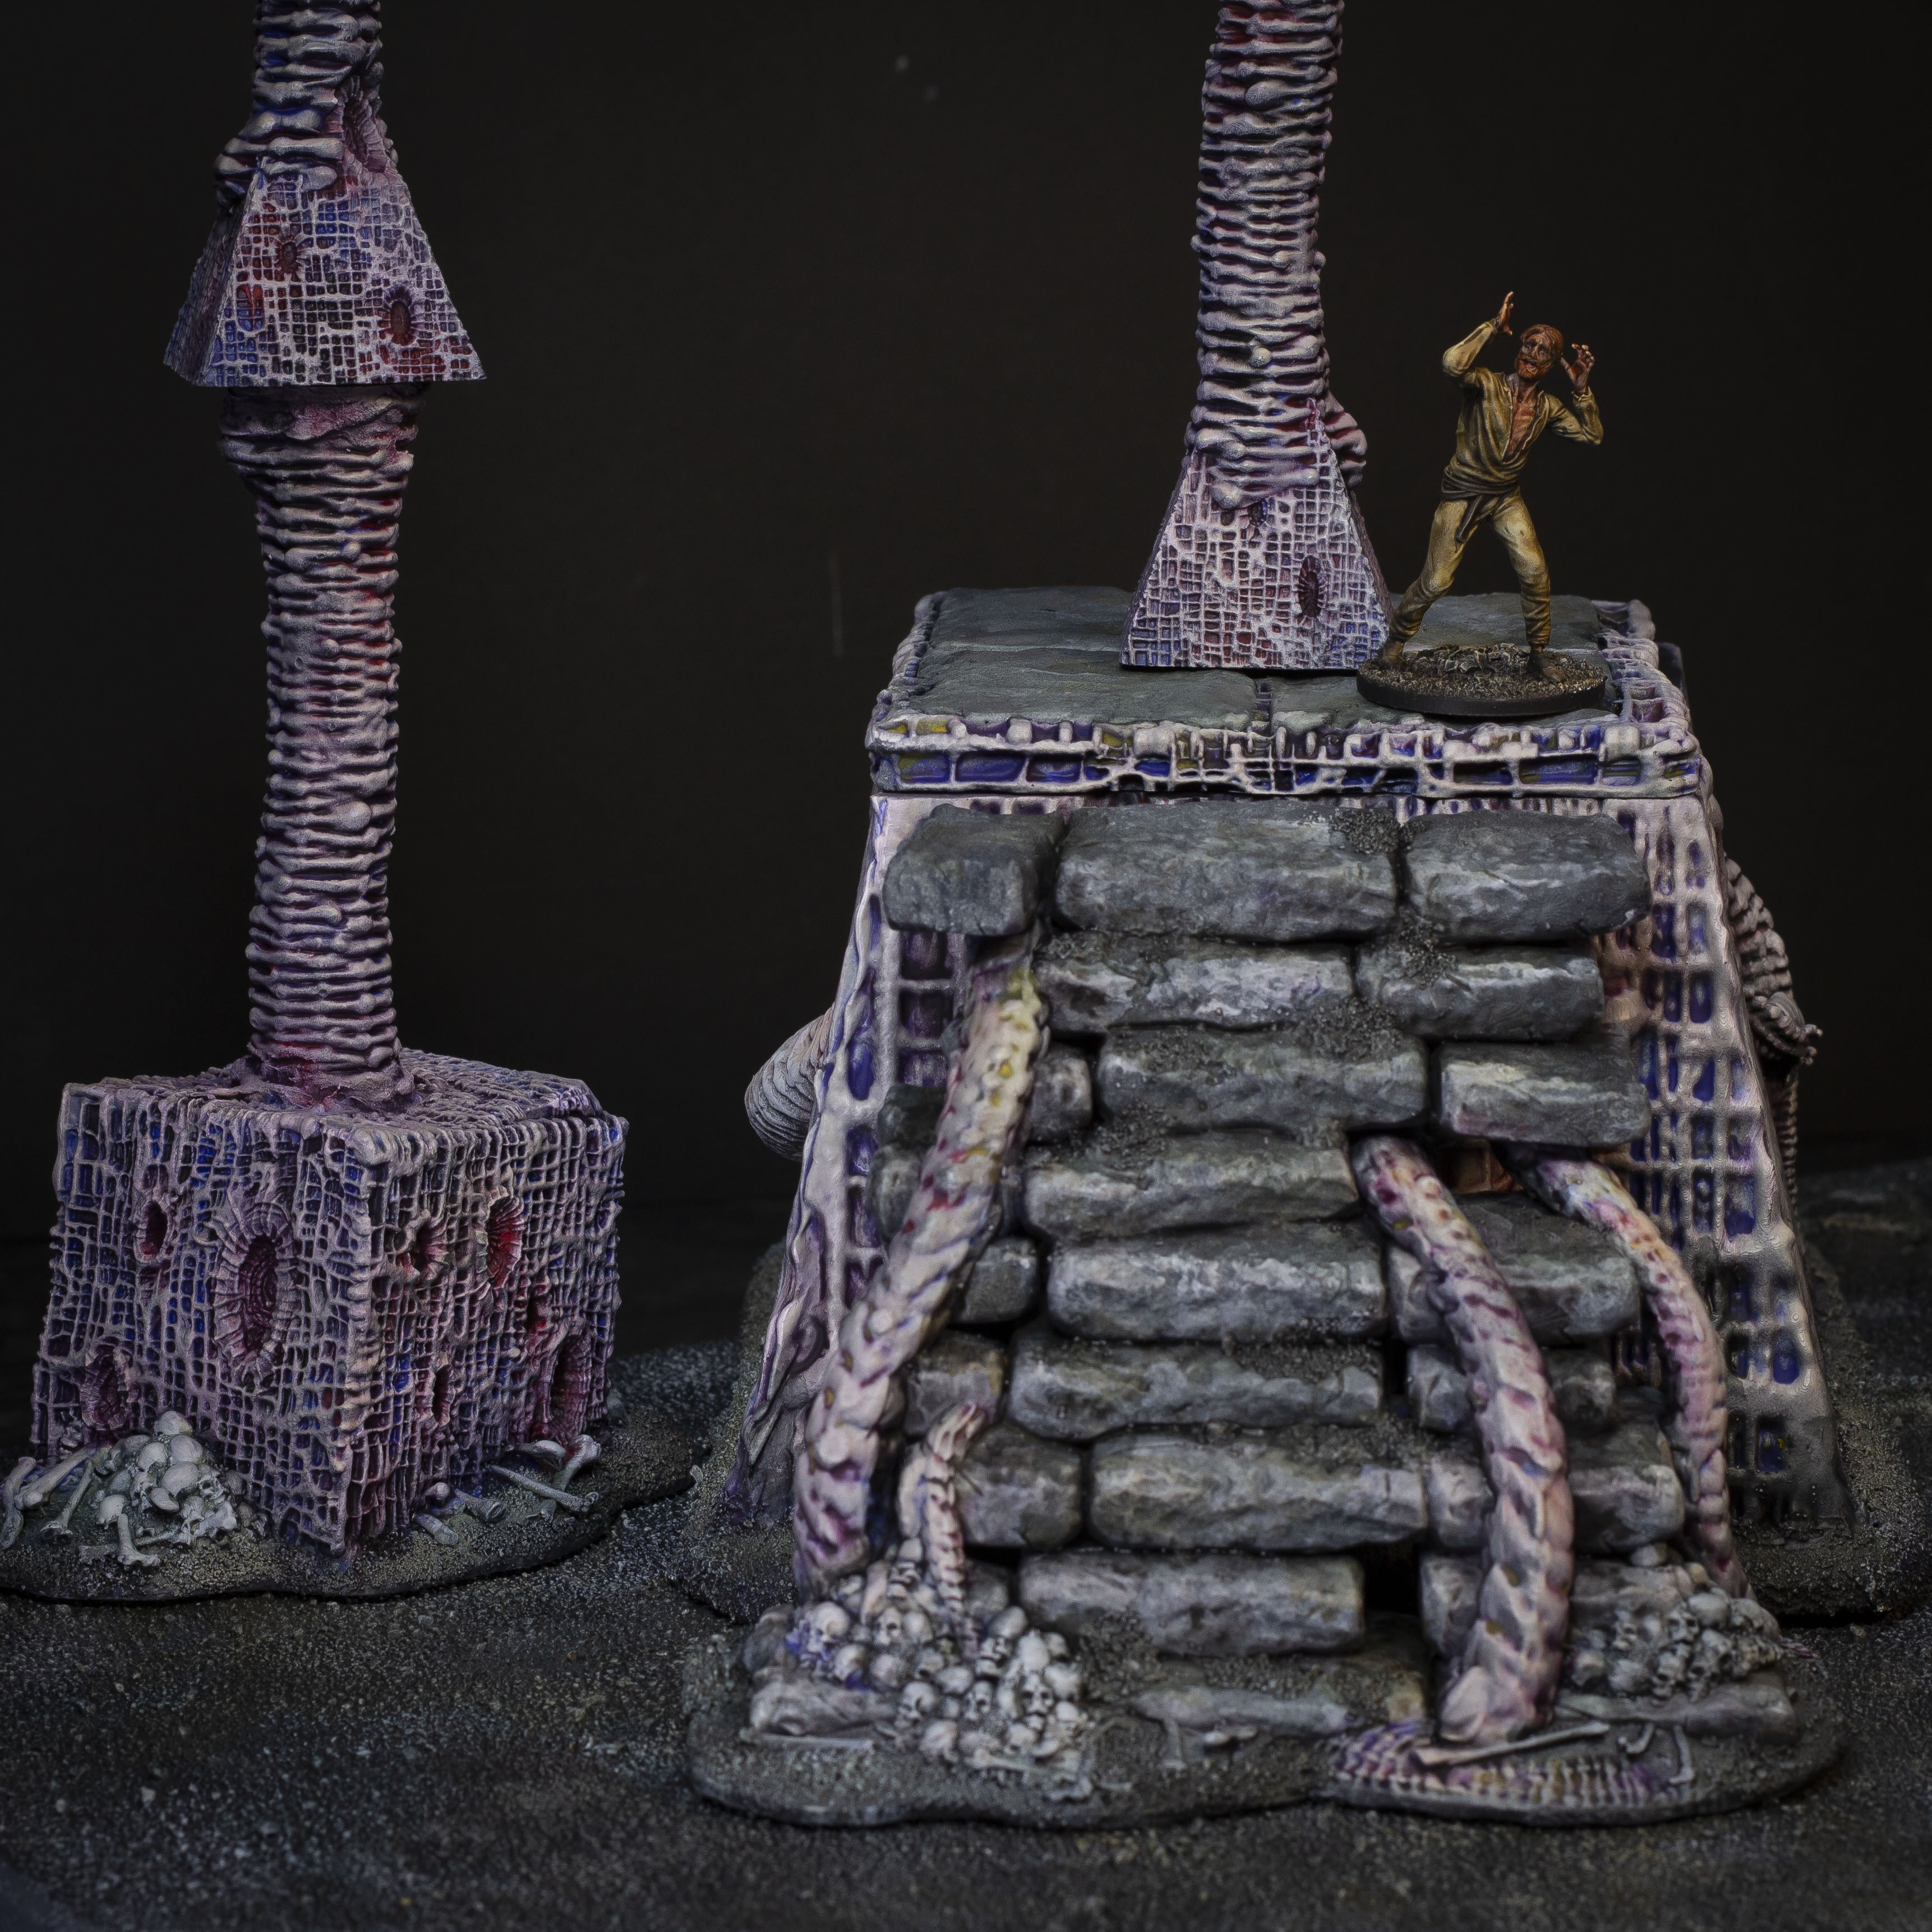
After leaving the oils to dry for a day, I tidied up the bases with some grey acrylic and a bit of drybrushing - and with that, called the project complete!


All in all, the project took about 16hours, which is pretty great for me considering the sheet quantity of stuff I got finished to a standard I was happy with.
The colours aren't quite as vivid as I wanted, but overall I think the desaturated look is a better fit for the misery of the Ashen Wastes. If you have any tips for achieving brighter colours with oil washes though, please shout in the comments!
I also got some great information and help from a hobby-pal of mine (Steve's Paint Brush) on getting started with Oils. Social Media and Discord are great ways to speak with your fellow hobbyists and pick up new skills! (Monthly reminder our own Bestiarum Discord Server is a great place to chat hobby and ask for advice)
Despite my earlier trepidation, I had a great time working with the Oil Washes. Learning a new technique felt great and it's breathed some new life into my hobby-time - if it's not something you've tried before, I definitely recommend it!
Thanks for checking out this Project Diary, hope it inspires some of you to check out a new style or technique in your own hobby, have fun folks!
Cheers,
Marcus @ Bestiarum
-
Have you tried a new technique recently?
Maybe you're an experienced Oil Painter and have some tricks of your own you want to share - we'd love to hear your stories, let us know in the comments!
Files