Home
Home

 Artists
 Search
 Recent
 Random
 Posts
Posts
 DMs
DMs
 Tags
Tags
 Random
 Importer
 Import
 FAQ
FAQ
 Account
 Register
 Favorites
 Login
Login

Lesson - Thigh Anatomy (Patreon)
Content
Here’s a primer on how to understand the anatomical parts of the thighs and how to visualise it when drawing.
Let’s start with a basic sketch.

Back in my earlier days, I used to draw thighs like this:

This is actually a pretty common mistake among people who just started learning how to draw thighs.
I call it the “Dragon Ball thighs”, coz I personally learned this mistake from emulating Dragon Ball. It’s actually pretty common in animes, games, and other media that involves muscular characters in general.

But what exactly is the mistake? To identify that, let’s analyze a real life example + an anatomical drawing.

Do you see it?
Essentially, the “dragon ball thighs” only draws the muscles highlighted in red below.

And it’s totally missing these parts highlighted in green and pink.

So, let’s get to learning!
Parts of the Thighs
I like to divide the thigh into 4 main parts. I’ll use my own drawings as an example here.


1. Quadriceps
This is the main meat of the muscle, with the very familiar 3-head structure near the knee.
The important thing to note about the Quads is that the top end of the muscle actually starts wayy at the side of your hip,and not in the middle. Usually it’s very close to where the butt starts.

2. Sides
This part consists mainly of the “Iliotibial Band”, which is this long band of fascia that connects the side of the hips to the sides of your knees. It sort of forms the outside border of the quadriceps.

The IT band actually makes up the mass on the sides of your kneecaps, too.

3. Inner thigh
This part I think is the most important to remember. The group of muscles that makes up the inner thighs are actually way bigger than you might think.

Depending on the angle and rotation of the thigh, it could take up half (or more) of the visible mass of the thigh.

Another thing to keep an eye on is this muscle called the Sartorius band.
Similar to the IT band, this forms the border around the inner side of your quads, and also makes up the mass around the inner side of your kneecaps.

Also, it sort of does the same thing jockstraps do to the butt, but for the quads, i.e. it pushes it up and makes it more prominent.
4. Hamstrings
This is essentially the back part of the thighs. It’s pretty small compared to the other 3 parts combined, so usually it’s not visible unless from a side angle or from behind.

Unlike the quads which is big and plump, the hamstrings are kind of flat and straight. In fact, the quads are so prominent that it sort of overlaps it on the sides as shown above. This is more obvious if I exaggerate the muscles a little bit like this:

I won’t go too far into details with the hamstrings this time bc it’s not usually visible anyway.
Application
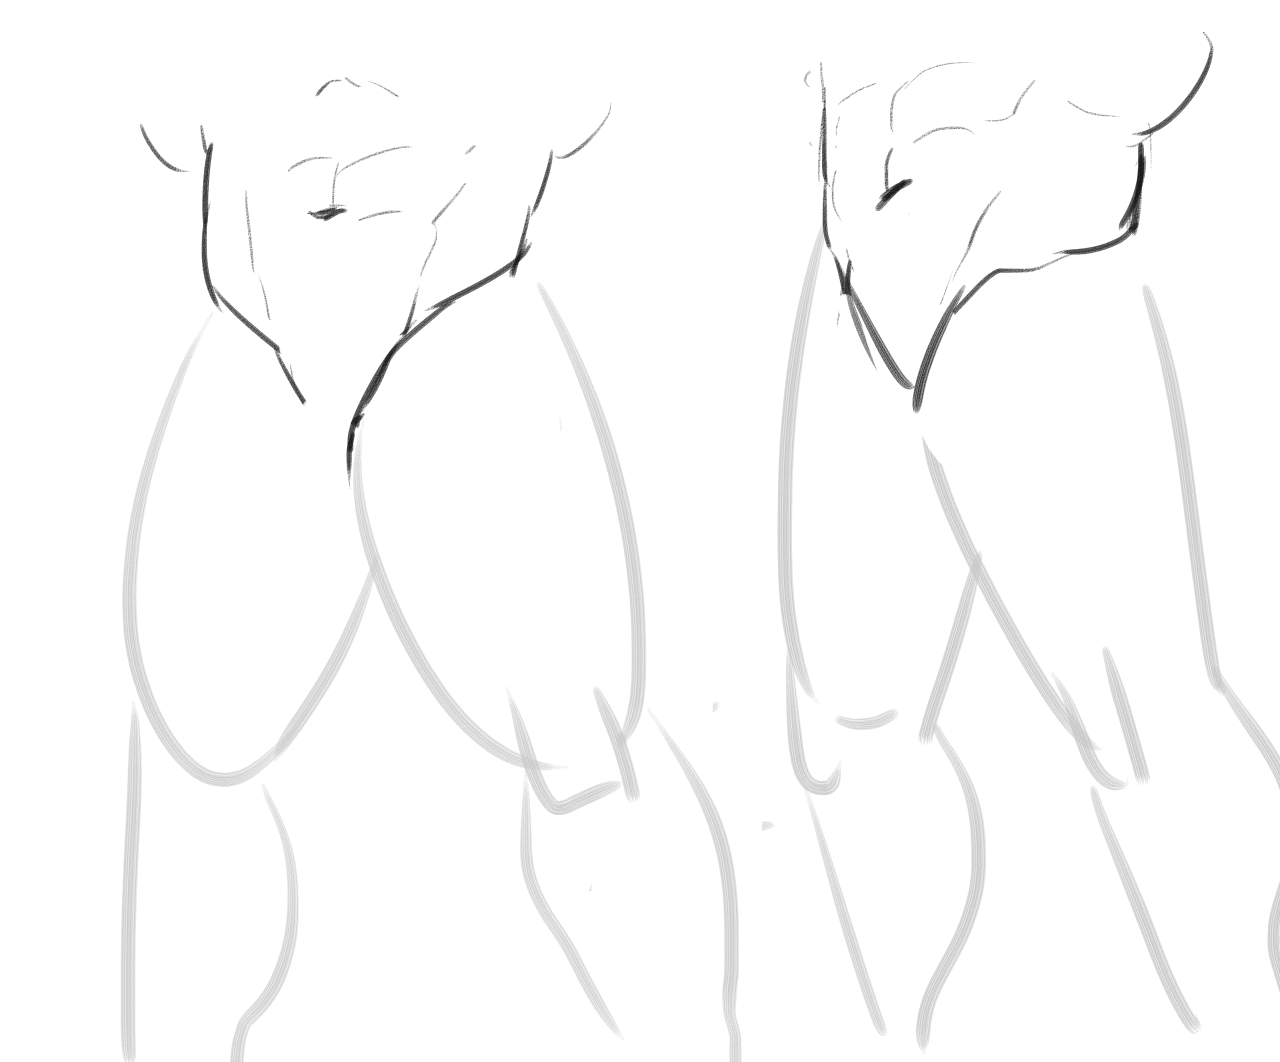
Now that we’ve learned the parts of the thighs, we can learn how to visualize and draw it. Let’s bring back the sketch from the beginning.

What I like to do first is determine the starting point of the quads, which we know is towards the sides near where the butt would start.
From there, we can draw the Sartorius and Iliotibial band, which forms the border of the quads.

With the borders in place, you can start visualising where the muscles would be. I’m using coloured lines here for clarity, but you don't need to do it.

In the case of the side angle, remember that the hamstrings may be visible.
From here you can do the rest according to what we’ve learned earlier. Make sure to have reference pictures handy so you don't make mistakes!

And there you have it!
Disclaimer: This tutorial is NOT meant to substitute for studies and references. You’ll still need references, and you’ll still need to do studies like figure drawings and life drawings. This is simply an additional knowledge to help you visualise the anatomy when the reference itself isn't enough for what you're trying to achieve.
----
If you have any questions, feel free to hit me up in the Art Labs channel in the AA Labs Discord!
Files