Home
Home

 Artists
 Search
 Recent
 Random
 Posts
Posts
 DMs
DMs
 Tags
Tags
 Random
 Importer
 Import
 FAQ
FAQ
 Account
 Register
 Favorites
 Login
Login

WIP Update #17: Armour (Patreon)
Content
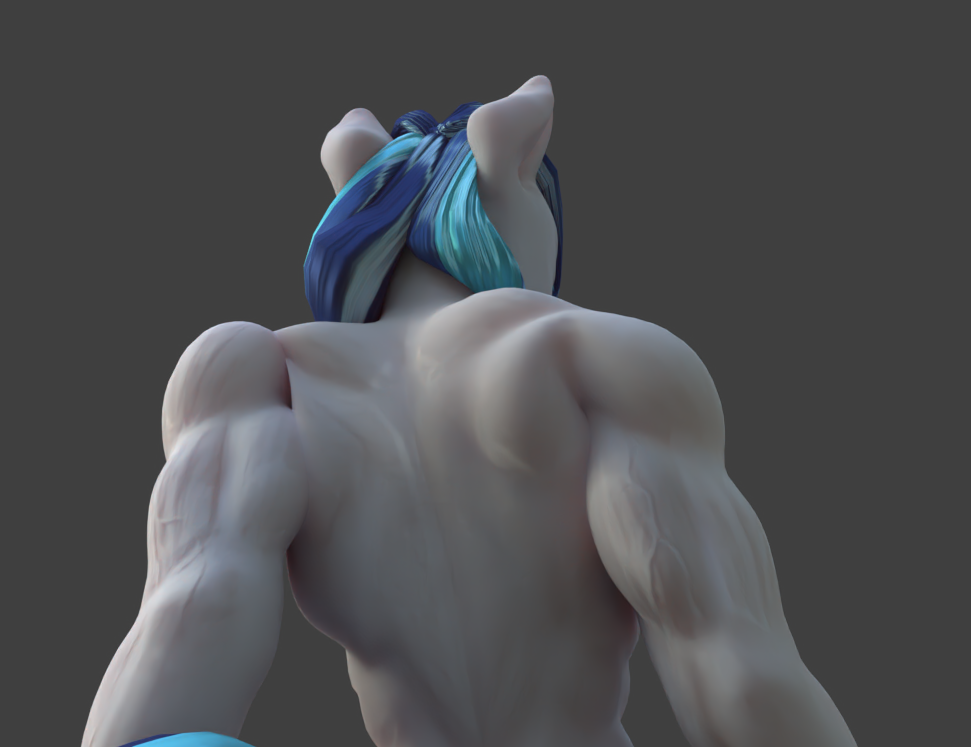
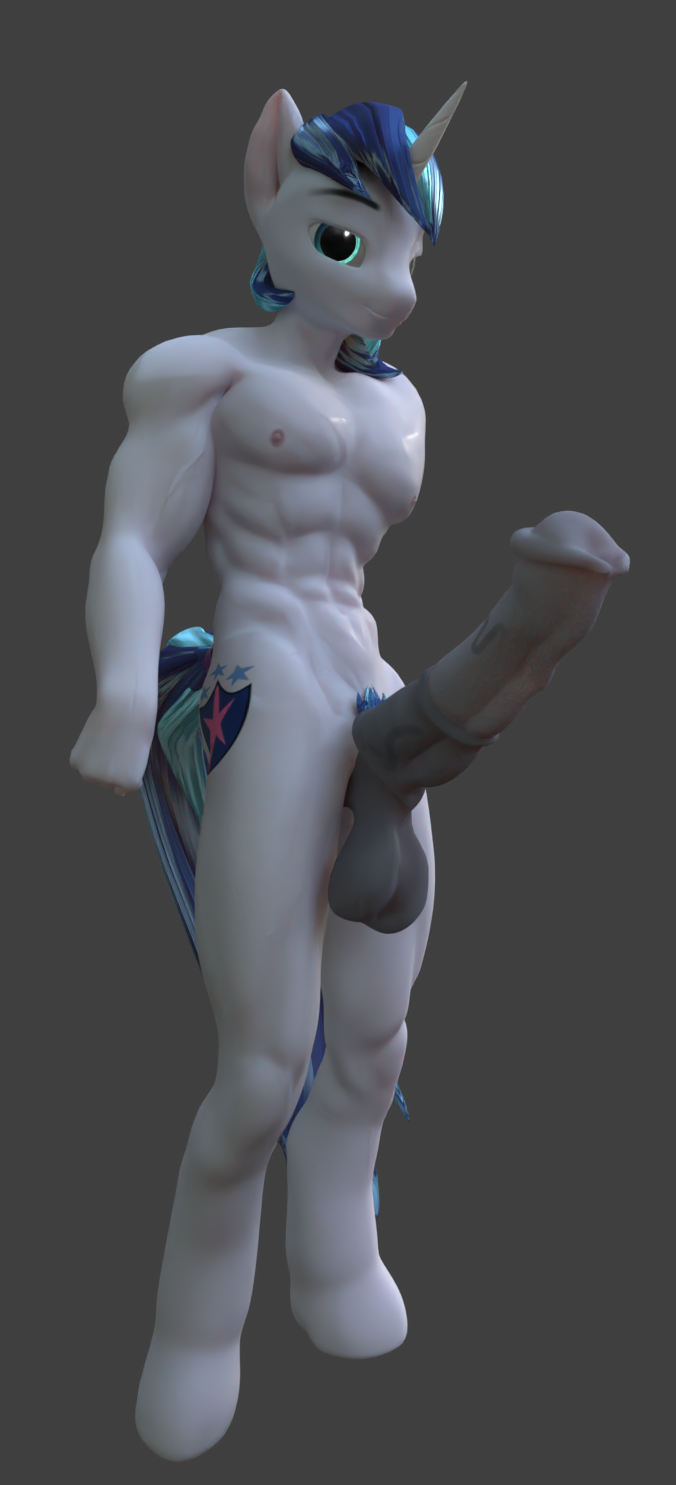
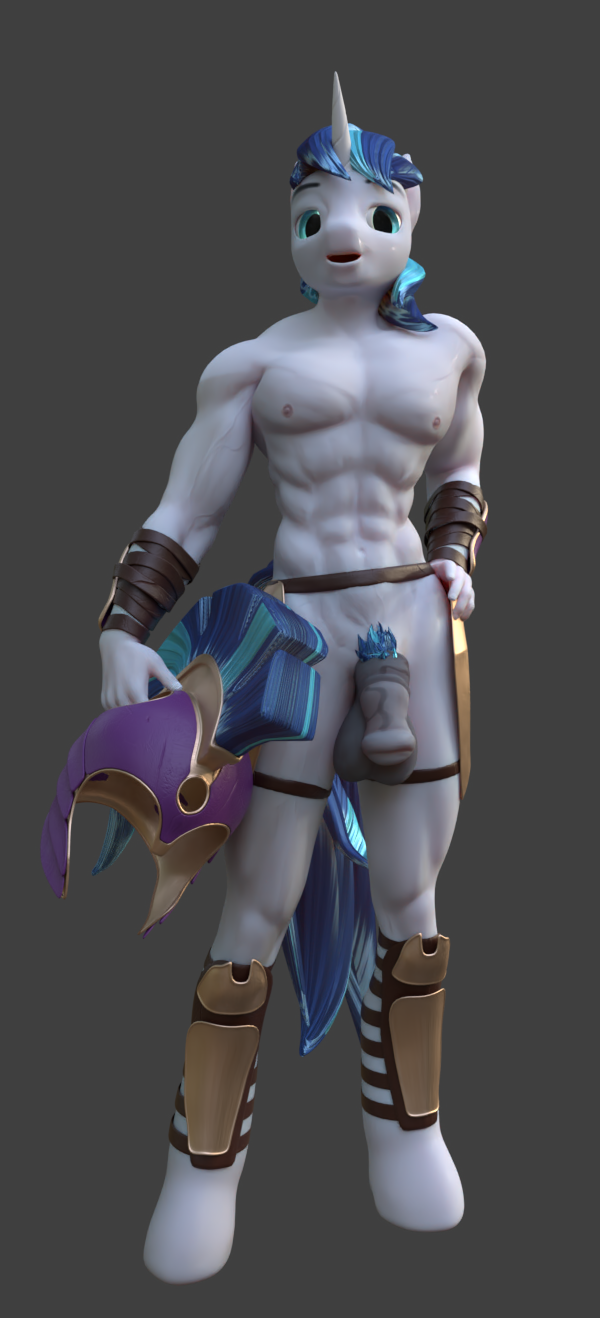
Hey y'all! This week I've spent some time working on the model for shining armour! It's been an interesting journey putting a lot of time into a masculine body for once, and a bit of an indulgence designing a suit of armour for him! It's kind of funny that in doing nsfw you don't often get to do the things that are a lot of 3D artists bread and butter - armour, swords, fights, guns etc.
I also went on another little node adventure, finding a more streamlined way to do surface details to get that bodybuilder look! I found a couple of tutorials that helped me effectively generate a high quality normal map from a pretty rough hand-painted bump map, allowing me to sharpen the creases between his muscle groups and add details like striations and veins.
this tweet details a fun little bit of vector math that allows conversion of a bump map to a normal map, but naturally this doesn't actually mitigate the downside of bump maps, which is this ugly "stepping" effect:

So why bother? well, the reason normal maps are superior in the first place is they use three colour channels instead of just one, so they can encode a lot more information for the same resolution and colour depth, but we can't just magic that extra information out of nowhere. However, we can get close! Actually, just blurring the image will do. So naturally I did it in the hardest way possible, I learned to convolve images in blender's material nodes. There is actually a good reason for that - by baking the map inside blender I can more quickly iterate and control the detail preservation. If I were to pass the task back and forth between blender and photoshop it would take much longer.

And boom! Love the results. Now there's much less of a need for a time-consuming sculpting workflow when creating characters with a lot of skin detail.
Files