Home
Home

 Artists
 Search
 Recent
 Random
 Posts
Posts
 DMs
DMs
 Tags
Tags
 Random
 Importer
 Import
 FAQ
FAQ
 Account
 Register
 Favorites
 Login
Login

[High-Res Art | Reward | WIP] Psycho mode ON StepProcess (Patreon)
Published:
2021-02-07 21:49:40
Edited:
2021-12-02 01:25:02
Imported:
2022-07
Content
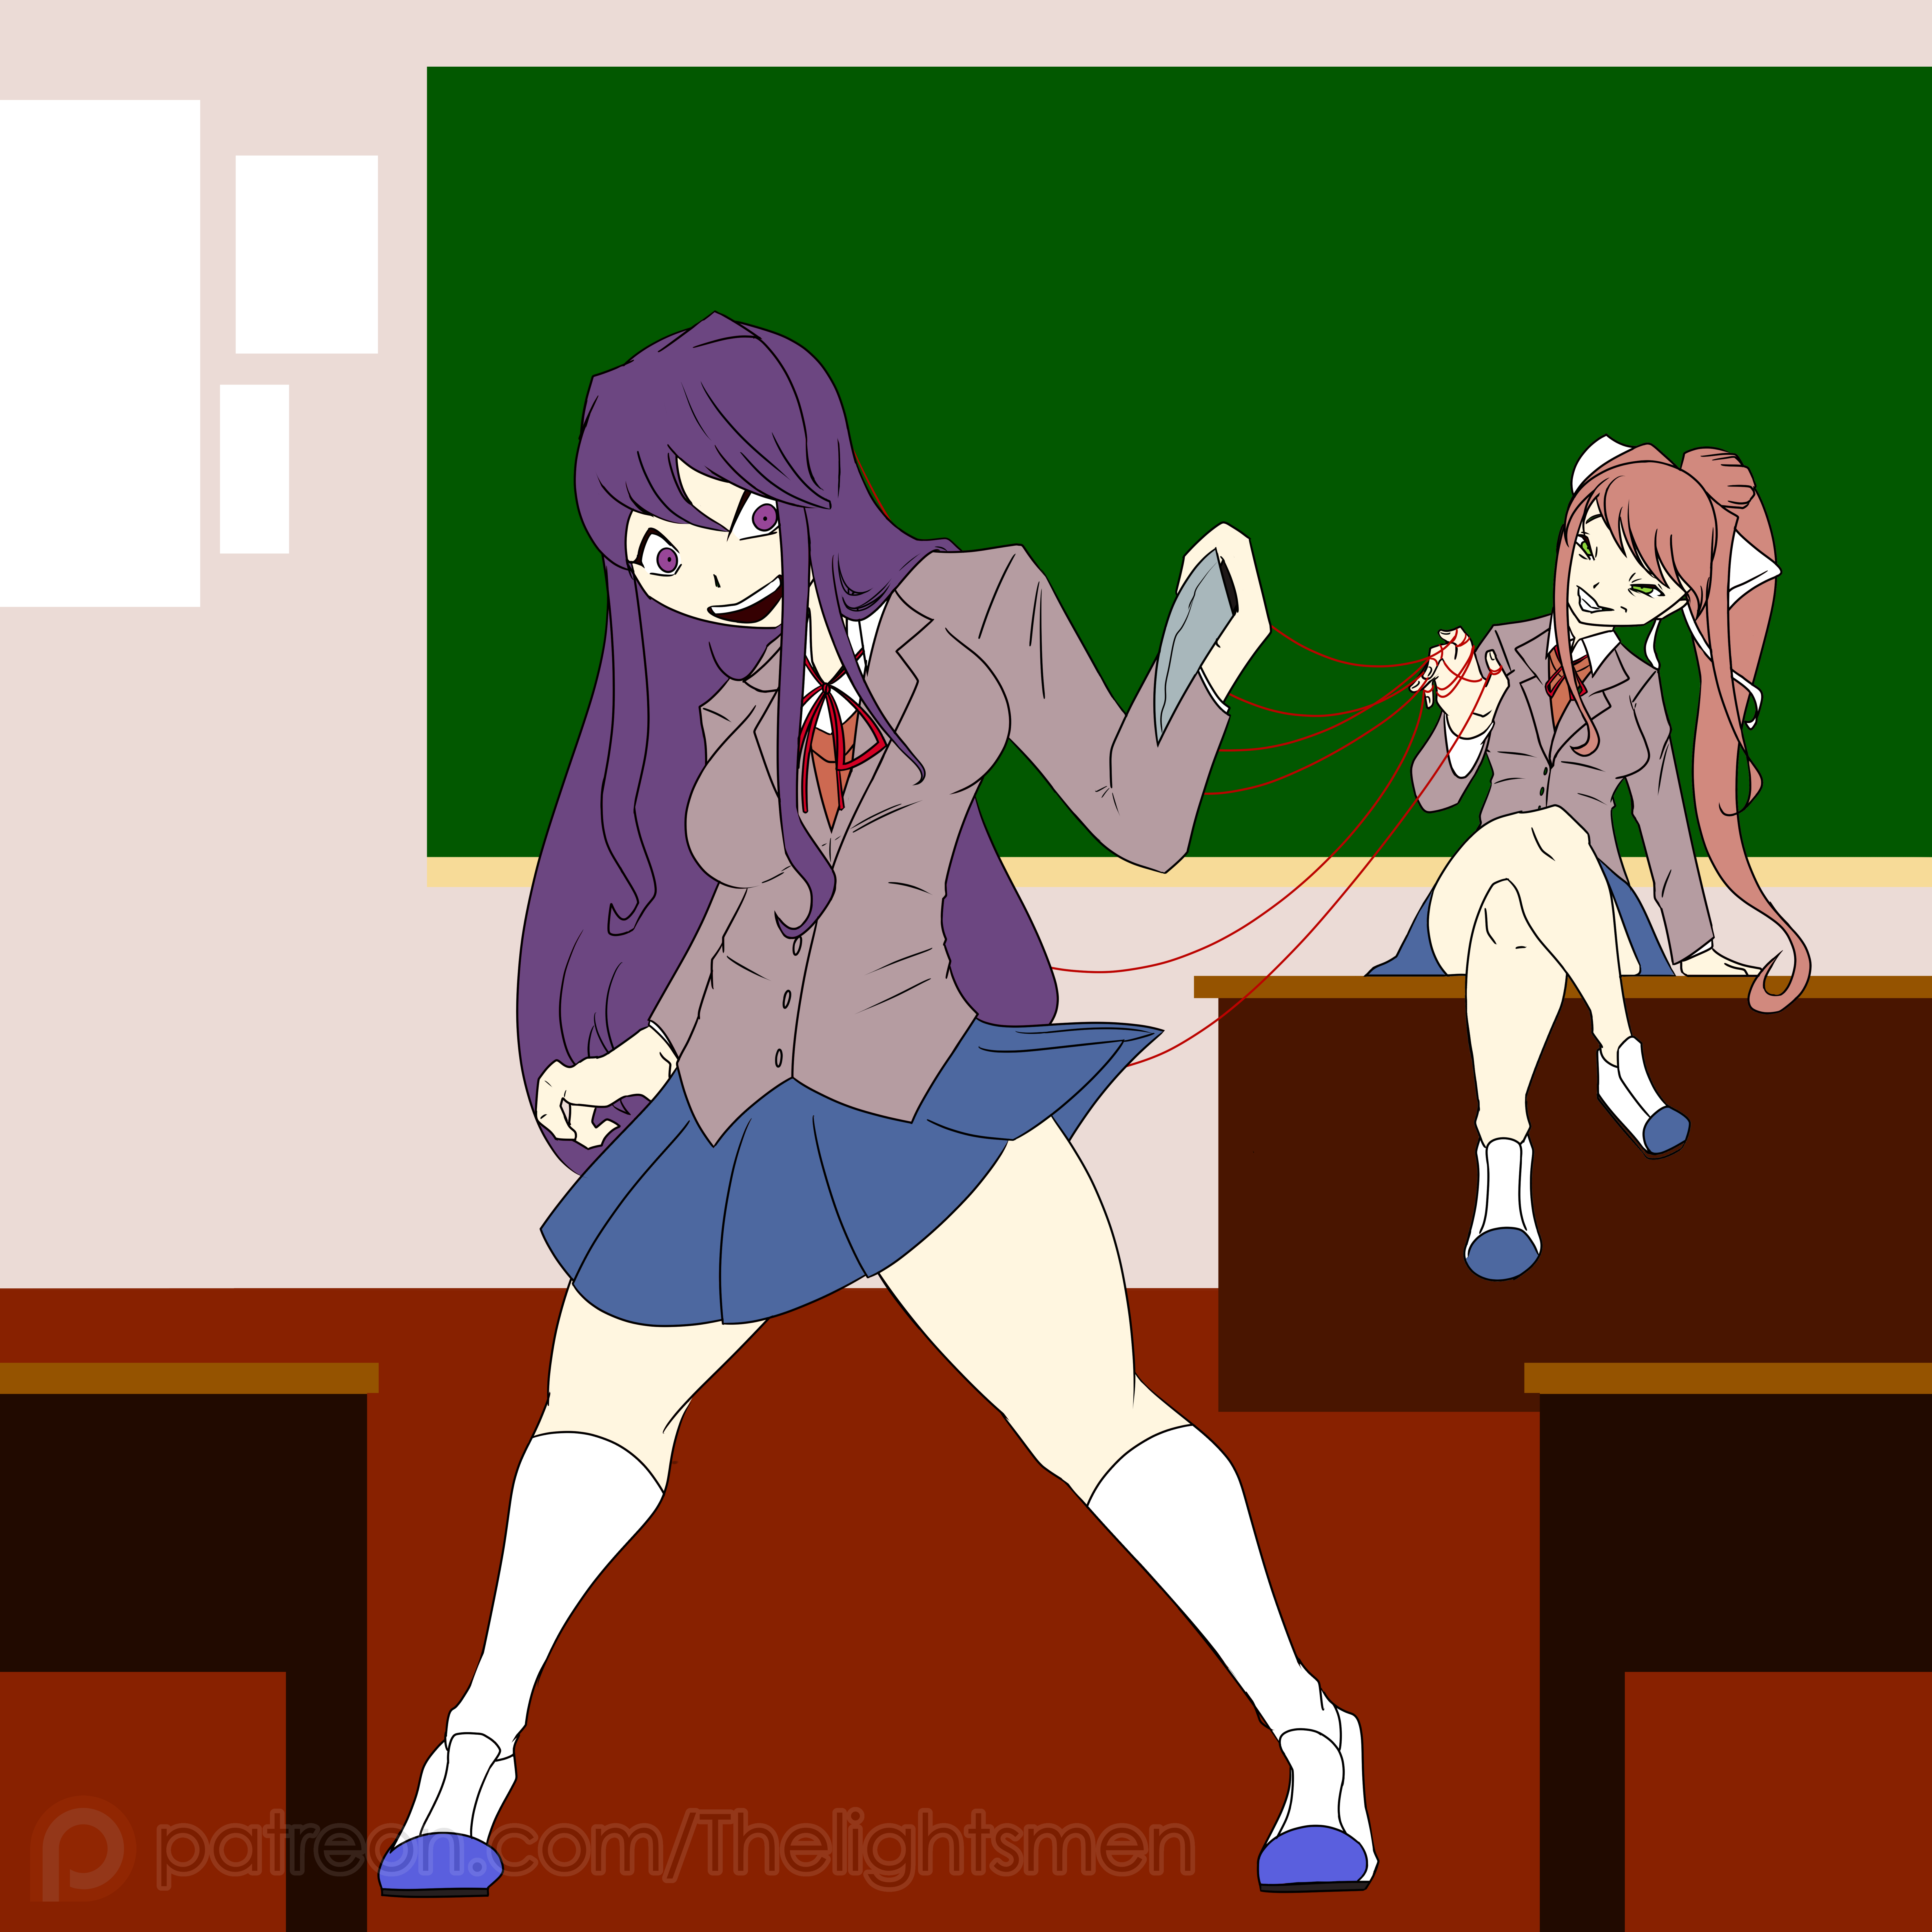
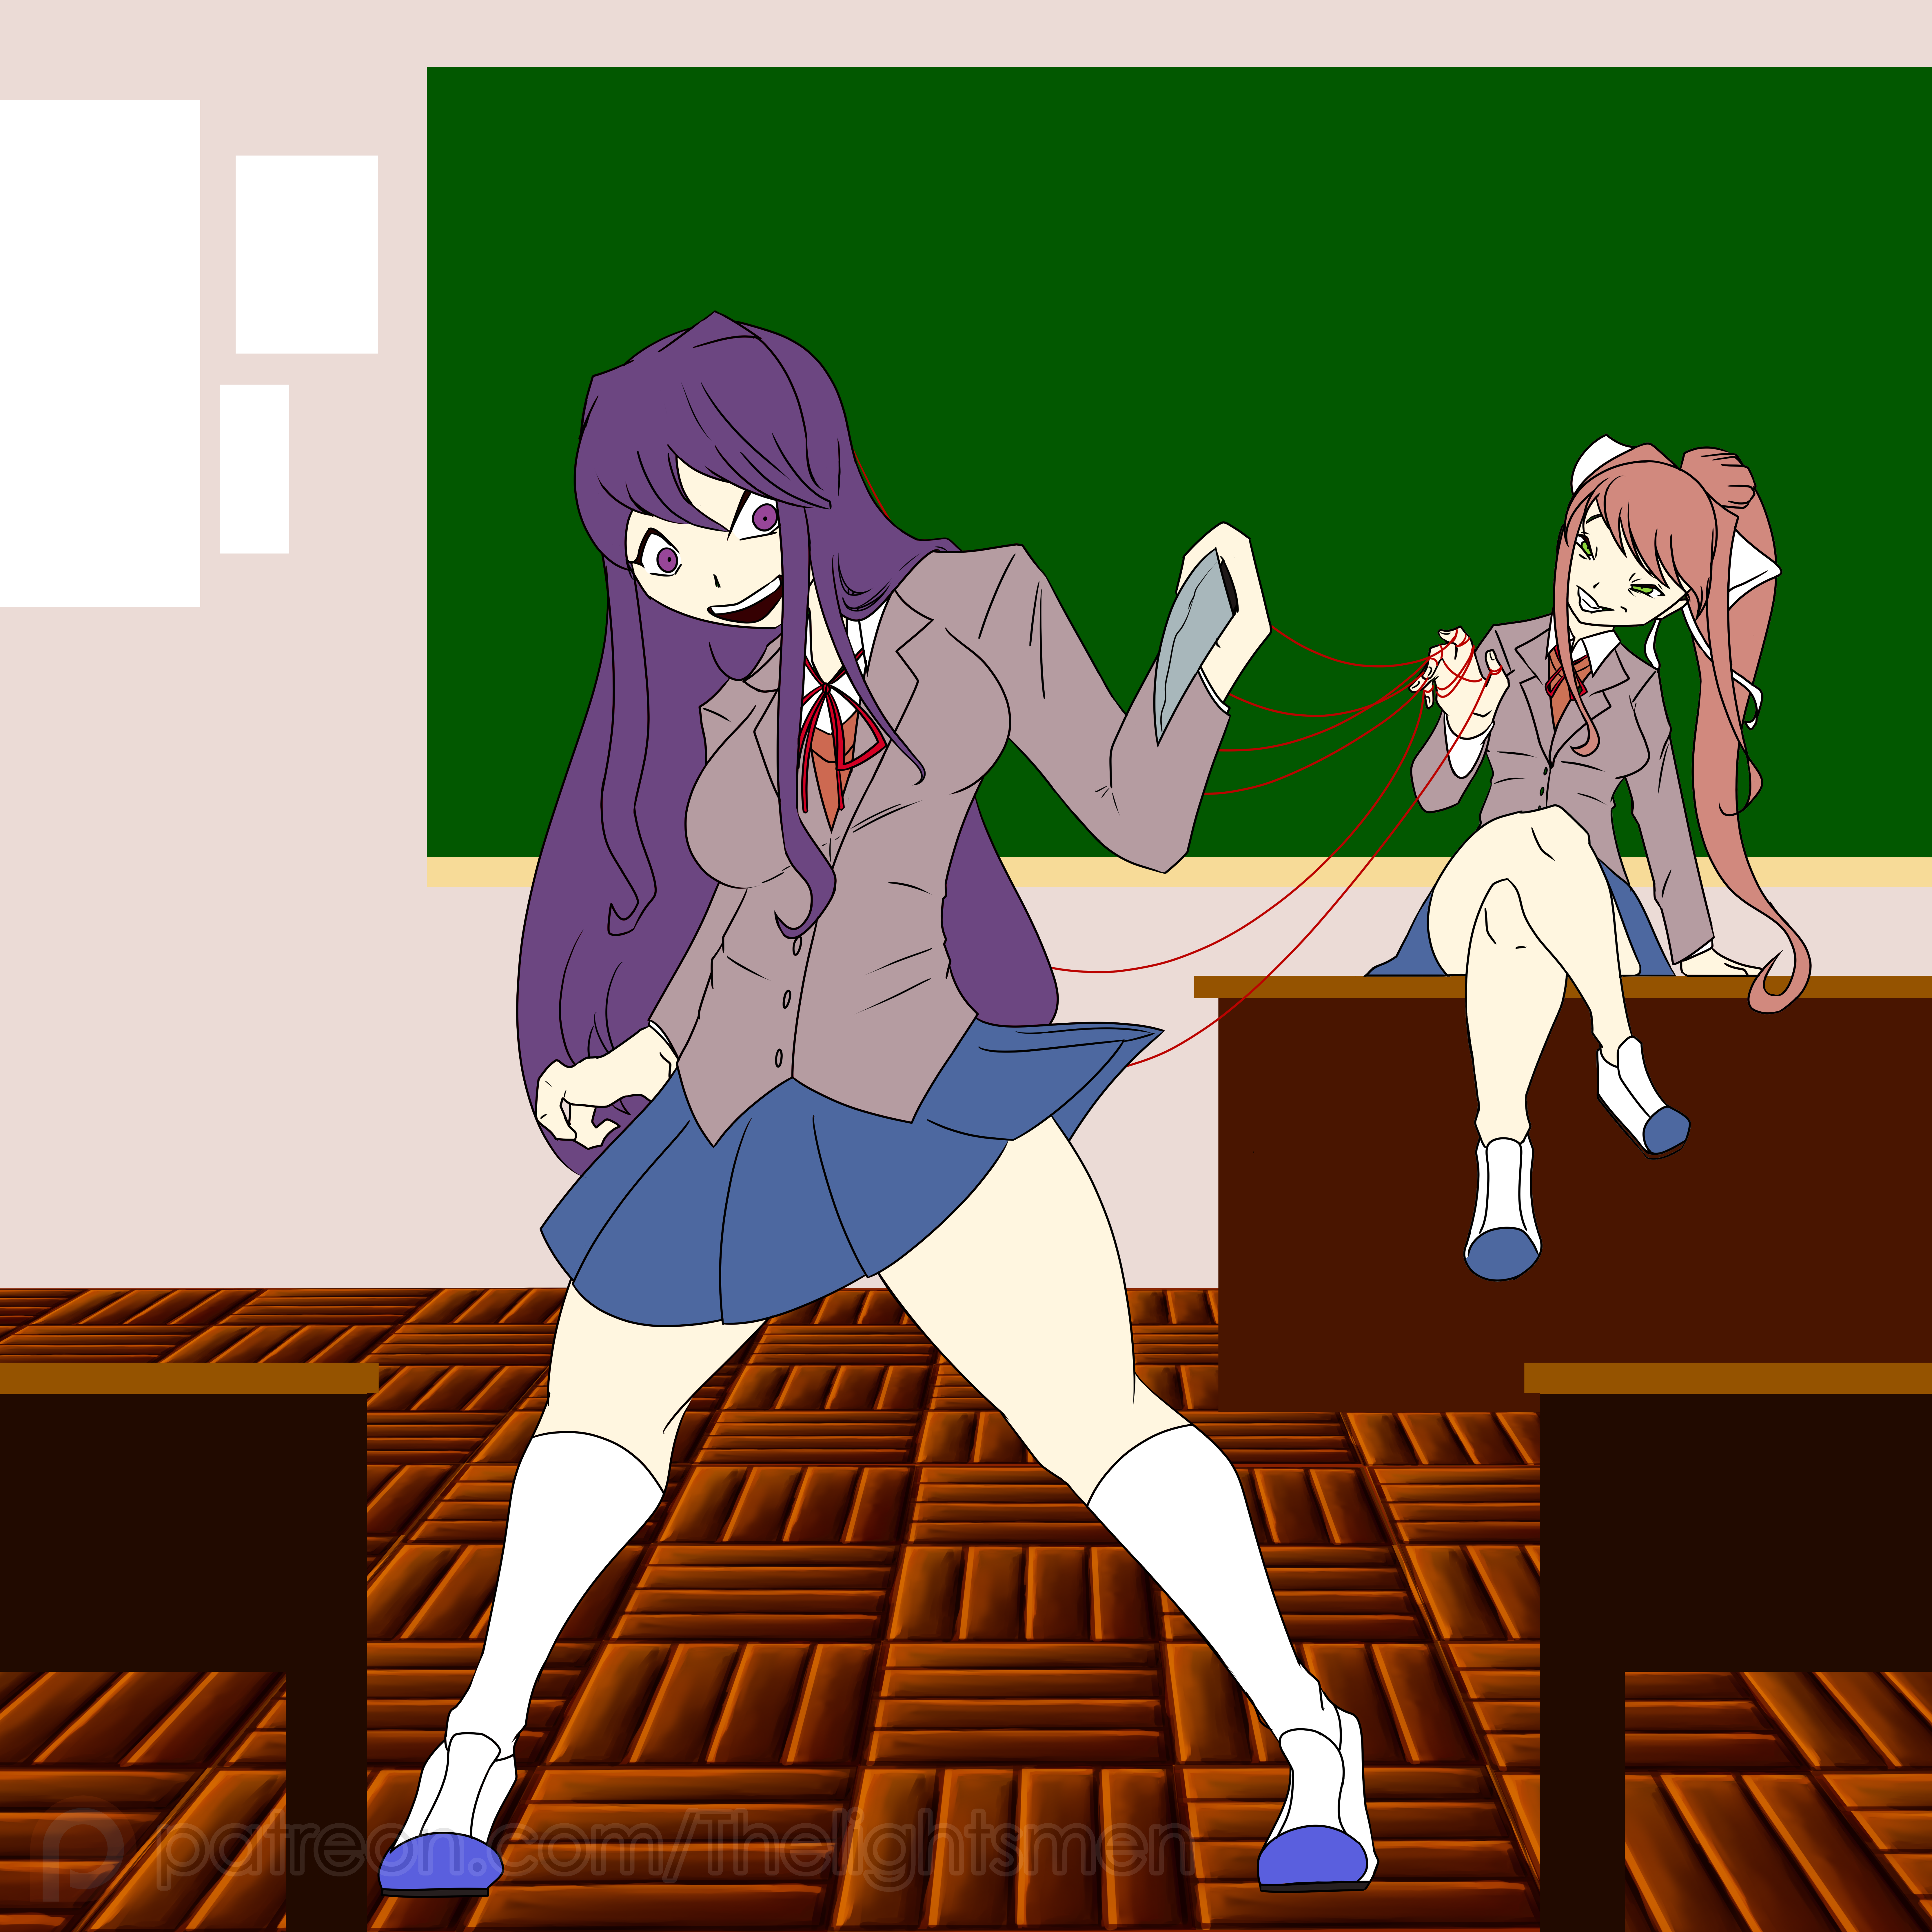
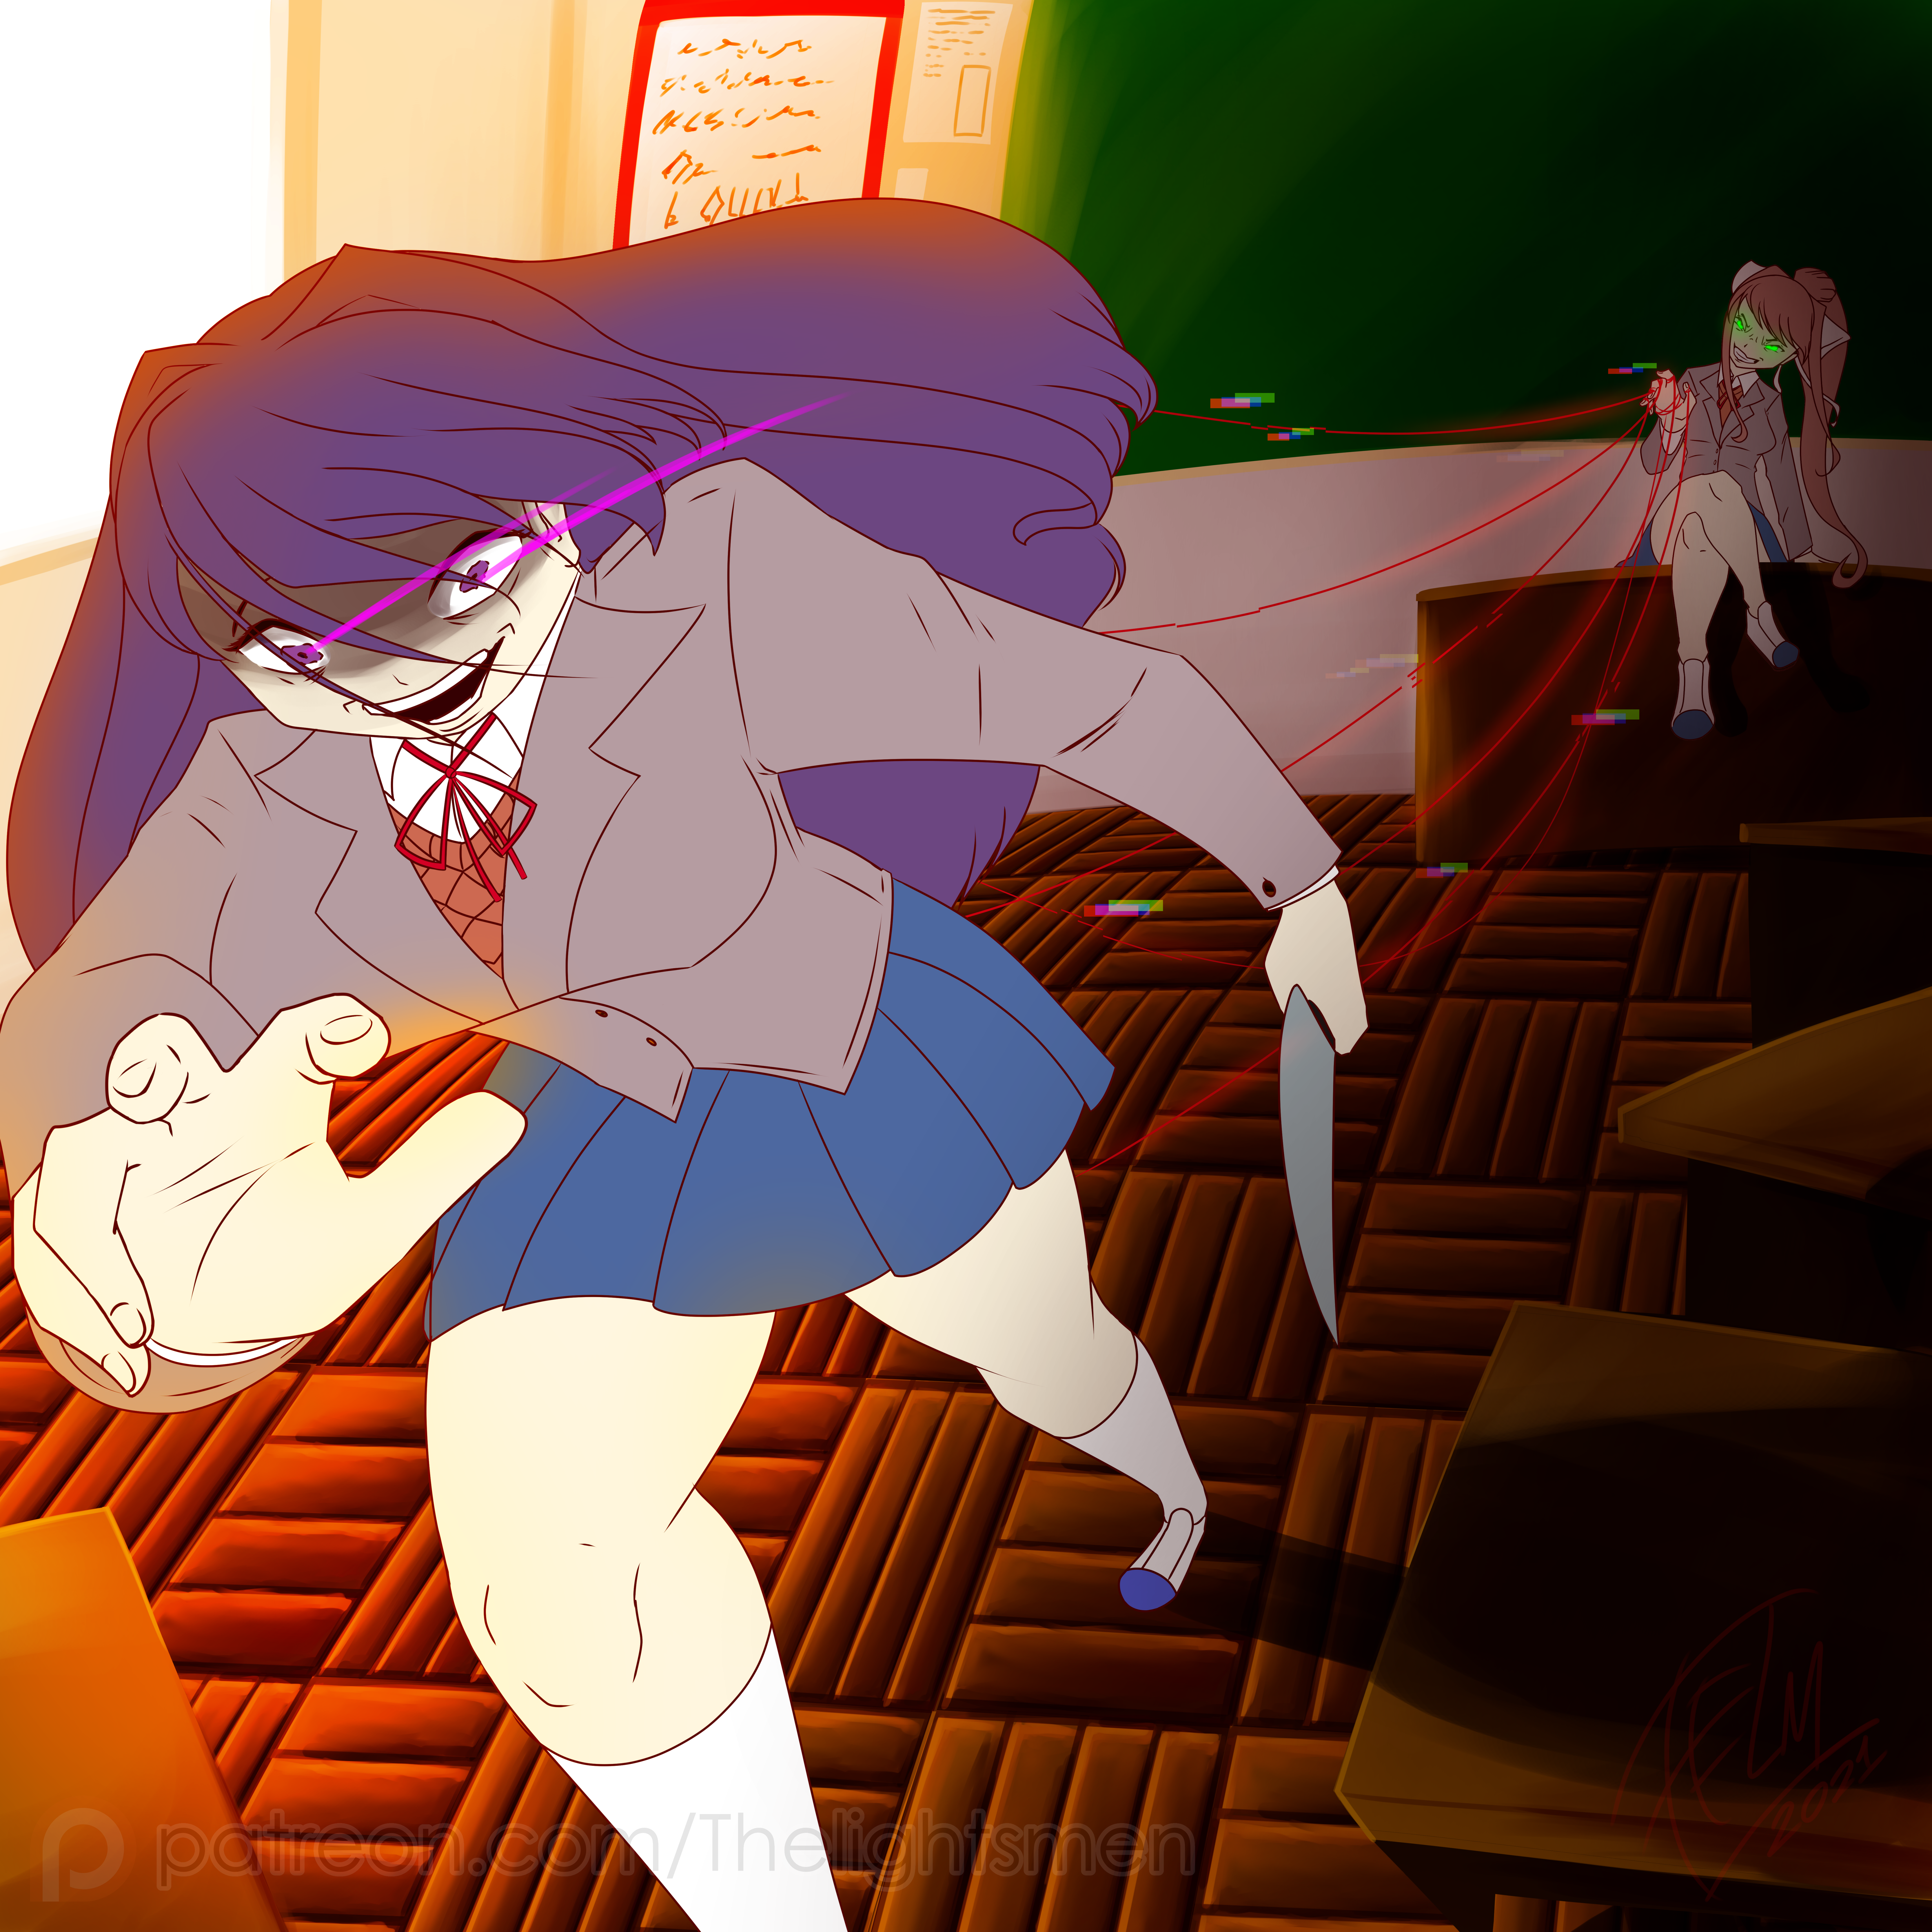
Final product version
These were all the steps taken to create the lastest reward for Belthazor!
Version A:
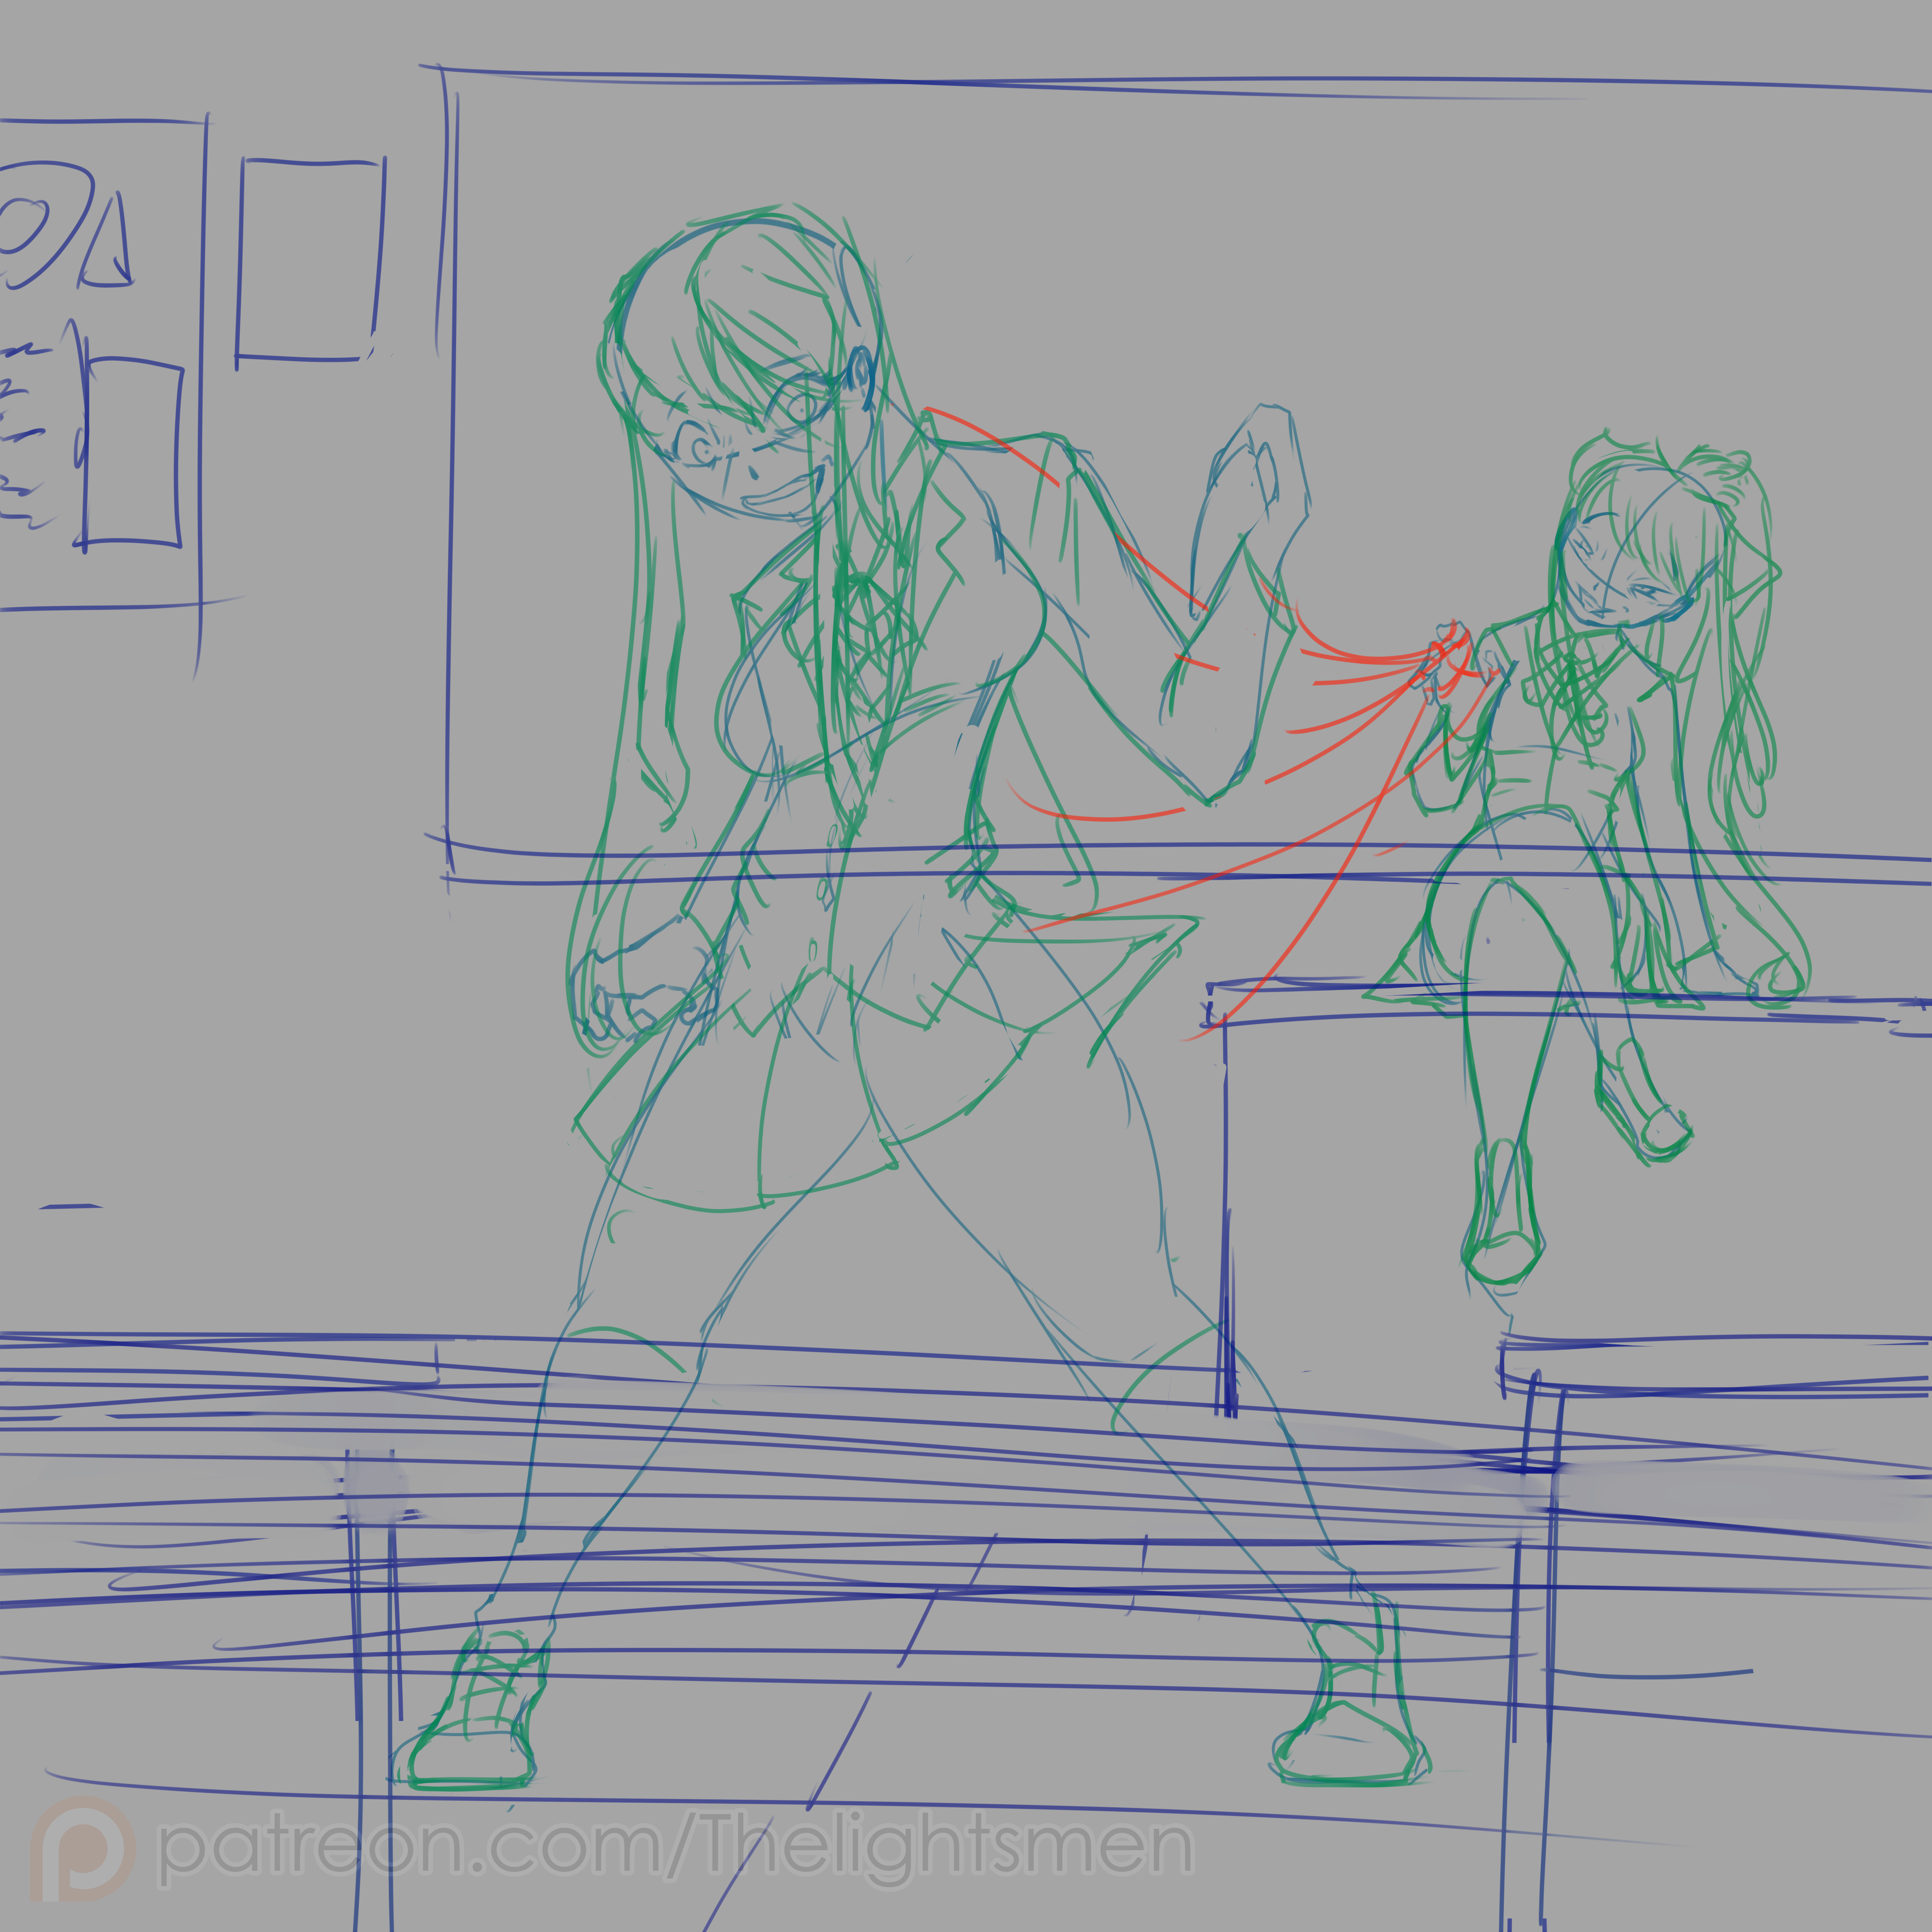
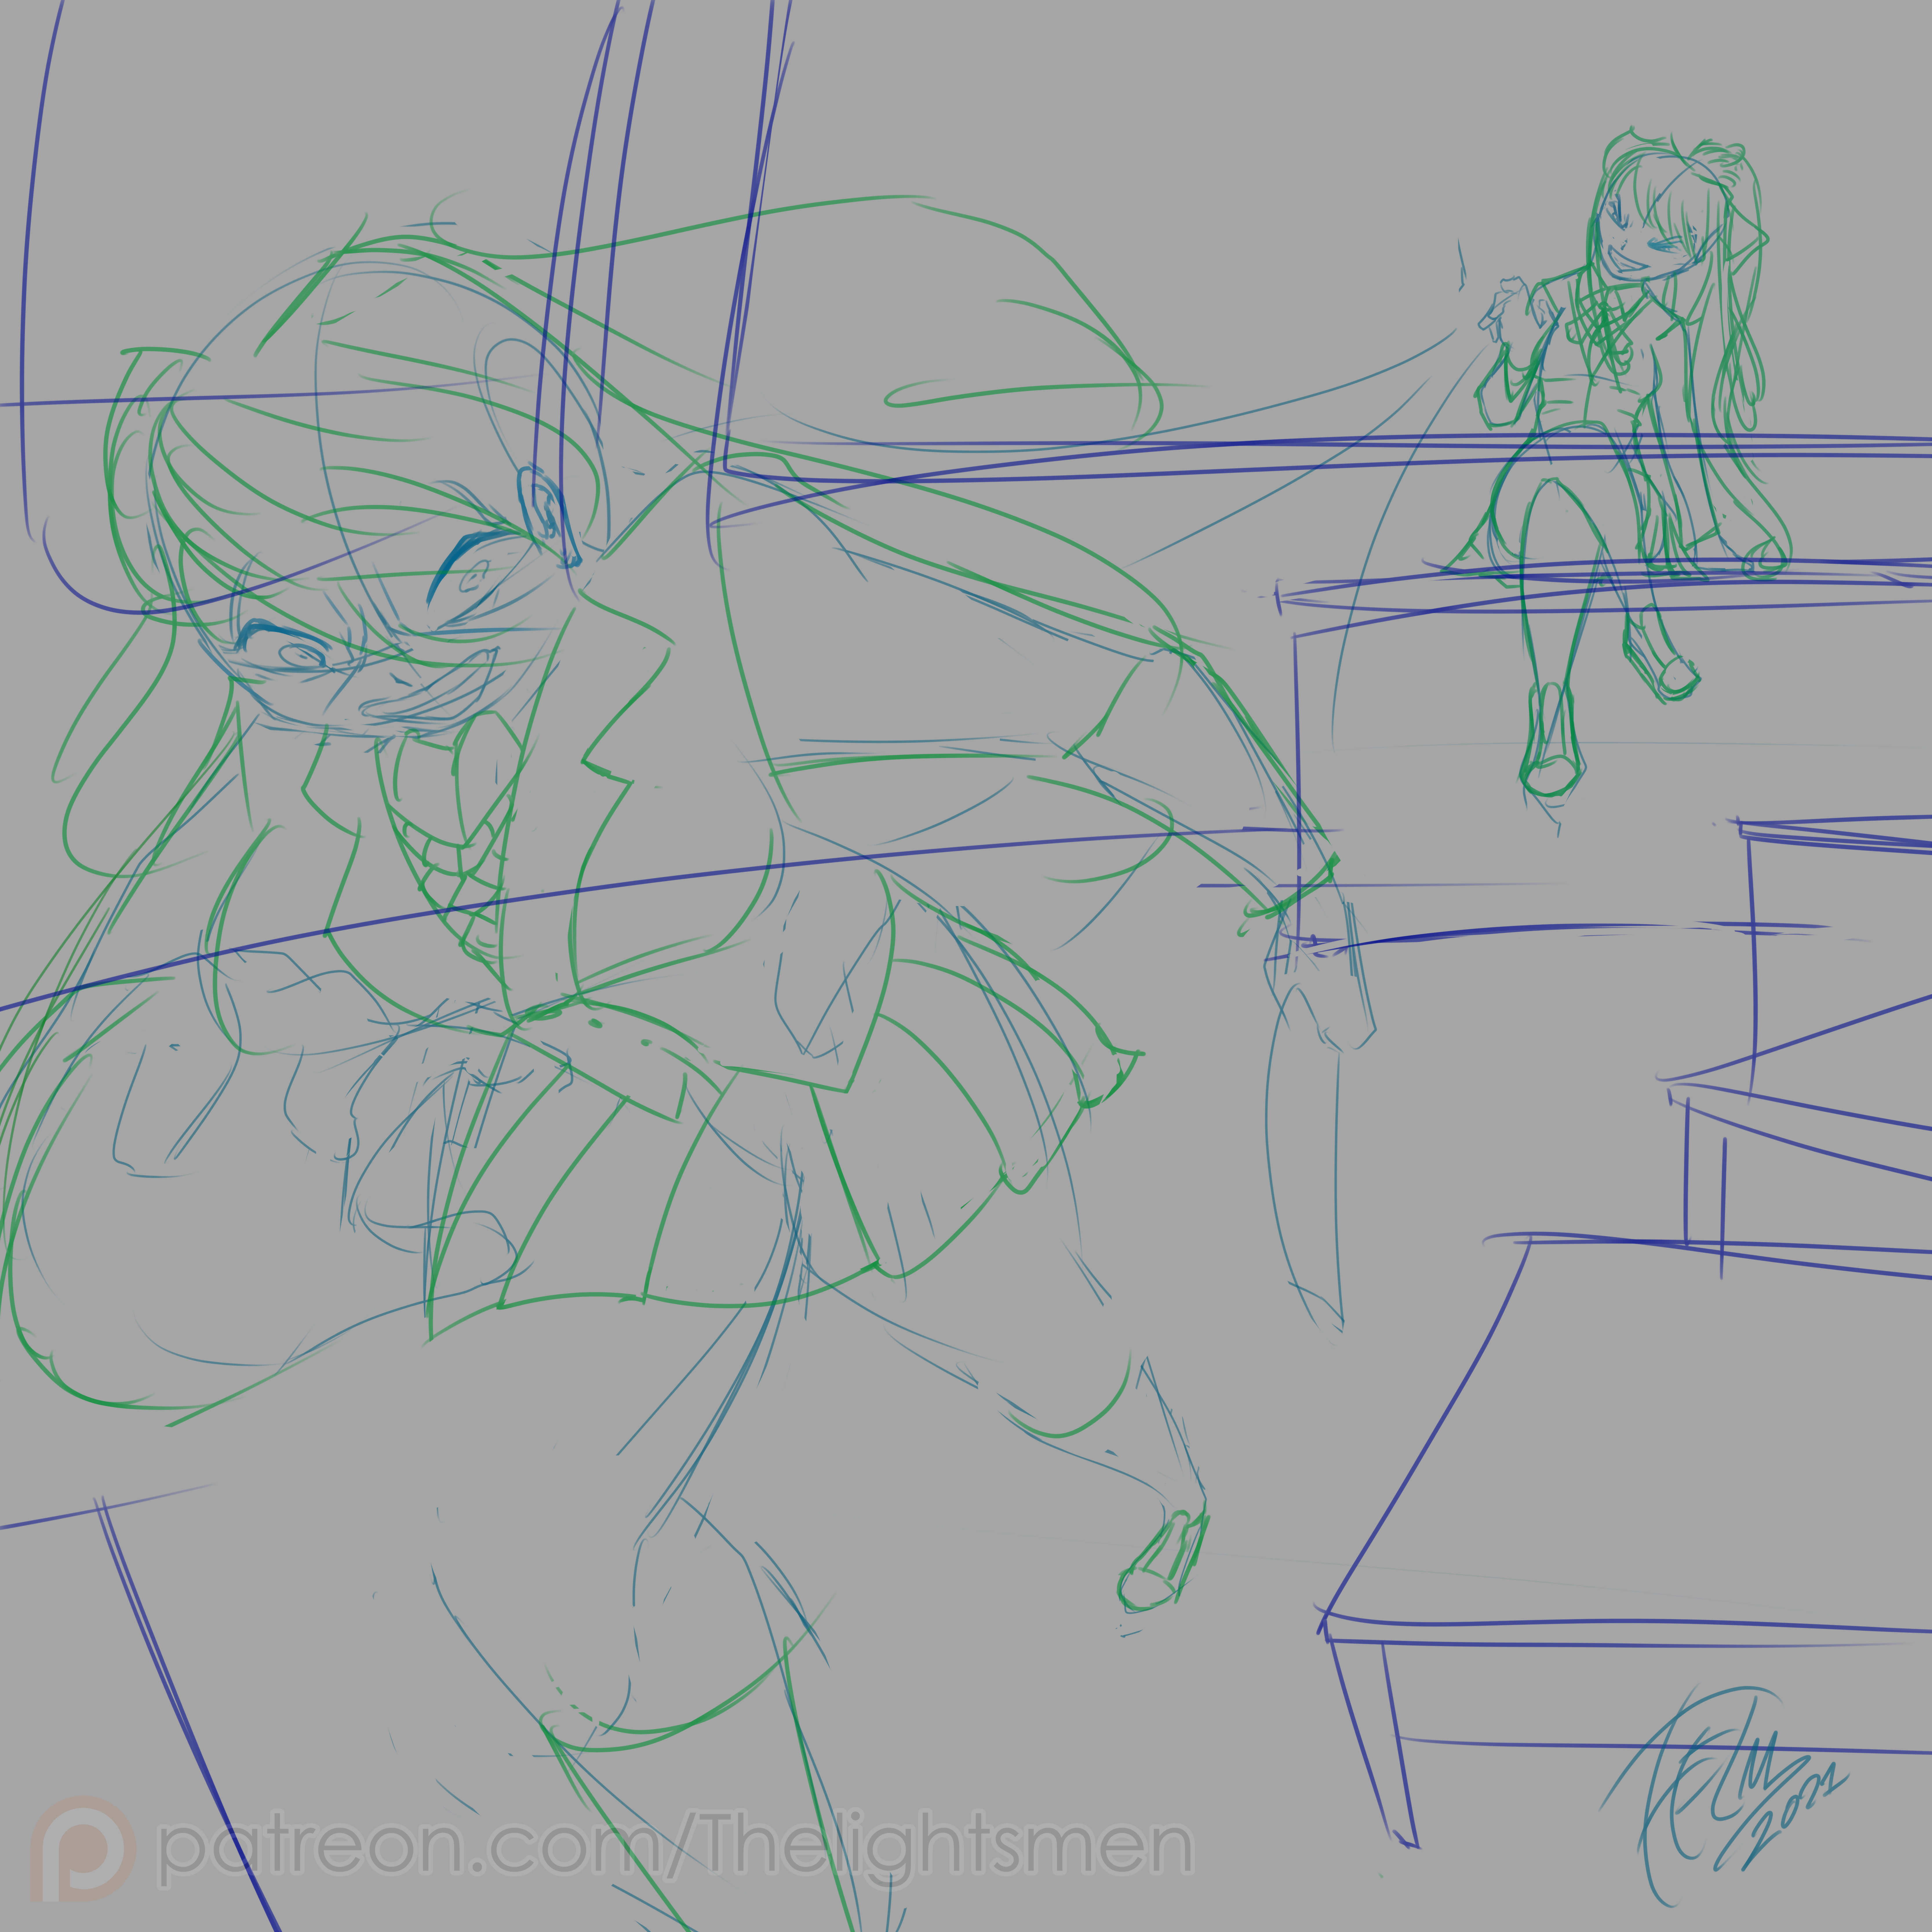
- 1- 1st Rough sketch: The first thing I wanted to figure out was the posing for Yur, it goes without saying I was struggling at first because I didn't know how to convey proper madness to her pose.
- 2- 2nd rough sketch: I eventually figure the right posing for both characters (got Monika on 1st try!).
- 3- Rough sketch tweaks: I resize the characters to occupy as much screen as possible
- 4- Bg sketch: Then I add in a separate layer the sketch for the background in another color!
- 5- Details sketch: And to finish the sketch I add two more layers, one to detail the clothes and hair, and the red strings coming from Monika's hand.
- 6- Final sketch: Then I organize everything to double check the final design of the piece.
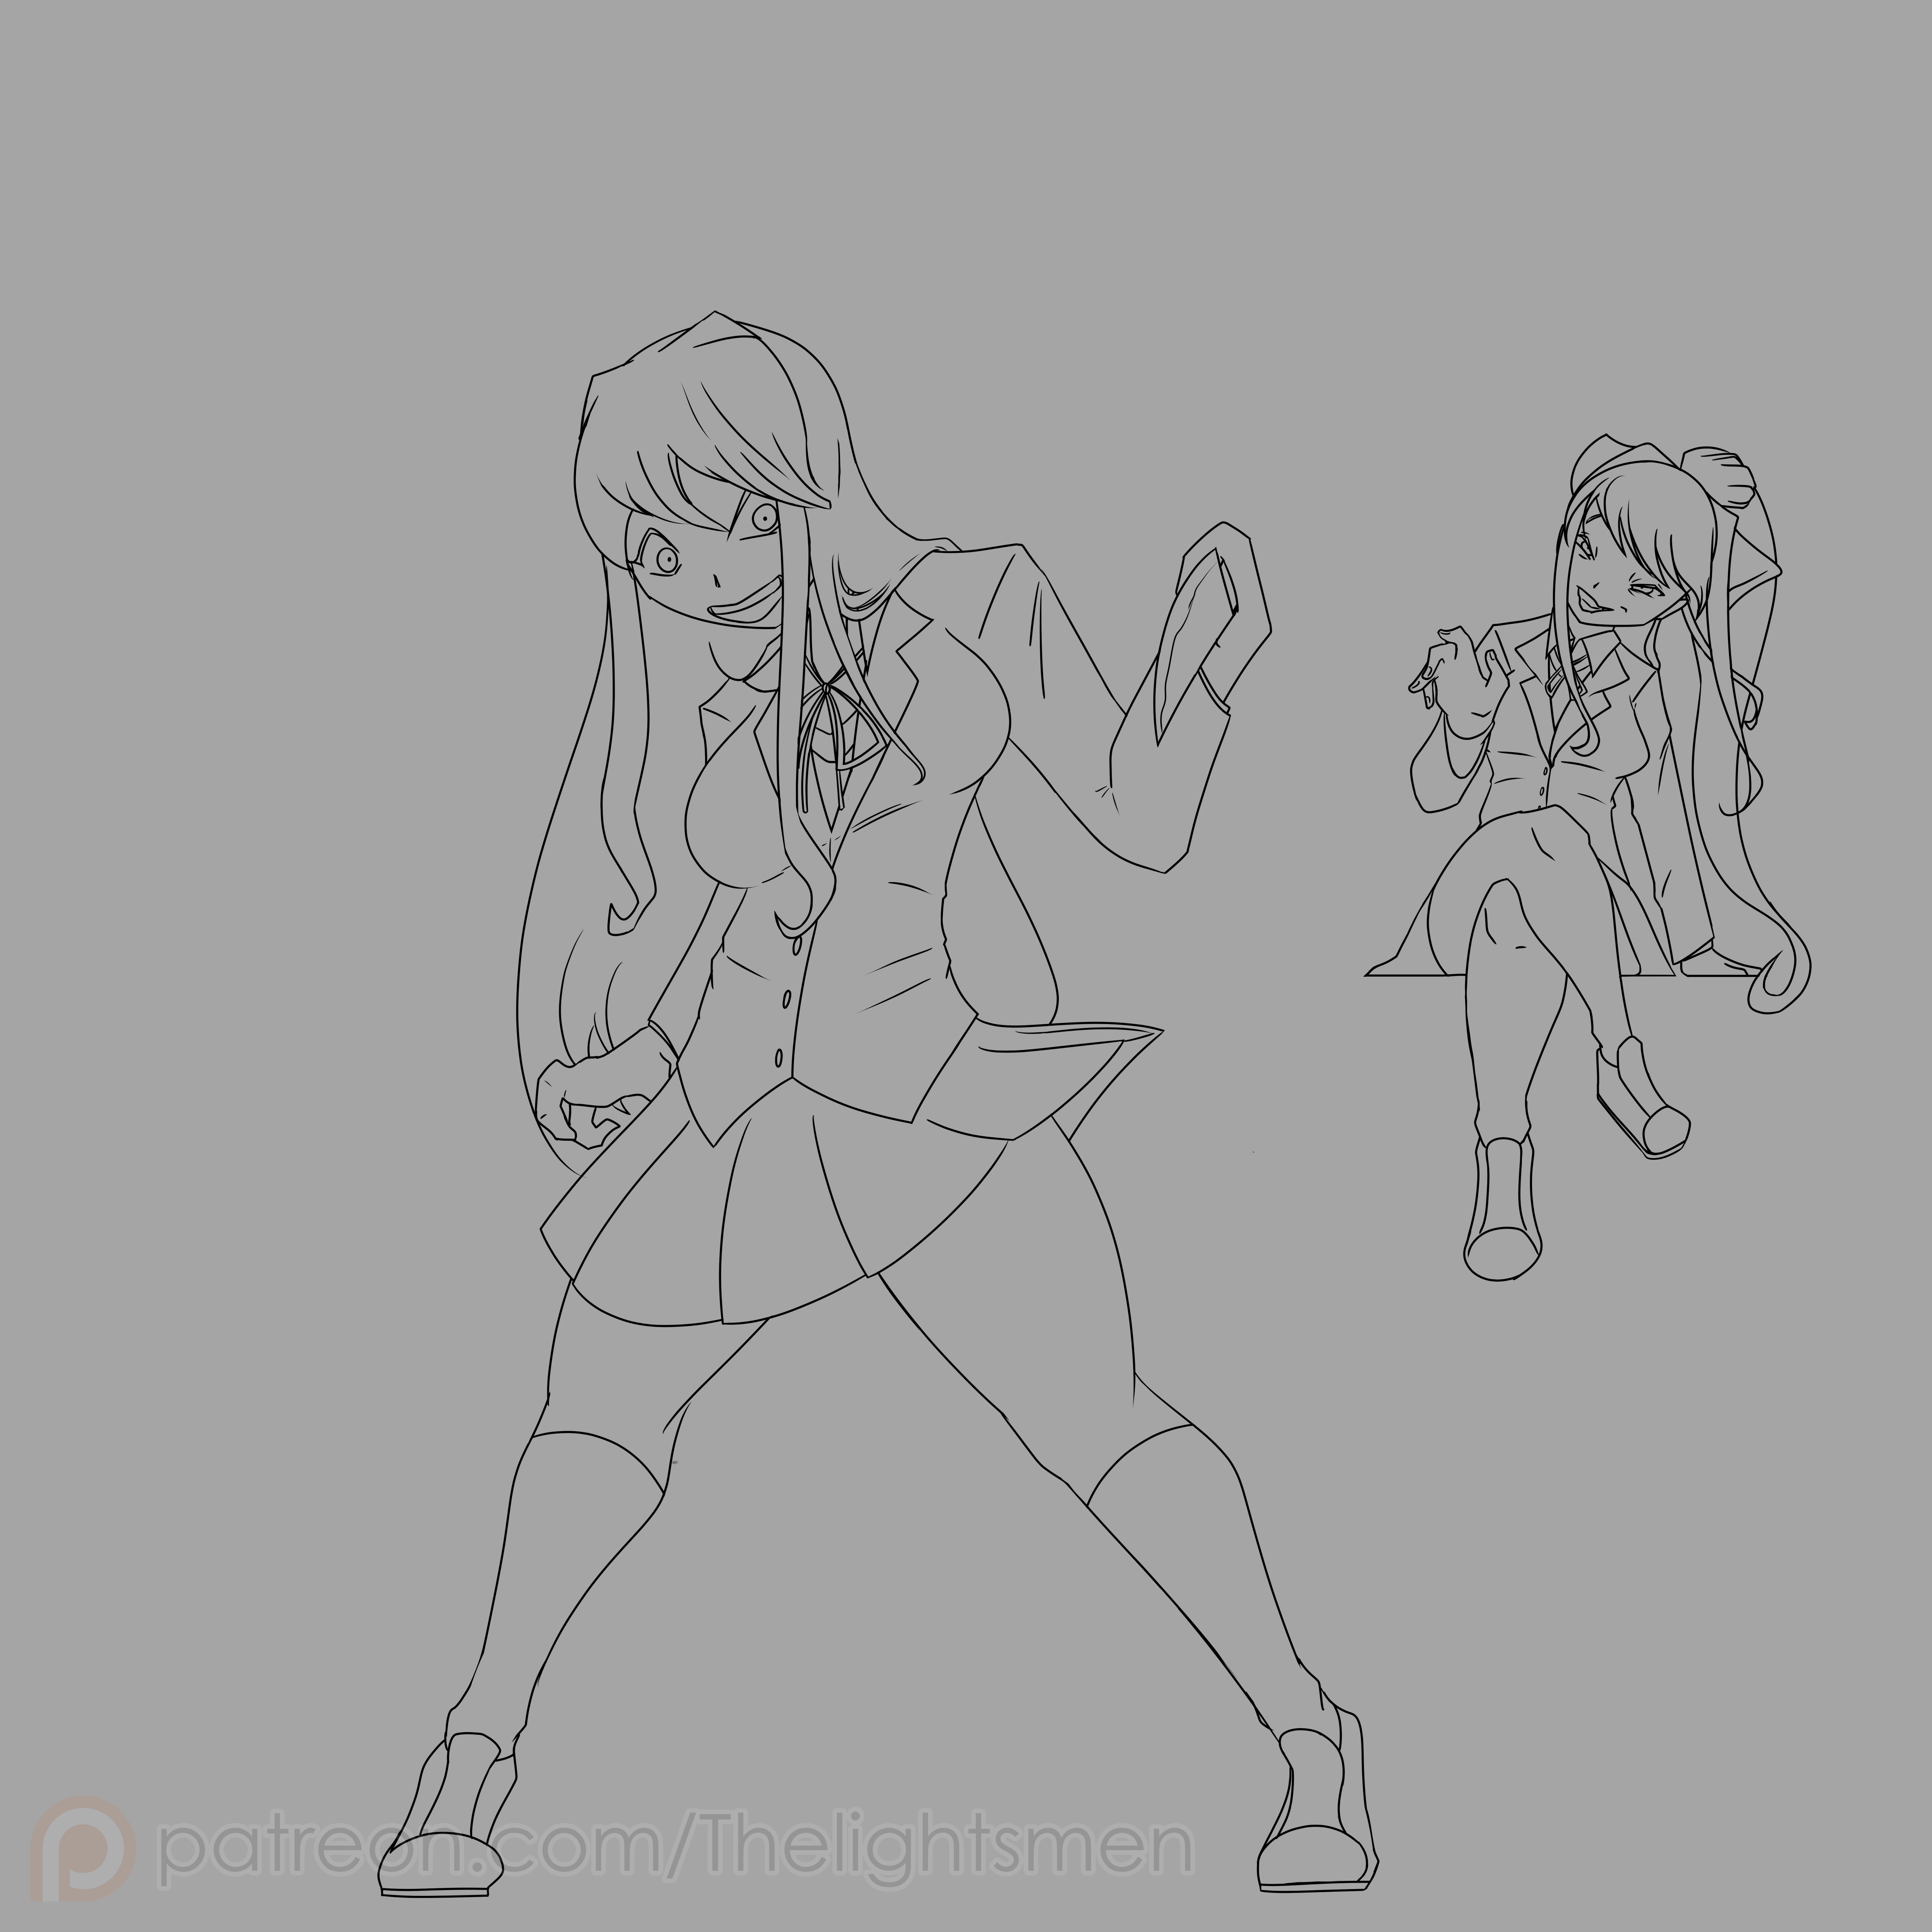
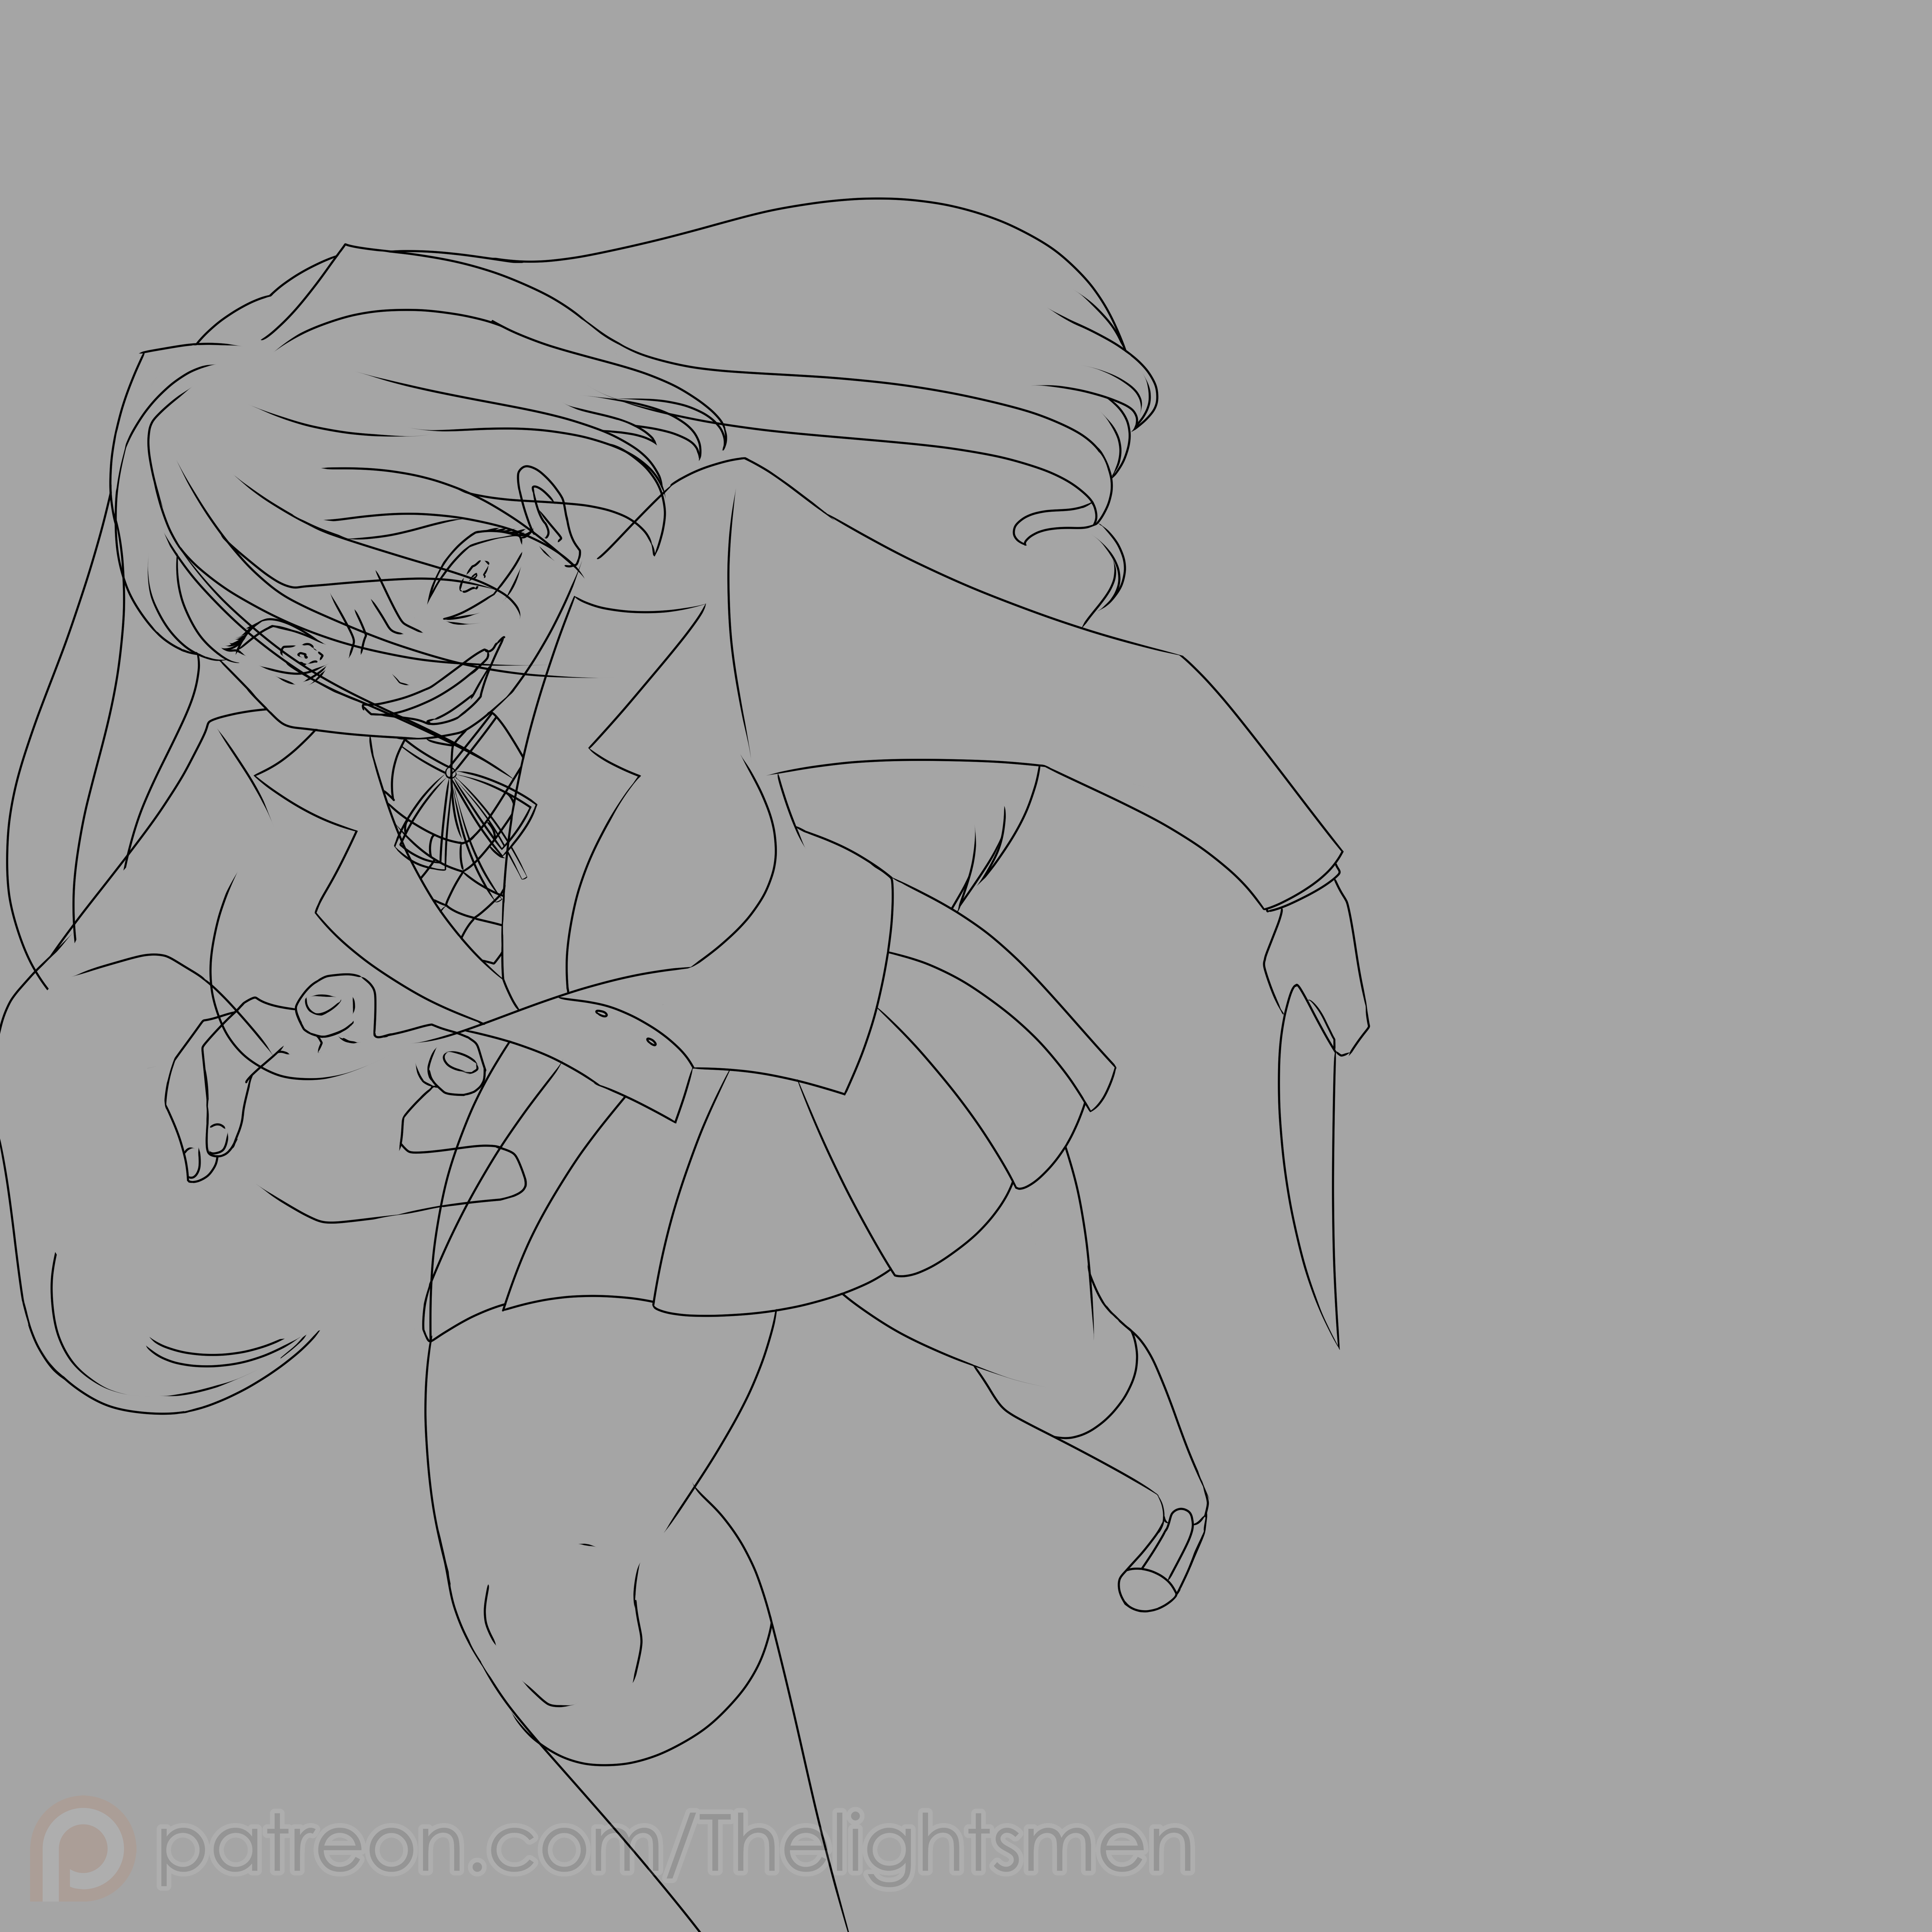
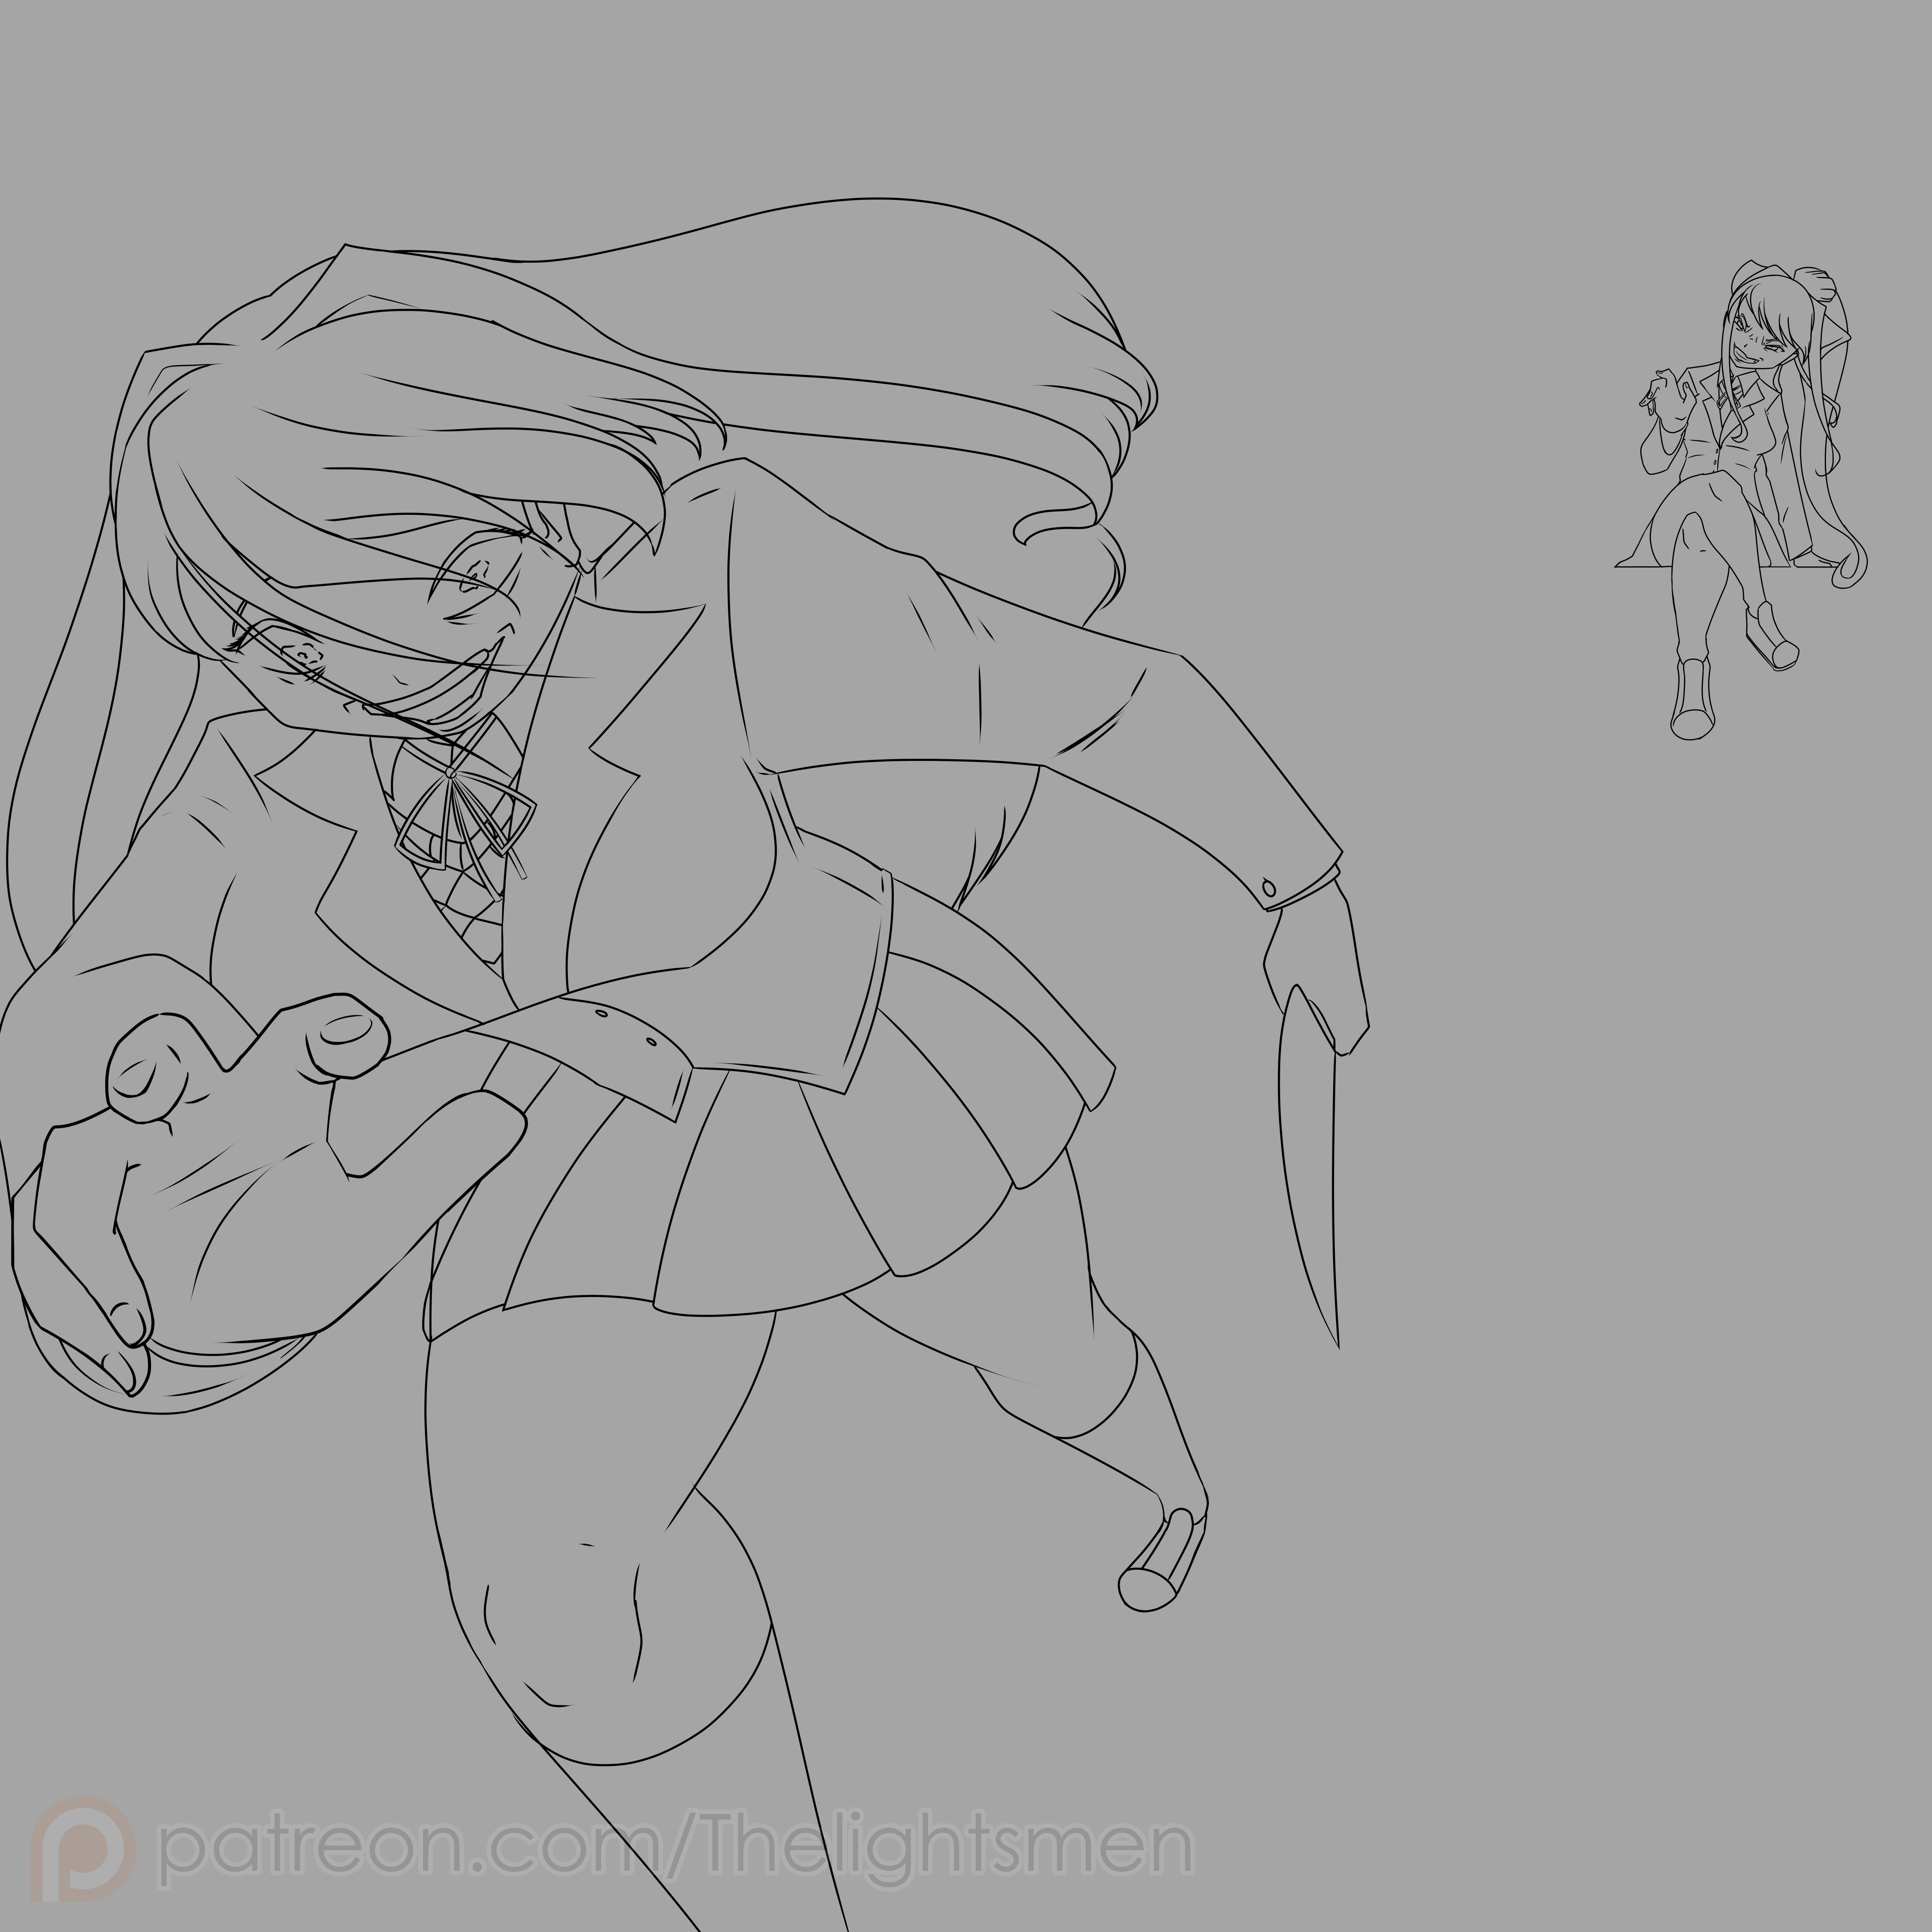
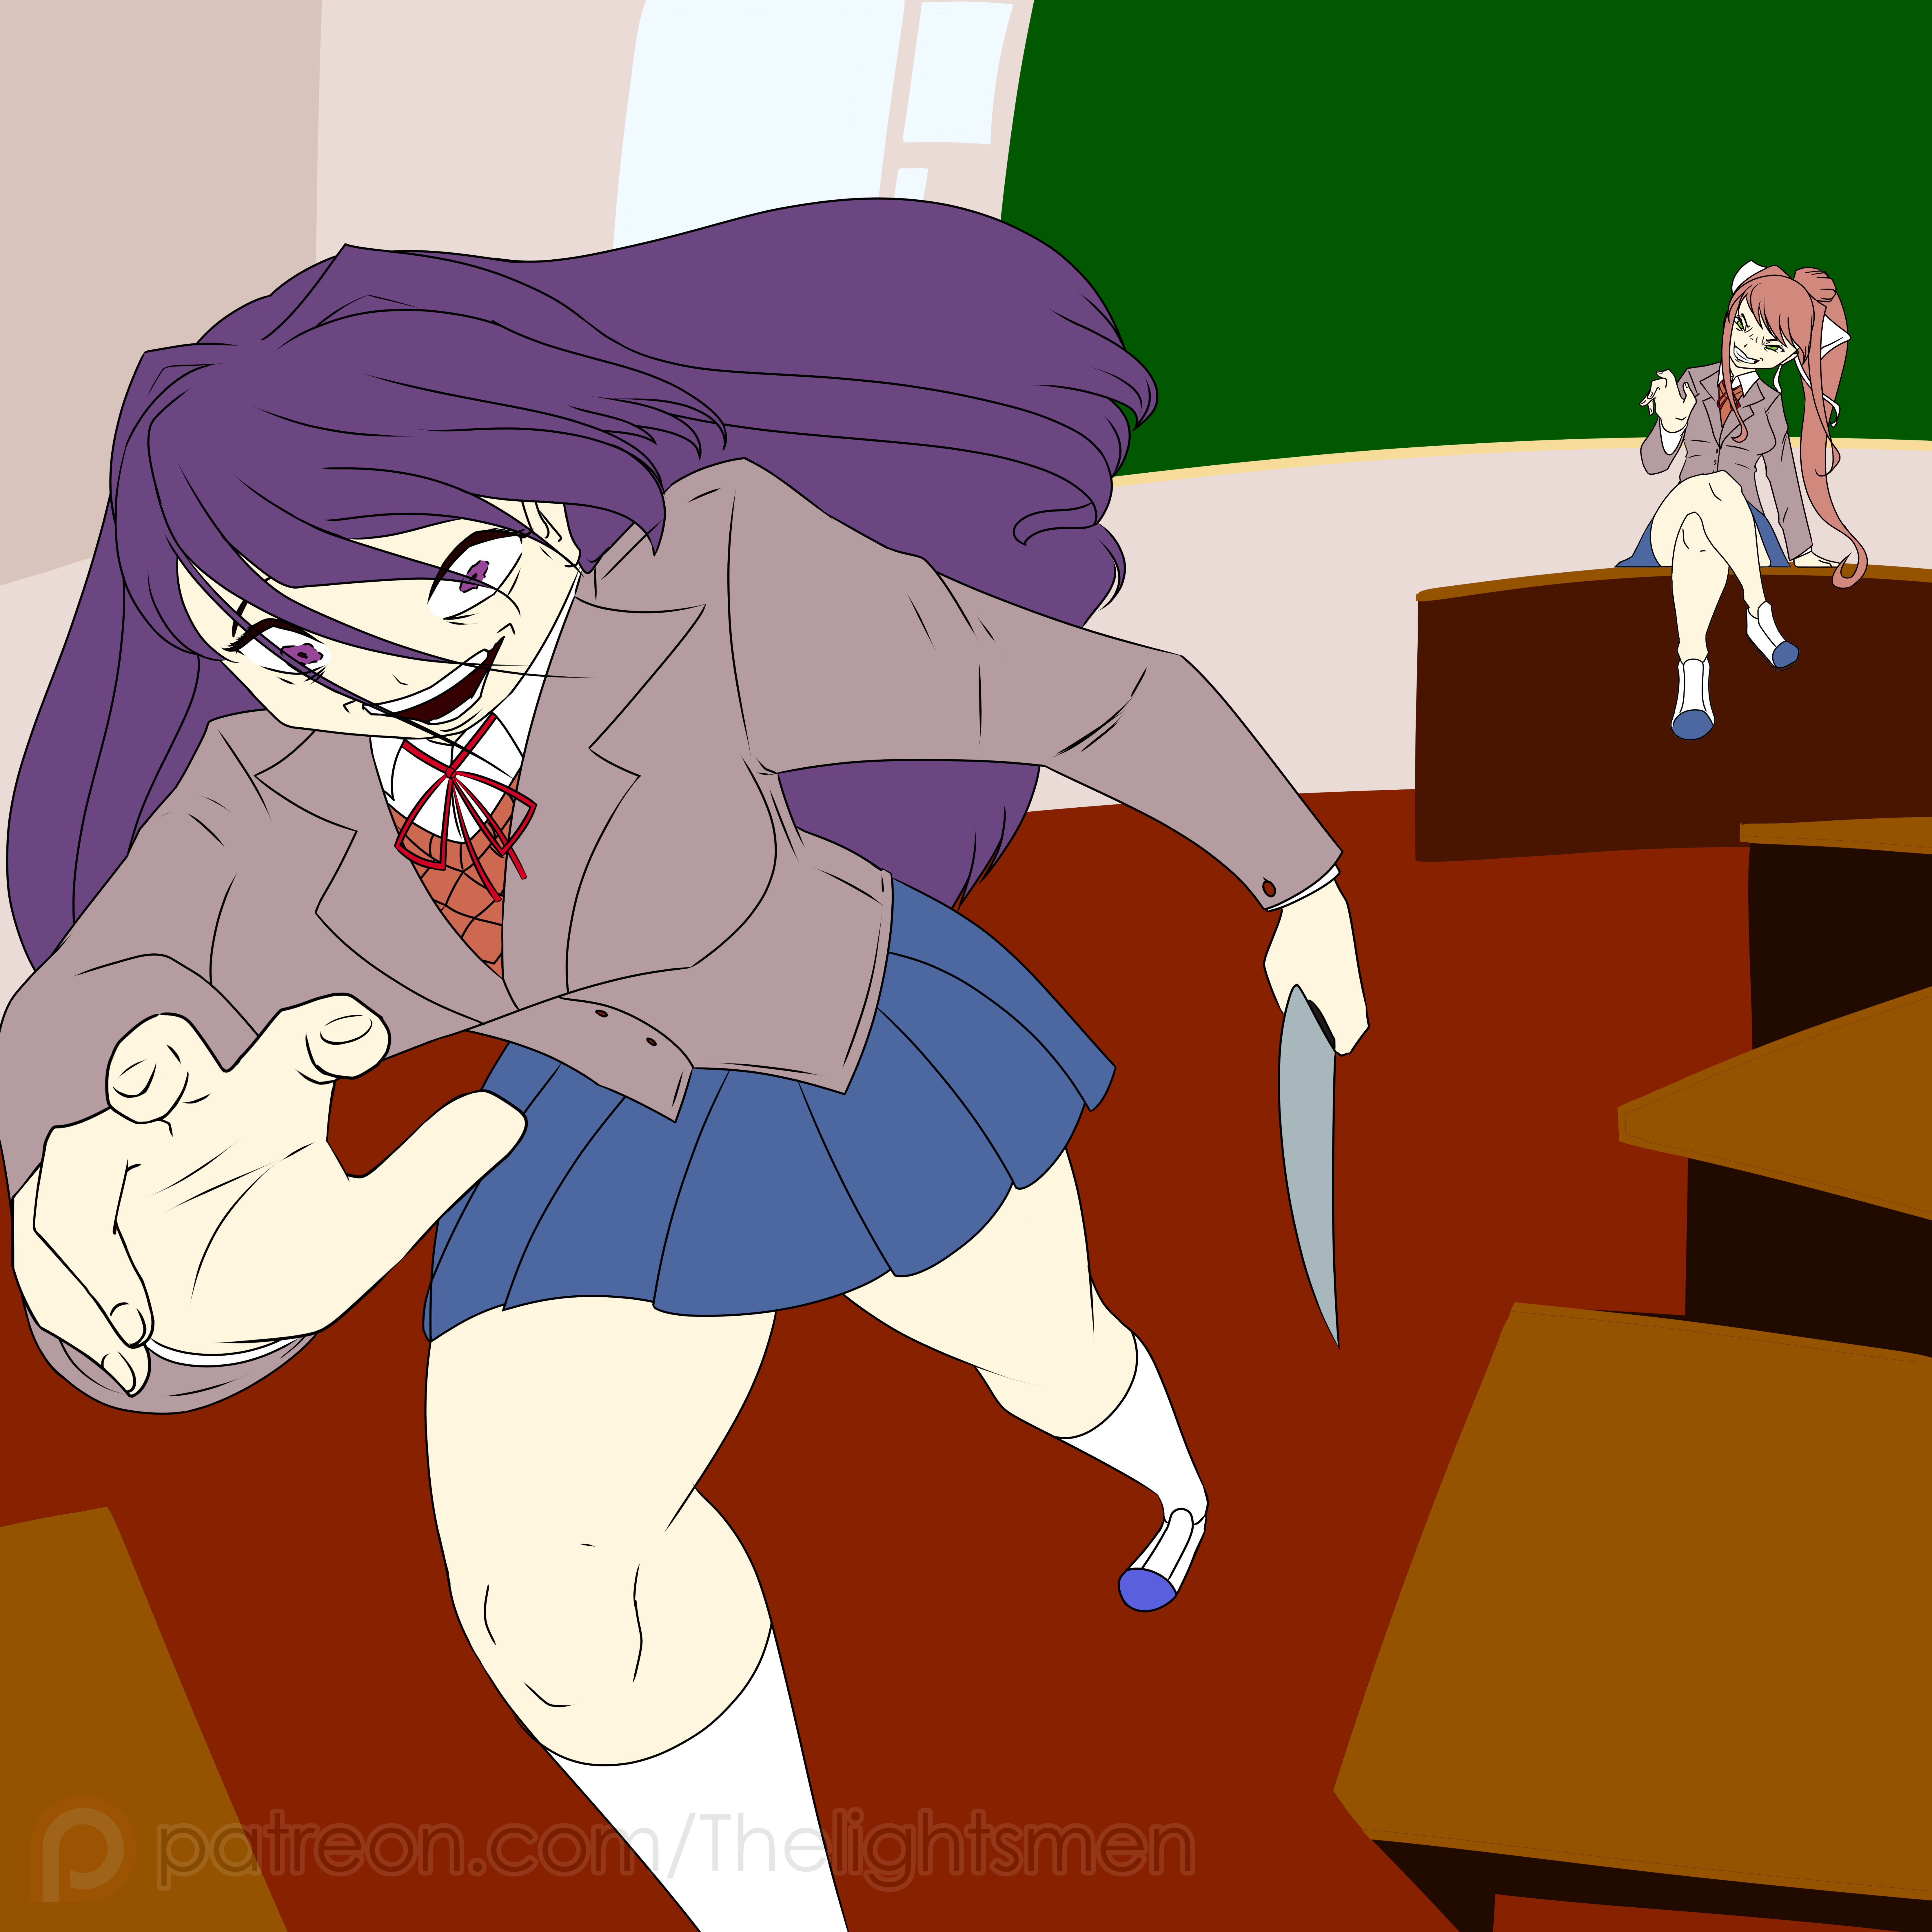
- 7- Lineart: After confirming everything I draw all the clean lines based off the sketch.
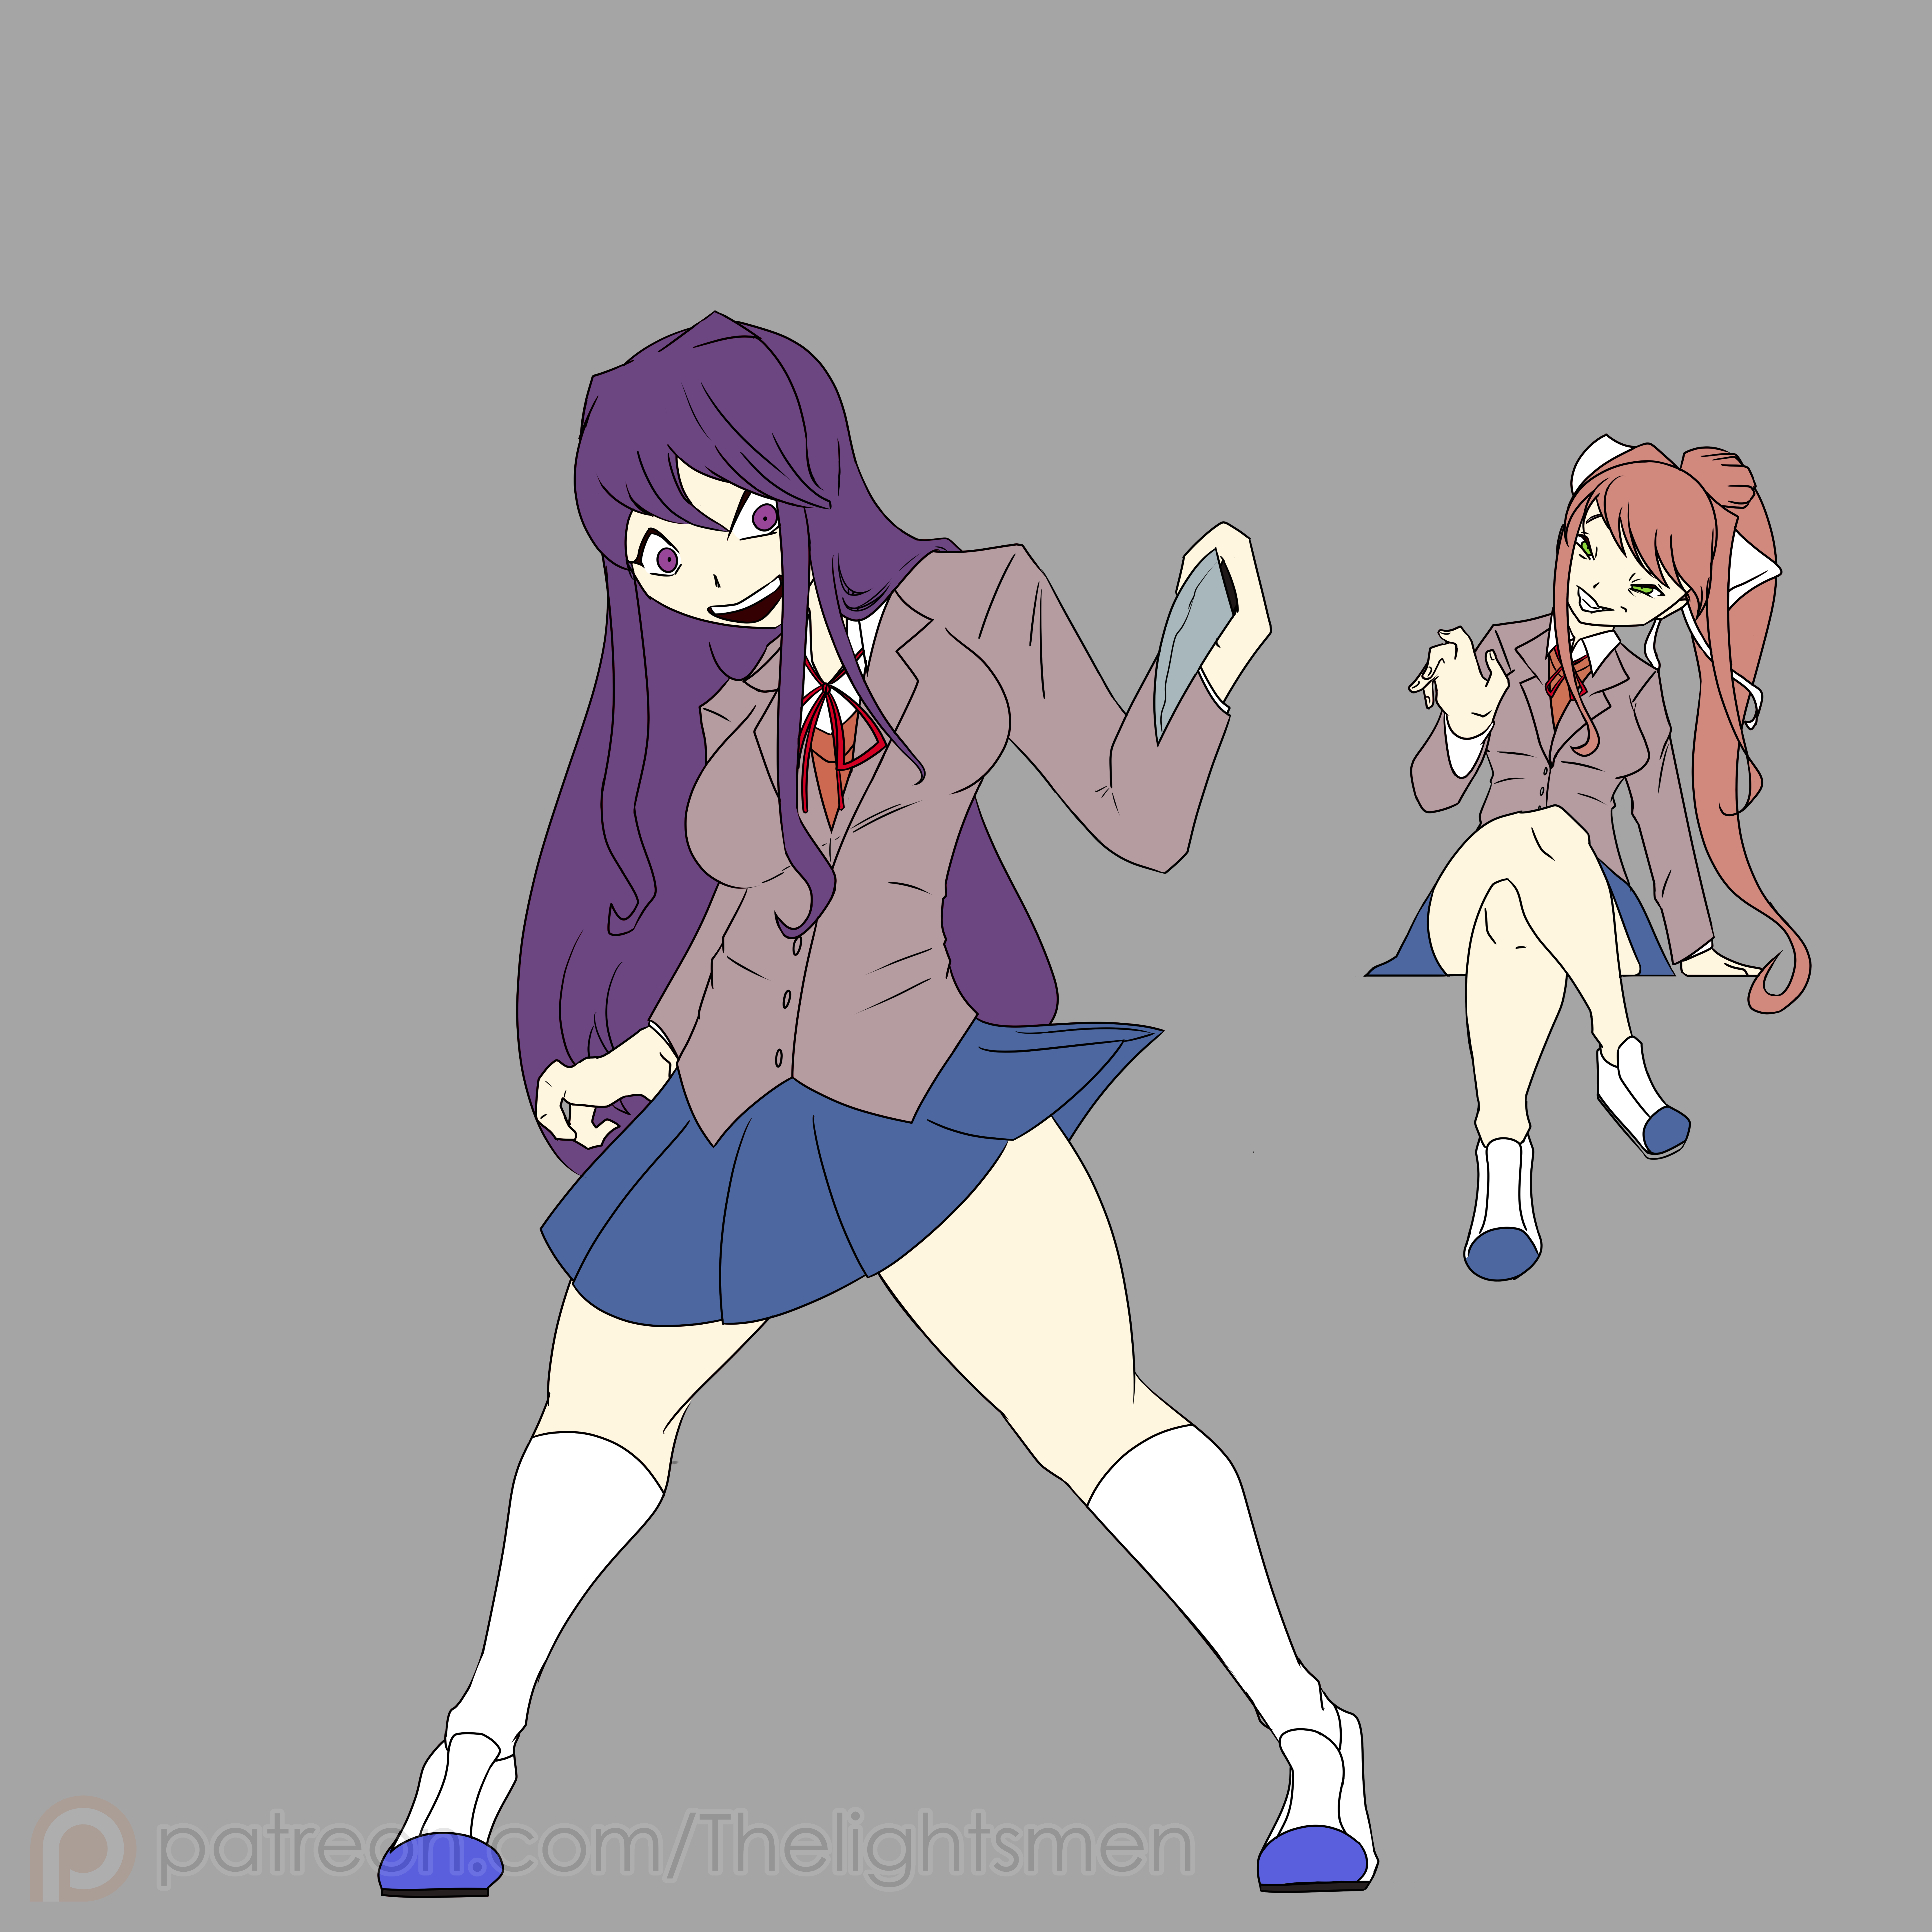
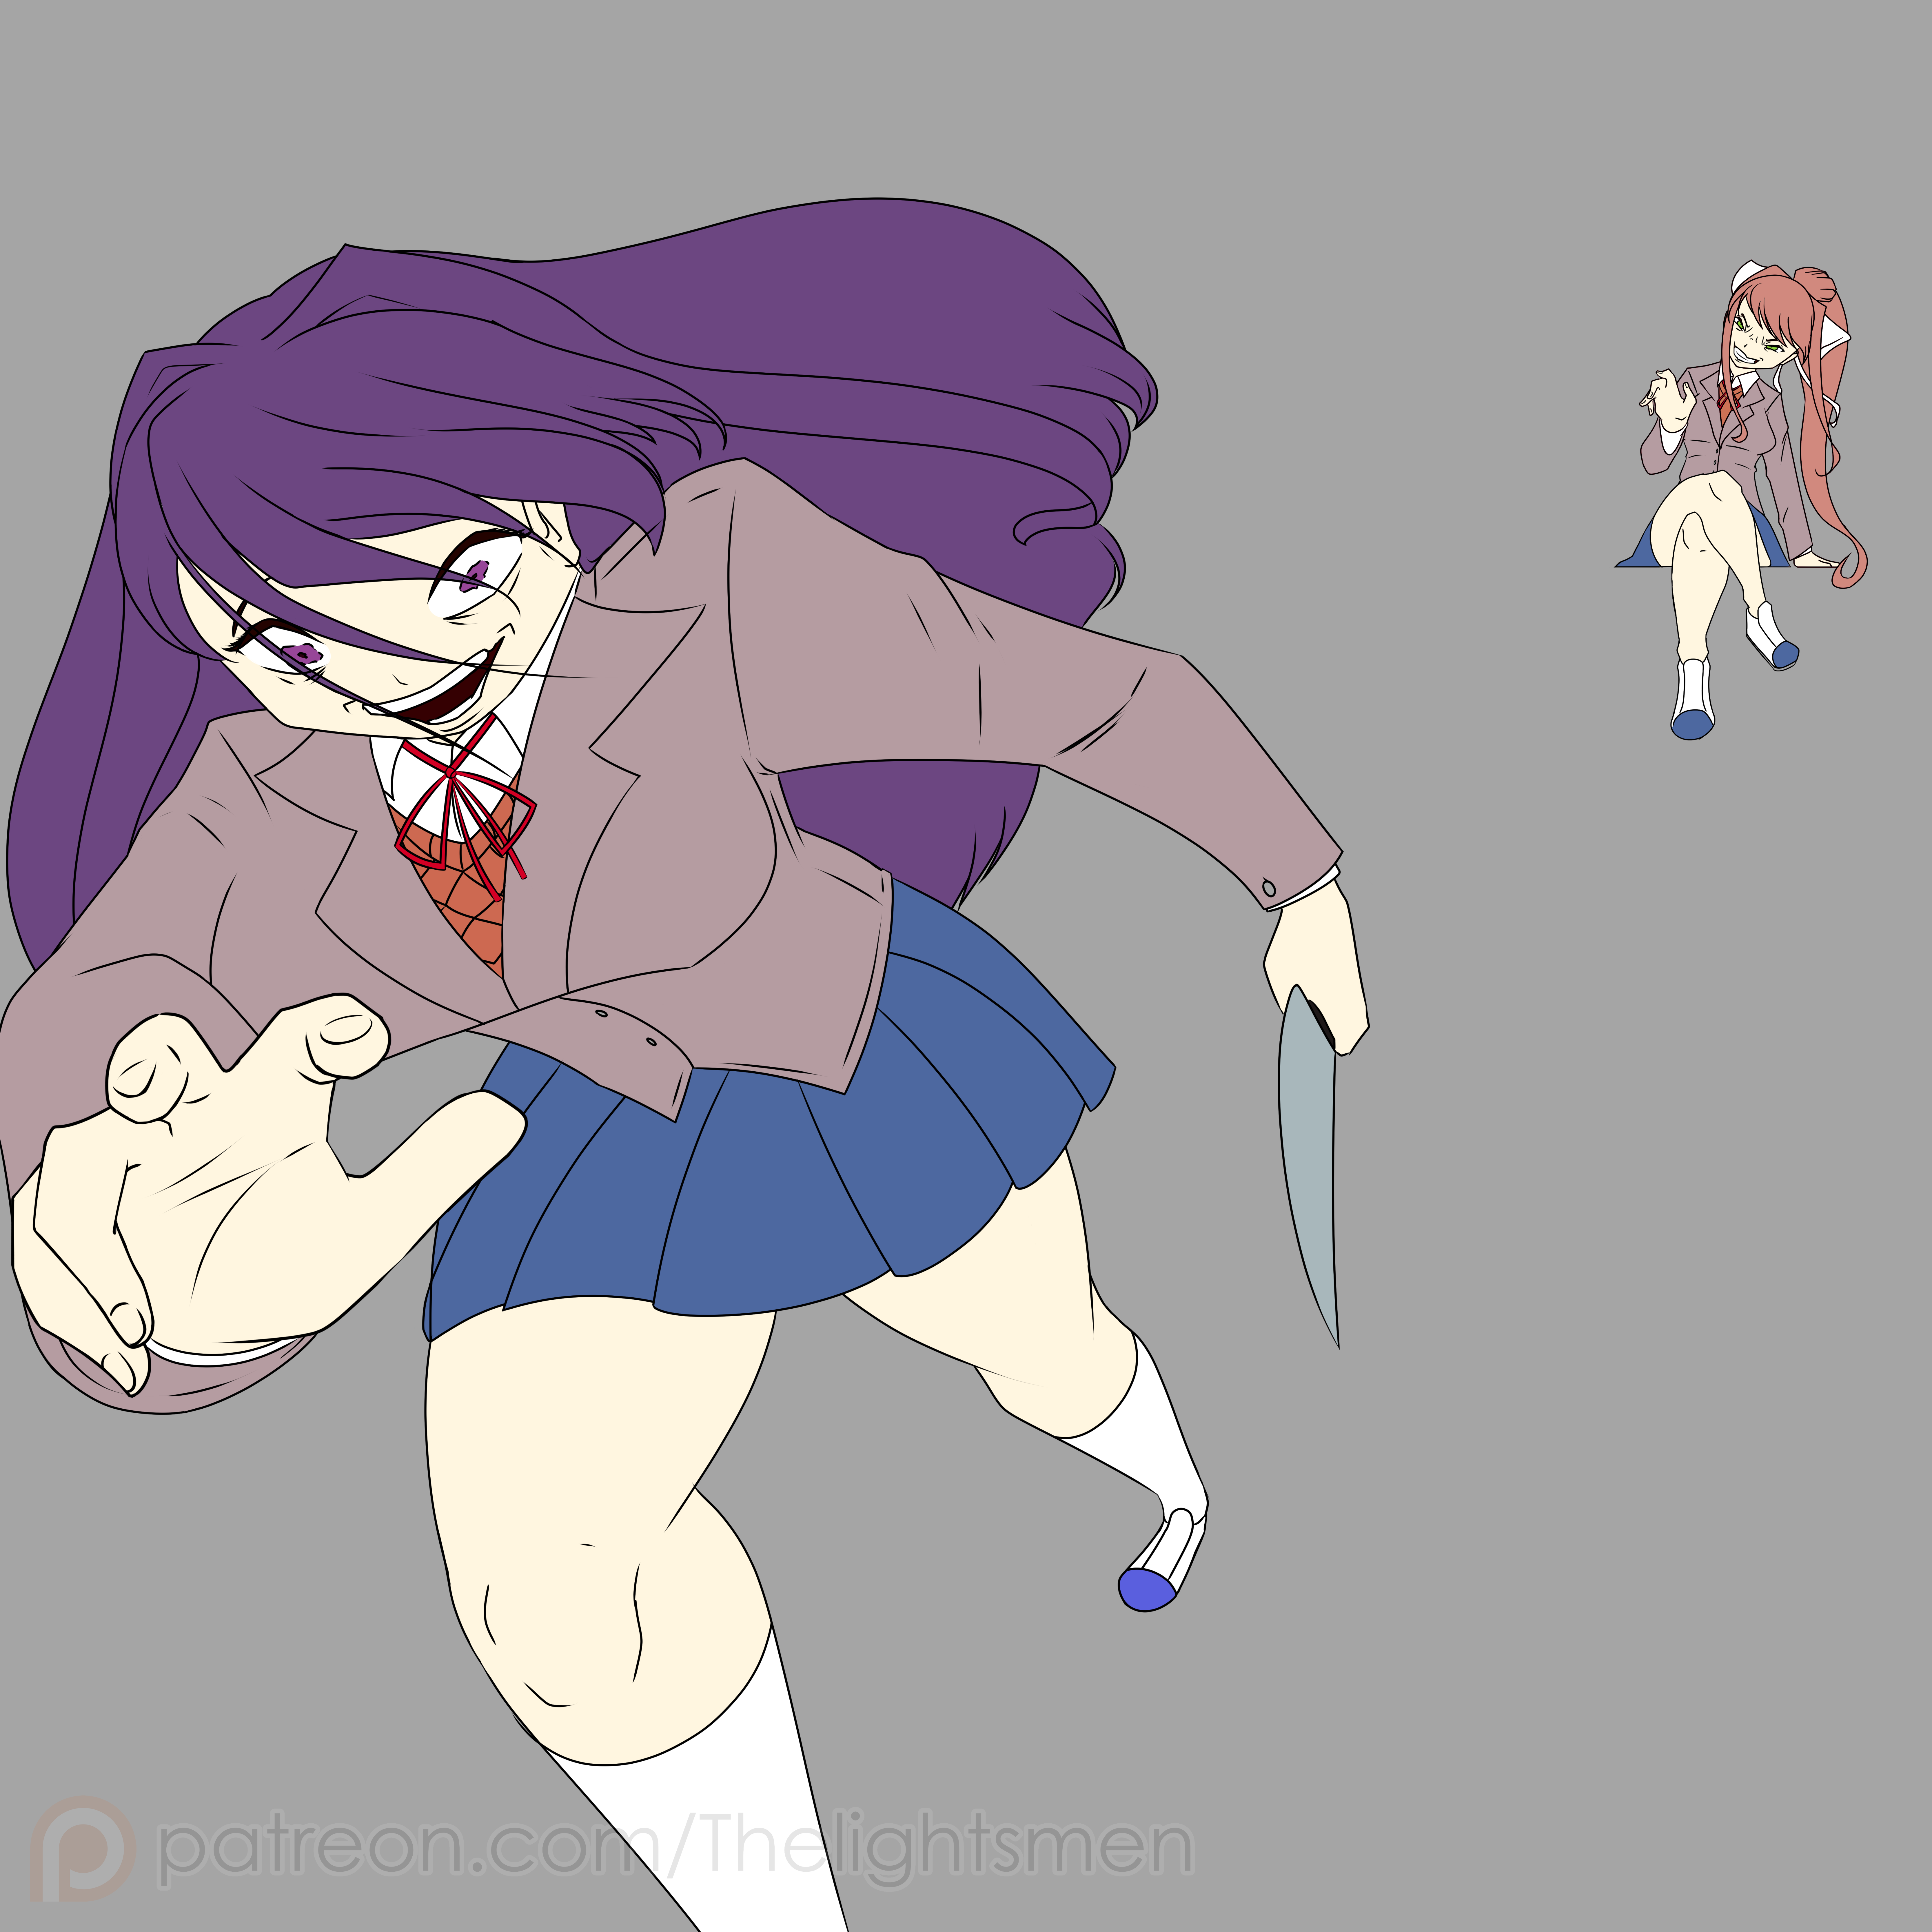
- 8- Flat colors: I pick and add all the colors based off the character references.
- 9- Bg base colors: Now for the bg I start with basic flat colors to differentiate all props.
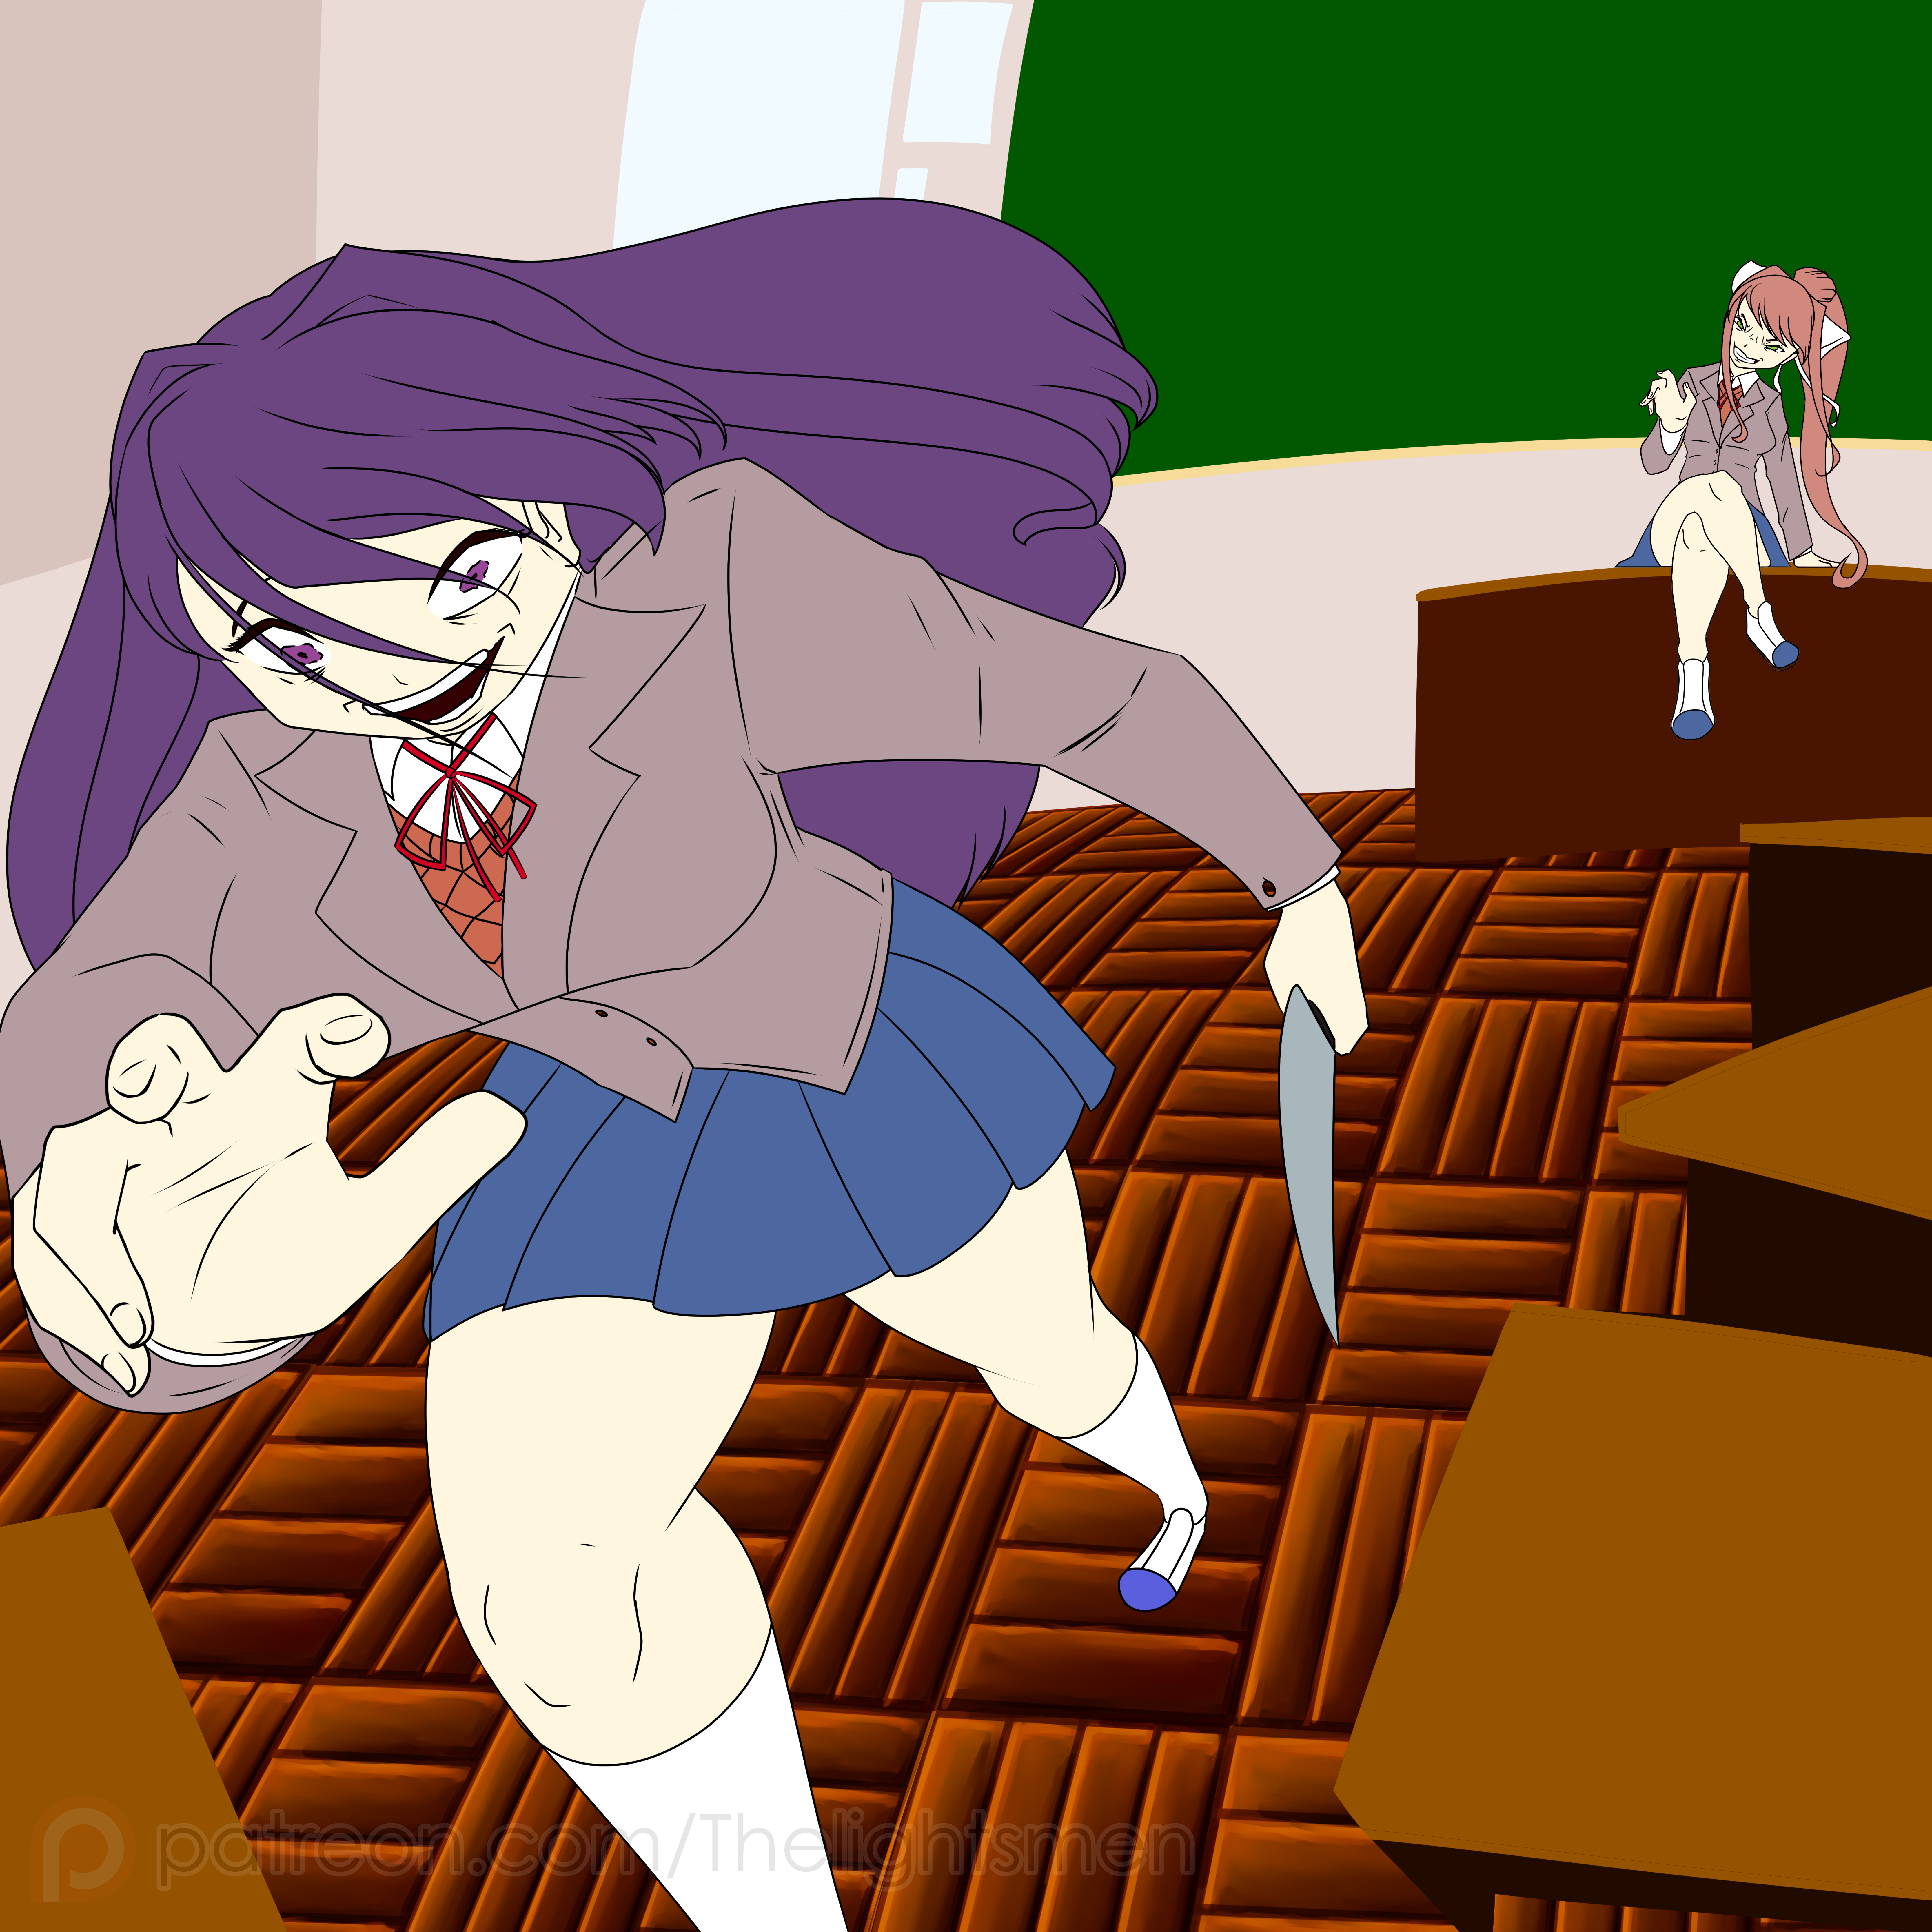
- 10- Bg Floor pattern: Now this part is tricky because I had to develop a completely different drawing pattern in a different folder with several different layers, after it looked okay I used the warp tool to make it look like a texture on the ground.
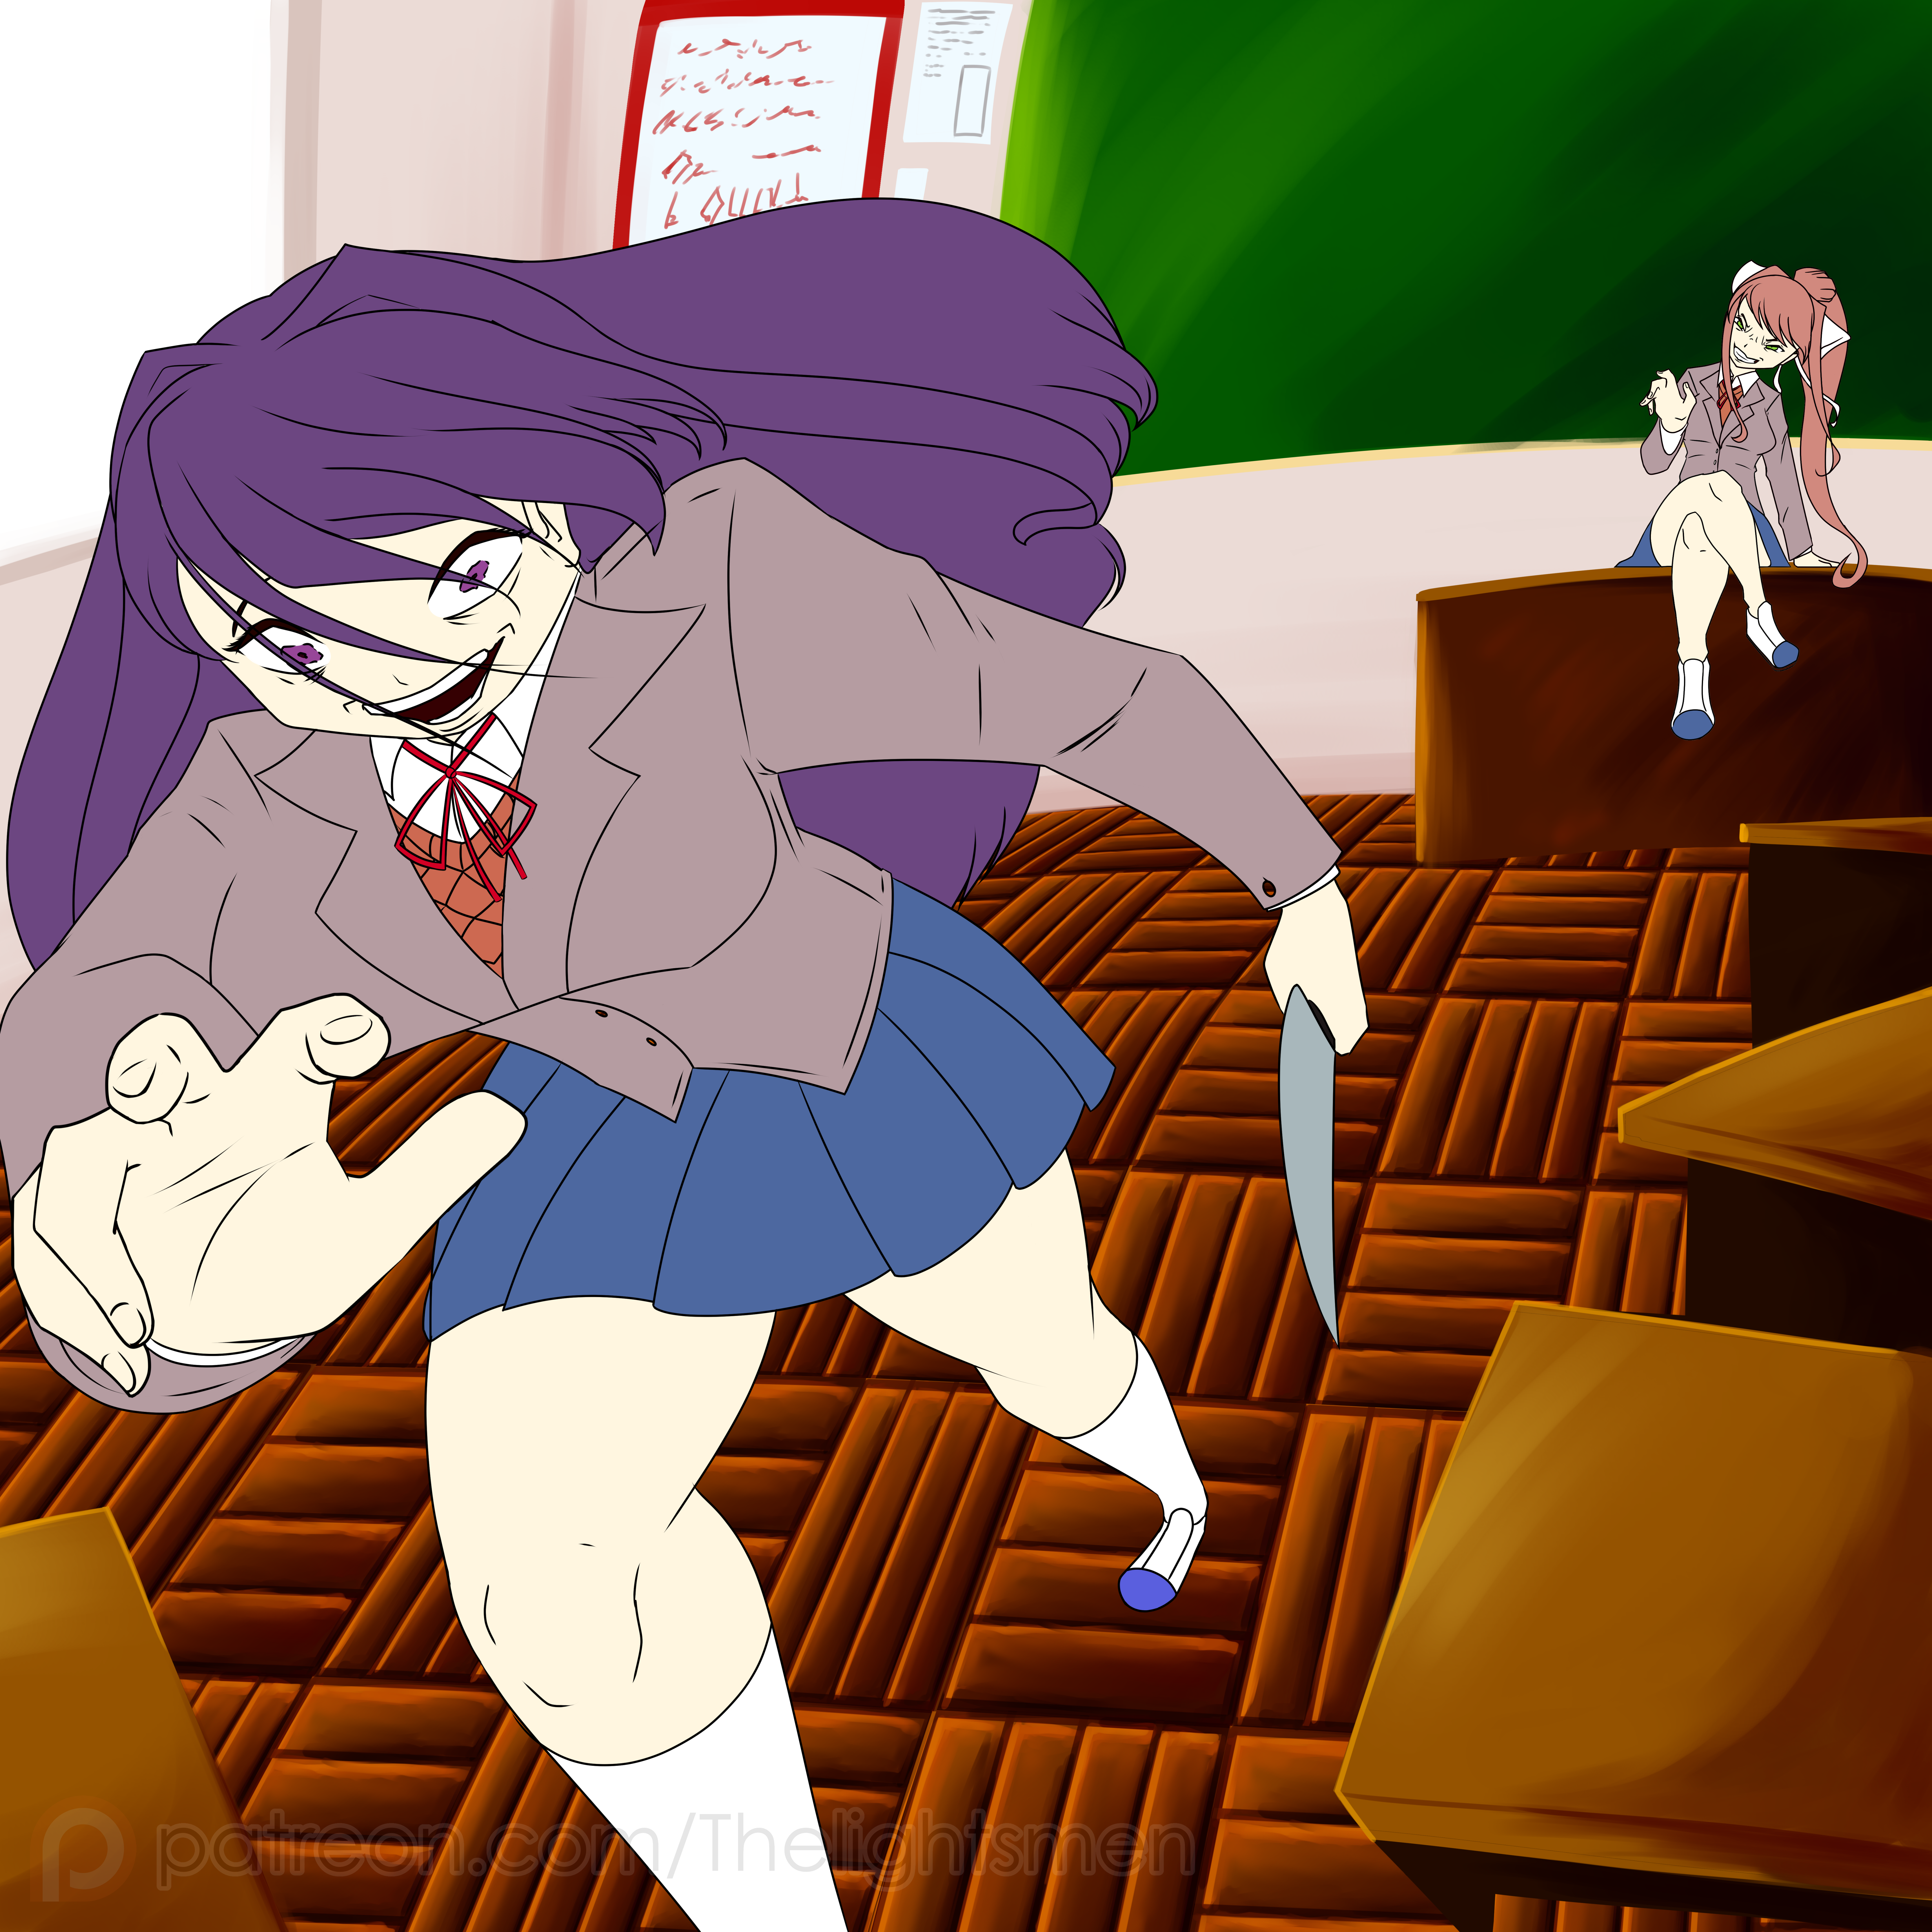
- 11- Bg props shading and details: I add all the proper colors and lightning effects to the props.
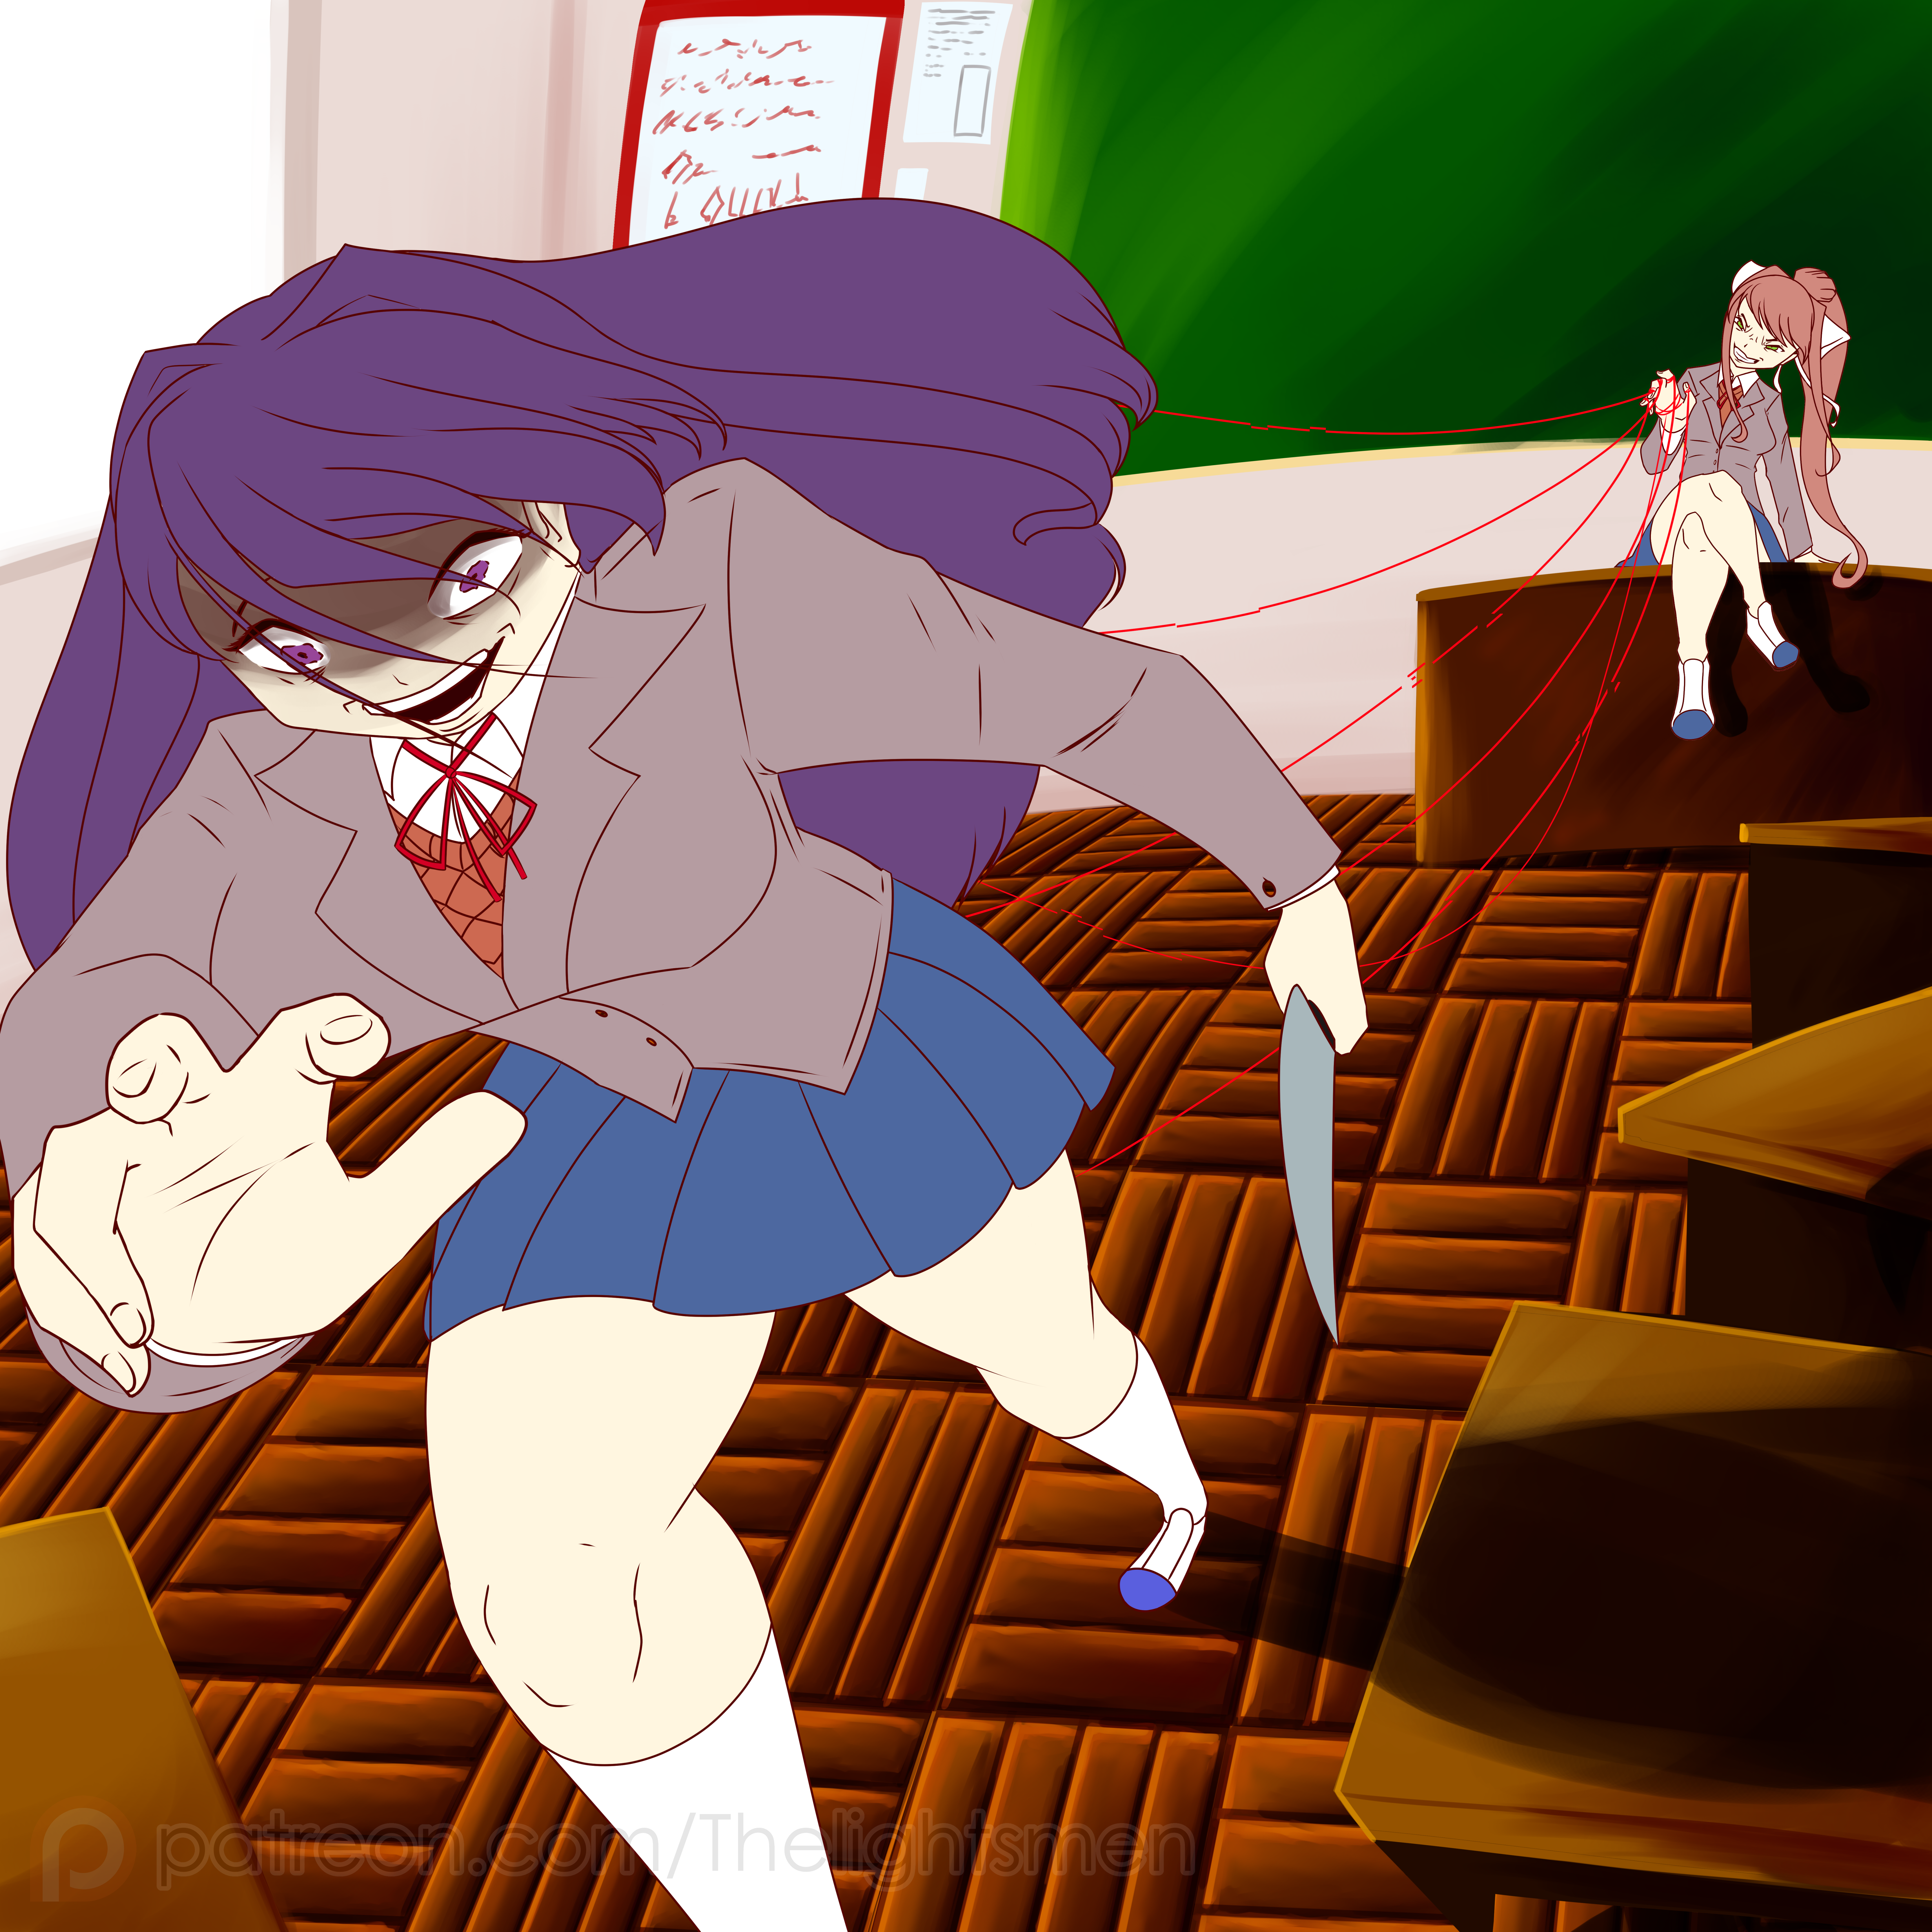
- 12- Dark details: Since this is meant to be a darker piece, I add shadows and make the overall scene look darker and gritty.
- 13- Extra visual effects: To finalize, I add some more subtle lightning effects to make the overal artwork look less bland, and add my signature. We're done!
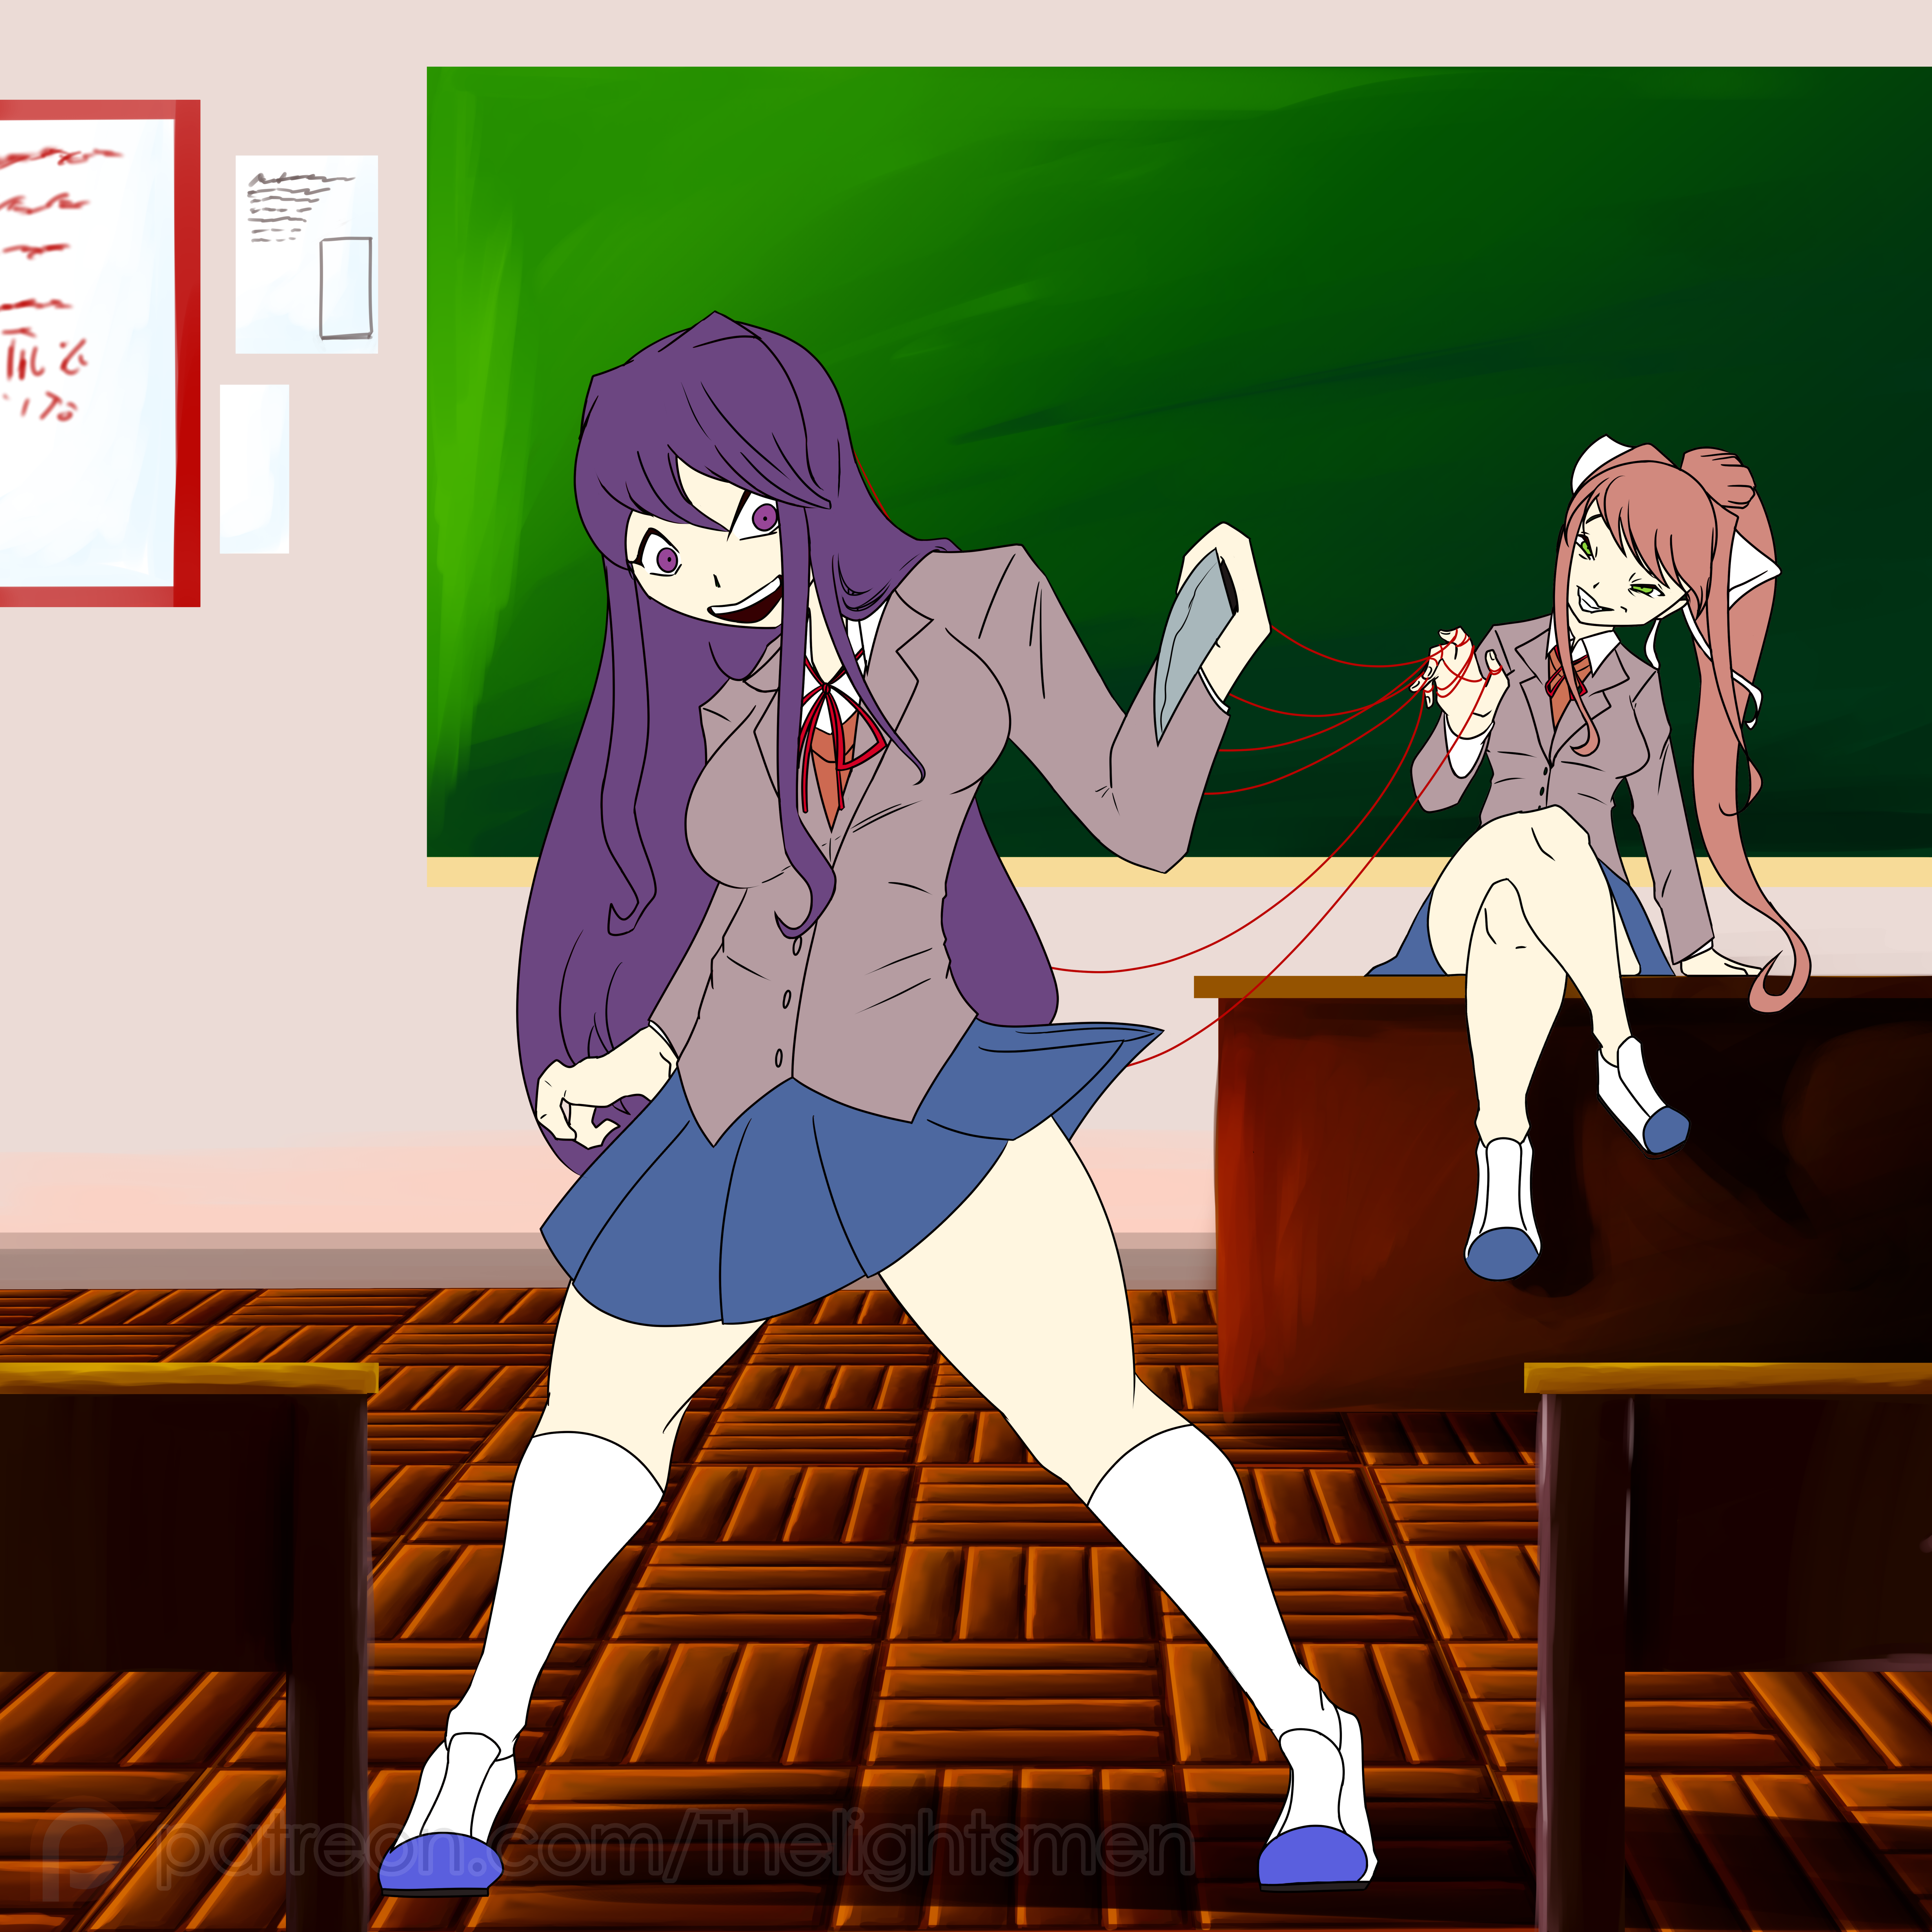
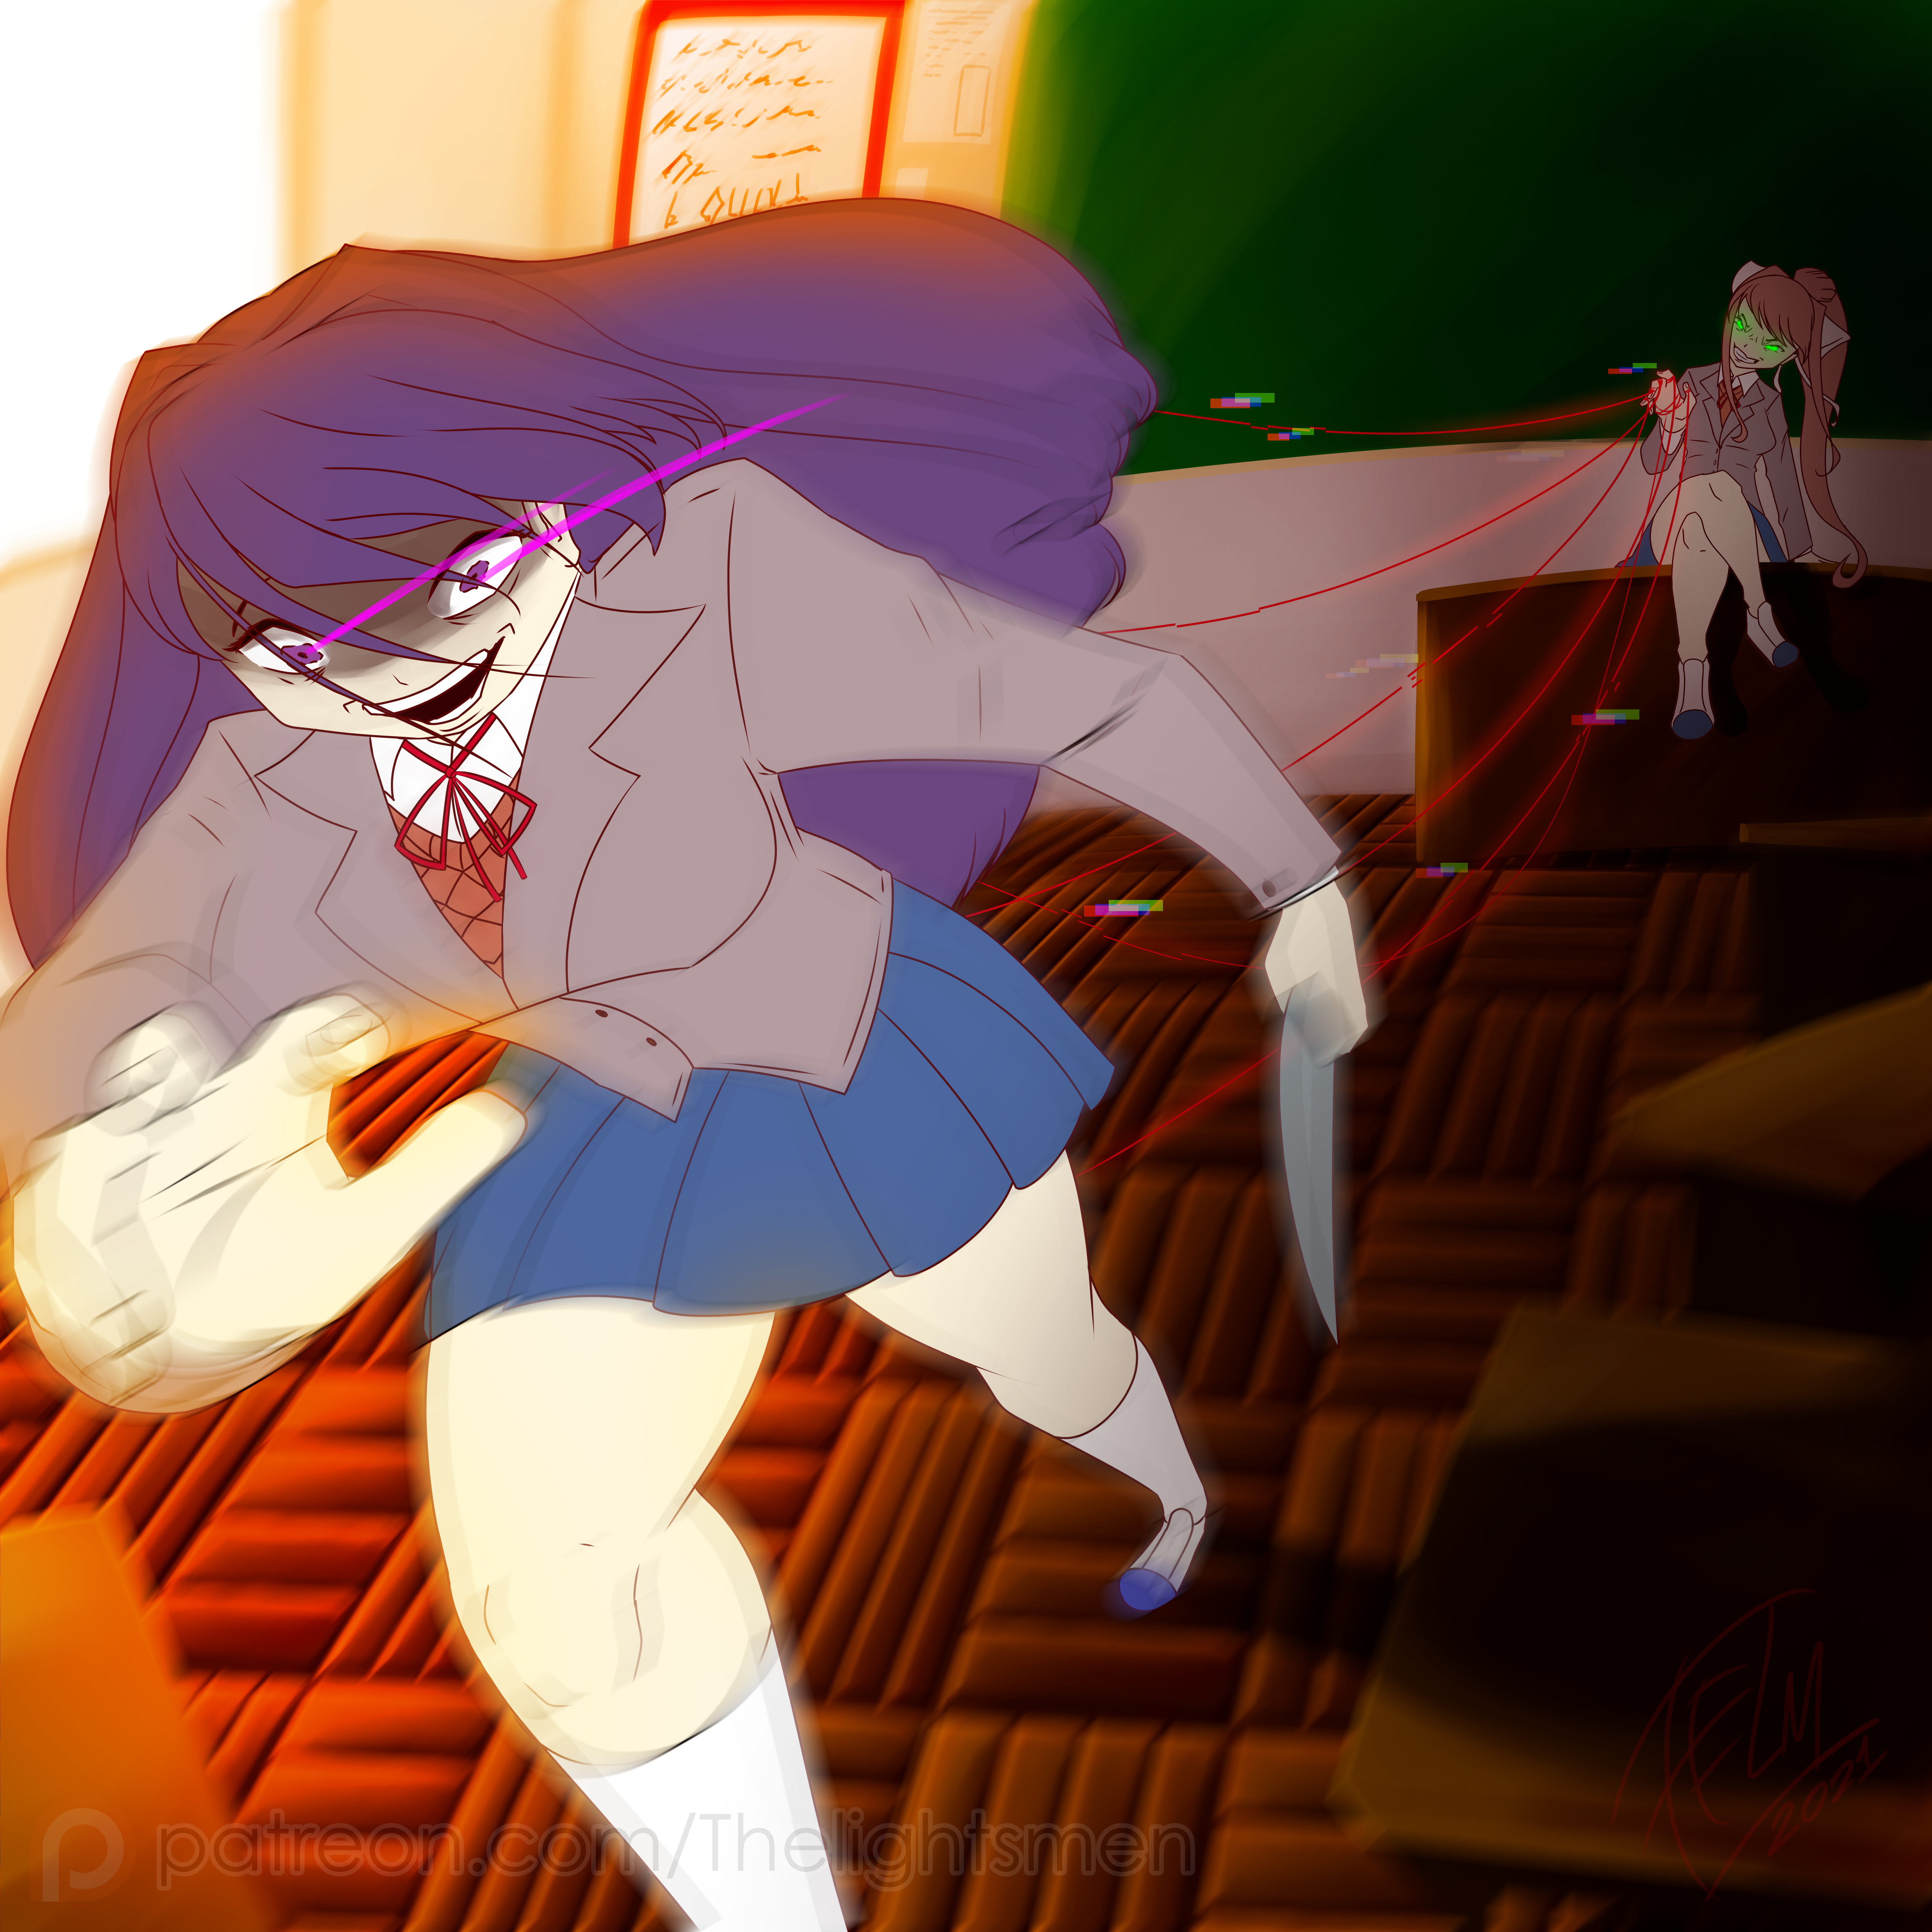
Version B:
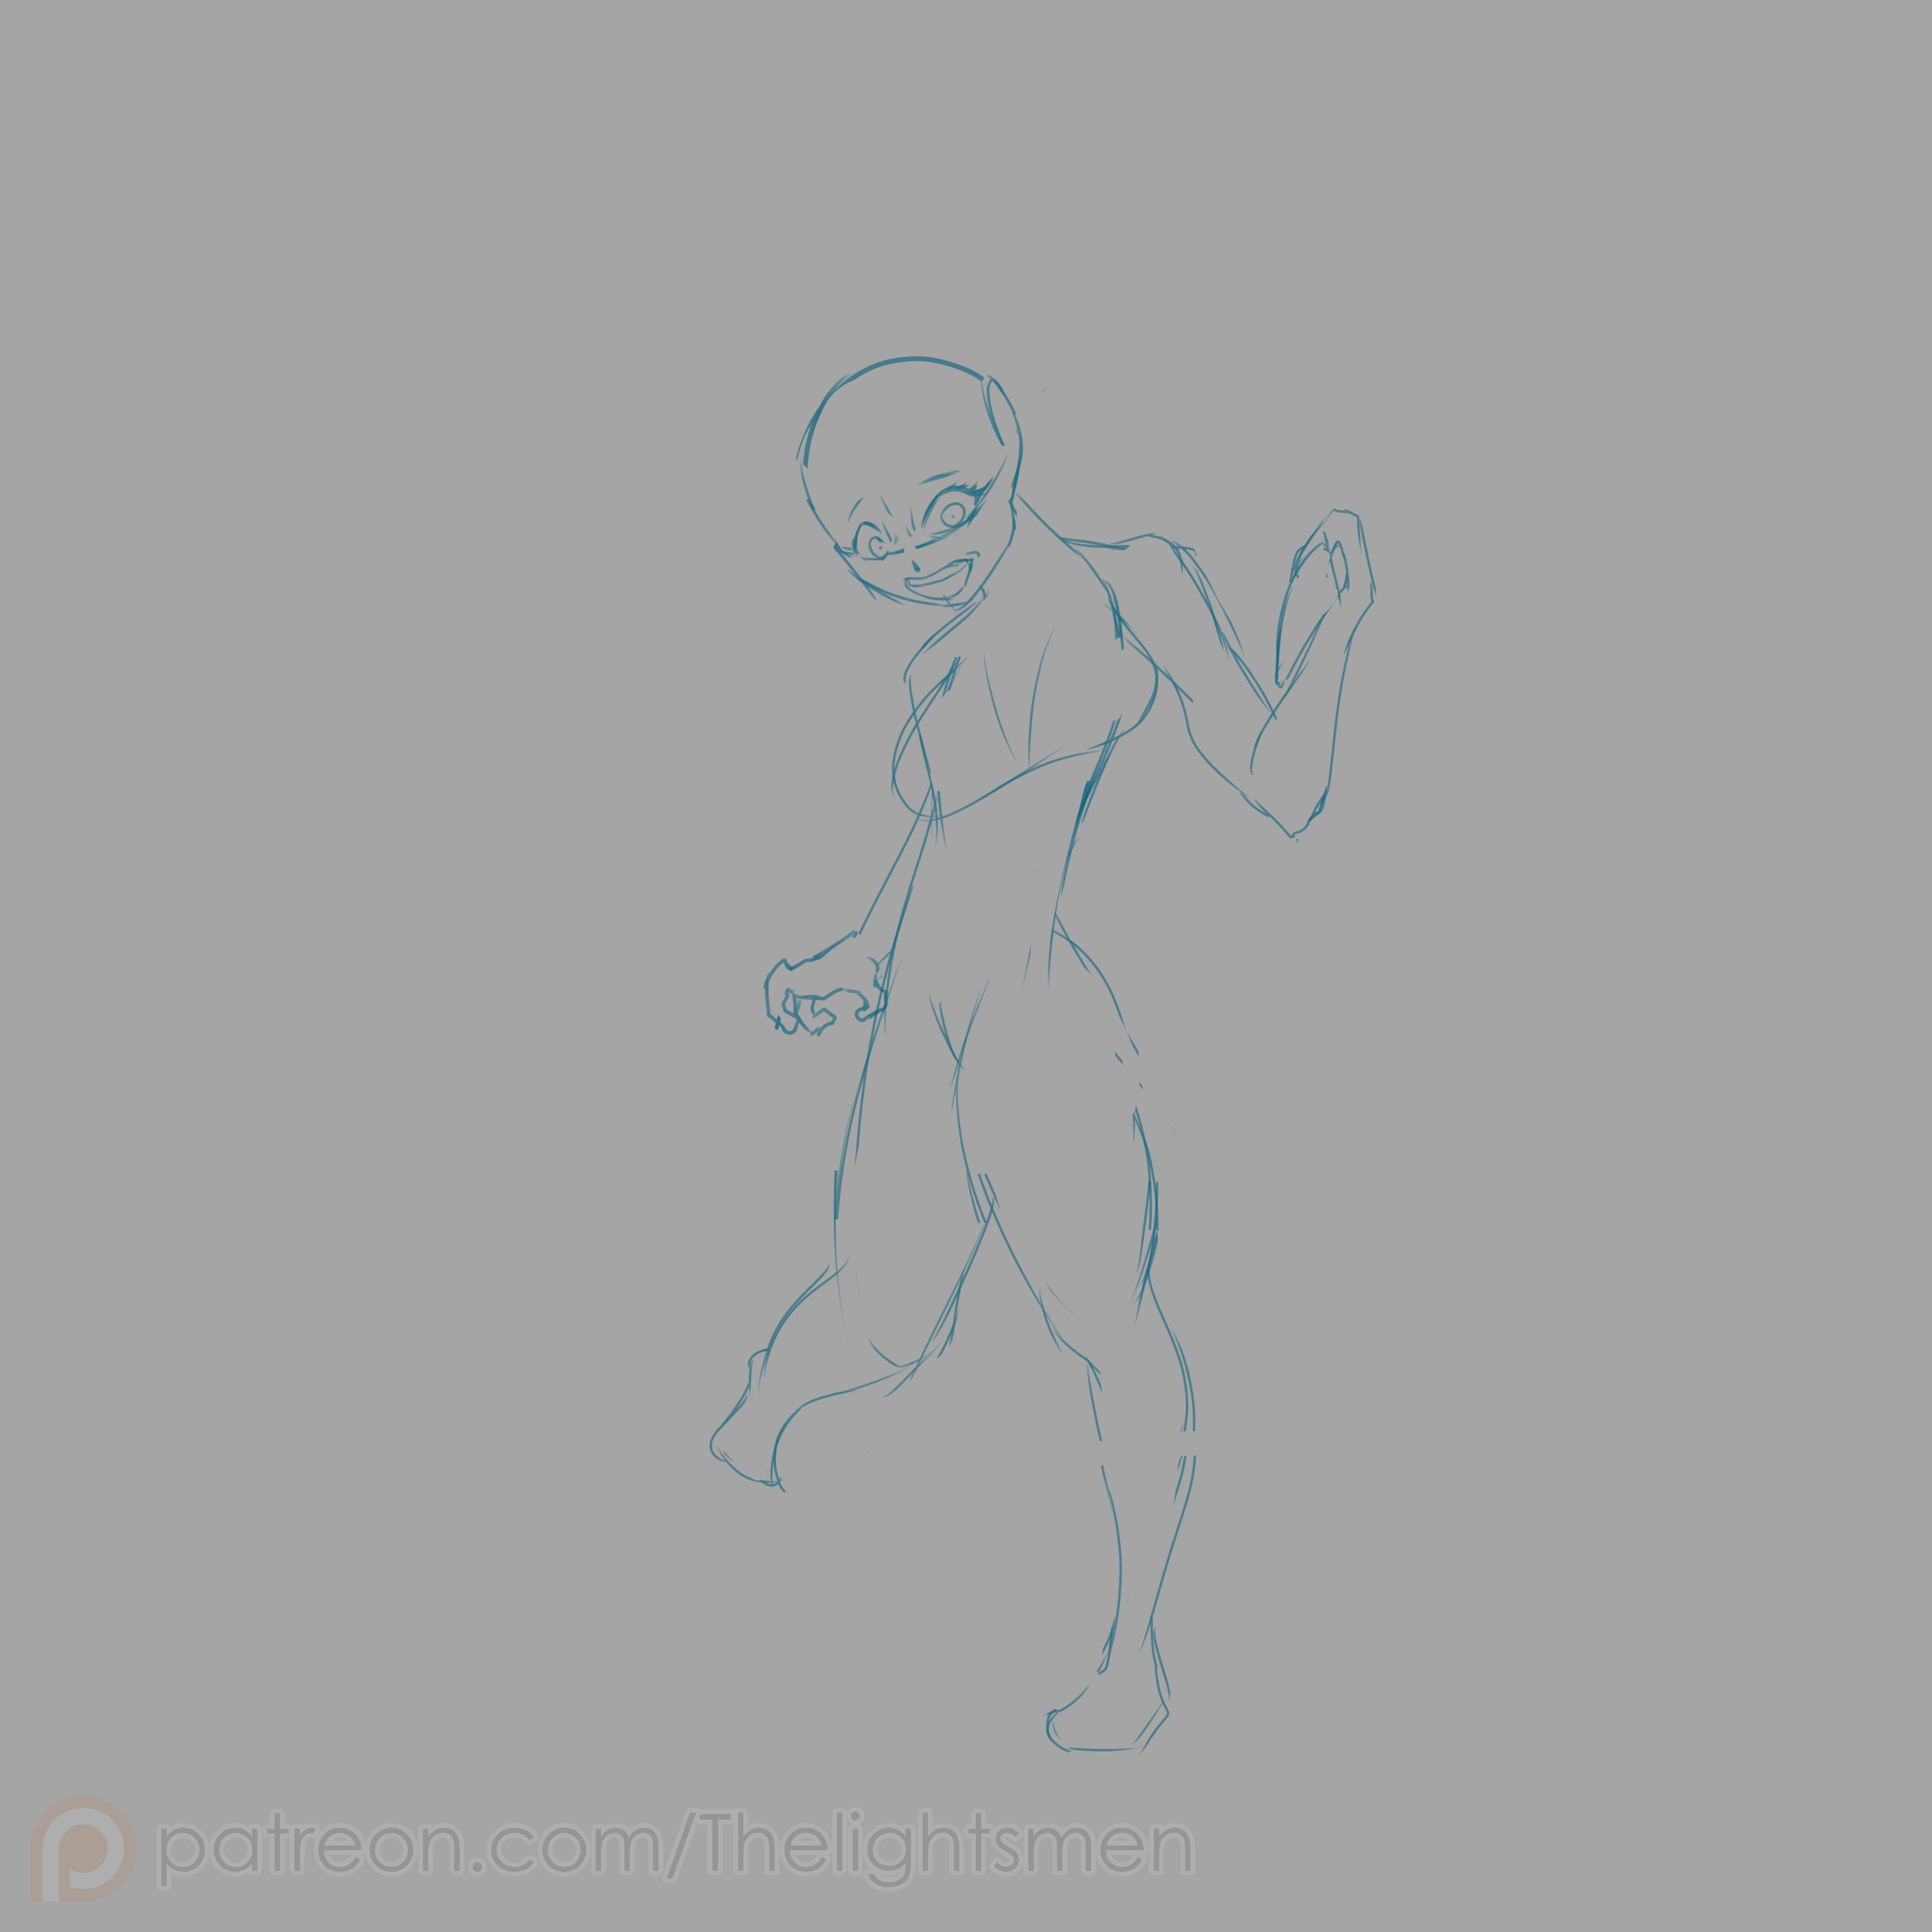
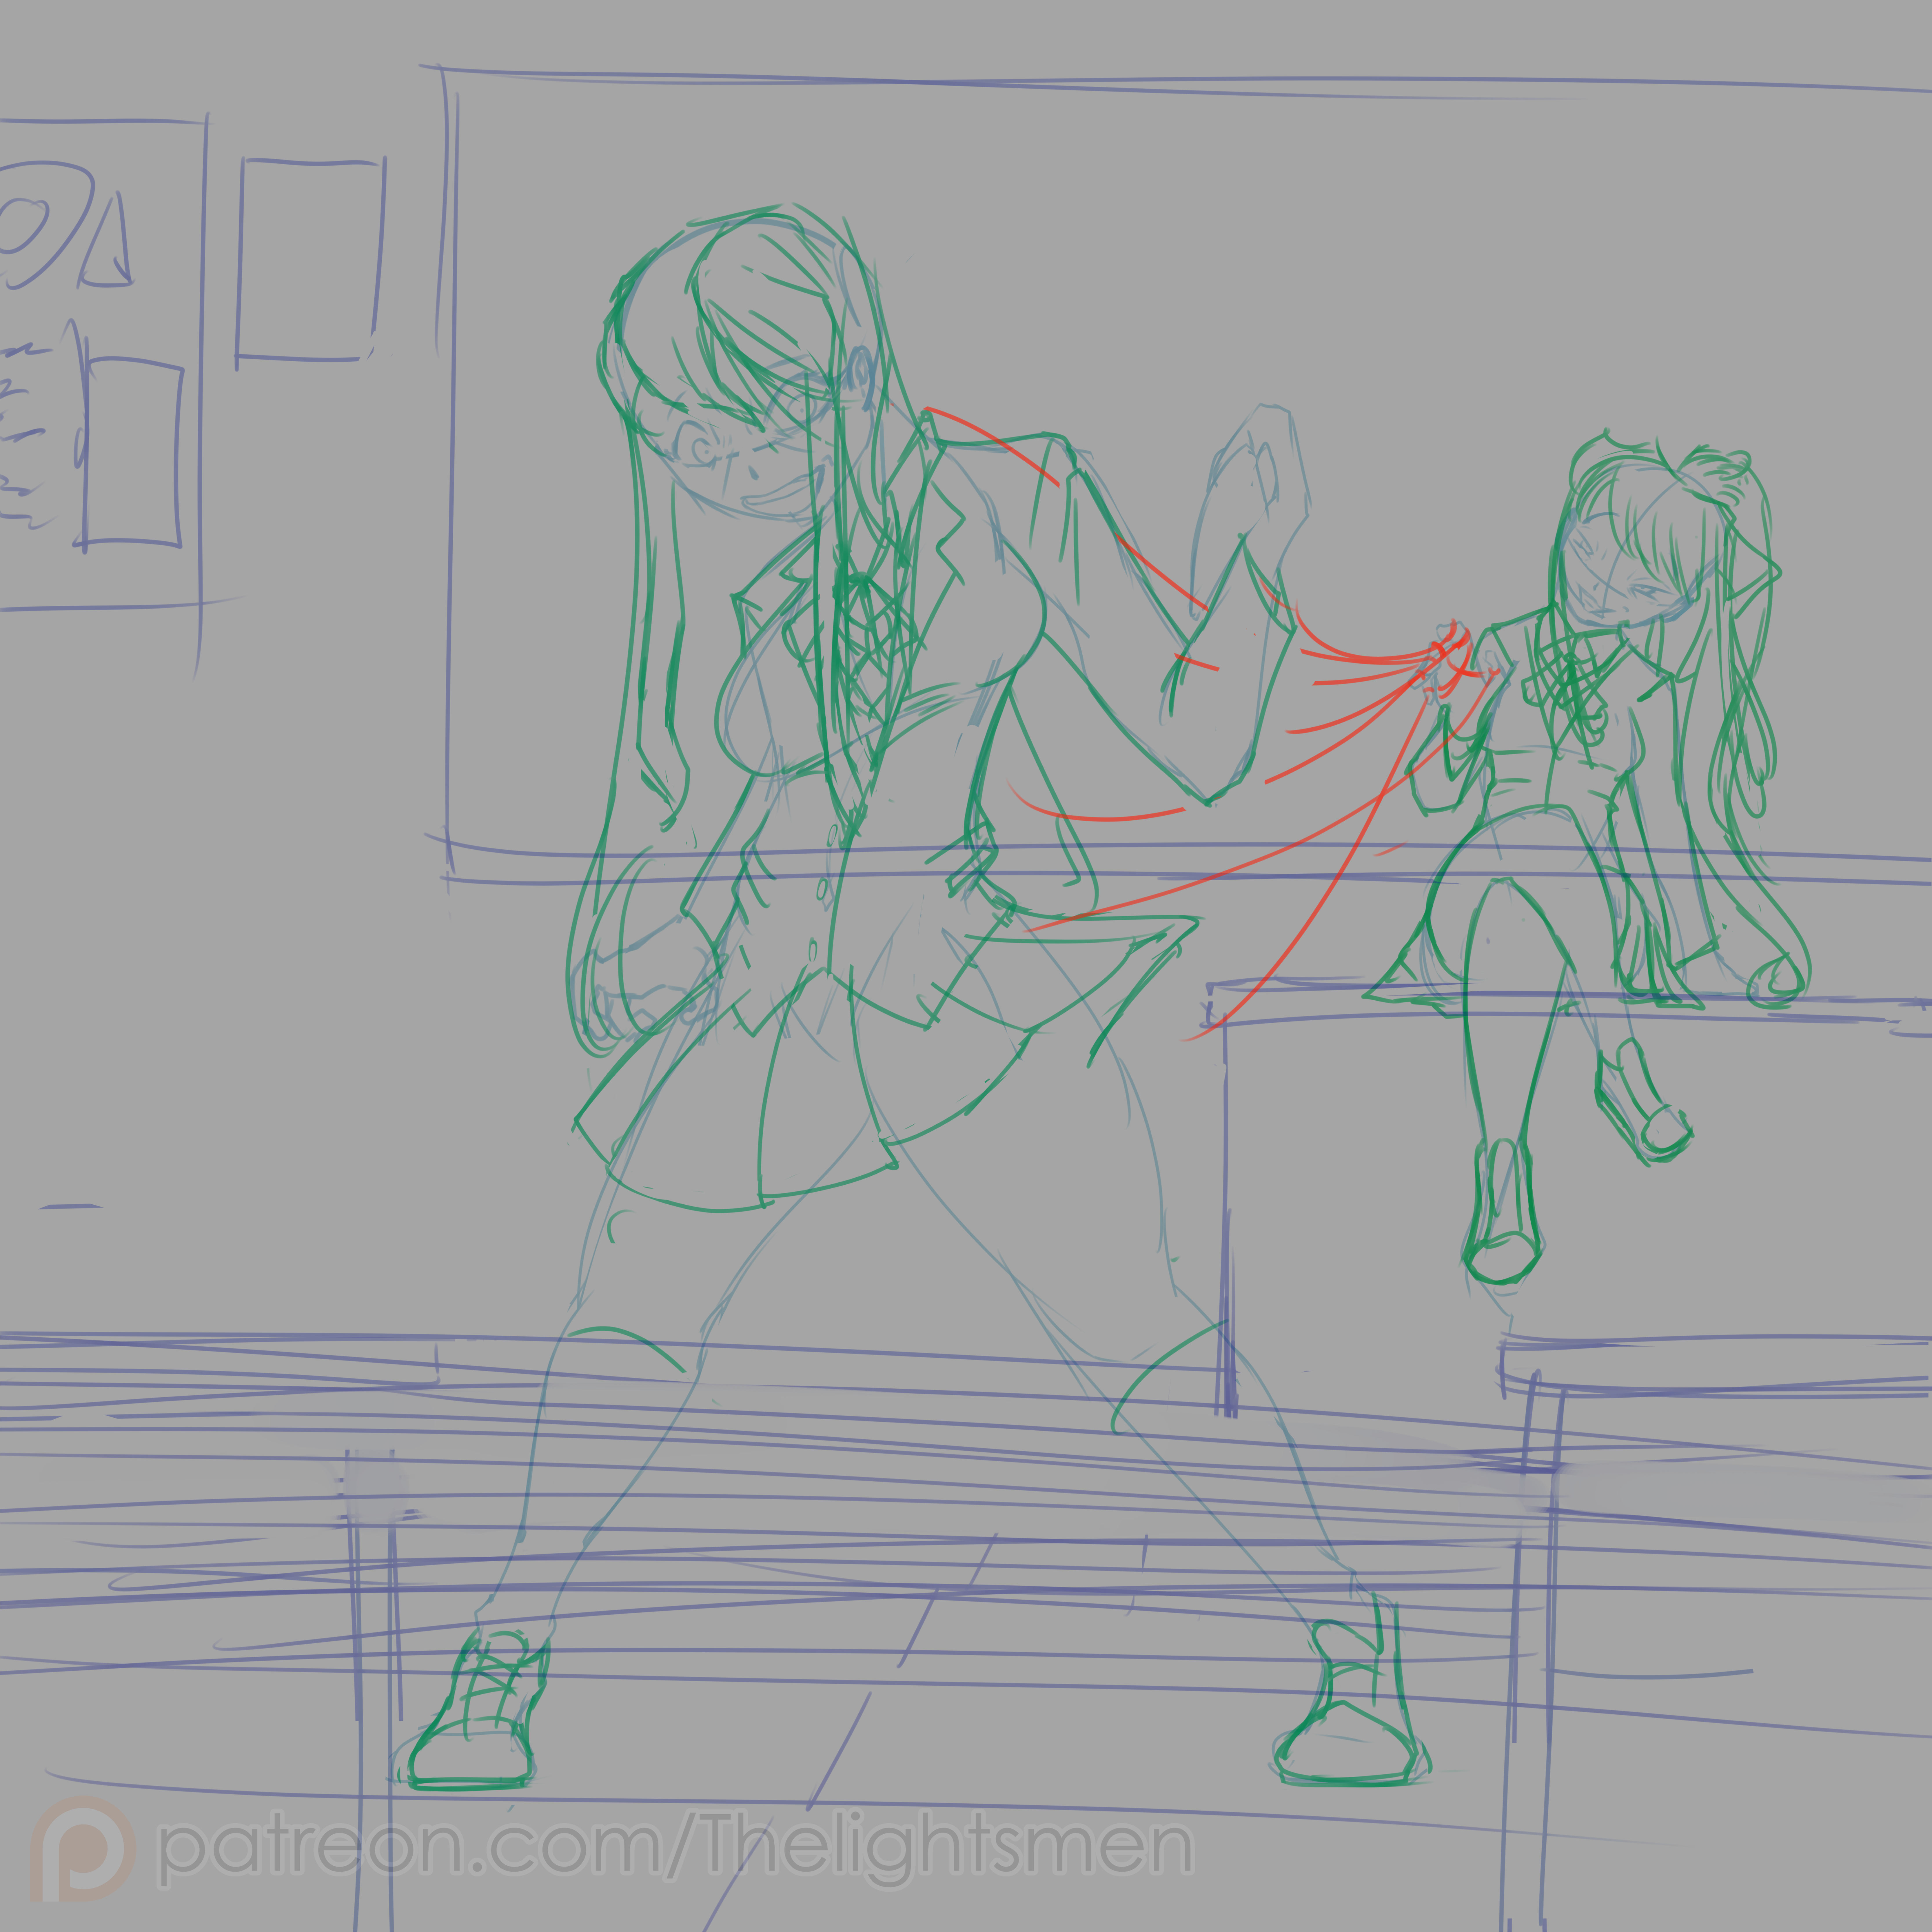
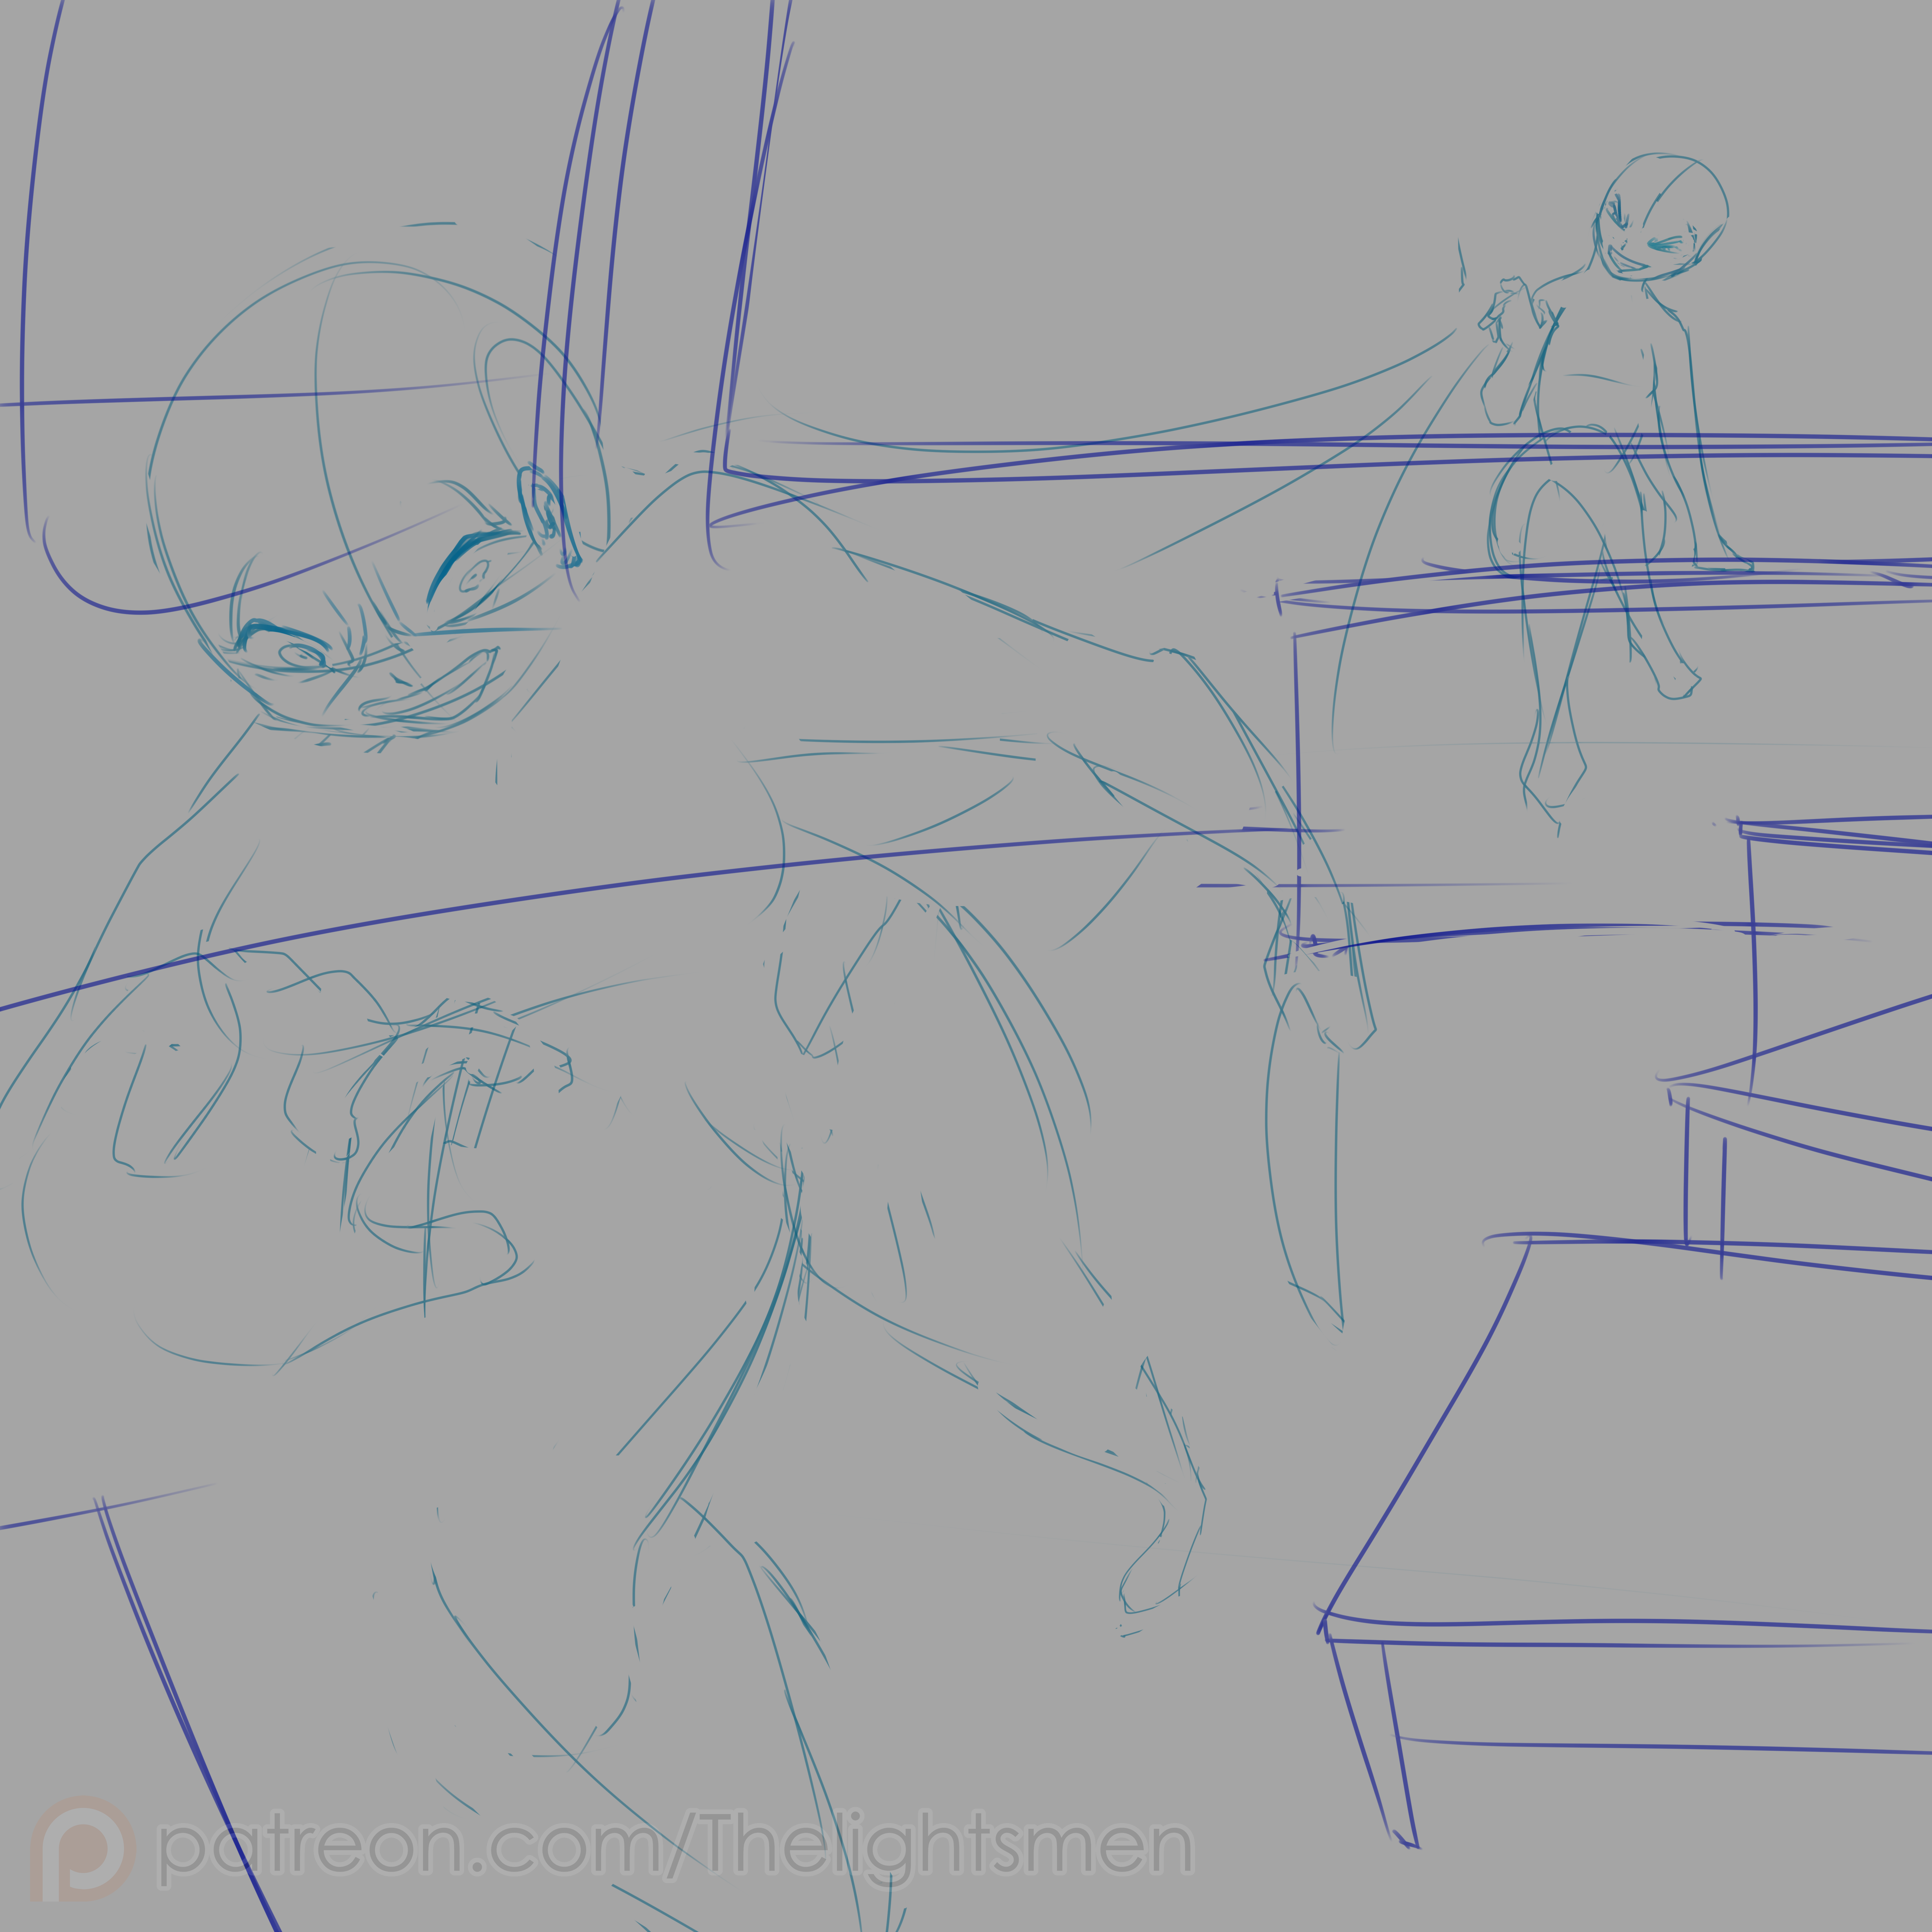
- 1- 1st rough sketch + bg: For this version, the drawing was meant to be much more dynamic so of course the early iterations looked really awkward for Yu.
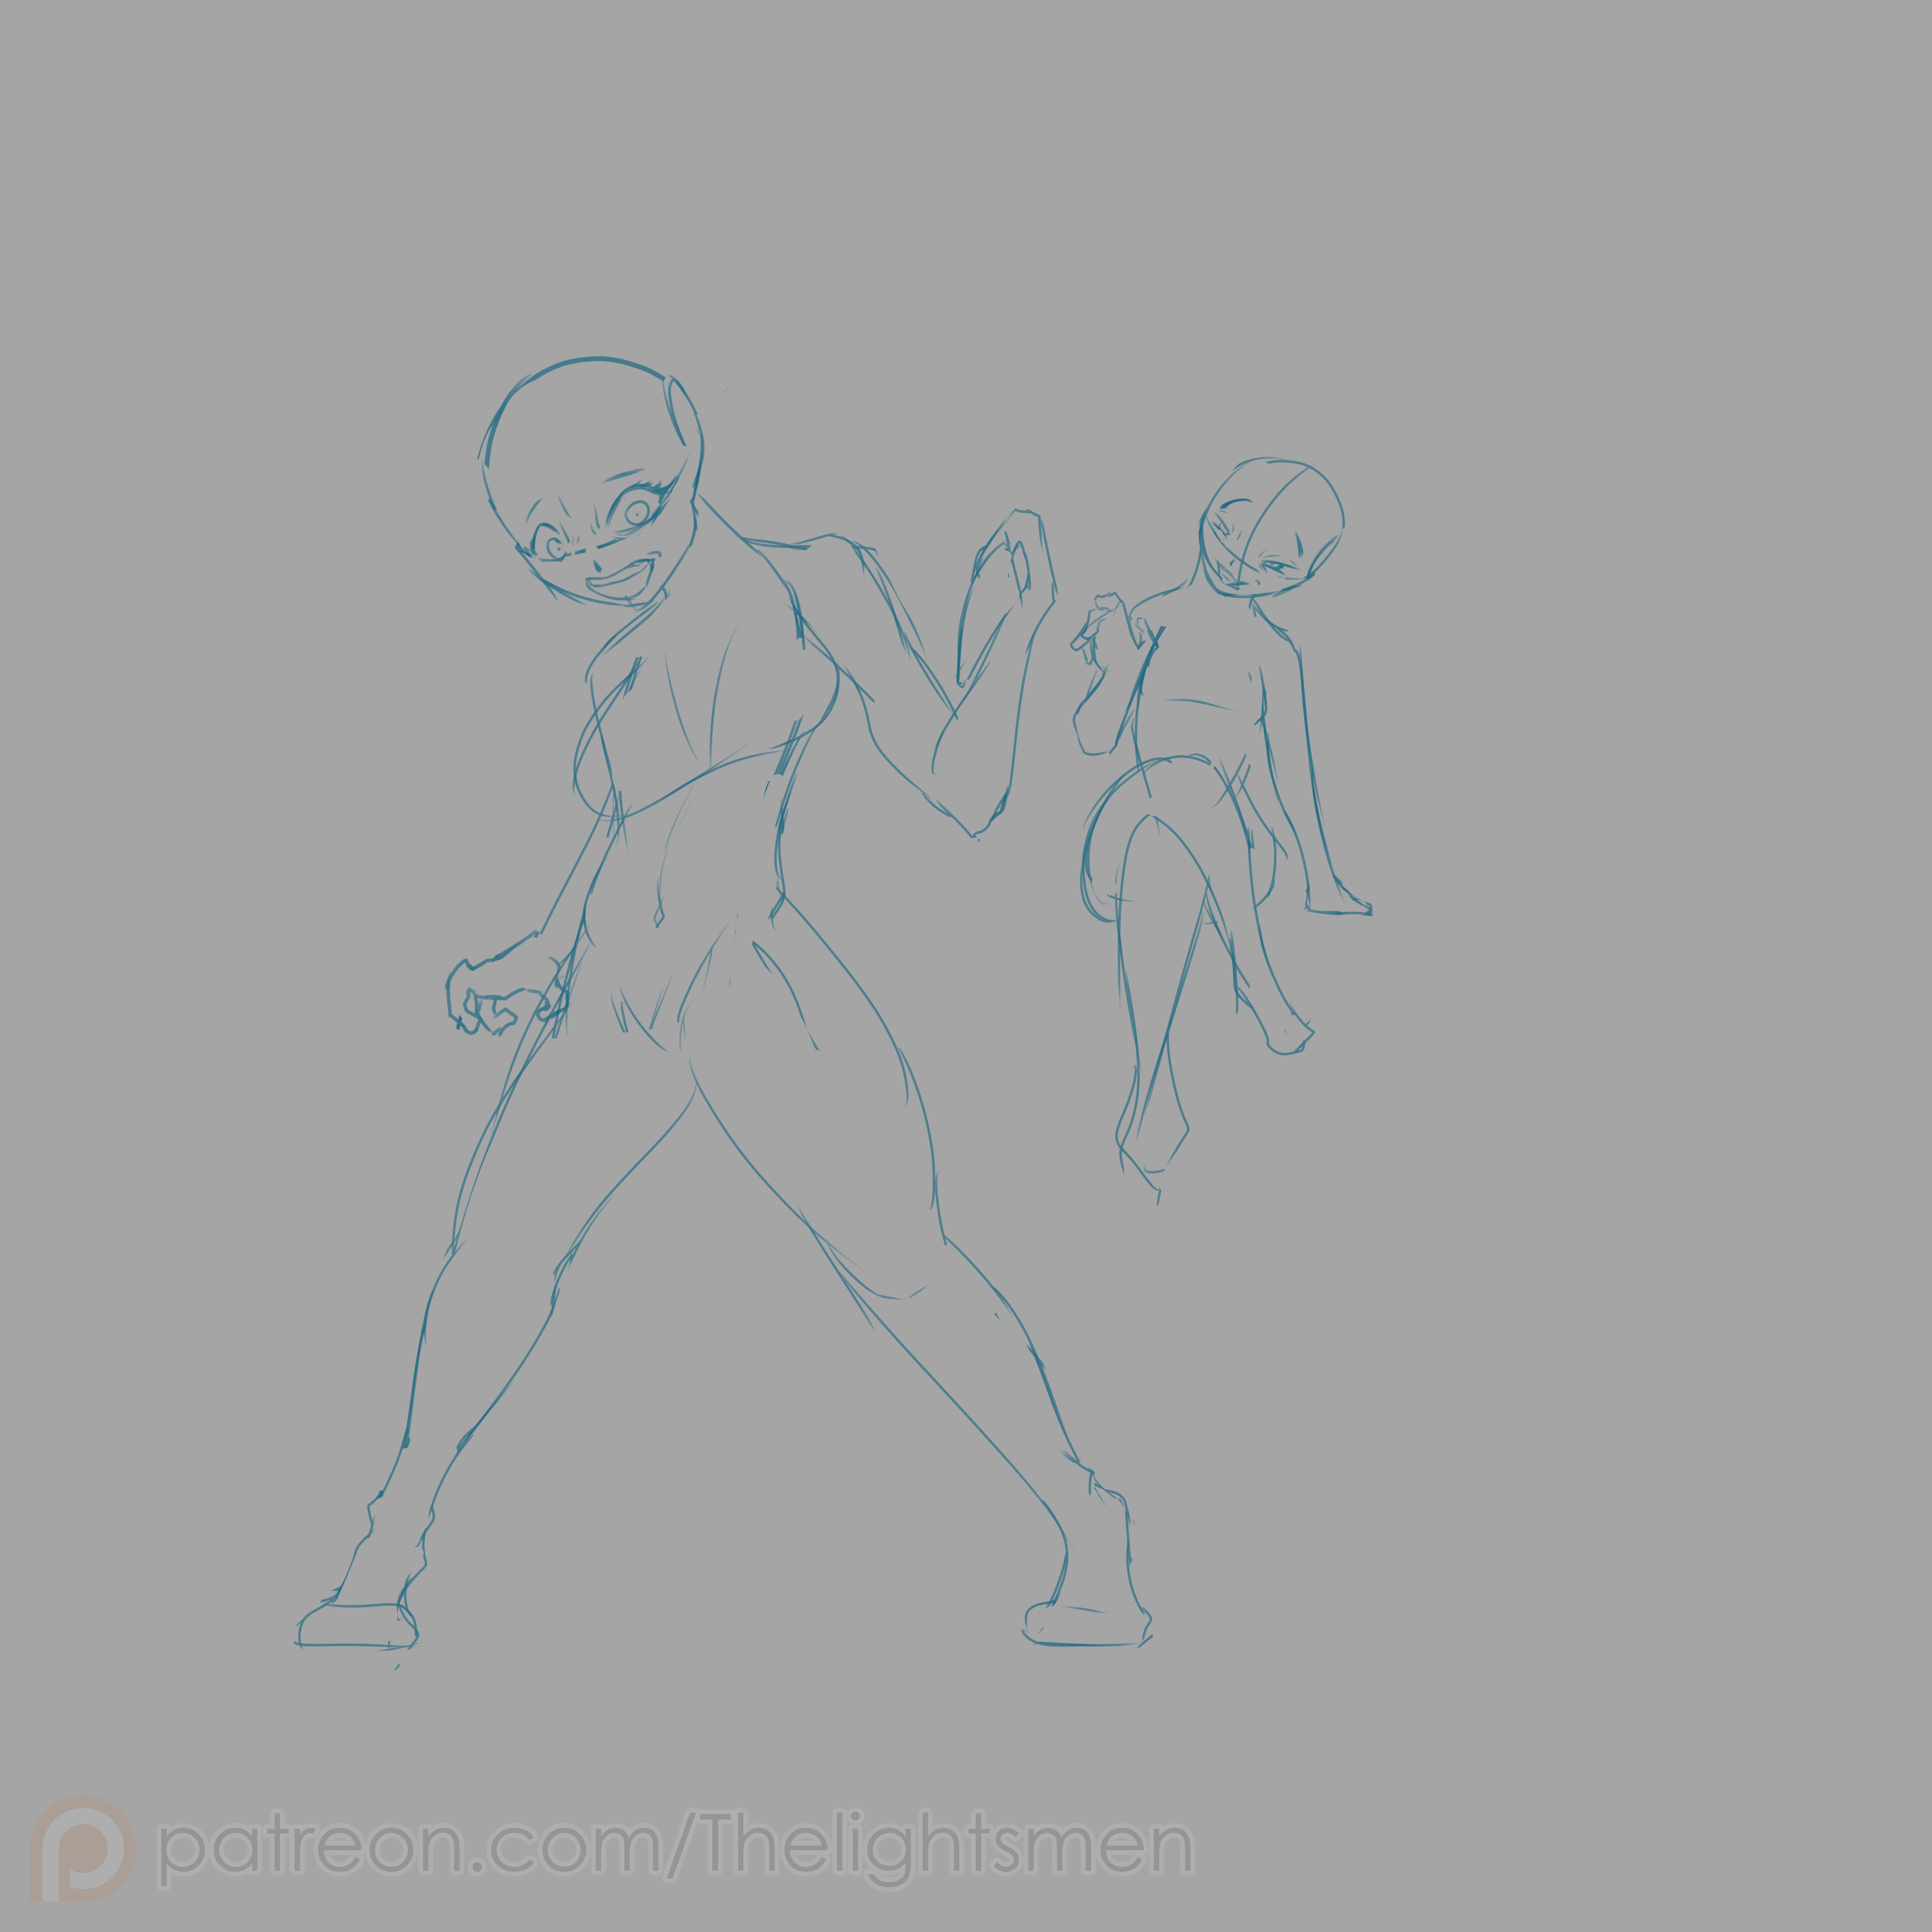
- 2- 2nd rough sketch: Eventually I find the right posing for her. Monika keeps the same pose as version A.
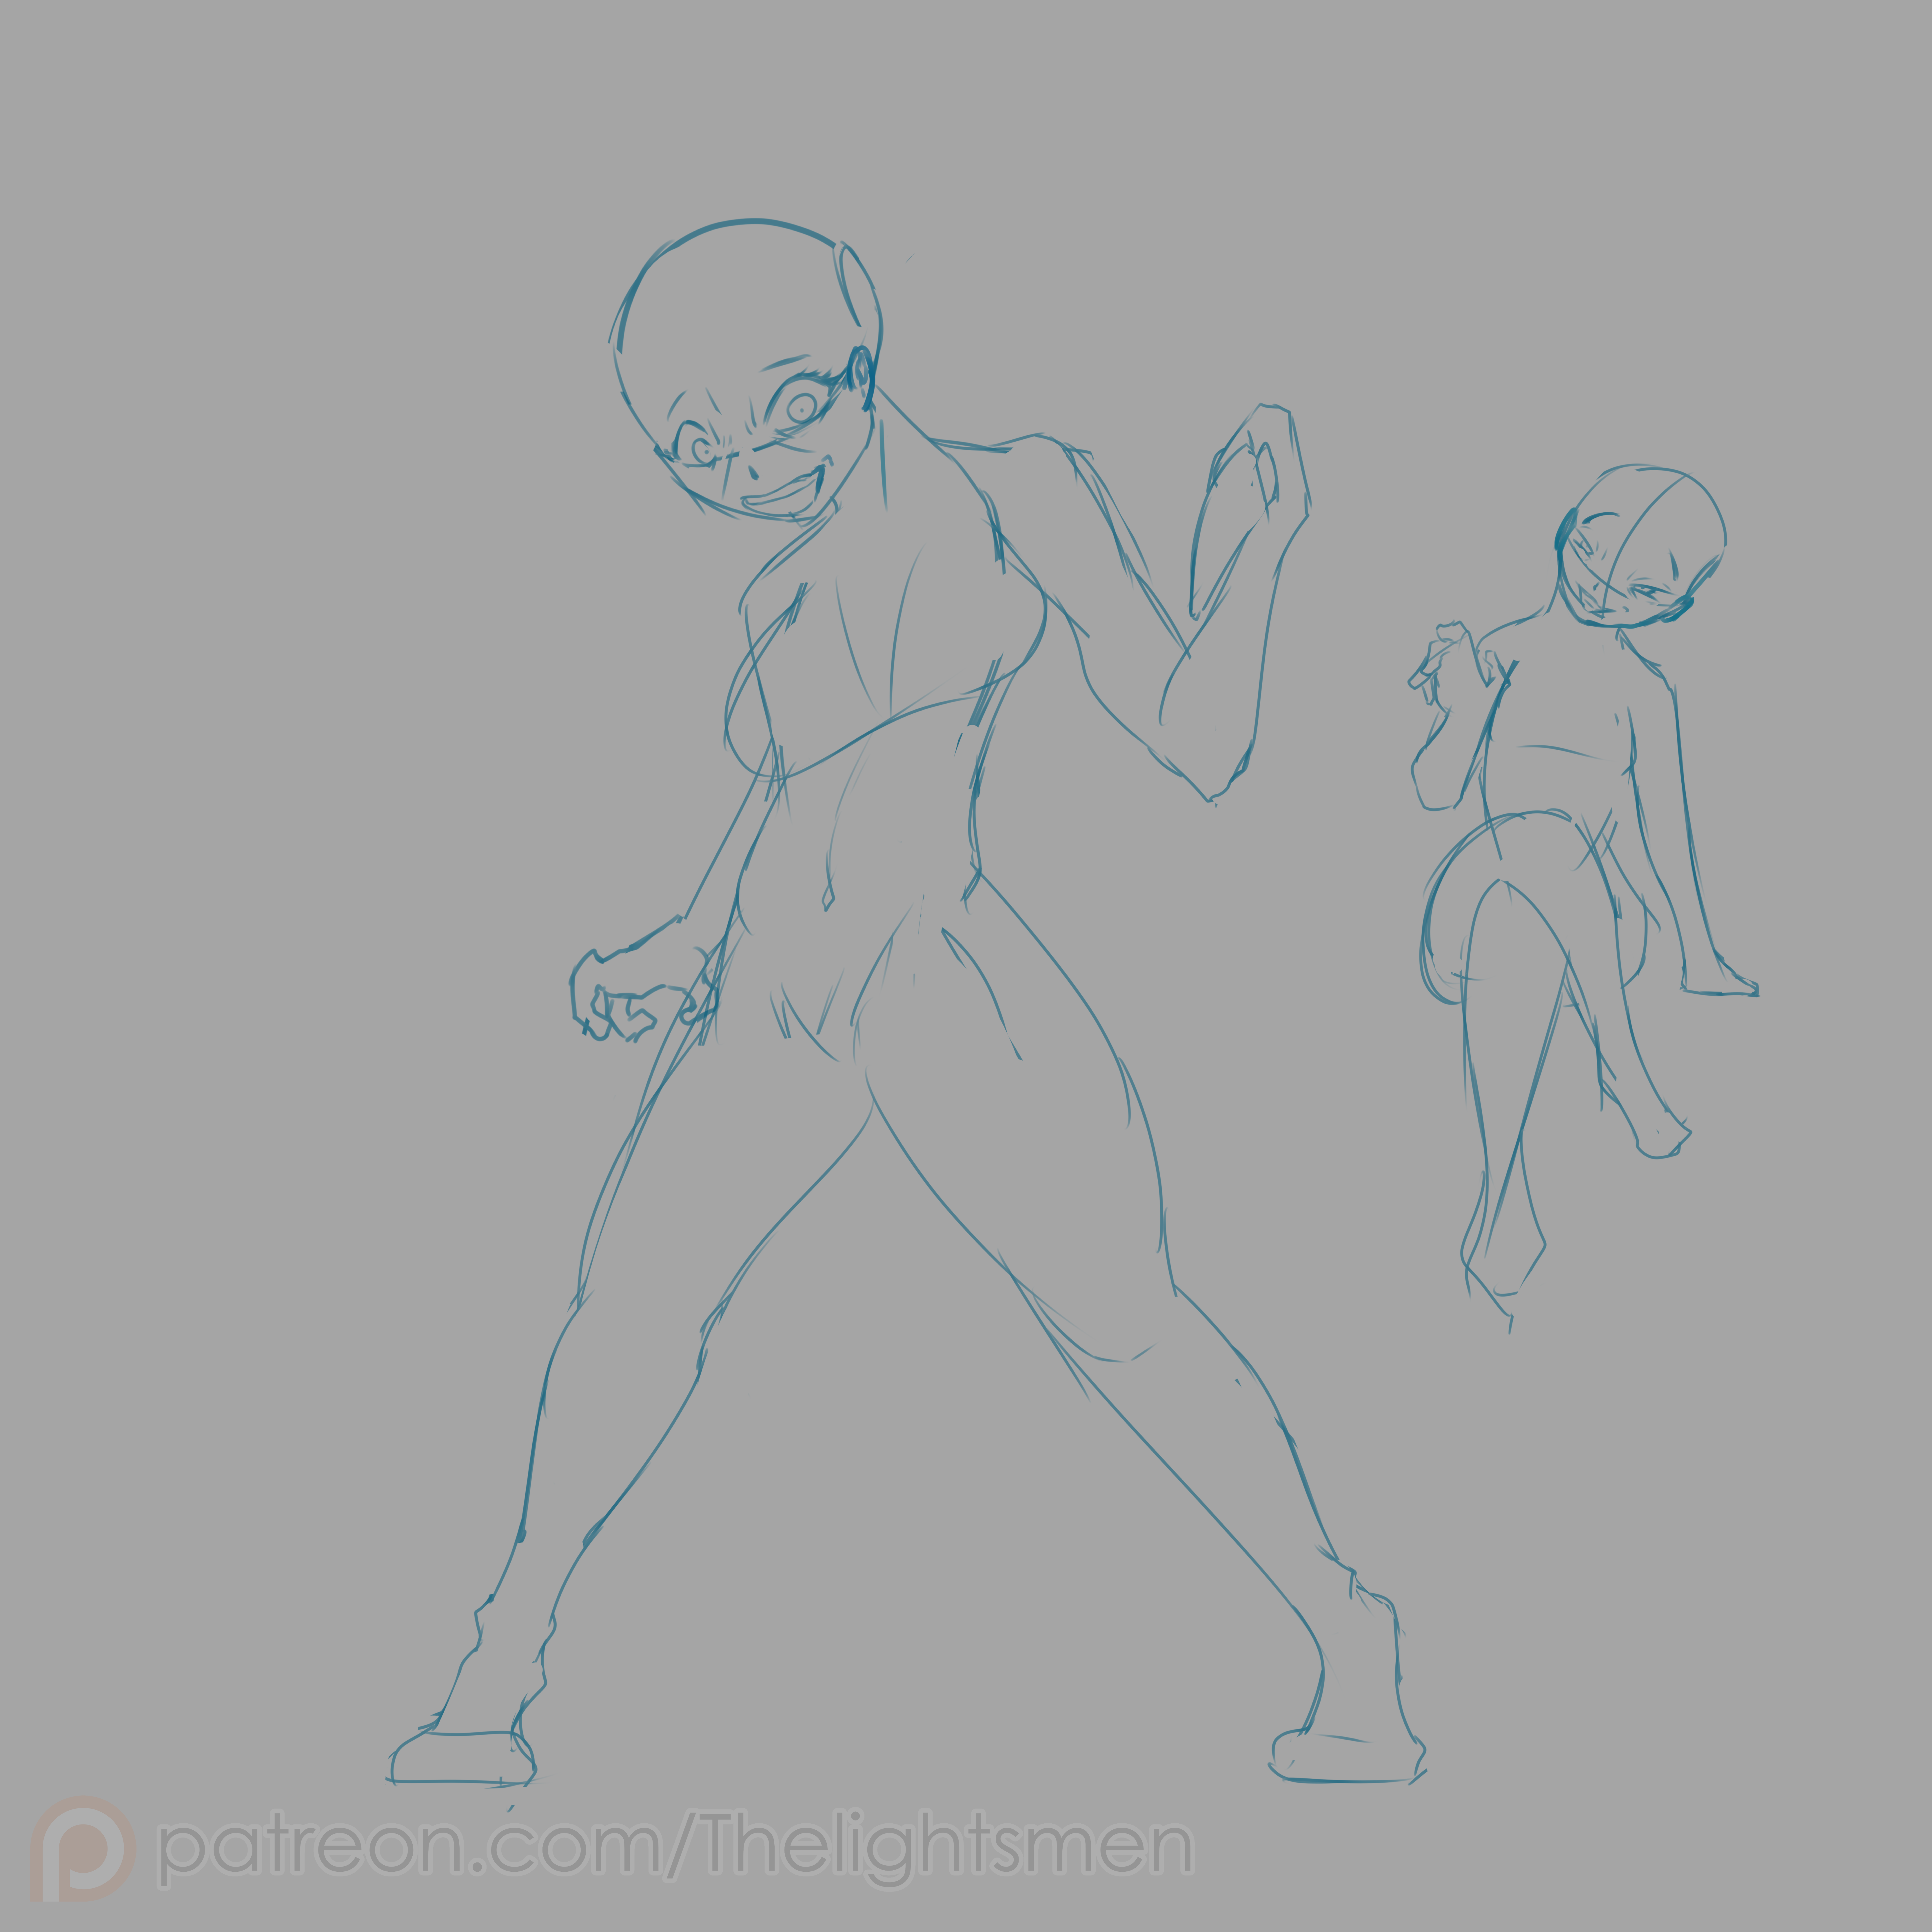
- 3- Final sketch: For the final sketch I just add a different layer with all the clothes.
- 4- Basic lineart: In this situation I chose a more careful route, and drew the lines for the body in several different layers (hair, body, hand, bowtie) just in case I needed to change something
- 5- Final lineart: After some back and forth with the hand closing in, I found the right place for it, now all the lines are ready! I also changed Monika's face to be more aggresive.
- 6- Flat colors: Added the basic colors to the chars.
- 7- Bg base colors: Same process with the background, except now it is much more dynamic
- 8- Bg floor pattern: I use the same copypaste pattern to create the floor, this time was much tougher because it involved even more perspective than last time.
- 9- Bg props shading and details: I add all the details to the other sections of the bg.
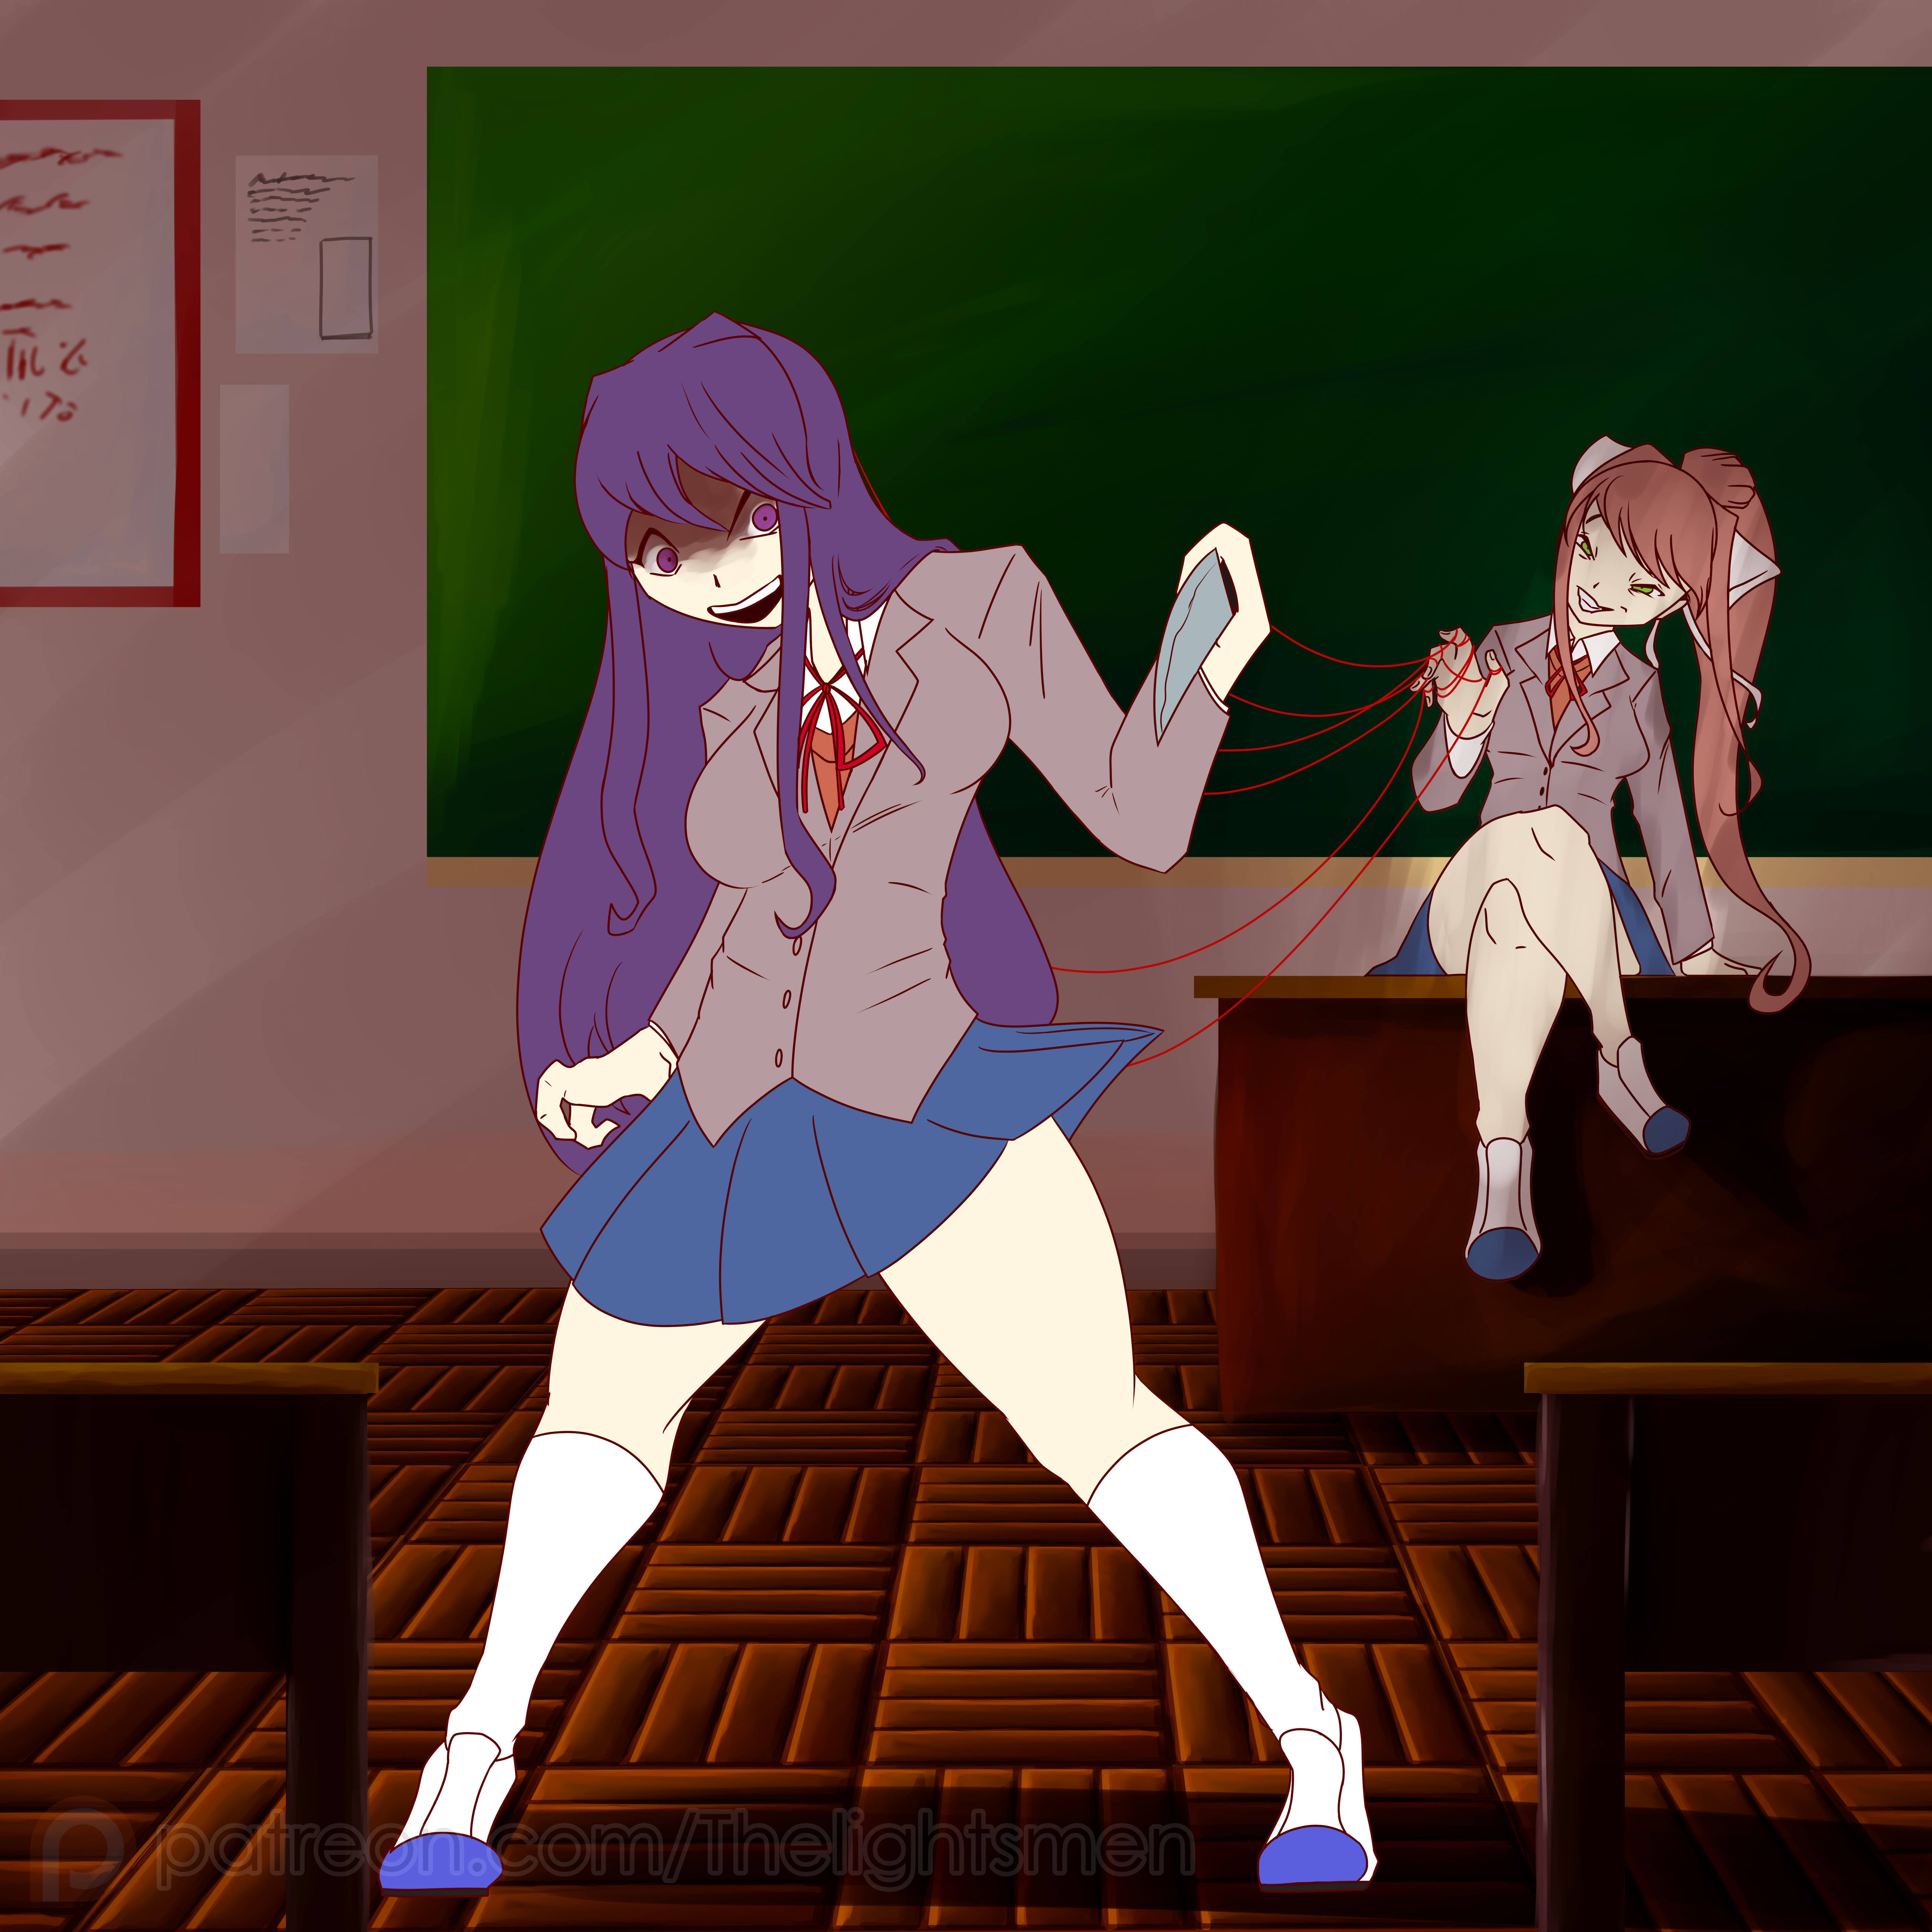
- 10- Environmental shadows: I add all the shadows that the characters should produce in the environment, I also take the time to add some details, the red strings and also color the lineart to make it more seamless.
- 11- Extra visual effects: We're nearing the end now, I add the same extra visual effects to simulate the outside light and the darkness of the classroom, I also add effects to the eyes of both girls to accentuate their actions, and a glitch effect on the strings as well.
- 12- Extra Motion blur: Last but not least, I decide to try using a motion blur effect since Yur is supposed to be literally coming to get you, now you can feel the movement going!
Files