Home
Home

 Artists
 Search
 Recent
 Random
 Posts
Posts
 DMs
DMs
 Tags
Tags
 Random
 Importer
 Import
 FAQ
FAQ
 Account
 Register
 Favorites
 Login
Login

[Photo & Making Process]Azur Lane - Bremerton sculpted by Towsilow (Patreon)
Content
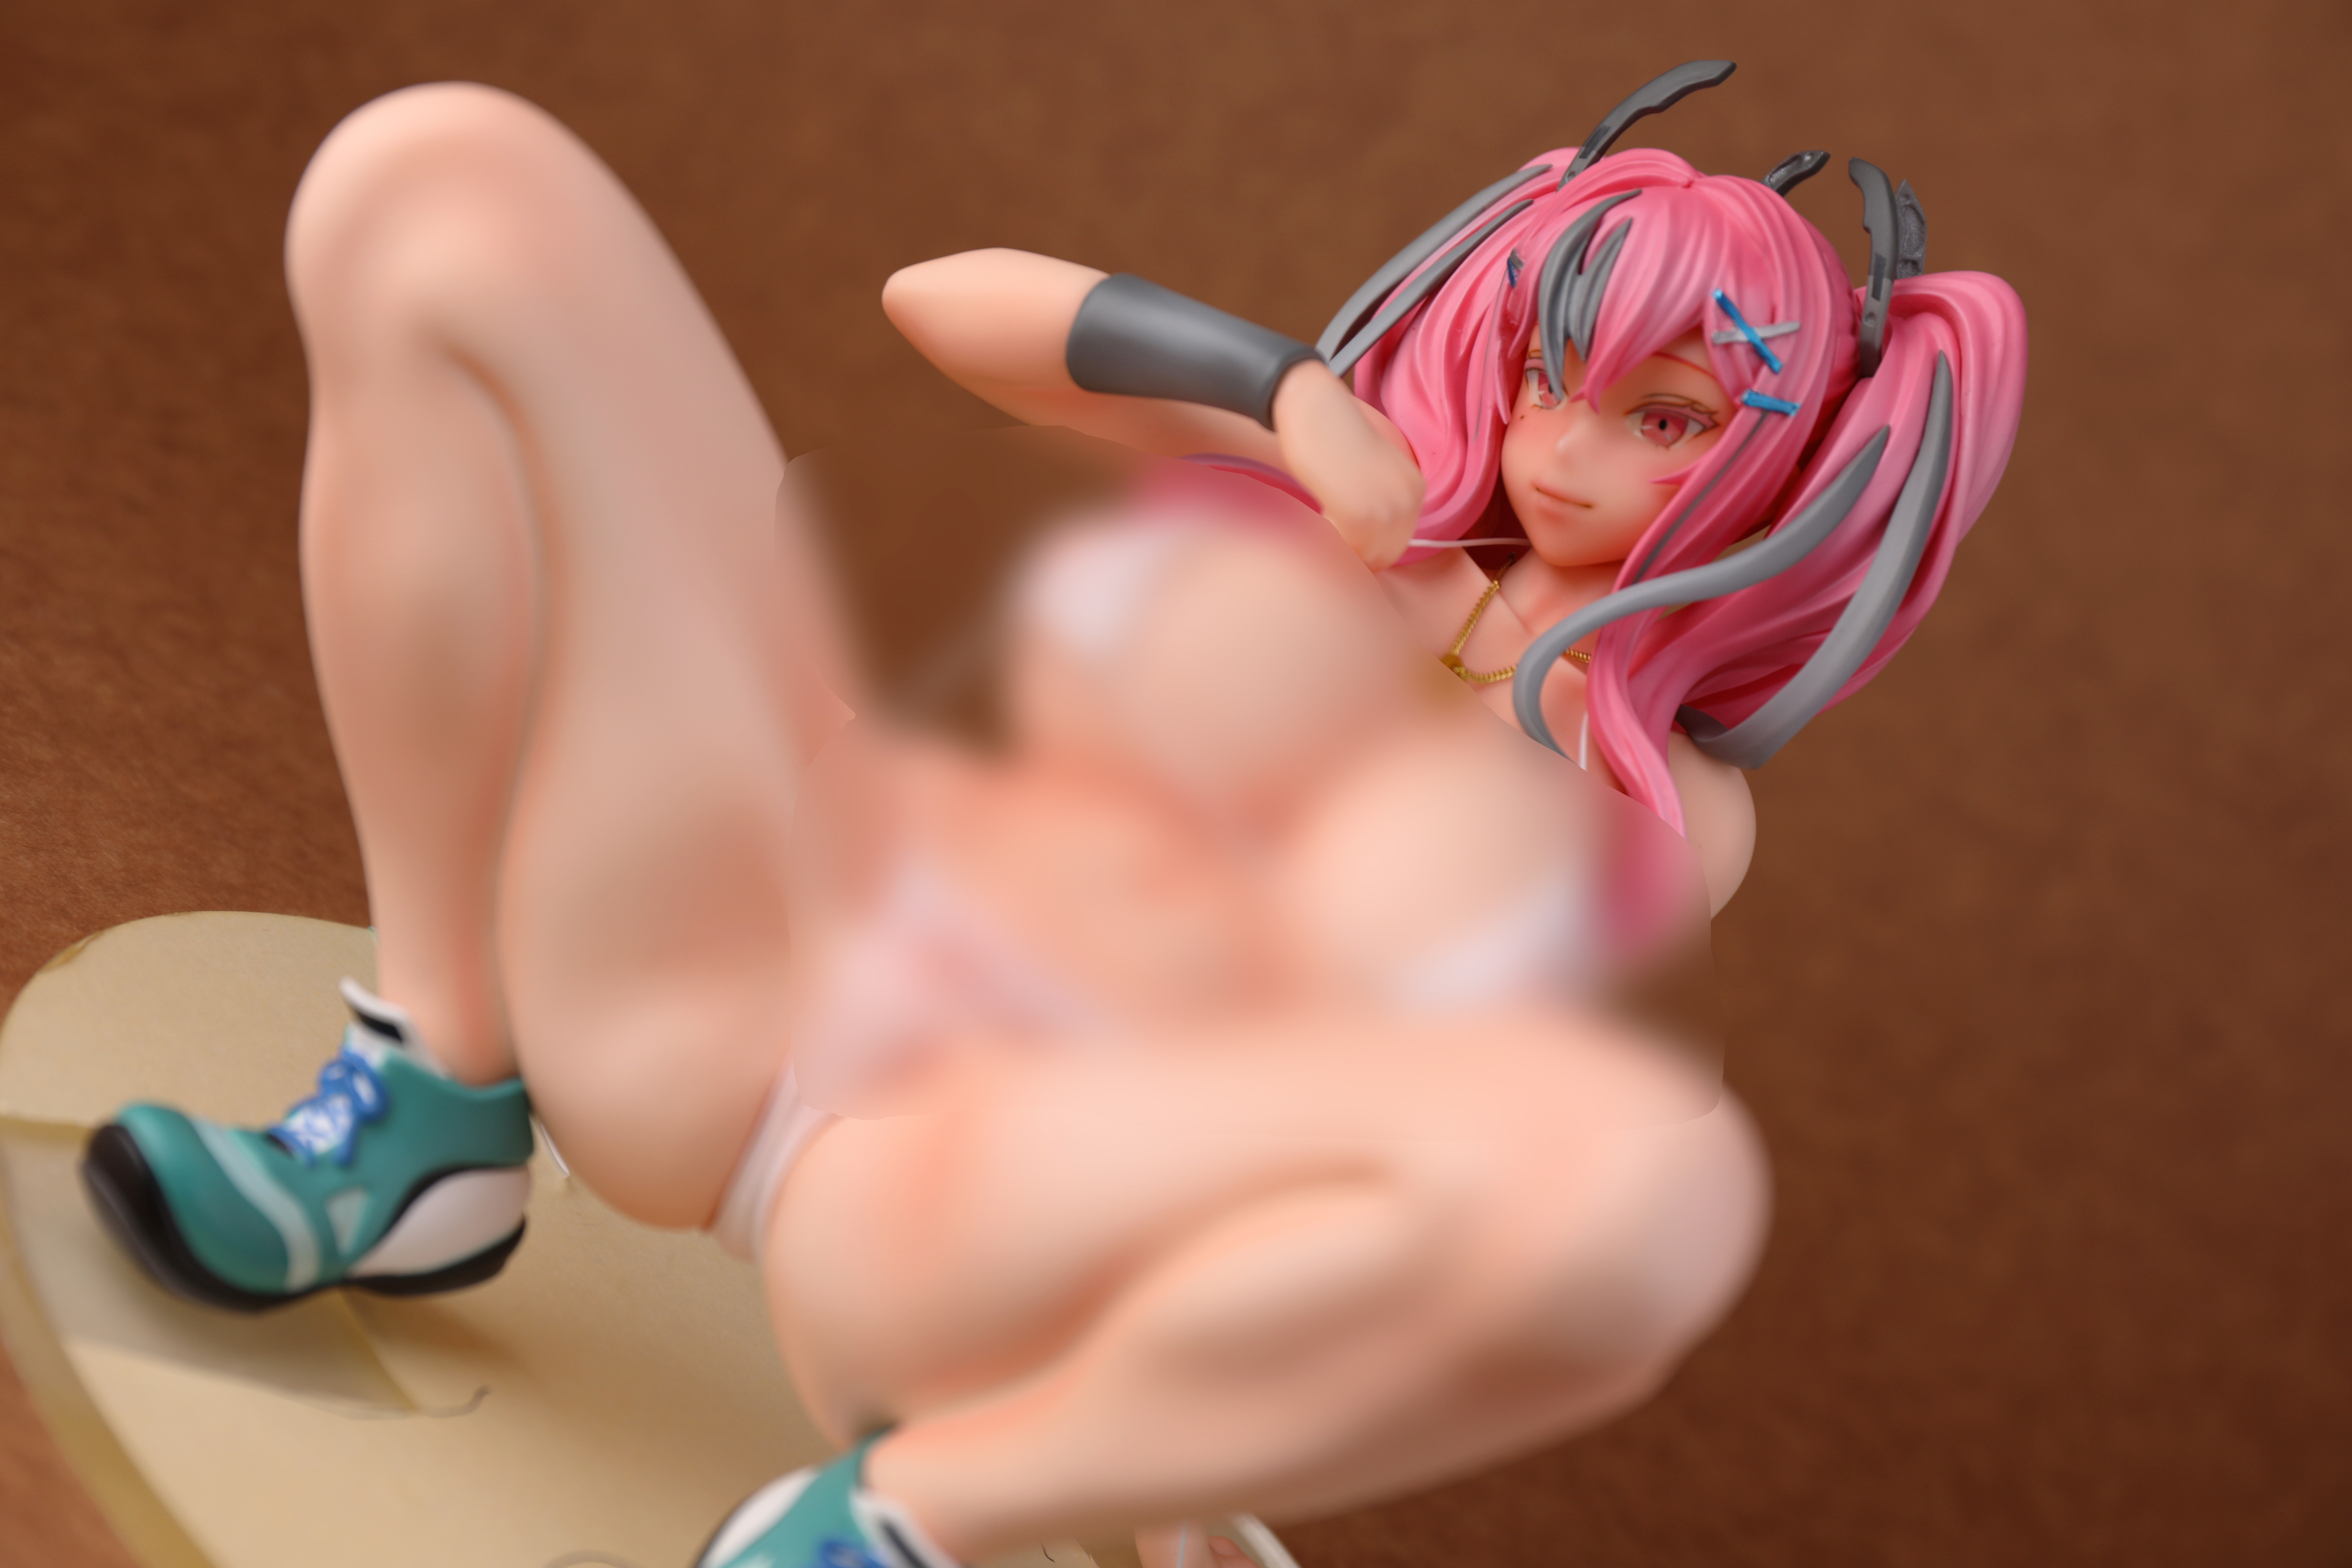
Here are photos of the finished Bremerton sculpted by Towsillow and the process of making it.
I did not take many photos of the finished product and the process of making it, since I did not originally plan to present it anywhere.
However, I went through my folders and found a good number of photos. I guess I have a personality that needs to keep records. This kind of personality is both a nuisance and a help...in more ways than one. (Whatever.)
I would like to inform you in advance that there is no video of the production and review.
Towsilow has already passed away and unfortunately we are unable to purchase this Bremerton GK. (All there is is a pirated copy.)
It's a real shame, because it's a wonderful piece of work.
■Removing tabs, seam line, and dry fitting
First, check the parts as usual. Towsilow's kit is huge. Really big. Every single part is huge.

Look at the size of these parts... It is really amazing that he was able to make this size every time.
There were almost no air bubbles, so it was very easy to do the surface treatment. As is the case his GK every time, the kit does not include the swimsuit straps, so you will have to do something about it yourself.
In the examples, I think someone often used realistic string, but I don't use string in my making.
This is because it is difficult to make the textures of cloth and plastic coexist.
Therefore, I cut a piece of shrink plastic to an appropriate width and length and glued it with Cyanone (White instant adhesive).


This is a dry fitting. Strings was still thick at all, so we will make it thinner from here. The thinner the string is, the more it will look like a string, but the durability of the string as a part will also decrease.
The string parts are a little short in this case. It seemed better to make it long enough to touch the base. So this was adjusted later.
Furthermore, I adjusted the angle of the string so that it looks as if the fingers of the right hand are pinching the string.


The metal chains for the necklace were purchased from Daiso. Then I adjusted the thickness and length of the string, and this is what I got.


The tips of the string parts would look uncomfortable if they were straight, so I processed them by applying heat to just those tips with an embossing heater. It bends easily, so you just need to adjust the shape to your liking.
The string is pulled by the right hand that holds it... It's a pretty small detail, but I thought it was important to pay attention to this kind of thing!

As for the eyes, they were originally sculpted with beautiful eyeholes. However, I wanted to make the eyes look like the original illustration, so I modified the lower part of the eyes to be wider.

I tell you how to widen the eye in the BB chan making video, so you can see that. To give you a rough idea, I just shaved it with a conical bit and filed it down.
■Eyes painting
Then, when the eyes have been processed, move on to the eye painting process.
First, a draft is done. The eyelashes on this Bremerton are three-dimensional, so if I paint them as they are, they will be slightly asymmetrical, as shown in the photo.
If you want to achieve symmetry, it is easier to shave off these three-dimensional lashes by yourself, but I did not do it this time.

As noted in the image, the eyelid of the left eye was straight at this time. The right eyelid has an arc, but... If you fail to check these subtle details, you will be in trouble later on.
I was troubled when I actually proceeded to paint the image.

Ah, yes..... I can already tell at this point that the eyelid line is clearly different.
Therefore, I will shave off the left lid.

I sprayed clear a little thicker, filled it in, and redrew it.

This corrected the shape of the arc to be generally the same as the eyelid on the right.
This type of repair can never be done if the skin color is applied first.Therefore, I will take the technique of applying the skin tone last.
Install the hair in this state and check the atmosphere.

Check her gaze at the same time. I think it will be fine as long as it is done in a way that does not look strange at a quick glance.
There were no problems, so this is the end of the eye painting. Protect it well with clear, apply skin tone, and coat it with more clear.
Then blush color (Tamiya X-27) is sprayed on cheeks and lower lip.
After another clear coat, then mask off the eyes, spray the matte and lacquer clear (enamel clear is OK, but lacquer clear has a stronger coating, so I am now applying lacquer clear) on the lips with a brush, and that's it.


■Detail up after painting
There is nothing special to say about this in the paint, but there is a lot of skin color area anyway.
It's not bad in glossy condition, haha.


However, it still looks cheap if the gloss is too strong, so matte coat is applied.

Matte coat is still important. It makes a big difference in texture.
Now that I think about it, it would have been better if I had inked the skin valleys well.
I didn't think too much about it when I painted it, but now I see that it is a little conspicuous.
Finished after matting! Unfortunately, we found a point to correct.
Specifically, here.

I found that the more closely the mesh hair parts of the hair adhered to the twin-tails, the more complete they looked, so we fine-tuned them so that they adhered as closely as possible.

This process looked easy but was more difficult than imagined.After finishing the exquisite and difficult processing here, the making was completed.
It took me about two weeks to make this kit, but I learned a lot from it.

Files