Home
Home

 Artists
 Search
 Recent
 Random
 Posts
Posts
 DMs
DMs
 Tags
Tags
 Random
 Importer
 Import
 FAQ
FAQ
 Account
 Register
 Favorites
 Login
Login

Lili Rochefort model release (Patreon)
Content
Update 2.0
Fixed weight painting issues in body and outfits (Training)
This model was released publicly already, this release includes a minor update.
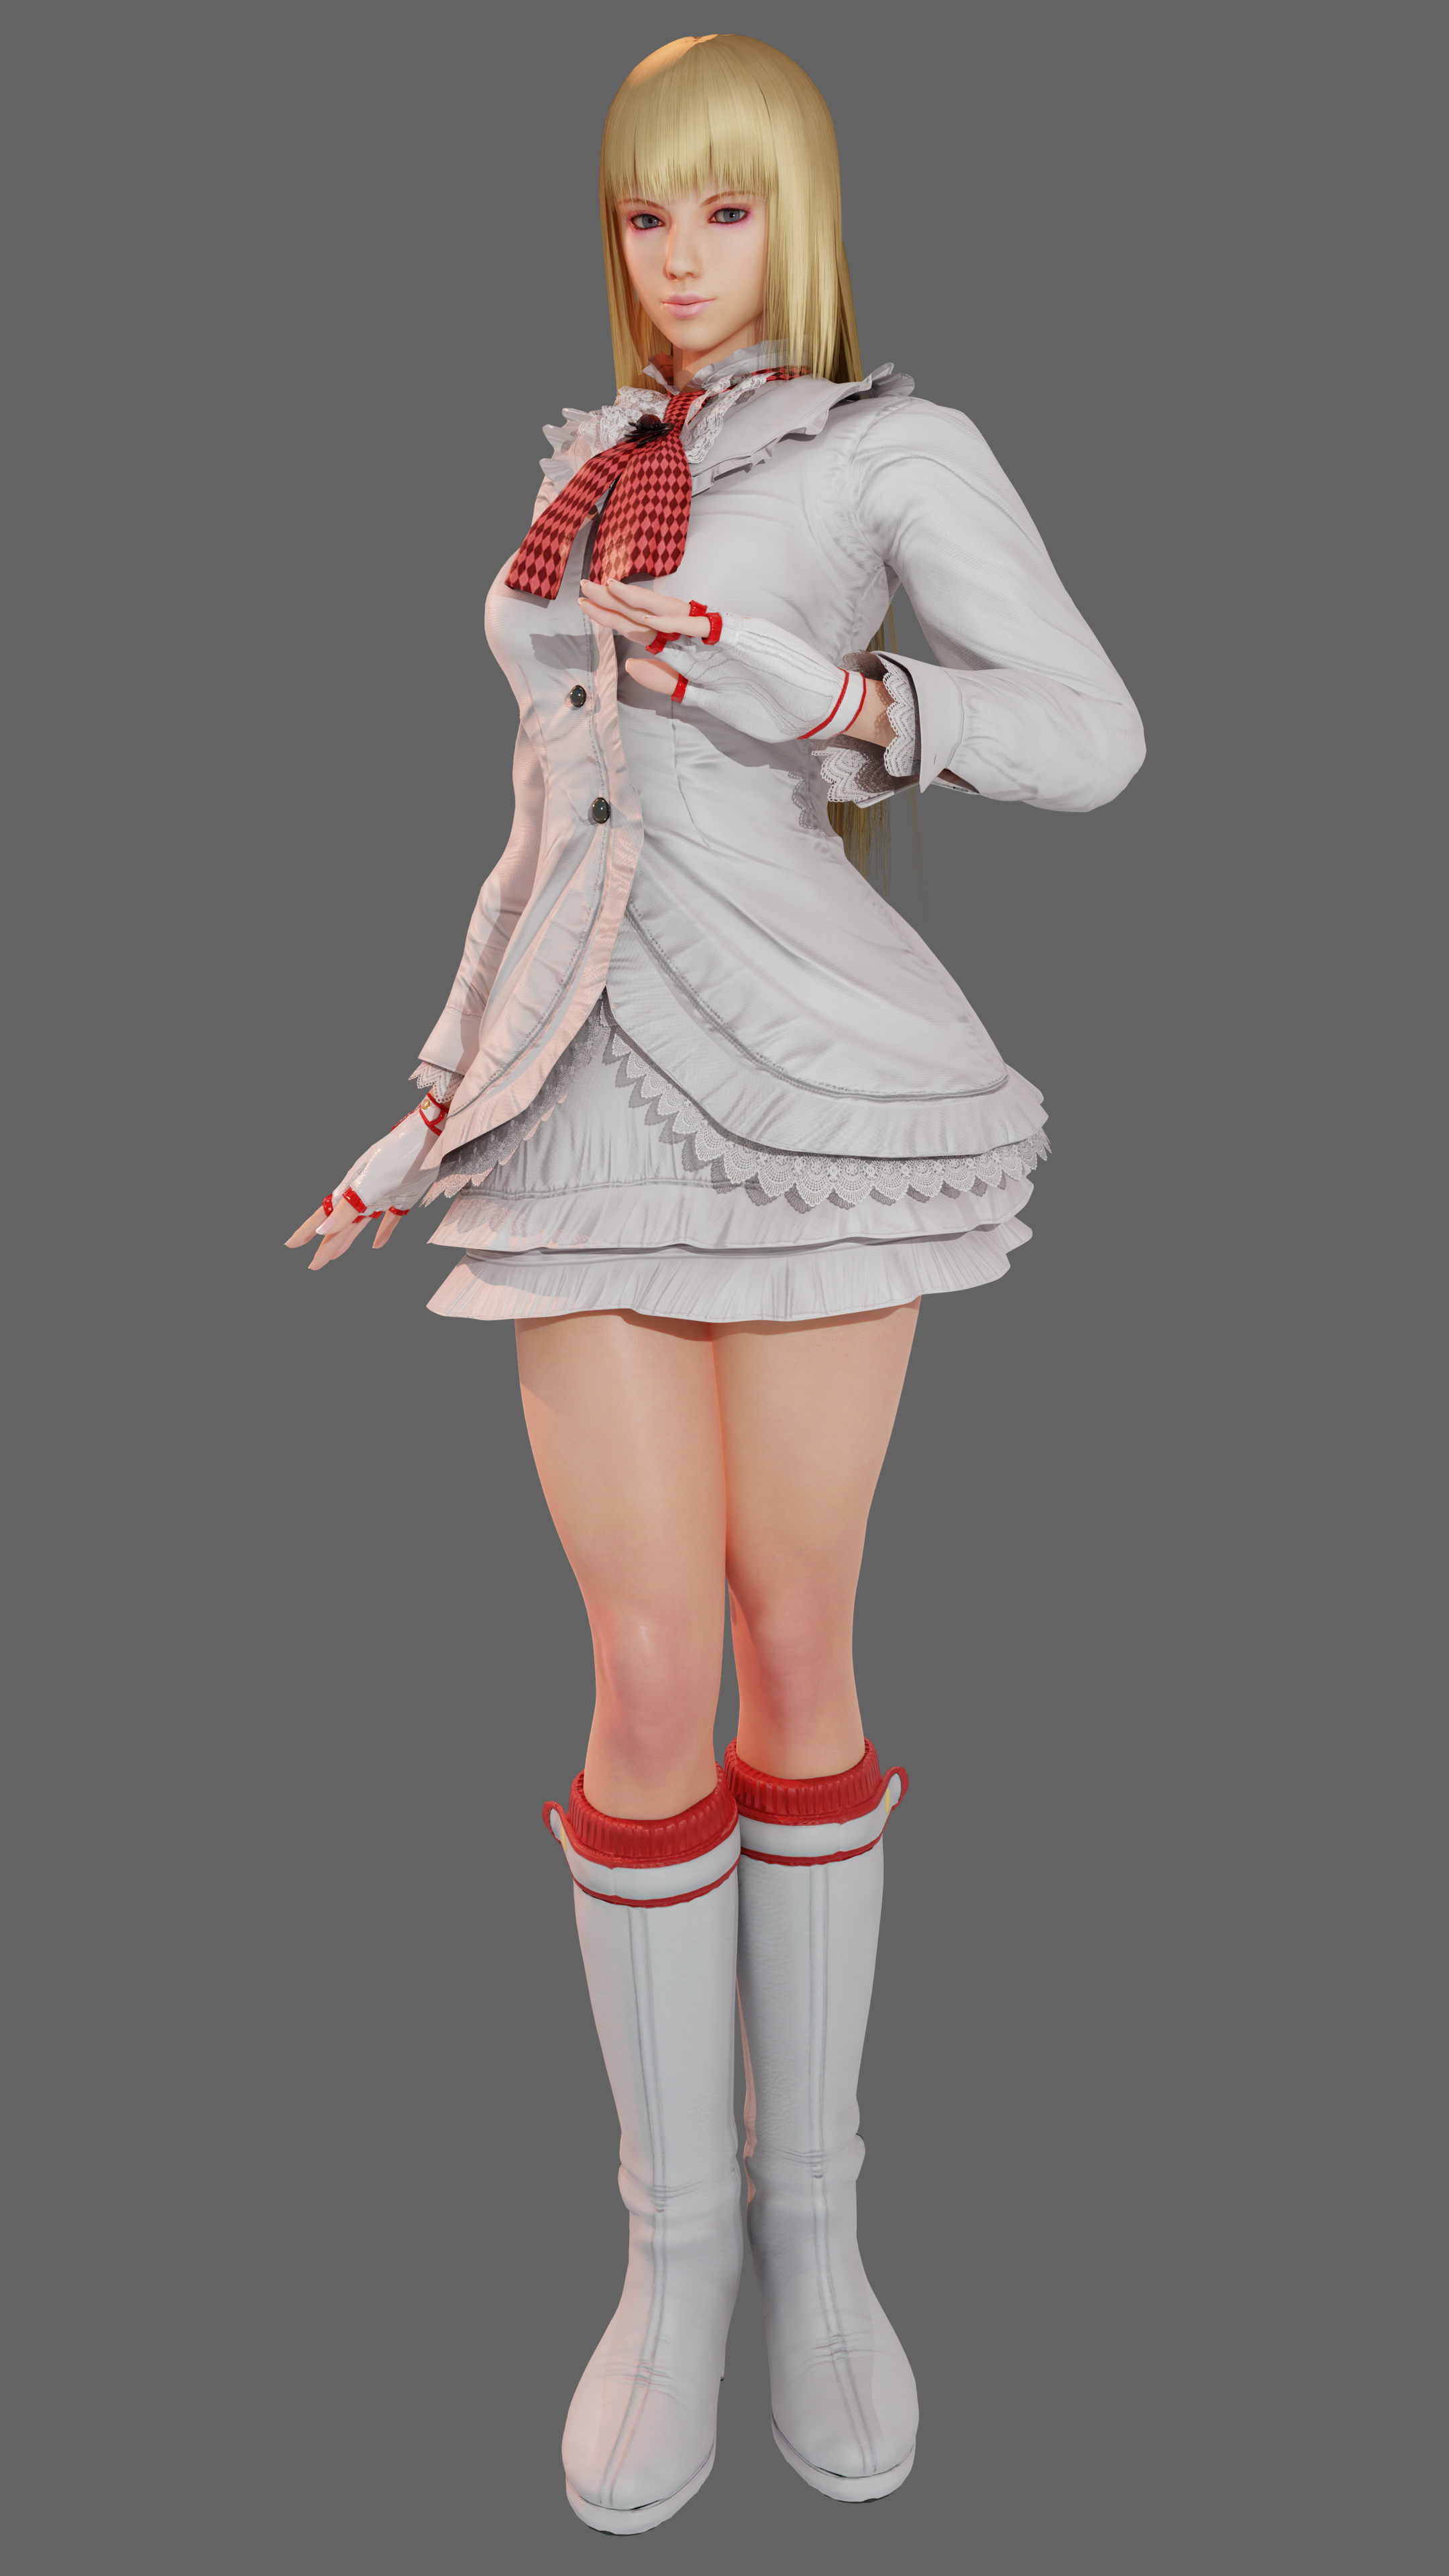
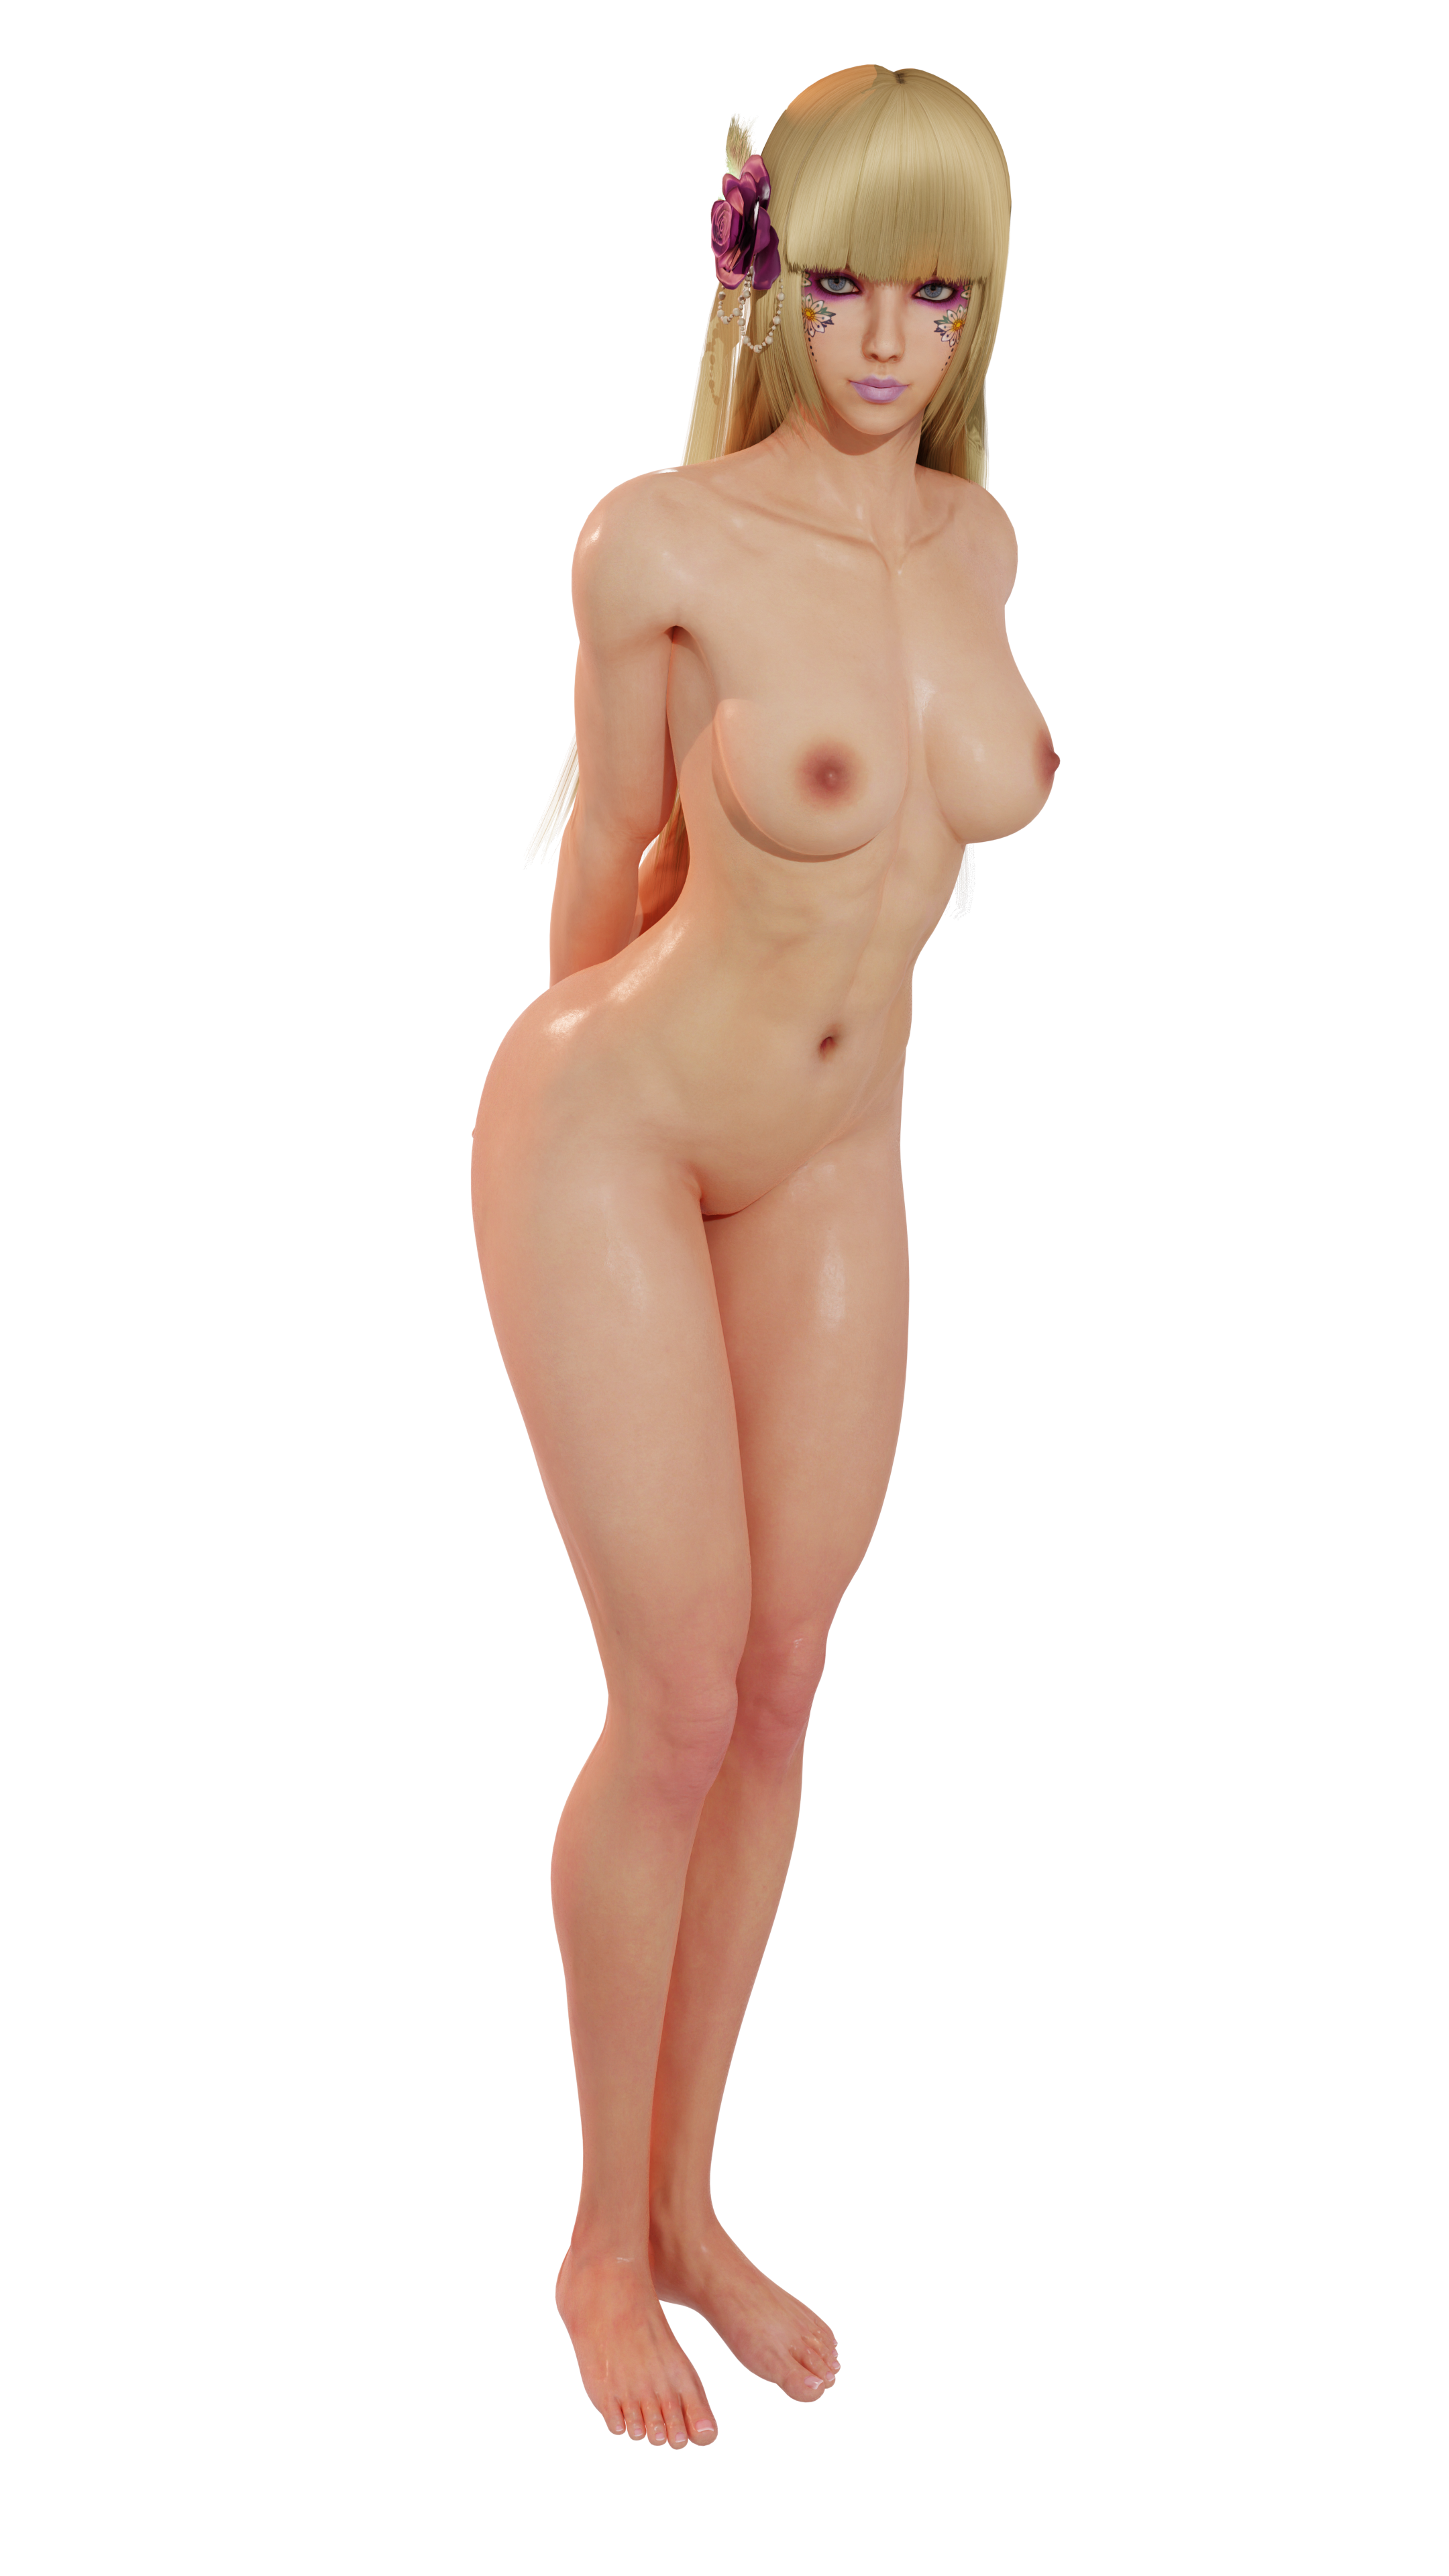
This is a custom made Emilie De Rochefort model, using her Tekken 6 look as a base over the Tekken Tag appearance I used for the previous model I made of her.
About this model:
- Uses an AutoRig-Pro Armature
- MustardUI menu
- Compatible with Cycles and Eevee
- 4 Hairstyles: (T6) (T7) (Braids) (Veil Tied)
- 7 Different outfits:
- Extra Cycles Hair shader
- Upscaled textures
- Genitals bone controls for shapekeys + weighted bones
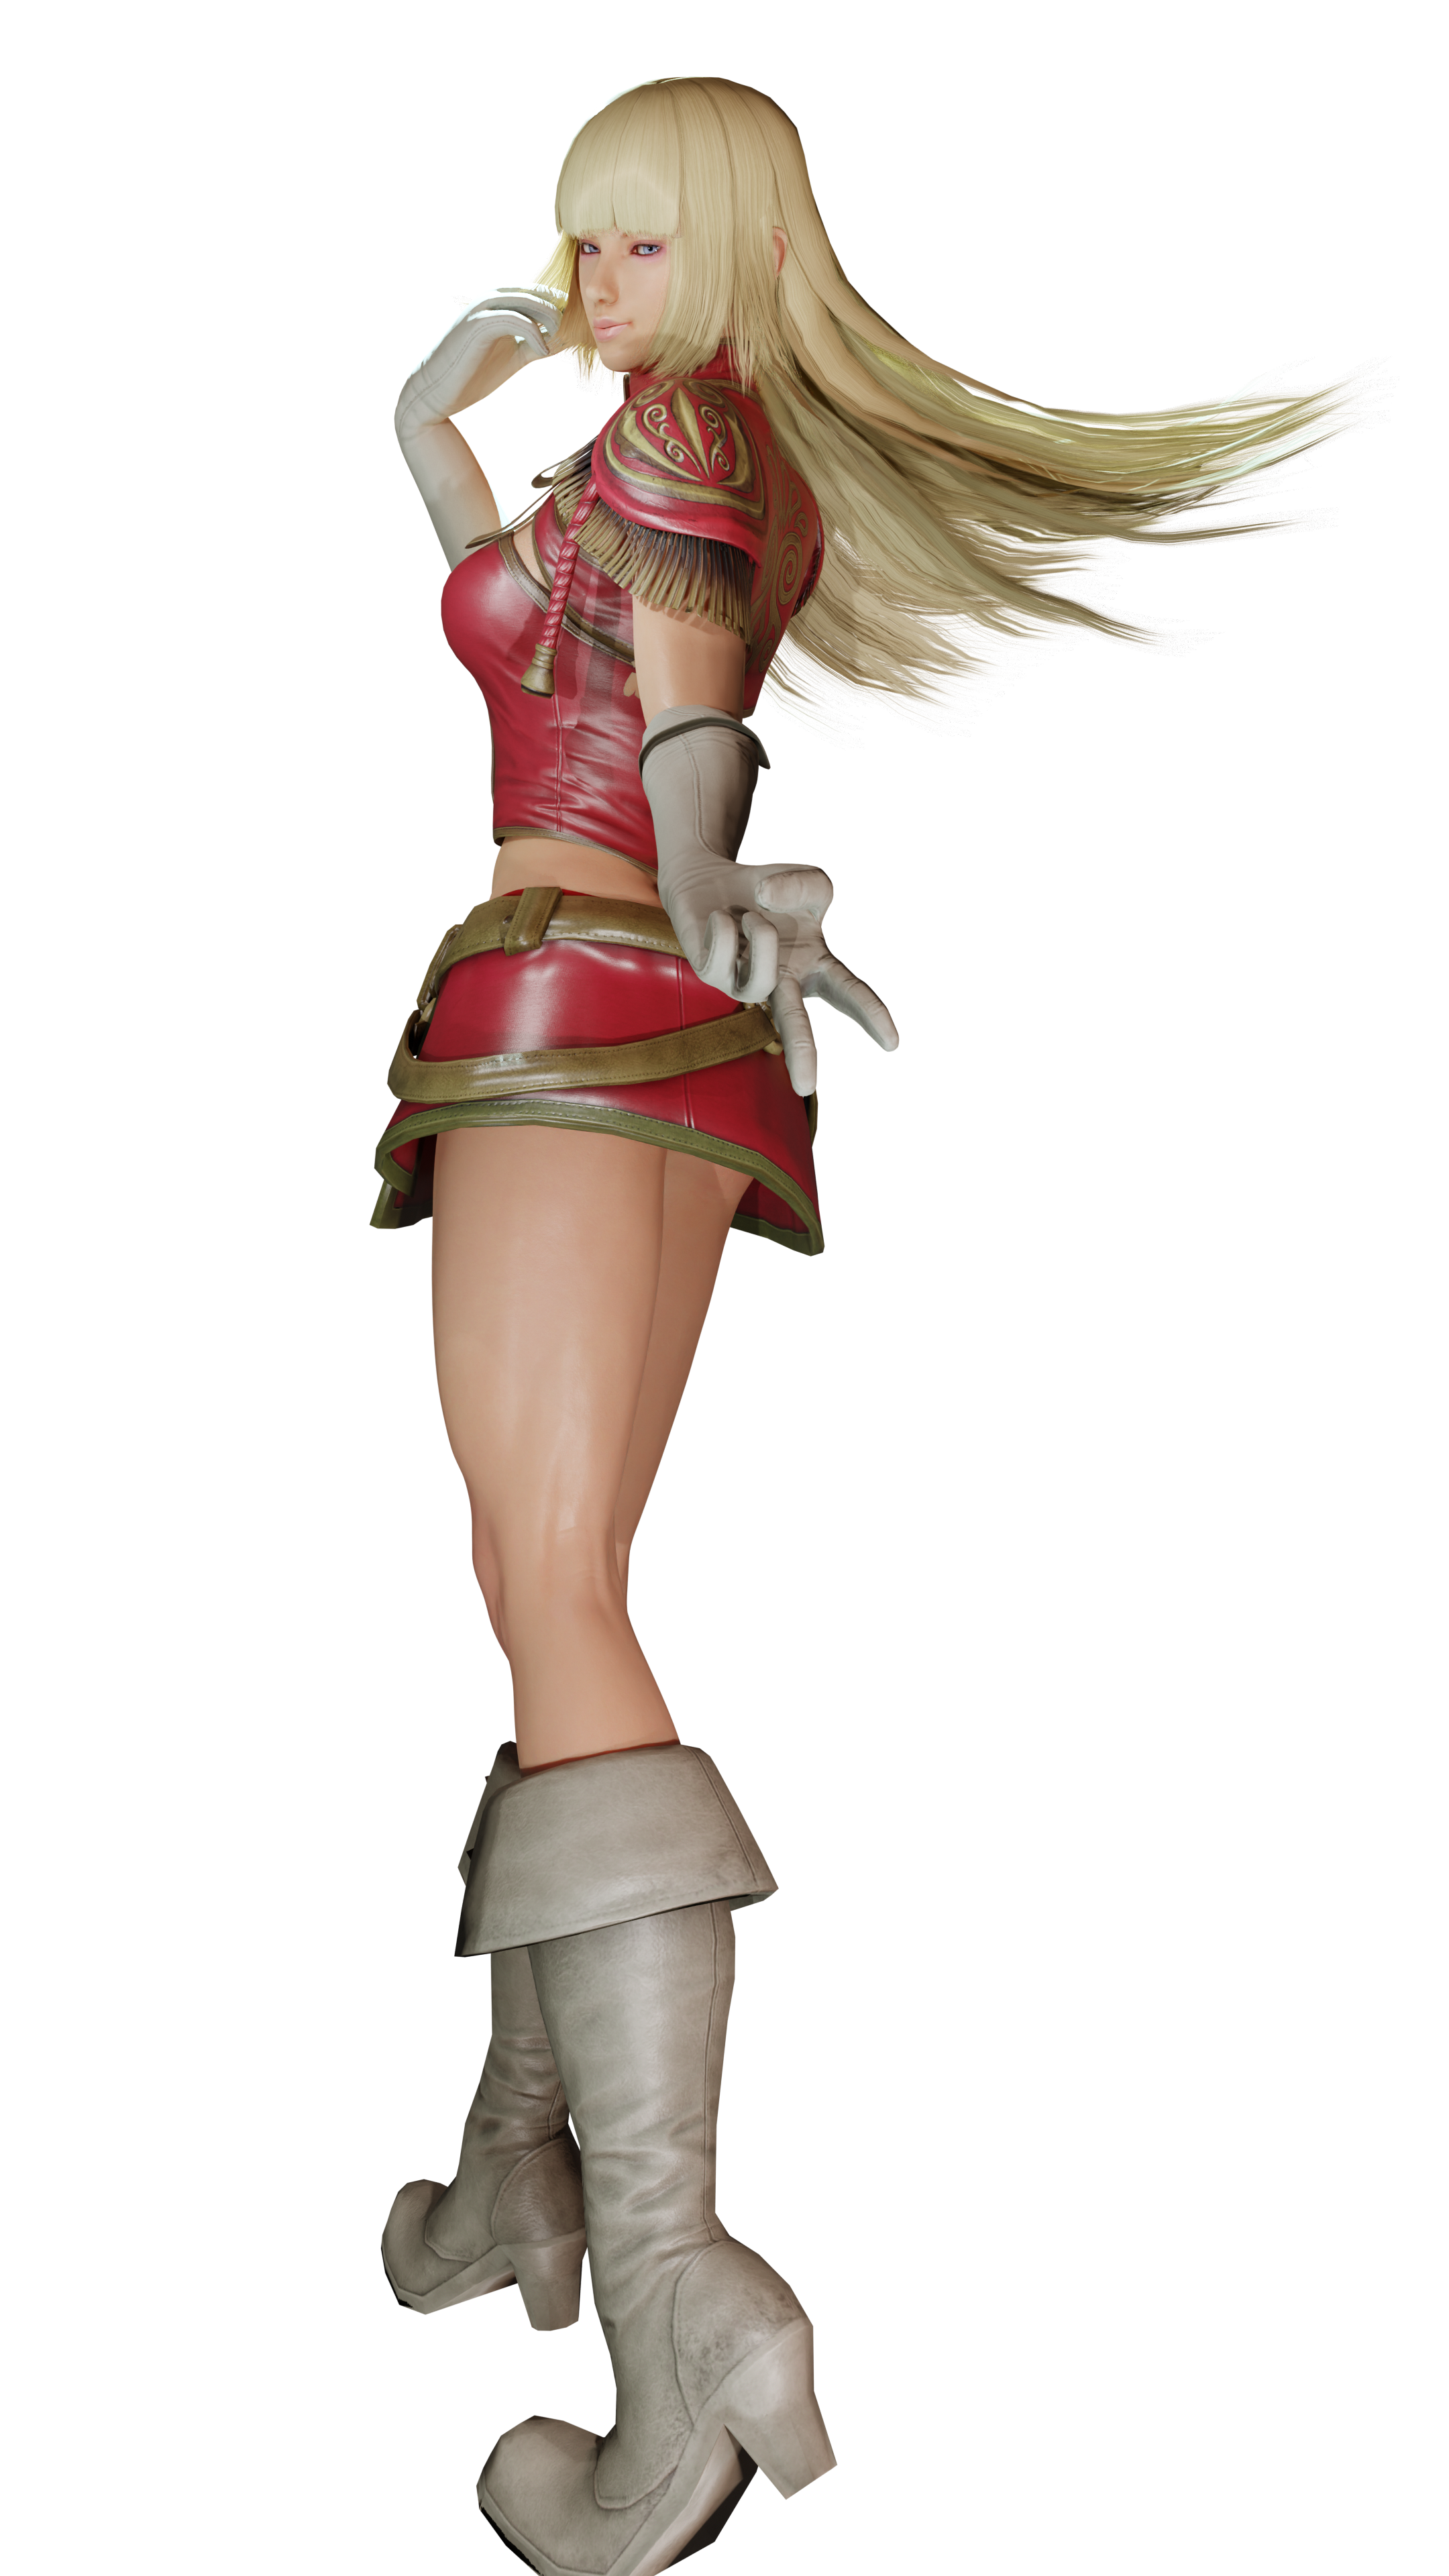
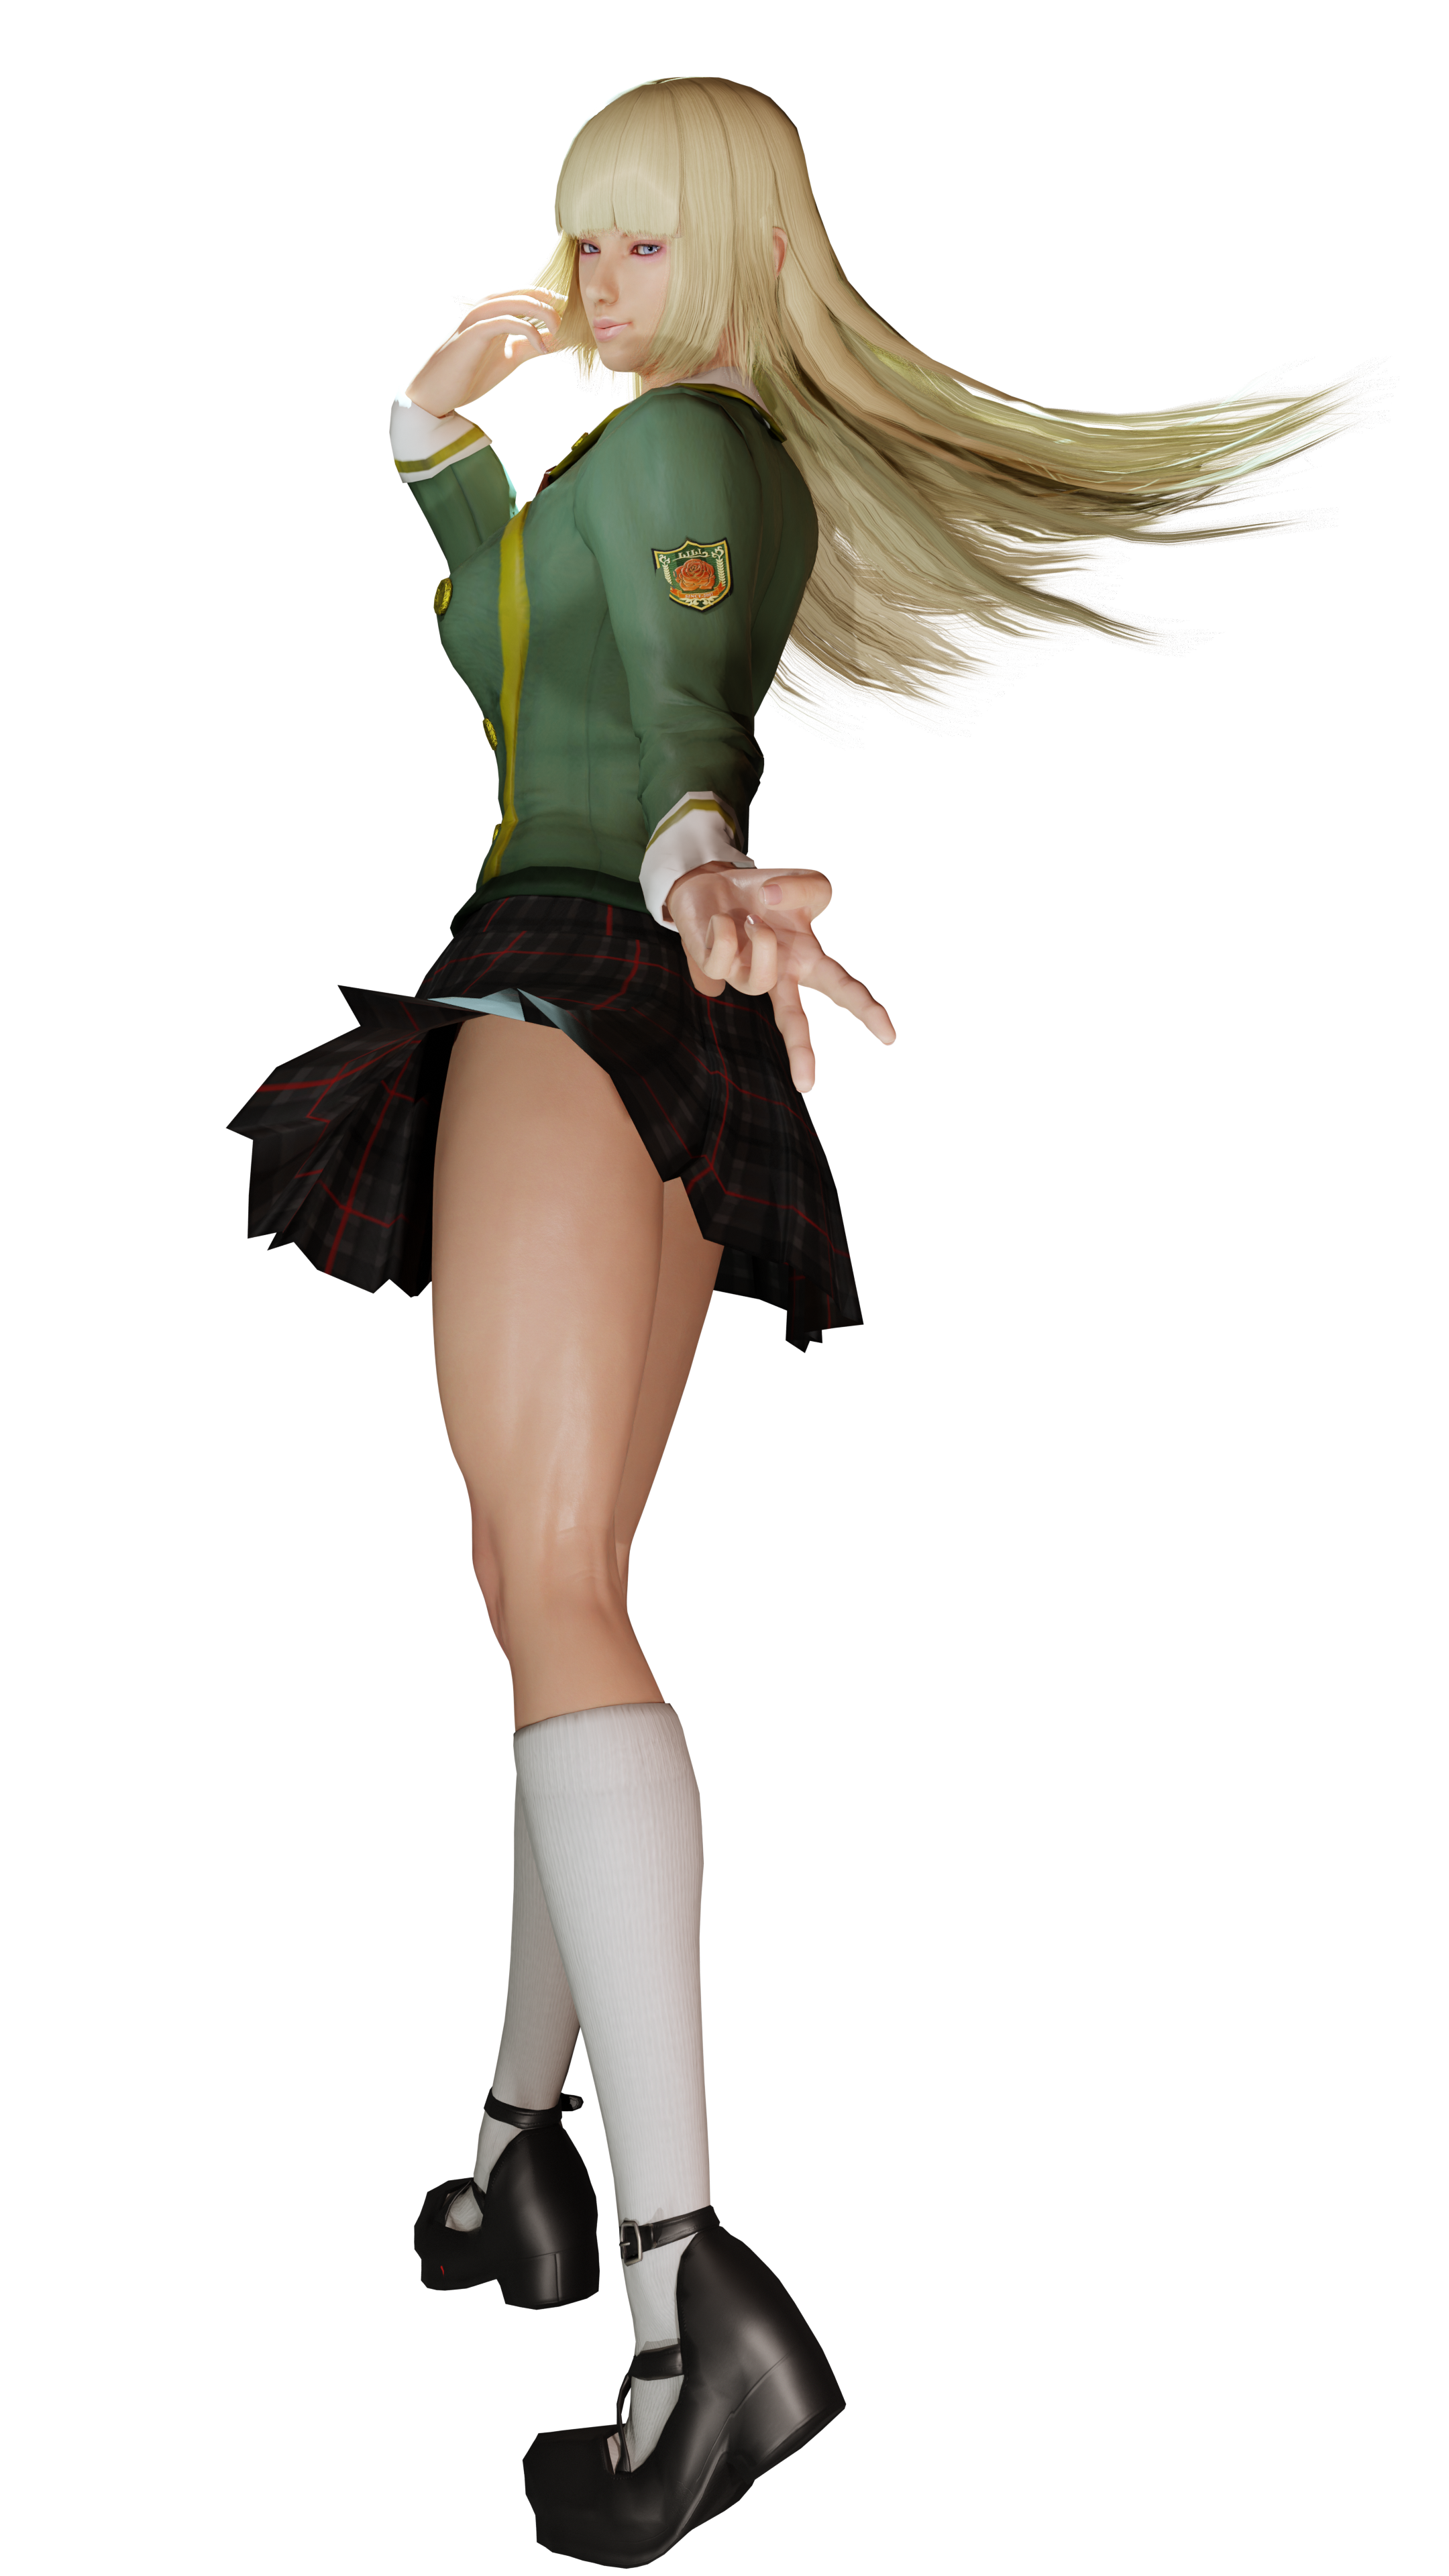
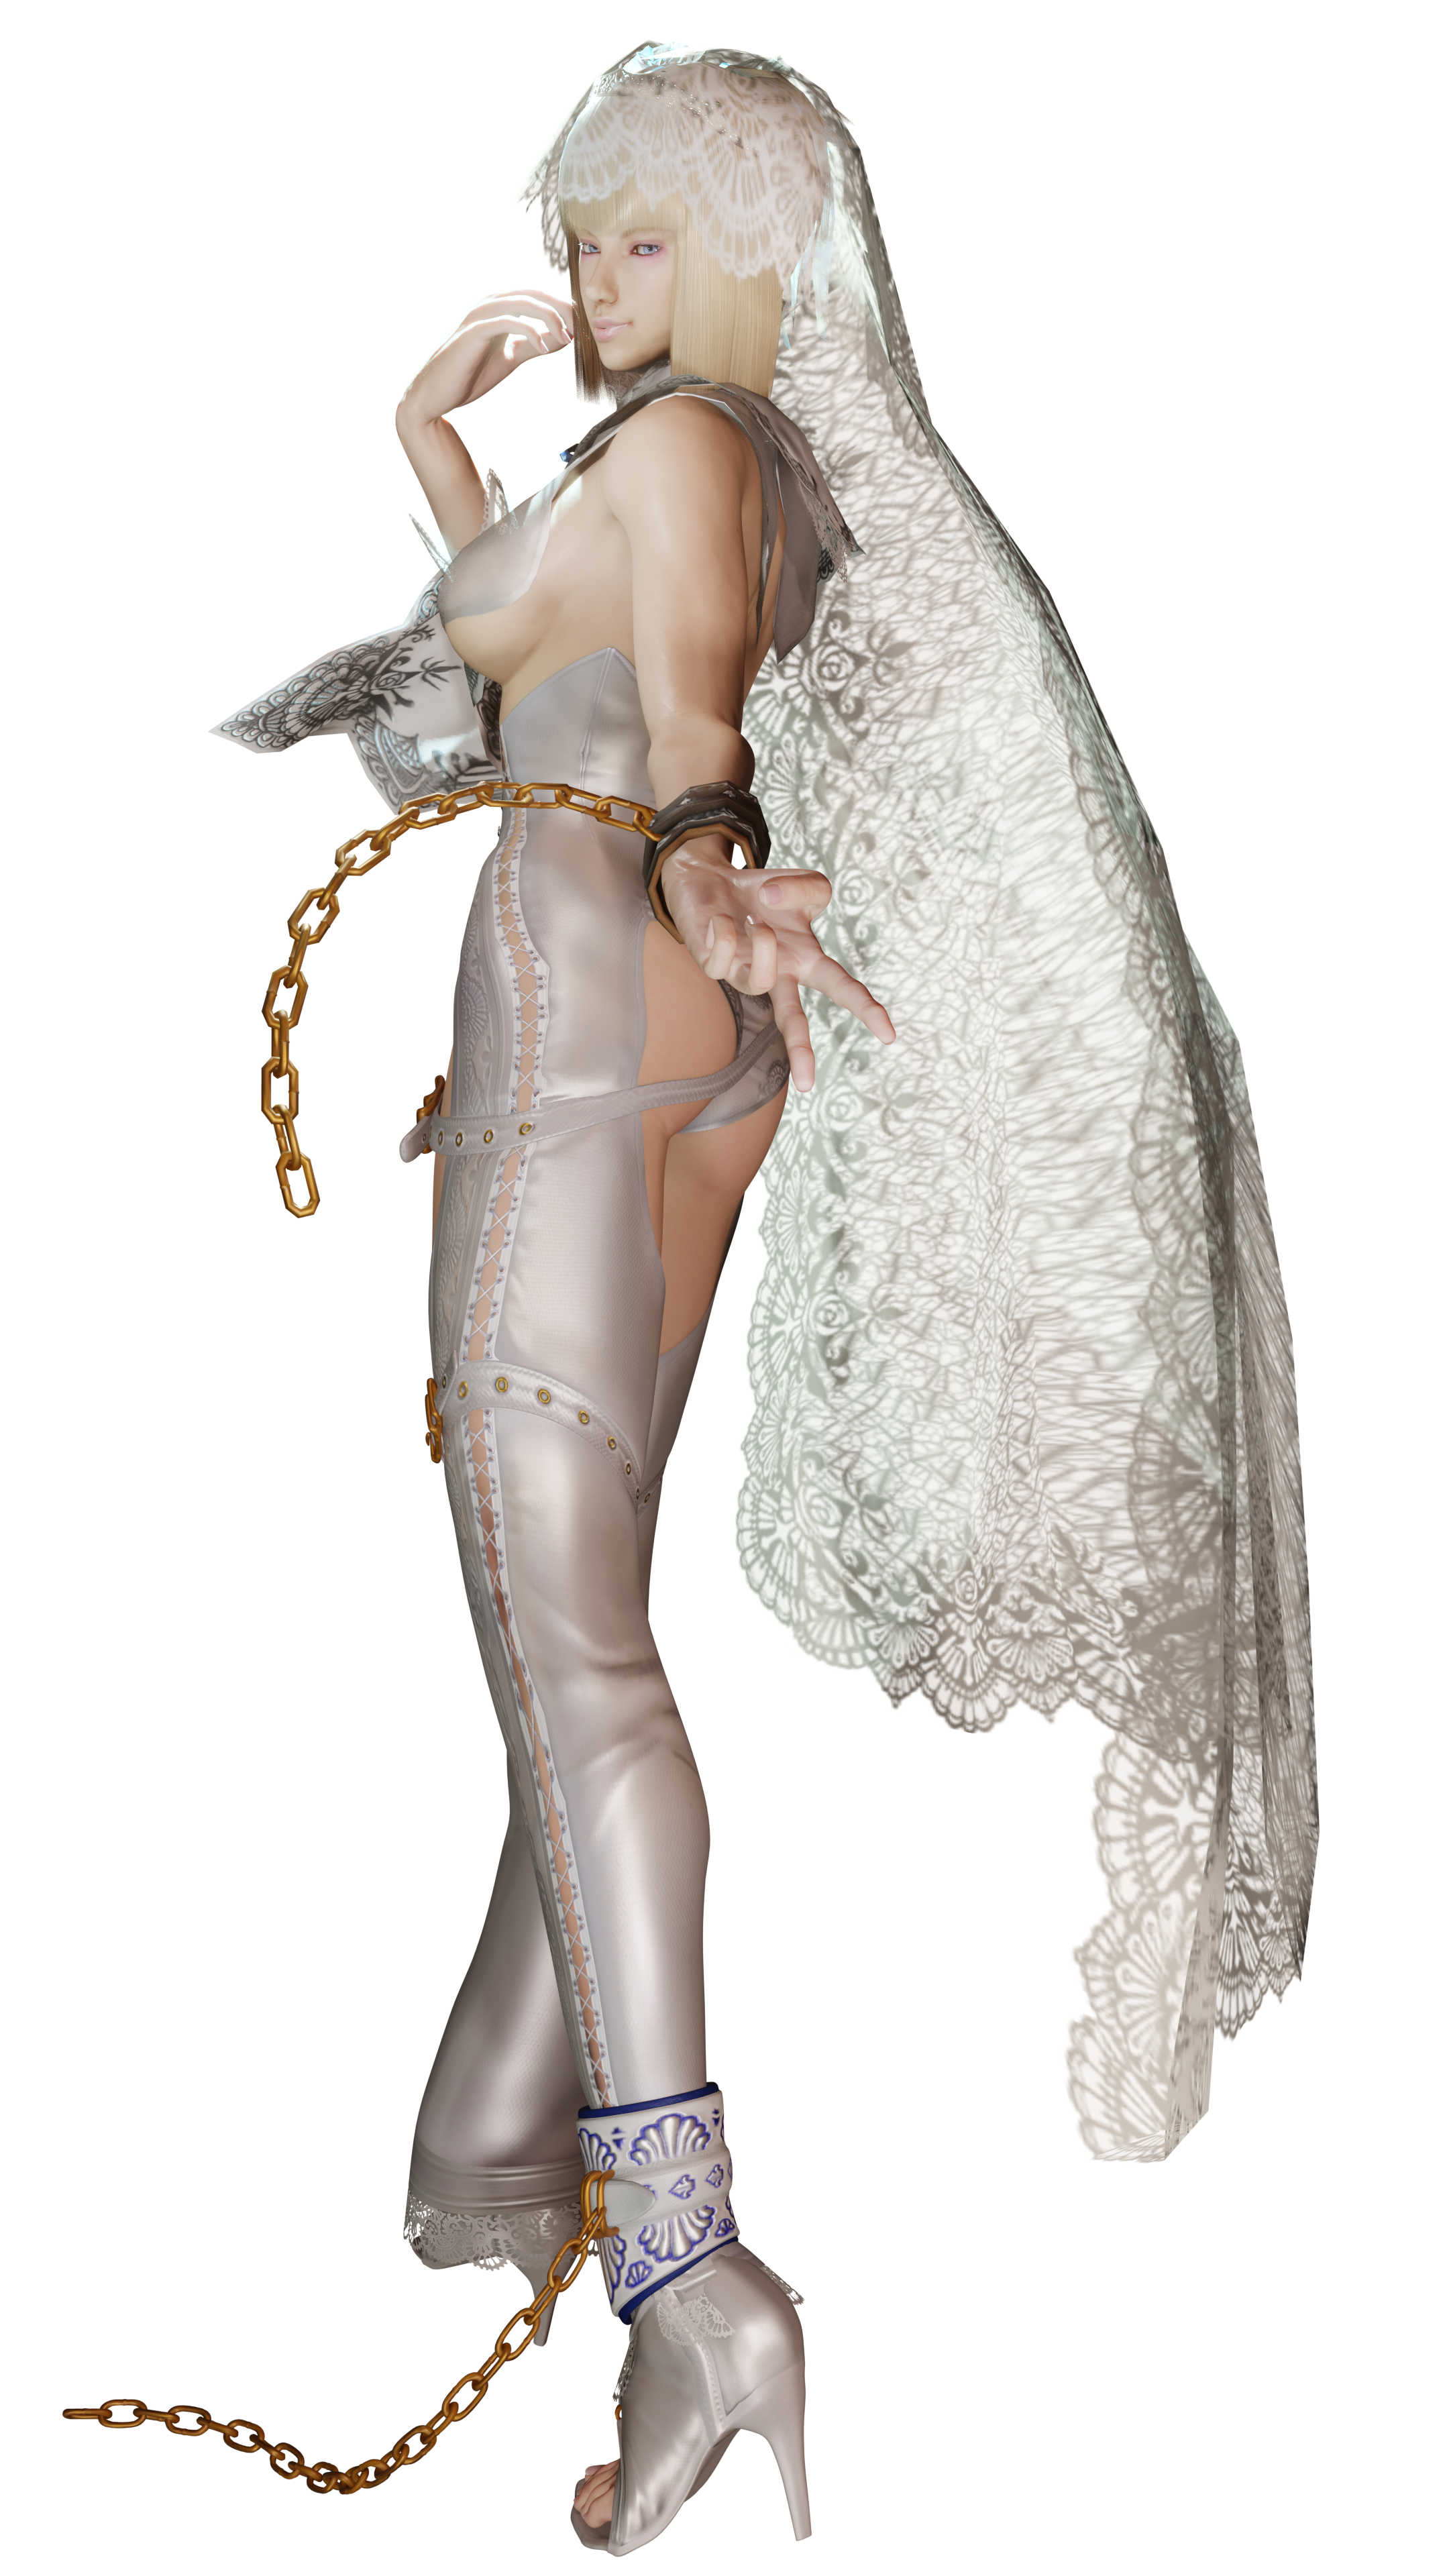
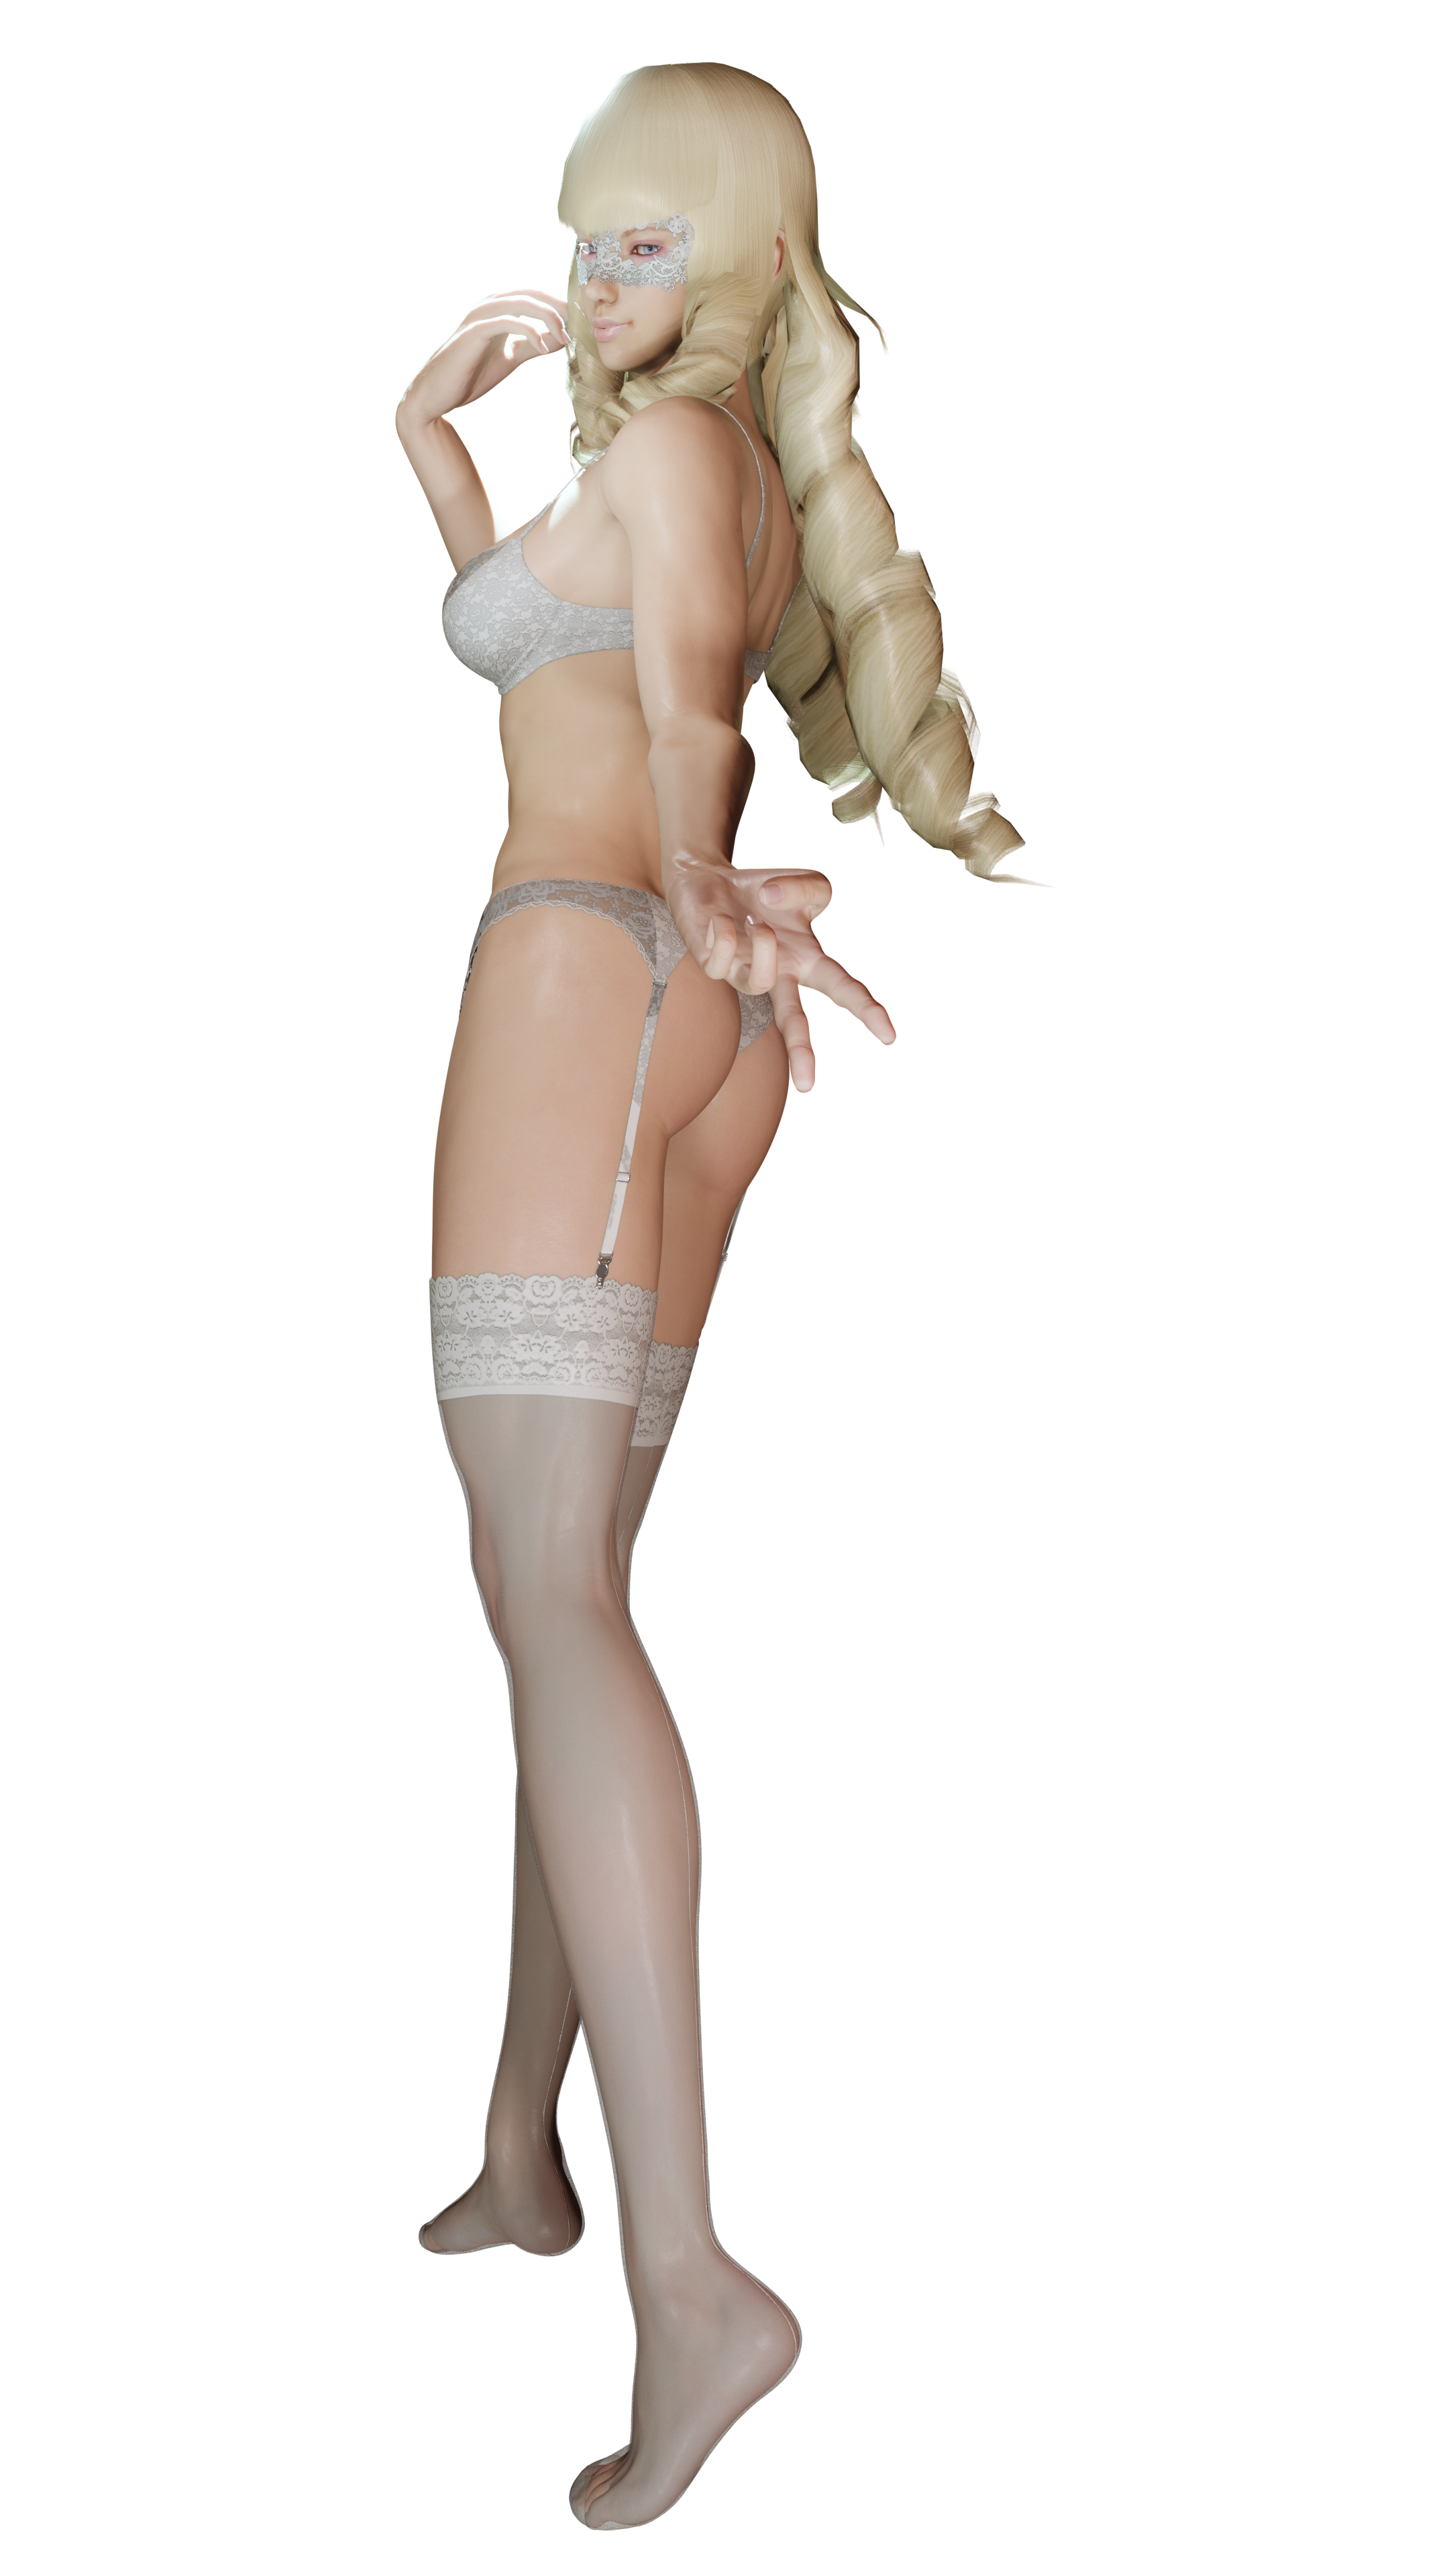
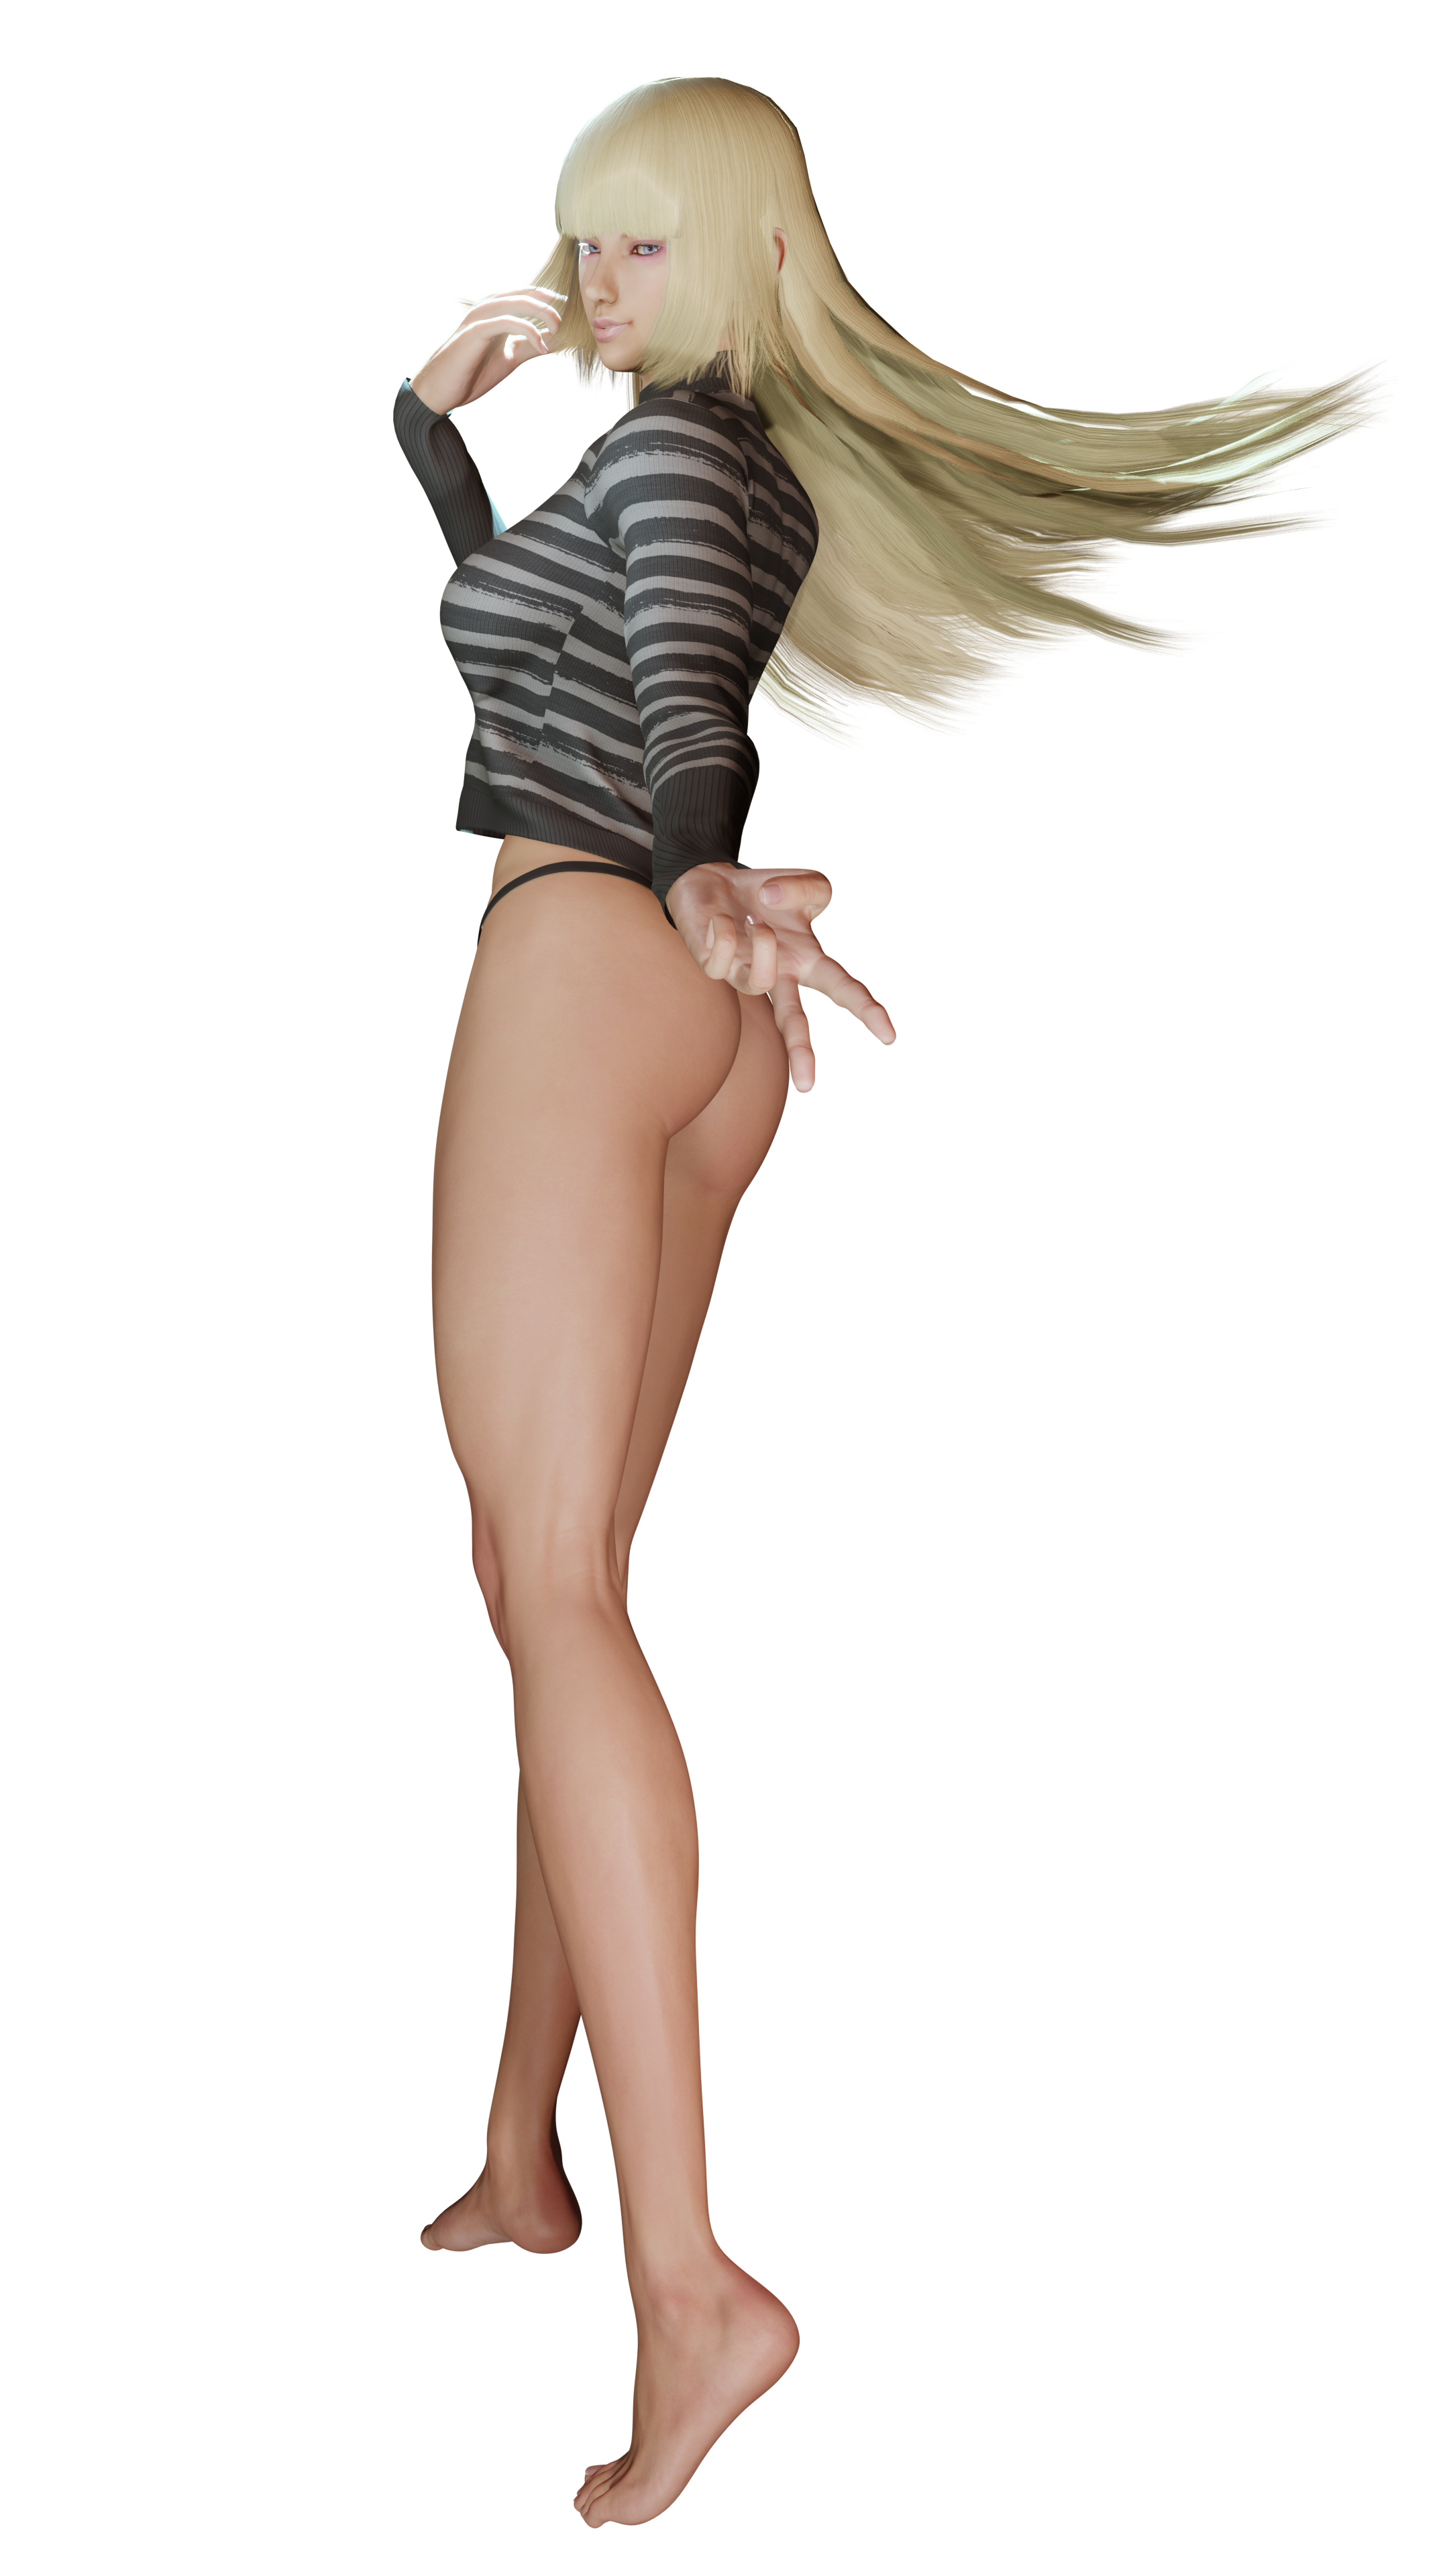
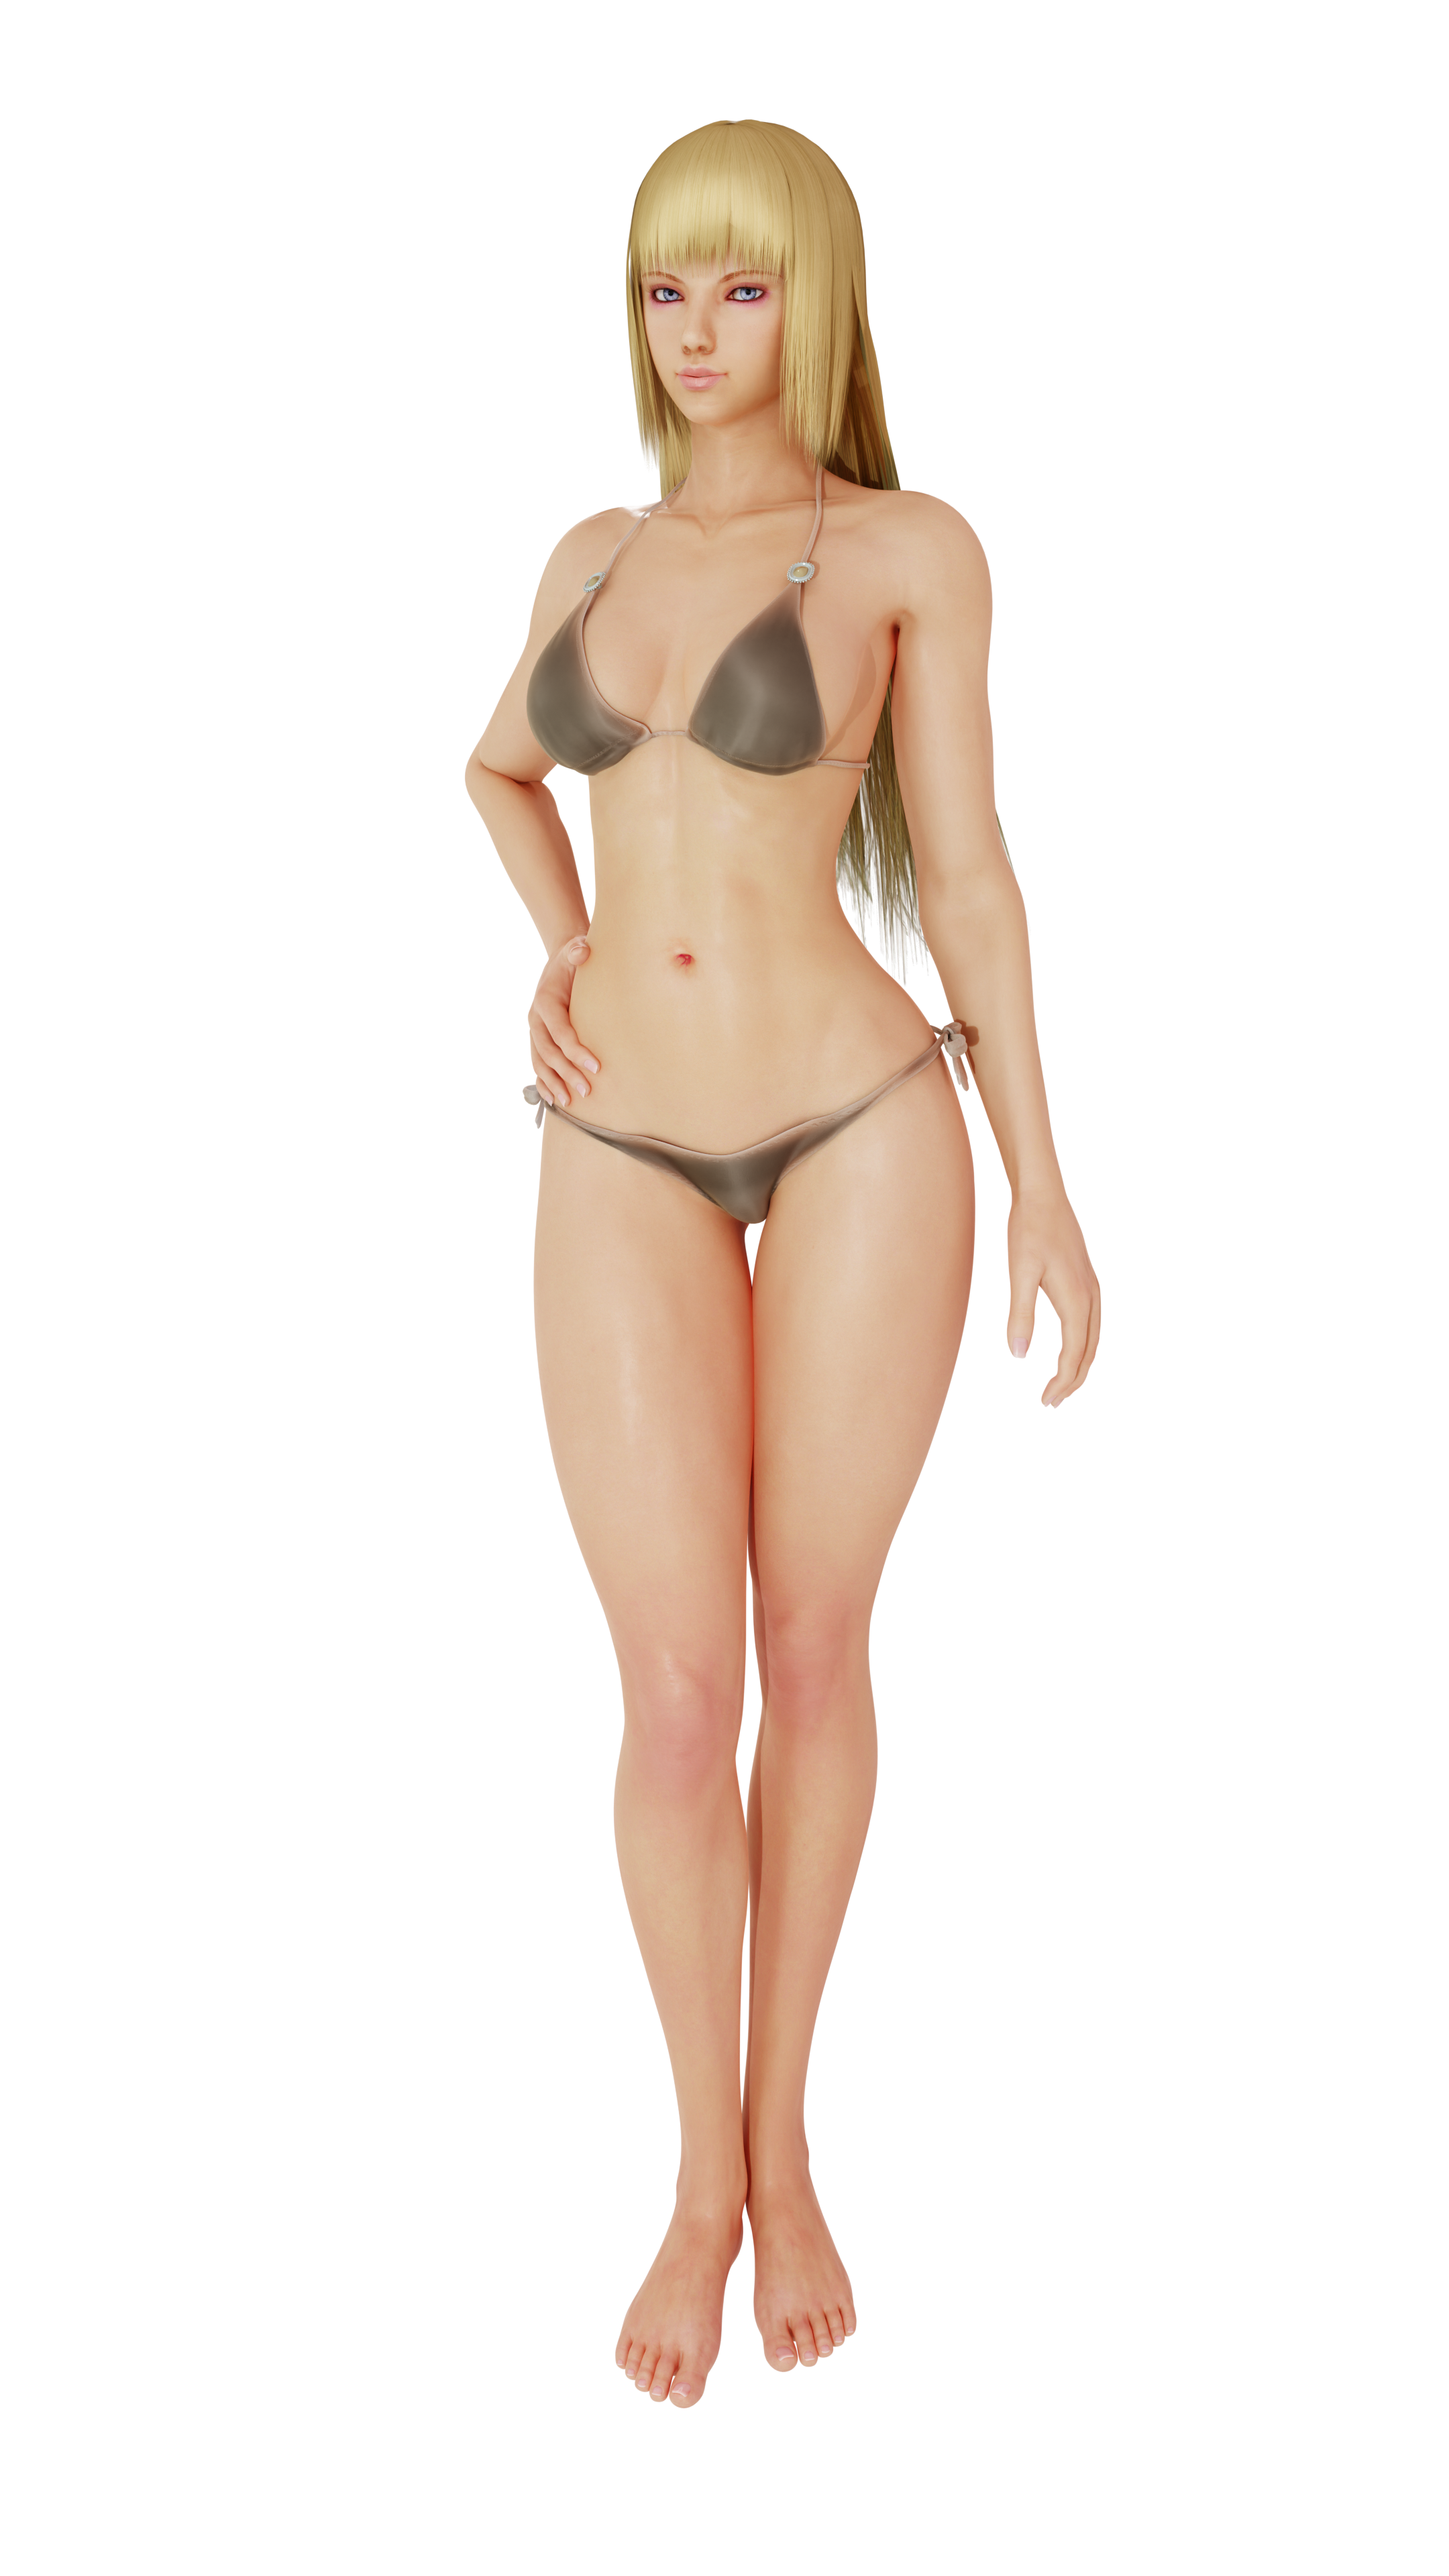
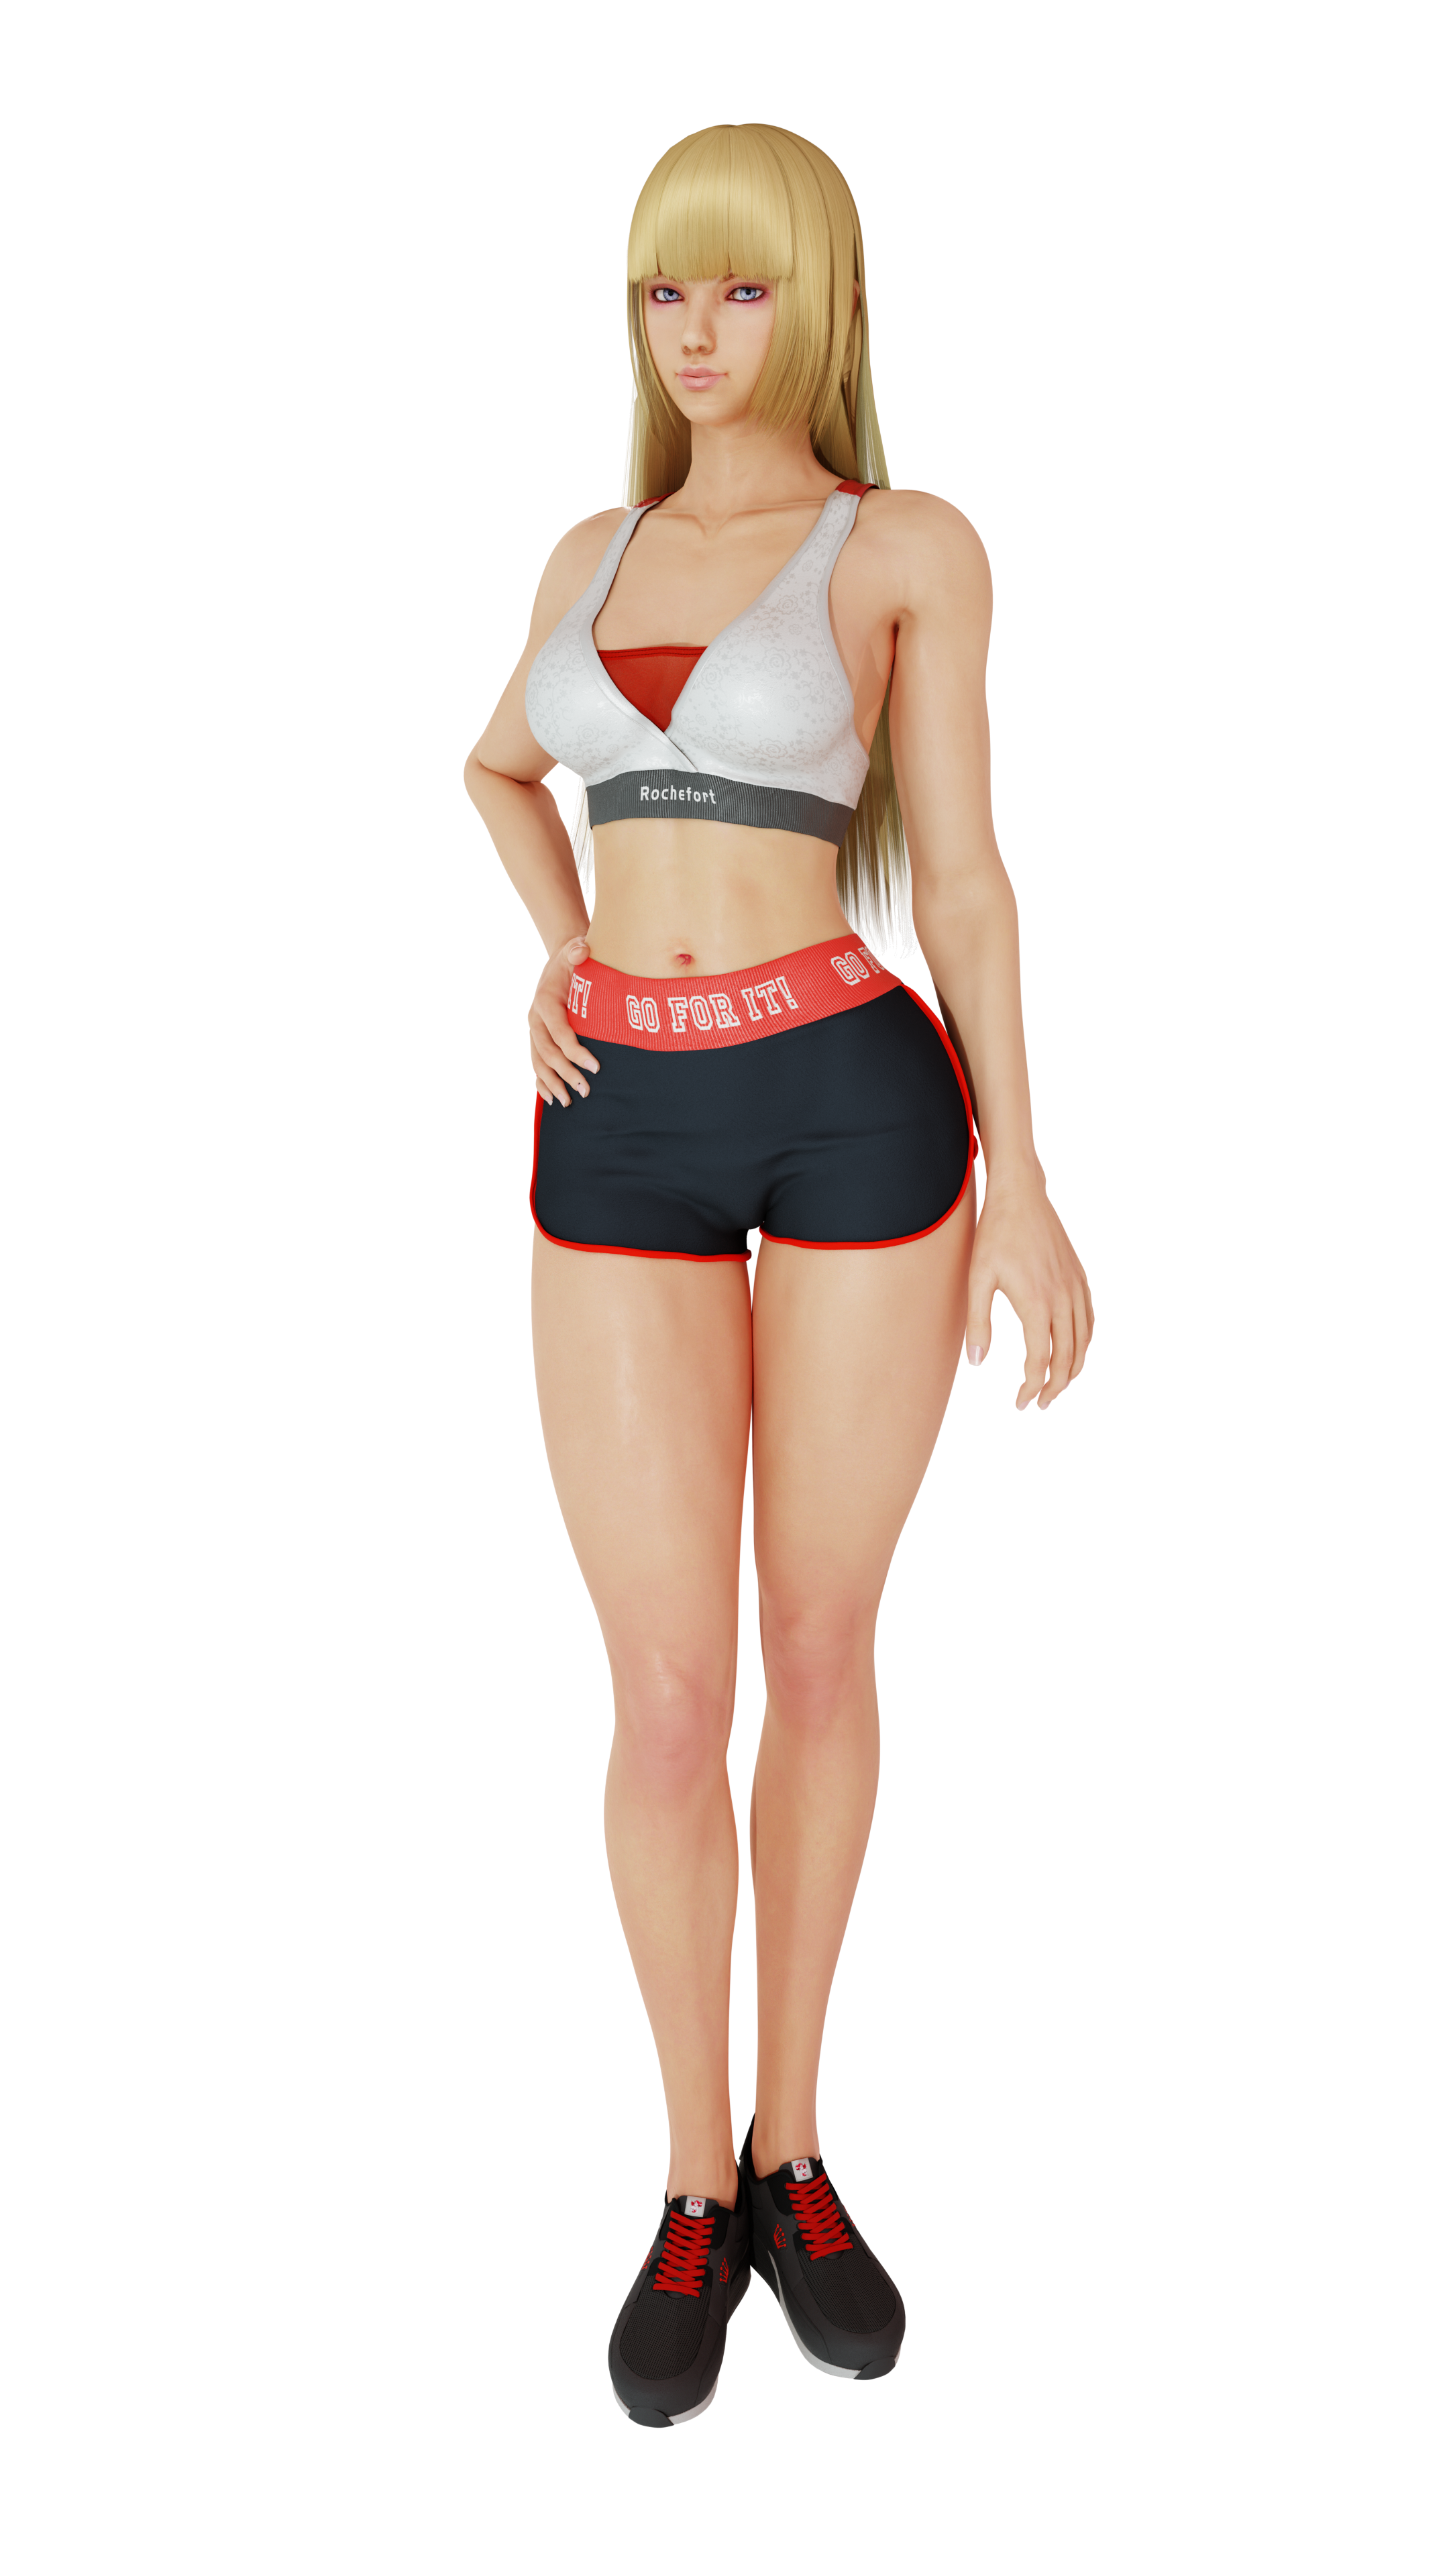
Outfits:
Classic white dress (T7)
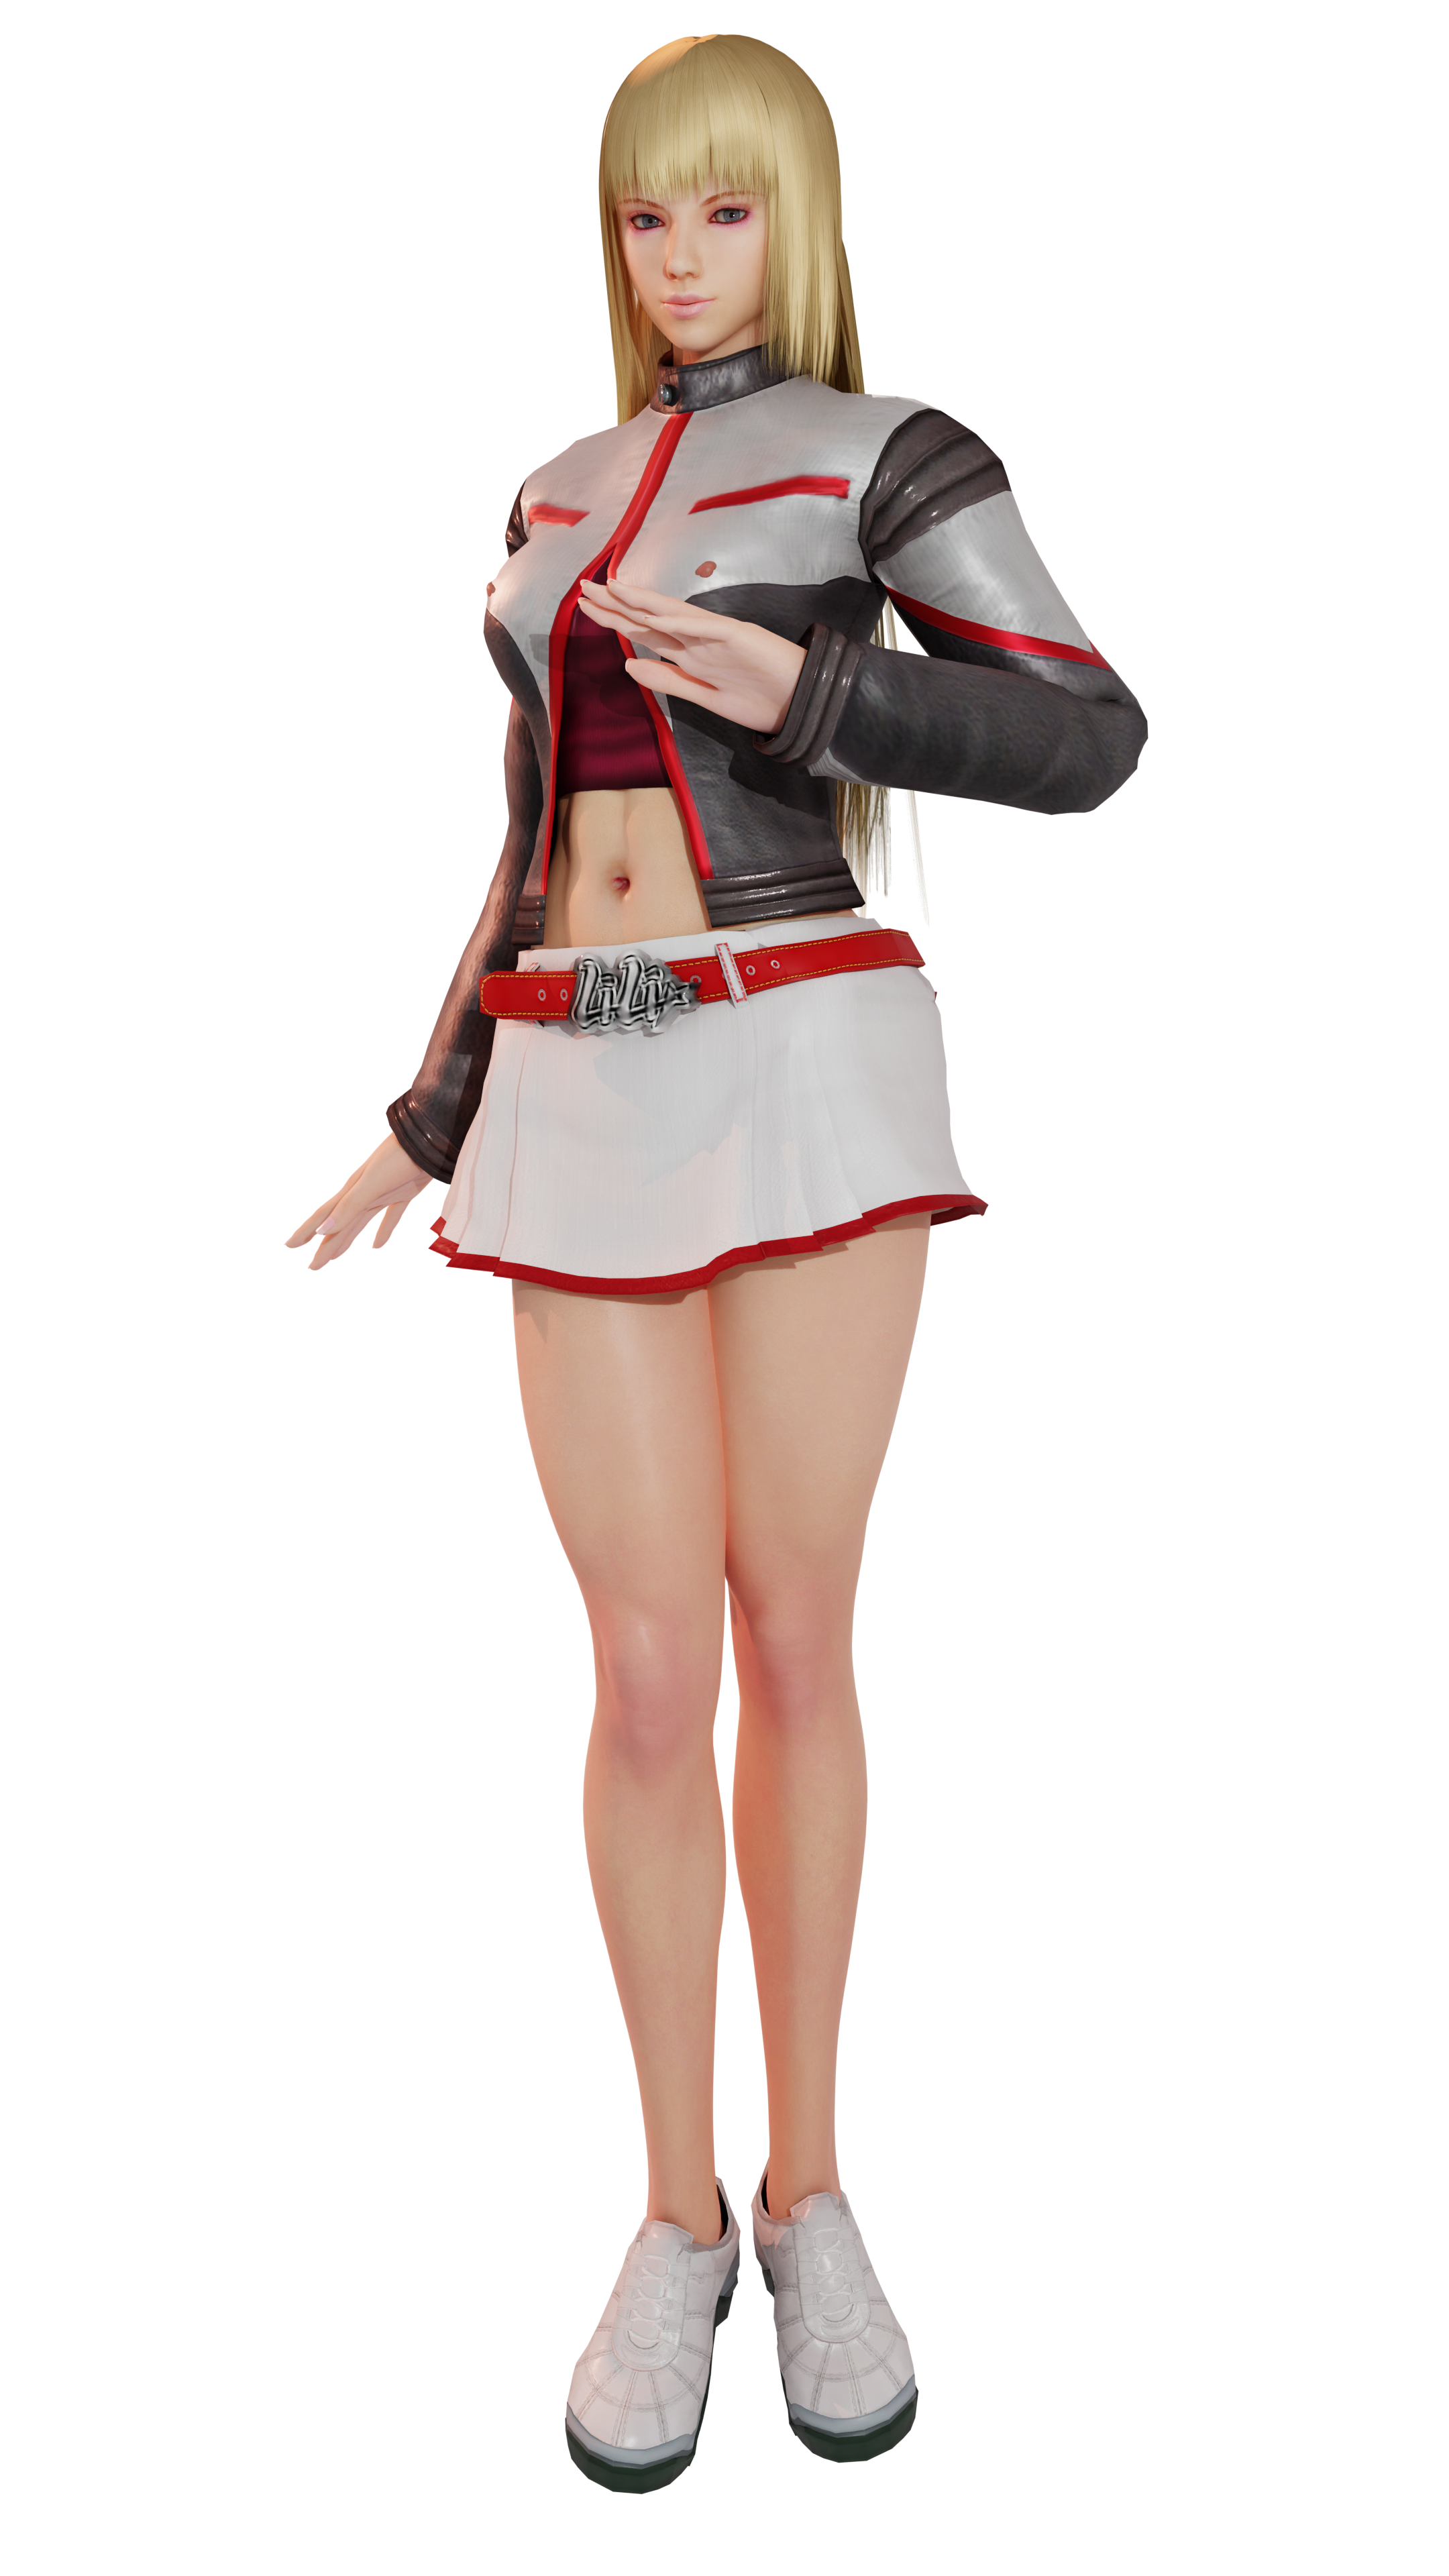
Marching Uniform (T7custom)
"Wedding" Dress (T6)
School uniform (T6)
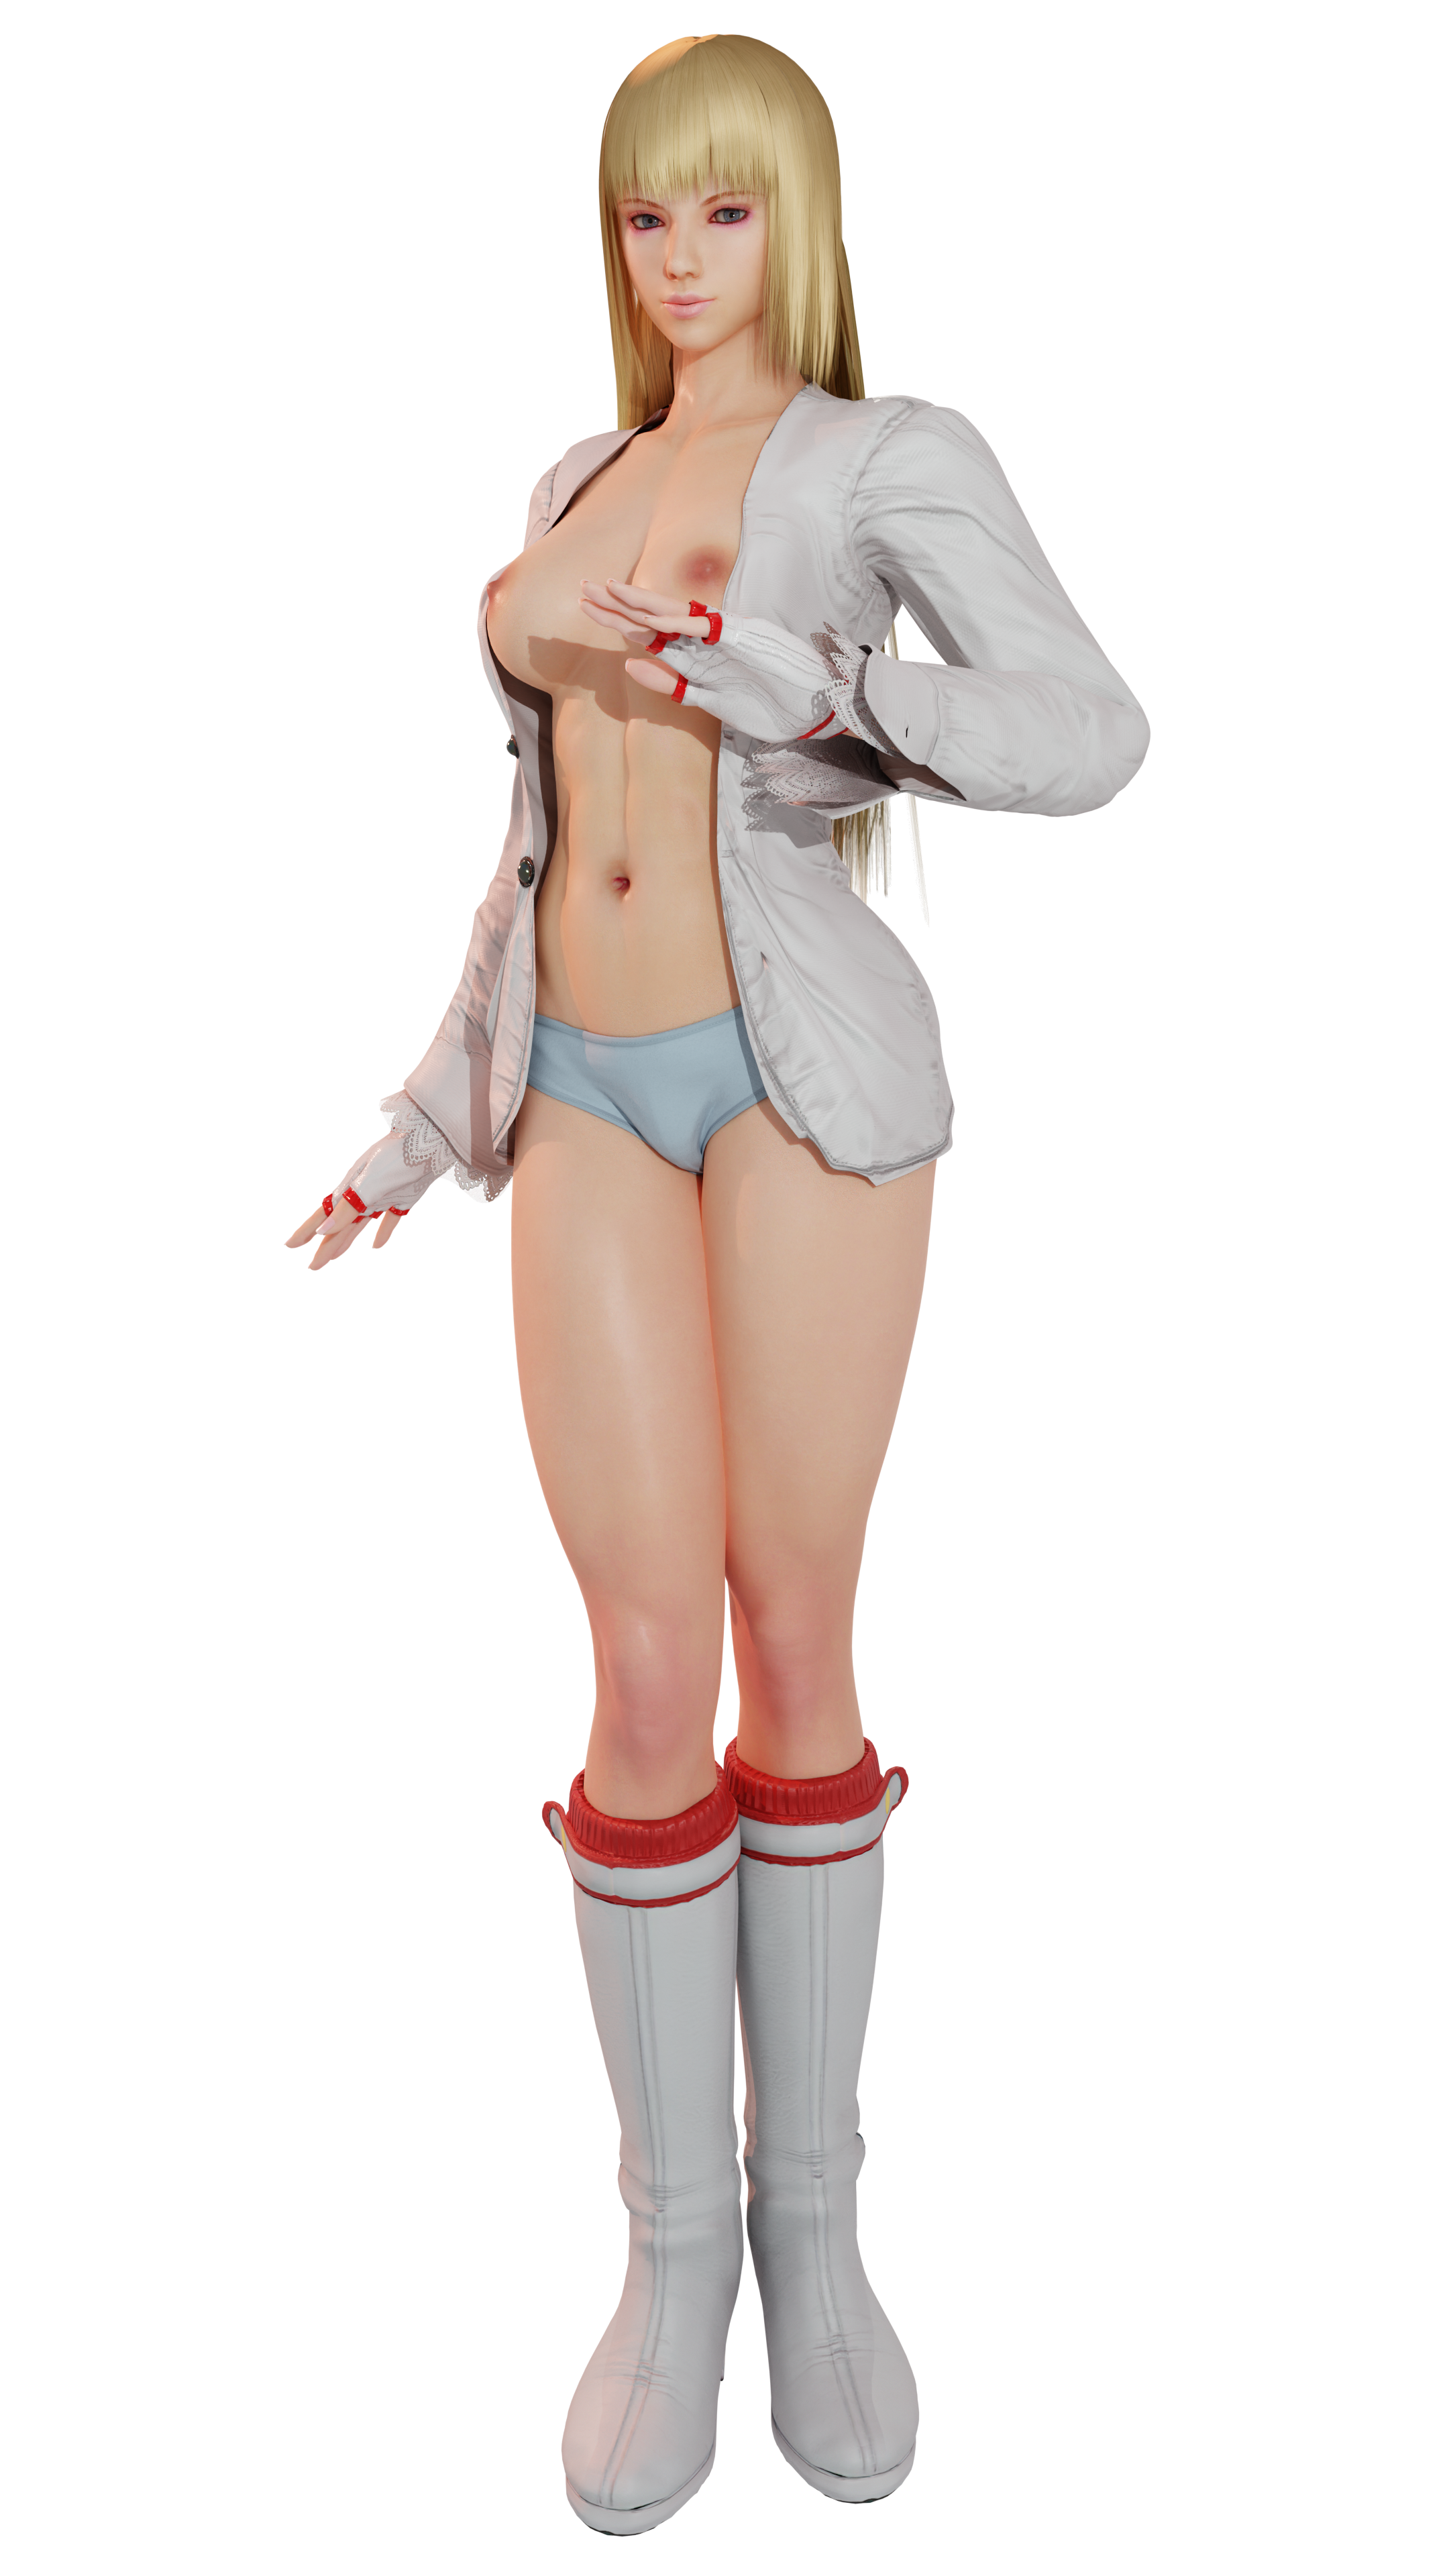
Custom Bikini and Lingerie
Custom sport/training outfit
Extra clothes
Important read:
Frequently Asked Questions PLEASE READ!:
BLENDER VERSION TO USE THIS MODEL: This model is compatible with Blender 3.4, 3.5 and newer versions, loading it in any of the previous version may not work.
DO NOT LOAD THIS MODEL IN BLENDER 3.3 OR OLDER, AND DO NOT SAVE IT USING BLENDER 3.3 OR OLDER, OR YOU'LL DESTROY THE SHADERS!!
YOU MUST USE THE UI MENU: Use the UI(user interface) Menu to hide and show outfit parts, don't do it manually unless you want to waste your time. The script automatically deactivates the armature modifiers of the meshes that are hidden using the menu outfits list. Meaning that if you manually show a previously hidden mesh in the viewport without using the menu the armature modifier will remain deactivated and the clothes won't move along the rig. Just use the menu (this is done to save memory while posing). IF you have any problems with the UI menu, check out Mustard's FAQ page (https://github.com/Mustard2/MustardUI/wiki/Users-FAQs)
TO VIEW THE UI MENU: IF BLENDER ASKS YOU TO ALLOW ""mustard_ui.py" SCRIPT, ALLOW IT TO ACTIVATE THE MENU SCRIPT. To use the UI Menu, press "N" in the 3D viewport and look for the "MustardUI" tab on the right of your 3d viewport.
IF THE UI MENU IS MISSING: (as per in the MustardUI FAQ page): To activate the UI If you append the model to a new blendfile, just go to the "Scripting" workspace tab, select the notebook like icon at the top to browse the linked script, select "mustard_ui.py" and hit the "play" button, once you go back to the 3d Viewport layout or any other workspace with the 3D viewport, the menu will be visible for you by clicking on the model armature.
MULTIPLE UI MENUS PER MODEL: (as per in the MustardUI FAQ page): after appending a model with the mustardUI menu, If you want to have a permanent view of the UI menu for a character even when you're not clicking in the rig, select the armature, go to "settings" in the UI menu and turn off the "viewport model selection" option. If you have two models with the UI script then an option to select which character's menu will show up at the top of the UI.
FASTER PERFORMANCE AND FPS IN VIEWPORT: Use the "Simplify" Optimization option in the UI Menu to speed up your animation FPS in the viewport, it just turns off most features that makes the models lag in the viewport at once instead of having to manually do it mesh by mesh. REMEMBER TURN SIMPLIFY OFF BEFORE RENDERING, and make sure all the global properties for outfits and body are turned ON before rendering.(all can be done using the UI menu).
HOW TO USE THE RIG: This model uses an autorigpro rig. You need to install the Rig-tools add-on to avoid having any errors. Rig tools is a free version of the Autorig pro add-on shared by the creator of the tool that allows animators to use all the features the model has without the rigging tools from the full version. Install rig-tools like any add-on (press the check box to activate.) (If you already own the full version of ARP you don't need to install this). If you have questions about how to utilize the ARP rig, check the rig's creators FAQ page: http://www.lucky3d.fr/auto-rig-pro/doc/rig_behaviour_doc.html#rig-usage
WHERE ARE THE IK FK OPTIONS AT: After clicking on the hand and head bone controls, go to the "tool" tab in the outliner or in the "tool" side menu in the 3d viewport. There you can access to options like IK to FK, for the head, select the head bone and check the "Head follow" for the neck and torso posing. Also there are options for stretching limbs and pinning rotation for the knees and elbows etc. NOTE: (you MUST have the rig-tools OR the full version of ARP add-on installed for these options to be visible)
EXTRA FEATURES: The cross icon on top of the hand is for opening/closing posing for the fingers. To open the genitals click and scale the circle bellow the anus or vagina. The genitals also have extra weighted bones for detailed posing. All found in the genitals bone layers accessible throught he UI Menu. To open the mouth, select the jaw bone and move it down or up (don't rotate it on the X axis, just pose it down in it's Z axis). Activate the "Advanced" Bone Armature Layer to see more bone options for the Torso and limbs.
BEFORE SCULPTING: As a general rule, turn off the all the modifiers (do not delete them) in the mesh you wish to work with, especially if they have the "FIX" and "corrective smooth" modifiers activated for the viewport.
MORE DETAIL: If you want to see better detail for muscle shapekeys, turn smooth corrective off. You can also improve muscle and body detail using the normal strength slider in the Menu.
PROPERLY LOAD TEXTURES: Save the blend file in the same folder you chose to extract the "textures.7z" file. Open blend file after you extracted the zip, if you still managed to get missing textures, go to "File>External Data>Find Missing Files", then select the textures folder, and save. Use 7zip to extract the textures to avoid any issues. (windows default extractor is trash and will give you problems) If you got missing textures (pink) check out this tutorial: https://www.youtube.com/watch?v=rWrj3jud0w8 If you still got missing textures it's most likely your zip file containing the textures got damaged during the download process and some texture files were damaged, try downloading again.
BLACK HAIR ARTIFACTS IN CYCLES: For models that have high detailed Hair meshes, use about 28 transparency or higher samples in cycles to avoid black artifacts, the more transparency samples the better.
CHANGELOG:
V2:
- Added 3 customizable Outfits (check "Lili Custom" to select multiple options)
- Added "Open" Shirt/dress to Classic outfit
- Changed shoes for Training outfit and
- Updated and added sandals for the Bikini outfit.
- Fixed hair transparency issue for hairs in eevee
- Fixed unresponsive Nails color property in menu
- Fixed minor weighting mistakes.
V3:
- Updated body Normals glutes area.
- Fixed bending issues with underwear when posing legs.
- Added gloves and boots for custom outfits.
- Fixed seam issues with arms and torso for normals specular and wet maps.
- separated custom outfits in 3 different categories for the outfit list (Devilish/Biker/Corset).
- Updated MustardUI (ver 0.25)
V3.3
- Updated Armature (new ARP Spine single control bone) (Download latest Rig tools)
- Updated Mustard UI
- Updated hair shaders
V3.4
- Simplified extra body textures as single RGB texture for bump, specular and sss
- Updated FX extra modifier for limbs (used instead of JCMs) (turn off before sculpting)
- Added IK Fingers option (select fingers and go to tool and workspace settings to activate)
- Updated MustardUI menu script
- Fixed Genital area clipping
- Multiple outfits fix
- Added "sided" panties options (not perfect rig, but feel free to modify at your liking).
Files